The Foundation: Crafting Impeccable 3D Car Models and Topology
The world of automotive design and visualization has undergone a revolutionary transformation, driven by advancements in 3D technology. From stunning photorealistic renders that grace advertising campaigns to immersive experiences in virtual reality, and even the creation of custom physical car parts, 3D car models are at the heart of this innovation. This comprehensive guide dives deep into the intricate technicalities of creating, optimizing, and deploying high-quality 3D car models across various applications, including advanced automotive rendering, demanding game assets, cutting-edge AR/VR, and precise 3D printing of custom components.
Whether you’re a seasoned 3D artist, an aspiring game developer, an automotive engineer, or simply curious about the digital craftsmanship behind your favorite vehicles, understanding the underlying principles is paramount. We’ll explore everything from the foundational art of perfect topology and seamless UV mapping to the complexities of PBR materials, sophisticated rendering workflows, game engine optimization, and the critical considerations for turning digital designs into tangible objects. Prepare to unlock the full potential of 3D automotive design and discover how expert knowledge can elevate your projects to unprecedented levels of realism and functionality.
The Foundation: Crafting Impeccable 3D Car Models and Topology
At the core of every high-quality 3D car model lies impeccable topology. This refers to the arrangement of polygons (usually quads) that define the mesh structure. For automotive models, which are characterized by sleek curves, sharp creases, and complex paneling, clean and deliberate topology is not just an aesthetic choice; it’s a fundamental technical requirement. Poor topology can lead to artifacts, shading errors, difficult UV unwrapping, and problematic deformation, especially when preparing models for animation or subdivision smoothing.
The goal is to achieve an even distribution of polygons, particularly in areas of high curvature or where details need to be preserved. Edge loops should flow along the natural contours of the vehicle, defining key features like wheel arches, door lines, hood creases, and body panel transitions. This disciplined approach ensures that when the model is subdivided (e.g., using a Turbosmooth modifier in 3ds Max or a Subdivision Surface modifier in Blender), it retains its intended shape without pinching or distortion. When sourcing models from marketplaces like 88cars3d.com, artists look for these hallmarks of professional craftsmanship, knowing that a well-built mesh saves countless hours in later stages of production.
Essential Topology for Automotive Surfaces
For automotive models, specific topological strategies are employed to capture the vehicle’s unique character.
The “box modeling” or “blueprint modeling” approach often begins by outlining the major forms and then progressively adding detail. Key areas requiring meticulous attention include:
- Creases and Hard Edges: To maintain sharp lines like those on a car’s body panels, artists often use “support loops” or “holding edges.” These are additional edge loops placed very close to the hard edge, which effectively tightens the subdivision surface in that region. Typically, two or three support loops are sufficient to define a crisp edge without adding excessive polygon density.
- Smooth Curves: On areas like fenders and roofs, edge loops should follow the curve of the surface, evenly distributed to allow for smooth deformation during subdivision. Avoid triangles or n-gons (polygons with more than four sides) on curved surfaces as they tend to create pinches and undesirable shading artifacts. While triangles are sometimes unavoidable in certain complex junctions, they should be minimized and placed in flat, less visible areas.
- Door Gaps and Panel Lines: These are often modeled as actual geometry, with small gaps between panels, rather than just normal map details. This adds a crucial layer of realism and depth. The topology around these gaps must be robust to prevent stretching or tearing during subdivision.
Optimizing Mesh Density and Polygon Counts
The ideal polygon count for a 3D car model varies drastically depending on its intended use. For high-fidelity renders, a model might exceed 500,000 to several million polygons, allowing for extreme detail and smooth curves even up close. In contrast, game-ready assets or models for AR/VR applications demand a much leaner approach, often aiming for under 100,000 polygons (or even significantly less for mobile AR) for the entire vehicle, achieved through careful decimation and Level of Detail (LOD) creation. Texture maps, particularly normal maps, play a crucial role in conveying high-frequency details without adding geometry.
Professional workflows involve creating a high-polygon “master” model, which then serves as the basis for baking normal maps, ambient occlusion maps, and other textures onto a lower-polygon version. This process is critical for achieving optimal performance without sacrificing visual fidelity. Tools like ZBrush or Mudbox are often used for sculpting fine details which are then baked down. For game engines, it’s common practice to have multiple LODs (Level of Details), where the model’s polygon count decreases as its distance from the camera increases, significantly reducing draw calls and improving frame rates.
Bringing Cars to Life: UV Mapping and PBR Material Creation
Once the geometry of a 3D car model is perfected, the next crucial step is preparing it for texturing and material application. This involves two core processes: UV mapping and the creation of Physically Based Rendering (PBR) materials. UV mapping is the art of flattening the 3D surface of a model into a 2D space, allowing 2D textures to be wrapped accurately around it. PBR materials, on the other hand, define how light interacts with the model’s surface, mimicking real-world physics to achieve unparalleled realism.
For complex objects like cars, with their intricate curves, varied surfaces (paint, glass, chrome, rubber), and numerous components, UV mapping can be a meticulous task. Each part of the car – body panels, wheels, tires, interior elements – typically requires its own set of UV coordinates to ensure optimal texture resolution and prevent stretching or distortion. The goal is to create clean, organized UV layouts that maximize texture space efficiency and simplify the texturing process, whether using traditional image textures or advanced procedural shaders.
Advanced UV Strategies for Complex Car Geometry
Effective UV mapping is critical for high-quality automotive models. Here are key strategies:
- Seam Placement: Strategically place UV seams in less visible areas, such as along the underside of body panels, inside door jams, or hidden creases. The fewer and cleaner the seams, the better the texture interpolation.
- Texel Density: Ensure consistent texel density across all major parts of the car. Texel density refers to the number of pixels per unit of surface area. Higher texel density in prominent areas (e.g., body paint) and slightly lower in less visible areas (e.g., underside of chassis) optimizes texture memory without compromising visual quality. A common professional practice is to aim for 10.24 pixels/cm for main body parts and 5.12 pixels/cm for smaller, less prominent parts when using 4K textures (4096×4096 pixels).
- UDIM Workflow: For extremely detailed models or film production, UDIMs (U-Dimension) are indispensable. This system allows artists to use multiple UV tiles (separate 2D texture spaces) for a single mesh, breaking down a large model into smaller, manageable UV regions. For example, one UDIM tile could be for the car body, another for the interior, and another for the wheels, each with its own high-resolution textures. This prevents a single texture map from being stretched across an entire vehicle and improves workflow in texturing software like Mari or Substance Painter.
- Preventing Overlapping UVs: Unless intentionally layering textures (e.g., for mirrored parts), ensure no UV islands overlap. Overlapping UVs lead to texture bleeding and artifacts.
Mastering PBR Shaders for Photorealistic Finishes
PBR materials are the standard for achieving photorealistic rendering across various industries. They are based on real-world physical properties of light and matter, ensuring that materials react consistently under any lighting condition. The two most common PBR workflows are Metallic/Roughness and Specular/Glossiness.
- Metallic/Roughness Workflow: This is widely adopted in game engines (Unity, Unreal Engine) and many renderers. It primarily uses three maps:
- Albedo/Base Color: Defines the diffuse color of non-metallic surfaces and the color tint of reflections on metallic surfaces.
- Metallic: A grayscale map where white (1.0) represents a metallic surface, and black (0.0) represents a dielectric (non-metallic) surface.
- Roughness: A grayscale map where white (1.0) indicates a very rough surface (matte finish), and black (0.0) indicates a very smooth surface (shiny finish).
- Specular/Glossiness Workflow: More common in some offline renderers (V-Ray, Corona, Arnold) and older pipelines. It uses:
- Diffuse/Albedo: Similar to above, but only for diffuse color.
- Specular: A color map defining the color and intensity of specular reflections.
- Glossiness: The inverse of roughness; white (1.0) means very shiny, black (0.0) means very dull.
Additional maps commonly used include Normal Maps (for adding surface detail without extra geometry), Ambient Occlusion (AO) Maps (for contact shadows), Emission Maps (for lights), and Opacity Maps (for transparent elements like glass or grilles). Texture resolutions typically range from 2K (2048×2048) to 8K (8192×8192) depending on the detail required and target platform. For the highest quality 3D car models, like those found on 88cars3d.com, 4K or 8K textures are standard for major components, ensuring crisp detail even in close-up shots.
Visualizing Excellence: High-Fidelity Automotive Rendering Workflows
After meticulously modeling, UV mapping, and texturing a 3D car model, the next critical phase is rendering – the process of generating a photorealistic image or animation from the 3D data. Automotive rendering demands a high degree of precision and artistry to capture the intricate interplay of light, reflections, and shadows on the vehicle’s surfaces. This involves mastering advanced rendering engines, sophisticated lighting setups, and post-processing techniques to elevate the final output to a level indistinguishable from real photography.
Industry-standard rendering engines like V-Ray, Corona Renderer (for 3ds Max/Cinema 4D), Cycles (Blender), and Arnold (Maya/3ds Max) are equipped with powerful features such as unbiased path tracing, global illumination, and physically accurate cameras. These tools allow artists to simulate how light behaves in the real world, producing stunning results. However, achieving professional-grade renders requires more than just powerful software; it demands a deep understanding of photographic principles, color theory, and composition to truly make the vehicle shine.
Lighting Setups for Dramatic Automotive Renders
Effective lighting is perhaps the most crucial element in automotive rendering. It defines the mood, highlights design features, and showcases material properties. Here are common strategies:
- HDRI (High Dynamic Range Imaging): This is the cornerstone of realistic automotive lighting. An HDRI map captures the full range of light information from a real-world environment and projects it onto a virtual sphere surrounding the 3D model. This provides incredibly realistic ambient lighting, reflections, and specular highlights, mimicking outdoor scenes or studio environments with unmatched accuracy. High-quality HDRIs specifically designed for automotive studios or car dealerships are often used.
- Studio Lighting: For controlled, stylized renders, a virtual studio setup is common. This often involves a combination of large area lights, softboxes, and light blockers (gobos) to shape reflections and create dramatic contrasts. A classic three-point lighting setup (key, fill, back light) can be augmented with additional rim lights or specific reflection cards to emphasize curves and edges.
- Physical Sun and Sky: For outdoor scenes, a physically accurate sun and sky system (like V-Ray Sun & Sky or Corona Sun) combined with an HDRI for environmental context provides dynamic and realistic illumination, complete with accurate shadows and atmospheric effects.
- Light Linking: Advanced renderers allow ‘light linking,’ where specific lights only illuminate or affect certain objects, providing precise control over reflections and shadows on complex automotive surfaces.
Post-Processing and Compositing for Impact
The raw output from a render engine is rarely the final image. Post-processing and compositing in software like Adobe Photoshop, Affinity Photo, or Blackmagic Fusion are essential steps to refine and enhance the render. This stage adds a layer of artistry and polish that significantly impacts the final presentation.
- Render Passes/Elements: Professional workflows utilize render passes (e.g., diffuse, reflection, specular, refraction, Z-depth, ambient occlusion, object IDs). These are separate image layers that capture different aspects of the scene’s light interaction. Compositing these passes allows for non-destructive adjustments and fine-tuning of individual elements without re-rendering the entire scene. For example, reflections on the car paint can be adjusted independently of the overall diffuse color.
- Color Grading: Adjusting exposure, contrast, white balance, and color saturation to achieve a desired mood or match specific brand aesthetics.
- Lens Effects: Adding subtle effects like bloom (light bleed from bright areas), glare (streaks from intense light sources), depth of field (blurry background/foreground to emphasize the car), chromatic aberration, and vignetting (darkening edges of the image) can significantly enhance realism and photographic appeal.
- Background Integration: If the car is rendered separately, it is composited onto a real-world backplate or a synthetic background. Matching lighting, perspective, and color temperature between the car and the background is critical for a seamless integration. Artists often use reference images to ensure the car’s reflections accurately mirror the environment it’s placed in.
Beyond Renders: 3D Car Models for Gaming & Real-time Experiences
The requirements for 3D car models shift dramatically when moving from static renders to interactive real-time environments like video games or architectural visualizations. Performance becomes paramount, demanding rigorous optimization strategies without sacrificing visual appeal. Game developers, in particular, need models that are not only visually engaging but also highly efficient, ensuring smooth frame rates across a wide range of hardware. This means a fundamental change in how geometry, textures, and materials are approached.
Game engines such as Unity, Unreal Engine, and Godot are powerful real-time rendering environments, but they have strict performance budgets for polygon counts, texture memory, and draw calls. Therefore, converting a high-polygon rendering model into a game-ready asset involves a sophisticated pipeline of optimization techniques. The goal is to maximize the visual quality perceived by the player while minimizing the computational load on the GPU and CPU. High-quality, optimized game assets for cars are a sought-after commodity in the industry, precisely because of the effort required in this conversion process.
LODs and Performance Budgeting in Game Engines
Level of Detail (LODs) are crucial for optimizing performance in real-time applications. Instead of rendering a single, high-polygon model at all distances, LODs involve creating multiple versions of the same asset, each with progressively fewer polygons. As the player’s camera moves away from the car, the game engine automatically switches to a lower-polygon LOD, significantly reducing the geometry that needs to be processed. A typical game asset might have 3-5 LODs:
- LOD0 (Highest Detail): Visible when the car is close to the camera, perhaps 50,000-100,000 polygons (for a full car).
- LOD1 (Medium Detail): For mid-range distances, perhaps 15,000-30,000 polygons.
- LOD2 (Low Detail): For longer distances, maybe 5,000-10,000 polygons.
- LOD3 (Very Low Detail/Impostor): For extreme distances or background elements, a few hundred polygons or even a 2D billboard (impostor) image.
Each LOD should have its own baked normal maps to retain visual detail from the higher-poly versions. The polygon budget for a car model often includes not just the body but also wheels, interior, and lights. For mobile games, these budgets are even tighter, with an entire car potentially needing to be under 20,000 polygons for the highest LOD.
Real-time Shaders and Texture Atlasing
Real-time shaders in game engines are designed for speed and efficiency. While they utilize PBR principles, they are often optimized for specific engine pipelines. Material parameters are usually simpler than offline renderers, focusing on albedo, metallic, roughness, normal, and ambient occlusion maps. Game engines also employ advanced techniques to further optimize texture memory and draw calls (the number of times the CPU tells the GPU to render something).
- Texture Atlasing: This involves combining multiple smaller textures (e.g., textures for individual car parts like door handles, emblems, wipers) into a single, larger texture map. This reduces the number of draw calls because the engine only needs to load one material for many parts, rather than several. An entire car could have its interior, exterior, and wheel textures consolidated into just a few atlases (e.g., 2-3 4K texture atlases instead of dozens of 2K individual textures).
- Shader Instance Optimization: Modern game engines allow for material instancing. This means that a base shader can be created once, and then multiple instances of that shader can be used with different parameters (e.g., different paint colors, different roughness values) without incurring the performance cost of compiling a new shader for each variation.
- Vertex Color and Masking: Vertex colors can be used to add subtle variations, dirt, or wear without additional textures. Mask textures (e.g., grayscale maps) are often used to define areas where different materials or effects should apply, allowing a single material to render multiple distinct looks.
When artists acquire 3D car models from trusted sources, they expect these optimizations to be professionally implemented, saving valuable development time and ensuring seamless integration into game projects.
Stepping into the Future: 3D Car Models for AR/VR and Immersive Tech
Augmented Reality (AR) and Virtual Reality (VR) represent the cutting edge of interactive visualization, offering immersive experiences that can transport users inside a digital car or overlay a virtual vehicle onto the real world. For automotive brands, AR/VR is transforming car configurators, training simulations, and even sales experiences. However, developing 3D car models for these platforms introduces a unique set of technical challenges, primarily centered around extreme performance optimization and specific file format requirements.
Unlike traditional games, AR/VR experiences, especially on mobile devices, operate under even tighter computational constraints. High frame rates (minimum 72-90 FPS for VR to prevent motion sickness) are non-negotiable, and complex scenes can quickly overwhelm device capabilities. This necessitates aggressive poly count reduction, efficient texture management, and streamlined shader complexity, often requiring a dedicated AR/VR optimization pass even on models already deemed “game-ready.” The choice of file format also becomes critical for seamless deployment across diverse AR/VR ecosystems.
Preparing Models for GLB/glTF and USDZ
The AR/VR landscape is heavily influenced by open standards designed for web and mobile delivery. The two dominant file formats are:
- glTF (GL Transmission Format) / GLB (Binary glTF): Often called the “JPEG of 3D,” glTF is an efficient, interoperable format for 3D scenes and models. It supports PBR materials, animations, and scene graphs, making it ideal for web-based AR/VR, interactive 3D viewers, and many cross-platform applications. GLB is a binary version that bundles everything (geometry, textures, animations) into a single file, simplifying distribution.
- Technical Considerations for glTF/GLB:
- Polygon Count: Aim for models under 50,000-100,000 polygons for desktop VR, and aggressively optimize to under 20,000-30,000 polygons for mobile AR (e.g., ARCore, ARKit).
- Texture Resolution: Use 1K (1024×1024) or 2K textures where possible. JPEG or PNG compression is standard for images. Utilize texture atlases to reduce draw calls.
- PBR Workflow: glTF primarily uses the Metallic/Roughness workflow. Ensure all PBR maps (base color, metallic, roughness, normal, occlusion, emissive) are correctly assigned and optimized.
- Animation: Ensure skeletal or blend shape animations are baked and optimized for glTF’s compact representation.
- Technical Considerations for glTF/GLB:
- USDZ (Universal Scene Description Zip): Developed by Apple in collaboration with Pixar, USDZ is a proprietary format specifically designed for ARKit on iOS devices. It’s built upon Pixar’s USD (Universal Scene Description) and packaged as a zero-compression zip archive. USDZ is the preferred format for seamless AR integration within the Apple ecosystem.
- Technical Considerations for USDZ:
- Polygon Count: Similar to mobile glTF, strict poly count budgets are essential.
- PBR Support: USDZ supports PBR materials, often mapping to the Metallic/Roughness workflow.
- File Size: Keep file sizes minimal for quick downloads and loading times over mobile networks. A car model typically needs to be under 10-20 MB.
- Real-time Lighting: USDZ leverages ARKit’s real-time environmental probes and shadow estimation for realistic lighting integration into the real world.
- Technical Considerations for USDZ:
Performance Considerations for Mobile AR/VR
Mobile AR/VR introduces the most stringent optimization requirements due to limited processing power and battery life. Beyond poly and texture budgets:
- Draw Call Reduction: Minimize the number of unique materials and meshes. Combine meshes where possible and use texture atlases.
- Shader Complexity: Use simple, efficient PBR shaders. Avoid complex procedural shaders or heavy post-processing effects.
- Static Batching: In game engines, mark static objects for batching to reduce draw calls.
- Occlusion Culling: Implement occlusion culling to prevent rendering objects that are hidden behind other objects from the camera’s view.
- Baked Lighting: While real-time lighting is possible, baking static lighting (e.g., ambient occlusion) directly into textures or vertex colors can reduce runtime calculation.
- Environmental Probes: For reflections and indirect lighting, rely on environmental probes (cubemaps) strategically placed in the scene rather than full global illumination.
When sourcing 3D car models for AR/VR, ensuring they are pre-optimized for these specific demands is crucial for successful deployment and a smooth user experience.
From Screen to Reality: Custom 3D Car Parts and 3D Printing
The journey of a 3D car model doesn’t always end on a screen. With the advent of advanced 3D printing technologies, these digital assets can be transformed into physical objects, ranging from scale models and prototypes to actual custom car parts. This convergence of digital design and additive manufacturing opens up unprecedented possibilities for automotive enthusiasts, designers, and engineers to rapidly iterate, customize, and produce components that were once prohibitively expensive or impossible to manufacture using traditional methods.
However, preparing a 3D car model for 3D printing is a distinct technical challenge compared to rendering or game development. While visual fidelity is key for screens, structural integrity, dimensional accuracy, and printability are paramount for physical objects. A model that looks perfect in a render might have critical flaws when translated to a physical layer-by-layer fabrication process. Understanding the specific requirements for mesh integrity, material properties, and print settings is essential to bridge the gap from the virtual to the tangible.
Mesh Integrity and Watertight Models for 3D Printing
The most fundamental requirement for 3D printing is a “watertight” or “manifold” mesh. This means the model must represent a completely enclosed volume, without any holes, gaps, or intersecting/non-manifold geometry. Imagine trying to fill a physical object with water – if it leaks, it’s not watertight. In 3D modeling terms:
- No Gaps or Holes: Every edge must be connected to exactly two faces. Open edges, which define holes, are a common issue.
- No Flipped Normals: All face normals (which determine which side of a face is “outside”) must consistently point outwards. Inconsistent normals confuse the slicer software, which can lead to missing layers or errors.
- No Intersecting Geometry: Overlapping or self-intersecting polygons create ambiguities about what is “inside” or “outside” the object. This is often an issue with complex Boolean operations.
- No Non-Manifold Edges/Vertices: An edge or vertex is non-manifold if it belongs to more than two faces (for an edge) or if it creates an ambiguous surface.
Tools like Blender’s 3D Print Toolbox, Autodesk Meshmixer, or Netfabb are invaluable for analyzing, repairing, and preparing meshes for printing. They can identify common issues and automate many repair processes. When acquiring 3D car models for printing, particularly those intended for functional parts, it’s crucial to confirm their manifold status or be prepared to perform extensive mesh repair.
Material Selection and Print Preparation
Beyond mesh integrity, successful 3D printing depends heavily on material selection and precise print preparation. The choice of printing technology (FDM, SLA, SLS, etc.) and material (PLA, ABS, Nylon, Resin, Carbon Fiber composites) directly impacts the final part’s strength, flexibility, surface finish, and cost.
- Wall Thickness: Ensure all parts of the model have a sufficient wall thickness to be printed successfully. Thin features (e.g., mirrors, spoilers, intricate grilles on a model car) might break during printing or post-processing if they fall below the minimum thickness threshold for the chosen material and printer (often 0.8mm to 2mm, depending on scale and material).
- Scale and Orientation: Accurately scale the model to the desired physical dimensions. The orientation of the model on the print bed can significantly affect print quality, support material usage, and part strength. For example, printing a long part flat may reduce warping, while printing it vertically might improve surface finish on certain sides.
- Support Structures: Overhanging parts of the model often require support structures. While necessary, these can affect surface finish and add post-processing time. Designers often optimize models to minimize the need for supports.
- Tolerance: When designing interlocking or custom replacement parts, account for manufacturing tolerances. A small gap (e.g., 0.1-0.3mm) between mating surfaces is often necessary to ensure parts fit together without excessive force.
- Export Format: The most common file formats for 3D printing are STL (Stereolithography) and OBJ. STL is widely supported and defines only the surface geometry. OBJ can also carry color and texture information but is less universally supported by slicers than STL.
From custom racing spoilers to dashboard components, the ability to rapidly prototype and produce custom 3D car parts is empowering automotive innovation. The digital models from platforms like 88cars3d.com provide an excellent starting point for this transformative workflow, offering clean topology that simplifies the transition to the physical realm.
File Formats & Interoperability: Navigating the 3D Ecosystem
In the vast and interconnected world of 3D content creation, the ability to seamlessly transfer 3D car models between different software applications, game engines, and viewing platforms is absolutely essential. This interoperability is governed by a diverse array of 3D file formats, each with its own strengths, limitations, and specific use cases. Understanding these formats is critical for any 3D professional, ensuring that models retain their integrity, materials, and other attributes as they move through a complex production pipeline.
The choice of file format can impact everything from polygon count and material definitions to animation data and overall file size. A format suitable for high-fidelity offline rendering might be entirely unsuitable for real-time game development or web-based AR/VR. Navigating this ecosystem effectively means knowing which format to use when, how to convert between them efficiently, and what potential pitfalls to avoid to prevent data loss or corruption of your valuable automotive 3D designs.
Understanding Key Automotive 3D File Formats
Here’s a breakdown of the most common 3D file formats relevant to automotive models:
- FBX (Filmbox): Developed by Autodesk, FBX is arguably the most prevalent and versatile exchange format in the 3D industry. It supports not only geometry and UVs but also PBR materials, textures, animations, rigging, cameras, and lights. It’s an excellent choice for transferring complex 3D car models between applications like 3ds Max, Maya, Blender, Unity, and Unreal Engine. However, its proprietary nature can sometimes lead to inconsistencies between software versions.
- OBJ (Wavefront OBJ): A classic and widely supported format, OBJ is excellent for transferring geometry and basic UV information. It’s often accompanied by an MTL (Material Template Library) file for simple material definitions (diffuse color, specular, basic textures). OBJ is a good fallback for raw mesh data but lacks support for advanced features like PBR materials, rigging, or animation. It’s frequently used for 3D printing due to its simplicity.
- GLB/glTF (GL Transmission Format): As discussed earlier, these are optimized for web-based 3D, AR/VR, and real-time viewing. They are compact, support PBR materials (Metallic/Roughness), textures, and animations. Ideal for sharing interactive models online or deploying to mobile AR applications.
- USD/USDZ (Universal Scene Description): Pixar’s powerful and extensible scene description format, and its AR-optimized variant, USDZ. USD is gaining significant traction as a universal scene description format, supporting complex hierarchies, PBR materials, animation, and layering. It’s an open-source format with strong industry backing, aiming to standardize scene interchange.
- STL (Stereolithography): The industry standard for 3D printing. It defines only the surface geometry of a 3D object using a tessellated mesh of triangles. It does not carry color, material, or texture information. Crucial for manufacturing physical prototypes and custom parts.
- DWG/DXF (Drawing/Drawing Exchange Format): Primarily 2D CAD formats, but DXF can contain 3D mesh data. More common in engineering and architectural fields for technical drawings, less so for high-fidelity rendering or gaming assets.
- Blend (Blender): Blender’s native file format. Contains all scene data. While not an exchange format, it’s widely used by artists and often converted to FBX or OBJ for sharing.
- Max (3ds Max): Autodesk 3ds Max’s native file format. Similar to Blend, it contains full scene data and is often converted to FBX for broader compatibility.
Seamless Conversions and Compatibility Challenges
Converting between 3D file formats is a common task, but it’s rarely a one-click perfect solution. Data loss or translation issues can occur due to differences in how formats store information. Here are best practices and common challenges:
- Prepare Before Export: Before exporting, clean up your scene. Delete unnecessary geometry, cameras, lights (unless needed), and ensure all transforms are frozen/applied. Consolidate materials where possible.
- Bake Animations and Modifiers: For formats like FBX, ensure animations are baked into keyframes and complex modifiers (e.g., cloth simulations) are collapsed to geometry or point caches.
- Material Conversion: PBR materials, especially those with complex shader networks (e.g., V-Ray, Corona), often do not transfer perfectly between renderers or formats. You might need to re-apply or re-configure materials after import, especially when moving between different PBR workflows (Metallic/Roughness vs. Specular/Glossiness). Textures should be packed or provided alongside the model.
- Triangulation: Some formats (like STL, GLB) implicitly or explicitly triangulate all quad-based geometry upon export. While generally fine, it’s good to be aware that your pristine quad topology might become a mesh of triangles.
- Scale Consistency: Ensure consistent unit scales across all applications (e.g., meters in 3ds Max, then meters in Unity). Mismatched scales can lead to incorrect lighting, physics, or rendering artifacts.
- Version Compatibility: Be mindful of software versions. An FBX exported from a very new version of Maya might not import perfectly into an older version of 3ds Max. Always try to export to an older FBX version for broader compatibility if issues arise.
Platforms like 88cars3d.com typically provide their 3D car models in multiple formats (e.g., FBX, OBJ, 3DS, Max, Blend, GLB) to maximize compatibility and cater to diverse artist workflows, recognizing the importance of seamless integration for their users.
Conclusion: Driving Innovation with High-Quality 3D Automotive Models
The journey through the intricacies of 3D car models, from their foundational topology to their deployment across diverse applications, underscores the profound technical skill and artistic vision required in modern automotive visualization. We’ve explored how meticulous modeling and clean topology form the bedrock of realistic surfaces, how advanced UV mapping and PBR materials breathe life into digital paint and chrome, and how sophisticated rendering workflows achieve cinematic realism. Beyond static images, we delved into the rigorous optimizations needed for high-performance game assets, the unique demands of cutting-edge AR/VR experiences, and the critical considerations for transforming digital designs into tangible, 3D printed custom car parts.
Each application, whether it’s a photorealistic marketing campaign, an immersive virtual showroom, or a functional prototype, relies on the same core principle: the quality of the underlying 3D car model. Understanding the technical nuances of mesh integrity, texture optimization, shader networks, and file format compatibility is not just about mastering software; it’s about mastering the language of digital creation itself. This expertise ensures that your automotive visions are not only realized but also excel in performance, realism, and versatility across every platform.
For those seeking to leverage the power of high-quality automotive 3D designs without building them from scratch, professional marketplaces like 88cars3d.com offer a curated selection of pre-optimized models. These assets are meticulously crafted with clean topology, realistic materials, and multiple file formats, ready to accelerate your projects whether for rendering, game development, AR/VR, or 3D printing. Embrace these technical insights to elevate your workflow and continue driving innovation in the exciting world of 3D automotive design.
Featured 3D Car Models
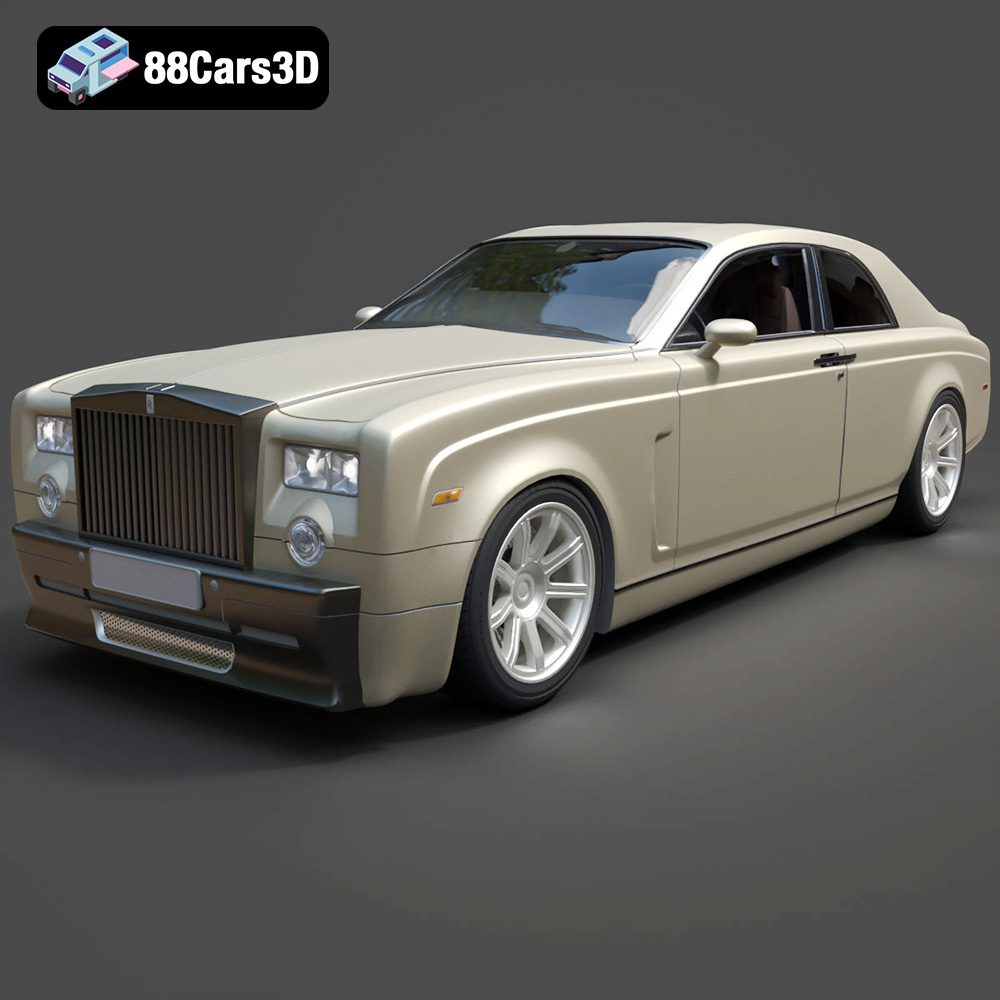
Rolls-Royce Phantom Coupe 3D Model
Texture: Yes
Material: Yes
Download the Rolls-Royce Phantom Coupe 3D Model featuring clean geometry, realistic detailing, and a fully modeled interior. Includes .blend, .fbx, .obj, .glb, .stl, .ply, .unreal, and .max formats for rendering, simulation, and game development.
Price: $10
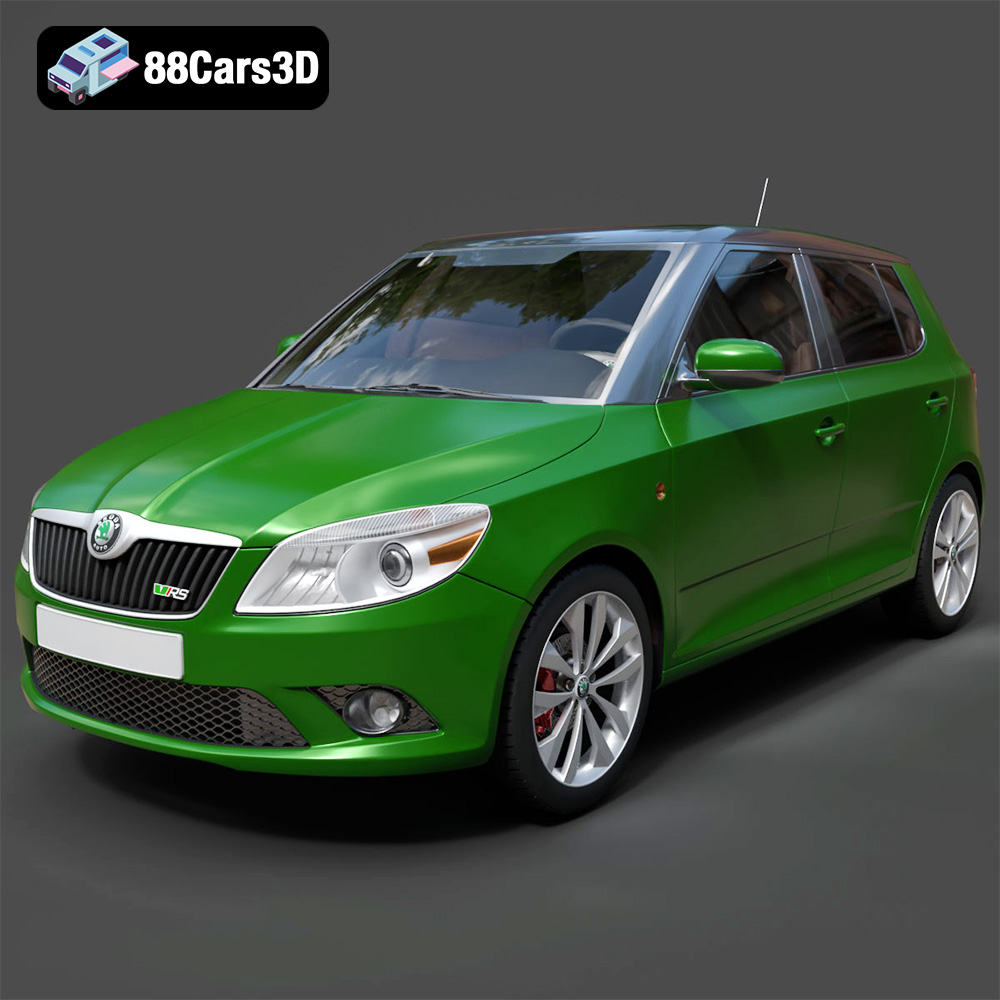
Skoda Fabia RS 2011 3D Model
Download the Skoda Fabia RS 2011 3D model, an accurately detailed vehicle asset perfect for game development, rendering, and AR/VR applications. Includes multiple formats for versatile use.
Price: $10
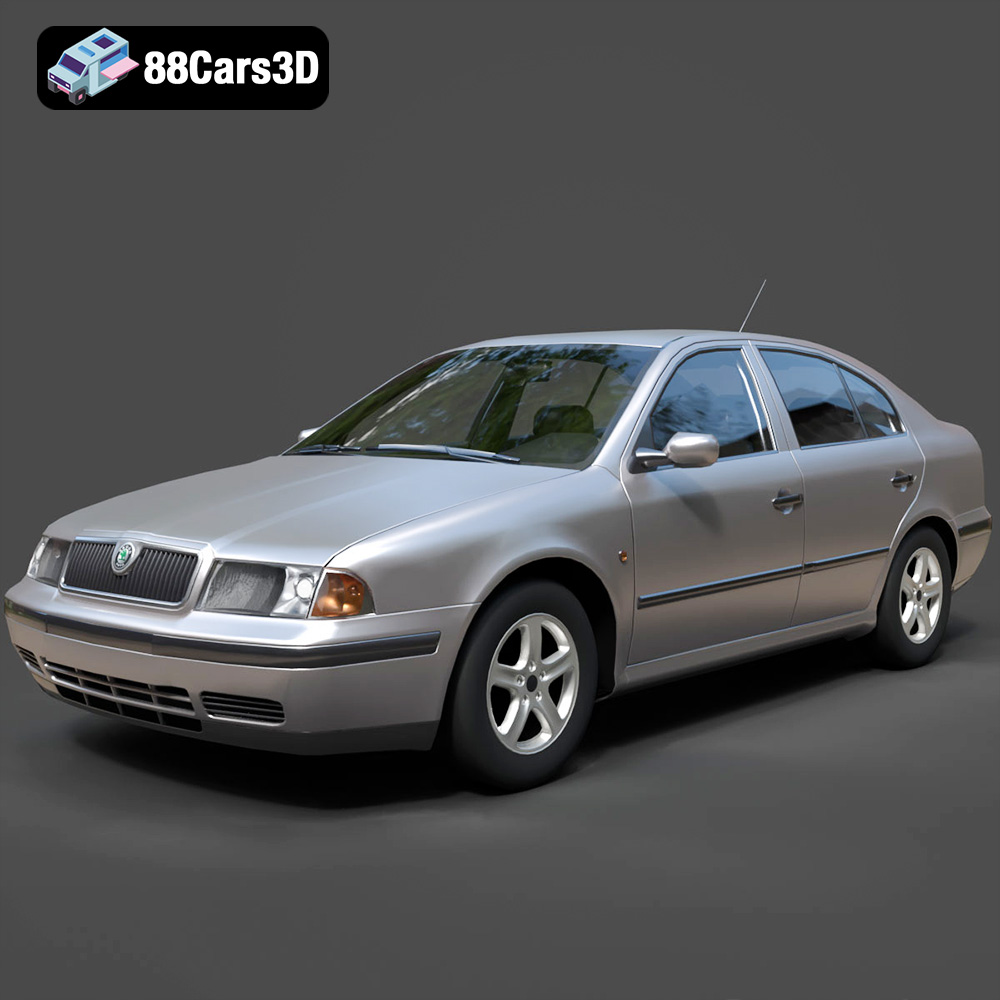
Skoda Octavia 1997 3D Model
A detailed 3D model of the Skoda Octavia 1997, suitable for various digital applications including game development, rendering, and AR/VR.
Price: $10
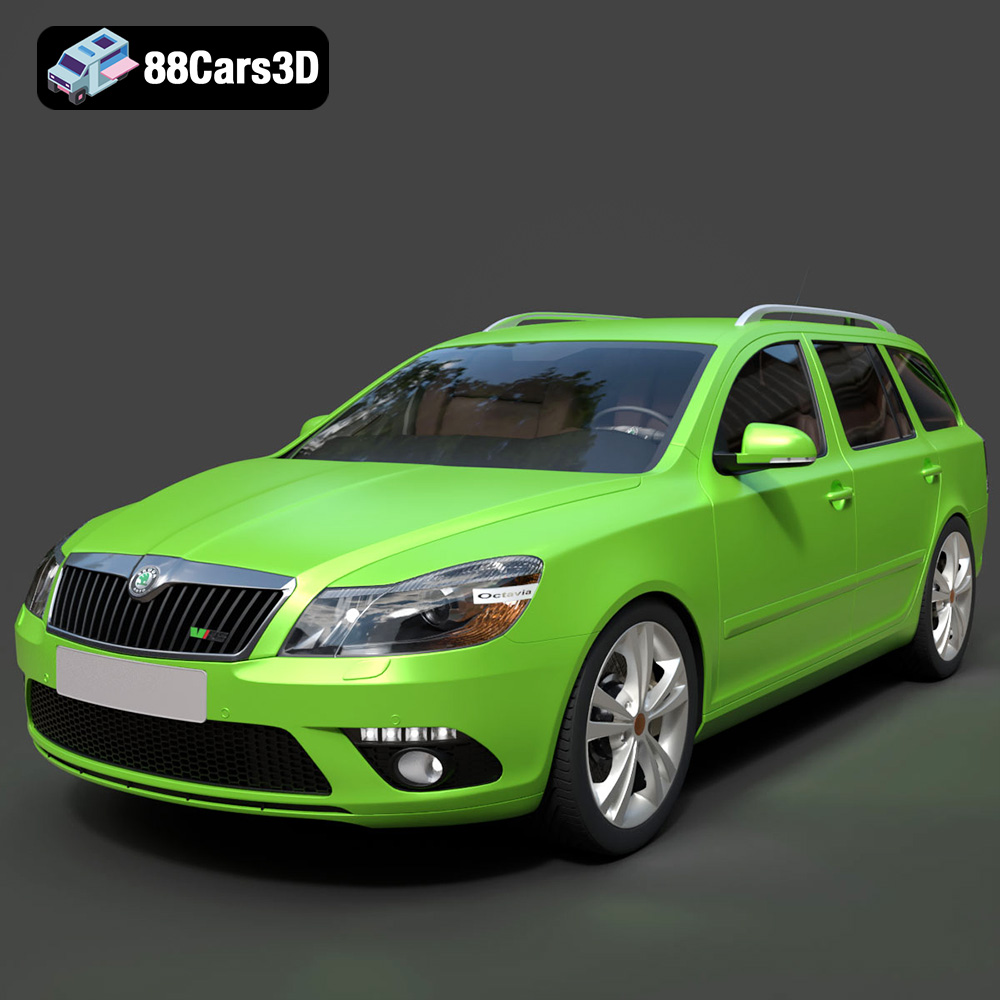
Skoda Octavia RS Combi 2010 3D Model
A highly detailed 3D model of the Skoda Octavia RS Combi 2010, designed for realism and versatility across various digital applications.
Price: $10

Skoda Octavia Combi 3D Model
A precisely detailed 3D model of the Skoda Octavia Combi, suitable for game development, rendering, AR/VR, and visualizations. Includes multiple optimized file formats for broad compatibility.
Price: $10

Ford Mustang ELEANOR GT500 3D Model
A realistic 3D model of the Ford Mustang ELEANOR GT500, optimized for various professional applications including game development, rendering, and AR/VR.
Price: $10
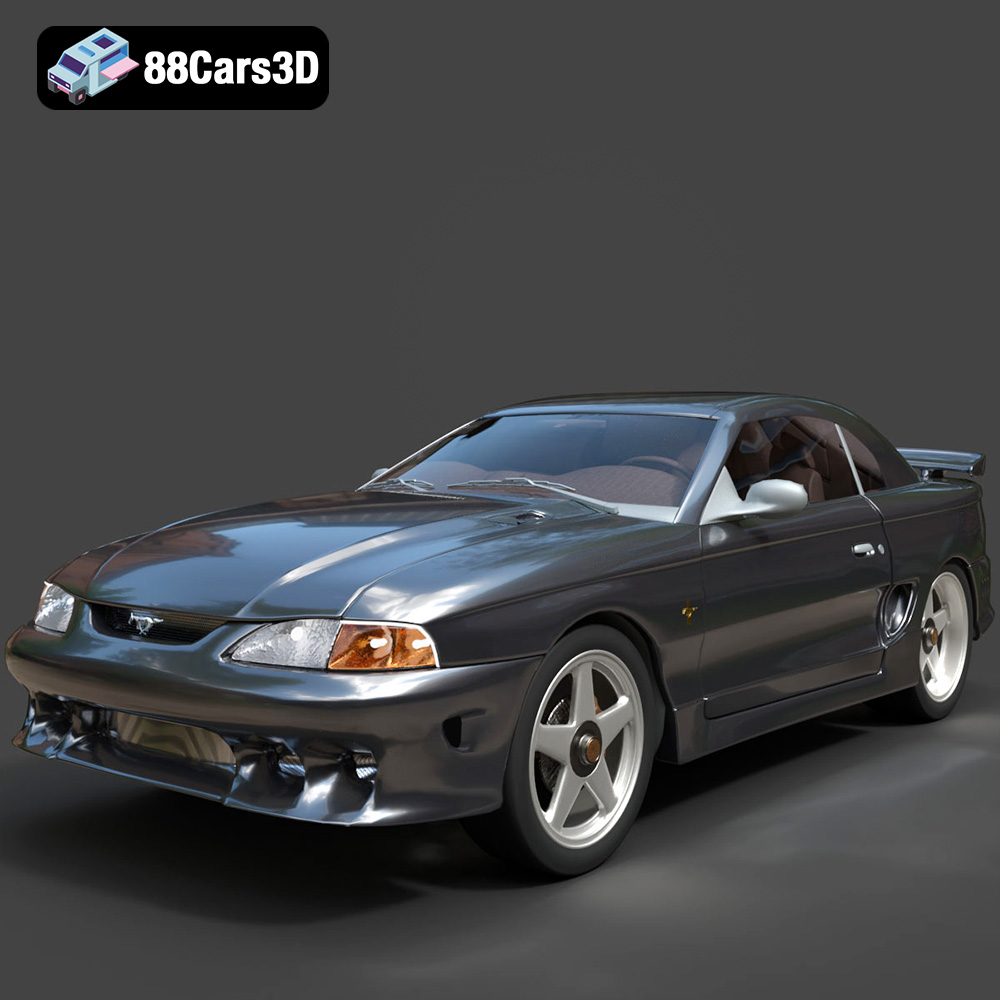
Ford Mustang Coupe 1996 3D Model
Presenting the accurately detailed Ford Mustang Coupe 1996 3D model, ready for game engines, rendering, and visualization. This professional-grade asset includes clean geometry and realistic materials.
Price: $10
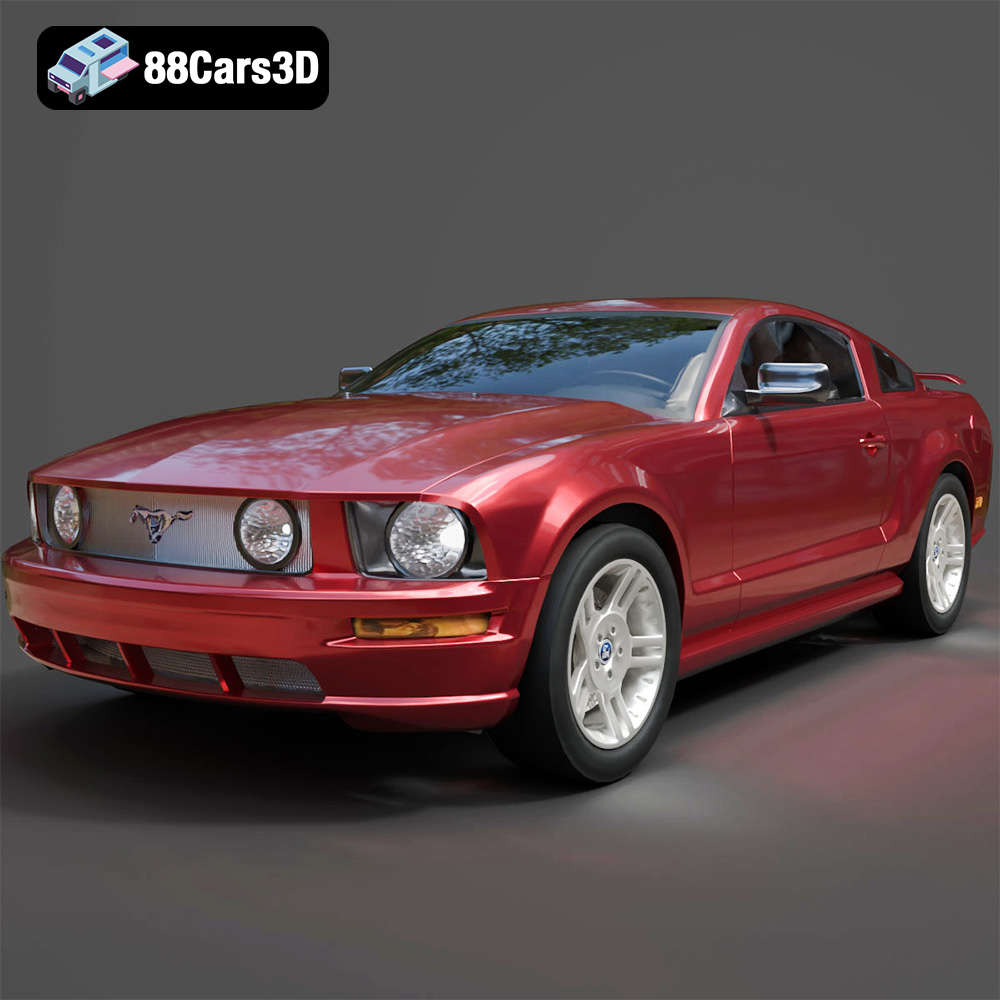
Ford Mustang 2005 3D Model
Meta Description:**
Texture: Yes
Material: Yes
Download the Ford Mustang 2005 3D Model featuring detailed geometry, realistic interior, and clean topology. Includes .blend, .fbx, .obj, .glb, .stl, .ply, .unreal, and .max formats for rendering, simulation, and game development.
Price: $6.99
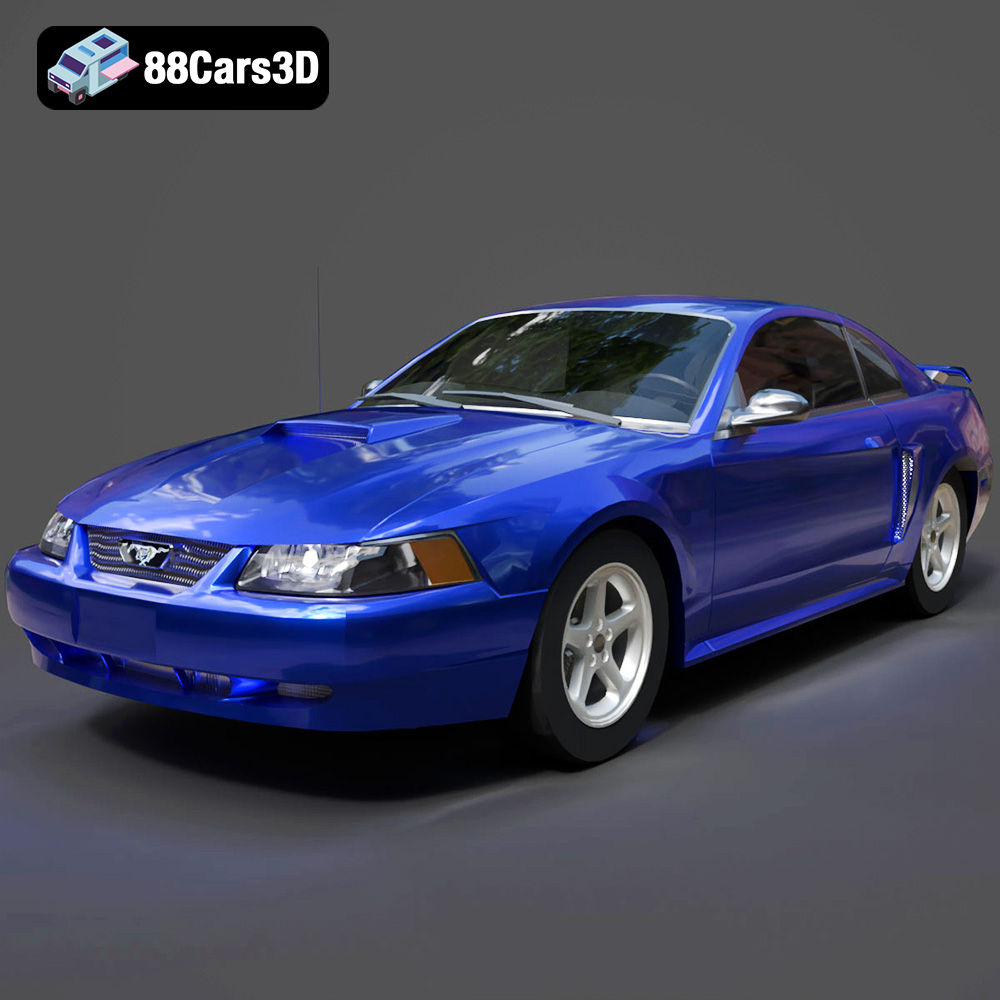
Ford Mustang 1999 3D Model
*Meta Description:**
Texture: Yes
Material: Yes
Download the Ford Mustang 1999 3D Model with detailed geometry, realistic interior, and accurate proportions. Includes .blend, .fbx, .obj, .glb, .stl, .ply, .unreal, and .max formats for rendering, simulation, and game development.
Price: $6.99

Ford Mondeo Wagon 3D Model
Meta Description:**
Texture: Yes
Material: Yes
Download the Ford Mondeo Wagon 3D Model with realistic details, clean geometry, and accurate dimensions. Includes .blend, .fbx, .obj, .glb, .stl, .ply, .unreal, and .max formats for rendering, game development, and simulation.
Price: $6.99
