The Foundation: High-Quality 3D Car Models and Topology
The automotive world has always been a frontier for innovation, blending engineering prowess with breathtaking aesthetics. In the digital age, this innovation extends far beyond the factory floor, delving into the intricate realms of 3D modeling, advanced rendering, and revolutionary 3D printing. These technologies are no longer confined to Hollywood special effects or obscure engineering labs; they are democratizing design, enabling unprecedented levels of customization, and accelerating product development cycles across the automotive industry.
For designers, engineers, hobbyists, and game developers alike, the ability to conceive, visualize, and physically manifest automotive creations is more accessible than ever. From crafting photorealistic renders for marketing campaigns to developing interactive experiences in virtual reality, and even producing functional custom car parts, the power of 3D digital assets is undeniable. This comprehensive guide will delve deep into the technical workflows, best practices, and exciting applications surrounding 3D car models, focusing on how these intricate digital blueprints transform into stunning visualizations and tangible, high-performance components. We’ll explore everything from the foundational principles of clean topology and efficient UV mapping to the precise requirements for 3D printing, the nuances of realistic rendering, and the optimization strategies vital for real-time applications.
The Foundation: High-Quality 3D Car Models and Topology
At the heart of any successful automotive 3D project lies a meticulously crafted 3D model. Unlike generic 3D assets, car models demand an exceptionally high level of precision, smooth curvature, and robust topology to accurately represent the complex forms and reflective surfaces of vehicles. A well-constructed 3D car model serves as the backbone for everything that follows, whether it’s an award-winning render, a game-ready asset, or a printable prototype. Without clean topology, issues like pinching, artifacting during rendering, or errors during 3D printing become inevitable, compromising the final output. The digital fidelity of a vehicle relies heavily on how its curves and panels are mathematically defined, demanding an expert eye for detail and a deep understanding of polygon flow.
The average polygon count for a high-quality, production-ready automotive model can range significantly based on its intended use. For intricate renders and cinematics, models might boast millions of polygons, leveraging subdivision surface modeling techniques to achieve unparalleled smoothness. Game engine assets, on the other hand, require a careful balance, often ranging from 50,000 to 300,000 polygons for a main vehicle, with lower poly counts for background vehicles or mobile AR/VR applications. This careful management of polygon density ensures optimal performance without sacrificing too much visual fidelity. Sourcing these intricate models from reputable marketplaces, such as 88cars3d.com, ensures you start with a professional-grade asset, saving significant time and effort in the initial modeling phase.
Perfecting Automotive Topology and Edge Flow
Topology refers to the arrangement of polygons (usually quads) that define the surface of your 3D model. For automotive models, perfect topology is paramount due to the prevalence of smooth, reflective surfaces that unforgivingly expose any imperfections. The goal is to maintain an all-quad mesh (four-sided polygons) as much as possible, as triangles and n-gons (polygons with more than four sides) can cause undesirable pinching, shading artifacts, and issues with subdivision surfaces. Key principles include ensuring that edge loops flow naturally along the contours and creases of the vehicle, defining sharp edges with ‘supporting loops’ or ‘control loops’ that tighten the geometry around the crease. For instance, the transition from a door panel to a window frame requires carefully placed edge loops that define the sharpness of the edge while allowing the surrounding surfaces to remain smooth under subdivision. Software like 3ds Max, Blender, and Maya offer powerful modeling tools, but it’s the artist’s understanding of edge flow that truly defines a superior model. A clean mesh also facilitates easier UV mapping, material application, and rigging if the model needs to deform.
Mastering UV Mapping for Pristine Car Surfaces
UV mapping is the process of unfolding the 3D surface of a model into a 2D plane, allowing textures and materials to be painted onto it without distortion. For the complex, often organic and hard-surface geometry of a car, this is a critical and often challenging step. Effective UV mapping requires minimizing seams, avoiding stretching or compression of the UVs, and ensuring consistent texel density across all surfaces. Modern workflows often utilize UDIMs (Universal Dimensional Identifiers) for high-resolution models, allowing different parts of the car (e.g., body, interior, wheels) to have their own dedicated UV tiles and corresponding high-resolution textures (e.g., 4K or 8K). This approach prevents texture resolution bottlenecks and allows for extreme detail. For smaller, less critical parts, texture atlasing can consolidate multiple smaller textures into one larger map, reducing draw calls in game engines. Software like RizomUV, UVLayout, and the native UV editors in 3ds Max, Blender, and Maya provide advanced tools for unwrapping and packing UVs efficiently, ensuring that every panel, every decal, and every material reflects perfectly.
From Digital to Tangible: Preparing 3D Car Models for 3D Printing
The journey from a digital 3D car model to a physical object via 3D printing introduces a unique set of technical considerations. While a model might look perfect on screen for rendering, it needs specific properties to be successfully translated into a physical print. 3D printing requires a mathematically sound and “watertight” mesh, meaning there are no holes, gaps, or overlapping faces that would confuse the slicing software. The model must have a clearly defined inside and outside. This stage often involves rigorous mesh inspection and repair, ensuring that the digital model is structurally robust enough to become a tangible object. Understanding these prerequisites is crucial for anyone looking to prototype custom car parts or create scale models.
The choice of 3D printing technology and material also heavily influences the preparation process. FDM (Fused Deposition Modeling) printers, common for hobbyists and rapid prototyping, build objects layer by layer from thermoplastic filaments like PLA or ABS. SLA (Stereolithography) printers use UV light to cure liquid resin, offering much finer detail. SLS (Selective Laser Sintering) and MJF (Multi Jet Fusion) are advanced powder-bed technologies, often used for functional parts with complex geometries. Each technology has specific requirements regarding minimum wall thickness, overhang angles, and tolerance for details. Ignoring these can lead to failed prints, structural weaknesses, or compromised aesthetics.
Ensuring Printability: Mesh Integrity and Watertight Geometry
For 3D printing, the most critical aspect of your 3D car model is its mesh integrity. The model must be “manifold,” which essentially means every edge is shared by exactly two faces, forming a continuous, sealed surface. Common issues include non-manifold edges (edges shared by more than two faces or only one face), inverted normals (faces pointing inwards rather than outwards), and self-intersecting geometry. These errors confuse the 3D printer’s slicing software, often resulting in holes, missing layers, or corrupted G-code. Tools like Meshmixer, Netfabb (now Autodesk Fusion 360), Blender’s 3D Print Toolbox addon, or even online services are invaluable for analyzing and repairing meshes. Typical repair steps include filling holes, unifying normals, removing internal geometry, and detecting wall thickness issues. For complex automotive designs, especially those with intricate grilles, vents, or interior details, this step can be time-consuming but is absolutely essential for a successful print. Aim for a clean STL or 3MF file format, which are standard for 3D printing.
Scaling, Orientation, and Support Structures
Proper scaling is vital. Ensure your model is exported in the correct units (millimeters, centimeters, or inches) corresponding to your printer’s settings to achieve the desired physical size. Incorrect scaling can result in prints that are too small, too large, or dimensionally inaccurate. The orientation of the model on the print bed significantly impacts print quality, material usage, and the need for support structures. Orienting the model to minimize overhangs and maximize contact with the build plate often reduces the amount of support material required, saving time and post-processing effort. For example, printing a car body on its roof can reduce supports for wheel wells and side panels. Support structures, while often necessary for complex geometries and overhangs, can leave marks on the finished part and are tricky to remove. Slicing software (e.g., PrusaSlicer, Cura, Simplify3D) allows you to define support placement, density, and interface settings to optimize for easier removal and cleaner surfaces. For intricate automotive shapes, a careful balance between print orientation and support generation is a skill honed through experience.
Custom Automotive Design and Rapid Prototyping with 3D Printing
The convergence of advanced 3D modeling and 3D printing has revolutionized automotive design and prototyping. No longer are designers limited by expensive, time-consuming traditional manufacturing methods for producing physical models. 3D printing allows for rapid iteration, enabling designers to quickly test concepts, refine aesthetics, and verify fitment with unprecedented efficiency. This agility significantly compresses development cycles, moving from initial concept to physical validation in a fraction of the time, thereby reducing costs and accelerating market entry for new designs or customized parts. The ability to quickly manifest a design change from CAD software to a tangible object in hours, not weeks, is a game-changer for car manufacturers, aftermarket specialists, and custom car builders.
From scale models used in wind tunnels to full-scale ergonomic mock-ups of interior components, 3D printing provides unparalleled flexibility. Automotive design studios now routinely print dashboard elements, mirror housings, light clusters, and even entire vehicle body panels as part of their concept development process. This allows for hands-on evaluation of form, function, and aesthetics that simply cannot be replicated by on-screen visualizations alone. Furthermore, the technology empowers individual enthusiasts and customizers to bring highly personalized designs to life, from bespoke interior trims to unique exterior aerodynamic enhancements.
Iterative Design Cycles for Automotive Components
One of the most profound impacts of 3D printing in automotive design is its support for iterative design. Engineers and designers can move through multiple design revisions in a single day, printing various versions of a part to compare subtle changes in shape, size, or mounting points. This is particularly valuable for complex components where optimal fitment and performance are critical. For instance, when designing a new air intake manifold, different internal geometries can be printed and tested to evaluate airflow dynamics. In terms of materials, common prototyping filaments like PLA (Polylactic Acid) are inexpensive and easy to print, suitable for initial concept models. ABS (Acrylonitrile Butadiene Styrene) offers greater strength and heat resistance, making it suitable for functional prototypes that need to withstand more rigorous testing. PETG (Polyethylene Terephthalate Glycol) provides a good balance of strength, flexibility, and temperature resistance, often used for components requiring some impact durability.
Personalization and Unique Car Parts
Beyond professional prototyping, 3D printing has ignited a revolution in automotive customization. Enthusiasts can design and print bespoke interior elements like custom gauge pods, shift knob inserts, or dashboard trims tailored to their specific preferences. Exterior personalization includes unique badges, grilles, fender vents, or even small aerodynamic spoilers. For classic car restoration, 3D scanning and printing can replicate rare or obsolete plastic and rubber components that are no longer manufactured, breathing new life into vintage vehicles. This ability to create one-off or small-batch custom car parts on demand has opened up a niche market for specialized workshops and individual makers. Imagine sourcing a high-quality base model from 88cars3d.com, then designing and 3D printing custom accessories to truly make it your own.
Beyond Prototypes: Functional Custom Car Parts and Additive Manufacturing
While 3D printing’s role in rapid prototyping is well-established, its evolution into additive manufacturing has pushed it into the realm of producing functional, end-use custom car parts. This shift is driven by advancements in materials science and printing technologies, allowing for the creation of components that not only fit perfectly but also perform under real-world automotive stresses. These functional parts range from lightweight brackets and specialized adapters to complex cooling ducts and even structural components, offering advantages in terms of weight reduction, performance optimization, and geometric complexity that traditional manufacturing methods struggle to achieve. The ability to consolidate multiple parts into a single, optimized 3D-printed component can also lead to fewer assembly steps and enhanced reliability.
The applications for functional 3D-printed car parts are diverse and growing. Motorsports, with its constant drive for performance and rapid iteration, has been an early adopter, creating lightweight components for race cars. Similarly, luxury and limited-edition vehicles are beginning to incorporate additive manufacturing for intricate, bespoke interior elements or aerodynamic parts. The future of automotive manufacturing increasingly includes hybrid workflows, where conventionally manufactured parts are combined with custom, 3D-printed components to optimize specific performance aspects or offer unparalleled personalization. This represents a significant paradigm shift from subtractive manufacturing (machining, cutting) to additive methods, unlocking new design freedoms and material efficiencies.
Engineering with Advanced 3D Print Materials
The key to functional 3D-printed car parts lies in advanced materials. For high-strength, heat-resistant components, engineers turn to materials like Nylon (often reinforced with carbon fiber or glass fiber), PEEK (Polyether Ether Ketone), and Ultem (Polyetherimide). These high-performance thermoplastics offer properties akin to some metals, with excellent strength-to-weight ratios, chemical resistance, and the ability to withstand extreme temperatures and pressures common in an engine bay or harsh exterior environments. These materials are typically processed using industrial-grade 3D printers, such as Selective Laser Sintering (SLS), Multi Jet Fusion (MJF), or Fused Filament Fabrication (FFF) machines capable of handling engineering-grade composites. Direct Metal Laser Sintering (DMLS) and Electron Beam Melting (EBM) technologies also enable the direct printing of metal parts (e.g., aluminum, titanium), opening possibilities for custom exhaust components, specialized brackets, or lightweight engine parts. These processes offer previously unattainable geometric complexity, allowing for designs optimized for fluid dynamics or internal lattice structures for weight savings.
Quality Control and Post-Processing for Functional Components
Producing functional 3D-printed car parts demands stringent quality control. Dimensional accuracy is critical, with parts often undergoing metrology checks using laser scanners or CMM (Coordinate Measuring Machine) equipment to ensure they meet precise tolerances. Any warping, shrinkage, or deviations from the CAD model must be identified and corrected. Post-processing is also vital: for polymer parts, this can involve vapor smoothing (for aesthetic finish and improved mechanical properties), sanding, painting, or coating to enhance UV resistance or provide specific surface textures. Metal parts often require heat treatments to achieve desired mechanical properties, as well as machining of critical surfaces to meet tight tolerances. Furthermore, functional parts must undergo rigorous testing—from simple fitment checks to advanced stress tests, vibration analysis, and material fatigue assessments—to ensure they perform reliably under operating conditions. Adherence to industry standards and material certifications is paramount to guarantee the safety and longevity of these custom-manufactured components.
Visualizing the Future: Rendering, AR/VR, and Game Engine Integration
Beyond physical creation, 3D car models are indispensable tools for visualization, marketing, and interactive experiences. High-fidelity rendering transforms a raw 3D model into stunning, photorealistic images and animations, crucial for automotive advertising, product showcases, and design reviews. These renders are often indistinguishable from real-world photography, allowing manufacturers and designers to present vehicles in various configurations, colors, and environments without the cost and logistical challenges of physical prototypes. The demand for such captivating visuals is higher than ever, driving the evolution of advanced rendering techniques and software.
In parallel, the rise of Augmented Reality (AR) and Virtual Reality (VR) is fundamentally changing how we interact with and experience cars. From virtual showrooms where customers can explore vehicles in lifelike detail to immersive driving simulators and educational AR applications, 3D car models are at the core of these innovative platforms. Similarly, the gaming industry continues to push the boundaries of real-time graphics, requiring meticulously optimized 3D car assets that look incredible while maintaining smooth frame rates. Integrating 3D car models into these diverse environments demands specific optimization strategies and an understanding of different file formats to ensure compatibility and performance across various platforms.
Crafting Photorealistic Automotive Renders
Achieving photorealistic automotive renders is an art form that combines technical expertise with a keen eye for aesthetics. It begins with perfectly crafted 3D car models, like those available on 88cars3d.com, and involves meticulous lighting, material setup, and camera work. Lighting is paramount: High Dynamic Range Images (HDRIs) are commonly used to capture real-world lighting environments, providing accurate reflections and global illumination. These are often supplemented with physical light sources (area lights, spot lights) to highlight specific features or create dramatic effects. Rendering engines like Chaos Group V-Ray, Corona Renderer (both popular with 3ds Max), Blender’s Cycles, and Autodesk Arnold are industry standards, offering advanced ray tracing and path tracing algorithms for incredibly realistic light simulation. Camera angles, depth of field, motion blur, and cinematic compositions are chosen to evoke emotion and showcase the vehicle’s design. Render settings (sample counts, denoising, output resolution) are fine-tuned to balance image quality with render time, often producing images at 4K or even 8K resolution for high-end marketing campaigns.
Optimizing 3D Car Models for Real-time Applications
For interactive experiences in game engines (Unity, Unreal Engine) or AR/VR platforms, performance is key. High-polygon models designed for offline rendering must be rigorously optimized. This involves creating Levels of Detail (LODs), which are progressively lower-polygon versions of the model that swap in as the camera moves further away, drastically reducing the computational load. For example, a primary vehicle might have 150,000 polygons for LOD0, dropping to 50,000 for LOD1, and 10,000 for LOD2. Texture atlasing consolidates multiple smaller textures into one larger map, reducing the number of draw calls (instructions sent to the GPU) and improving rendering efficiency. Mesh decimation tools within 3D software or dedicated optimization tools can intelligently reduce polygon counts while preserving visual fidelity. File formats like FBX and OBJ are common for game engines, while GLB (for WebGL/glTF) and USDZ (for Apple AR Quick Look) are preferred for AR/VR applications due to their efficiency in bundling geometry, materials, and textures into a single file, making them easy to deploy across various devices.
Advanced Workflows: Materials, Shading, and Post-Processing for Automotive Visuals
The visual impact of a 3D car model goes far beyond its geometry; it’s the interplay of light and surface properties that truly brings it to life. Advanced material creation, sophisticated shader networks, and meticulous post-processing are the final ingredients in achieving breathtaking automotive visuals. This stage is where a model transcends from a digital skeleton to a gleaming, vibrant, and tactile representation of a vehicle. Understanding the principles of Physically Based Rendering (PBR) is fundamental here, as it dictates how light interacts with surfaces in a physically accurate manner, leading to predictable and realistic results across different lighting conditions and rendering engines.
Automotive surfaces, particularly paint, glass, and chrome, present unique challenges due to their highly reflective and often layered nature. Crafting shaders that accurately simulate these complex properties requires a deep understanding of material parameters and advanced texturing techniques. Once rendered, the image isn’t typically final; professional workflows almost always include a post-processing stage. This final polish, involving color grading, compositing, and adding atmospheric effects, elevates the raw render into a compelling piece of visual communication, ensuring the car looks its absolute best, ready for any marketing campaign or presentation.
PBR Material Creation and Shader Networks
Physically Based Rendering (PBR) is the industry standard for creating realistic materials. PBR workflows typically involve several texture maps that define how light interacts with a surface: Albedo (base color), Metallic (how metallic a surface is), Roughness (how rough/smooth a surface is, affecting reflections), Normal (for fine surface detail), and Ambient Occlusion (simulating self-shadowing). For automotive paint, a complex layered shader is often employed, mimicking real-world automotive paint with a base coat (color, metallic flakes), a clear coat (glossy, reflective, often with subtle orange peel effect), and perhaps even an underlying primer. Software like Substance Painter and Substance Designer are indispensable for creating these intricate PBR texture sets, allowing artists to procedurally generate or hand-paint details like scratches, dirt, and wear. Chrome, glass, and carbon fiber materials each require specific PBR parameters to accurately represent their unique reflective and refractive properties. Developing these complex shader networks in renderers like V-Ray’s VRayMtl, Corona’s CoronaMtl, or Arnold’s Standard Surface shader involves careful balancing of these parameters to achieve maximum realism.
Achieving Visual Polish: Lighting, Environment, and Post-Processing
Even with perfect models and materials, the final visual impact relies heavily on lighting and environment setup. Image-Based Lighting (IBL) using HDRI maps provides a crucial foundation, wrapping the scene in realistic ambient light and reflections. This is often combined with targeted physical lights (studio lighting setups, rim lights) to emphasize design lines, highlight curves, and create dramatic highlights. Using backplates (high-resolution background images) or building detailed 3D environments places the vehicle in a believable context. Post-processing is the final, crucial step, typically performed in image editing software like Adobe Photoshop or compositing software like Nuke. Here, raw renders are enhanced through color grading, adjusting contrast, saturation, and color balance to achieve a desired mood or aesthetic. Adding subtle effects like depth of field, motion blur (for animations), lens flares, chromatic aberration, or even camera dust enhances realism. Compositing multiple render passes (e.g., beauty, reflections, shadows, ambient occlusion) provides granular control over the final image, allowing artists to fine-tune every aspect and ensure the automotive visualization meets the highest professional standards.
Conclusion
The journey through the world of 3D car models, from intricate digital creation to tangible 3D prints and stunning photorealistic renders, reveals a fascinating intersection of art and engineering. Whether you’re an automotive designer prototyping a new concept, a game developer crafting an immersive racing experience, or a custom car builder fabricating a bespoke part, the foundational principles of clean topology, efficient UV mapping, and realistic material creation remain paramount. These digital assets are more than just pretty pictures; they are versatile tools driving innovation, personalization, and efficiency across the automotive landscape.
As 3D printing technologies become more advanced and accessible, and real-time rendering continues its relentless pursuit of photorealism, the possibilities for creating, visualizing, and physically manifesting automotive designs will only expand. Embracing these technical workflows and understanding the nuances of each stage—from mesh preparation for 3D printing to optimizing for AR/VR—is key to unlocking the full potential of your projects. By leveraging high-quality resources, such as the professionally crafted 3D car models available on 88cars3d.com, you equip yourself with the best starting point for any endeavor. Continue to explore, experiment, and push the boundaries of what’s possible in the exhilarating world of automotive 3D design.
Featured 3D Car Models
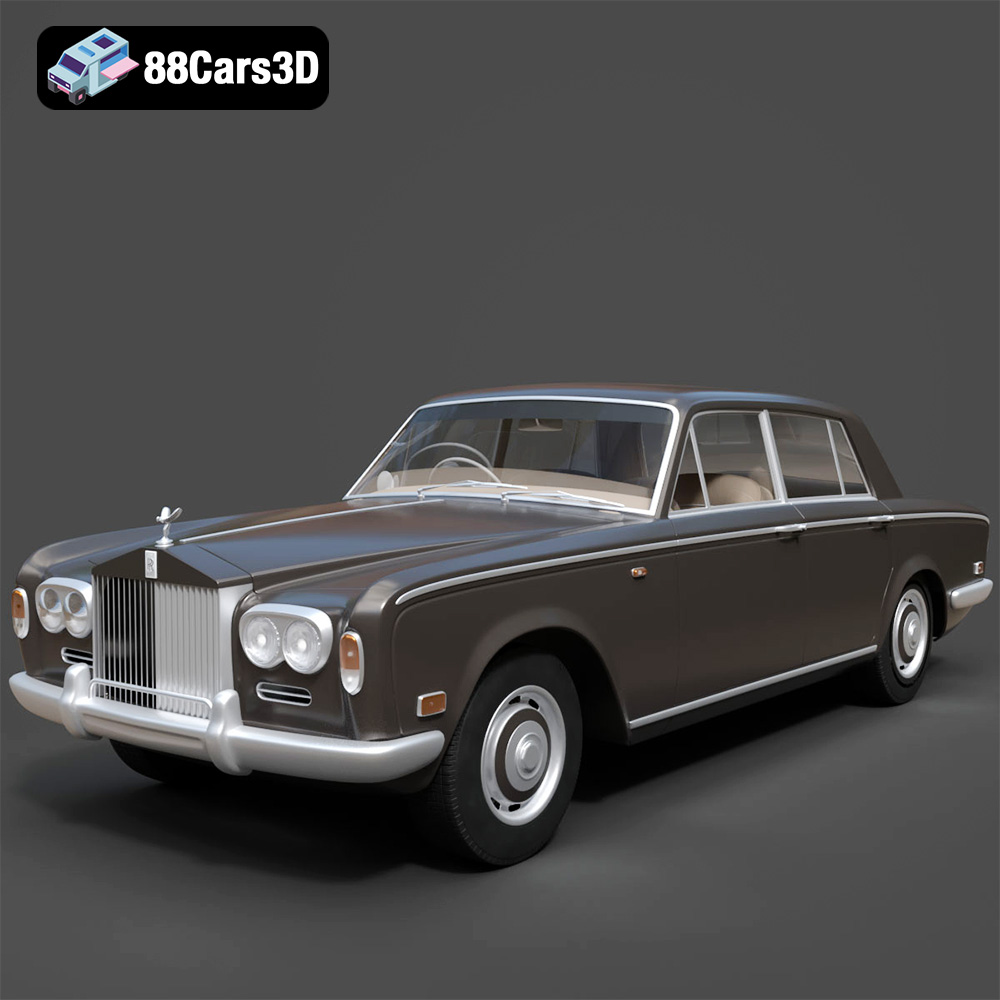
Rolls Royce Silver Shadow 1975 3D Model
Texture: Yes
Material: Yes
Download the Rolls Royce Silver Shadow 1975 3D Model featuring clean geometry, realistic detailing, and a fully modeled interior. Includes .blend, .fbx, .obj, .glb, .stl, .ply, .unreal, and .max formats for rendering, simulation, and game development.
Price: $6.99
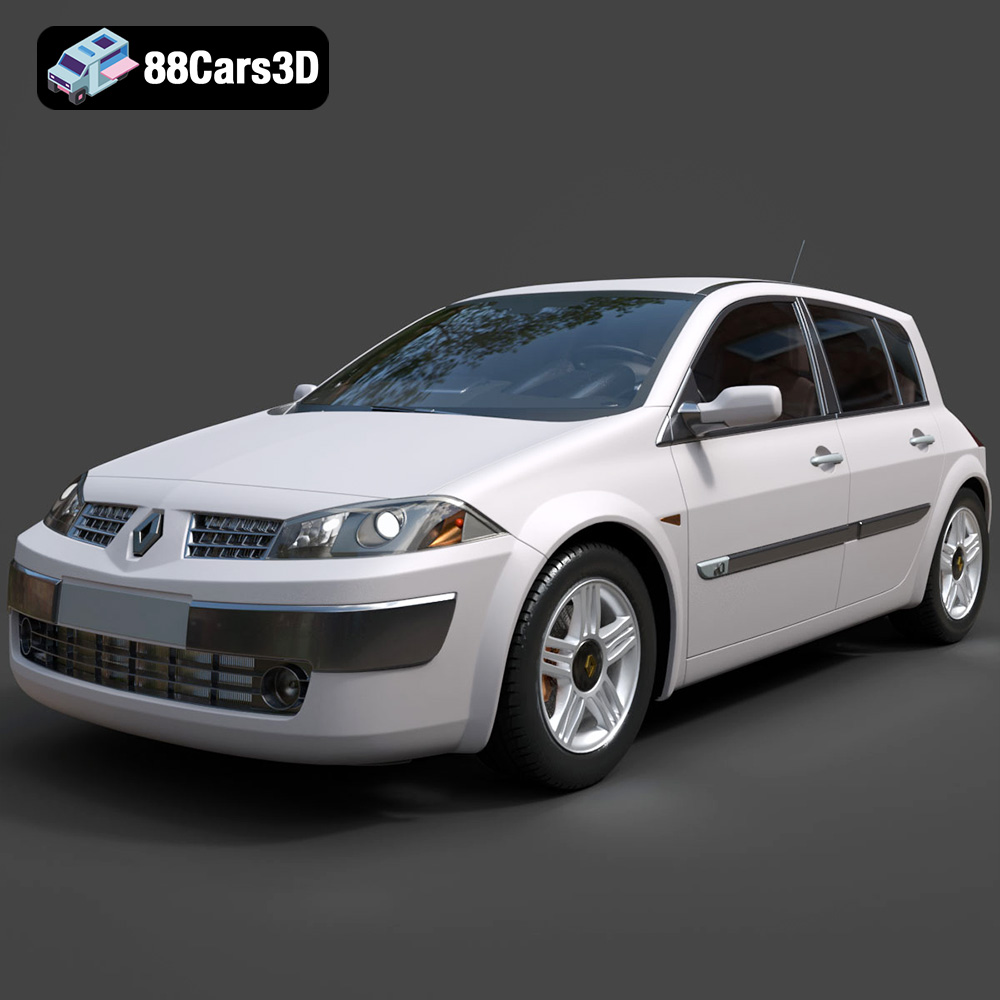
Renault Megane II 2009 3D Model
Texture: Yes
Material: Yes
Download the Renault Megane II 2009 3D Model featuring clean geometry, realistic detailing, and a fully modeled interior. Includes .blend, .fbx, .obj, .glb, .stl, .ply, .unreal, and .max formats for rendering, simulation, and game development.
Price: $6.99
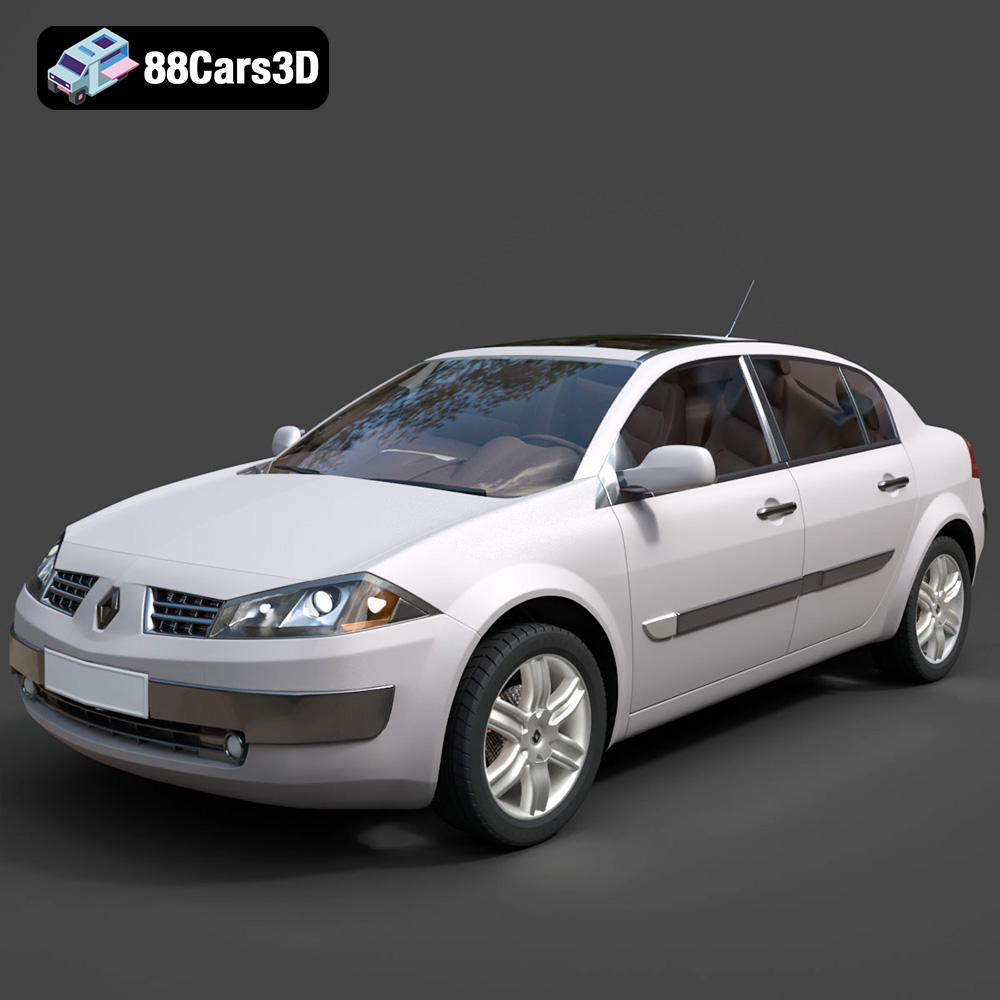
Renault Megane Sedan 3D Model
Texture: Yes
Material: Yes
Download the Renault Megane Sedan 3D Model featuring clean geometry, realistic detailing, and a fully modeled interior. Includes .blend, .fbx, .obj, .glb, .stl, .ply, .unreal, and .max formats for rendering, simulation, and game development.
Price: $6.99

Renault Twingo RS-009 3D Model
Texture: Yes
Material: Yes
Download the Renault Twingo RS-009 3D Model featuring clean geometry, realistic detailing, and a fully modeled interior. Includes .blend, .fbx, .obj, .glb, .stl, .ply, .unreal, and .max formats for rendering, simulation, and game development.
Price: $6.99

Renault Scenic 2010 3D Model
Texture: Yes
Material: Yes
Download the Renault Scenic 2010 3D Model featuring clean geometry, realistic detailing, and a fully modeled interior. Includes .blend, .fbx, .obj, .glb, .stl, .ply, .unreal, and .max formats for rendering, simulation, and game development.
Price: $6.99

Roadster 3D Model
Texture: Yes
Material: Yes
Download the Roadster 3D Model featuring clean geometry, realistic detailing, and a fully modeled interior. Includes .blend, .fbx, .obj, .glb, .stl, .ply, .unreal, and .max formats for rendering, simulation, and game development.
Price: $6.99
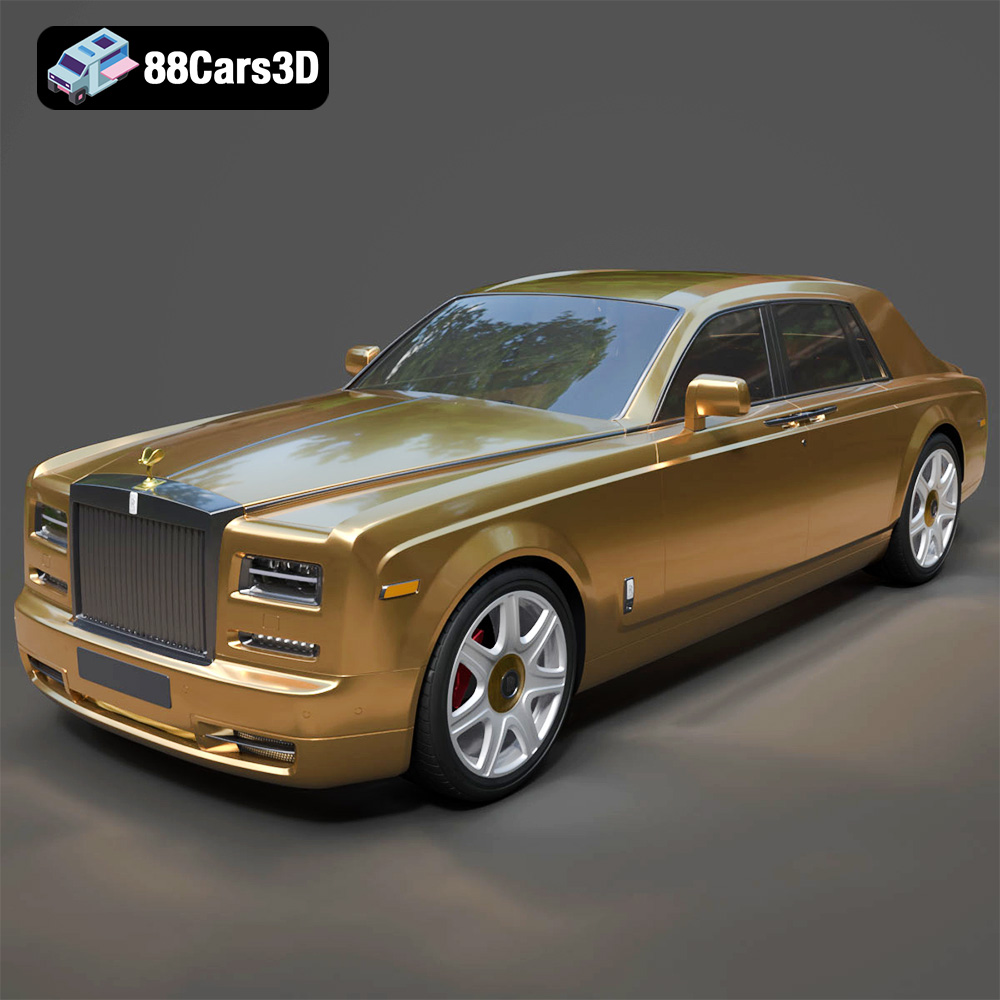
Rolls-Royce Phantom 2013 3D Model
Texture: Yes
Material: Yes
Download the Rolls-Royce Phantom 2013 3D Model featuring clean geometry, realistic detailing, and a fully modeled interior. Includes .blend, .fbx, .obj, .glb, .stl, .ply, .unreal, and .max formats for rendering, simulation, and game development.
Price: $6.99
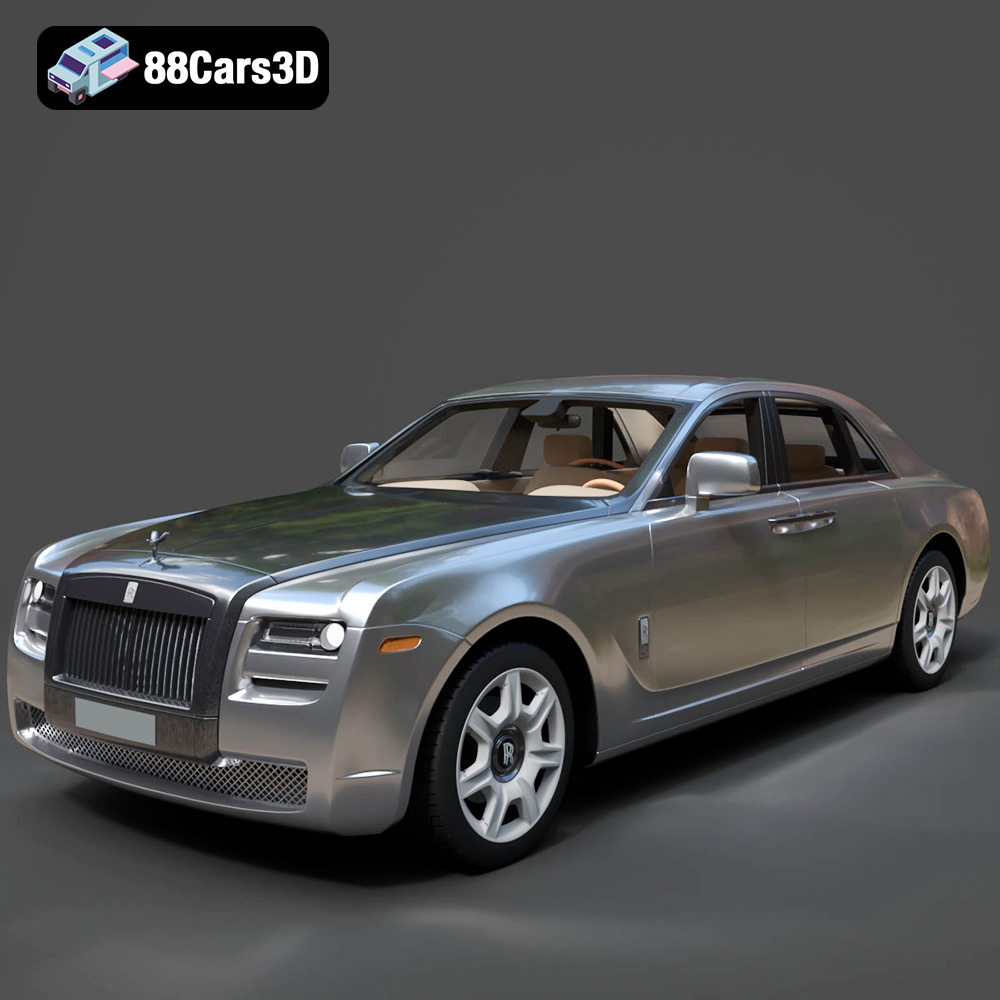
Rolls-Royce Ghost 2009 3D Model
Texture: Yes
Material: Yes
Download the Rolls-Royce Ghost 2009 3D Model featuring clean geometry, realistic detailing, and a fully modeled interior. Includes .blend, .fbx, .obj, .glb, .stl, .ply, .unreal, and .max formats for rendering, simulation, and game development.
Price: $6.99
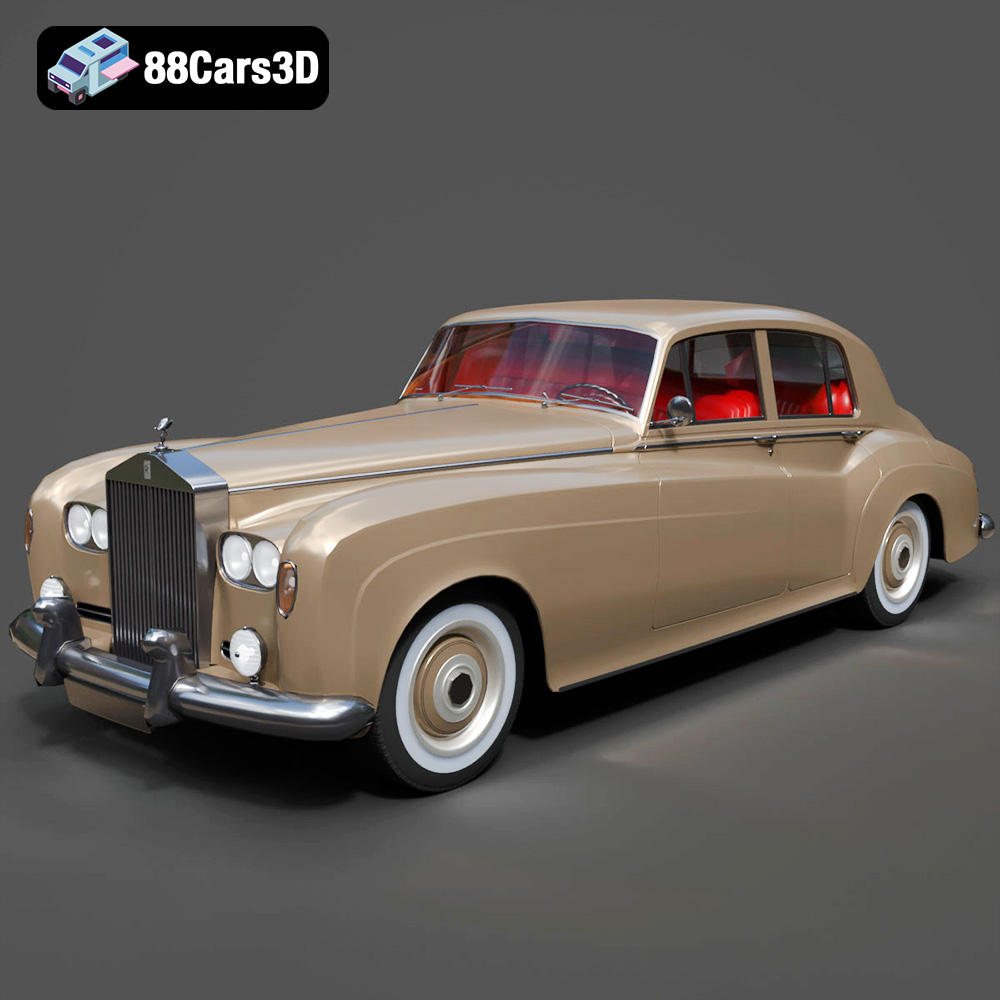
Rolls Royce Silver Cloud III 3D Model
Texture: Yes
Material: Yes
Download the Rolls Royce Silver Cloud III 3D Model featuring clean geometry, realistic detailing, and a fully modeled interior. Includes .blend, .fbx, .obj, .glb, .stl, .ply, .unreal, and .max formats for rendering, simulation, and game development.
Price: $6.99
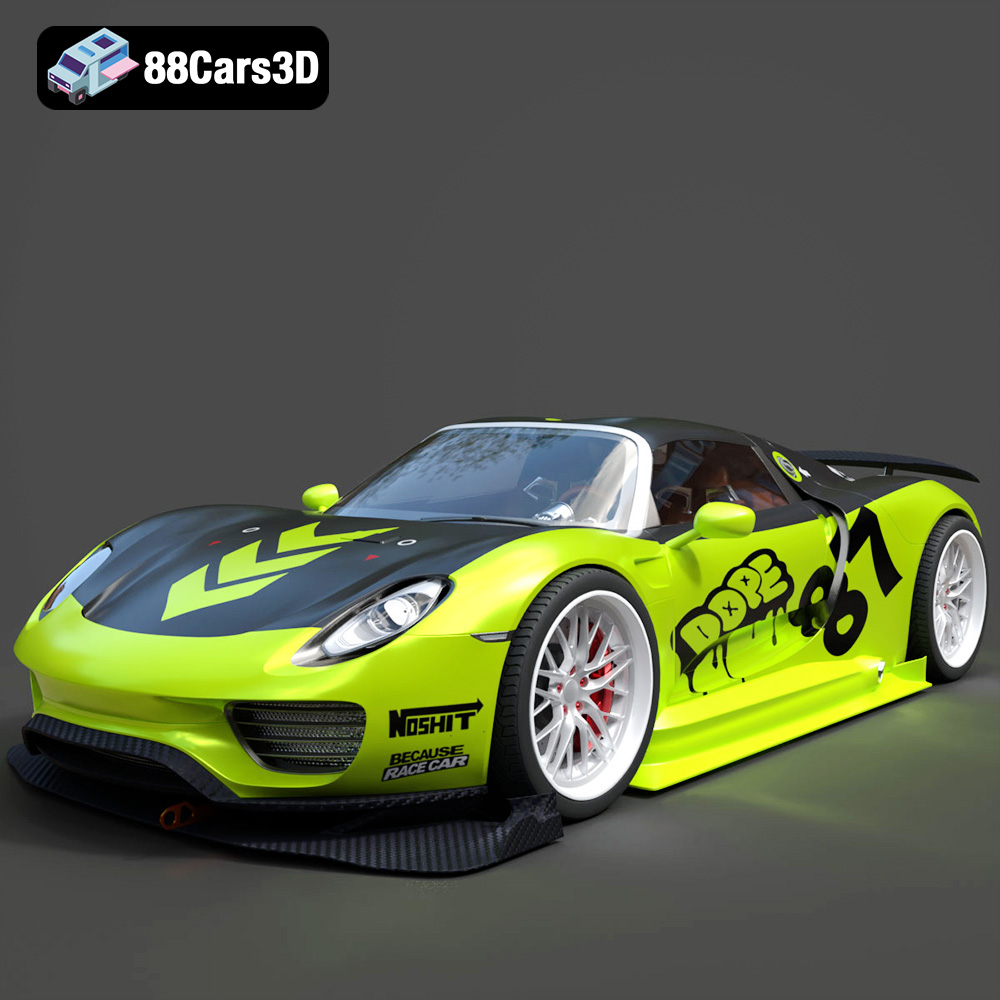
Porsche Chimera One Concept 3D Model
Texture: Yes
Material: Yes
Download the Porsche Chimera One Concept 3D Model featuring clean geometry, realistic detailing, and a fully modeled interior. Includes .blend, .fbx, .obj, .glb, .stl, .ply, .unreal, and .max formats for rendering, simulation, and game development.
Price: $6.99
