From Pixel to Polymer: The Art and Engineering of 3D Printing Automotive Designs
From Pixel to Polymer: The Art and Engineering of 3D Printing Automotive Designs
In the dynamic world of automotive design and visualization, the bridge between digital creation and physical realization has never been more robust. 3D printing, once a niche prototyping tool, has transformed into an indispensable technology, allowing designers, engineers, and enthusiasts to bring intricate 3D car models to life with unprecedented speed and precision. Whether you’re a professional automotive designer iterating on a new concept, a game developer seeking tangible props, or a hobbyist creating custom car parts, understanding the journey from a high-fidelity digital asset to a robust physical print is crucial.
This comprehensive guide delves deep into the technical intricacies of leveraging 3D car models for 3D printing, alongside their applications in rendering, game development, and AR/VR. We’ll explore the foundational principles of creating impeccable 3D models, master the art of preparing them for various outputs, and unlock the immense potential of additive manufacturing for custom automotive designs. By the end, you’ll possess a holistic understanding of how to transform your virtual visions into tangible reality, optimizing every step of the workflow to achieve professional-grade results.
The Foundation: Crafting Precision 3D Car Models for Any Application
The journey from an idea to a finished 3D printed car part begins with a meticulously crafted digital model. High-quality 3D car models are the bedrock for photorealistic renders, smooth in-game performance, and successful 3D prints. Achieving this quality demands a deep understanding of 3D modeling principles, particularly concerning topology, edge flow, and UV mapping. Platforms like 88cars3d.com offer a curated selection of pre-made, high-quality models that serve as excellent starting points or reference points for aspiring and professional artists alike, often featuring clean topology and UVs right out of the box.
For automotive models, precision is paramount. Every curve, panel gap, and vent must be accurately represented. This often involves a blend of polygonal modeling for general forms and NURBS or subdivision surface modeling for achieving incredibly smooth, continuous curvatures typical of vehicle bodies. The initial design phase can heavily influence subsequent steps, so investing time in a robust base mesh is non-negotiable. Whether you’re aiming for a high-polygon model for detailed rendering or a highly optimized mesh for game engines, the underlying structure must be sound.
Topology and Edge Flow for Automotive Surfaces
Topology, the arrangement of polygons (primarily quads) that make up your 3D model, is critical. For automotive surfaces, clean topology ensures smooth reflections, accurate deformation, and efficient subdivision. We strive for a predominantly quad-based mesh, avoiding triangles and N-gons where possible, especially on areas requiring smooth curvature. Edge flow dictates how these polygons follow the natural contours and design lines of the car. Good edge flow means edges run parallel to creases, panel lines, and areas of curvature, allowing for effortless manipulation and clean results when using subdivision surface modifiers.
When modeling a car, focus on maintaining consistent spacing between edge loops, particularly on large, sweeping panels. This ensures uniform detail and prevents pinching or artifacts when subdividing. Critical areas like wheel wells, door seams, and window frames require dense edge loops to hold their shape without excessive polygons across the entire model. For instance, a high-detail rendering model might have hundreds of thousands to millions of polygons, with critical areas having tighter edge loops (e.g., 2-3mm spacing) to capture subtle surface variations, whereas a game asset would aim for a much lower polygon count, perhaps 50,000-100,000 tris for a primary vehicle, relying more on normal maps for fine detail.
UV Mapping for Seamless Texturing and Printing
UV mapping is the process of unwrapping the 3D surface of your model into a 2D space, allowing you to apply textures accurately. For automotive models, efficient and clean UV layouts are essential for preventing texture distortion, maximizing texture resolution, and facilitating material application. A good UV map will have minimal stretching, uniform texel density across all surfaces, and logical seams placed in less visible areas (e.g., along panel lines, under the chassis).
For complex car surfaces, multiple UV sets might be necessary. One set for general body paint, another for detailed decals or unique materials like carbon fiber, and perhaps a third for overlapping ambient occlusion or lightmap information in game engines. When preparing for 3D printing, while direct texture mapping isn’t usually transferred, the cleanliness of your UVs can indirectly reflect the overall organization and integrity of your model, which is vital for print success. Moreover, if you’re planning on multi-material 3D printing or painting directly onto the printed part using a template derived from your UVs, their quality becomes even more significant. Aim for 0-1 UV space utilization for optimal texture packing and to prevent texture bleeding.
Beyond the Mesh: PBR Materials and Realistic Rendering for Automotive Visualization
Once your 3D car model boasts impeccable topology and UVs, the next step in achieving photorealistic visualization is the creation of physically based rendering (PBR) materials. PBR materials accurately simulate how light interacts with surfaces in the real world, yielding incredibly lifelike results. This, combined with expert lighting and rendering techniques, elevates a static 3D model into a captivating visual experience, essential for marketing, design reviews, and compelling presentations.
Automotive rendering demands particular attention to detail, especially for finishes like car paint, chrome, glass, and rubber. Each material requires a distinct approach in its PBR shader setup to mimic its real-world counterpart faithfully. Software like 3ds Max with Corona or V-Ray, Blender with Cycles, and Maya with Arnold are industry standards for achieving stunning automotive renders.
Building Photorealistic PBR Material Networks
PBR material creation revolves around a set of texture maps that define how light reacts to a surface. The core maps include: Albedo (Base Color) for the diffuse color without lighting information; Metallic to distinguish between dielectric and metallic surfaces; Roughness (Glossiness) to control the sharpness of reflections; Normal Map for adding fine surface detail without increasing polygon count; and sometimes Displacement Map for true geometric relief. For automotive finishes, layering these maps is key. Car paint, for example, often involves a base metallic layer, a clear coat layer (simulated with a second shader or complex node setup), and subtle normal maps for orange peel effect or metallic flakes.
In Blender’s Cycles or Eevee, you’d typically use the Principled BSDF shader, connecting your texture maps to their respective inputs. For 3ds Max users with Corona Renderer, the Corona Physical Material offers a similar intuitive workflow. It’s crucial to ensure your texture resolutions are appropriate – often 4K (4096×4096 pixels) or even 8K for large, prominent parts like the car body, to avoid pixelation in close-up renders. Consistency in color management (e.g., using sRGB for Albedo, linear for Metallic/Roughness/Normal) across your pipeline is also vital for accurate results.
Mastering Automotive Rendering Workflows
Beyond materials, effective lighting and rendering are paramount. A typical automotive rendering workflow begins with setting up an environment. High Dynamic Range Images (HDRIs) are indispensable for realistic lighting, providing both illumination and reflections from a real-world environment. Complementing HDRIs with subtle physical lights (e.g., area lights or photometric lights in 3ds Max/V-Ray) can highlight specific features or create dramatic effects.
Camera angles and composition play a huge role in showcasing your 3D car model. Experiment with various focal lengths (e.g., 85mm for a cinematic look, wider for action shots), depth of field, and camera positions to emphasize key design elements. Render settings need careful calibration: higher sampling rates for smoother images, appropriate denoising settings to remove grain without losing detail, and often render passes (e.g., Z-Depth, Cryptomatte, Reflection) for greater control in post-processing. Finally, post-processing and compositing in software like Photoshop or Affinity Photo are critical for adding final touches – color grading, lens flares, motion blur, and integrating the rendered car into a background plate to create a truly professional final image.
Optimizing 3D Car Models for Interactive Experiences: Games and AR/VR
While photorealistic renders are crucial for marketing and design reviews, real-time applications like video games and augmented/virtual reality (AR/VR) demand a different set of optimization strategies. Here, performance is king, requiring a delicate balance between visual fidelity and frame rate. The goal is to create immersive experiences where 3D car models load quickly, render smoothly, and interact responsively without taxing the hardware.
This optimization begins at the modeling stage but extends through texture creation, material setup, and careful integration into game engines. It’s a specialized skill set that focuses on minimizing draw calls, polygon counts, and texture memory usage while still maintaining an aesthetically pleasing and believable representation of the vehicle. High-quality game assets often start life as high-poly models, which are then meticulously retopologized and baked down for real-time performance.
Game Engine Integration and LOD Strategies
Integrating 3D car models into game engines like Unity or Unreal Engine involves a series of optimization steps. The primary concern is polygon budget. A typical hero car in a modern game might have a polygon count ranging from 50,000 to 150,000 triangles, significantly lower than a cinematic render model. To achieve this, detailed geometric features are often baked into normal maps, ambient occlusion maps, and curvature maps from a high-polygon source model onto a low-polygon game mesh.
Level of Detail (LOD) is a critical optimization technique. LODs are simplified versions of the same model that swap in based on the camera’s distance. For example, a car might have LOD0 (full detail, 100k tris) when close, LOD1 (mid-detail, 30k tris) at a medium distance, and LOD2 (low detail, 5k tris) when far away, and potentially a billboarding sprite for extreme distances. This dramatically reduces the number of polygons the GPU needs to render at any given time. Further optimizations include texture atlasing (packing multiple small textures into one larger texture to reduce draw calls) and combining meshes where possible to minimize material slots and, consequently, draw calls, which are expensive for the CPU.
AR/VR Specific Optimizations
AR/VR applications introduce even stricter performance budgets due to the need for high frame rates (e.g., 90 FPS for comfortable VR) and often run on mobile chipsets (for standalone VR or AR on smartphones). Beyond the general game engine optimizations, AR/VR requires specific considerations. Polygon counts must be aggressively managed; a typical VR car might target below 50,000 triangles, with mobile AR even lower, often under 20,000. Texture resolutions also need to be optimized; while a PC game might use 4K textures, AR/VR on mobile might be limited to 1K or 2K to conserve memory and bandwidth.
Reducing latency is paramount in AR/VR to prevent motion sickness. This means optimizing every aspect of the rendering pipeline. Specific file formats like GLB (for web-based AR/VR and certain mobile platforms) and USDZ (Apple’s AR format) are favored for their efficiency and ease of deployment. These formats are designed to encapsulate meshes, materials, and textures into a single, compact file, making them ideal for quick loading and real-time display on diverse devices. When sourcing models from marketplaces such as 88cars3d.com, always check for optimized versions or clear polygon counts to ensure compatibility with your target AR/VR platform.
The Leap to Physical: Preparing 3D Car Models for 3D Printing
Bringing a digital 3D car model into the physical world via 3D printing is a highly rewarding process, but it requires meticulous preparation. Unlike rendering or game assets, a model intended for 3D printing must be a “manifold” mesh – essentially, a completely sealed, watertight solid object with no gaps, internal geometry, or flipped normals. Any imperfections in the mesh that might be invisible in a rendering can cause catastrophic failures during the slicing and printing process.
The transition from a high-detail visualization model to a printable model often involves specific cleanup, scaling, and consideration of the chosen printing technology and material. This section focuses on these crucial steps, ensuring your custom 3D car parts and models emerge flawlessly from the printer bed.
Mesh Integrity and Manifold Geometry
The absolute foundation for successful 3D printing is a manifold mesh. This means every edge must be connected to exactly two faces, ensuring the model represents a solid volume with no holes or self-intersections. Common issues include: non-manifold edges (edges connected to more or less than two faces), open boundaries (holes in the mesh), flipped normals (faces pointing inward instead of outward), and intersecting geometry (where parts of the mesh pass through each other). Most 3D software (e.g., Blender’s 3D Print Toolbox add-on, Maya’s Mesh > Cleanup, 3ds Max’s STL Check modifier) provides tools to identify and repair these issues.
Additionally, consider wall thickness. FDM (Fused Deposition Modeling) printers typically require walls to be at least 1-2mm thick to be physically robust, while SLA (Stereolithography) resin printers can achieve finer details with walls as thin as 0.5mm, depending on the resin. Overly thin elements will simply break or not print at all. Internal geometry should also be removed unless it’s integral to the design, as it can cause slicing errors or consume unnecessary material and print time. Always export your cleaned model as an STL (Standard Tessellation Language) file, which is the most widely accepted format for 3D printing, or an OBJ, which many modern slicers also support.
Scaling, Orientation, and Support Structures
Before printing, your model must be correctly scaled to its intended physical dimensions. Most 3D software uses generic units, so confirm that your export settings match the units expected by your slicer software (e.g., millimeters). Incorrect scaling can result in a tiny model or one too large for your printer’s build volume. The print orientation is also critical for success. Orienting the model strategically can minimize the need for support structures, improve surface finish on critical areas, and enhance the part’s mechanical strength along stress axes.
For example, if a car body has a large, flat base, printing it flat on the build plate might reduce supports but could compromise the finish of the roof if it’s the highest point. Conversely, printing at an angle might require more supports but could yield better overall surface quality. Support structures are temporary scaffolding generated by the slicer to prevent overhanging parts from collapsing during printing. While essential, they can leave marks on the model. Understanding how to minimize and strategically place them is part of the art of 3D printing. Finally, the choice of printing material (PLA for ease of use, ABS for strength, PETG for durability, or various resins for fine detail) will influence print settings, part properties, and post-processing requirements, so select it based on the functional and aesthetic needs of your custom 3D car parts.
Custom 3D Car Parts and Beyond: Real-World Applications and Future Trends
The ability to create, customize, and physically produce 3D car models has opened up a world of possibilities across various industries and for individual enthusiasts. From accelerating automotive design cycles to creating highly personalized vehicle components, 3D printing is no longer just for prototypes; it’s driving innovation and customization at an unprecedented scale. This impact extends beyond direct physical parts, influencing how designers visualize, interact with, and share their automotive creations.
Understanding the broader context of these applications, coupled with familiarity with diverse file formats, empowers professionals and hobbyists to navigate complex pipelines and maximize the utility of their 3D assets. The future of automotive design is intrinsically linked to these digital and physical fabrication technologies, promising even more intricate, efficient, and personalized experiences.
Rapid Prototyping and Customization
Rapid prototyping is one of the foundational applications of 3D printing in the automotive industry. Designers can quickly iterate on complex components like intake manifolds, aerodynamic spoilers, or interior console designs, printing multiple versions in a single day to test fit, form, and even function before committing to expensive tooling. This drastically reduces development time and costs, fostering a more agile design process. For example, a car manufacturer might 3D print scale models of new vehicles for wind tunnel testing, or detailed interior components to evaluate ergonomics and aesthetics.
Beyond prototyping, 3D printing empowers unparalleled customization. Enthusiasts can design and print unique grilles, personalized interior trim pieces, bespoke shifter knobs, or even intricate scale model accessories for their favorite vehicles. This shifts production from mass manufacturing to individualized creation, allowing for truly unique vehicles. Imagine designing a custom badge with your initials or a dashboard phone holder perfectly integrated into your car’s specific make and model. This level of personalization, once reserved for high-end luxury vehicles, is now accessible to a much broader audience, transforming how we interact with and modify our cars.
Exploring File Formats and Compatibility Across Workflows
The digital journey of a 3D car model often involves multiple software packages and applications, each with its preferred or optimized file format. Navigating these formats effectively ensures smooth transitions between modeling, rendering, game development, AR/VR, and 3D printing workflows. Understanding the strengths and weaknesses of each format is key to maintaining data integrity and efficiency.
FBX (Filmbox) and OBJ (Object) are widely used for general 3D model exchange, supporting geometry, UVs, and basic material assignments, making them versatile for rendering and game engine import. STL (Standard Tessellation Language) is the de facto standard for 3D printing, representing geometry as a triangular mesh, crucial for slicer software. For real-time applications, especially AR/VR, GLB and USDZ are gaining prominence. GLB is a binary version of glTF (GL Transmission Format), efficient for web and mobile, bundling textures and animations. USDZ is Apple’s proprietary format for AR, also designed for lightweight, real-time rendering. For advanced engineering and manufacturing, formats like STEP (Standard for the Exchange of Product model data) are used for precise CAD data, often converted to polygon meshes for rendering or printing.
Each format has specific characteristics regarding how it handles hierarchy, animations, PBR materials, and metadata. For instance, while an FBX might carry complex rig and animation data for a car door, an STL will strip all that down to just the raw geometry. Platforms like 88cars3d.com often provide models in multiple common formats, offering flexibility and ensuring compatibility across diverse professional workflows. Knowing when and how to convert between these formats, and what data might be lost or gained during the process, is a critical skill for any professional working with 3D automotive assets.
Conclusion
The journey from a digital concept to a tangible, custom 3D printed car part is a testament to the incredible advancements in 3D technology. We’ve explored the foundational importance of precise 3D modeling, with meticulous attention to topology, edge flow, and UV mapping, setting the stage for every subsequent application. From crafting stunning photorealistic renders with advanced PBR materials and intricate lighting setups to optimizing models for the demanding environments of game engines and AR/VR, each step requires a unique blend of technical expertise and artistic vision.
Crucially, we’ve delved into the specialized requirements for 3D printing, emphasizing mesh integrity, scaling, and intelligent support structures – critical steps that bridge the gap between the virtual and the physical. This capability not only revolutionizes rapid prototyping and automotive design iteration but also empowers individual enthusiasts to create truly custom 3D car parts and accessories. The synergy between high-quality 3D assets, advanced rendering techniques, and additive manufacturing continues to push the boundaries of what’s possible in the automotive world.
Whether you’re embarking on a new design project, developing the next-generation game experience, or simply looking to bring your automotive visions to life through 3D printing, remember that quality begins with the source. Invest in expertly crafted 3D models and continuously refine your technical skills to unlock the full potential of this exciting era of digital and physical fabrication. The road ahead for custom 3D automotive designs is paved with endless innovation and creativity.
Featured 3D Car Models
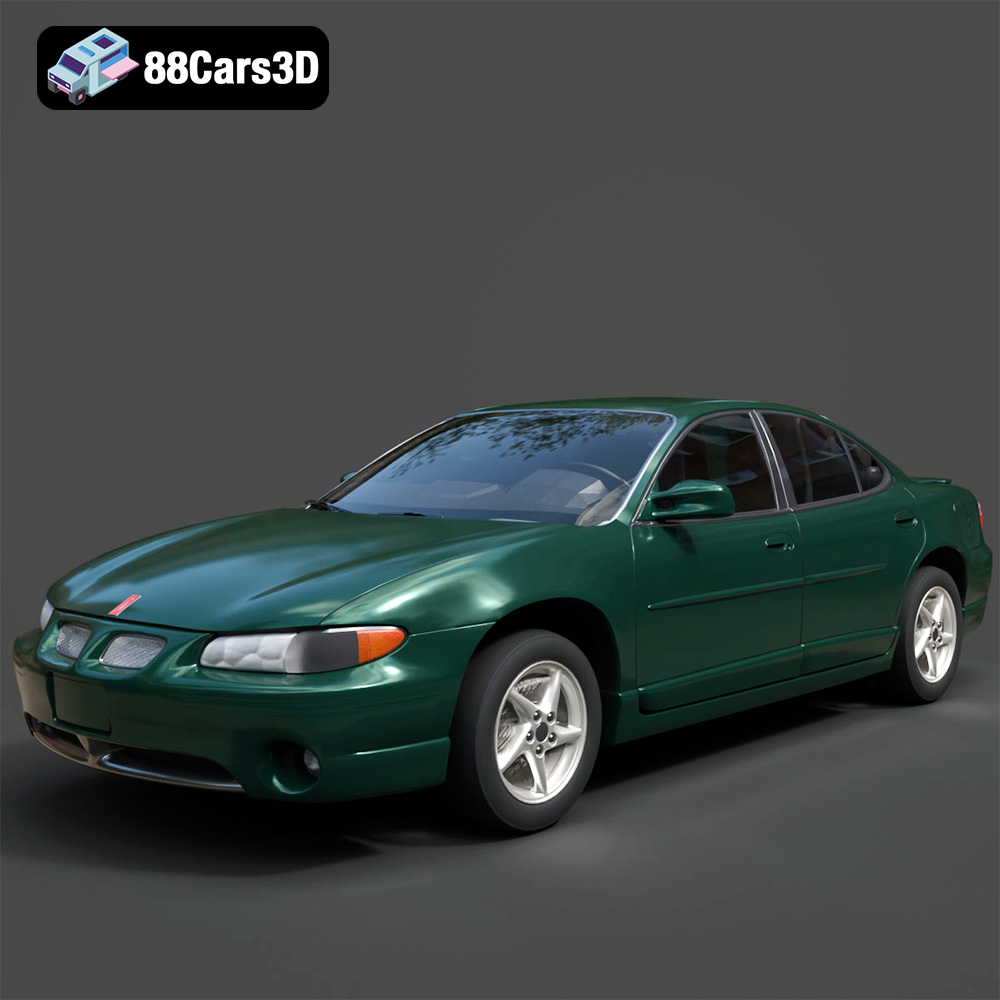
Pontiac Grand Prix GT-001 3D Model
Texture: Yes
Material: Yes
Download the Pontiac Grand Prix GT-001 3D Model featuring clean geometry, realistic detailing, and a fully modeled interior. Includes .blend, .fbx, .obj, .glb, .stl, .ply, .unreal, and .max formats for rendering, simulation, and game development.
Price: $4.99
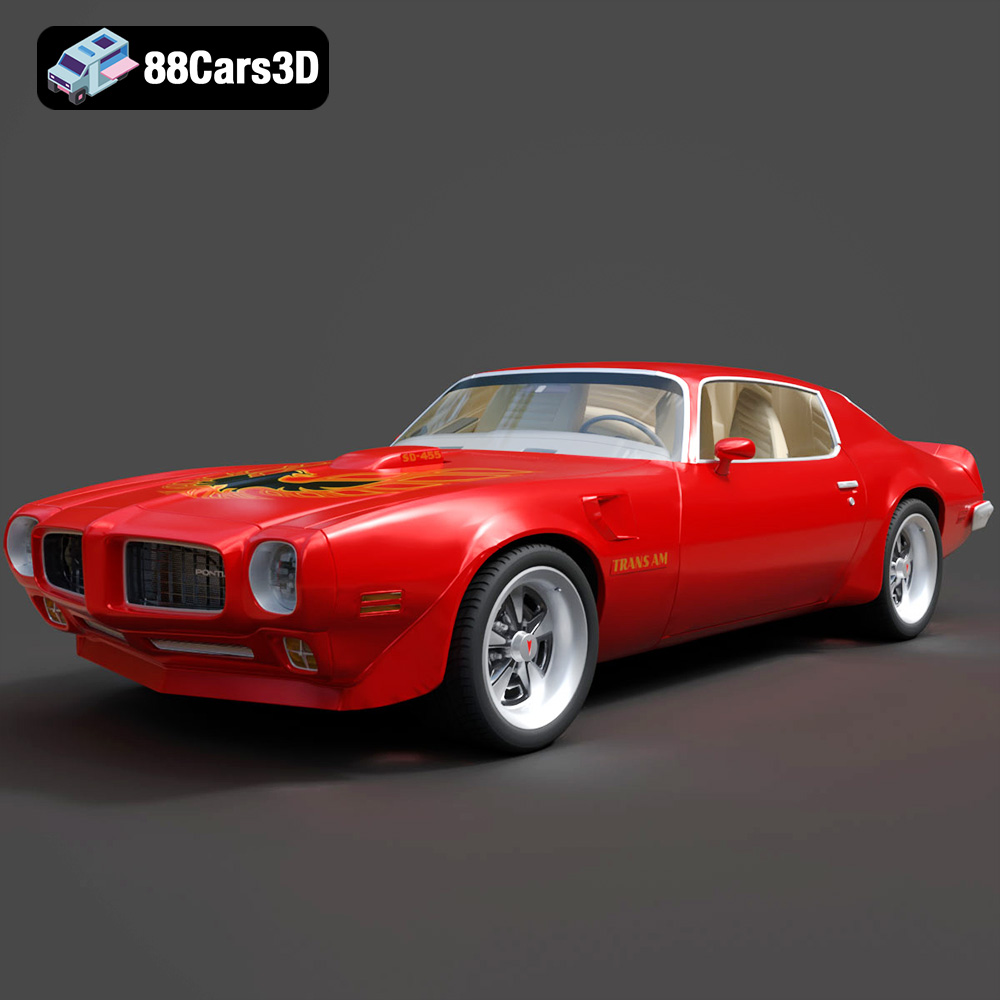
Pontiac Firebird Trans Am SD-455 3D Model
Texture: Yes
Material: Yes
Download the Pontiac Firebird Trans Am SD-455 3D Model featuring clean geometry, realistic detailing, and a fully modeled interior. Includes .blend, .fbx, .obj, .glb, .stl, .ply, .unreal, and .max formats for rendering, simulation, and game development.
Price: $1

Plymouth Volare 1976 3D Model
Texture: Yes
Material: Yes
Download the Plymouth Volare 1976 3D Model featuring clean geometry, realistic detailing, and a fully modeled interior. Includes .blend, .fbx, .obj, .glb, .stl, .ply, .unreal, and .max formats for rendering, simulation, and game development.
Price: $4.99

Plymouth Roadrunner 1971 3D Model
Texture: Yes
Material: Yes
Download the Plymouth Roadrunner 1971 3D Model featuring clean geometry, realistic detailing, and a fully modeled interior. Includes .blend, .fbx, .obj, .glb, .stl, .ply, .unreal, and .max formats for rendering, simulation, and game development.
Price: $4.99
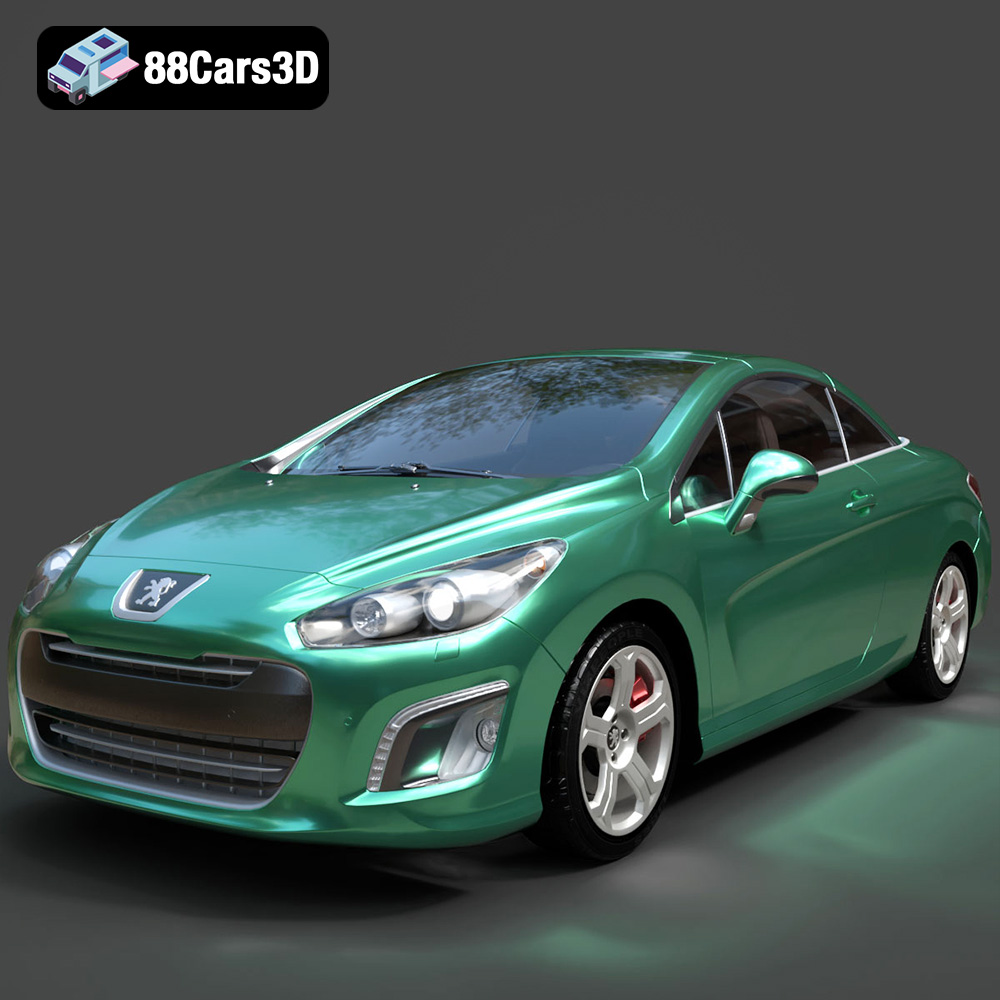
Peugeot 308 CC 2025 3D Model
Texture: Yes
Material: Yes
Download the Peugeot 308 CC 2025 3D Model featuring clean geometry, realistic detailing, and a fully modeled interior. Includes .blend, .fbx, .obj, .glb, .stl, .ply, .unreal, and .max formats for rendering, simulation, and game development.
Price: $4.99
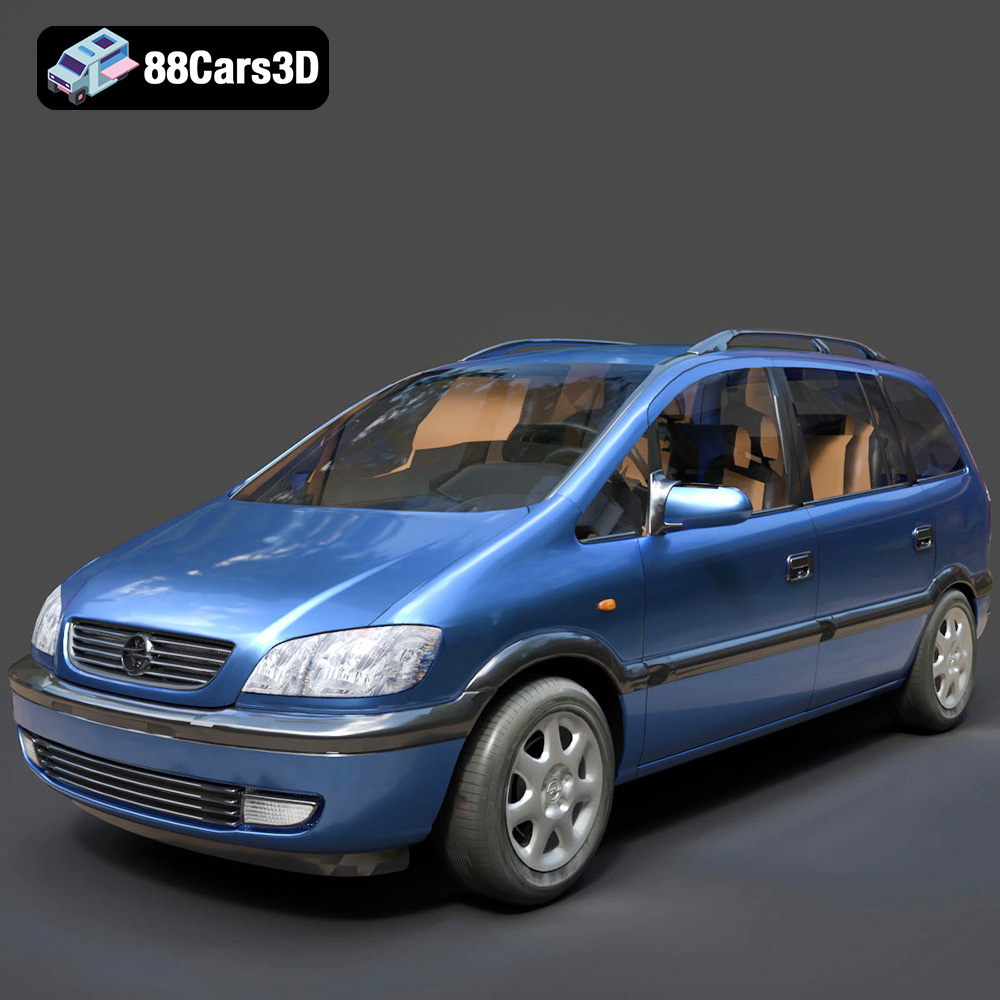
Opel Zafira 2000 3D Model
Texture: Yes
Material: Yes
Download the Opel Zafira 2000 3D Model featuring clean geometry, realistic detailing, and a fully modeled interior. Includes .blend, .fbx, .obj, .glb, .stl, .ply, .unreal, and .max formats for rendering, simulation, and game development.
Price: $4.99
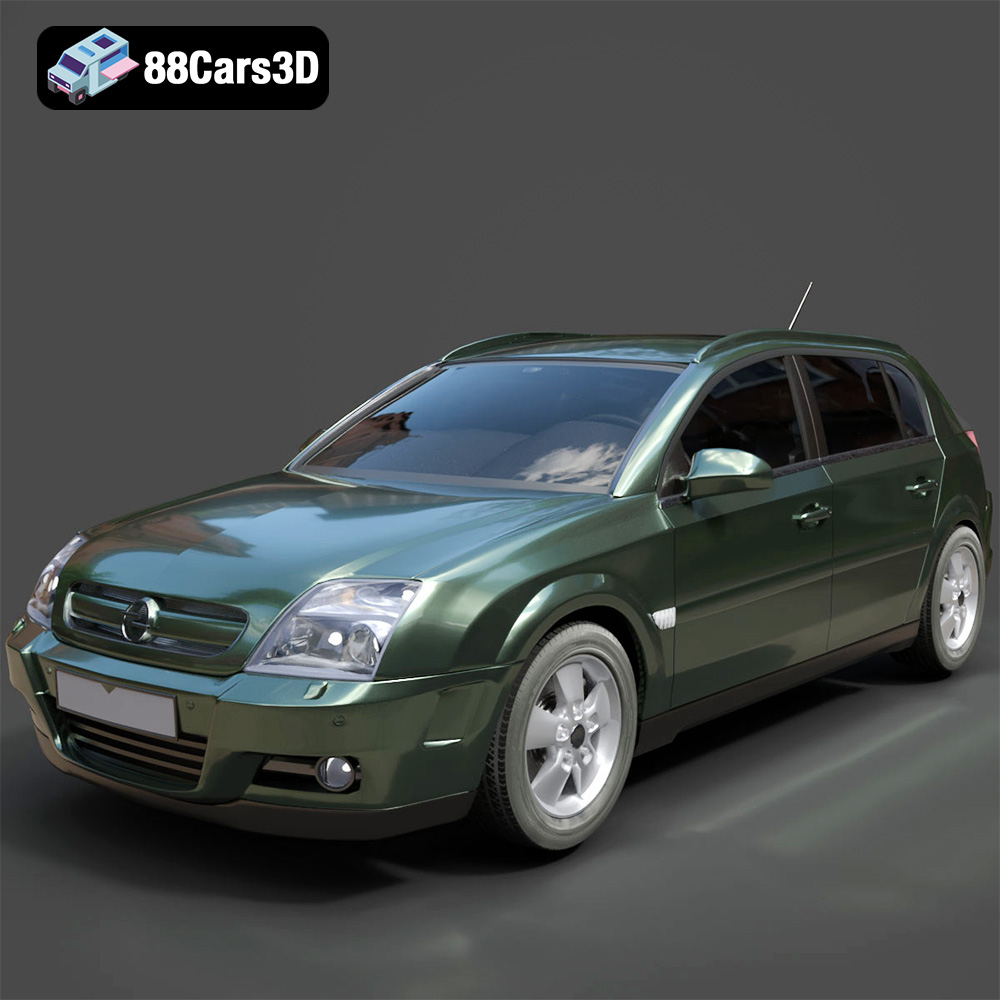
Opel Signum 2003 3D Model
Texture: Yes
Material: Yes
Download the Opel Signum 2003 3D Model featuring clean geometry, realistic detailing, and a fully modeled interior. Includes .blend, .fbx, .obj, .glb, .stl, .ply, .unreal, and .max formats for rendering, simulation, and game development.
Price: $4.99
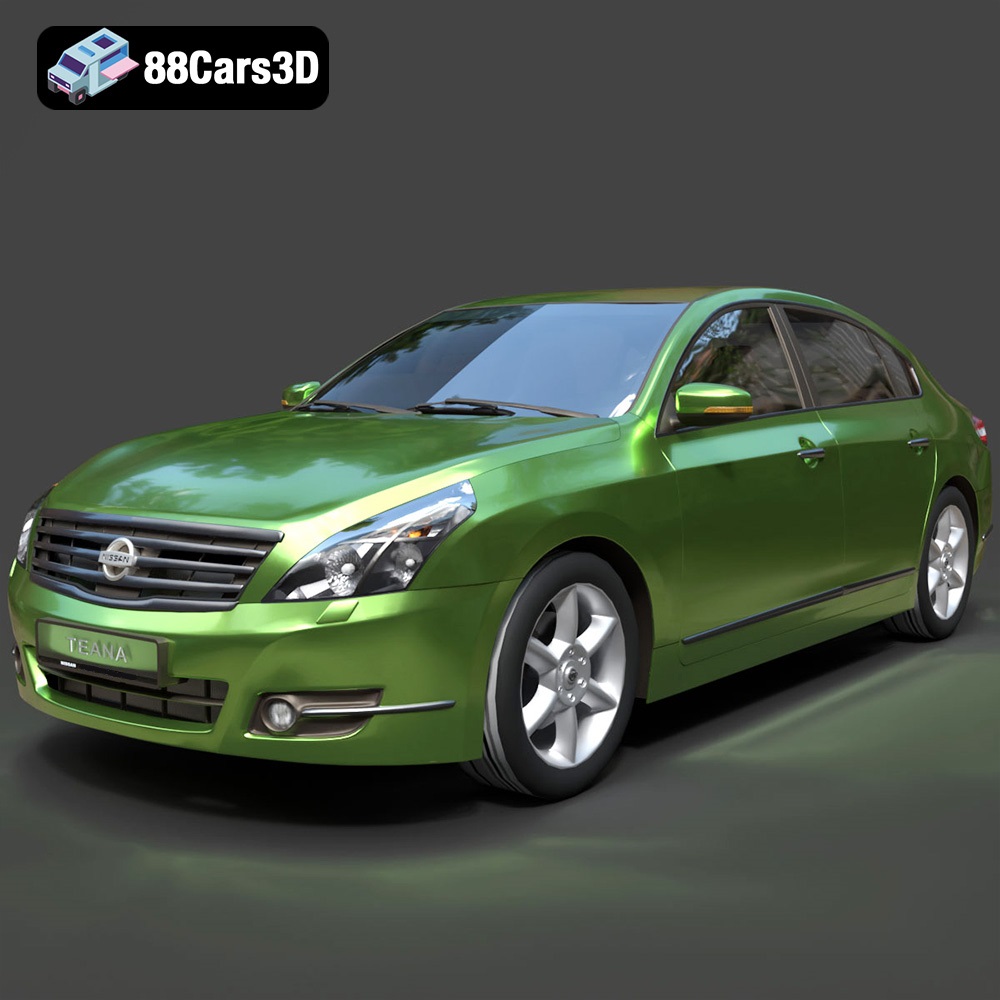
Nissan Teana 2001 3D Model
Texture: Yes
Material: Yes
Download the Nissan Teana 2001 3D Model featuring clean geometry, realistic detailing, and a fully modeled interior. Includes .blend, .fbx, .obj, .glb, .stl, .ply, .unreal, and .max formats for rendering, simulation, and game development.
Price: $4.99
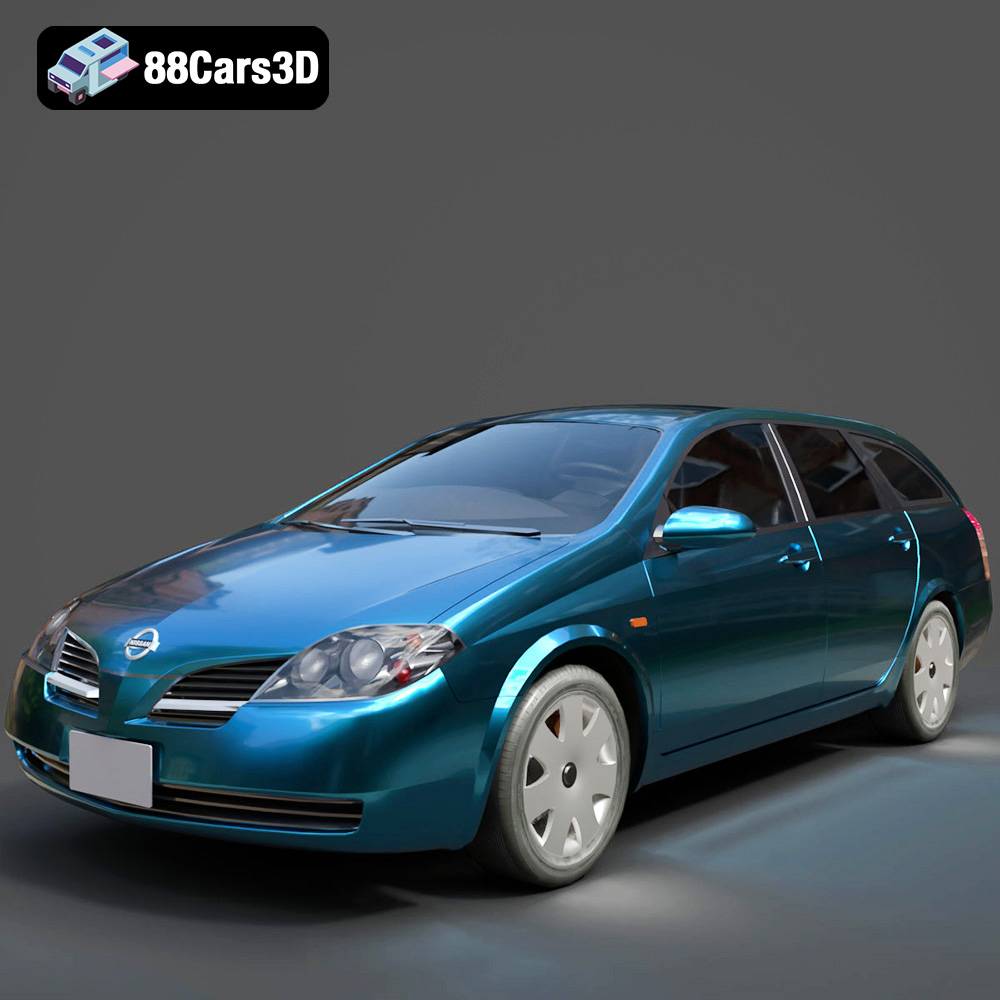
Nissan Primera Wagon 2001 3D Model
Texture: Yes
Material: Yes
Download the Nissan Primera Wagon 2001 3D Model featuring clean geometry, realistic detailing, and a fully modeled interior. Includes .blend, .fbx, .obj, .glb, .stl, .ply, .unreal, and .max formats for rendering, simulation, and game development.
Price: $4.99
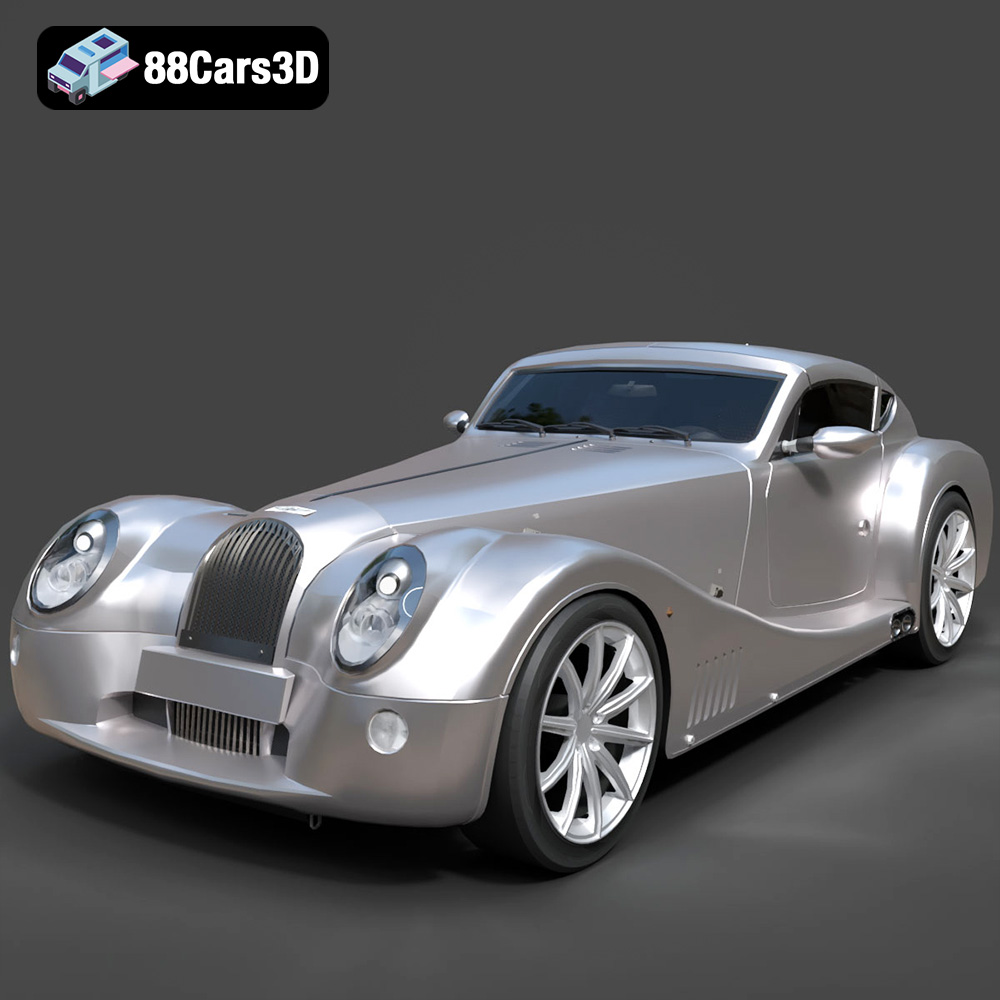
Morgan Aero Super Sports 2025 3D Model
Texture: Yes
Material: Yes
Download the Morgan Aero Super Sports 2025 3D Model featuring clean geometry, realistic detailing, and a fully modeled interior. Includes .blend, .fbx, .obj, .glb, .stl, .ply, .unreal, and .max formats for rendering, simulation, and game development.
Price: $4.99
