The Evolution of Automotive Design: From Pixels to Prototypes with Advanced 3D Car Models and 3D Printing
The Evolution of Automotive Design: From Pixels to Prototypes with Advanced 3D Car Models and 3D Printing
The automotive industry has always been at the forefront of innovation, and the digital realm is no exception. Today, the journey of a car, from concept sketch to a tangible prototype, is deeply intertwined with advanced 3D modeling and 3D printing technologies. These tools empower designers, engineers, game developers, and visualization artists to create, iterate, and realize automotive visions with unprecedented speed and fidelity. Whether you’re crafting photorealistic renders for a marketing campaign, optimizing a sleek vehicle for a high-octane racing game, or bringing a custom car part to life through additive manufacturing, the quality of your 3D car models is paramount.
This comprehensive guide delves into the intricate world of automotive 3D designs, covering everything from the foundational principles of clean topology and efficient UV mapping to the advanced techniques of PBR material creation, photorealistic rendering, and performance optimization for various platforms. We’ll explore the critical steps involved in preparing 3D models for the unique demands of 3D printing, enabling the creation of custom 3D car parts and rapid prototypes. By understanding these workflows, you’ll be equipped to leverage the full potential of high-quality 3D car models, transforming your automotive visions into stunning digital experiences and physical realities. Get ready to elevate your skills and unlock new possibilities in the dynamic landscape of automotive 3D.
The Foundation: Automotive 3D Modeling Topology and Edge Flow for Precision
Creating a high-quality 3D car model begins with impeccable topology and intelligent edge flow. These foundational elements dictate not only the visual fidelity of the model but also its behavior during animation, deformation, and subdivision. For automotive designs, precision is paramount. Every curve, every panel gap, and every surface transition must be meticulously crafted to reflect the real-world aesthetics and engineering intent. Poor topology can lead to artifacts, unsightly pinching, and difficulties in UV unwrapping or material application, ultimately compromising the realism and usability of your model. A robust, all-quad topology (where all faces are four-sided polygons) is the industry standard, ensuring predictable subdivision smoothing and clean deformations.
Understanding the unique challenges of automotive surfaces is key. Cars are defined by their complex, often subtle, curvature and sharp, defined edges. Achieving these delicate transitions requires careful attention to edge loops that follow the natural contours of the vehicle. These loops should define the major design lines, panel breaks, and creases, allowing for precise control over the model’s form. This meticulous approach ensures that when the model is subdivided (e.g., using a TurboSmooth or Subdivision Surface modifier in 3ds Max or Blender), the surfaces remain smooth and organic, free from bumps or distortions. When sourcing models from platforms like 88cars3d.com, artists prioritize clean topology precisely because it offers this level of control and flexibility for various downstream applications.
Clean Topology for Deformation and Detail
Clean topology isn’t just about aesthetics; it’s a functional requirement, especially for models intended for animation or detailed close-ups. For instance, if you plan to animate car doors opening or suspension components articulating, the mesh must deform predictably without stretching or tearing. This is achieved by placing edge loops strategically around areas of articulation, providing the necessary geometry for smooth bending. Furthermore, for highly detailed elements like grilles, vents, or interior stitching, a dense but organized mesh allows for finer details to be modeled directly into the geometry or to support normal map baking without artifacts. Aim for a balance: enough polygons to capture the desired curvature and detail, but not so many that the model becomes unwieldy or slow to process. A typical high-detail production model might range from 200,000 to 500,000 polygons, depending on the complexity and desired fidelity.
Edge Flow Best Practices for Automotive Surfaces
Mastering edge flow for automotive surfaces involves guiding polygons to mimic how light reflects off real car panels. Key practices include:
1. **Following Natural Curves:** Edge loops should flow along the length of a panel, defining its main curvature. This is critical for maintaining surface tension and preventing unwanted ripples.
2. **Defining Creases and Panel Gaps:** Tight edge loops, often two or three close together, are used to create sharp creases (e.g., on body lines or around headlights) and accurately define panel gaps. These loops help the subdivision surface modifiers maintain sharp edges without excessive smoothing.
3. **Terminating Edge Loops Gracefully:** Not every edge loop needs to run across the entire model. Learn to terminate loops into poles (5-sided or 3-sided vertices) in areas of minimal visual impact, such as flat surfaces or less prominent areas, ensuring that the surrounding quad flow remains clean.
4. **Maintaining Even Quad Distribution:** Strive for quads that are as uniform in size and shape as possible, especially on large, curved surfaces. Uneven quads can lead to stretching of textures and unpredictable smoothing. Software like 3ds Max, Blender, and Maya offer powerful modeling tools to achieve this, often involving techniques like retopology and manual edge manipulation.
Bringing Cars to Life: Advanced UV Mapping and PBR Material Workflows
Once the geometry of your 3D car model is perfected, the next crucial step is to give it a realistic surface appearance through UV mapping and Physically Based Rendering (PBR) materials. UV mapping is the process of unwrapping the 3D mesh into a 2D layout, which then serves as a canvas for textures. Without proper UVs, textures will appear distorted, stretched, or mismatched, ruining the realism. PBR materials, on the other hand, define how light interacts with the surface, simulating real-world material properties with remarkable accuracy. This combination transforms a raw 3D model into a believable representation of an actual vehicle, ready for detailed visualization or interactive experiences.
The complexity of a car’s surface – with its distinct panels, varying material properties (paint, glass, chrome, rubber, plastic), and often intricate decals – demands a strategic approach to UV unwrapping. Each component needs its own clean UV island, minimizing overlaps and maximizing texture space utilization. For automotive paint, specific considerations apply, such as the need for seamless transitions and the accurate representation of metallic flakes or clear coats. PBR workflows simplify the creation of these complex materials by relying on a set of standardized texture maps (e.g., Base Color/Albedo, Metallic, Roughness, Normal, Ambient Occlusion) that universally describe how light should interact with the surface, ensuring consistency across different rendering engines and lighting conditions.
Strategizing UV Layouts for Complex Automotive Panels
Effective UV mapping for automotive models involves several key strategies:
* **Seam Placement:** Strategically place UV seams along natural breaks in the geometry, such as panel lines, edges, or hidden areas. The goal is to minimize visible seams on large, smooth surfaces like the hood or side panels.
* **Hard Surface Unwrapping:** For mechanical parts or sharp edges, often a “hard surface” unwrapping technique is used, projecting surfaces and then flattening them. Tools like Blender’s Smart UV Project, 3ds Max’s Unwrap UVW modifier, and Maya’s UV Editor offer powerful features for this.
* **Texel Density:** Maintain a consistent texel density across all UV islands. Texel density refers to the number of pixels per unit of 3D space. Uniform density ensures that all parts of the model appear equally detailed, preventing some areas from looking blurry while others are sharp.
* **UDIM Workflows:** For extremely high-resolution automotive models, especially those used in film or advertising, UDIMs (U-Dimension) are indispensable. This system allows you to use multiple UV tiles (separate 2D texture maps) for a single object, each with its own texture set, effectively bypassing the resolution limits of a single 0-1 UV space. This is perfect for capturing the intricate details of a car’s interior, exterior, and undercarriage without compromising resolution.
Crafting Realistic PBR Shaders for Automotive Paint and Materials
PBR material creation is where the real magic happens. Automotive paint, for example, is far more complex than a simple color. It involves:
* **Base Color (Albedo):** The primary color of the paint, free from lighting information.
* **Metallic:** A grayscale map indicating which areas are metallic (white) and which are dielectric (black). Car paint often has metallic flakes, making it a “metallic” surface in PBR terms.
* **Roughness:** A grayscale map controlling the microsurface imperfections. A lower roughness value (darker) indicates a smoother, more reflective surface, while a higher value (lighter) indicates a rougher, more diffuse surface. The clear coat of car paint would have very low roughness.
* **Normal Map:** Adds fine surface detail without increasing polygon count, simulating bumps and grooves (e.g., subtle orange peel effect in paint, fine scratches, or panel details).
* **Clear Coat:** Many PBR renderers include specific clear coat parameters to simulate the translucent, highly reflective top layer of automotive paint, allowing underlying metallic flakes to show through.
Beyond paint, every material on a car—chrome, glass, rubber tires, plastic trim, leather upholstery—requires a distinct PBR setup to accurately represent its unique interaction with light. Software like Substance Painter is commonly used to texture paint models, allowing artists to layer materials, add wear and tear, and export comprehensive PBR texture sets directly compatible with major renderers and game engines.
Visualizing Excellence: High-Fidelity Automotive Rendering Techniques
With a meticulously modeled and textured 3D car model, the final step in presenting it to the world is through high-fidelity rendering. This process transforms the raw digital asset into stunning, photorealistic images or animations that showcase every curve, every reflection, and every material detail. Automotive rendering is an art form that blends technical proficiency with an keen eye for aesthetics, simulating real-world physics of light, cameras, and environments. The goal is to create visuals so compelling that they are indistinguishable from photographs, a critical requirement for marketing, design reviews, and showcasing concepts.
Achieving this level of realism demands a deep understanding of lighting principles, camera optics, material interactions, and the specific capabilities of various rendering engines. Whether you’re using a CPU-based renderer like Corona or V-Ray, or a GPU-accelerated option like Cycles or Arnold, the workflow involves setting up realistic lighting, defining the environment, positioning virtual cameras, and configuring rendering parameters for optimal quality and speed. The choices made in these areas dramatically impact the final look and feel of your rendered automotive scene, dictating mood, focus, and overall impact.
Setting Up Studio-Quality Lighting and Environments
Effective lighting is the single most important factor in achieving photorealistic renders. For automotive visualization, studio-quality lighting is often preferred, replicating professional photography setups.
* **HDRI (High Dynamic Range Image) Lighting:** HDRI maps are the backbone of modern rendering. They provide both realistic global illumination and reflections, simulating complex real-world lighting environments. For automotive, using studio HDRIs with softboxes and light tents creates pristine, controlled reflections on the car’s reflective surfaces. Outdoor HDRIs are also excellent for environmental shots.
* **Area Lights and Planar Lights:** Supplement HDRIs with strategically placed area lights to highlight specific features, add key reflections, or separate the car from the background. Large, soft area lights mimic studio softboxes, creating gentle gradients and minimizing harsh shadows.
* **Physical Camera Settings:** Emulate a real-world camera. Adjust focal length (e.g., 85mm-120mm for flattering automotive perspectives), aperture (f-stop) for depth of field, and shutter speed for motion blur (in animations). Experiment with different angles and compositions to emphasize the car’s design elements.
* **Backdrop and Environment:** Use a seamless studio backdrop or a detailed 3D environment that complements the car without distracting from it. Consider using a ground plane with a subtle reflection shader to ground the vehicle in the scene.
Mastering Renderer Settings for Photorealistic Output
Each rendering engine has its nuances, but general principles apply:
* **Sampling and Quality:** Increase sampling rates (e.g., bounces, rays per pixel) to reduce noise and improve indirect lighting accuracy. Balancethis with render time.
* **Global Illumination (GI):** Configure GI settings (e.g., Brute Force, Irradiance Map, Light Cache) to accurately simulate light bouncing within the scene. Engines like Corona Render are celebrated for their ease of use and realistic GI out of the box, while V-Ray offers extensive controls for optimization.
* **Materials and Shaders:** Ensure all PBR materials are correctly configured for your chosen renderer. Pay special attention to clear coat layers for paint, anisotropic reflections for brushed metals, and realistic glass shaders with proper refraction and absorption.
* **Render Elements/Passes:** Output separate render passes (e.g., diffuse, reflection, refraction, Z-depth, alpha, raw lighting). These passes provide unparalleled control during post-processing, allowing for fine-tuning without re-rendering the entire image.
Post-Processing for Cinematic Impact
Post-processing in software like Adobe Photoshop or Affinity Photo is crucial for giving renders that final “pop”:
* **Color Correction and Grading:** Adjust hue, saturation, and luminance to set the mood and enhance visual appeal. Use curves and levels for precise tonal control.
* **Exposure and Contrast:** Fine-tune the overall brightness and contrast to make the image punchy and dynamic.
* **Bloom and Glare:** Add subtle bloom to bright areas and glare to specular highlights (like chrome or headlights) to enhance realism and visual interest.
* **Vignette and Chromatic Aberration:** Use these sparingly to mimic photographic lens effects, adding a touch of cinematic flair.
* **Sharpening:** Apply a gentle sharpening filter to bring out fine details in the car model.
Optimizing for Performance: Game Engines, AR/VR, and Real-Time Automotive
While photorealistic renders are essential for marketing and design showcases, the world of interactive experiences – video games, augmented reality (AR), virtual reality (VR), and real-time configurators – demands a different approach: performance optimization. High-fidelity 3D car models, like those available on 88cars3d.com, often need significant adjustments to run smoothly in real-time environments. The challenge lies in maintaining visual quality while drastically reducing the computational overhead. Every polygon, every texture, and every draw call impacts frame rate and overall user experience. This balance is critical, as a stunning model that lags or crashes is ultimately unusable in an interactive setting.
The core principle of real-time optimization is efficiency. This involves reducing complexity wherever possible without sacrificing the illusion of detail. Techniques such as Level of Detail (LODs), draw call reduction, texture atlasing, and baked lighting are indispensable tools in a game developer’s or AR/VR artist’s arsenal. Understanding how these techniques work within engines like Unity and Unreal Engine is vital for transforming static render models into dynamic, responsive assets. Moreover, specific considerations apply to mobile AR/VR, where hardware constraints are even more pronounced, requiring even more aggressive optimization strategies and specialized file formats.
LODs, Draw Calls, and Texture Atlasing for Game Assets
* **Level of Detail (LODs):** LODs are simplified versions of a 3D model that are automatically swapped out based on the camera’s distance from the object. A common setup for a detailed car might include:
* **LOD0 (High Poly):** For close-ups, 50,000-150,000 triangles.
* **LOD1 (Medium Poly):** For medium distances, 15,000-50,000 triangles.
* **LOD2 (Low Poly):** For distant views, 3,000-15,000 triangles.
* **LOD3 (Very Low Poly):** For extreme distances or background elements, 500-3,000 triangles.
Tools like Maya’s Reduce, Blender’s Decimate modifier, or dedicated auto-LOD generators within game engines assist in creating these simplified meshes while preserving crucial silhouettes.
* **Draw Calls:** Each time the CPU tells the GPU to render an object, it’s a “draw call.” Minimizing draw calls is paramount for performance. If a car has dozens of separate meshes (body, wheels, headlights, emblems, interior pieces), each with its own material, it generates many draw calls.
* **Texture Atlasing:** Combining multiple smaller textures (e.g., for different car parts) into one larger texture map is called texture atlasing. This allows multiple parts of the car to share a single material, significantly reducing draw calls. A car’s interior, for example, might have its dashboard, seats, and steering wheel textures packed into one atlas.
AR/VR-Specific Optimization: Scale, Performance, and Immersion
AR/VR environments impose even stricter performance budgets, especially for standalone headsets or mobile AR.
* **Polycount & Texture Resolution:** Be aggressive in reducing polycount and texture resolutions. A car model for mobile AR might aim for under 30,000-50,000 triangles total, with texture maps often capped at 1K or 2K (1024×1024 or 2048×2048 pixels) per atlas.
* **Material Simplification:** Use simpler PBR shaders where possible. Avoid complex transparency, refraction, or highly reflective materials that are expensive to render. Baked lighting (pre-rendered light information stored in textures) can simulate complex lighting without real-time calculations.
* **Asset Bundles & Streaming:** For larger AR/VR applications, consider breaking up complex car models into smaller asset bundles that can be loaded and unloaded dynamically, improving initial load times and memory usage.
* **Real-World Scale:** Ensure the 3D car model is scaled accurately to its real-world dimensions (e.g., meters or centimeters) in your 3D software before export, as AR/VR experiences rely heavily on accurate scale for immersion.
File Formats for Real-Time and Interoperability
Choosing the correct file format is crucial for smooth integration into game engines and AR/VR platforms:
* **FBX (Filmbox):** The industry standard for transferring 3D assets between software and game engines (Unity, Unreal Engine). It supports meshes, materials, textures, animations, and skeletal data.
* **OBJ (Wavefront Object):** A widely supported format for mesh geometry and basic material information. Excellent for simple mesh transfers but less comprehensive than FBX.
* **GLB (Binary glTF):** The preferred format for web-based 3D, AR, and VR. GLB (GL Transmission Format) is an open-standard, royalty-free specification for 3D scenes and models. It’s efficient for transmission and loading, often used for mobile AR experiences.
* **USDZ (Universal Scene Description Zip):** Developed by Pixar and adopted by Apple, USDZ is specifically designed for AR experiences on Apple devices. It’s a container format that efficiently bundles 3D models, textures, and animations for AR Quick Look and ARKit applications. When sourcing models, verify their compatibility with these critical formats.
From Screen to Reality: Preparing 3D Car Models for 3D Printing
The ability to move from a digital 3D car model to a physical object through 3D printing represents a revolutionary leap in automotive design and prototyping. This technology enables designers to quickly evaluate form, fit, and even basic function of custom car parts or scale models. However, a 3D model optimized for rendering or game engines is rarely ready for 3D printing without specific modifications. Additive manufacturing requires precise, watertight geometry, consistent wall thickness, and attention to physical constraints that are entirely irrelevant in the digital realm. Ignoring these considerations can lead to failed prints, wasted material, and frustrating iterations.
The preparation process involves a series of critical checks and adjustments to ensure the model adheres to the manufacturing guidelines of your chosen 3D printer and material. This includes making sure the mesh is “manifold” (every edge belongs to exactly two faces, forming a closed volume), that there are no intersecting polygons, and that the model is appropriately scaled. For hobbyists creating custom emblems, or professionals prototyping complex engine components, mastering these preparation steps is as important as the initial modeling itself. This section will guide you through transforming your visually perfect 3D car models into print-ready files, bridging the gap between virtual design and tangible innovation.
Ensuring Watertight Meshes and Manifold Geometry
The most critical requirement for 3D printing is a “watertight” or “manifold” mesh. Imagine filling your 3D model with water – if it can leak out anywhere, it’s not watertight.
* **Closed Volume:** The model must represent a completely closed volume without any open edges, holes, or gaps. Every face must have a “backside” and a “frontside.”
* **No Flipped Normals:** Normals define which way a polygon is facing. All normals must consistently point outwards. Inverted or flipped normals can confuse the slicer software, leading to missing surfaces or errors during printing.
* **No Intersecting or Self-Intersecting Geometry:** Polygons should not pass through each other. Self-intersections confuse the slicer about what is “inside” and “outside” the model, leading to voids or incorrect fills.
* **Non-Manifold Edges/Vertices:** These are edges or vertices that have more or less than two faces connected to them, indicating an issue in the mesh. Most 3D software (Blender’s 3D Print Toolbox, 3ds Max’s STL Check, Maya’s Mesh > Cleanup) offers tools to detect and fix these errors. When downloading models, even high-quality ones from 88cars3d.com, it’s always good practice to perform a quick check, especially if they weren’t originally designed with 3D printing as the primary goal.
Scaling, Wall Thickness, and Support Structures
Beyond watertightness, other physical parameters are vital:
* **Scaling:** Ensure your model is exported at the correct real-world scale (e.g., millimeters for small parts, centimeters for larger models). Most slicers assume units of millimeters.
* **Wall Thickness:** This is paramount. Every wall, feature, or detail on your model must have a minimum thickness to be physically printable and durable. This minimum varies significantly by printer technology and material (e.g., FDM might require 1-2mm, SLA 0.5-1mm, SLS can go finer). Thin walls can fail to print, break easily, or warp.
* **Overhangs:** Features that extend outwards without support from below (e.g., the underside of a car body) will require support structures during printing to prevent them from collapsing. While slicer software automatically generates these, understanding how overhangs affect print time, material usage, and post-processing can influence your design choices. For intricate car parts, minimizing self-supporting angles is often a design goal.
* **Hollowing:** For large prints, hollowing out the interior of the model can save material and reduce print time, but it requires carefully placed drainage holes to remove uncured resin (for SLA) or powder (for SLS).
Mesh Repair and Export Formats for 3D Printing
* **Mesh Repair Tools:** Software like Meshmixer (free), Netfabb, or integrated tools within your 3D modeling package are invaluable for automated mesh repair. They can fill holes, fix inverted normals, and make non-manifold geometry watertight.
* **Export Formats:**
* **STL (Stereolithography):** The most common and widely supported file format for 3D printing. It represents surfaces as a collection of triangles.
* **OBJ (Wavefront Object):** Also widely used, OBJ can store color and texture information, making it suitable for full-color prints, though often STL is preferred for simpler single-color prints.
* **3MF (3D Manufacturing Format):** A newer, more comprehensive format designed to overcome the limitations of STL, supporting colors, materials, textures, and even internal structures. It’s gaining traction in professional workflows.
Always export in binary format for STL files to keep file sizes smaller.
Beyond Visualization: Custom 3D Car Parts and Prototyping
The true power of 3D printing for automotive enthusiasts and professionals extends far beyond mere visualization. It unlocks the ability to create tangible, functional custom 3D car parts, develop rapid prototypes, and iterate on designs with unprecedented speed and cost-effectiveness. This capability empowers individuals to personalize their vehicles with unique accessories, restore classic cars with hard-to-find components, or for engineers to quickly test complex functional assemblies before committing to expensive tooling and manufacturing processes. The transition from designing a digital model to holding a physical component in your hand is a game-changer, fostering innovation and pushing the boundaries of what’s possible in automotive customization and development.
The journey from a digital blueprint to a physical custom car part involves critical decisions regarding material selection, print technology, and post-processing to ensure the printed part meets specific strength, durability, and aesthetic requirements. Whether it’s a bespoke interior trim piece, a specialized bracket, or a functional prototype of an aerodynamic body kit, understanding the nuances of additive manufacturing allows for intelligent design and successful implementation. This section will explore the exciting realm of custom 3D car parts and the iterative nature of rapid prototyping, highlighting how 3D printing is revolutionizing both aftermarket customization and original equipment manufacturing (OEM) design cycles.
Designing Functional Custom Parts
When designing custom 3D car parts, the focus shifts from purely aesthetic accuracy to functional integrity.
* **Strength and Durability:** Consider the forces the part will endure. For structural components, design with thicker walls, internal infills (a setting in slicer software), and appropriate material. Ribs and gussets can be added to reinforce stress points, a technique borrowed from traditional injection molding.
* **Fit and Tolerance:** Accurately measure the mating surfaces in the real world to ensure your 3D printed part fits perfectly. Account for printer tolerances – 3D printers are not infinitely precise, and slight deviations can occur. Design with small clearances (e.g., 0.1-0.3mm) for mating parts.
* **Environmental Factors:** Will the part be exposed to high temperatures (under the hood), UV radiation (exterior parts), or chemicals? These factors dictate material choice.
* **Assembly and Integration:** Design parts with assembly in mind, incorporating features like screw holes, snap-fit connectors, or slots for wiring.
* **Optimization for Printing:** Orient the part during slicing to minimize supports and maximize strength in critical directions, aligning print layers with the direction of anticipated stress. For complex geometries, consider breaking the part into smaller, easier-to-print sections that can be assembled later.
Material Selection for Automotive 3D Prints
The choice of 3D printing material is paramount for functional car parts:
* **PLA (Polylactic Acid):** Easy to print, biodegradable, but relatively brittle and has a low heat resistance. Best for non-functional aesthetic parts, jigs, or basic prototypes.
* **ABS (Acrylonitrile Butadiene Styrene):** More durable, impact-resistant, and higher heat resistance than PLA. Good for interior parts (e.g., trim, console components) and some under-hood applications. Can be prone to warping.
* **PETG (Polyethylene Terephthalate Glycol):** Offers good strength, flexibility, chemical resistance, and better heat resistance than PLA. A popular all-around choice for many automotive applications, including exterior parts due to UV resistance.
* **Nylon (Polyamide):** Excellent strength, durability, flexibility, and chemical resistance. Ideal for functional parts like gears, brackets, or clips. Often used with carbon fiber reinforcement for added stiffness and strength.
* **Carbon Fiber Reinforced Filaments:** These composite filaments (e.g., NylonX, PC-CF) offer significantly increased strength, stiffness, and heat resistance, making them suitable for high-performance functional parts, brackets, or even lightweight body components.
* **Resins (SLA/DLP):** For highly detailed, smooth prototypes or small, intricate parts. Standard resins are often brittle, but engineering resins offer increased toughness, flexibility, or high temperature resistance for specific applications.
Rapid Prototyping and Iteration Cycles
3D printing accelerates the design and development cycle dramatically:
1. **Concept to Physical Model in Hours/Days:** Instead of weeks or months for traditional manufacturing, a design can go from CAD model to a physical prototype in a matter of hours, allowing designers to quickly evaluate ergonomics, aesthetics, and fit.
2. **Iterative Design:** This speed enables rapid iteration. Designers can print multiple versions of a part, test them, identify flaws, refine the CAD model, and print again, quickly converging on an optimal design. This is invaluable for complex components like air intake manifolds or aerodynamic elements where subtle changes can have significant impacts.
3. **Cost-Effectiveness:** For small batches or one-off custom parts, 3D printing is far more cost-effective than traditional tooling and manufacturing processes. It eliminates the need for expensive molds or specialized machinery, democratizing access to custom fabrication.
4. **Personalization and Customization:** For car enthusiasts, 3D printing means endless possibilities for personalization – from custom shift knobs and dashboard inserts to bespoke aerodynamic elements or classic car restoration parts that are no longer manufactured. Platforms offering high-quality 3D car models, like 88cars3d.com, provide excellent starting points for generating these custom parts.
Conclusion: Driving Innovation with High-Quality 3D Car Models and Additive Manufacturing
The digital age has irrevocably transformed the automotive landscape, placing 3D modeling and 3D printing at the heart of design, development, and enthusiast culture. From crafting the pristine topology of a photorealistic virtual vehicle to engineering a functional custom 3D car part that enhances a real-world machine, the possibilities are vast and continually expanding. We’ve explored the essential foundations of clean geometry, the artistry of PBR materials, the science of high-fidelity rendering, the necessity of optimization for interactive experiences, and the critical steps for translating digital designs into tangible objects through 3D printing.
Mastering these workflows equips artists, designers, and engineers with the tools to innovate faster, visualize more compellingly, and build more efficiently. Whether your goal is to create breathtaking automotive renders, develop immersive game assets, build captivating AR/VR experiences, or produce bespoke components for custom builds, the journey begins with high-quality 3D car models. By understanding the intricate demands of each application – from the polycount budgets of game engines to the watertight geometry requirements for 3D printing – you can ensure your 3D assets are versatile, performant, and ready for any challenge. Embrace these advanced techniques, leverage reliable resources like 88cars3d.com for your foundational models, and continue to push the boundaries of automotive creativity, both in pixels and in plastic. The road ahead is rich with innovation, and your skills in advanced 3D are the key to driving it.
Featured 3D Car Models
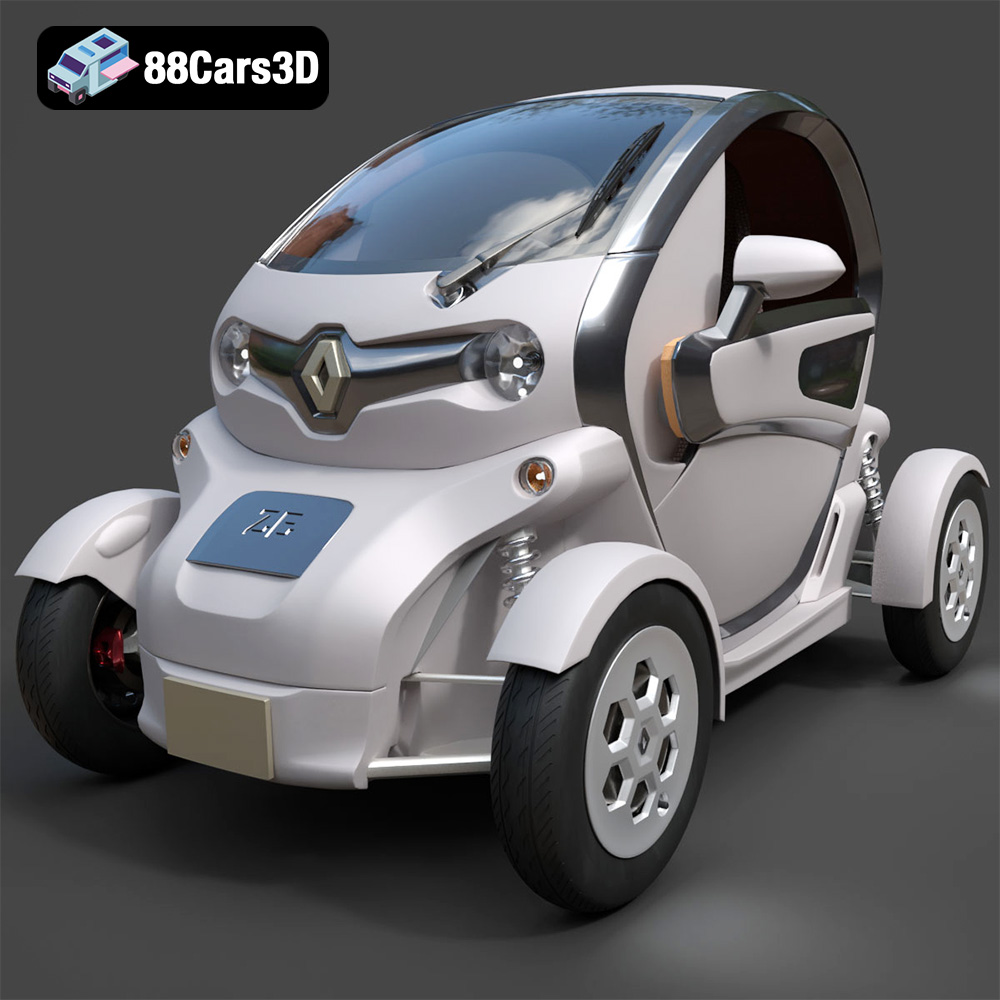
Renault Twizy ZE 3D Model
Texture: Yes
Material: Yes
Download the Renault Twizy ZE 3D Model featuring clean geometry, realistic detailing, and a fully modeled interior. Includes .blend, .fbx, .obj, .glb, .stl, .ply, .unreal, and .max formats for rendering, simulation, and game development.
Price: $4.99
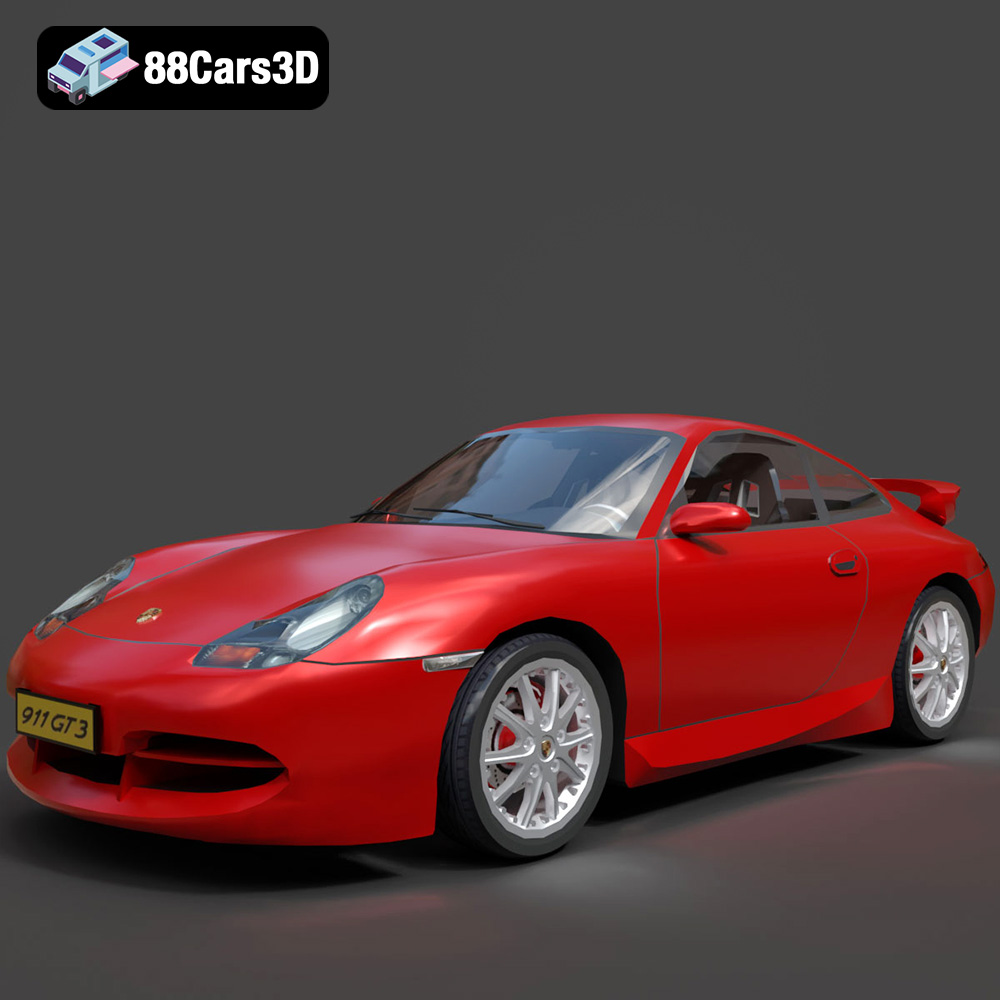
Porsche 911 GT3 3D Model
Texture: Yes
Material: Yes
Download the Porsche 911 GT3 3D Model featuring clean geometry, realistic detailing, and a fully modeled interior. Includes .blend, .fbx, .obj, .glb, .stl, .ply, .unreal, and .max formats for rendering, simulation, and game development.
Price: $4.99
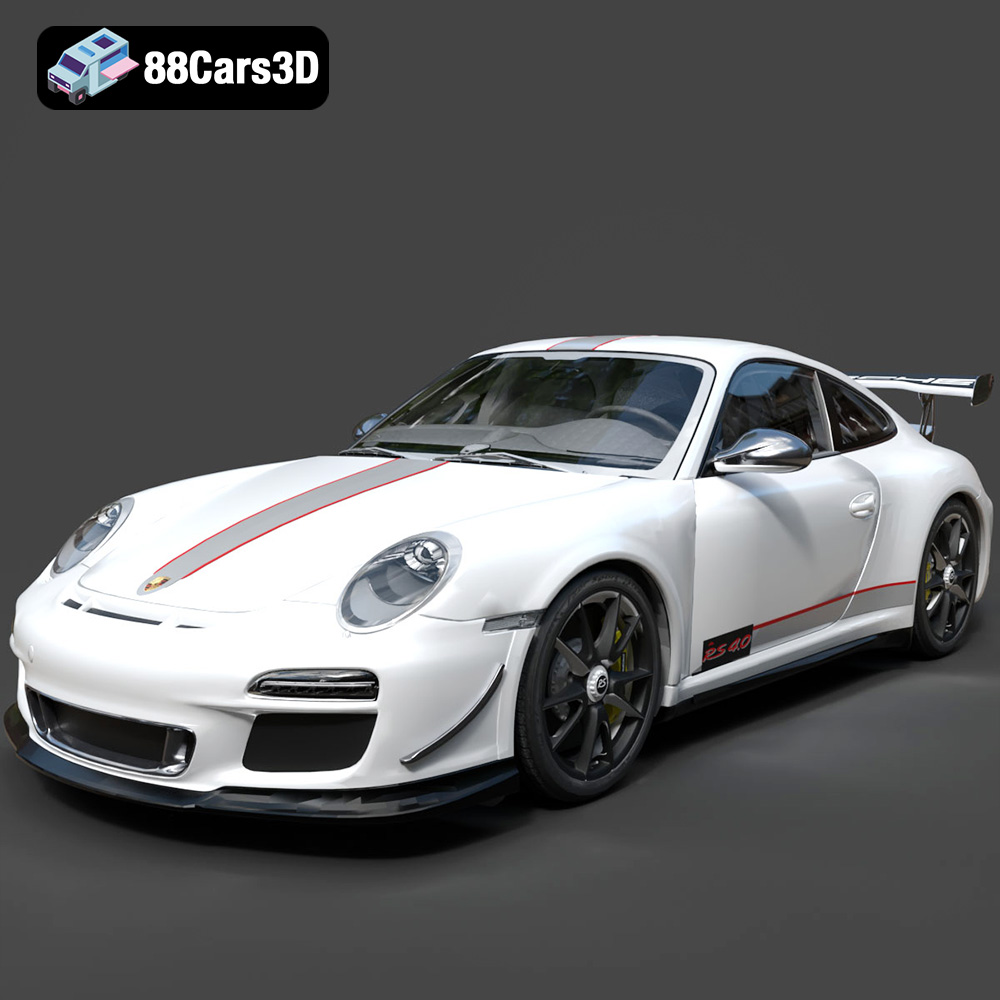
Porsche 911 997 GT3 RS 4.0 2011 3D Model
Texture: Yes
Material: Yes
Download the Porsche 911 997 GT3 RS 4.0 2011 3D Model featuring clean geometry, realistic detailing, and a fully modeled interior. Includes .blend, .fbx, .obj, .glb, .stl, .ply, .unreal, and .max formats for rendering, simulation, and game development.
Price: $4.99
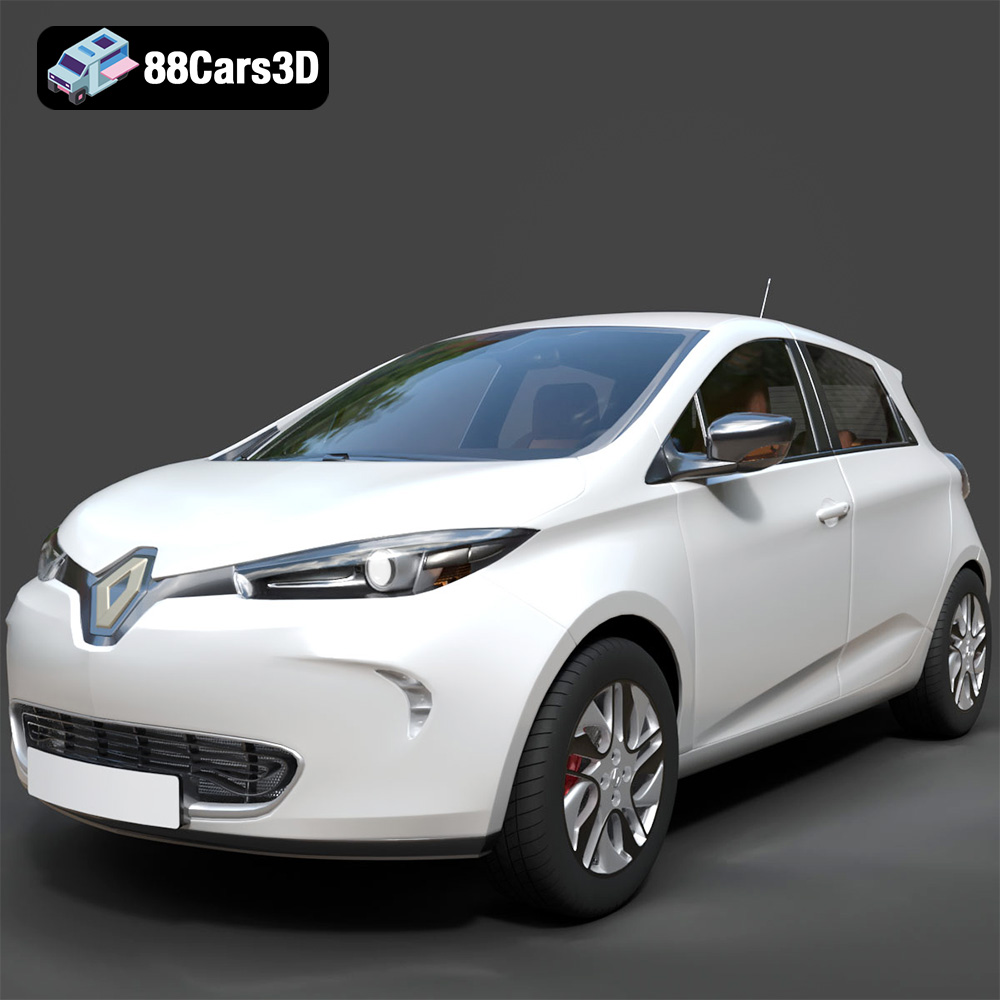
Renault Zoe 3D Model
Texture: Yes
Material: Yes
Download the Renault Zoe 3D Model featuring clean geometry, realistic detailing, and a fully modeled interior. Includes .blend, .fbx, .obj, .glb, .stl, .ply, .unreal, and .max formats for rendering, simulation, and game development.
Price: $4.99
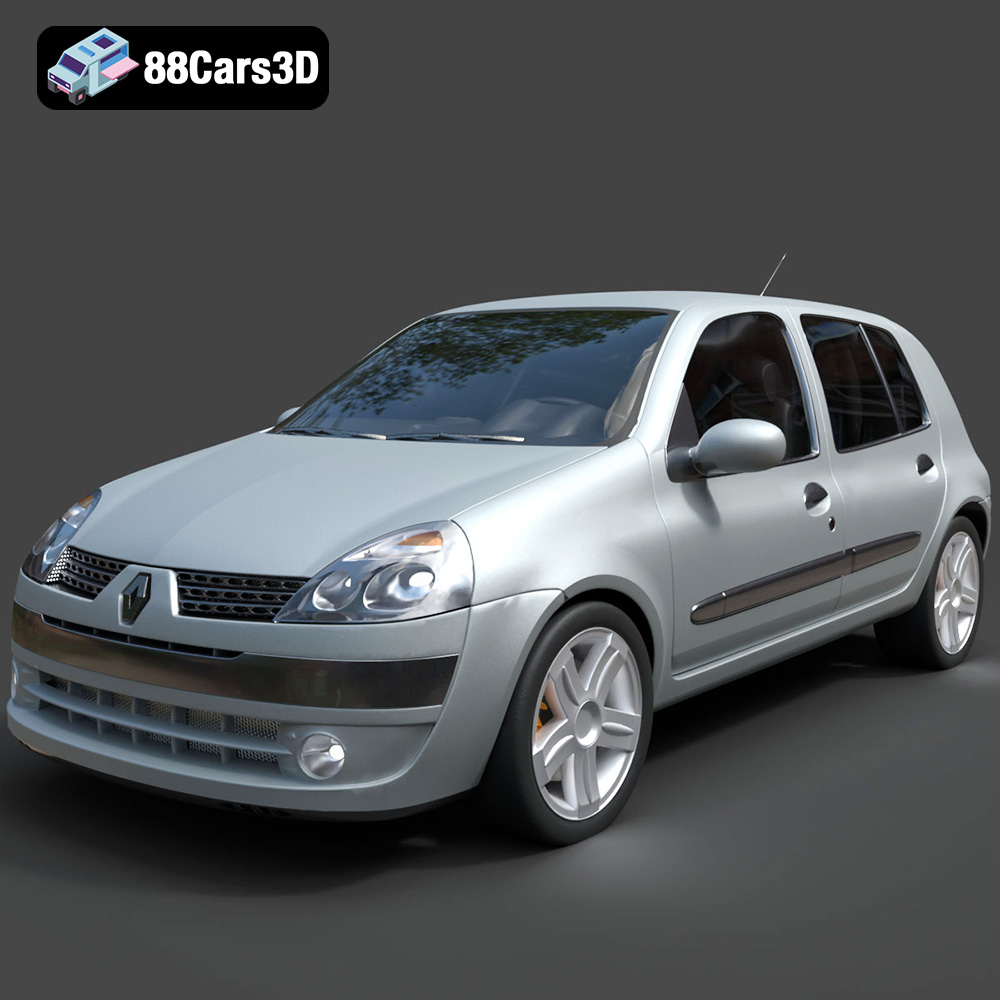
Renault Clio 2025 3D Model
Texture: Yes
Material: Yes
Download the Renault Clio 2025 3D Model featuring clean geometry, realistic detailing, and a fully modeled interior. Includes .blend, .fbx, .obj, .glb, .stl, .ply, .unreal, and .max formats for rendering, simulation, and game development.
Price: $4.99
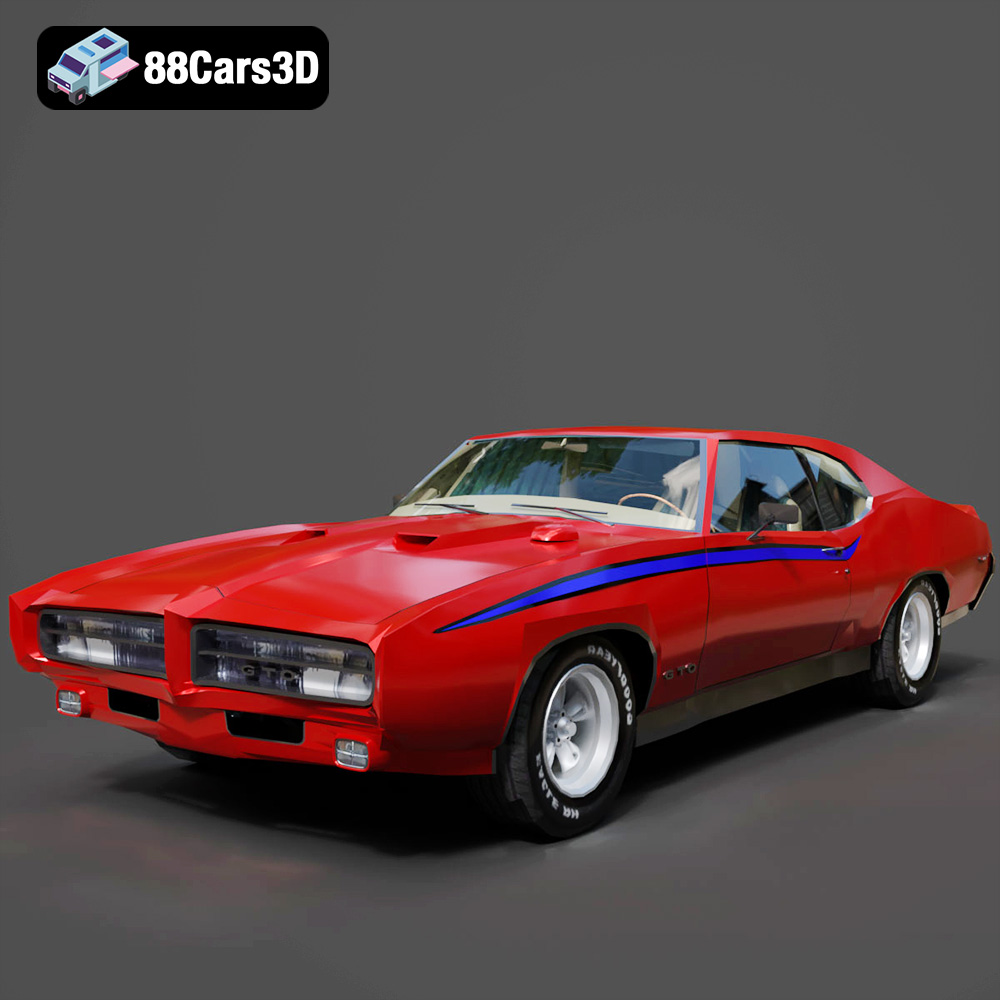
Pontiac GTO The Judge 1969 3D Model
Texture: Yes
Material: Yes
Download the Pontiac GTO The Judge 1969 3D Model featuring clean geometry, realistic detailing, and a fully modeled interior. Includes .blend, .fbx, .obj, .glb, .stl, .ply, .unreal, and .max formats for rendering, simulation, and game development.
Price: $4.99
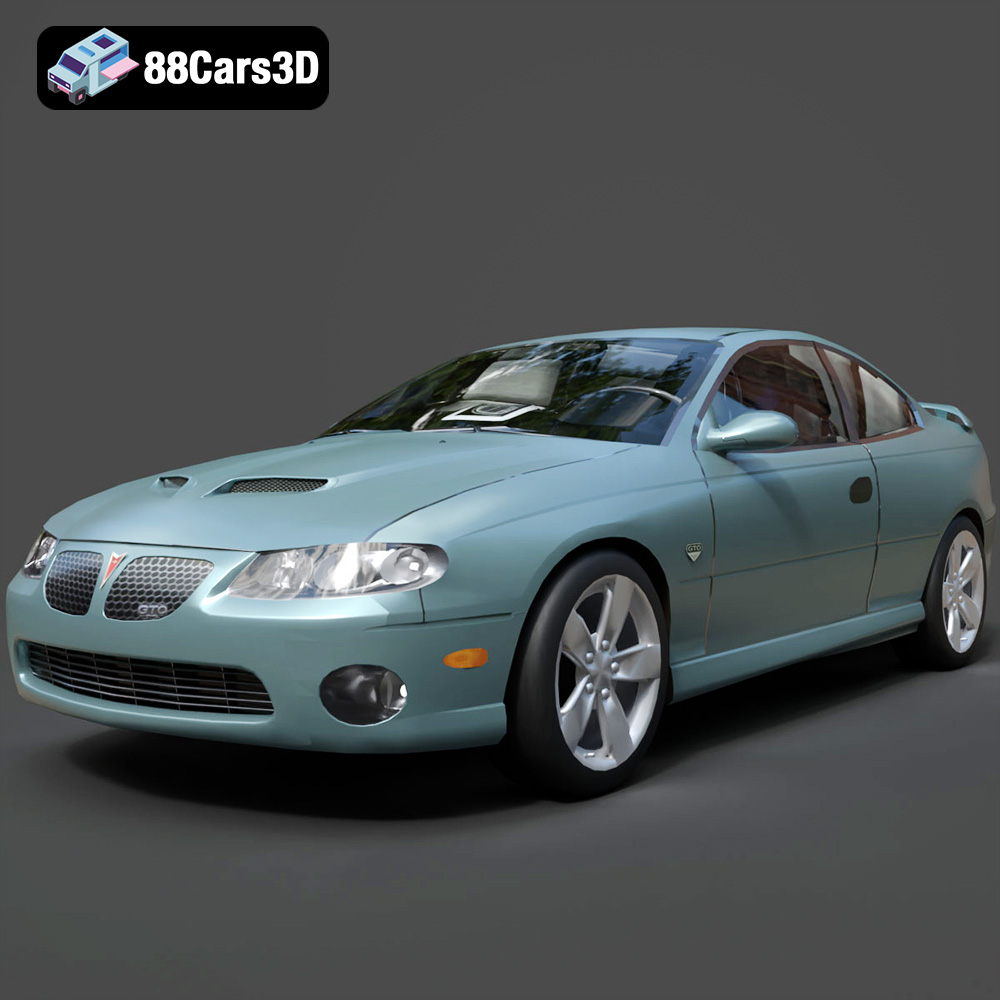
Pontiac GTO 2000 3D Model
Texture: Yes
Material: Yes
Download the Pontiac GTO 2000 3D Model featuring clean geometry, realistic detailing, and a fully modeled interior. Includes .blend, .fbx, .obj, .glb, .stl, .ply, .unreal, and .max formats for rendering, simulation, and game development.
Price: $4.99
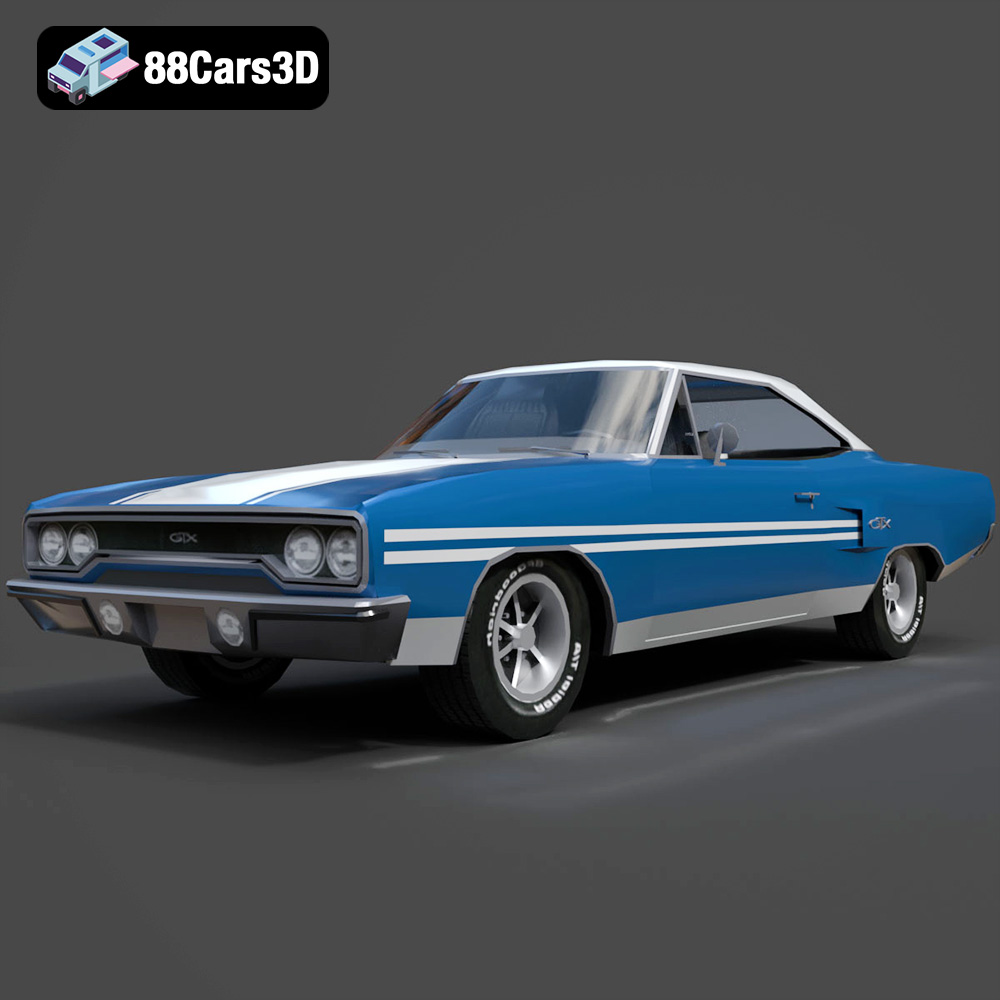
Plymouth GTX 1970 3D Model
Texture: Yes
Material: Yes
Download the Plymouth GTX 1970 3D Model featuring clean geometry, realistic detailing, and a fully modeled interior. Includes .blend, .fbx, .obj, .glb, .stl, .ply, .unreal, and .max formats for rendering, simulation, and game development.
Price: $10
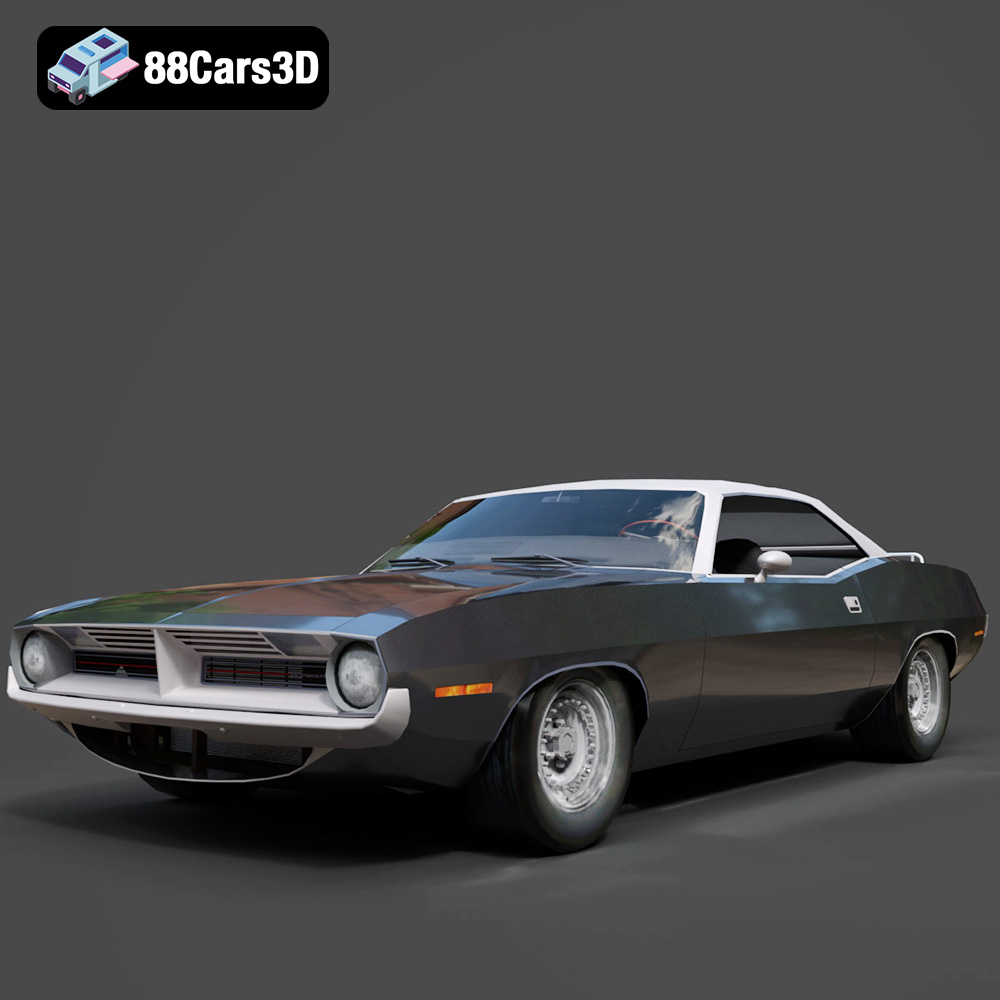
Plymouth Cuda Cabrio 1970 3D Model
Texture: Yes
Material: Yes
Download the Plymouth Cuda Cabrio 1970 3D Model featuring clean geometry, realistic detailing, and a fully modeled interior. Includes .blend, .fbx, .obj, .glb, .stl, .ply, .unreal, and .max formats for rendering, simulation, and game development.
Price: $4.99
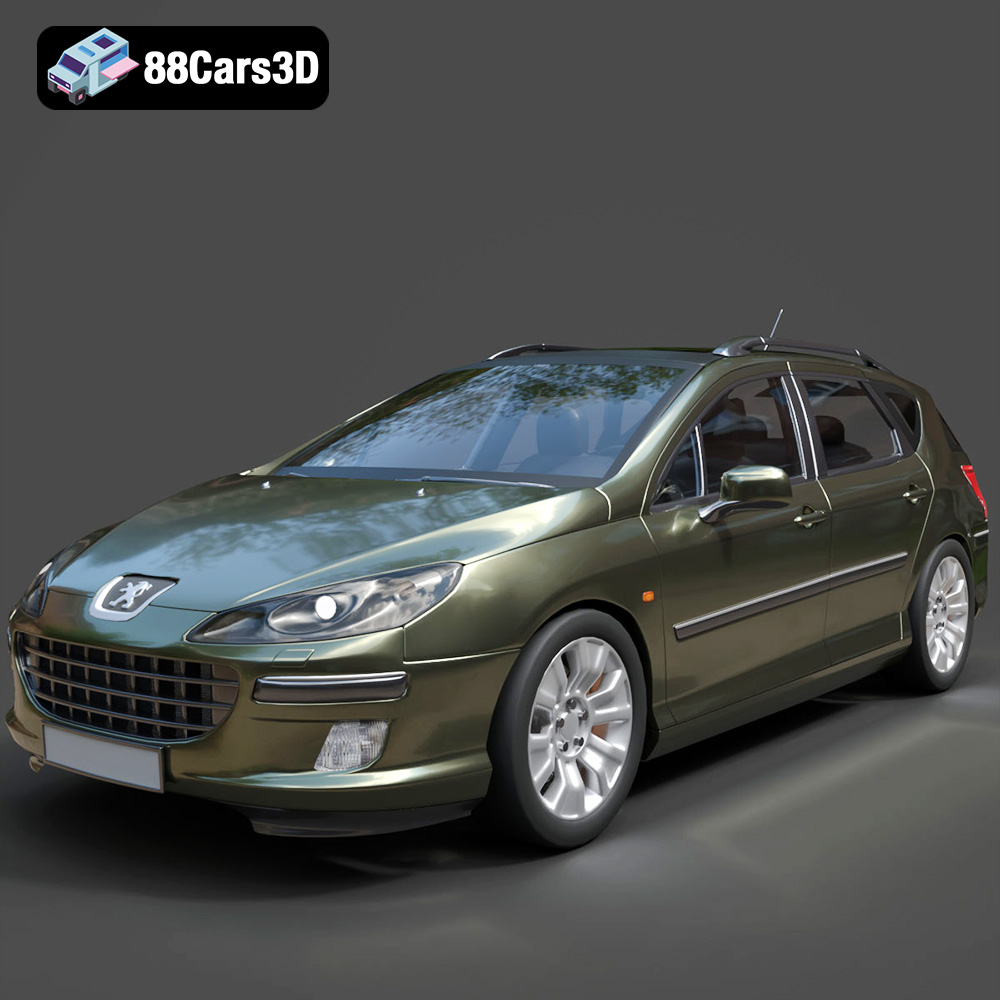
Peugeot 407 SW 3D Model
Texture: Yes
Material: Yes
Download the Peugeot 407 SW 3D Model featuring clean geometry, realistic detailing, and a fully modeled interior. Includes .blend, .fbx, .obj, .glb, .stl, .ply, .unreal, and .max formats for rendering, simulation, and game development.
Price: $4.99
