Mastering the Art of 3D Car Models: From Concept to Cutting-Edge Applications
Mastering the Art of 3D Car Models: From Concept to Cutting-Edge Applications
In the fast-evolving world of 3D visualization, the demand for high-fidelity 3D car models has never been greater. Whether for immersive video games, photorealistic automotive rendering, interactive AR/VR experiences, or precision 3D printing, the quality and technical integrity of these digital assets are paramount. Creating or utilizing truly exceptional car models involves navigating a complex landscape of technical considerations, from pristine topology and efficient UV mapping to sophisticated PBR material creation and robust game engine optimization. It’s a journey that demands a deep understanding of artistic principles combined with rigorous technical execution.
This comprehensive guide delves into the intricate details of crafting, optimizing, and deploying 3D car models across various professional applications. We’ll explore the foundational principles that define a superior model, dissect advanced rendering and optimization techniques, and uncover how these assets power everything from cinematic visualizations to interactive real-time environments. By the end of this deep dive, you’ll possess a clearer understanding of the best practices and workflows necessary to achieve outstanding results in your automotive rendering and game asset development projects, ultimately elevating your creative output and technical proficiency.
The Foundation: Flawless Topology and Edge Flow for Automotive Models
The structural integrity of any high-quality 3D car model begins with its topology – the arrangement of vertices, edges, and faces that form the mesh. For complex, smooth surfaces like those found on an automobile, clean and purposeful topology is not just aesthetically pleasing; it’s fundamental for proper deformation, accurate shading, and efficient subdivision. Automotive models, with their sleek curves and sharp creases, demand an especially disciplined approach to mesh construction. The goal is to achieve an all-quad mesh wherever possible, ensuring predictable smoothing and avoiding pinching artifacts.
Effective edge flow dictates how the mesh responds to smoothing operations, such as TurboSmooth in 3ds Max or Subdivision Surface in Blender. Edges should follow the natural contours and creases of the car’s body panels, directing the flow of light and shadow correctly. This is particularly critical around areas like wheel arches, door seams, hood lines, and headlight housings. Poor edge flow can lead to undesirable faceting, uneven reflections, and a loss of the car’s intended design language. Professional models, such as those found on platforms like 88cars3d.com, exemplify this meticulous attention to topological detail, ensuring they are production-ready for a variety of uses.
Achieving Production-Ready Mesh Density
Determining the optimal mesh density is a balancing act between visual fidelity and performance. For high-end automotive rendering and visualization, a higher polygon count is often desirable, allowing for incredibly smooth surfaces without relying heavily on subdivision. However, for game assets or AR/VR applications, aggressive optimization is key. A common practice is to model the base mesh with sufficient detail to capture primary forms, then use subdivision modifiers or carefully placed support loops to achieve higher fidelity. For instance, a detailed production model might range from 150,000 to 500,000 polygons for the exterior body, while a game-ready version might target 50,000 to 150,000 polygons, leveraging Normal Maps to retain surface detail.
- Primary Forms First: Block out the main shapes with minimal polygons, focusing on accurate proportions.
- Edge Loop Placement: Add edge loops strategically around areas requiring sharp creases (e.g., door gaps, panel lines) to control subdivision.
- Quad Dominance: Strive for an all-quad mesh. Triangles can be acceptable in flat, non-deforming areas, but should be minimized on curved surfaces.
- Pole Management: Limit poles (vertices with more than 5 edges) as they can cause pinching. Keep them on flatter surfaces or corners where their effect is less noticeable.
Best Practices for Smooth Subdivisions and Crease Control
Subdivision surfacing is a powerful technique for creating smooth, organic shapes from a lower-polygon base mesh. To ensure accurate representation of an automotive design, precise control over creases is essential. This is achieved through a combination of well-placed support loops (also known as control loops or holding edges) and, in some software, crease weights. Support loops are additional edge loops placed very close to a primary edge, effectively “sharpening” it during subdivision without adding unnecessary geometry to the entire surface.
For example, to define the crisp edge of a car door, two or three tight support loops would run parallel to the main door seam. In Maya or Blender, these can be inserted using the ‘Multi-Cut’ or ‘Loop Cut’ tools respectively. In 3ds Max, the ‘Swift Loop’ tool is invaluable for this purpose. When dealing with complex transitions, understanding how many support loops are needed and their exact proximity to the main edge is critical. Too few, and the edge remains soft; too many, or too close, and it can create an unnatural sharpness or even unwanted bumps. Mastering this art ensures that even at high subdivision levels, the car’s design intent is perfectly preserved.
Mastering UV Mapping for Realistic Car Surfaces
Once the topology is solid, the next crucial step is UV mapping. UVs are the 2D coordinates that tell your 3D software how to project a 2D texture onto a 3D surface. For the intricate and often reflective surfaces of a car, exceptional UV unwrapping is non-negotiable for achieving realistic materials and avoiding unsightly texture stretching or seams. A poorly UV-mapped model will severely limit its visual quality, regardless of how good the textures are. The goal is to create UV layouts that minimize distortion, efficiently utilize UV space, and logically organize texture islands.
Automotive surfaces often present unique challenges due to their large, curved panels and complex overlapping parts. Strategies need to be employed to hide seams in less conspicuous areas and ensure a consistent texel density across the entire model. Whether you’re working on a showpiece for automotive rendering or an optimized asset for a game engine, meticulous UV mapping ensures that every scratch, reflection, and decal appears exactly as intended, contributing significantly to the model’s overall realism.
Unwrapping Strategies for Complex Geometries
Complex car geometries require a strategic approach to UV unwrapping. It’s often beneficial to separate different logical components of the car into distinct UV islands. For example, the main body shell, individual doors, hood, trunk, wheels, and interior elements should each have their own unwrapped sections. The key is to strategically place seams where they will be least visible or where there’s a natural break in the geometry, such as along panel gaps or under components.
- Hard Edges vs. Soft Edges: Use ‘hard edges’ in your model to define where UV seams should be. This helps in controlling the unwrapping process and preventing texture bleeding across surfaces.
- Planar, Cylindrical, Spherical Projections: For parts like windows or tires, specific projection methods (e.g., planar for glass, cylindrical for tire sidewalls) can be very efficient starting points.
- Manual Refinement: After an initial projection (e.g., using a pelting algorithm in 3ds Max’s ‘Unwrap UVW’ modifier or ‘Unwrap’ in Blender), manual refinement is always necessary to relax distorted areas and arrange islands cleanly.
- Symmetry: For symmetrical car parts, unwrap one half and then mirror the UVs to save time and ensure consistency. Just remember to flip the mirrored UVs if they are part of a single UV set to prevent normal map issues.
Optimizing UV Space and Texel Density
Efficient utilization of UV space and consistent texel density are critical for both visual quality and performance. Texel density refers to the number of texture pixels per unit of 3D space. If different parts of your car model have vastly different texel densities, textures will appear blurry on some parts and overly sharp on others. A common approach is to use a checkerboard pattern texture during the UV unwrapping process to visually identify and correct areas with inconsistent texel density or stretching.
To optimize UV space, arrange your UV islands tightly within the 0-1 UV coordinate space, minimizing empty areas without causing overlapping. For incredibly detailed models, especially those for high-end rendering, UDIM workflows (multiple UV tiles) are often employed. This allows for extremely high-resolution textures across different parts of the car without exceeding the memory limits of a single texture map. For game engines, however, often a single texture atlas (combining many small textures into one larger texture map) is preferred to reduce draw calls and optimize performance. Regardless of the approach, clean, organized UVs are a hallmark of a professional 3D car model, ready for advanced PBR materials and detailed texturing.
PBR Materials and Shader Networks: Bringing Cars to Life
The realism of a 3D car model truly shines through its materials and shading. Physically Based Rendering (PBR) has become the industry standard, providing a framework for creating materials that behave realistically under various lighting conditions. PBR materials simulate how light interacts with surfaces in the real world, relying on properties like albedo (base color), roughness, metallic, normal, and ambient occlusion maps. Mastering these components is essential for achieving the stunning visual fidelity expected in modern automotive rendering and visualization.
Building effective shader networks involves understanding how these maps are connected and manipulated within your chosen rendering engine (e.g., Corona Renderer, V-Ray, Cycles, Arnold). Each component plays a vital role: the albedo map defines the diffuse color, the metallic map distinguishes between dielectric and metallic surfaces, the roughness map controls the sharpness of reflections, and the normal map adds intricate surface detail without increasing polygon count. A car’s paint, glass, chrome, rubber, and interior fabrics each require carefully crafted PBR materials to convey their unique physical properties and create a truly believable representation.
Building Physically Based Shaders in Different Engines
While the core principles of PBR remain consistent, their implementation varies slightly across different rendering engines and 3D software. Here’s a quick overview:
- 3ds Max & Corona/V-Ray: Both Corona and V-Ray offer dedicated PBR materials (e.g., Corona Physical Material, V-Ray PBR Material, V-Ray Material with ‘Metalness’ workflow). You’ll typically connect your texture maps to slots like ‘Base Color,’ ‘Metalness,’ ‘Roughness,’ ‘Normal Map,’ and ‘IOR’ (Index of Refraction) for glass. Node-based material editors allow for complex layering and blending.
- Blender & Cycles/Eevee: Blender’s ‘Principled BSDF’ shader node is a powerful, all-in-one PBR solution. Simply plug your texture maps into the corresponding inputs: ‘Base Color,’ ‘Metallic,’ ‘Roughness,’ ‘Normal,’ and ‘IOR.’ Its intuitive design makes it easy to achieve professional results.
- Maya & Arnold: Arnold uses the ‘aiStandardSurface’ shader, which is a highly versatile PBR shader. Similar to other engines, it has clear inputs for ‘Base Color,’ ‘Metalness,’ ‘Specular Roughness,’ ‘Normal Map,’ and ‘Transmission’ for transparent materials. Maya’s Hypershade editor is used to build these networks.
Regardless of the software, the workflow typically involves: preparing your textures (often created in Substance Painter or Designer), creating a PBR material node, connecting the textures to their respective inputs, and adjusting values like reflectivity, transparency, and sub-surface scattering for specific materials.
Advanced Texturing Techniques (Decals, Wear, Scratches)
Beyond the fundamental PBR maps, advanced texturing techniques add the nuanced details that push realism to the next level. These include decals, wear and tear, and subtle imperfections. Decals (e.g., logos, racing stripes, warning labels) can be applied using layered materials, projection mapping, or by directly baking them into the main texture maps. Using a separate decal shader allows for greater flexibility and non-destructive adjustments.
For wear and scratches, techniques like grunge maps, procedural noise, and curvature maps are invaluable. These can be blended with the base material using masks to create areas of reduced gloss, chipped paint, or subtle abrasions. For example, a worn-edge effect can be achieved by using a curvature map (generated from your model’s geometry) to drive a blend between a clean paint material and a darker, less reflective undercoat material. This level of detail, combined with realistic shader networks, is what distinguishes truly exceptional 3D car models and makes them indispensable for high-end visualization.
High-Fidelity Rendering Workflows and Environment Setup
The final step in bringing a 3D car model to life is the rendering process. This is where all the meticulous work on topology, UVs, and PBR materials culminates into a stunning, photorealistic image or animation. A successful render isn’t just about clicking a button; it involves a sophisticated workflow encompassing lighting, camera setup, and often, extensive post-processing. The goal is to simulate real-world photography, capturing the vehicle’s form, material properties, and design intent in the most compelling way possible.
Choosing the right rendering engine (e.g., Corona, V-Ray, Cycles, Arnold) depends on your specific needs, software ecosystem, and desired aesthetic. Each offers unique strengths in terms of speed, quality, and feature sets. However, the core principles of effective lighting and composition remain universal. An optimally rendered image can elevate a high-quality 3D car model from a mere digital asset to a powerful marketing tool or an engaging piece of art, showcasing its true potential in automotive rendering and design visualization.
Lighting the Scene: HDRI, Area Lights, and Artificial Illumination
Lighting is the single most critical factor in achieving a realistic render. It defines mood, highlights form, and reveals material properties. A common and highly effective starting point for outdoor or studio lighting is a High Dynamic Range Image (HDRI). HDRIs capture real-world lighting information, providing incredibly accurate and nuanced environmental illumination. When used as a dome light or environment map, an HDRI can simulate everything from a sunny afternoon to an overcast sky, casting natural shadows and reflections onto your 3D car model.
For more control, especially in studio setups or to emphasize specific features, traditional area lights, spot lights, and photometric lights are used. Area lights create soft, diffused light, perfect for replicating studio softboxes or large windows. Spotlights can be used for dramatic accents or to simulate headlights. When lighting a car, consider the following:
- Three-Point Lighting: A classic setup with a key light (main source), fill light (softens shadows), and back light (defines silhouette).
- Reflections: Add reflective planes or light sources (even if invisible) specifically to create interesting reflections on the car’s paintwork and chrome.
- Shadows: Ensure shadows are realistic in terms of sharpness and falloff. Contact shadows are crucial for grounding the car in the environment.
- Color Temperature: Use realistic color temperatures for your lights to avoid artificial-looking illumination.
Camera Settings, Post-Processing, and Compositing for Impact
The camera’s role in a render is just as important as in real-world photography. Understanding focal length, aperture, and depth of field allows you to compose striking images. A longer focal length (e.g., 85mm-120mm) is often preferred for cars as it reduces perspective distortion, making the vehicle appear more substantial and elegant. Adjusting the aperture controls depth of field, allowing you to beautifully blur the background and draw attention to the car. Motion blur can add dynamic realism to animations of moving vehicles.
Post-processing and compositing are the final layers of polish. Software like Adobe Photoshop, Affinity Photo, or Nuke can be used to enhance your raw renders. This involves:
- Color Grading: Adjusting colors, contrast, and saturation to achieve a specific mood or look.
- Exposure & White Balance: Correcting overall brightness and color cast.
- Lens Effects: Adding subtle lens flares, chromatic aberration, or vignetting for a photographic feel.
- Render Passes: Utilizing render passes (e.g., separate passes for reflections, shadows, ambient occlusion, object IDs) allows for incredible control during compositing, enabling precise adjustments to individual elements without re-rendering the entire scene.
By integrating these steps, you transform a technically sound 3D car model into a visually captivating piece of automotive visualization, ready for any high-end presentation.
Optimizing 3D Car Models for Game Engines and Real-Time Applications
While high-fidelity rendering demands maximum detail, real-time applications like video games, interactive experiences, and virtual showrooms prioritize performance. Optimizing 3D car models for game engines (Unity, Unreal Engine) involves a different set of considerations, primarily focused on reducing draw calls, polygon counts, and texture memory footprint without sacrificing visual quality. This balance is crucial for maintaining high frame rates and a smooth user experience, especially across a range of hardware specifications. Efficient game asset creation is a specialized skill that combines artistic finesse with technical acumen.
The core challenge is to make the model look as good as possible while staying within strict performance budgets. This often means creating multiple versions of the model, strategically reducing polygon counts, consolidating materials, and employing smart texture management. When sourcing models, particularly from marketplaces such as 88cars3d.com, it’s vital to check if they come with optimized versions or if they are suitable for further optimization, ensuring they meet the stringent requirements of real-time environments.
Implementing LODs and Draw Call Reduction Strategies
Level of Detail (LOD) systems are indispensable for optimizing 3D car models in game engines. LODs involve creating multiple versions of the same model, each with progressively lower polygon counts. The engine then dynamically switches between these versions based on the camera’s distance from the object. For example, a car might have a high-poly LOD0 for close-up views (e.g., 80,000-150,000 polygons), a medium-poly LOD1 for mid-range views (e.g., 20,000-40,000 polygons), and a low-poly LOD2 for distant views (e.g., 5,000-10,000 polygons). This ensures that only necessary detail is rendered, saving significant processing power.
Reducing draw calls is another critical optimization. A draw call occurs every time the CPU instructs the GPU to draw an object. Each material on a mesh typically constitutes a separate draw call. Therefore, minimizing the number of materials used on a car model is key. Techniques include:
- Material Instancing: Using a base material and creating instances with different parameters (colors, textures) can reduce draw calls.
- Combine Meshes: Merging multiple small mesh parts (e.g., bolts, interior buttons) into a single mesh, if they share materials, reduces draw calls.
- Occlusion Culling: Hides objects that are not visible to the camera (e.g., car interior when the doors are closed).
- Static Batching / Dynamic Batching: Game engines like Unity and Unreal can automatically combine meshes that share the same material into a single draw call, significantly improving performance.
Texture Atlasing and Material Instancing for Performance
Texture atlasing involves combining multiple smaller textures (e.g., textures for the wheels, mirrors, and badges) into a single, larger texture map. Instead of loading and rendering several individual textures, the engine only needs to load one, reducing memory overhead and draw calls. This requires careful UV remapping to ensure each part of the model points to the correct region within the atlas. For a complex 3D car model, having a few large texture atlases (e.g., one for the exterior body, one for the interior, one for wheels) is far more efficient than dozens of small textures.
Material instancing complements this by allowing variations of a material without creating entirely new material assets. For example, you might have a base car paint material, and then create multiple instances of it, each with a different ‘Base Color’ parameter to represent different car colors. This allows for extensive customization with minimal performance impact. By combining these strategies, developers can create visually rich 3D car models that perform optimally within the demanding constraints of real-time game asset environments, providing a smooth and immersive experience for players.
Versatile Applications: From AR/VR to 3D Printing
The utility of a high-quality 3D car model extends far beyond traditional rendering and gaming. With advancements in technology, these assets are now pivotal in cutting-edge applications like Augmented Reality (AR), Virtual Reality (VR), and even precision 3D printing. Each of these fields presents unique technical challenges and requirements, demanding specific optimization and preparation workflows. A truly versatile 3D car model is one that can be adapted and deployed across these diverse platforms, unlocking new possibilities for interaction, visualization, and manufacturing.
Understanding the specific technical considerations for each application is crucial for maximizing the value of your digital assets. Whether you’re aiming for an immersive showroom experience in VR, an interactive car configurator in AR, or a physical prototype through 3D printing, the underlying 3D car model needs to be meticulously prepared. This adaptability is a testament to the power of well-structured 3D data and highlights the importance of comprehensive asset creation pipelines.
Tailoring Models for AR/VR Experiences (GLB, USDZ)
AR/VR applications have stringent performance requirements due to the need for real-time interaction and often, mobile device deployment. For 3D car models, this translates to very tight polygon budgets (often 50,000-150,000 triangles for mobile AR/VR, sometimes up to 300,000 for high-end desktop VR), optimized PBR materials, and efficient texture usage. Shadows need to be baked or generated in real-time efficiently, and reflections often use cubemaps or screen-space reflections rather than complex real-time ray tracing.
Specific file formats are also crucial for AR/VR deployment:
- GLB (Binary GLTF): The standard for web-based AR/VR and general 3D web content. It’s a single file containing model geometry, materials, textures, and animation, making it highly portable and efficient for streaming. Platforms like Google’s ARCore often use GLB.
- USDZ: Apple’s proprietary format for AR experiences on iOS devices. Like GLB, it’s optimized for mobile and bundles all asset data into a single file. Models from 88cars3d.com can often be converted to these formats with the right tools, ensuring broad compatibility.
When preparing for AR/VR, focus on robust LODs, texture atlasing, and ensuring all materials correctly translate to real-time PBR shaders. Baked ambient occlusion maps can add significant visual depth without performance cost.
Preparing Automotive Models for 3D Printing (Mesh Repair, Wall Thickness)
3D printing requires a fundamentally different approach to 3D car models. The digital model must represent a physically buildable object, meaning it needs to be ‘watertight’ and have sufficient wall thickness. Issues common in rendering models, such as open edges, inverted normals, or non-manifold geometry, will cause printing failures.
Key preparation steps for 3D printing include:
- Watertight Mesh: Ensure there are no holes or gaps in the mesh. Every surface must enclose a solid volume. Tools like ‘Meshmixer,’ ‘Netfabb,’ or even built-in repair functions in Blender (3D Print Toolbox addon) or 3ds Max can help identify and repair these issues.
- Manifold Geometry: Every edge must be shared by exactly two faces. Non-manifold geometry (e.g., internal faces, edges shared by more than two faces) can confuse slicers and lead to errors.
- Minimum Wall Thickness: Different printing technologies and materials have specific minimum wall thickness requirements (e.g., 0.8mm – 2.0mm). Ensure all parts of your car model meet these specifications to prevent breakage during printing or post-processing.
- Scale and Orientation: Confirm the model is at the correct scale for printing and oriented optimally to minimize support structures and printing time.
- Boolean Operations: When combining separate parts (e.g., a car body and an interior), use precise Boolean operations to ensure clean intersections and a single, unified mesh.
By meticulously addressing these technical aspects, a digital 3D car model can transcend its virtual existence and become a tangible, physical prototype or collectible, demonstrating the remarkable versatility of these sophisticated assets.
Conclusion: Driving Innovation with Exceptional 3D Car Models
The journey through the intricate world of 3D car models reveals that excellence is not merely about aesthetic appeal, but about a deep-seated commitment to technical precision and optimized workflows. From the foundational principles of clean topology and efficient UV mapping to the advanced nuances of PBR material creation, high-fidelity rendering, and rigorous game engine optimization, every step contributes to the ultimate success of a digital automotive asset. Understanding these processes empowers artists and developers to not only create stunning visualizations but also to deploy their creations across a burgeoning landscape of applications, including immersive AR/VR experiences and physical prototypes via 3D printing.
The demand for versatile, high-quality 3D car models continues to grow across industries. By embracing the best practices and advanced techniques discussed, you are better equipped to tackle complex projects, solve technical challenges, and consistently deliver exceptional results. Remember, the investment in a meticulously crafted model pays dividends in flexibility, performance, and visual fidelity across all your creative endeavors. As you continue to push the boundaries of automotive rendering and interactive visualization, consider platforms like 88cars3d.com for sourcing professional-grade assets that adhere to these industry standards, providing a solid foundation for your most ambitious projects.
Featured 3D Car Models
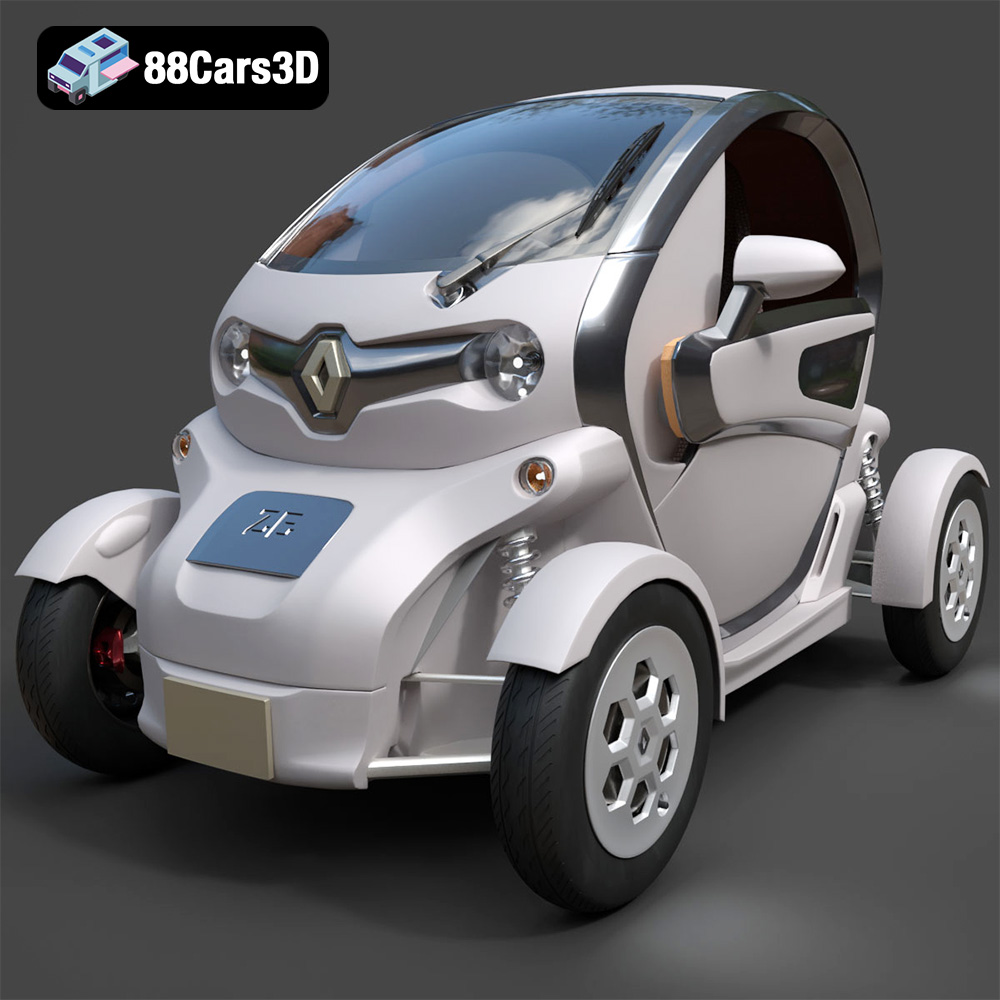
Renault Twizy ZE 3D Model
Texture: Yes
Material: Yes
Download the Renault Twizy ZE 3D Model featuring clean geometry, realistic detailing, and a fully modeled interior. Includes .blend, .fbx, .obj, .glb, .stl, .ply, .unreal, and .max formats for rendering, simulation, and game development.
Price: $4.99
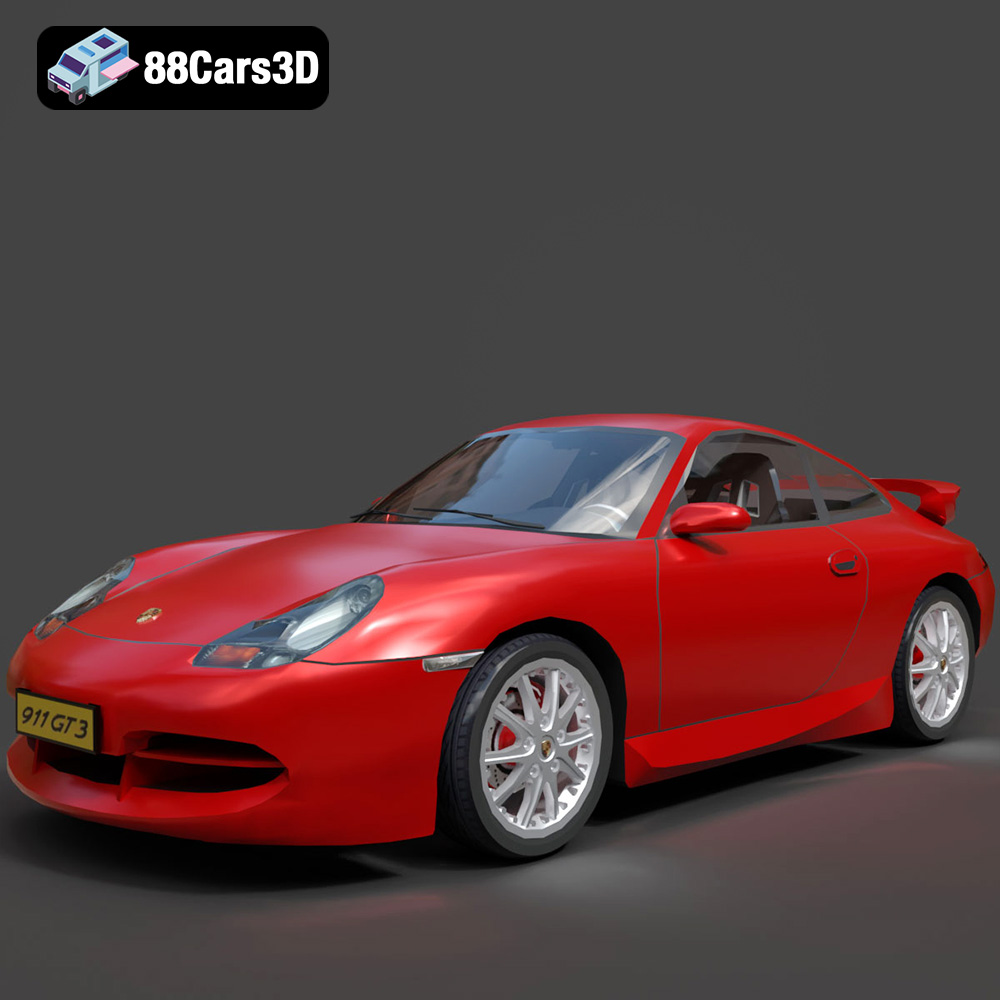
Porsche 911 GT3 3D Model
Texture: Yes
Material: Yes
Download the Porsche 911 GT3 3D Model featuring clean geometry, realistic detailing, and a fully modeled interior. Includes .blend, .fbx, .obj, .glb, .stl, .ply, .unreal, and .max formats for rendering, simulation, and game development.
Price: $4.99
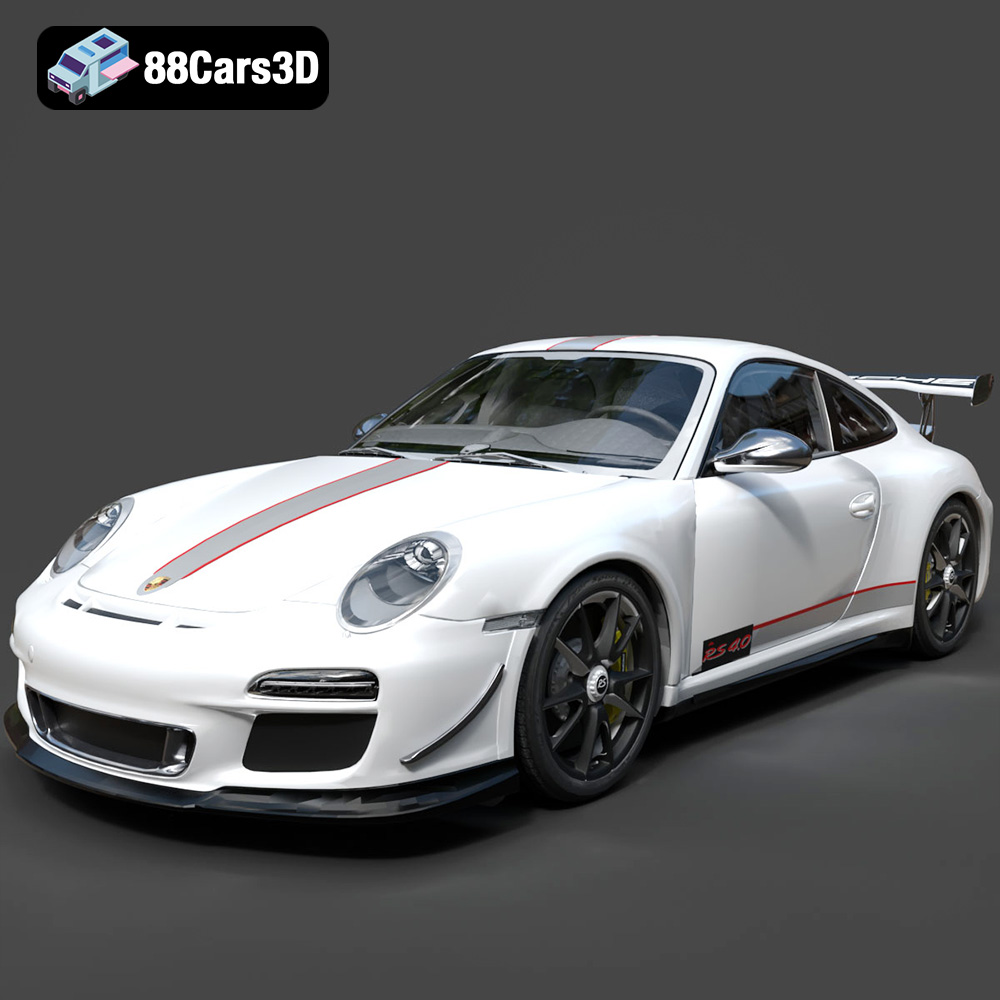
Porsche 911 997 GT3 RS 4.0 2011 3D Model
Texture: Yes
Material: Yes
Download the Porsche 911 997 GT3 RS 4.0 2011 3D Model featuring clean geometry, realistic detailing, and a fully modeled interior. Includes .blend, .fbx, .obj, .glb, .stl, .ply, .unreal, and .max formats for rendering, simulation, and game development.
Price: $4.99
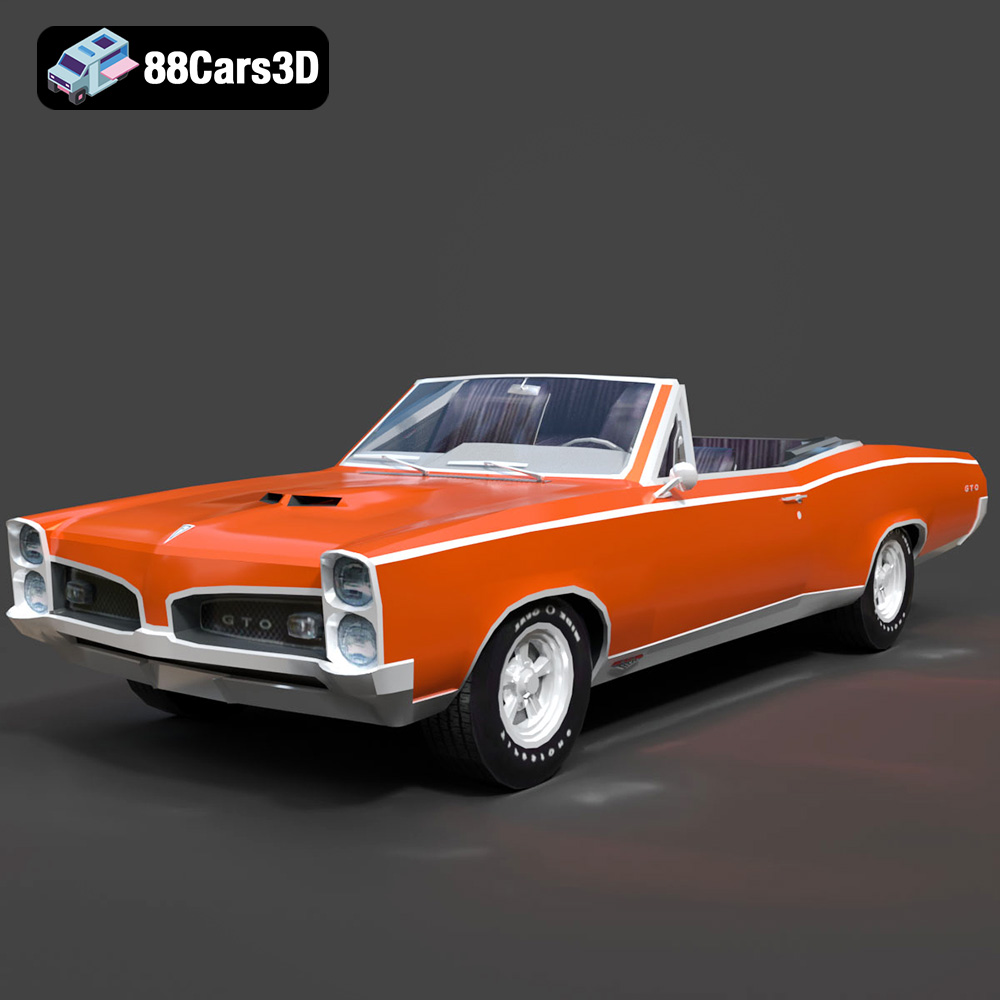
Pontiac GTO Cabrio 1967 3D Model
Texture: Yes
Material: Yes
Download the Pontiac GTO Cabrio 1967 3D Model featuring clean geometry, realistic detailing, and a fully modeled interior. Includes .blend, .fbx, .obj, .glb, .stl, .ply, .unreal, and .max formats for rendering, simulation, and game development.
Price: $4.99
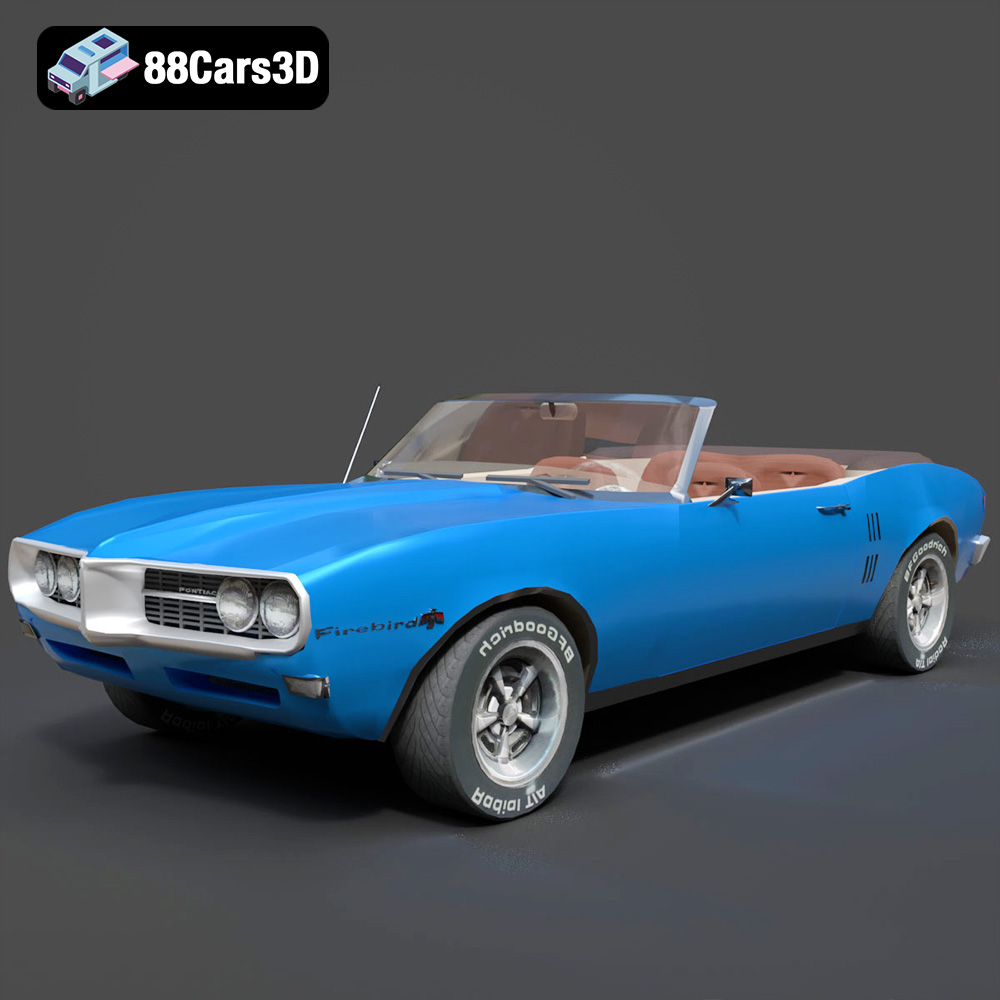
Pontiac Firebird Convertible 1968 3D Model
Texture: Yes
Material: Yes
Download the Pontiac Firebird Convertible 1968 3D Model featuring clean geometry, realistic detailing, and a fully modeled interior. Includes .blend, .fbx, .obj, .glb, .stl, .ply, .unreal, and .max formats for rendering, simulation, and game development.
Price: $4.99

Peugeot 508 2011 3D Model
Texture: Yes
Material: Yes
Download the Peugeot 508 2011 3D Model featuring clean geometry, realistic detailing, and a fully modeled interior. Includes .blend, .fbx, .obj, .glb, .stl, .ply, .unreal, and .max formats for rendering, simulation, and game development.
Price: $4.99
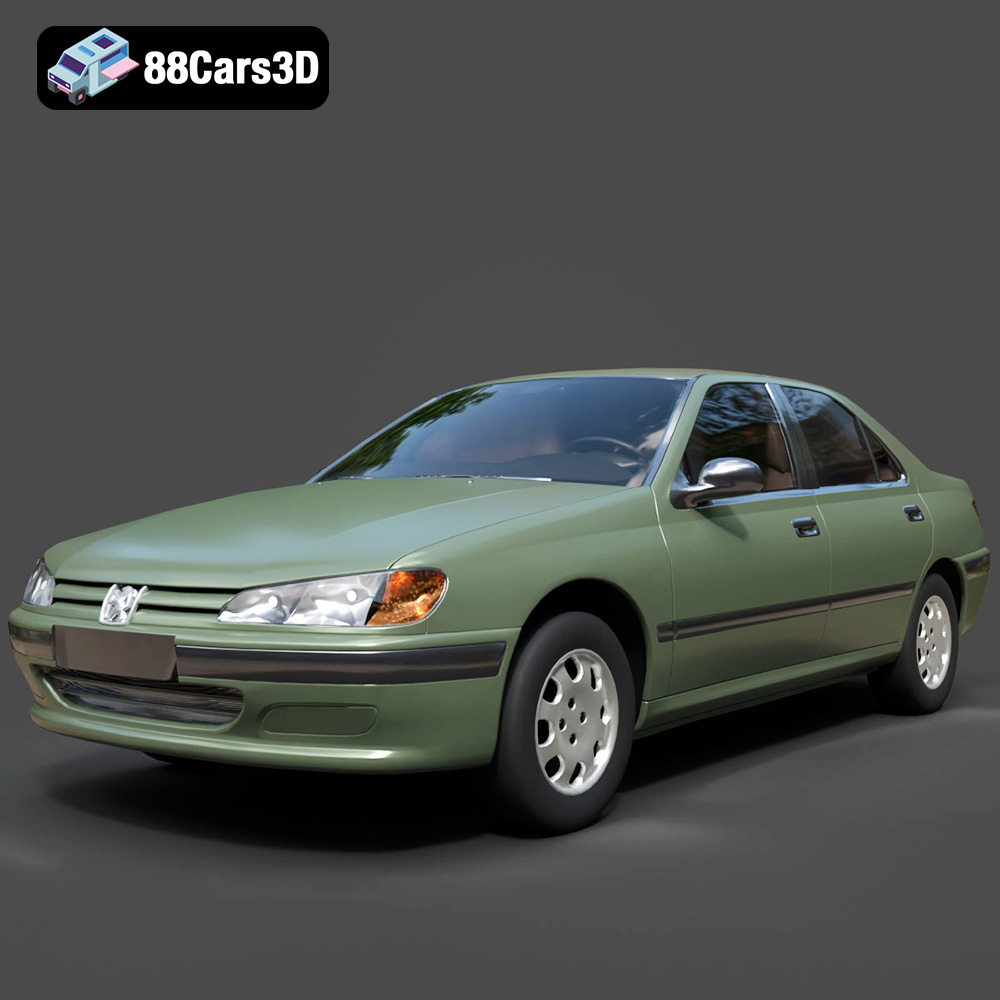
Peugeot 406 1996 3D Model
Texture: Yes
Material: Yes
Download the Peugeot 406 1996 3D Model featuring clean geometry, realistic detailing, and a fully modeled interior. Includes .blend, .fbx, .obj, .glb, .stl, .ply, .unreal, and .max formats for rendering, simulation, and game development.
Price: $10
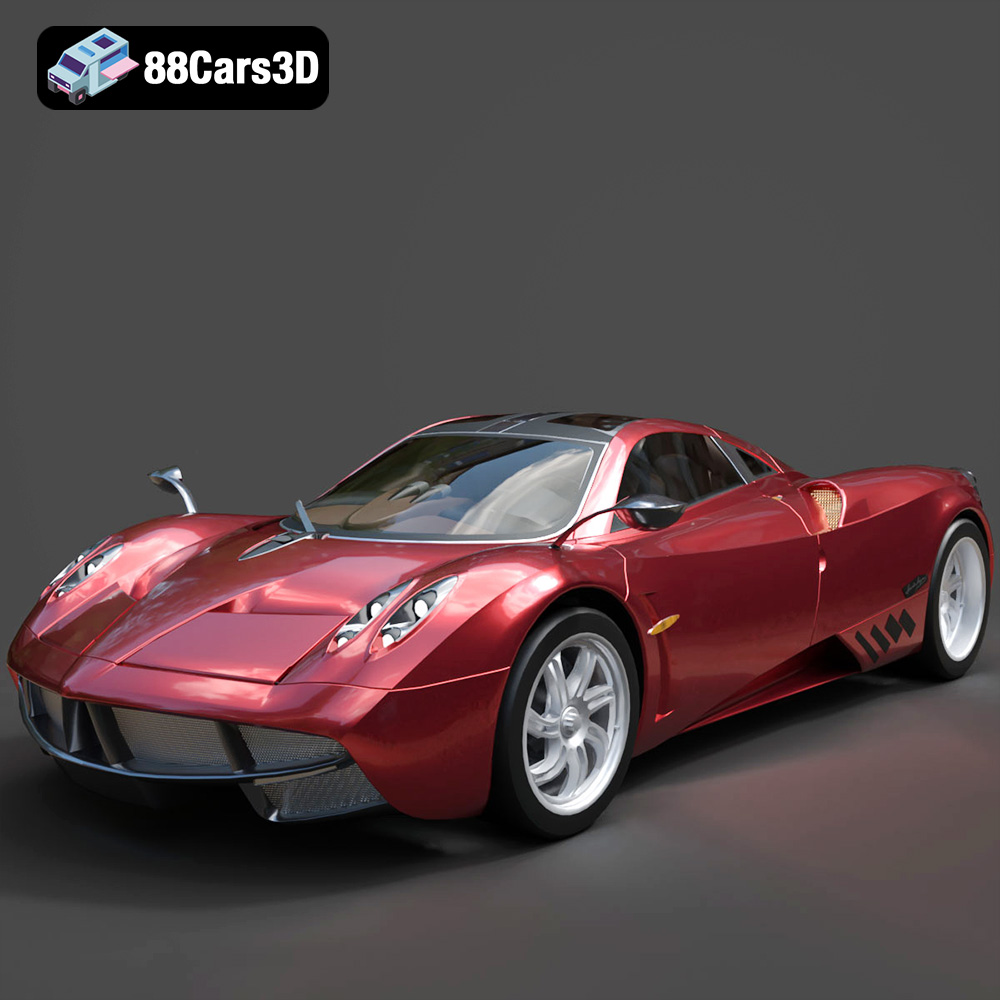
Pagani Huayra 2012 3D Model
Texture: Yes
Material: Yes
Download the Pagani Huayra 2012 3D Model featuring clean geometry, realistic detailing, and a fully modeled interior. Includes .blend, .fbx, .obj, .glb, .stl, .ply, .unreal, and .max formats for rendering, simulation, and game development.
Price: $10
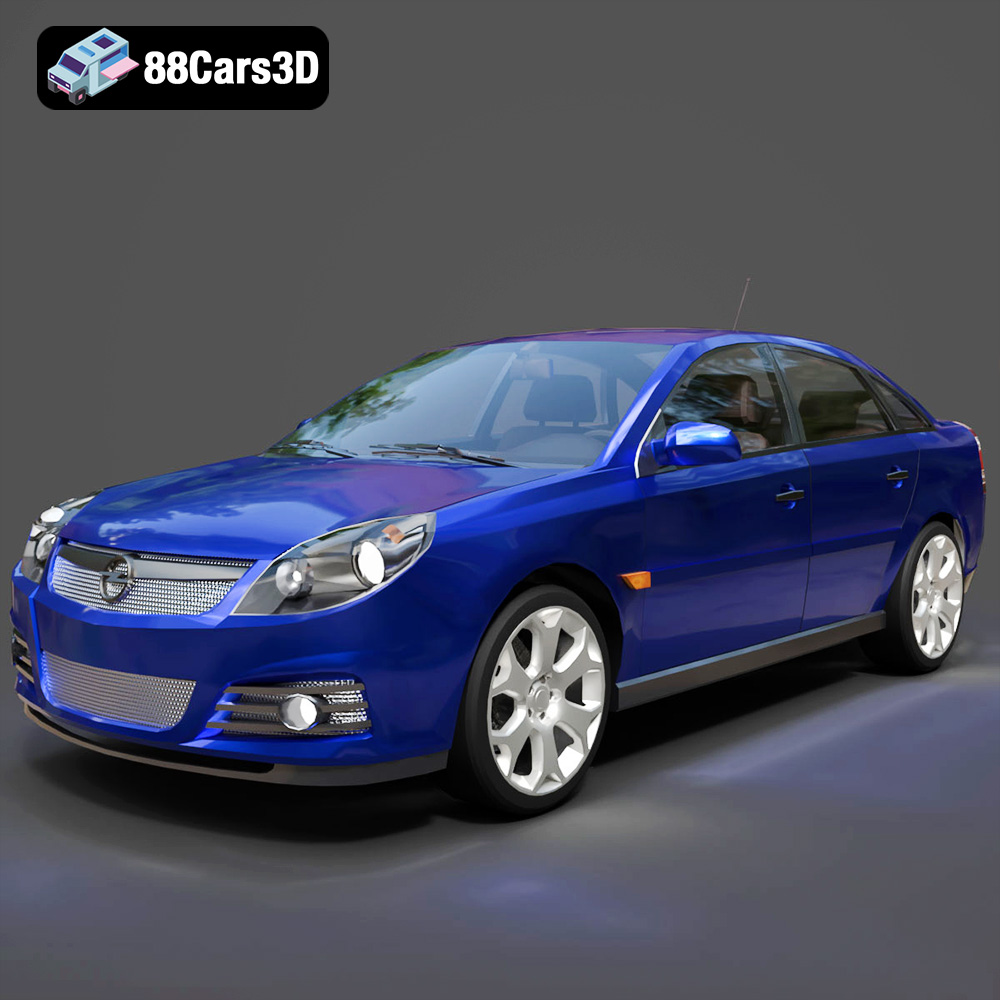
Opel Vectra C 2005 3D Model
Texture: Yes
Material: Yes
Download the Opel Vectra C 2005 3D Model featuring clean geometry, realistic detailing, and a fully modeled interior. Includes .blend, .fbx, .obj, .glb, .stl, .ply, .unreal, and .max formats for rendering, simulation, and game development.
Price: $10

Opel Insignia OPC 3D Model
Texture: Yes
Material: Yes
Download the Opel Insignia OPC 3D Model featuring clean geometry, realistic detailing, and a fully modeled interior. Includes .blend, .fbx, .obj, .glb, .stl, .ply, .unreal, and .max formats for rendering, simulation, and game development.
Price: $10
