The Foundation: Flawless Topology and Edge Flow for Automotive 3D Models
The automotive industry has long been at the forefront of design and technological innovation, and in the digital realm, this translates into a relentless pursuit of realism and performance in 3D. From stunning advertising visuals to immersive gaming experiences and groundbreaking AR/VR applications, high-quality 3D car models are the backbone of countless projects. However, creating or effectively utilizing these intricate assets requires a deep understanding of several specialized technical domains.
This comprehensive guide is designed for 3D artists, game developers, automotive designers, students, and visualization professionals who aim to master the art and science behind 3D car models. We will delve into the critical aspects of asset creation, optimization, and application, covering everything from the fundamental principles of clean topology and efficient UV mapping to advanced PBR material creation, rendering workflows, and performance considerations for real-time engines. We’ll explore industry best practices, common challenges, and specific techniques across various software platforms, empowering you to produce or integrate automotive models that not only look spectacular but also perform flawlessly across diverse platforms. Get ready to elevate your skills and unlock the full potential of 3D car models in your projects.
The Foundation: Flawless Topology and Edge Flow for Automotive 3D Models
The underlying structure of a 3D car model, its topology, is paramount. It dictates how the model deforms, how smooth its surfaces appear, and how easily it can be textured and animated. For automotive models, which are characterized by complex curves, sharp creases, and highly reflective surfaces, impeccable topology is not just a best practice—it’s a necessity. The goal is to achieve an all-quad mesh, meaning every face is a four-sided polygon, which ensures predictable subdivision, clean deformation, and artifact-free rendering. Bad topology, characterized by triangles (tris), n-gons (polygons with more than four sides), or stretched quads, leads to pinching, undesirable shading artifacts, and difficulty in UV unwrapping or further model adjustments.
Effective edge flow is equally critical. It refers to how the edges flow around the contours of the model, following the natural lines and curves of the car’s body panels. Proper edge loops define the silhouette and allow for the controlled addition of detail, ensuring that creases and panel gaps are sharp where needed and smooth where desired. Achieving this often involves careful polygonal modeling techniques, using tools like edge extrusion, loop cuts, and beveling. While some artists might initially block out shapes with boolean operations, these should always be cleaned up manually to resolve n-gons and ensure an all-quad, well-distributed mesh. Target polygon counts vary significantly; a high-end visualization model might have several million polygons, while a game-ready asset could range from 50,000 to 300,000 polygons, depending on its importance and proximity to the camera.
Subdivision Modeling and Support Edges
Most high-quality automotive models are built using subdivision surface modeling techniques. This involves creating a low-polygon base mesh that, when subdivided (e.g., using a TurboSmooth modifier in 3ds Max or Subdivision Surface modifier in Blender), generates a smooth, high-resolution surface. To control the sharpness of edges and maintain the integrity of panel lines, ‘support edges’ or ‘control loops’ are strategically placed parallel to the main edges. These extra edge loops prevent the subdivision algorithm from rounding off corners too much, giving the model its crisp details. For instance, around a headlight housing or a door panel gap, two or three close-knit edge loops will define a sharp, clean crease. Without these, the subdivided mesh would appear soft and undefined.
Addressing Common Topology Challenges
One of the most common challenges in automotive modeling is managing topology around complex intersections, such as where a fender meets a hood or a door handle recess. These areas often create poles (vertices where more or less than four edges meet), which can cause shading issues. Skilled artists carefully plan their edge flow to either hide these poles in flat areas or ensure they terminate in a way that minimizes their visual impact. Another challenge is maintaining consistent polygon density across the model; areas with high curvature require more polygons to represent smoothly, while flat surfaces can use fewer. Tools like Retopology in Maya or manually manipulating vertexes in Blender/3ds Max are essential for refining topology, especially when converting CAD data or photogrammetry scans into animation-ready meshes.
Mastering Materials: PBR Shading and Texturing for Hyper-Realism
Once the topology is solid, the next crucial step in creating believable 3D car models is the application of Physically Based Rendering (PBR) materials. PBR is a shading and rendering technique that aims to simulate how light interacts with surfaces in a physically accurate way, leading to more realistic and consistent results across different lighting environments. For automotive models, this means accurately representing the metallic sheen of the paint, the reflectivity of chrome, the subtle texture of tires, and the intricate details of interior fabrics.
PBR workflows typically use a set of textures (maps) that define various properties of a material, commonly following either a Metallic/Roughness or Specular/Glossiness paradigm. The Metallic/Roughness workflow, favored by many real-time engines and modern renderers, utilizes an Albedo (or Base Color) map for color, a Metallic map (grayscale, 0 for dielectric/non-metal, 1 for metal), and a Roughness map (grayscale, 0 for perfectly smooth, 1 for rough). Additional maps like Normal maps add fine surface details without increasing polygon count, while Ambient Occlusion (AO) maps simulate soft shadowing in crevices, enhancing perceived depth. Creating these maps often involves a combination of procedural generation, hand-painting in software like Substance Painter or Mari, and photographic projection.
Crafting Realistic Car Paint Shaders
Car paint is notoriously complex, often involving multiple layers: a base coat (color), metallic flakes, and a clear coat. A realistic PBR car paint shader in renderers like Corona, V-Ray, Cycles, or Arnold typically simulates this multi-layered structure. The base color is set by the Albedo map, while a subtle Normal map might add very fine surface imperfections. The metallic flakes are often achieved through a combination of a noise texture driving a slightly anisotropic reflection or a dedicated “flake” layer within the shader, giving that characteristic sparkle. The clear coat layer is essentially a highly reflective, very smooth (low roughness) dielectric material with a specific Index of Refraction (IOR), typically around 1.4-1.5, which simulates the glossy, protective outer layer. Fine-tuning the balance between these layers, along with micro-scratches on the clear coat, is key to achieving photorealistic automotive finishes. Professional artists will often use texture resolutions of 4K or even 8K for critical elements like car paint and tire sidewalls to capture minute details.
UV Mapping Strategies for Complex Surfaces
Efficient and clean UV mapping is indispensable for applying textures without distortion. For automotive models, the challenge lies in unwrapping complex, curved surfaces with minimal seams while maintaining consistent texel density. Texel density refers to the number of texture pixels per unit of surface area, and maintaining a uniform density ensures that all parts of the model have a consistent level of detail when textured. Strategically placed seams, often along natural panel lines or hidden edges, prevent texture stretching. Large, continuous surfaces like the hood, roof, and doors should ideally be unwrapped as single, unbroken UV islands to avoid visible seams in reflections. Interior components, under-the-hood details, and less visible areas can often share texture space or use smaller UV islands to maximize texture efficiency. Software like RizomUV, UVLayout, or the built-in UV editors in 3ds Max, Blender, and Maya provide powerful tools for unwrapping, packing, and adjusting UV layouts to ensure optimal texture usage and flawless PBR material application. When sourcing models from marketplaces like 88cars3d.com, always check for clean, non-overlapping UVs and included PBR texture sets, which save immense production time.
Illuminating the Scene: Advanced Lighting and Rendering Workflows
Even with a perfectly modeled and textured car, its impact is largely dependent on the lighting and rendering setup. Photorealistic automotive rendering is an art form that mimics real-world photography and studio lighting techniques. The goal is to highlight the car’s design, emphasize its contours, and showcase its materials in the most appealing way. Modern rendering engines like Corona Renderer, V-Ray, Cycles (Blender), and Arnold (Maya/3ds Max) are all physically based, meaning they simulate light transport accurately, but knowing how to direct that simulation is where expertise truly shines.
A common starting point for realistic car renders is an Image-Based Lighting (IBL) setup using High Dynamic Range Images (HDRIs). An HDRI provides both environmental reflections and global illumination (GI) from a real-world light source, instantly grounding the car in a believable environment. However, HDRIs alone often aren’t enough to bring out the car’s best features. Augmenting the IBL with area lights (soft boxes), strip lights, and spotlights allows for precise control over highlights and shadows. Strategic placement of these lights can emphasize curvature, create dynamic reflections on the car paint, and draw attention to specific details like headlights or wheel designs. Backlights can separate the car from the background, while rim lights add a subtle outline, giving the vehicle more presence. Experimenting with light temperature, intensity, and falloff is crucial.
Camera Settings and Composition for Impact
Just like in photography, the virtual camera plays a pivotal role. Using physically accurate camera settings—such as aperture (f-stop) for depth of field, shutter speed for motion blur (if animating), and ISO for exposure—helps achieve a cinematic look. A shallow depth of field can blur the background, making the car pop, while a wider depth of field can place the car within its environment. Lens choice (focal length) also significantly impacts perspective and distortion; a longer focal length (e.g., 85mm-135mm) is often preferred for flattering car shots as it compresses perspective and minimizes distortion compared to wide-angle lenses. Composition rules like the rule of thirds, leading lines, and negative space can guide camera placement for powerful images. Beyond the primary render, generating render passes (e.g., Z-depth, Cryptomatte, AO, reflection, refraction) is essential for professional post-processing, allowing for granular control over individual elements during compositing.
Optimizing Render Times and Quality
Achieving high-quality, noise-free renders, especially with complex automotive materials and lighting, can be computationally intensive. Optimization strategies are key. This includes using efficient rendering settings (e.g., adaptive sampling, denoisers), optimizing scene complexity (instance scattering for environmental elements, proxy objects), and judiciously setting light samples. For animations, render farms or cloud rendering solutions are often employed to speed up production. Understanding the strengths and weaknesses of different render engines is also important: Corona and V-Ray are known for their ease of use and realistic GI, Cycles for its open-source flexibility, and Arnold for its production-proven robustness in animation studios. Regardless of the engine, a methodical approach to lighting and material setup will ensure stunning results without unnecessary rendering overhead.
Beyond Static Renders: Optimizing 3D Car Models for Game Engines and Real-time Applications
While high-fidelity renders are critical for marketing and visualization, game engines and real-time applications demand a different set of optimizations to maintain interactive frame rates. The core challenge is to balance visual quality with performance efficiency, as every polygon, texture, and draw call contributes to the computational load. Game-ready 3D car models must be meticulously crafted to meet strict polygon budgets and utilize efficient texture workflows without sacrificing visual appeal.
One of the most crucial optimization techniques is the implementation of Levels of Detail (LODs). LODs involve creating multiple versions of the same model, each with a progressively lower polygon count. For instance, an LOD0 might be the detailed model visible up close, LOD1 a simplified version for mid-range distances, LOD2 an even simpler one for far distances, and LOD3 possibly a billboard or impostor for extreme distances. Game engines like Unity and Unreal Engine seamlessly switch between these LODs based on the camera’s distance, ensuring that only the necessary detail is rendered. This significantly reduces the polygon count processed by the GPU at any given time, dramatically improving performance. A typical LOD setup for a game car might see LOD0 at 100k-150k tris, LOD1 at 40k-60k tris, LOD2 at 10k-20k tris, and LOD3 below 5k tris.
Texture Atlasing and Draw Call Reduction
Beyond polygon count, texture usage and draw calls are major performance bottlenecks. A draw call is a command from the CPU to the GPU to draw an object, and minimizing these calls is crucial. If a car model has many separate material IDs, each requiring its own texture set, it can lead to numerous draw calls. Texture atlasing is a technique where multiple smaller textures are combined into one larger texture atlas. By placing all the car’s textures (e.g., interior, exterior, wheels, glass) into a single or a few atlases, the engine only needs to make a few draw calls to render the entire vehicle. This requires careful UV re-arrangement but yields significant performance gains. Furthermore, instancing (rendering multiple copies of the same mesh) and batching (combining static meshes into larger groups) are critical for environments with many cars or other repeated assets.
Collision Meshes and Physics Optimization
For interactive driving experiences, accurate collision meshes are essential. These are simplified, low-polygon versions of the car’s shape used purely for physics calculations. They don’t need to be visually appealing but must accurately represent the car’s physical boundaries to interact correctly with the game world. Using simple primitives like boxes, spheres, or convex hulls for complex shapes can be more performant than a detailed mesh. In Unity, for example, Box Colliders or Mesh Colliders (often set to convex) are commonly used. Unreal Engine has similar Primitive Components for collisions. Additionally, optimizing vehicle physics, such as suspension systems, wheel friction, and center of mass, ensures a realistic and enjoyable driving experience without overtaxing the CPU. Importing 3D car models from a reputable source like 88cars3d.com often means these optimizations, including LODs and clean collision meshes, are already thoughtfully implemented, saving developers valuable time and resources.
Expanding Horizons: Car Models for AR/VR, 3D Printing, and ArchViz
The versatility of 3D car models extends far beyond traditional rendering and gaming, finding powerful applications in emerging technologies like Augmented Reality (AR) and Virtual Reality (VR), as well as more specialized fields like 3D printing and architectural visualization (ArchViz). Each of these domains presents unique technical requirements and optimization challenges that artists and developers must address to ensure optimal performance and user experience.
For AR/VR applications, the primary concern is extremely low latency and high frame rates (typically 90 FPS or higher) to prevent motion sickness and ensure immersion. This means even more aggressive optimization than for traditional games. Mobile AR/VR (e.g., Meta Quest, smartphones) demands extremely low polygon counts (often below 50,000 tris for an entire car) and highly optimized PBR materials, often using smaller texture atlases or baking advanced effects into simpler texture maps. File formats like GLB (for WebGL/AR experiences) and USDZ (for Apple ARKit) are crucial, as they efficiently package models, materials, and animations into single, portable files. Spatial anchoring, precise scaling, and interaction design (e.g., opening doors, changing paint colors) are also key considerations, often implemented through scripting in Unity or Unreal Engine, alongside specific SDKs like ARCore or ARKit.
3D Printing Preparation and Mesh Repair
Preparing a 3D car model for 3D printing involves a completely different set of technical criteria. The model must be a watertight mesh, meaning it has no holes, non-manifold geometry, or intersecting faces. Every edge must be shared by exactly two faces. This ensures that the slicing software can correctly interpret the geometry and generate printable layers. Wall thickness is another critical factor; thin elements might be too fragile or simply not print correctly. Depending on the printer and material, a minimum wall thickness (ee.g., 1-2mm) must be maintained. Models originally designed for rendering often have open edges (e.g., interior cavities, underside details) or intersecting geometry that needs to be cleaned and ‘solidified’. Tools like Blender’s 3D Print Toolbox, MeshMixer, or Netfabb are invaluable for analyzing and repairing meshes, closing holes, thickening walls, and simplifying polygons (decimation) to reduce file size without losing essential detail, making the model suitable for physical production.
Integrating Car Models into Architectural Visualizations
In Architectural Visualization (ArchViz), 3D car models serve to populate scenes, add a sense of scale, and inject realism into renderings of buildings and environments. While they often don’t require game-level optimization, they do need to be highly detailed and visually convincing, as they are frequently seen in hero shots. The key here is consistent lighting and material integration. The car’s materials and lighting setup must match the architectural scene’s environment, ensuring reflections, shadows, and overall color balance are harmonious. This involves adjusting the car’s shader properties to react appropriately to the scene’s HDRI, sun, and artificial lights. Using proxy objects for distant vehicles can help manage scene complexity, especially in large urban renders. For interior architectural scenes, a well-placed, high-quality car model outside a window can add significant depth and realism without requiring extensive detail on the entire vehicle. Leveraging high-quality, pre-made 3D car models from platforms like 88cars3d.com can significantly speed up ArchViz workflows, providing realistic assets that seamlessly blend into complex architectural renders.
The Art of Presentation: Post-Processing and Compositing for Impact
Creating a stunning 3D car model is a significant achievement, but the journey to a truly impactful image doesn’t end with the raw render. Post-processing and compositing are crucial final stages where an image is refined, enhanced, and given its final polish. This is where subtle adjustments can elevate a good render to an exceptional one, mimicking the techniques used in professional photography and film production.
Post-processing typically involves using image editing software like Adobe Photoshop, Affinity Photo, or GIMP to make global and local adjustments to the rendered image. This includes color grading to set the mood and tone, adjusting levels and curves to refine exposure and contrast, and applying vignettes to draw the viewer’s eye towards the subject. Sharpening techniques can enhance perceived detail, while controlled amounts of grain or noise can give the image a more photographic feel. Adding glare or bloom effects to highlights can simulate lens artifacts and add a touch of realism, especially around bright reflections on the car body or headlights. Careful application of depth of field (if not fully rendered in 3D) can also be achieved in post, selectively blurring foreground and background elements to guide focus.
Leveraging Render Passes for Granular Control
The true power of post-processing comes from using render passes (also known as AOV’s – Arbitrary Output Variables). Modern render engines allow artists to output various components of the final image as separate layers:
- Diffuse Pass: Pure color information, unaffected by lighting or reflections.
- Reflection Pass: Only the reflective qualities of materials.
- Refraction Pass: Light passing through transparent objects like glass.
- Shadow Pass: Shadow information, useful for adjusting shadow intensity.
- Ambient Occlusion Pass: Soft contact shadows, enhancing depth.
- Z-Depth Pass: Greyscale map representing distance from the camera, perfect for accurate depth of field or fog effects.
- ID Pass / Cryptomatte: Color-coded masks for every object or material, allowing for precise selection and adjustment of individual elements.
By layering and blending these passes in compositing software, artists gain unparalleled control. For example, you can adjust the intensity of reflections on the car paint without affecting the diffuse color, or precisely isolate and color-correct the interior details using an ID pass. This non-destructive workflow allows for extensive experimentation and fine-tuning, pushing the realism and visual impact of the final image.
Creative Compositing and Background Integration
Beyond simple color adjustments, compositing allows for seamless integration of the 3D car model into a photographic background or HDR environment. Matching the perspective, lighting, and color temperature of the background image with the rendered car is crucial for believability. Techniques include:
- Perspective Matching: Aligning the 3D camera’s focal length and position with the background photo.
- Shadow Catching: Rendering a shadow pass onto a separate plane in 3D that matches the ground in the background image, then compositing only the shadows onto the photo.
- Color Matching: Using reference points from the background to inform the color grading of the car.
- Atmospheric Effects: Adding subtle haze, fog, or dust layers in post to further integrate the car into its environment.
This process requires a keen artistic eye and technical proficiency, transforming a raw render into a polished, professional visualization that can captivate an audience. The final image benefits immensely from these detailed steps, ensuring your 3D car model is presented in its best possible light.
Conclusion: Driving Excellence with High-Quality 3D Car Models
The journey from concept to a fully realized, optimized, and stunning 3D car model is a multi-faceted endeavor, demanding expertise across a spectrum of technical disciplines. We’ve explored the critical importance of clean, efficient topology and intelligent edge flow for smooth surfaces and predictable deformations. We delved into the intricacies of PBR material creation, emphasizing how physically accurate shaders and meticulous UV mapping bring automotive surfaces to life, from the nuanced metallic flake of car paint to the subtle textures of interior fabrics. Our discussion extended to advanced lighting and rendering techniques, revealing how thoughtful illumination and camera work can transform a raw render into a captivating visual narrative.
Furthermore, we addressed the diverse demands of modern applications, detailing how crucial optimization strategies like Levels of Detail (LODs), texture atlasing, and streamlined collision meshes are for real-time performance in game engines. We also highlighted the unique preparation required for emerging fields such as AR/VR, the technical specifications for successful 3D printing, and the integration challenges within architectural visualizations. Finally, we underscored the transformative power of post-processing and compositing, demonstrating how render passes and meticulous image adjustments can elevate a render to a professional-grade masterpiece. Mastering these elements ensures your 3D car models are not just visually impressive, but also technically robust and adaptable to any project requirement.
Whether you’re building a hyper-realistic car from scratch, optimizing an existing asset for a game, or simply looking to enhance your visualization workflow, the principles and techniques discussed here form the bedrock of successful 3D automotive projects. For artists and developers seeking a head start with professionally crafted assets that adhere to these high standards, platforms like 88cars3d.com offer a curated selection of high-quality 3D car models. These models are often pre-optimized for various applications, featuring clean topology, realistic PBR materials, and multiple file formats, allowing you to focus on your creative vision rather than foundational asset creation. Embrace these technical insights, continue to refine your skills, and drive your 3D automotive projects to new levels of excellence.
Featured 3D Car Models
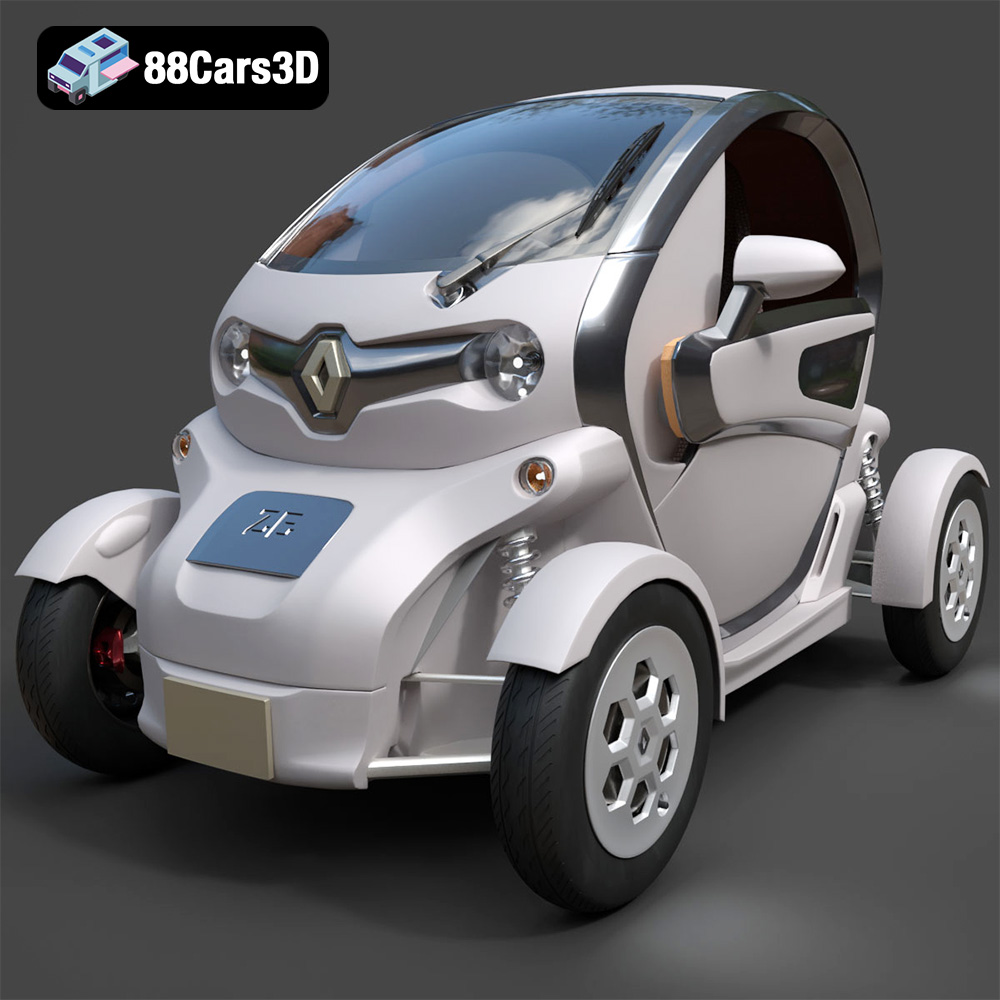
Renault Twizy ZE 3D Model
Texture: Yes
Material: Yes
Download the Renault Twizy ZE 3D Model featuring clean geometry, realistic detailing, and a fully modeled interior. Includes .blend, .fbx, .obj, .glb, .stl, .ply, .unreal, and .max formats for rendering, simulation, and game development.
Price: $4.99
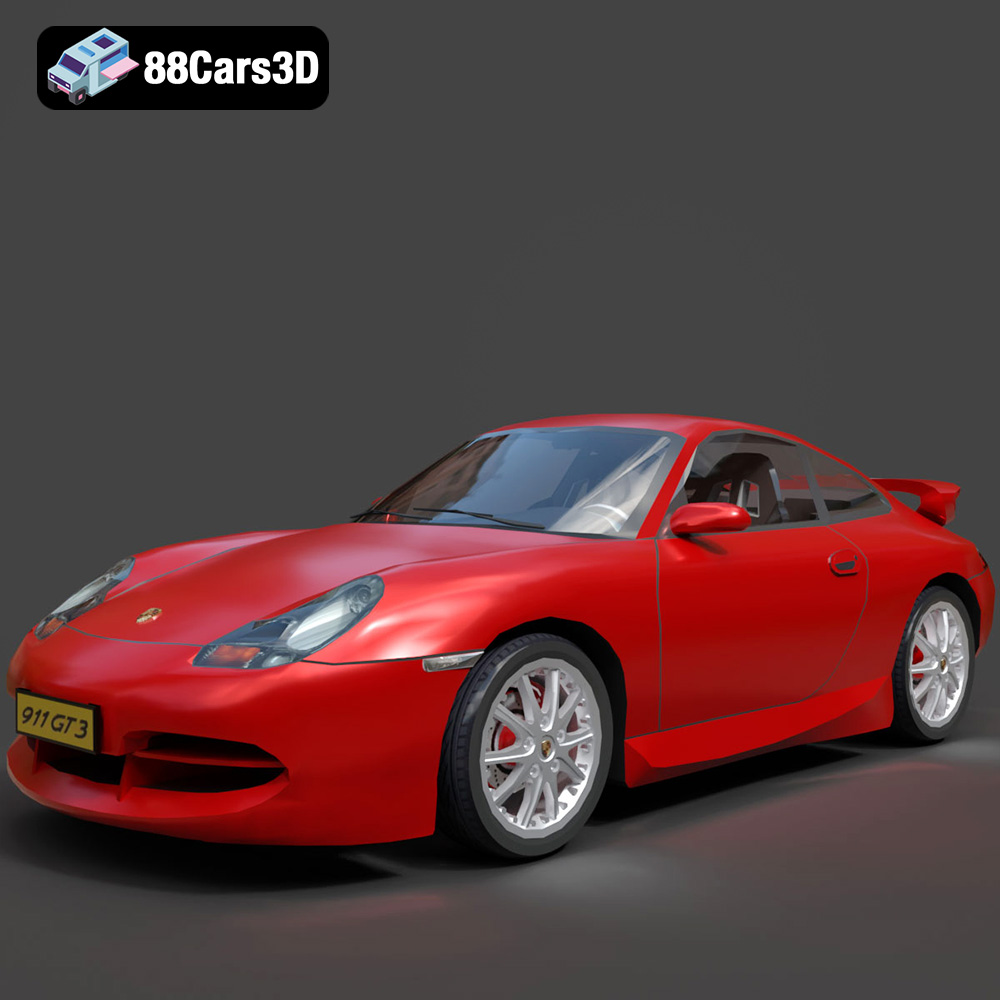
Porsche 911 GT3 3D Model
Texture: Yes
Material: Yes
Download the Porsche 911 GT3 3D Model featuring clean geometry, realistic detailing, and a fully modeled interior. Includes .blend, .fbx, .obj, .glb, .stl, .ply, .unreal, and .max formats for rendering, simulation, and game development.
Price: $4.99
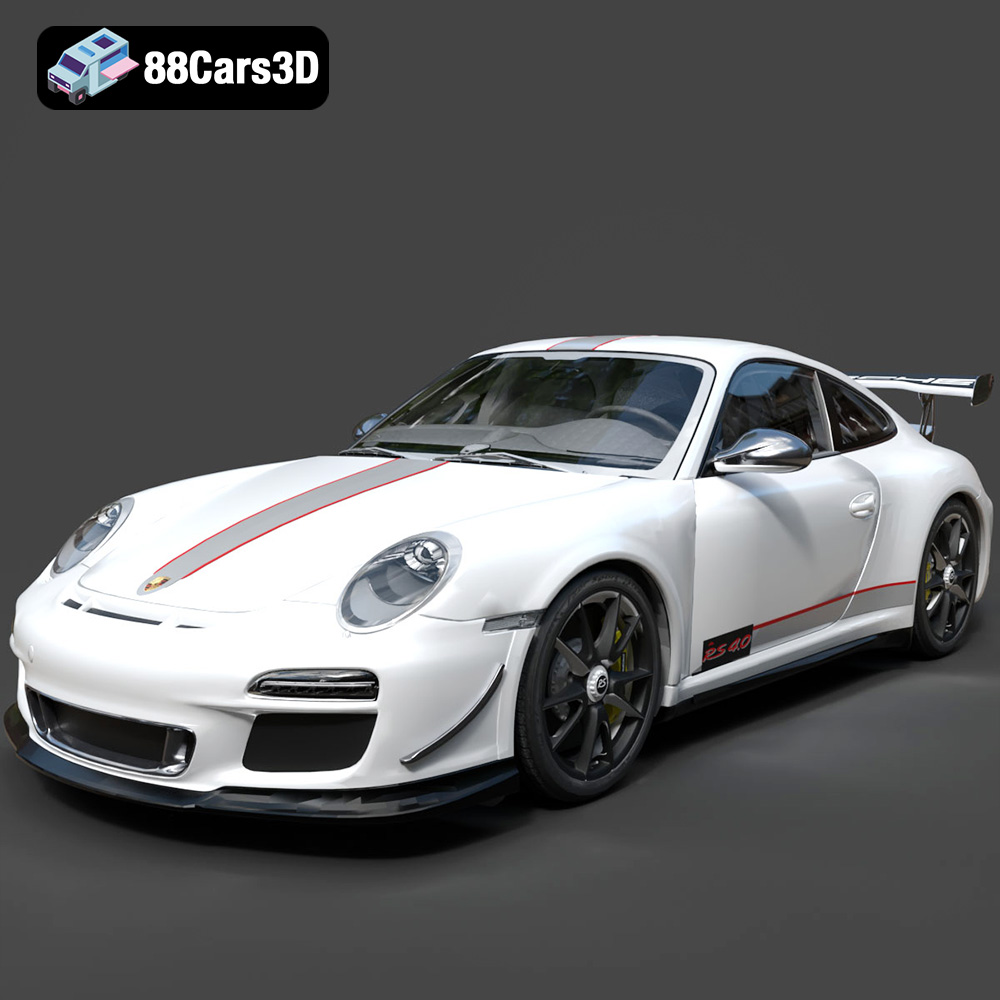
Porsche 911 997 GT3 RS 4.0 2011 3D Model
Texture: Yes
Material: Yes
Download the Porsche 911 997 GT3 RS 4.0 2011 3D Model featuring clean geometry, realistic detailing, and a fully modeled interior. Includes .blend, .fbx, .obj, .glb, .stl, .ply, .unreal, and .max formats for rendering, simulation, and game development.
Price: $4.99
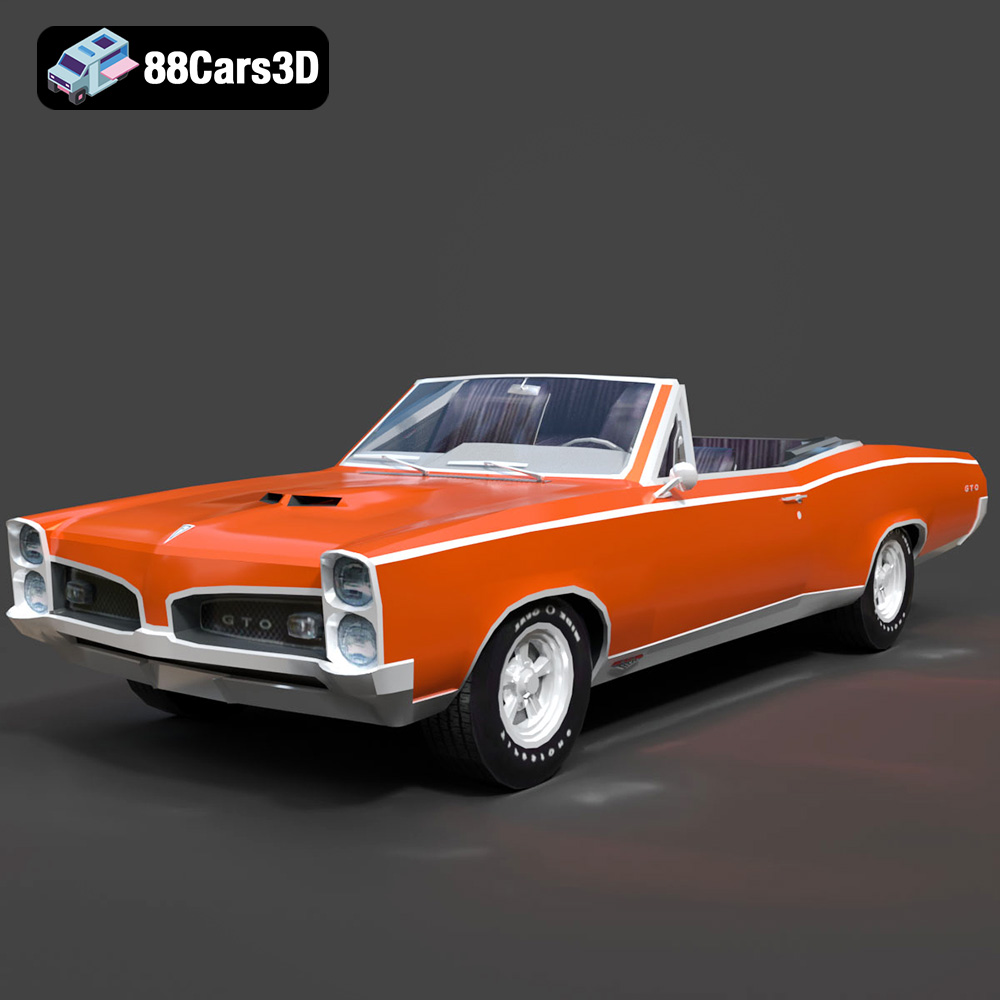
Pontiac GTO Cabrio 1967 3D Model
Texture: Yes
Material: Yes
Download the Pontiac GTO Cabrio 1967 3D Model featuring clean geometry, realistic detailing, and a fully modeled interior. Includes .blend, .fbx, .obj, .glb, .stl, .ply, .unreal, and .max formats for rendering, simulation, and game development.
Price: $4.99
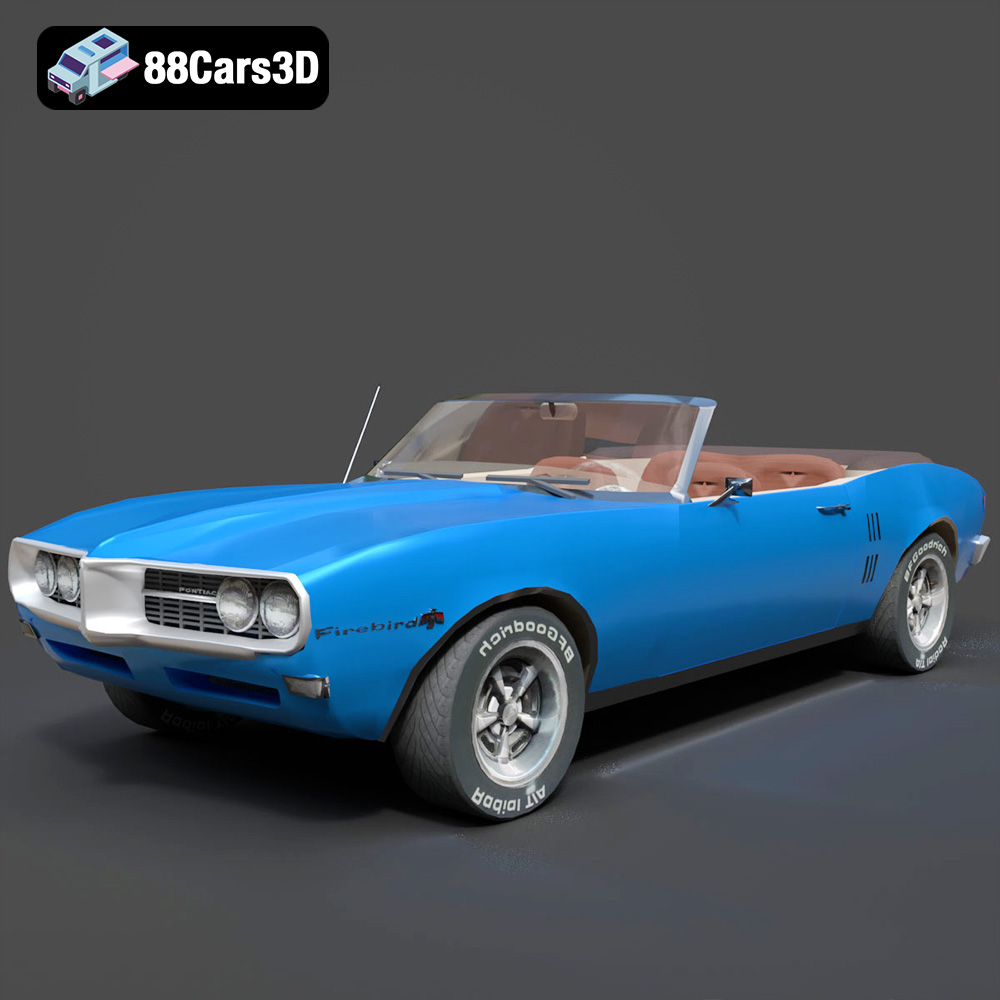
Pontiac Firebird Convertible 1968 3D Model
Texture: Yes
Material: Yes
Download the Pontiac Firebird Convertible 1968 3D Model featuring clean geometry, realistic detailing, and a fully modeled interior. Includes .blend, .fbx, .obj, .glb, .stl, .ply, .unreal, and .max formats for rendering, simulation, and game development.
Price: $4.99

Peugeot 508 2011 3D Model
Texture: Yes
Material: Yes
Download the Peugeot 508 2011 3D Model featuring clean geometry, realistic detailing, and a fully modeled interior. Includes .blend, .fbx, .obj, .glb, .stl, .ply, .unreal, and .max formats for rendering, simulation, and game development.
Price: $4.99
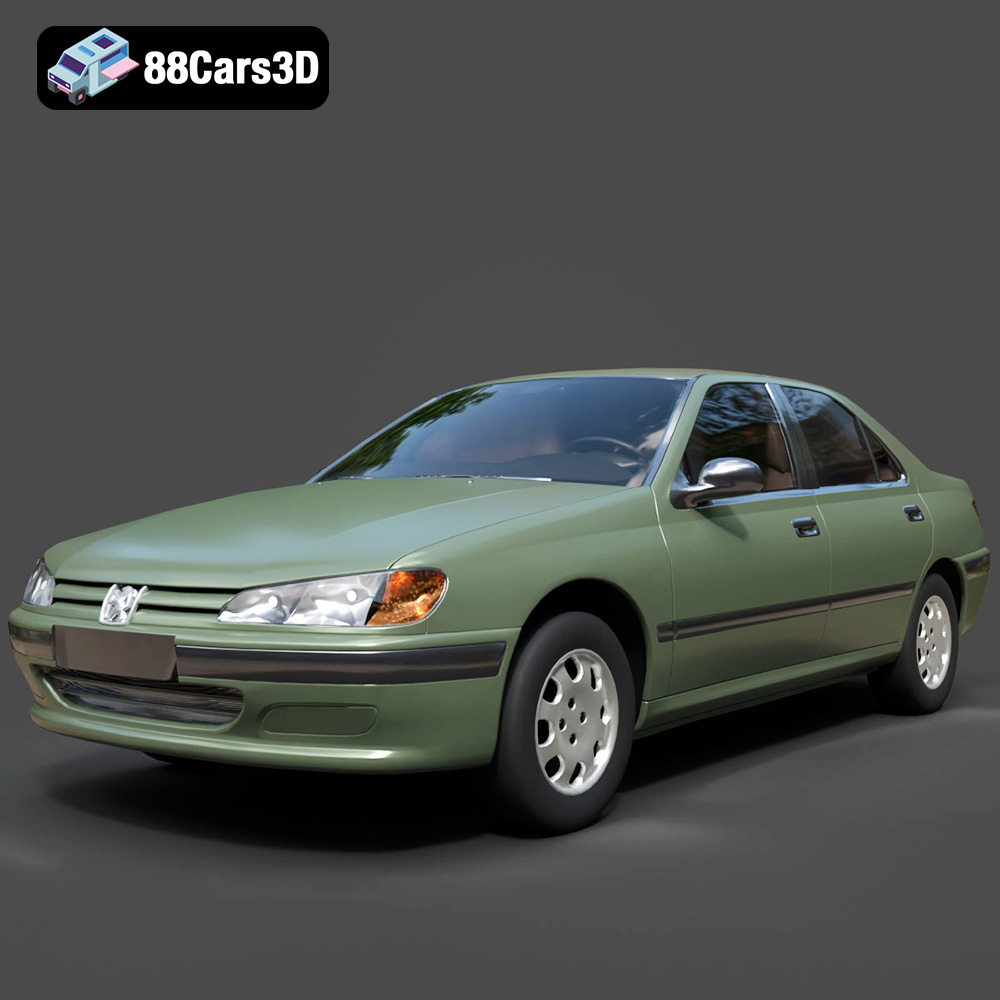
Peugeot 406 1996 3D Model
Texture: Yes
Material: Yes
Download the Peugeot 406 1996 3D Model featuring clean geometry, realistic detailing, and a fully modeled interior. Includes .blend, .fbx, .obj, .glb, .stl, .ply, .unreal, and .max formats for rendering, simulation, and game development.
Price: $10
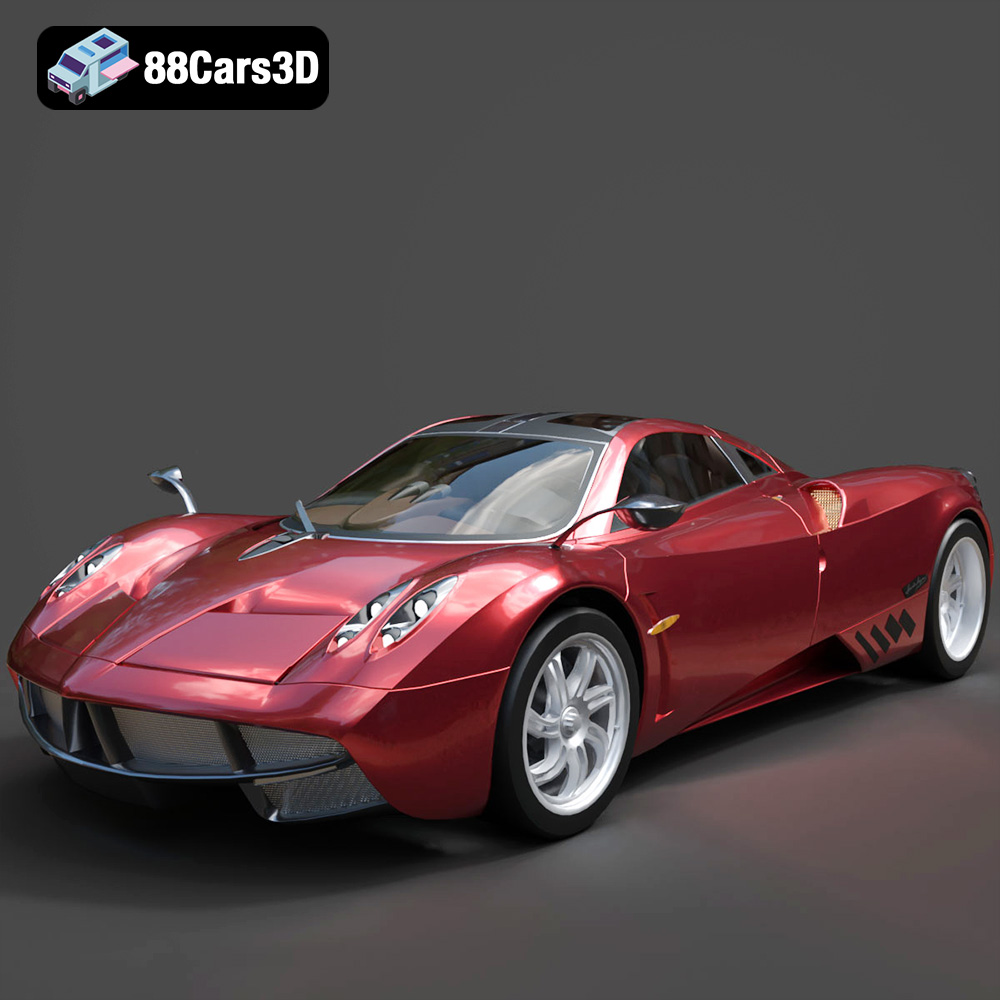
Pagani Huayra 2012 3D Model
Texture: Yes
Material: Yes
Download the Pagani Huayra 2012 3D Model featuring clean geometry, realistic detailing, and a fully modeled interior. Includes .blend, .fbx, .obj, .glb, .stl, .ply, .unreal, and .max formats for rendering, simulation, and game development.
Price: $10
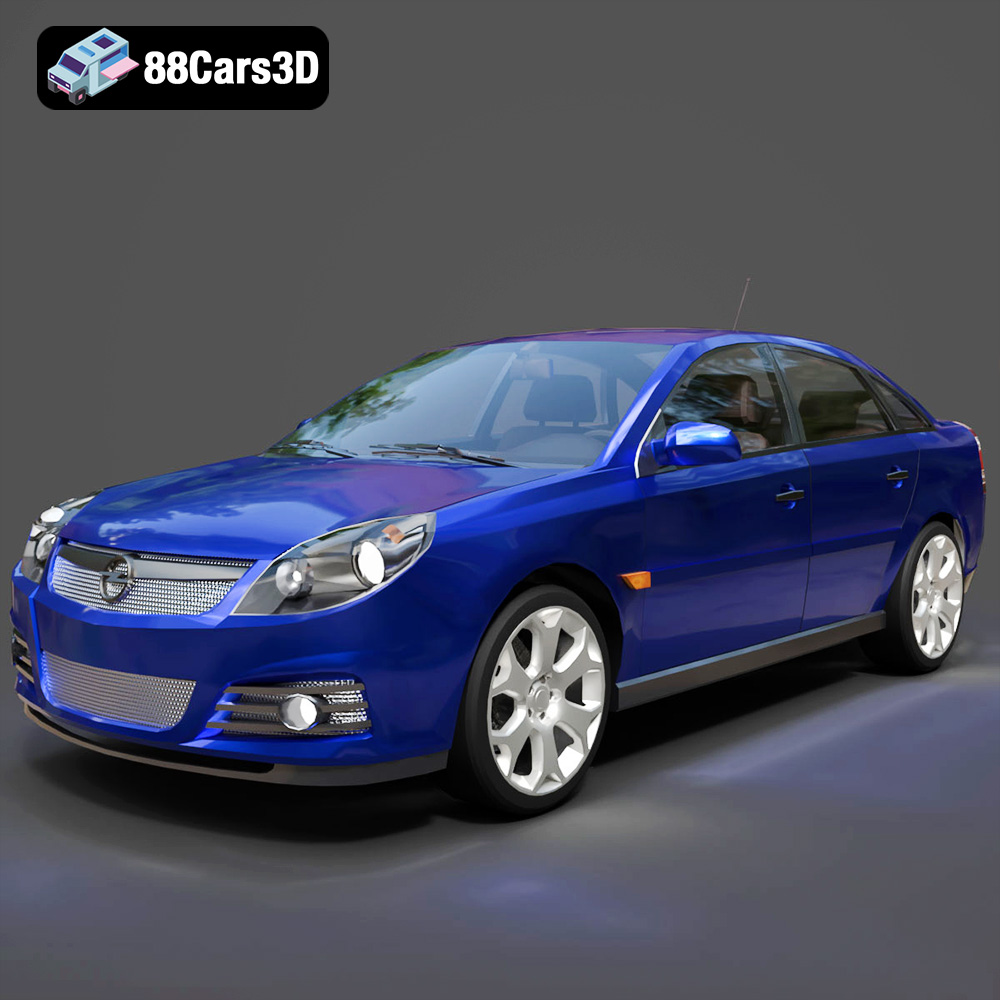
Opel Vectra C 2005 3D Model
Texture: Yes
Material: Yes
Download the Opel Vectra C 2005 3D Model featuring clean geometry, realistic detailing, and a fully modeled interior. Includes .blend, .fbx, .obj, .glb, .stl, .ply, .unreal, and .max formats for rendering, simulation, and game development.
Price: $10

Opel Insignia OPC 3D Model
Texture: Yes
Material: Yes
Download the Opel Insignia OPC 3D Model featuring clean geometry, realistic detailing, and a fully modeled interior. Includes .blend, .fbx, .obj, .glb, .stl, .ply, .unreal, and .max formats for rendering, simulation, and game development.
Price: $10
