⚡ FLASH SALE: Get 60% OFF All Premium 3D & STL Models! ⚡
The world of automotive design and visualization is a dynamic blend of artistry and precision engineering. For 3D artists, game developers, and visualization professionals, creating captivating 3D car models that stand out requires a deep understanding of technical workflows, industry best practices, and the subtle nuances that bring a virtual vehicle to life. Whether you’re aiming for photorealistic renders, optimized game assets, or cutting-edge AR/VR experiences, the journey begins with a solid foundation and a commitment to technical excellence.
In this comprehensive guide, we’ll dive deep into the essential techniques and professional insights required to master automotive 3D. We’ll explore everything from the critical importance of clean topology and efficient UV mapping to crafting breathtaking PBR materials and optimizing models for diverse applications like game engines and 3D printing. You’ll learn how to navigate complex rendering workflows, understand file format compatibility, and tackle the challenges unique to high-fidelity car models. By the end of this article, you’ll be equipped with the knowledge to elevate your 3D car models, produce stunning automotive renders, and create truly immersive experiences.
At the heart of any high-quality 3D car model lies impeccable topology and intelligent edge flow. These are not just technical terms; they are the bedrock upon which all subsequent stages of the 3D pipeline are built. Automotive surfaces, with their sleek curves, sharp creases, and complex panel gaps, demand a level of precision that few other subjects require. Poor topology can lead to artifacts during rendering, hinder UV mapping, complicate animation, and ultimately compromise the realism and performance of your model. Understanding how to construct a mesh that accurately captures these forms while remaining efficient is a hallmark of professional work.
Clean topology refers to a mesh structure that uses an optimal number of polygons, predominantly quads, arranged in a logical and flowing manner. For automotive models, this means avoiding triangles and n-gons (polygons with more than four sides) wherever possible, especially on deformation zones or highly reflective surfaces. Triangles can cause pinching, rippling, and undesirable shading artifacts, particularly when using subdivision surfaces. N-gons are even more problematic, as they create unpredictable triangulation patterns during rendering or export, leading to visual glitches and rendering errors.
A well-optimized automotive mesh, suitable for both close-up renders and real-time applications, often features an iterative modeling process. Initially, a base mesh might be created using box modeling or NURBS conversion, followed by extensive retopology. For production-ready assets, polygon counts vary significantly. A high-poly model for an offline render might exceed 500,000-1,000,000 polygons, while a game-ready asset might target 30,000-80,000 polygons for a hero vehicle, including interior and wheels, often relying on normal maps to bake down high-detail geometry. When sourcing models from marketplaces like 88cars3d.com, artists can expect models with optimized topology tailored for various uses, saving significant time on this crucial stage.
Edge flow dictates how the edges of your polygons follow the natural contours and creases of your model. For automotive designs, this is critical for defining crisp panel lines, smooth transitions between surfaces, and the overall aerodynamic aesthetic. Good edge flow ensures that subdivision surfaces (like OpenSubdiv in 3ds Max or Blender’s Subdivision Surface modifier) can smoothly interpolate the mesh without creating unwanted bumps or flat spots.
Achieving perfect edge flow often involves a balance between aesthetics and polycount. Tools like Blender’s Retopoflow, Maya’s Quad Draw, or ZBrush’s ZRemesher can assist in this process, but a keen artistic eye and understanding of surface continuity remain paramount.
Once the geometry of your 3D car model is refined, the next critical step is to give it a realistic surface appearance through texturing and materials. This involves meticulous UV mapping to prepare the model for textures, followed by the creation of physically based rendering (PBR) materials that accurately simulate how light interacts with different surfaces. The quality of your textures and materials is paramount for achieving true photorealism in automotive rendering.
UV mapping is the process of flattening out the 3D surface of your model into 2D space so that 2D image textures can be applied. For complex objects like cars, efficient and clean UVs are essential for several reasons: avoiding texture stretching, maximizing texture resolution, and enabling the use of texture atlases for game optimization. Poor UVs can lead to blurry textures, visible seams, and wasted texture space.
Key strategies for UV mapping a car:
A typical high-quality car model might use several UV sets: one for the main body paint, one for interior elements, one for tires/wheels, and separate ones for small details like emblems or lights. Texture resolutions for render-ready assets typically range from 4K (4096×4096) to 8K (8192×8192) for body panels, and 2K-4K for smaller components. For game engines, 1K-2K textures are more common, with careful optimization.
Physically Based Rendering (PBR) materials are the industry standard for achieving realistic shading because they simulate how light interacts with surfaces based on real-world physics. Rather than guessing color values, PBR workflows utilize maps like Albedo (or Base Color), Metallic, Roughness, Normal, Ambient Occlusion, and sometimes Specular or Opacity.
Software like Substance Painter, Mari, or even Blender’s Shader Editor are invaluable for creating these complex shader networks. For car paint, artists often employ multi-layered shaders to simulate the clear coat, metallic flakes, and underlying base color, adjusting parameters like roughness, IOR (Index of Refraction), and anisotropy for ultimate realism. Platforms like 88cars3d.com provide models with professionally crafted PBR materials, ensuring a head start for artists.
Creating a static 3D car model is one thing; bringing it to life through a stunning render is another. Automotive rendering is an art form that combines technical mastery of rendering engines with a keen eye for photography, lighting, and composition. The goal is to produce images that are indistinguishable from real-world photographs, captivating the viewer with impeccable detail and atmospheric presence. This section explores the critical components of an advanced rendering workflow, from setting up an impactful lighting environment to mastering post-processing.
Lighting is arguably the most crucial element in any photorealistic render, especially for cars where reflections and highlights define the form. A well-lit scene can elevate even a moderately detailed model, while poor lighting can make a high-poly masterpiece look dull.
In 3ds Max, for example, a typical setup involves a Corona or V-Ray Sun and Sky system, complemented by a high-quality HDRI map (like those from Poly Haven or HDRi Haven) in the environment slot, and several Corona Light or V-Ray Light planes placed around the vehicle. The rotation and intensity of the HDRI are constantly adjusted to find the sweet spot for reflections.
Different rendering engines offer unique strengths and workflows, though their underlying PBR principles are similar. Choosing the right engine depends on your specific needs, software ecosystem, and desired output quality.
Each engine has specific settings for sampling, noise reduction, and caustics that need to be understood and optimized for efficient, high-quality output. For instance, in Corona, understanding the “light mix” feature allows for real-time adjustments of individual light sources after rendering, saving significant iteration time.
No raw render is ever truly finished. Post-processing, often done in software like Adobe Photoshop, Affinity Photo, or Blackmagic Fusion, is where you add the final polish and artistic touches that elevate a good render to an exceptional one.
Mastering post-processing transforms a technically perfect render into a visually compelling piece of art. It’s the final layer of polish that makes the image truly sing.
While offline rendering focuses on achieving the highest visual fidelity regardless of render time, creating game assets for real-time engines like Unity or Unreal Engine demands a different approach: aggressive optimization without sacrificing visual quality. Performance in interactive experiences is paramount, requiring careful management of polygon counts, texture memory, and draw calls. An unoptimized car model can cripple frame rates, leading to a poor user experience. Therefore, understanding and applying specific optimization techniques is crucial for game developers and AR/VR creators.
One of the most effective strategies for optimizing complex models like cars is implementing Level of Detail (LODs). This technique involves creating multiple versions of the same model, each with a progressively lower polygon count.
When working with car models for interactive applications, always prioritize efficient geometry. Models acquired from platforms like 88cars3d.com are often provided with multiple LODs and optimized meshes, making them readily adaptable for game development.
Efficient texture management is another cornerstone of game optimization. Textures consume significant GPU memory and can lead to performance issues if not handled correctly.
By diligently applying these optimization techniques, developers can ensure that their 3D car models perform smoothly in real-time environments, providing a seamless and visually rich experience for players.
The utility of high-quality 3D car models extends far beyond traditional static renders and game engines. With the rise of immersive technologies like Augmented Reality (AR) and Virtual Reality (VR), along with advancements in rapid prototyping through 3D printing, these models are finding new and exciting applications. Each of these fields presents unique technical challenges and requirements that artists must address. Understanding how to prepare your models for these diverse platforms ensures maximum versatility and longevity of your digital assets.
AR/VR applications demand extreme performance optimization, even more so than traditional game development, due to the need for high, stable frame rates (e.g., 90 FPS for comfortable VR) and often limited processing power on mobile AR devices.
For AR, specifically, models often need to be exported in formats like GLB (for web AR) or USDZ (for Apple ARKit) which are designed for efficient real-time delivery and rendering on mobile devices. These formats often bundle geometry, materials, and textures into a single file, making deployment straightforward.
Converting a high-detail render model into a printable object requires a fundamental shift in perspective. 3D printing focuses on watertight geometry, physical integrity, and scale, rather than visual aesthetics alone.
Output formats like STL (Standard Tessellation Language) and OBJ are commonly used for 3D printing, with STL being the most universally accepted.
The world of 3D software and engines uses a myriad of file formats, each with its strengths and weaknesses. Understanding these formats is crucial for seamless data exchange.
When preparing models for diverse applications, it’s often necessary to convert between these formats, which can sometimes lead to loss of data or necessitate adjustments. Always verify that materials, UVs, and scales are correctly transferred after any conversion. Platforms like 88cars3d.com offer models in multiple popular formats, including FBX, OBJ, and GLB, ensuring broad compatibility for various project types.
The journey through the world of automotive 3D modeling is one of continuous learning and refinement. From the meticulous precision required for clean topology and intelligent edge flow to the artistic nuances of UV mapping and PBR material creation, every stage demands a blend of technical expertise and creative vision. We’ve explored how advanced rendering workflows can transform a raw model into a breathtaking visual masterpiece, leveraging powerful engines like Corona, V-Ray, Cycles, and Arnold, and the critical role of lighting, environment setup, and post-processing in achieving photorealism.
Beyond traditional renders, we delved into the specialized demands of real-time applications, emphasizing the need for aggressive optimization through LODs, draw call reduction, texture atlasing, and material instancing to deliver smooth performance in game engines and AR/VR environments. Finally, we examined the unique considerations for 3D printing, focusing on watertight meshes and physical integrity, alongside a comprehensive look at the diverse file formats that facilitate seamless data exchange across the 3D ecosystem.
Mastering these techniques will empower you to create truly exceptional 3D car models that meet the highest industry standards. Whether your passion lies in crafting stunning automotive renders for marketing, developing immersive game assets, or pushing the boundaries of AR/VR visualization, the principles discussed here form the bedrock of professional success. Continue to experiment, learn from industry leaders, and utilize high-quality resources, such as the diverse range of expertly crafted models available on platforms like 88cars3d.com, to accelerate your projects and bring your automotive visions to life with unparalleled realism and performance.
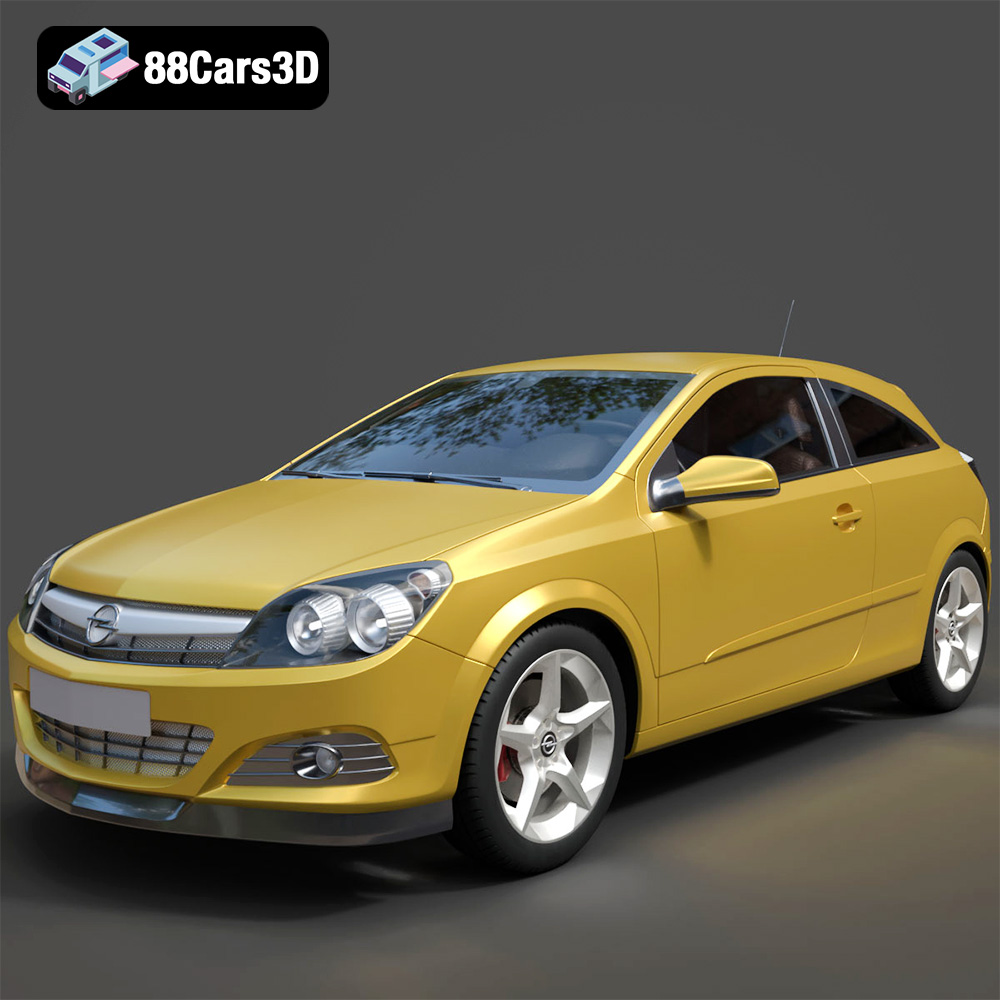
Texture: Yes
Material: Yes
Download the Opel Astra H GTC 3D Model featuring clean geometry, realistic detailing, and a fully modeled interior. Includes .blend, .fbx, .obj, .glb, .stl, .ply, .unreal, and .max formats for rendering, simulation, and game development.
Price: $4.99
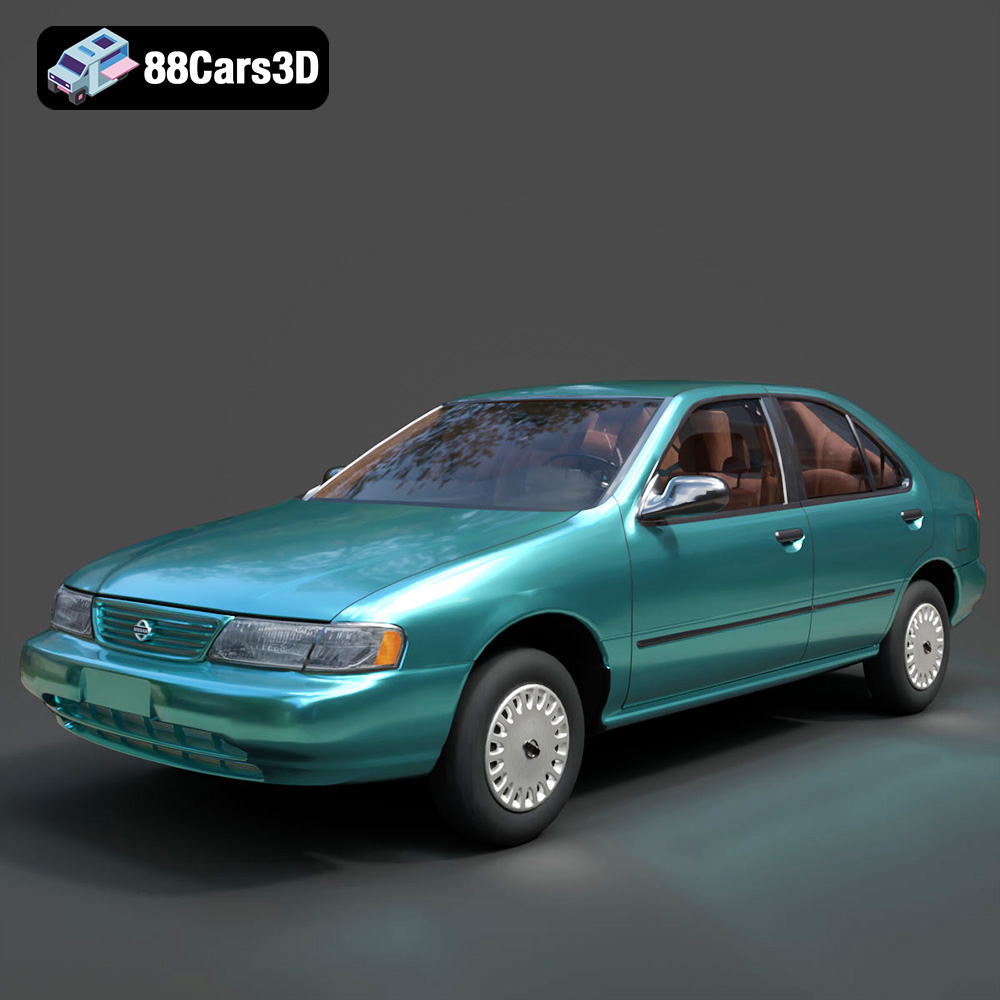
Texture: Yes
Material: Yes
Download the Nissan Sentra GXE 1996 3D Model featuring clean geometry, realistic detailing, and a fully modeled interior. Includes .blend, .fbx, .obj, .glb, .stl, .ply, .unreal, and .max formats for rendering, simulation, and game development.
Price: $4.99
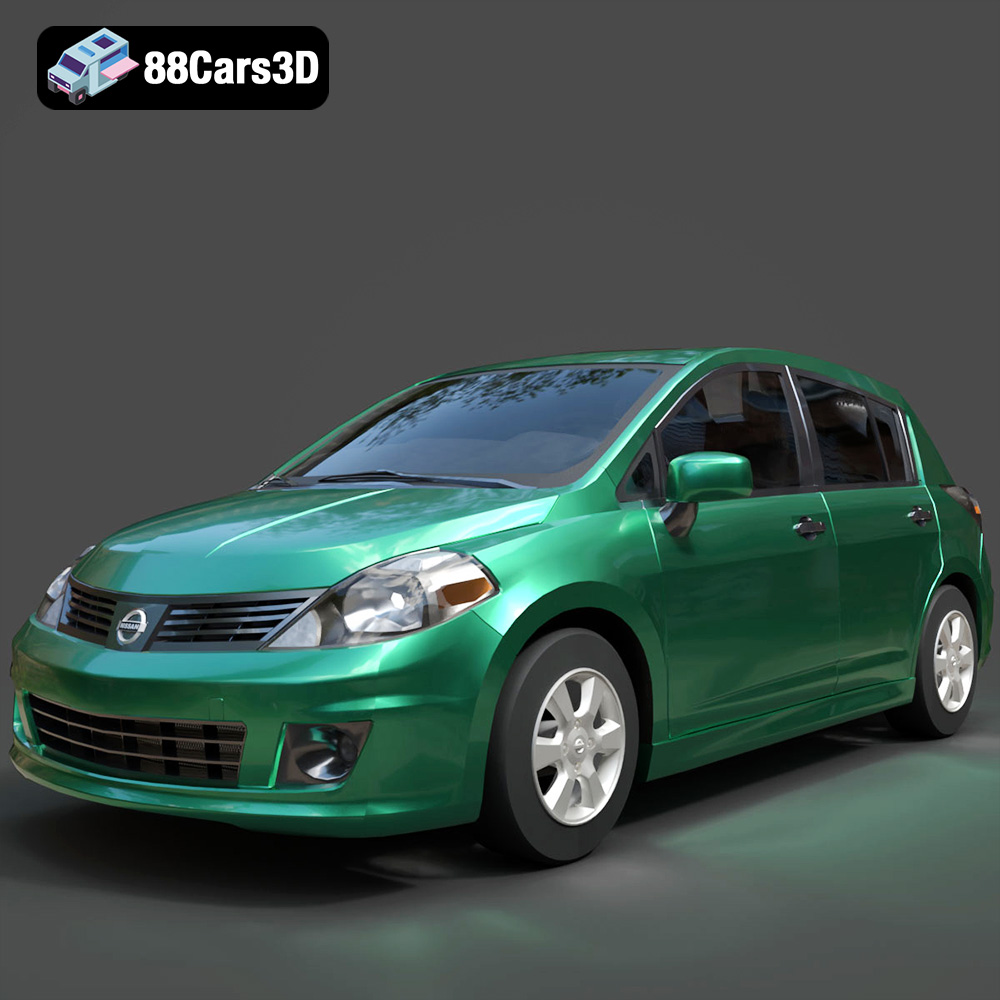
Texture: Yes
Material: Yes
Download the Nissan Tiida 3D Model featuring clean geometry, realistic detailing, and a fully modeled interior. Includes .blend, .fbx, .obj, .glb, .stl, .ply, .unreal, and .max formats for rendering, simulation, and game development.
Price: $4.99
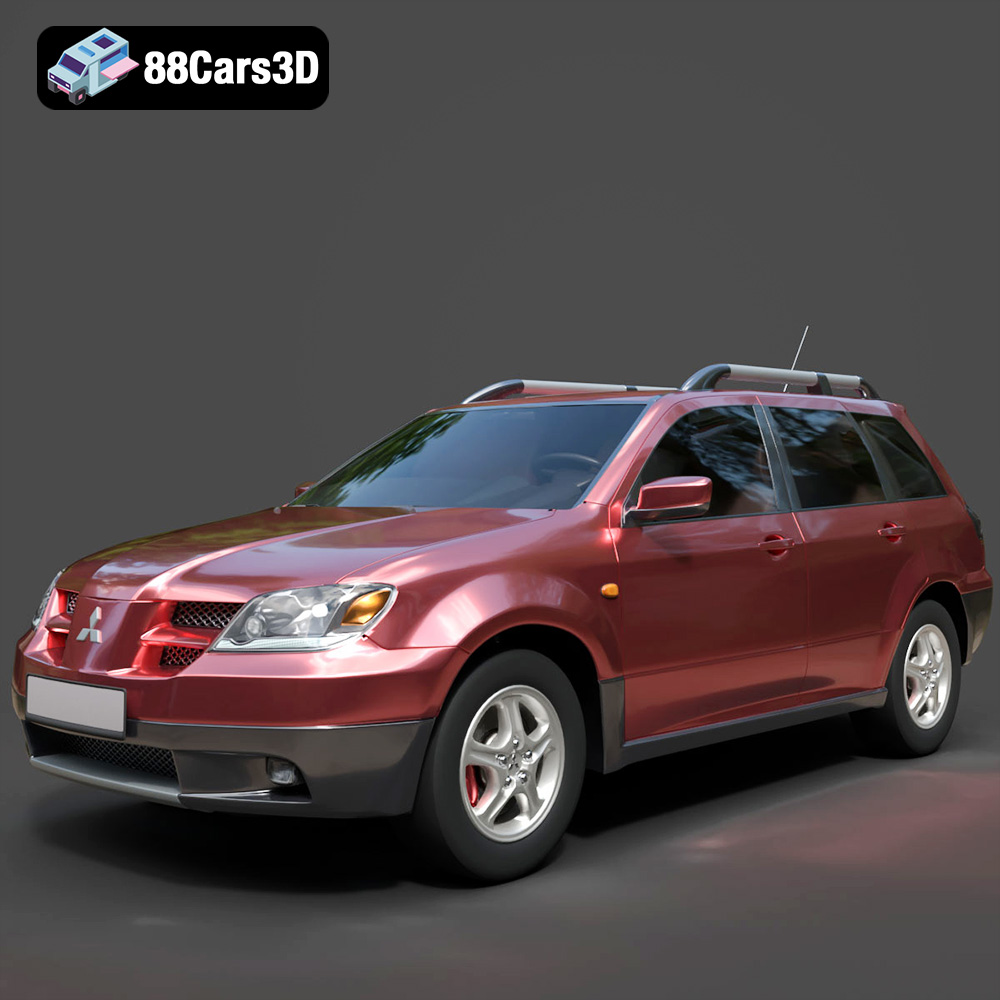
Texture: Yes
Material: Yes
Download the Mitsubishi Outlander 2022 3D Model featuring clean geometry, realistic detailing, and a fully modeled interior. Includes .blend, .fbx, .obj, .glb, .stl, .ply, .unreal, and .max formats for rendering, simulation, and game development.
Price: $4.99
Texture: Yes
Material: Yes
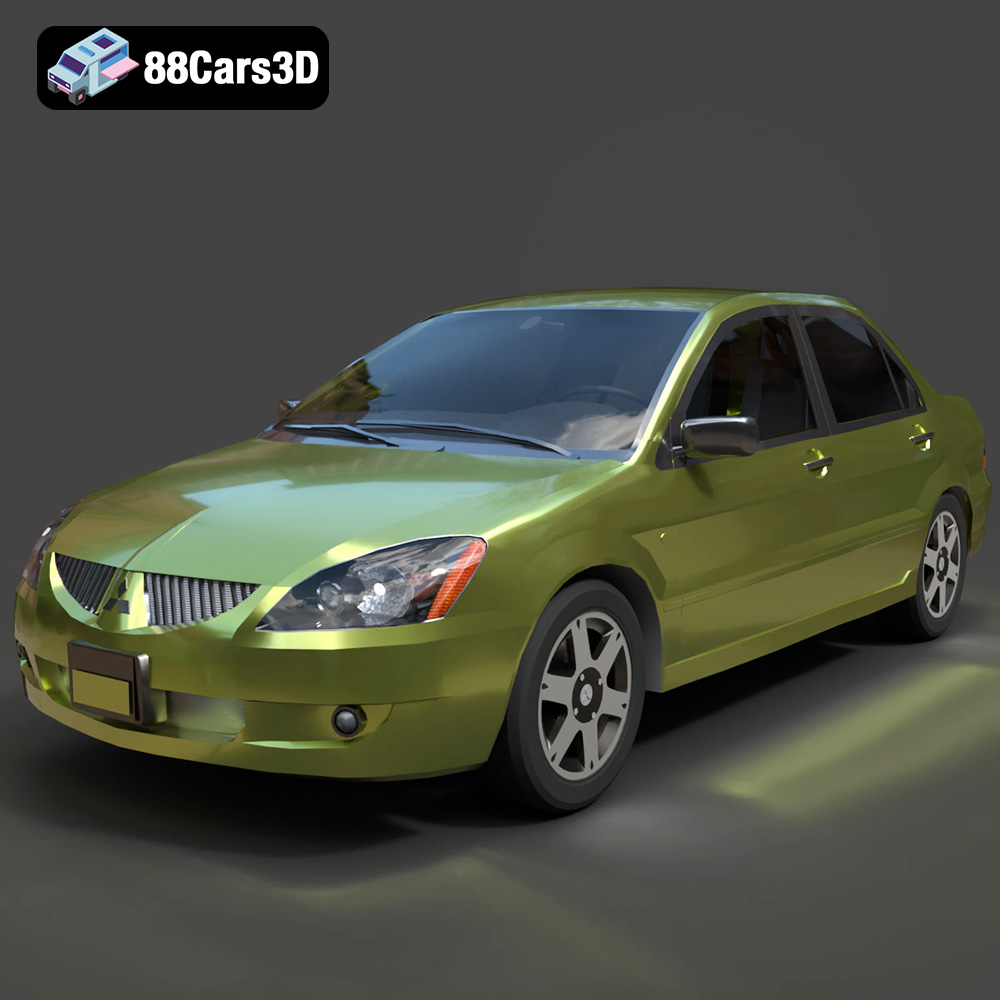
Download the Mitsubishi Lancer IX-001 3D Model featuring clean geometry, realistic detailing, and a fully modeled interior. Includes .blend, .fbx, .obj, .glb, .stl, .ply, .unreal, and .max formats for rendering, simulation, and game development.
Price: $4.99

Texture: Yes
Material: Yes
Download the MINI Cooper S-007 3D Model featuring clean geometry, realistic detailing, and a fully modeled interior. Includes .blend, .fbx, .obj, .glb, .stl, .ply, .unreal, and .max formats for rendering, simulation, and game development.
Price: $4.99
Texture: Yes
Material: Yes
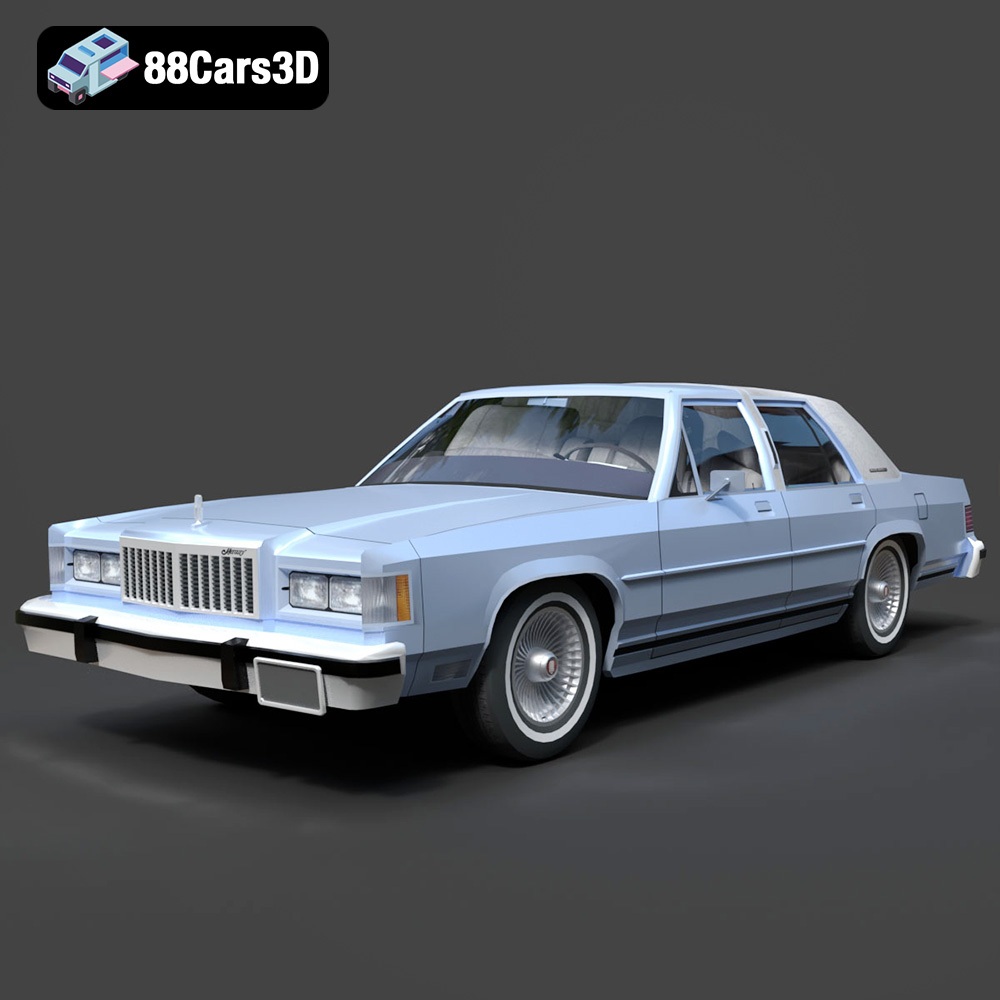
Download the Mercury Grand Marquis LS 1986 3D Model featuring clean geometry, realistic detailing, and a fully modeled interior. Includes .blend, .fbx, .obj, .glb, .stl, .ply, .unreal, and .max formats for rendering, simulation, and game development.
Price: $4.99

Texture: Yes
Material: Yes
Download the Mercedes-Benz SLS AMG 2010 3D Model featuring clean geometry, realistic detailing, and a fully modeled interior. Includes .blend, .fbx, .obj, .glb, .stl, .ply, .unreal, and .max formats for rendering, simulation, and game development.
Price: $4.99
Texture: Yes
Material: Yes
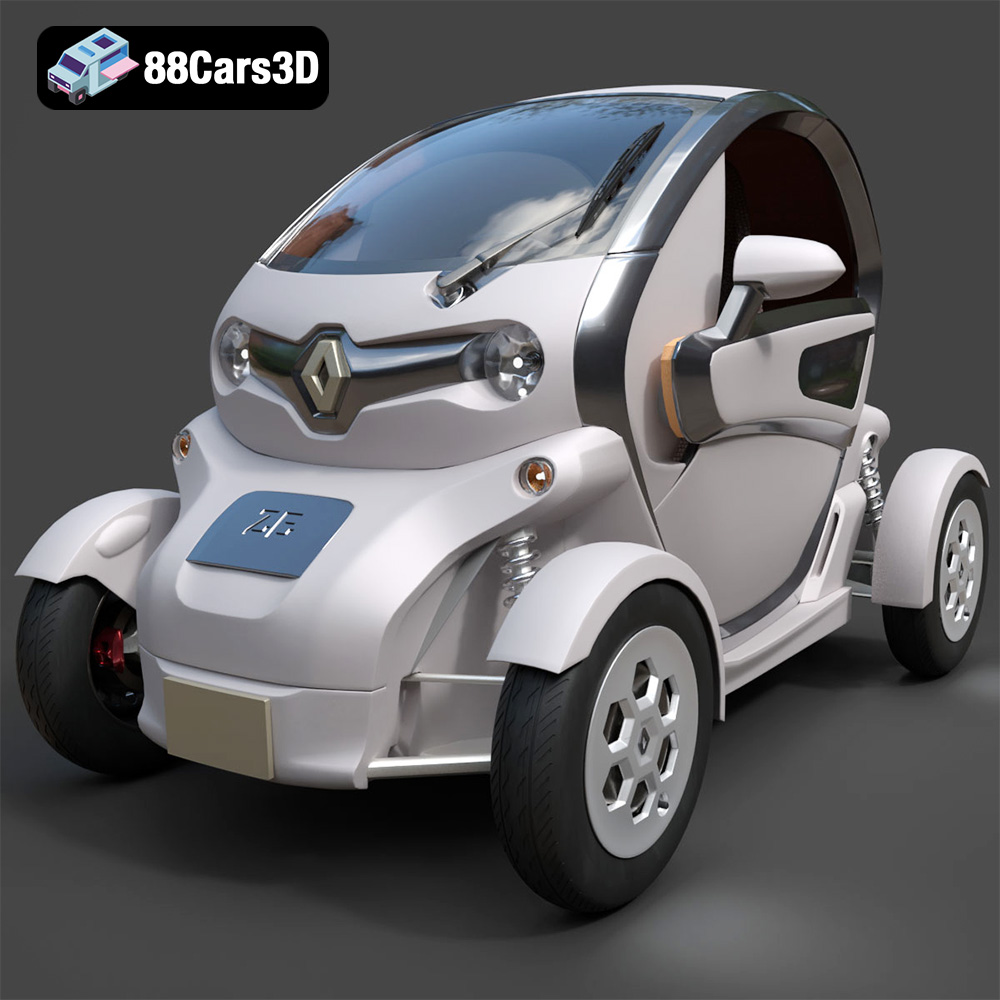
Download the Renault Twizy ZE 3D Model featuring clean geometry, realistic detailing, and a fully modeled interior. Includes .blend, .fbx, .obj, .glb, .stl, .ply, .unreal, and .max formats for rendering, simulation, and game development.
Price: $4.99
Texture: Yes
Material: Yes
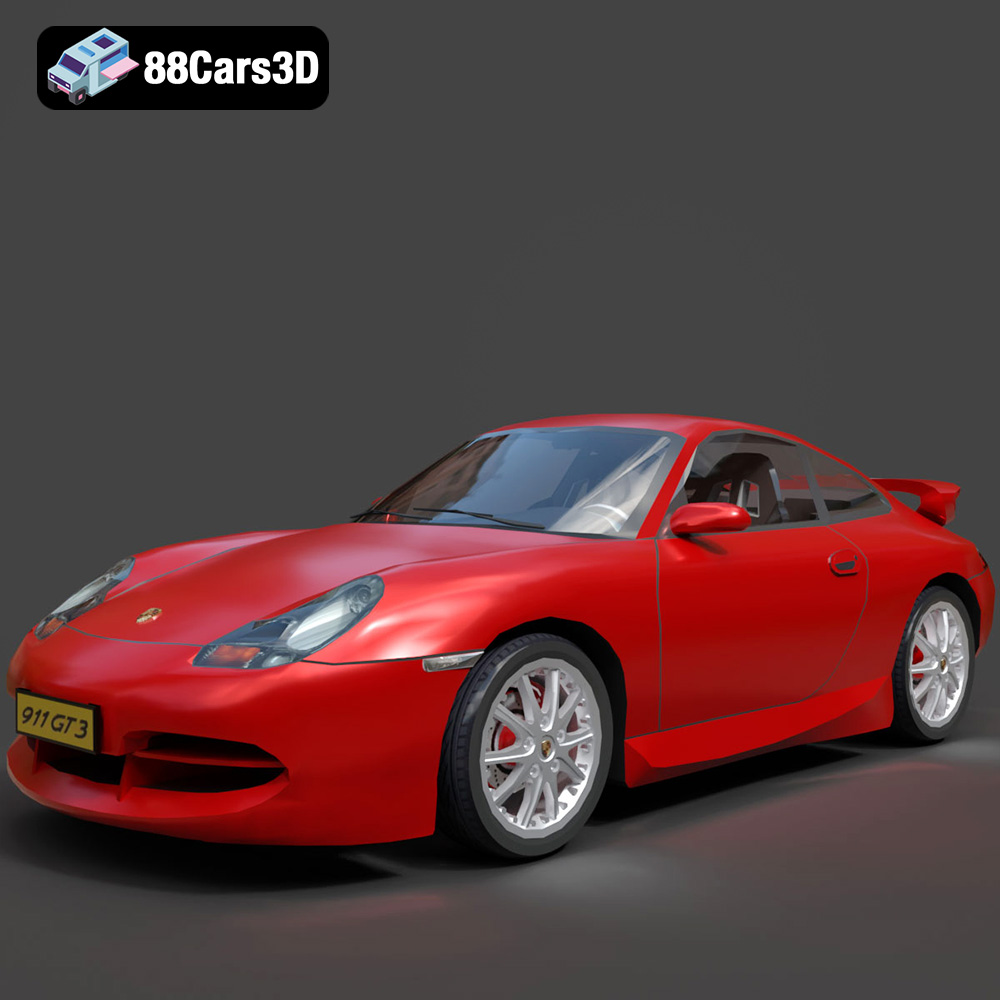
Download the Porsche 911 GT3 3D Model featuring clean geometry, realistic detailing, and a fully modeled interior. Includes .blend, .fbx, .obj, .glb, .stl, .ply, .unreal, and .max formats for rendering, simulation, and game development.
Price: $4.99