The Art and Science of Crafting High-Quality 3D Car Models: From Topology to Real-Time Experiences
In the rapidly evolving landscape of 3D visualization, the demand for exceptionally realistic and performant 3D car models has never been higher. Whether for cinematic renders, immersive game environments, cutting-edge AR/VR experiences, or precision automotive design, a truly outstanding 3D car model is a fusion of technical mastery and artistic vision. It’s not merely about replicating a vehicle’s form; it’s about understanding the intricate details of its structure, materials, and how it interacts with light and environment.
This comprehensive guide delves deep into the multifaceted journey of creating and utilizing high-quality 3D car models. We will explore everything from the foundational principles of mesh topology and sophisticated UV mapping to the nuances of PBR material creation, advanced rendering techniques, and critical optimization strategies for game engines and interactive applications. By the end of this post, you’ll gain a holistic understanding of the workflows, challenges, and best practices employed by industry professionals to bring virtual automobiles to life with unparalleled realism and efficiency. Prepare to unlock the secrets behind truly captivating digital automotive art.
The Foundation: Mastering 3D Car Model Topology and Edge Flow
The bedrock of any high-quality 3D car model lies in its topology and edge flow. These fundamental concepts dictate how the model deforms, smooths, and receives texture information, profoundly impacting its overall realism and performance. For automotive models, precision is paramount due to the car’s intricate curves, sharp panel lines, and reflective surfaces. Sub-optimal topology can lead to pinching, unsightly artifacts, and difficult UV unwrapping, compromising the final output.
Quad-Based Modeling for Organic Surfaces and Smooth Deformation
Industry best practice overwhelmingly favors quad-based (four-sided polygon) topology for automotive models. While triangles might seem simpler, quads offer superior advantages. They deform more predictably, making animation smoother and less prone to stretching or tearing. Crucially, quads are essential for subdivision surfacing (e.g., using a TurboSmooth or Subdivision Surface modifier), allowing a relatively low-polygon base mesh to be smoothed into a high-detail, render-ready model without introducing undesirable creases or distortions. When modeling a car body, the aim is to create a mesh where edge loops flow naturally along the curvature and contours of the vehicle, facilitating precise control over its form and ensuring smooth highlights on reflective surfaces. Avoid N-gons (polygons with more than four sides) whenever possible, as they can cause unpredictable shading and triangulation issues upon export or rendering.
Automotive Edge Flow Principles for Panel Lines and Curvature
Achieving realistic automotive surfacing requires meticulous attention to edge flow. Key principles include:
- Supporting Edge Loops: To define sharp creases like door seams, hood lines, or fender edges, you need “supporting” or “control” edge loops running parallel and very close to the main edge. These loops prevent excessive softening when subdivision modifiers are applied, maintaining the crispness of the design.
- Consistent Spacing: Maintain relatively even polygon distribution across surfaces to ensure consistent tessellation and predictable smoothing.
- Following Natural Contours: Edge loops should follow the natural curves and forms of the car, guiding the eye and accurately capturing the vehicle’s design language. This is particularly important for areas like wheel wells, headlights, and body panels that merge or intersect.
- Minimizing Poles: While poles (vertices where more or less than four edges meet) are sometimes unavoidable, aim to place them in flatter, less visible areas, as they can sometimes lead to slight pinching or shading inconsistencies.
Understanding and implementing these principles is vital for creating a robust base for texturing and rendering.
Polygon Budgets and Levels of Detail (LODs)
The “right” polygon count for a 3D car model is highly dependent on its intended use.
- High-Polygon Models (Render-Ready): For high-end marketing renders or cinematics, models can range from 500,000 to 5 million polygons or more. These models leverage subdivision surfaces to capture every minute detail, ensuring flawless reflections and smooth surfaces.
- Mid-Polygon Models (Game/AR/VR-Optimized): For real-time applications, polygon counts are significantly lower. A primary (LOD0) car model might be anywhere from 40,000 to 150,000 polygons for modern AAA games or high-fidelity AR/VR. This requires careful mesh optimization, sometimes using normal maps baked from high-poly versions to retain detail.
- Levels of Detail (LODs): This crucial optimization technique involves creating multiple versions of the same model, each with progressively fewer polygons. For instance, an LOD1 might be 50% of the LOD0 count, an LOD2 at 25%, and so on. Game engines dynamically switch between these versions based on the camera’s distance, ensuring performance without sacrificing visual quality when the object is close. Professional marketplaces like 88cars3d.com often provide models with pre-configured LODs to cater to diverse project needs.
Balancing visual fidelity with performance is a constant challenge, and a well-planned LOD strategy is key to success in interactive experiences.
Bringing Surfaces to Life: Advanced UV Mapping and Texturing Strategies
Once the 3D model’s geometry is perfected, the next critical step is UV mapping and texturing. UV mapping is the process of unwrapping the 3D mesh into a 2D plane, creating a set of coordinates (UVs) that tell your software how to apply textures. Flawed UVs can lead to stretched, distorted, or misaligned textures, severely detracting from realism. For automotive models, precision in UVs is paramount due to the smooth, reflective nature of car surfaces and the need for accurate decals and panel line details.
Strategic UV Unwrapping for Automotive Meshes
Effective UV unwrapping for complex car surfaces involves a strategic approach to minimize distortion and maximize texture resolution:
- Minimizing Seams: While seams are inevitable, place them in less visible areas, such as along natural panel breaks, underneath the car, or along sharp edges that won’t show a visible texture break. Modern texturing tools (like Substance Painter) are excellent at blending across seams, but smart seam placement remains a best practice.
- Projection Types: Use a combination of projection methods. Planar projections are ideal for flatter surfaces like the hood, roof, or side panels. Cylindrical or spherical projections can work for wheels or curved sections, though often custom painting and relaxation are needed. Box projection can be a starting point for complex, angular components.
- Consistent Texel Density: Ensure that the texture resolution per unit area (texel density) is consistent across the entire model. This prevents some parts of the car from appearing blurry while others are sharp. Tools in 3ds Max, Blender, Maya, and RizomUV provide checkers and functions to normalize texel density. A common target might be 10.24 pixels per centimeter for a hero asset, varying based on target resolution (e.g., 4K or 8K textures).
- Overlapping UVs: For identical, non-unique parts (e.g., all four tires, brake calipers), overlapping UVs can save texture space. However, be cautious: if these parts need unique wear or damage, overlapping is not suitable.
A clean, organized UV layout is not just good practice; it’s essential for efficient texture creation and optimal rendering performance.
Texture Atlas Creation and Optimization
For game development and real-time applications, texture atlasing is a powerful optimization technique. Instead of having dozens of individual textures for various car components (body, interior, wheels, glass, lights), an atlas combines multiple textures onto a single, larger texture map.
- Reduced Draw Calls: Each unique material and texture set requires a “draw call” from the GPU. By atlasing textures, you can consolidate materials, significantly reducing the number of draw calls and improving rendering performance, especially for scenes with many vehicles.
- Organized Workflow: While initially more complex to set up, atlases can streamline material management within game engines.
- Efficient Memory Usage: A single large texture can sometimes be more memory-efficient than many small ones, especially when they are loaded and unloaded together.
Creating an effective atlas involves careful planning of UV space for each component to maximize utilization while leaving sufficient padding between texture islands to prevent bleeding.
Baking High-Detail Meshes to Low-Poly UVs
One of the most transformative techniques for real-time 3D car models is baking. This process involves transferring high-fidelity details from a detailed, high-polygon model onto the UV maps of a lower-polygon model.
- Normal Maps: The most common baked texture, a normal map, stores surface normal information, effectively faking high-resolution geometric detail (like screws, small vents, or subtle panel indents) on a low-poly mesh. This makes a smooth, flat surface appear to have complex bumps and grooves.
- Ambient Occlusion (AO) Maps: These maps capture self-shadowing details, making crevices and corners appear darker, adding depth and realism without costly real-time shadow calculations.
- Curvature Maps: Useful for adding subtle edge wear or dirt accumulation, these maps identify concave and convex areas of the mesh.
- Position Maps, Thickness Maps, etc.: Other utility maps can be baked to provide valuable information for smart materials in texturing software.
Software like Substance Painter, Marmoset Toolbag, or even dedicated functions within 3ds Max or Blender are used for baking. A precisely aligned low-poly and high-poly mesh are crucial for a clean bake, free of projection errors or artifacts.
The Art of Realism: PBR Materials and Shader Network Crafting
Achieving photorealistic results for 3D car models relies heavily on Physically Based Rendering (PBR) materials. PBR systems simulate how light interacts with surfaces in the real world, producing far more consistent and believable results across different lighting conditions compared to traditional, non-PBR approaches. Mastering PBR involves understanding various texture maps and how they combine to form a sophisticated shader network.
Understanding PBR Workflows: Metallic/Roughness vs. Specular/Glossiness
There are two primary PBR workflows, each using a slightly different set of texture maps:
- Metallic/Roughness Workflow: This is the more common and often preferred workflow, especially in game engines (Unity, Unreal Engine) and modern renderers.
- Base Color (Albedo): Defines the diffuse color of the surface and, for non-metallic materials, the reflection color. For metals, it defines the color of the reflection.
- Metallic: A grayscale map where black (0) represents a dielectric (non-metal) and white (1) represents a conductor (metal). Values in between can represent dusty or corroded metals.
- Roughness: A grayscale map where black (0) is perfectly smooth/mirror-like and white (1) is completely rough/diffuse. This map controls the scattering of light reflections.
- Normal Map: (As discussed previously) Adds surface detail without adding geometry.
- Ambient Occlusion (AO): (As discussed previously) Simulates soft contact shadows.
- Specular/Glossiness Workflow: Less common now, but still supported by some older engines and renderers (e.g., V-Ray, occasionally in Unreal Engine).
- Diffuse/Albedo: Defines the base color of the surface, but *not* the reflective color for metals.
- Specular: A color map that defines the color and intensity of reflections (the “specular highlight”). For metals, this would typically be a colored reflection.
- Glossiness: The inverse of roughness; white (1) is perfectly smooth, black (0) is completely rough.
- Normal Map: Same as above.
- Ambient Occlusion (AO): Same as above.
Consistency is key; choose one workflow and stick to it throughout your asset creation.
Crafting Realistic Car Paint Shaders
Car paint is one of the most challenging materials to reproduce realistically due to its complex properties:
- Metallic Flake: Many car paints contain tiny metallic flakes that sparkle under direct light. This effect is often simulated through a separate flake layer within the shader, using a noise map or procedural texture to control the distribution and size of these flakes, influencing their metallic and roughness properties.
- Clear Coat Layer: Most modern car paints have a transparent clear coat on top of the base color. This is implemented as a separate reflective layer in the shader, with its own fresnel reflection and roughness (usually very low for a glossy finish). The clear coat often influences how underlying normal maps are perceived.
- Fresnel Reflections: The intensity of reflections changes based on the viewing angle (grazing angles show stronger reflections). PBR shaders inherently handle this, but understanding its effect on car paint realism is crucial.
- Pearlescent/Chromaflair Effects: For paints that shift color with the viewing angle, complex shader networks involving multiple layers, angle-dependent color shifts, or even iridescent scattering principles are required.
These elements combine in a sophisticated shader network within your rendering engine (e.g., V-Ray Car Paint, Corona Physical Material, Blender Cycles/Eevee Principled BSDF) to mimic real-world automotive finishes.
Interior and Component Material Development
Beyond the gleaming exterior, the interior and various components of a car demand equal attention:
- Leather and Fabrics: These require detailed normal maps for grain, subtle color variations, and accurate roughness maps to simulate their tactile feel and light absorption properties. Subtle subsurface scattering might be used for thicker leather.
- Plastics and Rubbers: These materials vary widely in sheen and texture. From matte, rough dashboard plastics to semi-glossy door panels, careful adjustment of roughness and subtle normal details (e.g., fine grain) is crucial.
- Glass and Transparencies: Car windows, headlights, and tail lights need accurate refractive properties, tinting, and potential normal maps for subtle imperfections or moisture. Headlight glass, in particular, often requires complex normal and displacement maps to simulate the internal optics.
- Chrome and Metals: Highly reflective metals (chrome, polished aluminum) require very low roughness values and high metallic values. Scratches and fingerprints (added via roughness or normal maps) can add immense realism.
Each material demands its own PBR approach, with careful calibration of textures and shader parameters to achieve authenticity. This meticulous attention to detail is a hallmark of the high-quality 3D car models available on platforms like 88cars3d.com.
Illuminating Excellence: Professional Rendering Workflows for Automotive Visualization
A perfectly modeled and textured 3D car model only truly shines when placed in a meticulously crafted lighting environment and rendered with a powerful engine. Automotive visualization demands an exceptionally high level of realism, where every reflection, highlight, and shadow contributes to the overall aesthetic. This section explores professional rendering workflows, focusing on achieving stunning, photorealistic results.
Choosing the Right Renderer: Corona, V-Ray, Cycles, Arnold
The choice of renderer significantly impacts both the quality of your output and your workflow efficiency. Each has its strengths:
- Corona Renderer: Known for its ease of use, speed, and exceptional quality for interior and product visualization. Its physically based nature and intuitive controls make it a favorite for many artists seeking realistic results without overly complex settings. It excels at subtle light bounces and realistic material interactions, making car paint look particularly natural.
- V-Ray: A long-standing industry standard, V-Ray is incredibly versatile and powerful, used extensively in architectural visualization, film, and automotive design. It offers a vast array of features, from CPU to GPU rendering, and highly customizable settings, allowing for ultimate control over every aspect of the render. Its advanced material system and light linking options are invaluable for complex automotive scenes.
- Blender Cycles: Blender’s integrated path-tracing renderer, Cycles, provides highly realistic results and is fully integrated into a free, open-source 3D suite. With GPU acceleration, it can be quite fast, and its node-based material system offers immense flexibility for complex PBR shaders. It’s a fantastic option for independent artists or studios on a budget.
- Arnold Renderer: Autodesk’s flagship renderer, Arnold, is celebrated for its robust CPU-based ray tracing, particularly in film and broadcast animation. It delivers excellent results for complex scenes with many lights and detailed geometry, offering a very predictable and physically accurate output, ideal for high-fidelity automotive cinematics.
The best renderer for you depends on your software ecosystem, budget, and specific project requirements. All modern renderers support PBR workflows, ensuring consistency in material appearance.
HDRI and Physical Lighting Setups
Effective lighting is perhaps the single most important factor in achieving photorealism:
- High Dynamic Range Images (HDRIs): HDRIs are spherical images that capture the full range of light information from a real-world environment. Using an HDRI as your primary light source is a cornerstone of automotive rendering. It provides realistic ambient lighting, highly accurate reflections on car surfaces (crucial for revealing the body lines), and subtle color information that ties the car into its virtual environment. High-quality studio HDRIs or outdoor location HDRIs are indispensable.
- Physical Lights: While HDRIs provide global illumination, physical lights (area lights, spot lights, point lights) are used to add specific highlights, accent details, or simulate practical light sources (e.g., studio softboxes, streetlights). For studio renders, a classic three-point lighting setup (key, fill, back) or a more elaborate array of softboxes helps define contours and reveal metallic flakes in the paint.
- Light Placement: Experiment with light positions to find angles that best showcase the car’s design, emphasize reflections along curves, and create dramatic shadows. Observing real-world car photography can provide invaluable inspiration.
A harmonious blend of ambient HDRI lighting and targeted physical lights creates a dynamic and believable scene.
Render Settings and Optimization for Quality and Speed
Achieving both stunning quality and reasonable render times involves careful configuration of your renderer’s settings:
- Sampling: Most path-tracing renderers use a sampling approach. Higher sample counts reduce noise (graininess) but increase render time. Features like adaptive sampling (found in Corona, V-Ray, Arnold) automatically focus samples where they are most needed, optimizing performance.
- Global Illumination (GI): GI simulates how light bounces around a scene. Brute Force, Irradiance Map, and Light Cache are common GI engines. A combination (e.g., Brute Force for primary bounces, Light Cache for secondary) is often used to balance accuracy and speed.
- Denoising: Post-processing denoisers (OptiX, Intel Open Image Denoise, or renderer-specific denoisers) can dramatically reduce noise in renders, allowing you to use lower sample counts and thus faster render times without sacrificing perceived quality.
- Render Elements/Passes: For ultimate flexibility in post-processing, render out separate passes (e.g., beauty, reflections, refractions, shadows, ambient occlusion, ID masks). This allows you to fine-tune aspects of the image in compositing software without re-rendering the entire scene.
Striking the right balance between these settings is a learned skill that comes with experience and understanding your chosen renderer.
Optimizing for Interaction: Game Engine Integration and Performance
Bringing a 3D car model into a real-time environment like a game engine requires a rigorous optimization process. Unlike static renders, game engines must continuously update the scene at 30, 60, or even 120 frames per second, demanding highly efficient assets. Every polygon, texture, and material contributes to the computational load, making smart optimization critical for smooth gameplay and immersive experiences.
LODs Revisited: Practical Implementation in Unity/Unreal Engine
As touched upon earlier, Levels of Detail (LODs) are fundamental for game optimization.
- Creation: LODs are typically created by decimating or manually optimizing the high-poly mesh into progressively lower polygon counts. A common strategy might involve three to five LOD levels. For example, a hero car might have:
- LOD0 (Near): 80,000-150,000 tris (triangles)
- LOD1 (Mid): 30,000-60,000 tris
- LOD2 (Far): 10,000-20,000 tris
- LOD3 (Very Far): 2,000-5,000 tris (sometimes just a simple box for extreme distance)
- Engine Integration: Both Unity and Unreal Engine provide dedicated LOD components or systems. You import all LOD meshes, assign them to the component, and define screen percentage thresholds (e.g., switch to LOD1 when the object occupies less than 50% of the screen, LOD2 at 25%, etc.). The engine then automatically manages which LOD to display based on the camera’s distance, ensuring only necessary detail is rendered.
- Texture LODs: Alongside mesh LODs, texture resolution can also be scaled down for distant objects, reducing VRAM usage. This is often handled automatically by mipmapping, where the engine generates progressively smaller versions of textures.
Properly implemented LODs prevent distant, small objects from consuming the same resources as close-up, hero assets.
Reducing Draw Calls and Memory Footprint
Draw calls are instructions from the CPU to the GPU to draw something. Minimizing them is crucial for performance.
- Material Consolidation: Grouping surfaces that share the same material into a single mesh can significantly reduce draw calls. For example, if all interior plastics share one PBR material, merge those meshes. Texture atlasing (as discussed) directly supports this by allowing multiple parts to use one material.
- Instancing: When multiple identical objects (e.g., four wheels of the same model) are present, game engines can “instance” them, rendering them with a single draw call. Ensure your mesh parts are set up correctly for instancing.
- Static Batching/Dynamic Batching: Unity and Unreal Engine offer batching mechanisms that combine multiple meshes into a single draw call, reducing overhead.
- Memory Footprint: Optimize texture sizes (e.g., 2K or 4K instead of 8K for game assets), use compressed texture formats (DXT, ASTC, ETC), and be mindful of the total polygon count across all LODs. Each texture and mesh consumes valuable VRAM.
These strategies collectively ensure that the engine spends less time telling the GPU what to draw and more time actually drawing it.
Collision Meshes and Physics Asset Setup
For a car to interact realistically with its environment (driving, crashing, receiving damage), it needs collision geometry and a physics asset.
- Simplified Collision Meshes: The visual mesh is too complex for physics calculations. Instead, a simplified, invisible “collision mesh” is used. This can be a series of primitive shapes (boxes, capsules, spheres) or a low-polygon convex hull that approximates the car’s shape. The simpler the collision mesh, the faster the physics calculations.
- Wheel Colliders: For vehicle physics, specialized wheel colliders (often raycast-based or sphere colliders) are used to simulate tire friction, suspension, and ground contact.
- Physics Assets (Unreal Engine) / Rigidbody (Unity): These systems define how the car responds to forces. They link collision geometry to the visual mesh, allow for destructible parts, and define joints (e.g., for suspension movement). Setting up the center of mass, inertia tensors, and various friction parameters is crucial for realistic driving dynamics.
A well-optimized 3D car model for game engines, often available from marketplaces such as 88cars3d.com, will include pre-configured LODs and collision geometry, saving significant development time.
Beyond Static Images: AR/VR, 3D Printing, and File Format Mastery
The utility of 3D car models extends far beyond traditional rendering. They are now central to interactive AR/VR experiences, physical prototyping through 3D printing, and seamless integration across diverse software platforms. Each application demands specific considerations in terms of model preparation and file format selection.
AR/VR Optimization for Real-Time Experiences
Augmented Reality (AR) and Virtual Reality (VR) environments are the most demanding for 3D assets due to their requirement for extremely high and stable frame rates (typically 90 FPS or higher to prevent motion sickness) and often running on mobile hardware.
- Ultra-Low Poly: AR/VR models, especially for mobile, need very aggressive polygon optimization. Target poly counts for a hero car might be as low as 20,000-50,000 triangles for LOD0, with even lower LODs quickly switching in.
- Aggressive Texture Packing: Minimize the number of materials and textures. Utilize texture atlases and efficient PBR texture packing (e.g., combining Roughness, Metallic, and Ambient Occlusion into different channels of a single RGB texture) to reduce draw calls and VRAM usage.
- Shader Complexity: Use simplified, mobile-friendly PBR shaders. Avoid complex volumetric effects, excessive transparency (unless optimized), or expensive real-time reflections. Cube maps or screen-space reflections might be used carefully.
- File Formats for Web/Mobile AR:
- GLB (Binary glTF): The preferred format for web-based and many mobile AR applications. It’s a single file that contains geometry, materials, textures, and animations, making it highly portable and efficient for streaming.
- USDZ: Apple’s proprietary format for ARKit and their ecosystem. Similar to GLB in its self-contained nature, it’s optimized for iOS devices and applications.
The goal is to provide maximum visual fidelity within extremely tight performance budgets, ensuring a smooth, immersive experience for the user.
Preparing 3D Car Models for 3D Printing
Transforming a digital car model into a physical object via 3D printing introduces a unique set of challenges and requirements:
- Watertight (Manifold) Mesh: The most crucial aspect. A 3D printable model must be “watertight,” meaning it has no holes, internal faces, or non-manifold geometry (edges connected to more than two faces). Every edge must border exactly two faces, forming a continuous, enclosed volume.
- Wall Thickness: Ensure all parts of the model have sufficient wall thickness to be physically robust after printing. Thin walls can break during printing or post-processing. Typical minimums range from 0.8mm to 2mm depending on the material and printer.
- Scale and Units: Export the model at the correct real-world scale and ensure consistent units between your 3D software and the slicer/printer software.
- Mesh Repair Tools: Software like Blender’s 3D Print Toolbox, Meshmixer, Netfabb, or the repair functions in Slic3r/PrusaSlicer can identify and fix common 3D printability issues such as non-manifold edges, flipped normals, and holes.
- Detail vs. Print Resolution: Be mindful of the printer’s resolution. Excessive fine details might not be captured by the printer or might make the model too fragile.
Careful preparation is key to avoiding failed prints and ensuring a high-quality physical replica.
Navigating File Formats: FBX, OBJ, GLB, USDZ, and Their Use Cases
Understanding different file formats is essential for interoperability across various 3D software, game engines, and platforms. High-quality 3D car model marketplaces, such as 88cars3d.com, typically offer models in multiple formats to ensure maximum compatibility:
- FBX (Filmbox): Autodesk’s proprietary format, widely considered the industry standard for interoperability. It supports geometry, materials, textures, rigging, animation, and cameras. Ideal for transferring models between 3ds Max, Maya, Blender, Unity, Unreal Engine.
- OBJ (Wavefront Object): A universal format, highly compatible with almost all 3D software. It stores geometry (vertices, normals, UVs, faces) and references material (MTL) files. It does NOT support animation, rigging, or cameras, making it best for static meshes.
- GLB (Binary glTF): The increasingly popular standard for web and real-time 3D. It efficiently packages geometry, PBR materials, textures, and animations into a single binary file. Excellent for AR/VR, web 3D viewers, and lightweight game assets.
- USDZ (Universal Scene Description Zip): Apple’s optimized format for ARKit. Similar to GLB in its efficiency and PBR support, it’s specific to the Apple ecosystem but gaining broader industry traction.
- STL (Stereolithography): Primarily used for 3D printing. Stores only raw triangular mesh data without color, texture, or material information.
- ABC (Alembic): An open-source exchange format primarily used for caching complex animation, simulations, and large datasets between different DCC (Digital Content Creation) applications in film and VFX pipelines.
Choosing the correct format ensures your 3D car model retains its integrity and functionality when moving between different stages of your workflow.
The Final Polish: Lighting, Environment, and Post-Production Techniques
Even the most meticulously crafted 3D car model requires a final layer of refinement through expert lighting, seamless environment integration, and thoughtful post-processing. These steps elevate a good render to an exceptional one, adding mood, realism, and visual impact that truly captivate the viewer.
Advanced Lighting Scenarios for Maximum Impact
Moving beyond basic HDRI setups, advanced lighting techniques can dramatically enhance your automotive renders:
- Studio Photography Replication: To achieve clean, professional studio shots, emulate real-world photographic studios. Use large, soft area lights (softboxes) positioned strategically to create long, elegant reflections along the car’s body panels. Rim lights from the rear can help separate the car from the background. Experiment with colored lights for mood.
- Dynamic Outdoor Scenes: For outdoor renders, integrate the car naturally into the environment. This involves matching the sun direction and intensity from your HDRI with a directional light source, and potentially adding subtle fill lights to lift shadows. Pay attention to how the car’s reflections capture the surrounding environment – trees, buildings, sky.
- Night Renders and Neon Glow: Night scenes are challenging but rewarding. Focus on primary light sources like headlamps, tail lights, and ambient streetlights. Volumetric lighting can add atmospheric haze, and subtle emissive materials for interior screens or dashboard lights can enhance realism. Don’t forget realistic lens flares and bloom in post-processing.
The key is to use lighting to highlight the car’s form, materials, and design features, guiding the viewer’s eye and conveying a story.
Environment Integration and Backplates
A car is rarely seen in isolation; its environment plays a crucial role in its presentation:
- Backplates: Using high-resolution photographic backplates is a common technique. The 3D car is rendered and composited onto a real-world photo. This requires meticulous matching of camera perspective, focal length, lighting conditions, and white balance between the 3D scene and the photograph. Create a simple 3D ground plane and surrounding geometry from the backplate to ensure realistic shadows and reflections.
- Full 3D Environments: For complete creative control, build a full 3D environment. This allows for animated camera movements and dynamic lighting changes. Ensure the scale and stylistic elements of the environment complement the car.
- Reflections and Shadows: Crucial for integration. The car must reflect its environment, and its shadows must fall realistically onto the ground and surrounding objects, matching the environment’s light direction and intensity.
Seamless integration makes the 3D car feel truly present in the scene, not just an overlay.
Post-Processing and Compositing for Impact
The rendering process doesn’t end when the image is calculated; post-processing is where the final magic happens, often in software like Photoshop, Affinity Photo, or Nuke.
- Color Grading: Adjusting hue, saturation, and luminance to establish the mood and visual style. This includes contrast adjustments, exposure correction, and ensuring accurate white balance.
- Lens Effects: Adding realistic camera artifacts like chromatic aberration, vignetting (darkening at the edges), and subtle lens distortions can make a render feel more photographic.
- Depth of Field (DOF): Simulating the selective focus of a camera lens, blurring the foreground and background to draw attention to the car. This can be rendered as a Z-depth pass and applied in post-production for more flexibility.
- Glow and Bloom: Enhancing bright light sources (headlights, tail lights) with a soft glow or bloom effect adds realism and cinematic quality.
- Motion Blur: For animated sequences or still renders implying motion, adding motion blur (either rendered or in post) dramatically increases realism.
- Compositing Passes: Utilizing render passes (diffuse, reflection, refraction, specularity, shadow, ambient occlusion, ID masks) allows for granular control over each element of the image, enabling non-destructive adjustments and refinements.
This final stage refines the image, adding polish and artistic flair to create a truly professional and memorable automotive visualization.
Conclusion
The journey of a 3D car model, from its foundational mesh to its final render or real-time deployment, is a complex yet rewarding endeavor. It demands a sophisticated understanding of 3D modeling principles, intricate UV mapping techniques, the science behind PBR materials, advanced rendering workflows, and rigorous optimization strategies. Each step, whether it’s ensuring pristine quad topology, crafting a nuanced car paint shader, or meticulously preparing LODs for a game engine, contributes to the ultimate goal: creating a virtual vehicle that is indistinguishable from reality, or perfectly optimized for interactive experiences.
Mastering these technical and artistic skills not only elevates the quality of your work but also positions you at the forefront of automotive design, game development, AR/VR, and advanced visualization. The continuous pursuit of excellence in these areas is what defines truly professional 3D artists. As you embark on your own projects or seek to enhance your existing library, remember that the foundation of great work often begins with high-quality assets. Explore platforms like 88cars3d.com for a diverse range of professionally crafted 3D car models, ready to be integrated into your next masterpiece, saving you countless hours and ensuring a benchmark of quality from the outset. Keep pushing the boundaries of realism and performance!
Featured 3D Car Models

Texture: Yes
Material: Yes
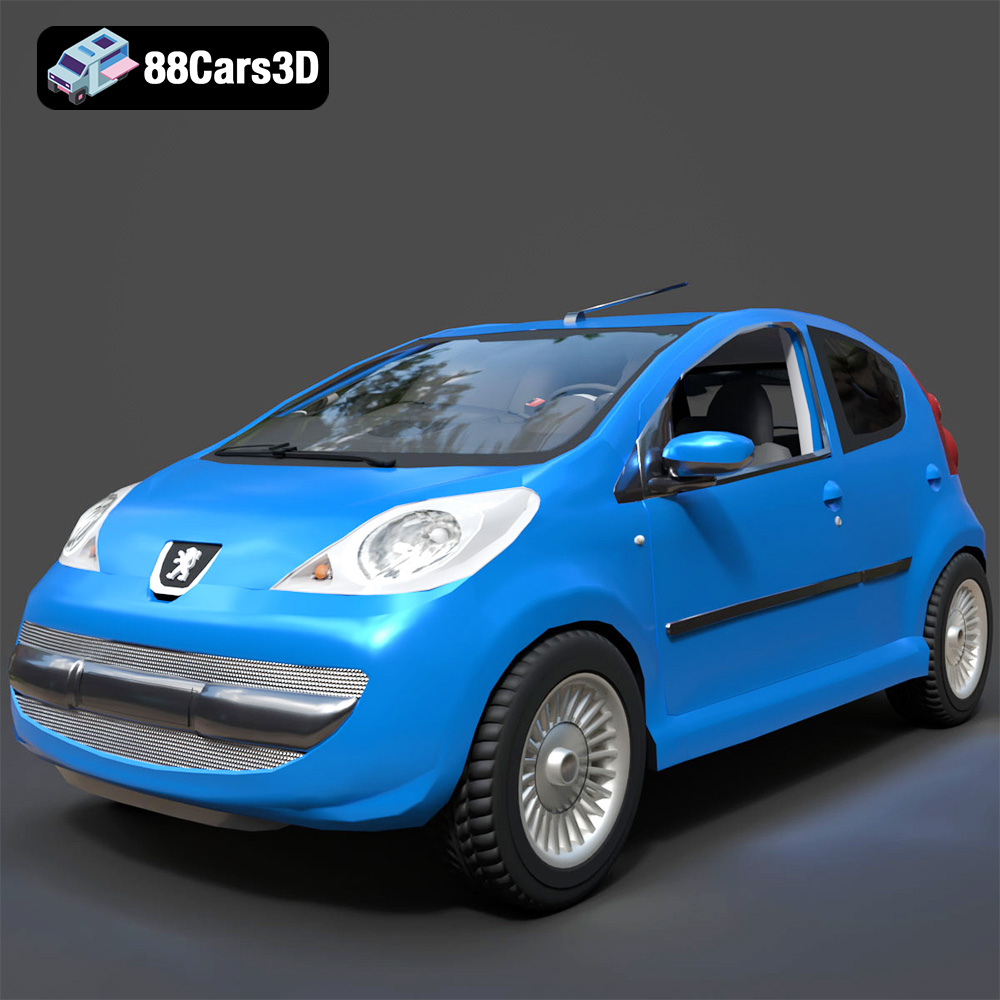
Download the Peugeot 107 2005 3D Model featuring clean geometry, realistic detailing, and a fully modeled interior. Includes .blend, .fbx, .obj, .glb, .stl, .ply, .unreal, and .max formats for rendering, simulation, and game development.
Price: $4.99
View Product

Texture: Yes
Material: Yes
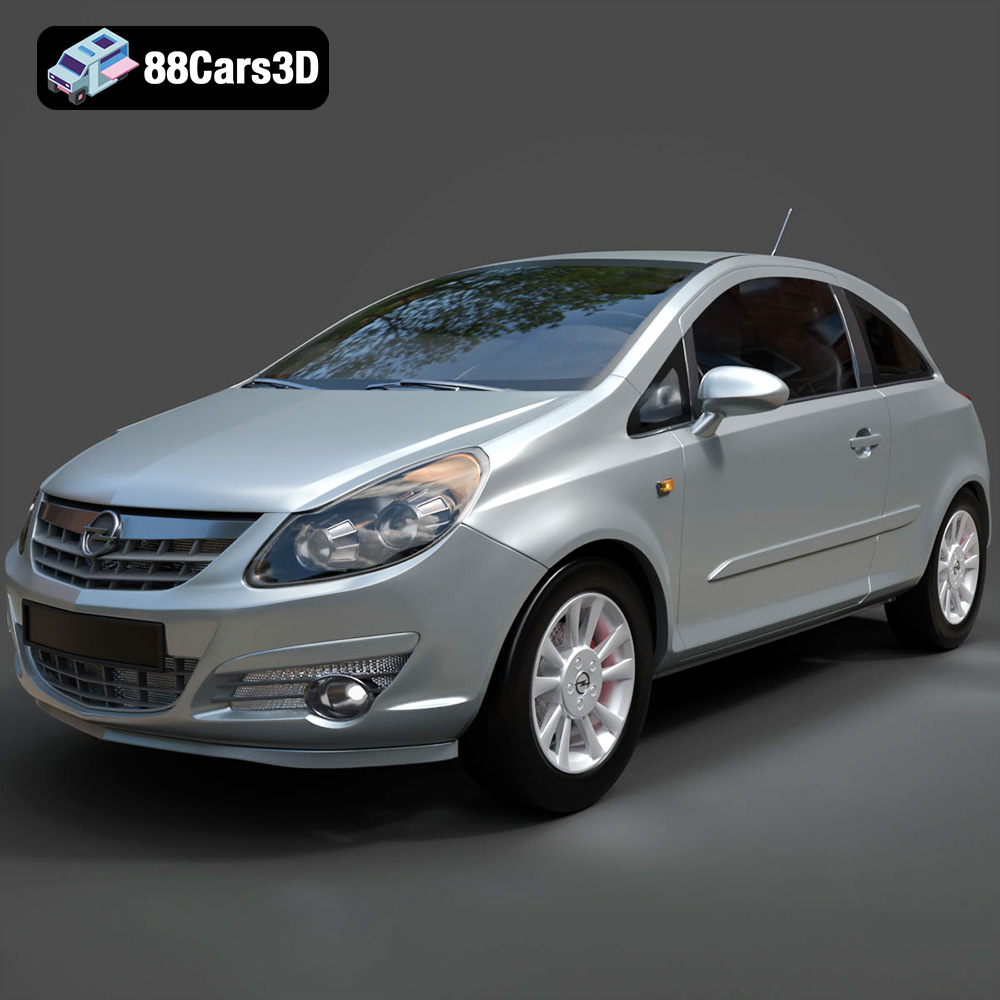
Download the Opel Corsa 2007 3D Model featuring clean geometry, realistic detailing, and a fully modeled interior. Includes .blend, .fbx, .obj, .glb, .stl, .ply, .unreal, and .max formats for rendering, simulation, and game development.
Price: $4.99
View Product

Texture: Yes
Material: Yes
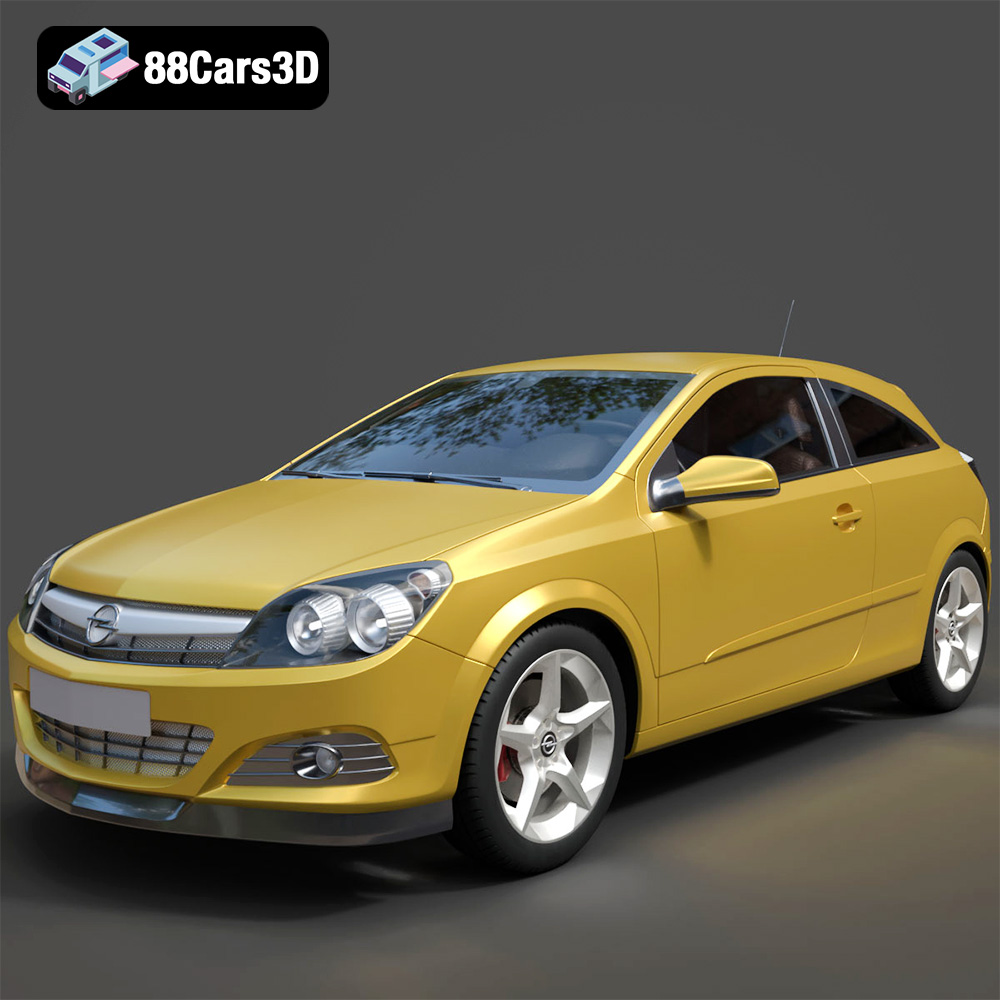
Download the Opel Astra H GTC 3D Model featuring clean geometry, realistic detailing, and a fully modeled interior. Includes .blend, .fbx, .obj, .glb, .stl, .ply, .unreal, and .max formats for rendering, simulation, and game development.
Price: $4.99
View Product

Texture: Yes
Material: Yes
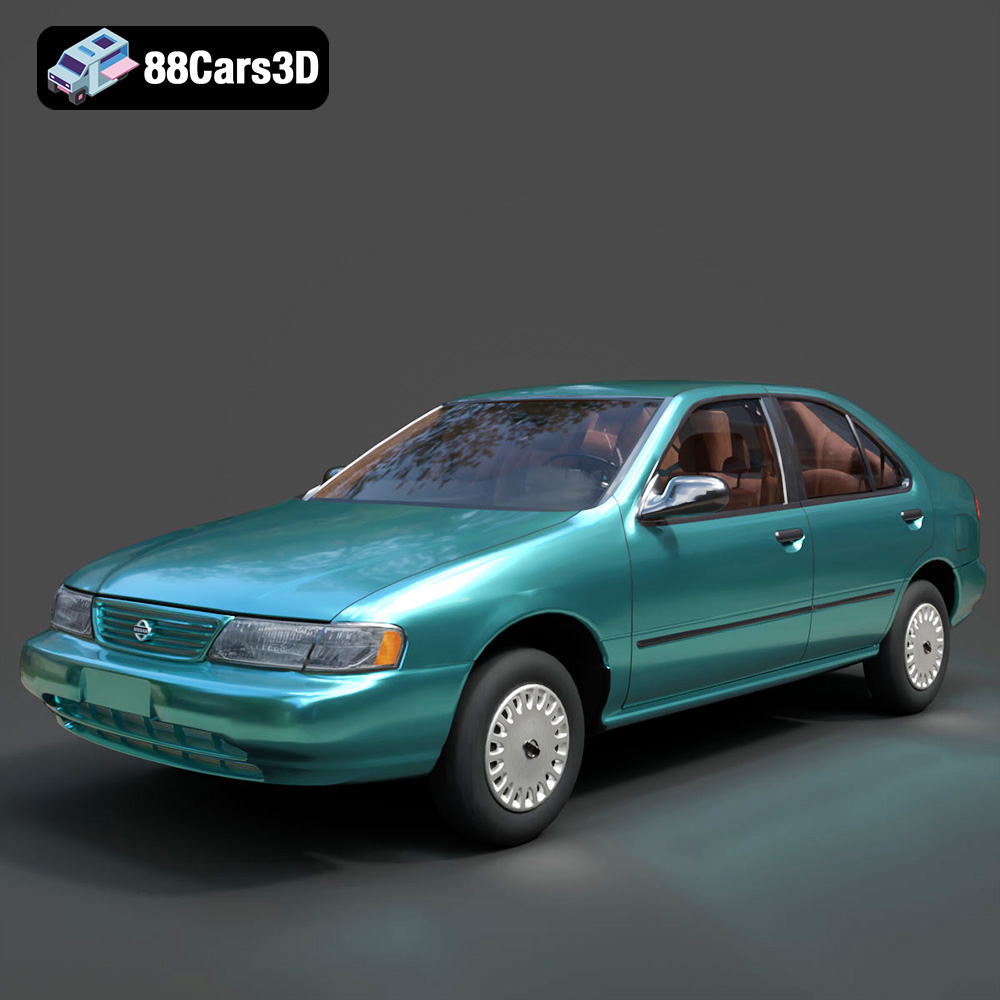
Download the Nissan Sentra GXE 1996 3D Model featuring clean geometry, realistic detailing, and a fully modeled interior. Includes .blend, .fbx, .obj, .glb, .stl, .ply, .unreal, and .max formats for rendering, simulation, and game development.
Price: $4.99
View Product

Texture: Yes
Material: Yes
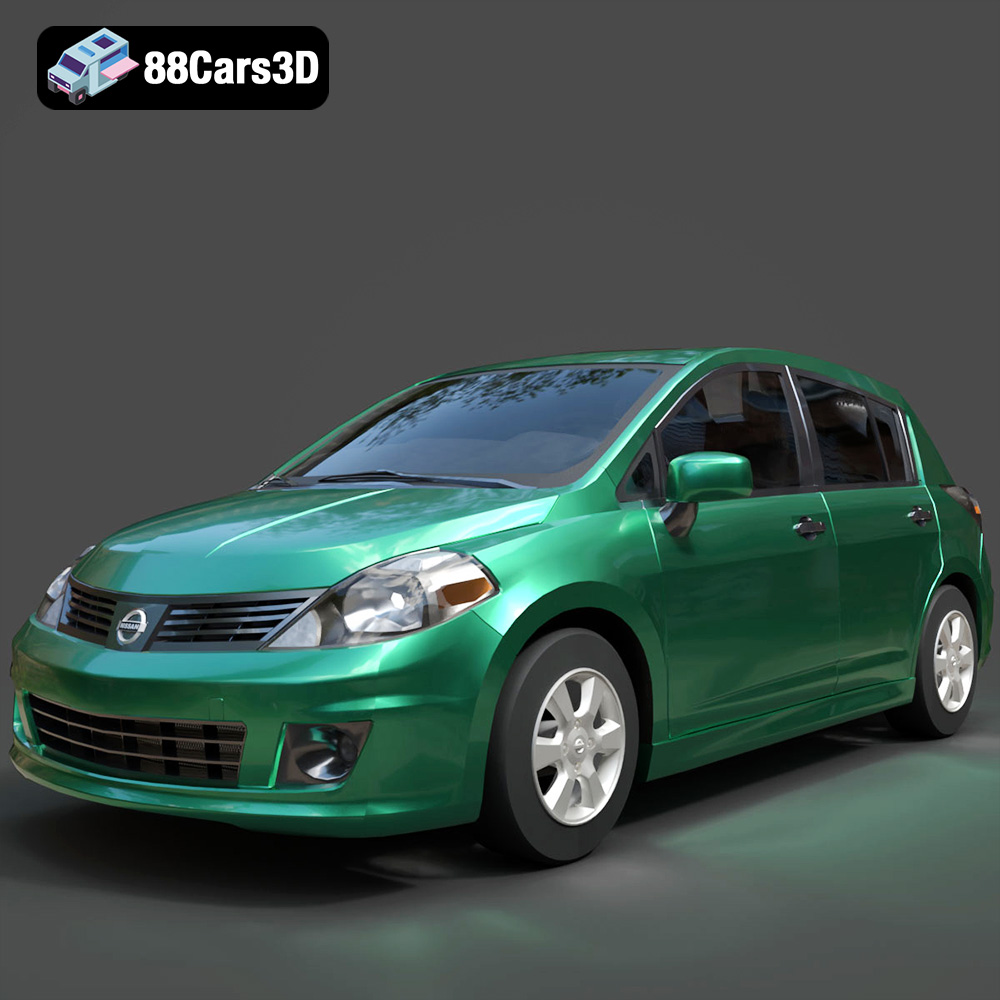
Download the Nissan Tiida 3D Model featuring clean geometry, realistic detailing, and a fully modeled interior. Includes .blend, .fbx, .obj, .glb, .stl, .ply, .unreal, and .max formats for rendering, simulation, and game development.
Price: $4.99
View Product

Texture: Yes
Material: Yes
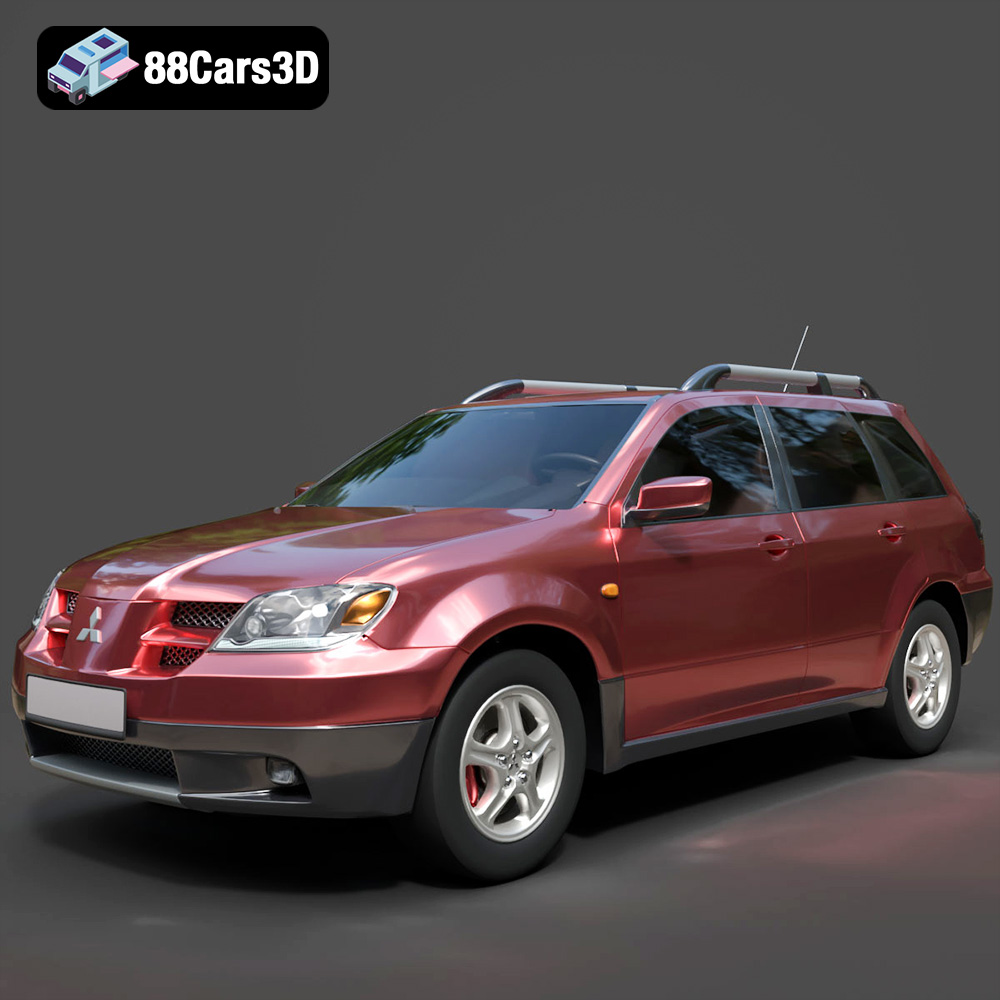
Download the Mitsubishi Outlander 2022 3D Model featuring clean geometry, realistic detailing, and a fully modeled interior. Includes .blend, .fbx, .obj, .glb, .stl, .ply, .unreal, and .max formats for rendering, simulation, and game development.
Price: $4.99
View Product

Texture: Yes
Material: Yes
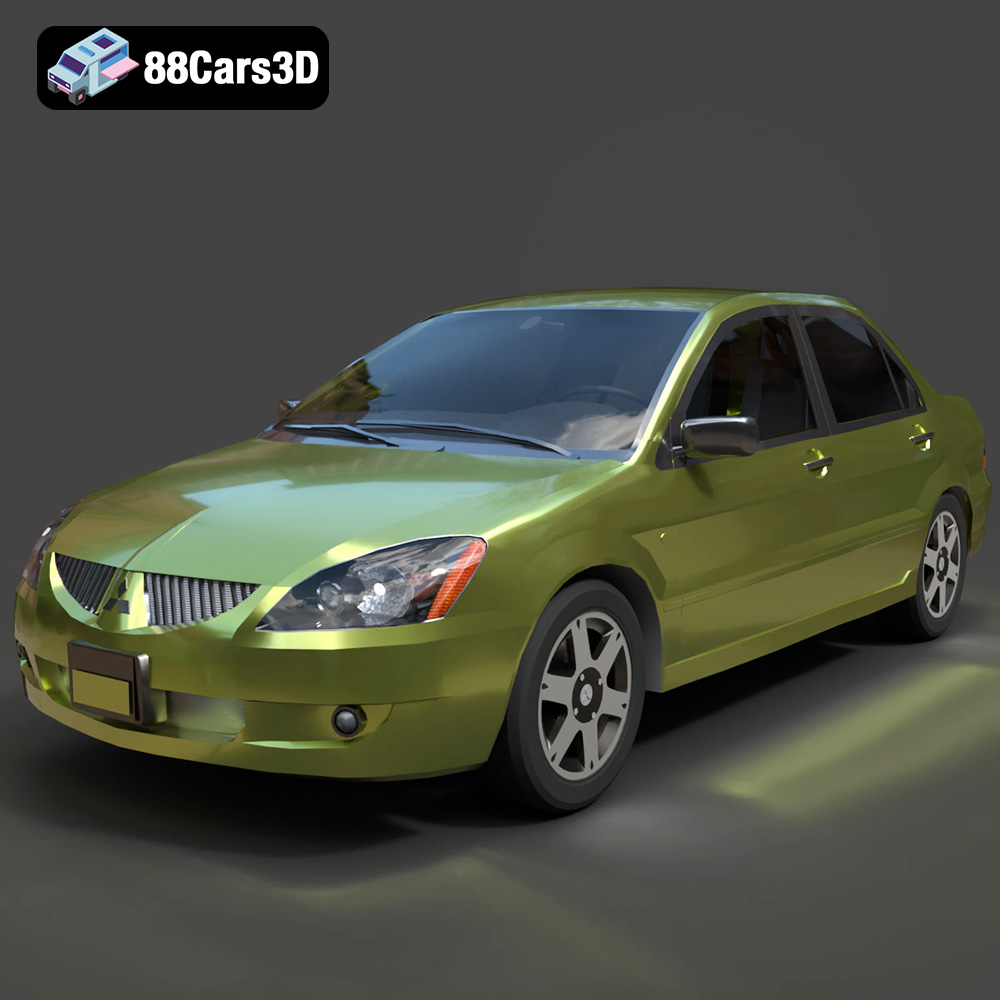
Download the Mitsubishi Lancer IX-001 3D Model featuring clean geometry, realistic detailing, and a fully modeled interior. Includes .blend, .fbx, .obj, .glb, .stl, .ply, .unreal, and .max formats for rendering, simulation, and game development.
Price: $4.99
View Product

Texture: Yes
Material: Yes
Download the MINI Cooper S-007 3D Model featuring clean geometry, realistic detailing, and a fully modeled interior. Includes .blend, .fbx, .obj, .glb, .stl, .ply, .unreal, and .max formats for rendering, simulation, and game development.
Price: $4.99
View Product

Texture: Yes
Material: Yes
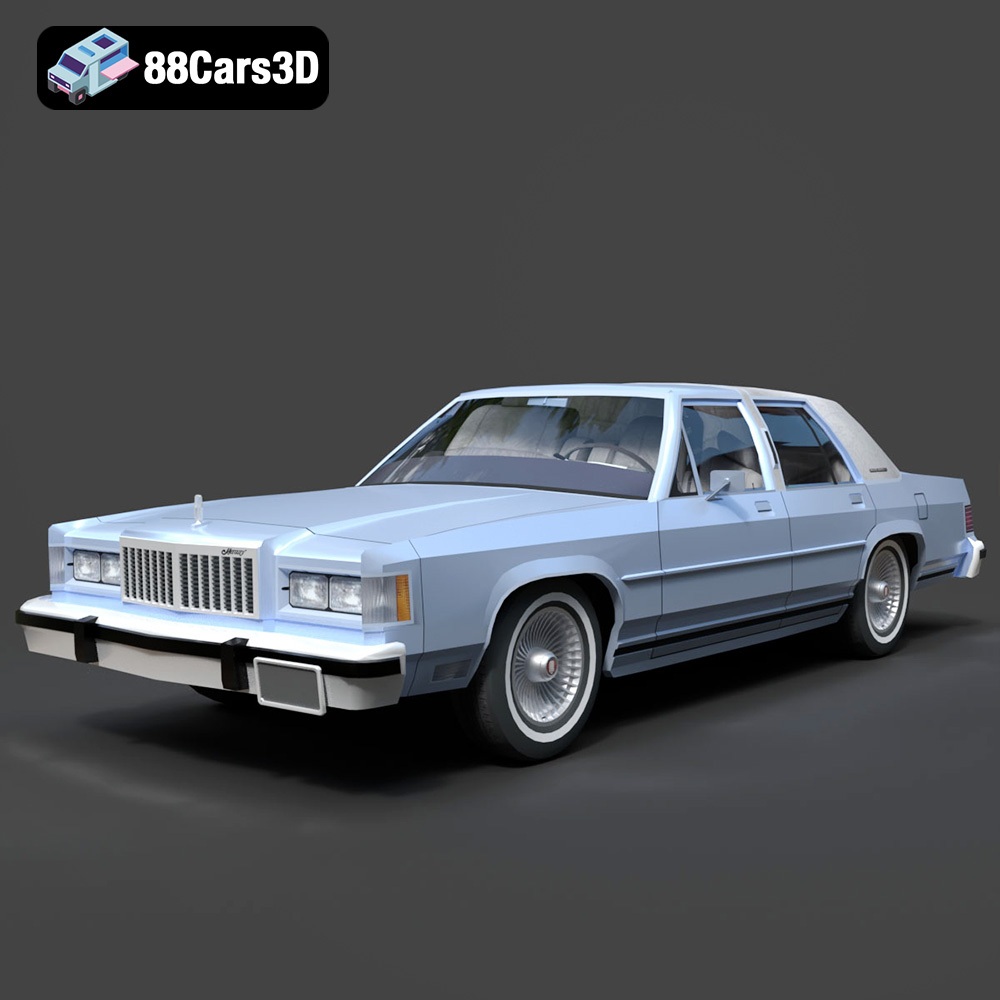
Download the Mercury Grand Marquis LS 1986 3D Model featuring clean geometry, realistic detailing, and a fully modeled interior. Includes .blend, .fbx, .obj, .glb, .stl, .ply, .unreal, and .max formats for rendering, simulation, and game development.
Price: $4.99
View Product

Texture: Yes
Material: Yes
Download the Mercedes-Benz SLS AMG 2010 3D Model featuring clean geometry, realistic detailing, and a fully modeled interior. Includes .blend, .fbx, .obj, .glb, .stl, .ply, .unreal, and .max formats for rendering, simulation, and game development.
Price: $4.99
View Product
