⚡ FLASH SALE: Get 60% OFF All Premium 3D & STL Models! ⚡
The sleek lines, powerful presence, and intricate details of an automobile have captivated designers, engineers, and enthusiasts for over a century. In the digital realm, this fascination translates into a demand for exceptionally realistic and meticulously crafted 3D car models. Whether for blockbuster game titles, high-definition automotive commercials, immersive virtual reality experiences, or even precise 3D printing prototypes, the quality of a 3D car model can make or break a project. But creating these digital masterpieces involves far more than just shaping a vehicle; it’s a complex journey through precise topology, intricate UV mapping, advanced PBR materials, sophisticated rendering, and meticulous optimization.
This comprehensive guide delves deep into the technical intricacies of producing, utilizing, and optimizing 3D car models across various industries. We’ll explore the fundamental principles that govern visual fidelity and performance, from the initial modeling stages to final render or game engine integration. You’ll learn about achieving perfect reflections with clean topology, creating believable surfaces with advanced texturing, rendering photorealistic scenes, and adapting models for demanding real-time environments like AR/VR. Our aim is to equip you with the knowledge to either create your own stunning models or confidently select and leverage premium assets from marketplaces like 88cars3d.com, ensuring your projects stand out with unparalleled visual quality and technical excellence.
The foundation of any high-quality 3D car model lies in its topology – the arrangement of vertices, edges, and faces that define its surface. For automotive models, clean and efficient topology is paramount. It dictates how light reflects off the car’s body, how the mesh deforms under subdivision, and ultimately, how realistic the final product appears. Bad topology can lead to pinching, unwanted artifacts, and difficulties in UV mapping and animation. Understanding the nuances of edge flow, polygon density, and strategic mesh construction is critical for achieving professional-grade results that showcase the vehicle’s design intent.
A well-modeled car will have consistent quad-based topology, meaning the mesh is predominantly made up of four-sided polygons. While triangles are unavoidable in some instances (especially for game engines where they are the fundamental render unit), modeling with quads simplifies subdivision, allows for smooth transitions, and provides predictable deformation. The goal is not just to represent the car’s shape but to create a ‘flow’ that anticipates how the surface will behave under different lighting and viewing conditions, minimizing potential issues down the line.
Optimal edge flow for hard surfaces, especially on a car, is about guiding the reflections and maintaining crisp details. On a car’s body, subtle curves and sharp creases need to be perfectly defined by the edge loops. Tools like 3ds Max, Blender, or Maya offer powerful modeling capabilities to achieve this. When modeling, think about the natural lines of the car – the chassis, door panels, hood lines, and wheel arches. These areas demand precise edge loops that follow the curvature and define the silhouette.
For instance, around wheel arches or sharp body lines, you’ll want to run multiple parallel edge loops to provide enough geometry for smooth subdivision and to hold the shape. Avoid “poles” (vertices with more or less than four edges converging) in highly visible, curved areas as they can cause pinching or dimpling. While 5-star poles are often used to transition edge flow, their placement should be strategic, ideally in flatter or less noticeable areas. Techniques like inset, extrude along a path, and careful knife cuts are essential for building up complex car panels while maintaining perfect quad flow. Remember, a car’s surface is like a mirror, and any imperfection in topology will be amplified by reflections.
The “right” polygon count for a 3D car model is entirely dependent on its intended application. A high-resolution model for a cinematic render might comfortably sit at millions of polygons, leveraging subdivision surfaces to achieve extreme detail. Conversely, a mobile game asset might need to be optimized down to a few thousand polygons. For high-fidelity visualizations, models often range from 150,000 to 500,000 polygons for the exterior alone, allowing for meticulous detail and smooth curves when subdivided.
This is where Level of Detail (LOD) strategies become crucial, especially for interactive applications. LODs are simplified versions of the same mesh that are swapped in dynamically based on the viewer’s distance from the object. A typical setup might include:
Effective LOD creation involves careful decimation and optimizing edge flow while preserving the silhouette and important normal map details. Many 3D software packages (e.g., Blender’s Decimate modifier, 3ds Max’s ProOptimizer) offer tools to assist in this process, helping artists maintain visual quality across varying distances.
Once the geometry of your 3D car model is perfected, the next crucial step is to prepare it for textures. This involves UV mapping, a process of unwrapping the 3D surface into a 2D plane, much like unfolding a cardboard box. Without proper UVs, textures will appear stretched, distorted, or simply won’t apply correctly. For complex objects like cars, meticulous UV unwrapping is essential for creating realistic, seamless surfaces and leveraging the full potential of Physically Based Rendering (PBR) materials.
Automotive surfaces often feature highly reflective and smooth finishes, meaning any UV seams or texture imperfections will be immediately apparent. Therefore, planning UV layouts to minimize visible seams and maximize texel density (the number of texture pixels per unit of 3D space) is paramount. This ensures that details like fine scratches, paint flakes, or intricate tire treads appear sharp and consistent across the entire model.
Effective UV unwrapping for a car requires a strategic approach for different components. You wouldn’t unwrap a flat panel the same way you would a spherical wheel or a complex engine part.
After unwrapping, the UV shells are packed into a UV atlas (a single 0-1 UV space). Tools like RizomUV, UVLayout, or the built-in UV editors in 3ds Max, Blender, or Maya provide excellent control for optimizing this packing, ensuring maximum utilization of texture space and consistent texel density across the model. This is crucial for avoiding blurry textures on large surfaces and maintaining sharpness on smaller, more detailed parts.
PBR materials are the cornerstone of modern automotive rendering and game development. They simulate how light interacts with surfaces in a physically accurate way, resulting in incredibly realistic visuals regardless of the lighting conditions. There are two primary PBR workflows: Metallic/Roughness and Specular/Glossiness, with Metallic/Roughness being more common in real-time applications and often preferred for its intuitive nature.
Creating believable car paint shaders is a sophisticated process. It often involves layering multiple materials to simulate the clear coat, base coat, and metallic flakes. In software like Substance Painter, artists can paint these textures directly onto the 3D model, leveraging smart materials and generators to quickly achieve complex effects like rust, dirt, or chipped paint. For highly customized car paint, building a complex shader network in renderers like Corona, V-Ray, Cycles, or Arnold allows for fine-tuning parameters such as flake size, density, clear coat thickness, and subtle color shifts, achieving a level of realism that is truly breathtaking. For example, a car paint shader might include a base layer (metallic/roughness) for the body color, a clear coat layer for reflectivity, and a separate normal map for subtle orange peel effect or tiny scratches. When sourcing high-quality models from 88cars3d.com, you can expect these PBR materials to be meticulously crafted, often including a full suite of 4K or 8K texture maps to ensure stunning visual fidelity.
Once your 3D car model is meticulously crafted and textured, the final step for stunning visuals is rendering. This is where all the hard work in modeling and texturing comes together, illuminated by realistic lighting and placed within a compelling environment. Automotive rendering demands precision, as cars are inherently reflective, showcasing every detail of their surroundings. Achieving photorealistic results requires a deep understanding of lighting, camera settings, and renderer-specific techniques to bring your digital vehicle to life.
The choice of renderer (e.g., Corona, V-Ray, Cycles, Arnold) significantly impacts workflow and final output. While each has its strengths and nuances, the underlying principles of lighting and material interaction remain consistent. The goal is to create an image that could be mistaken for a photograph, where the car’s paint, glass, chrome, and rubber respond naturally to the virtual environment’s light sources.
Lighting is arguably the most critical element in any render, especially for cars. It defines shape, showcases reflections, and sets the mood.
Experimentation with light positions, sizes, and intensities is key. Pay close attention to how reflections behave on the car’s body – are they sharp or diffused? Do they reveal the surrounding environment convincingly? These details elevate a good render to an exceptional one.
Each renderer offers unique features and workflows for achieving stunning results:
Regardless of the renderer, key steps include:
This meticulous approach ensures that your 3D car models are showcased in their best possible light, achieving magazine-quality visuals.
While high-fidelity renders prioritize visual realism above all else, game development and interactive applications like AR/VR demand a different set of optimizations. Here, performance is paramount, and every polygon, every texture, and every draw call can impact frame rate. Translating a detailed 3D car model from a rendering pipeline to a real-time engine requires a strategic approach to reduce complexity while maintaining visual integrity. This involves not only lowering polygon counts but also streamlining texture usage and minimizing processing overhead.
The goal is to deliver an immersive experience without lag or stutter. This means striking a delicate balance between visual quality and performance, often necessitating clever tricks and compromises. Understanding how game engines process assets and render scenes is crucial for effective optimization.
Integrating 3D car models into game engines like Unity or Unreal Engine involves a series of optimization steps beyond basic LODs:
For high-performance games, targeting a polygon count between 50,000 to 150,000 polygons for an LOD0 car model is common, with aggressive reductions for subsequent LODs. The goal is to ensure the game runs smoothly even with multiple cars on screen, at high frame rates (e.g., 60 FPS or 120 FPS).
AR/VR applications introduce even stricter performance constraints due to the need for very high frame rates (e.g., 90 FPS per eye for comfortable VR) and often run on less powerful mobile hardware for AR.
When developing for AR/VR, meticulous attention to every asset’s performance budget is essential. Starting with optimized 3D car models that are specifically designed for real-time applications, such as those found on 88cars3d.com, can provide a significant head start, saving valuable development time and ensuring a smooth user experience.
The versatility of 3D car models extends far beyond digital screens. With the advent of advanced 3D printing technologies, these models can now be brought into the physical world, creating tangible prototypes, collectibles, or educational aids. However, transforming a digital asset into a print-ready file involves a unique set of considerations. Simultaneously, navigating the myriad of file formats and ensuring compatibility across different software and platforms is crucial for any 3D artist or developer working with complex assets like cars.
Understanding the specific requirements for 3D printing and the capabilities of various file formats ensures that your meticulously crafted 3D car model can be utilized across a broad spectrum of applications, from rapid prototyping to cross-platform game development and web-based AR experiences.
Unlike rendering or game development where open meshes or non-manifold geometry might be tolerated, 3D printing demands a perfectly “watertight” or “manifold” mesh. This means the model must represent a solid object with no holes, inverted normals, or self-intersecting geometry. Any imperfections will result in errors during slicing or printing.
The transition from a visual model to a physical object is a fascinating process that adds another layer of utility to high-quality 3D car models.
The 3D industry uses a diverse range of file formats, each with its strengths and limitations regarding the type of data they store (geometry, UVs, materials, animations, scene data). Understanding these is crucial for seamless workflows between different software and applications.
When sourcing 3D car models from marketplaces like 88cars3d.com, you’ll often find models available in multiple formats (e.g., FBX, OBJ, GLB). Always check the included formats and what data they contain to ensure compatibility with your chosen software and target application. Understanding these formats allows you to confidently manage your assets and integrate them into any pipeline, whether it’s for game development, high-end rendering, or new frontiers like immersive AR experiences.
The journey of a 3D car model doesn’t necessarily end with the raw render. For high-impact visuals – think automotive advertisements or cinematic sequences – post-processing and compositing are essential steps that elevate a good render to an exceptional one. These techniques allow artists to refine the image, add stylistic flair, and seamlessly integrate 3D elements into live-action footage or photographic backplates. It’s the digital equivalent of a photographer’s darkroom, where the final mood and visual punch are achieved.
By leveraging render passes (also known as AOV’s – Arbitrary Output Variables) and powerful image editing or compositing software, artists gain granular control over every aspect of the final image. This iterative process allows for creative adjustments without the need for time-consuming re-renders, making it an indispensable part of a professional rendering workflow.
Post-processing involves applying a range of adjustments to the entire rendered image to enhance its aesthetic appeal and realism.
Software like Adobe Photoshop, Affinity Photo, or GIMP are commonly used for these global adjustments, offering powerful non-destructive editing capabilities that allow artists to experiment freely.
For the highest level of control and flexibility, artists render out multiple “passes” or “elements” from their 3D software. Each pass contains specific information about the scene, allowing them to be individually manipulated and then composited (layered) together.
Compositing software such as Adobe After Effects, Nuke, or DaVinci Resolve’s Fusion page are used to layer these passes, blend them with backplates, and apply advanced effects. For example, a car’s reflection pass might be brightened slightly, or a specific part of the car’s paint (isolated via an ID pass) might have its hue adjusted without affecting the rest of the image. This precise control ensures that every aspect of the 3D car model is presented perfectly, resulting in a truly polished and professional final image or animation.
The journey from a concept to a fully realized, photorealistic, or game-ready 3D car model is a testament to the blend of artistic skill and technical prowess required in the 3D industry. We’ve traversed the intricate world of clean topology and optimal edge flow, ensuring every curve and reflection is perfect. We’ve explored the critical importance of precise UV mapping and the power of PBR materials to create surfaces that react authentically to light. From high-fidelity automotive rendering with industry-standard engines like Corona, V-Ray, and Cycles to the rigorous demands of game asset optimization and AR/VR environments, the path to digital automotive excellence is multifaceted.
Understanding these workflows, embracing industry best practices, and leveraging the right tools are not just beneficial; they are essential. Whether your goal is to produce breathtaking visuals for a marketing campaign, develop immersive interactive experiences, or bring your designs to life through 3D printing, the underlying principles of quality and efficiency remain constant. Investing in high-quality 3D car models—or the skills to create them—is an investment in the success and visual impact of your projects.
We encourage you to apply these insights to your own work. For those seeking to accelerate their projects with ready-to-use, meticulously crafted 3D assets, explore the extensive collection of premium 3D car models available on 88cars3d.com. Each model is designed with these professional standards in mind, providing clean topology, realistic PBR materials, and multiple file formats to kickstart your next rendering, game development, or visualization endeavor with confidence and unparalleled quality.
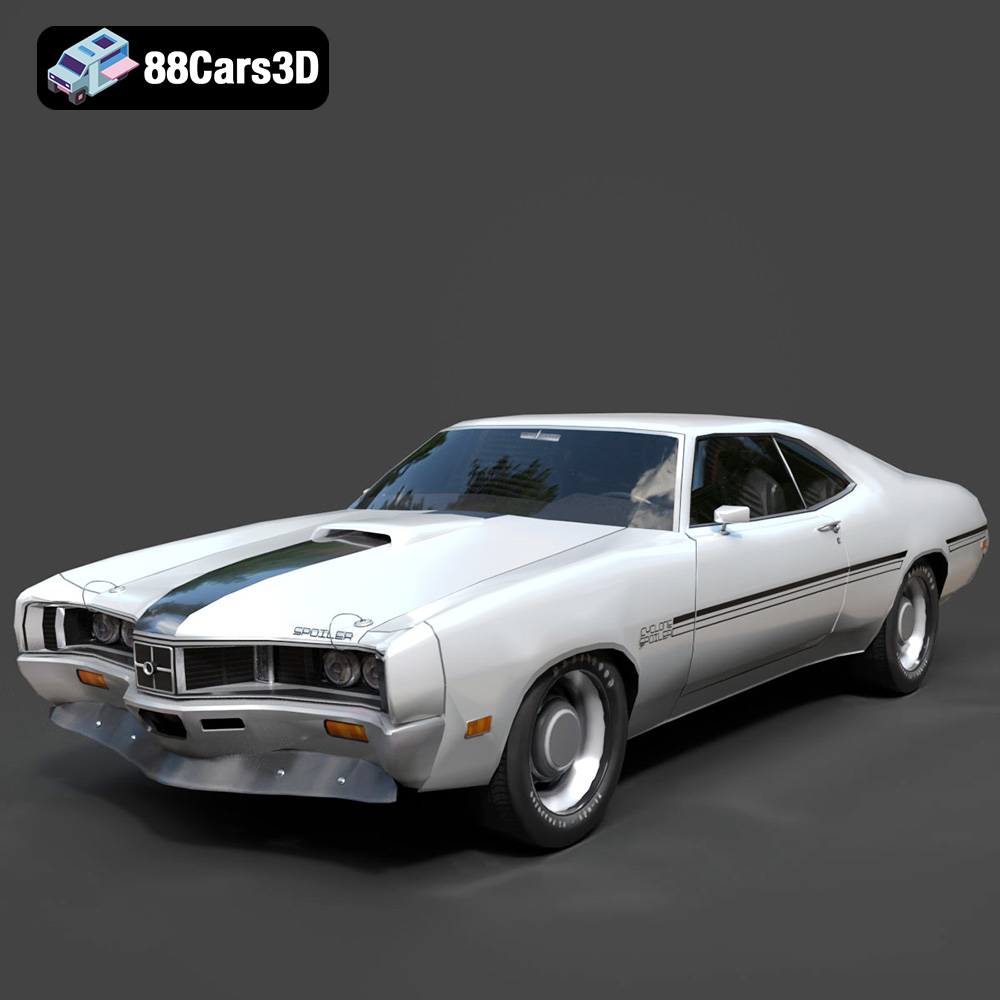
Texture: Yes
Material: Yes
Download the Mercury Cyclone Spoiler 1970 3D Model featuring clean geometry, realistic detailing, and a fully modeled interior. Includes .blend, .fbx, .obj, .glb, .stl, .ply, .unreal, and .max formats for rendering, simulation, and game development.
Price: $4.99
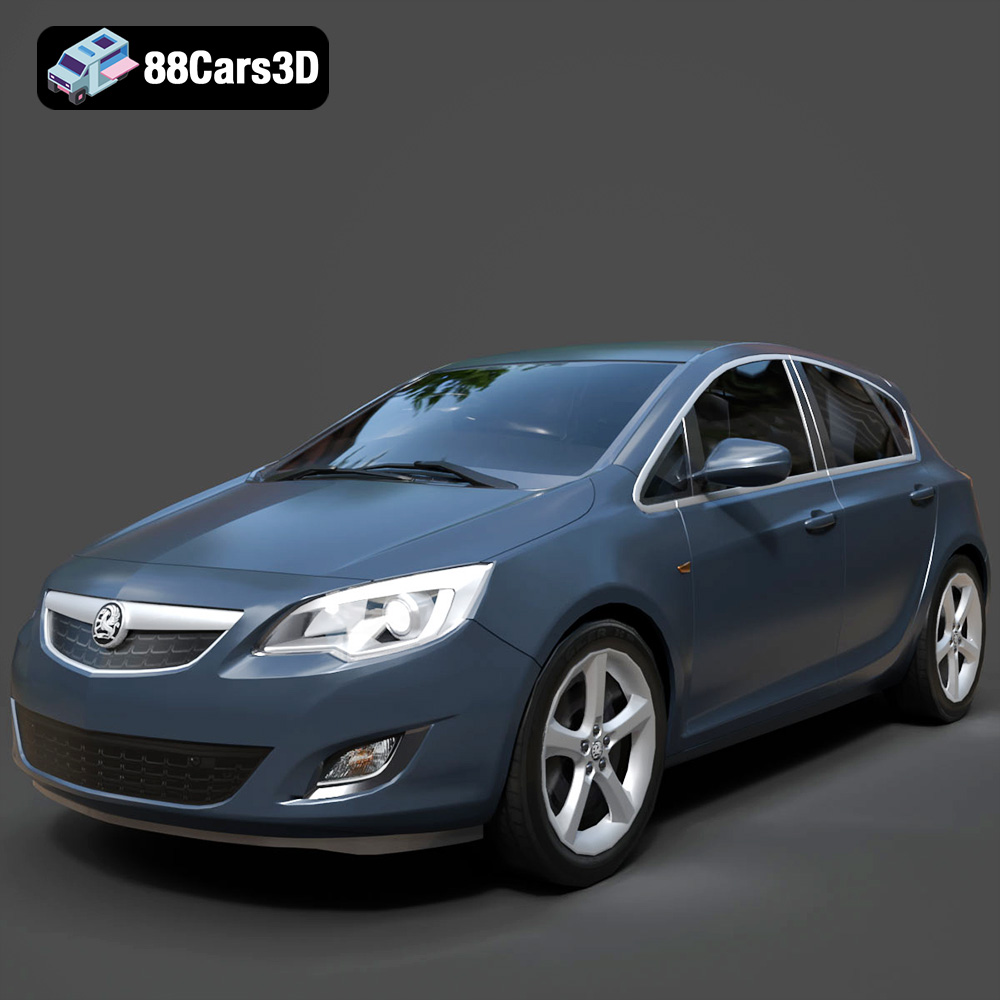
Texture: Yes
Material: Yes
Download the Opel Astra 3D Model featuring clean geometry, realistic detailing, and a fully modeled interior. Includes .blend, .fbx, .obj, .glb, .stl, .ply, .unreal, and .max formats for rendering, simulation, and game development.
Price: $4.99
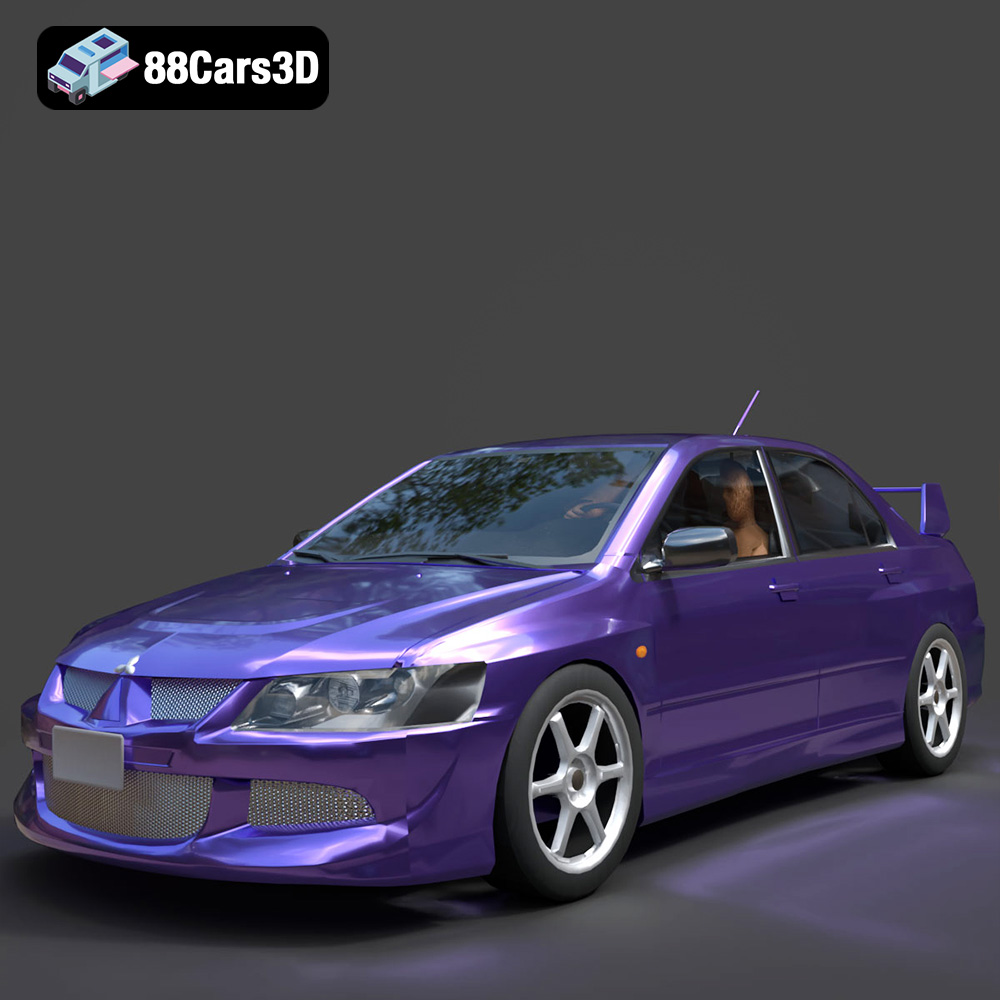
Texture: Yes
Material: Yes
Download the Mitsubishi Lancer Evolution VIII 3D Model featuring clean geometry, realistic detailing, and a fully modeled interior. Includes .blend, .fbx, .obj, .glb, .stl, .ply, .unreal, and .max formats for rendering, simulation, and game development.
Price: $4.99
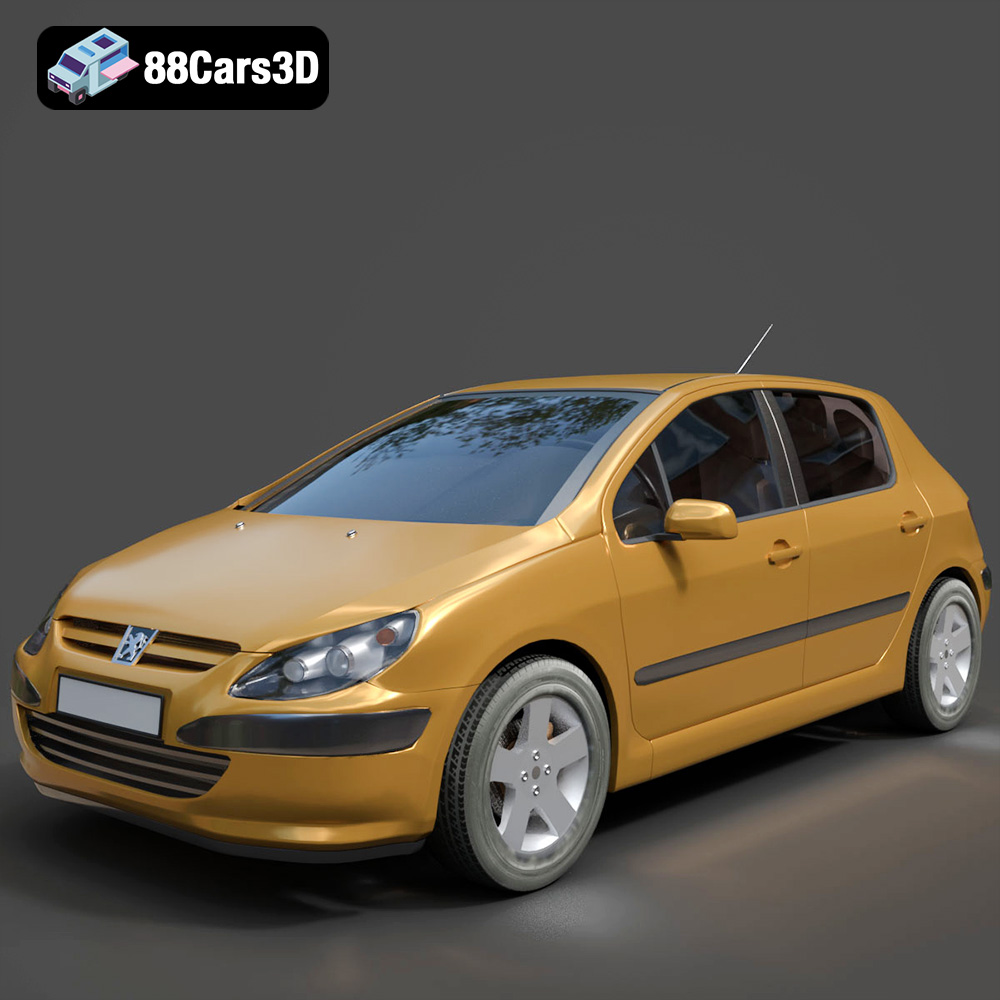
Texture: Yes
Material: Yes
Download the Peugeot 307 3D Model featuring clean geometry, realistic detailing, and a fully modeled interior. Includes .blend, .fbx, .obj, .glb, .stl, .ply, .unreal, and .max formats for rendering, simulation, and game development.
Price: $4.99
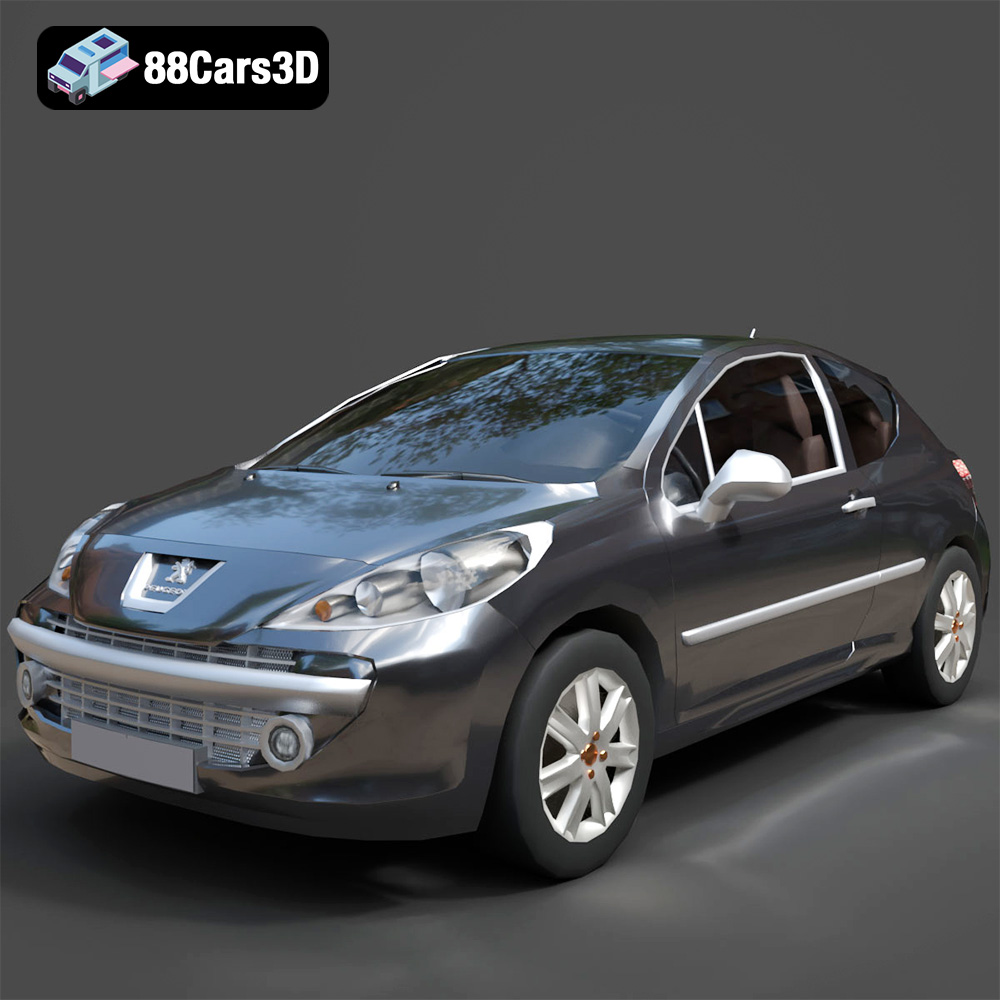
Texture: Yes
Material: Yes
Download the Peugeot 207 3D Model featuring clean geometry, realistic detailing, and a fully modeled interior. Includes .blend, .fbx, .obj, .glb, .stl, .ply, .unreal, and .max formats for rendering, simulation, and game development.
Price: $4.99
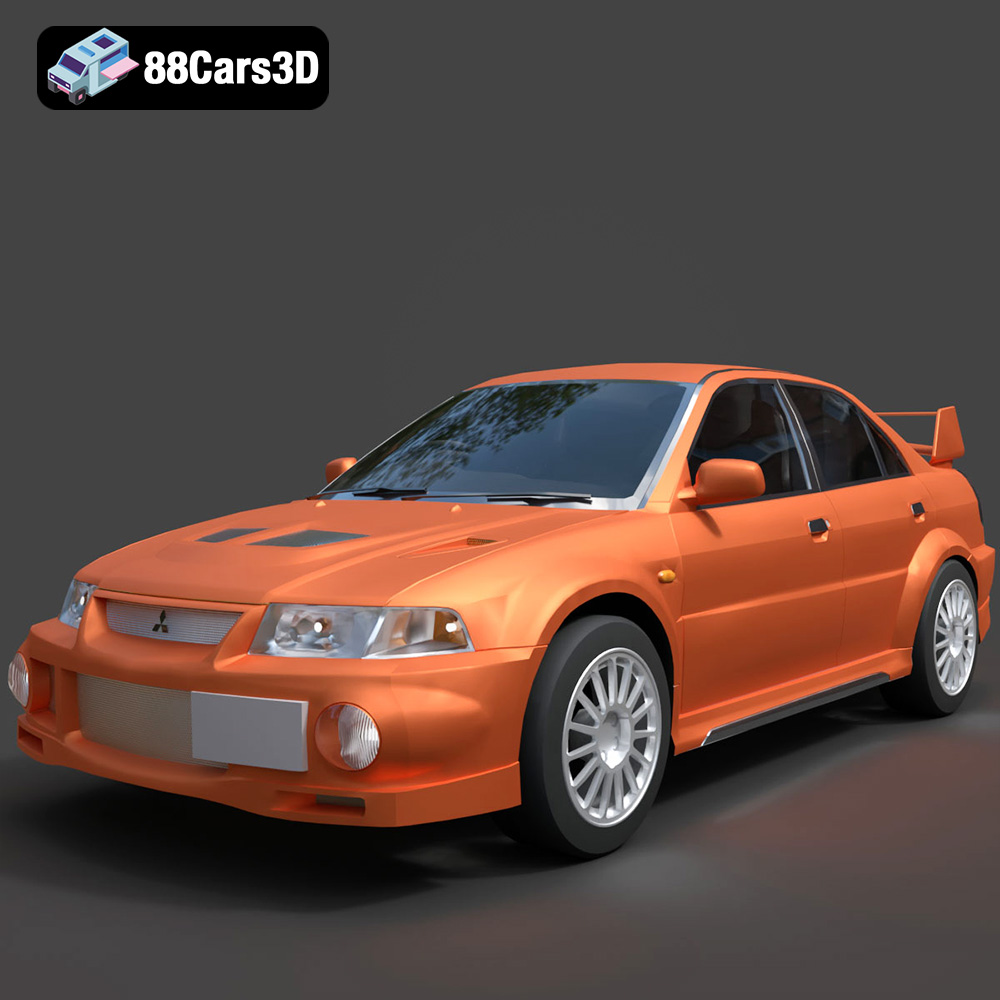
Texture: Yes
Material: Yes
Download the Mitsubishi Lancer Evolution VI 3D Model featuring clean geometry, realistic detailing, and a fully modeled interior. Includes .blend, .fbx, .obj, .glb, .stl, .ply, .unreal, and .max formats for rendering, simulation, and game development.
Price: $4.99
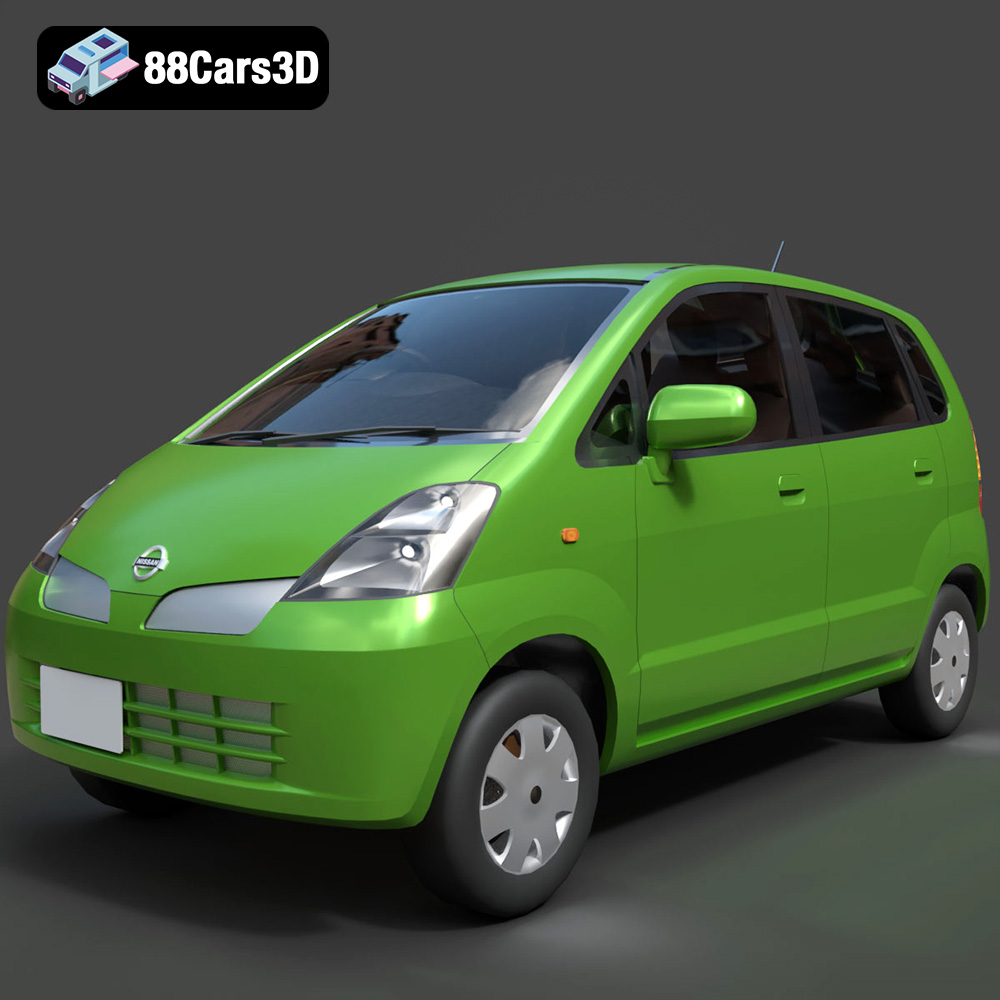
Texture: Yes
Material: Yes
Download the Nissan Moco 007 3D Model featuring clean geometry, realistic detailing, and a fully modeled interior. Includes .blend, .fbx, .obj, .glb, .stl, .ply, .unreal, and .max formats for rendering, simulation, and game development.
Price: $4.99
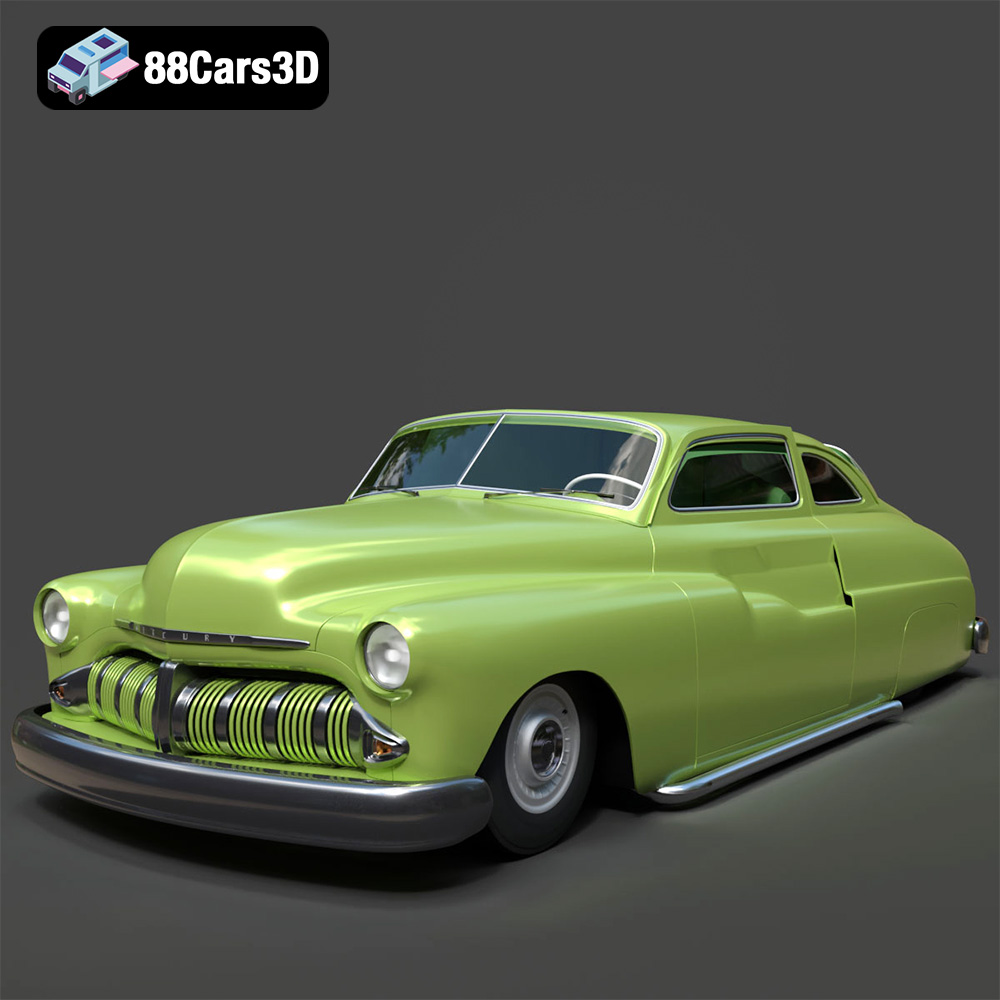
Texture: Yes
Material: Yes
Download the Mercury Coupe 1950 3D Model featuring clean geometry, realistic detailing, and a fully modeled interior. Includes .blend, .fbx, .obj, .glb, .stl, .ply, .unreal, and .max formats for rendering, simulation, and game development.
Price: $4.99
Texture: Yes
Material: Yes
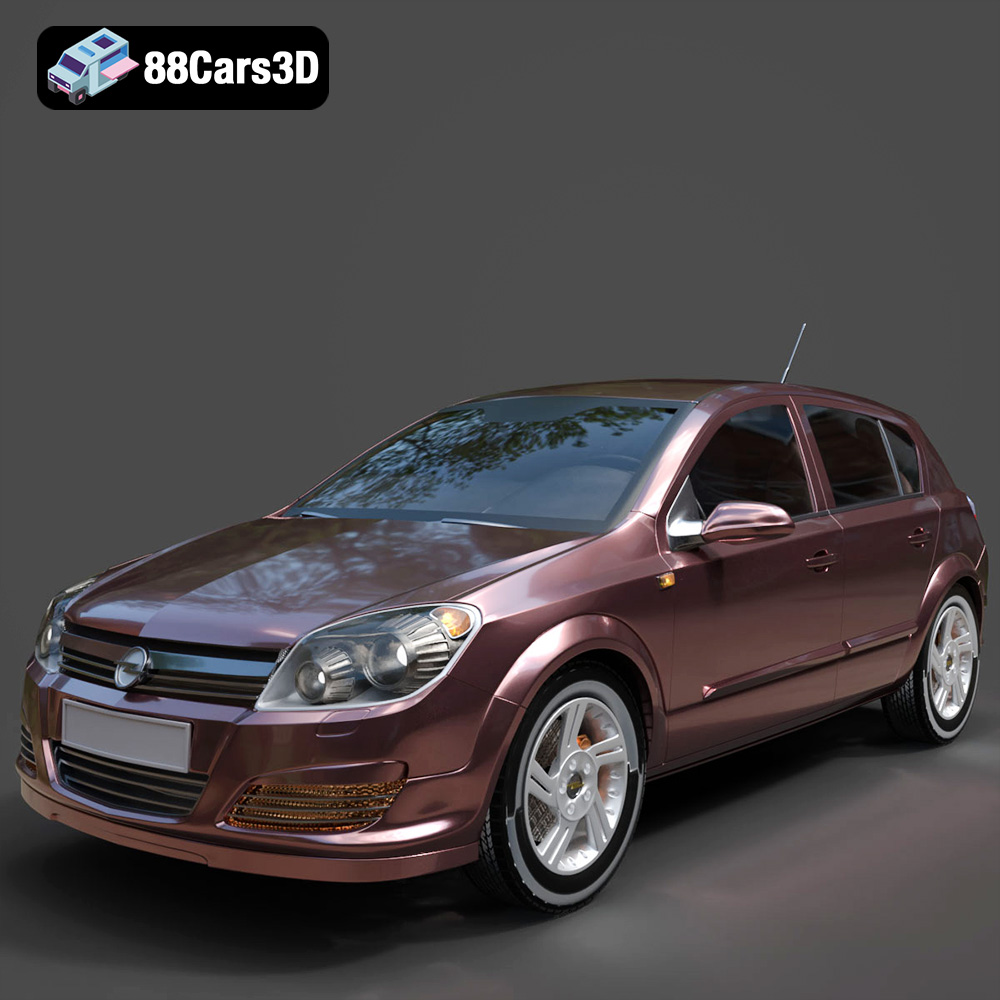
Download the Opel Astra H 2006 3D Model featuring clean geometry, realistic detailing, and a fully modeled interior. Includes .blend, .fbx, .obj, .glb, .stl, .ply, .unreal, and .max formats for rendering, simulation, and game development.
Price: $4.99
Texture: Yes
Material: Yes
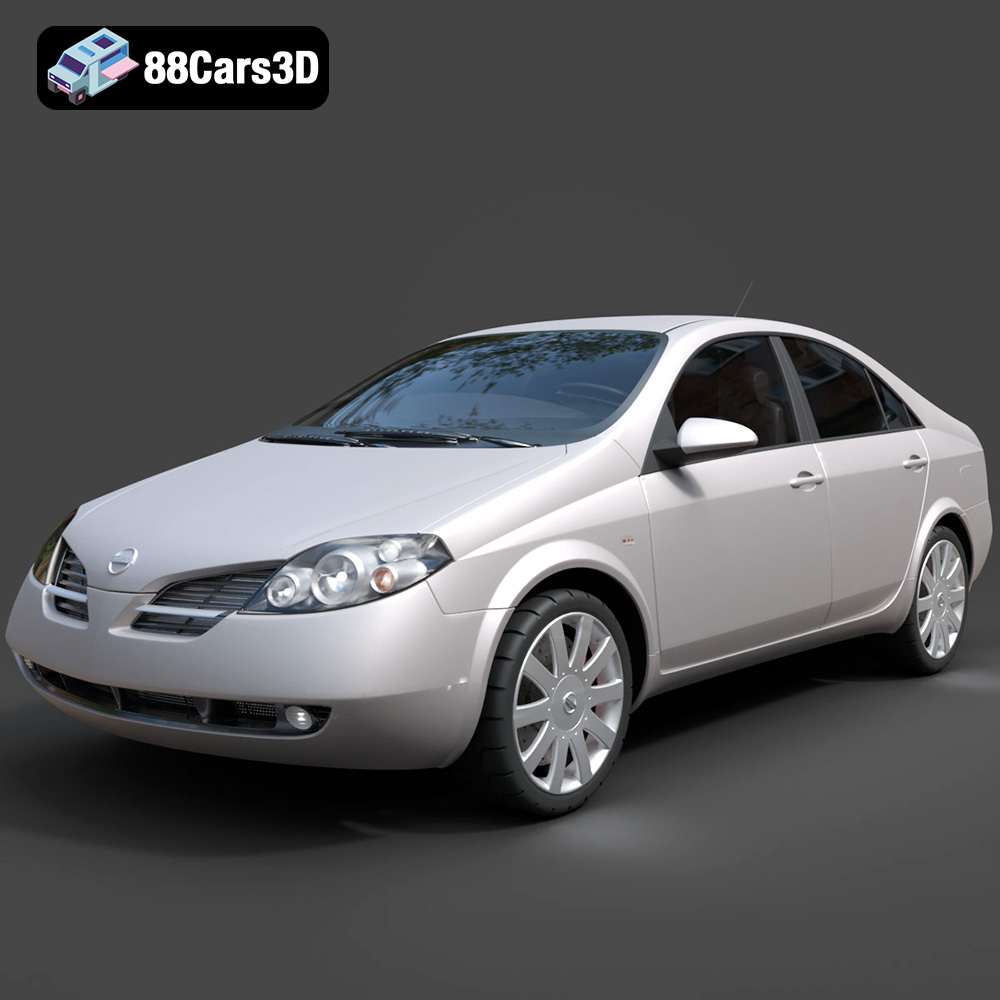
Download the Nissan Primera 2005 3D Model featuring clean geometry, realistic detailing, and a fully modeled interior. Includes .blend, .fbx, .obj, .glb, .stl, .ply, .unreal, and .max formats for rendering, simulation, and game development.
Price: $4.99