The Foundation: Flawless 3D Car Model Topology and Edge Flow
In the expansive universe of 3D visualization, few subjects command as much fascination and technical rigor as automotive modeling. From sleek concept cars destined for the metaverse to rugged off-roaders gracing a game engine, the creation of high-fidelity 3D car models is a multidisciplinary art form. It demands precision in geometry, artistry in materials, and an acute understanding of optimization for diverse applications. Whether you’re a seasoned 3D artist, a game developer, an automotive designer, or a student delving into the intricacies of digital assets, mastering the workflows behind these complex machines is paramount.
This comprehensive guide will demystify the advanced techniques and best practices involved in developing truly exceptional 3D car models. We’ll journey through the fundamental principles of clean topology, dissect the nuances of UV mapping for intricate surfaces, and unlock the secrets of photorealistic PBR material creation. Furthermore, we’ll explore cutting-edge rendering workflows, delve into critical optimization strategies for game engines and real-time applications, and touch upon specialized considerations for AR/VR and 3D printing. By the end of this deep dive, you’ll have a robust understanding of how to craft, prepare, and deploy 3D car models that stand out in any digital landscape, perhaps even sourced from specialized platforms like 88cars3d.com.
The Foundation: Flawless 3D Car Model Topology and Edge Flow
The success of any high-quality 3D car model begins with its topology – the underlying structure of its polygons. For automotive assets, clean, quad-based topology isn’t just a recommendation; it’s a non-negotiable requirement. Cars, with their smooth, reflective surfaces, are incredibly unforgiving of poor mesh construction. Jagged edges, stretched polygons, or triangular faces in areas meant for curvature will inevitably lead to shading artifacts, making the model appear cheap and unrealistic, especially under close scrutiny or dynamic lighting. The goal is to create a mesh that can deform cleanly, subdivide smoothly, and accurately capture the intricate design lines of a vehicle while maintaining optimal performance.
Achieving this requires meticulous attention to edge flow. Edge loops must follow the natural contours of the car’s body panels, wrapping around openings like windows, doors, and wheel wells. This strategic placement ensures that when subdivision surfaces (like OpenSubdiv in 3ds Max/Maya or Blender’s Subdivision Surface modifier) are applied, the mesh smooths out predictably, maintaining sharp creases where necessary (e.g., panel gaps, character lines) and soft transitions across large surfaces. A well-constructed mesh will not only look superior but also be easier to UV unwrap, texture, and animate if necessary. When looking for ready-made assets, always scrutinize the wireframe; platforms like 88cars3d.com pride themselves on models with impeccable topology for this very reason.
Quad-Centric Modeling and Sub-D Workflow
The industry standard for organic and hard-surface modeling, especially for subdivision surfaces, is to work almost exclusively with quads (four-sided polygons). While triangles are perfectly acceptable for final low-poly game meshes, they create unpredictable smoothing and pinching artifacts when subdivided. N-gons (polygons with more than four sides) are an absolute no-go for sub-D modeling, as they lead to highly unpredictable and often disastrous results upon subdivision. The workflow typically involves modeling the base mesh with a relatively low polygon count using quads, focusing on capturing the primary forms and details. Tools like edge loops, insets, extrusions, and boolean operations (carefully cleaned up) are essential here.
Once the base mesh is established, the subdivision surface modifier is applied. This non-destructive approach allows artists to view a smooth, high-resolution version of their model while still working on the lighter, more manageable base mesh. Key areas like wheel arches, door cutouts, and hood lines require additional edge loops to define sharp creases, often referred to as “holding edges” or “support loops.” These loops prevent the subdivision from rounding off critical details. Maintaining a consistent poly density where possible also contributes to uniform smoothing and easier texture application. Aim for a balance: enough detail in the base mesh to define contours, but not so many polygons that it becomes unwieldy to manage.
Maintaining Edge Flow for Realistic Reflections
Beyond simply avoiding errors, expert topology is crucial for managing reflections on highly polished surfaces. Automotive paint, chrome, and glass reflect their environment intensely, and any imperfection in the surface geometry will be glaringly obvious. A poor edge flow can create unwanted “dents” or “waves” in reflections, ruining the illusion of a perfectly smooth panel. This is often referred to as “light flow” or “reflection flow.”
To ensure flawless reflections, edge loops should flow along the dominant curvature directions of the surface. For instance, on a car’s side panel, edges should run both horizontally (along the length of the car) and vertically (across the height). Particular attention should be paid to areas where surfaces transition or meet, such as the edge of a door or the curve of a fender. These areas need tightly packed edge loops to maintain sharpness, while flatter areas can have sparser topology. Utilizing reference images and blueprints meticulously during the modeling process helps immensely in guiding edge placement. Regularly checking your model with a highly reflective, even material under varying lighting conditions is an essential step to identify and correct any unwanted bumps or ripples in the surface before moving to texturing.
Mastering UV Mapping for Automotive Surfaces
Once the pristine geometry of your 3D car model is complete, the next critical step is UV mapping. UV mapping is the process of unfolding the 3D surface of your model into a 2D space, creating a texture coordinate system that tells your rendering engine how to apply 2D textures (like paint, dirt, or decals) onto the 3D geometry. For automotive models, which feature complex curves, intricate details, and often require highly detailed, resolution-dependent textures, meticulous UV mapping is paramount. Poor UVs lead to stretched textures, visible seams, and an inability to apply detailed decals or procedural wear, significantly detracting from realism.
The goal is to create UV layouts that are clean, minimize distortion, and make efficient use of the 0-1 UV space. This often involves careful planning of seams to hide them in less visible areas, ensuring consistent texel density across different parts of the model, and organizing UV shells logically for easier texturing. For game assets, UV mapping becomes even more critical for optimizing texture memory and draw calls, often requiring texture atlases to combine multiple materials into a single texture map. Understanding the intricacies of unwrapping various surface types, from large body panels to small, intricate components, is key to achieving a professional finish.
Unwrapping Strategies for Complex Parts
Unwrapping a car is not a one-size-fits-all process; different components require specific strategies. Large, smooth body panels (hood, roof, doors, fenders) benefit from planar or pelting unwraps to minimize distortion. The key is to strategically place seams along natural breaks or hidden edges, such as the underside of a car, along panel gaps, or where components meet. For example, a car door might have its primary UV seam running along its interior edge, where it meets the door frame, making it less visible. For highly curved surfaces like wheel wells or mirrors, cylindrical or spherical projection tools can provide a good starting point, which can then be refined using relax tools to distribute UVs evenly.
Small, intricate parts like grilles, badges, or interior elements might require more creative seam placement. It’s often beneficial to separate these into their own UV shells. Remember to unfold each shell properly to avoid overlap and maximize texture space utilization. For highly detailed assets that demand extreme texture resolution, a UDIM workflow (multiple UV tiles, e.g., UV 1001, 1002) is often employed, allowing different parts of the car to have their own dedicated high-resolution textures without stretching or quality loss. This is common in film or high-end visualization projects, though less frequent in real-time game engines due to performance overhead.
Texel Density and Seam Management
One of the most crucial aspects of professional UV mapping is maintaining a consistent texel density across the entire model. Texel density refers to the number of texture pixels per unit of 3D space. If one part of the car has a high texel density and another has a low one, textures on the low-density area will appear blurry or pixelated compared to the high-density area, even if they share the same texture map. Most 3D software (Blender, 3ds Max, Maya) offers tools to check and unify texel density, ensuring uniform texture resolution across all surfaces.
Seam management is equally vital. While seams are necessary to unfold a 3D model, they can become visible artifacts if not carefully placed. Always try to hide seams in natural crevices, hard edges, or areas that are less likely to be seen by the camera (e.g., the underside of a bumper, along a panel gap, or inside an engine bay). Minimizing the total number of seams can also help streamline the texturing process and reduce potential texture bleeding issues. For game assets, it’s also common practice to harden the edges along UV seams in your 3D model, as this can help prevent normal map smoothing artifacts across the seam boundaries in a game engine. Careful planning and execution of these principles ensure that your textures look sharp and consistent from every angle.
Crafting Realistic PBR Materials and Shader Networks
With impeccable geometry and UVs laid out, the next step in bringing your 3D car model to life is the creation of physically based rendering (PBR) materials. PBR is a modern shading and rendering approach that aims to simulate how light interacts with surfaces in the real world, resulting in incredibly realistic and consistent materials under various lighting conditions. Unlike older workflows, PBR materials adhere to physical laws, making them much more forgiving and predictable when integrated into different scenes and render engines. For automotive models, which rely heavily on highly reflective, nuanced surfaces like paint, chrome, glass, and rubber, PBR is an absolute necessity for achieving photorealism.
A typical PBR material utilizes several texture maps to define its properties: an Albedo (or Base Color) map for diffuse color, a Normal map for surface detail, a Metallic map for metallic properties, a Roughness (or Glossiness) map for surface smoothness, and an Ambient Occlusion map for contact shadows. Understanding how these maps interact and how to create them accurately is the cornerstone of professional material authoring. Moreover, advanced automotive materials often require complex layered shader networks to replicate phenomena like multi-layered car paint clear coats, metallic flakes, and intricate headlight lenses.
Understanding PBR Workflows (Metallic-Roughness vs. Specular-Glossiness)
There are two primary PBR workflows: Metallic-Roughness and Specular-Glossiness. While both aim for physical accuracy, they use different map sets to achieve it. The **Metallic-Roughness workflow** (prevalent in game engines like Unity/Unreal and Substance Painter) uses:
- Base Color (Albedo): Defines the color of non-metallic surfaces and the reflected color of metallic surfaces.
- Metallic: A grayscale map where 0 (black) is non-metallic (dielectric) and 1 (white) is metallic.
- Roughness: A grayscale map where 0 (black) is perfectly smooth/shiny and 1 (white) is perfectly rough/matte.
- Normal: Adds surface detail without adding geometry.
- Ambient Occlusion (AO): Fakes local shadowing, often baked.
The **Specular-Glossiness workflow** (common in rendering engines like V-Ray, Corona, Arnold) uses:
- Diffuse (Albedo): Defines the base color for dielectric surfaces. Metallic surfaces often have a black diffuse.
- Specular: A color map defining the color and intensity of reflections.
- Glossiness: A grayscale map where 0 (black) is rough/matte and 1 (white) is perfectly smooth/shiny (opposite of roughness).
- Normal, AO: Similar to Metallic-Roughness.
While both are valid, consistency within a project is key. Most modern pipelines lean towards Metallic-Roughness due to its intuitive nature and easier material creation, especially with tools like Substance Painter. Always ensure your chosen workflow aligns with your target render engine or game engine requirements.
Advanced Shader Techniques for Car Paint and Glass
Achieving truly convincing automotive paint goes beyond a simple PBR material. Real car paint is a complex, multi-layered material. A typical car paint shader often involves:
- Base Coat: The primary color, often with metallic flakes. This can be achieved by blending a noise texture with the base color and using it as a mask for subtle metallic properties or by using a dedicated ‘flake’ layer.
- Clear Coat: A transparent, highly reflective layer on top. This is modeled by layering a separate dielectric PBR material (with high reflectivity and low roughness) over the base coat using a mix shader.
- Orange Peel Effect: Subtle waviness in the clear coat, achievable with a very fine procedural noise texture or a subtle normal map applied to the clear coat layer.
For glass and headlights, transmission and refraction are critical. Headlight glass often has intricate internal patterns (lenses, reflectors) which can be simulated with detailed normal maps or even modeled geometry combined with highly transparent and refractive PBR materials. Car windows are typically less complex, often using a standard transparent dielectric material with a slight tint and controlled roughness. Pay attention to Fresnel reflections for both paint and glass – the way reflections become stronger at grazing angles – as this is a fundamental aspect of real-world materials and is handled automatically by PBR shaders. For realistic brake lights and indicators, emissive properties should be added to the material, carefully controlling their intensity and color for both powered-off and illuminated states.
High-Fidelity Automotive Rendering Workflows
Once your 3D car model is meticulously modeled and textured with PBR materials, the next stage is to bring it to life through high-fidelity rendering. This process involves setting up appropriate lighting, choosing a powerful rendering engine, defining camera angles, and then post-processing the final images to achieve a stunning, professional look. Automotive rendering is an art in itself, demanding a keen eye for aesthetics, a deep understanding of lighting principles, and mastery of rendering software to emphasize the car’s design, form, and material qualities. Whether for marketing, design reviews, or portfolio pieces, a compelling render can transform a mere 3D asset into a captivating visual experience.
The choice of render engine significantly impacts workflow and final output. Popular choices like Corona Renderer, V-Ray, Cycles (Blender), and Arnold each offer unique strengths in terms of speed, feature set, and integration with 3D software. Regardless of the engine, the core principles of lighting, camera setup, and material application remain consistent. Mastering these elements allows artists to create evocative imagery that truly showcases the beauty and engineering of their 3D car models.
Lighting and Environment Setup for Studio Renders
Effective lighting is the single most important factor in a photorealistic render. For studio-style automotive renders, the goal is often to highlight the car’s contours, reflections, and materials in a controlled environment. High Dynamic Range Images (HDRIs) are the cornerstone of this workflow. An HDRI acts as both an environment map (providing reflections) and a light source, realistically illuminating the scene with real-world lighting data. For studio setups, an HDRI of a photo studio with large softboxes or a neutral grey environment is often preferred, sometimes combined with additional targeted lights.
Beyond the HDRI, specific “fill” and “rim” lights are often added to enhance specific areas:
- Key Lights: The primary light source, defining the overall mood and direction. Often a large softbox or area light.
- Fill Lights: Used to soften shadows and illuminate darker areas, reducing contrast.
- Rim Lights: Positioned behind the car, these lights create a bright outline along its edges, separating it from the background and emphasizing its silhouette.
- Reflector Cards/Planes: Strategically placed white or reflective planes can bounce light into shadowed areas or create desirable reflections on the car’s body.
Consider the use of physically accurate camera settings (aperture, shutter speed, ISO) to control depth of field and motion blur, adding to the realism. For rendering car interiors, additional small lights within the cabin or carefully placed emissive materials for dashboard screens are necessary. Pay close attention to light falloff and color temperature to maintain a cohesive and believable scene.
Render Engine Specifics (Corona, V-Ray, Cycles, Arnold) & Post-Processing
Each render engine has its nuances:
- Corona Renderer: Known for its ease of use, speed, and highly realistic results, especially for interior and product visualization. It’s an unbiased engine, meaning it progressively refines the image, making it great for interactive rendering. It excels with physically accurate materials and lights.
- V-Ray: A hybrid biased/unbiased renderer, V-Ray is an industry workhorse for architecture, product, and automotive visualization. It offers extensive control over every aspect of rendering, making it highly versatile for complex scenes and specific optimizations.
- Cycles (Blender): Blender’s powerful, built-in unbiased path tracer. It’s GPU-accelerated and capable of producing stunning results. Its node-based material system offers immense flexibility for complex shaders, ideal for custom car paint effects.
- Arnold: Autodesk’s robust, unbiased Monte Carlo path tracer, standard in Maya and 3ds Max. Valued for its stability, scalability, and high-quality production renders in film and animation.
Regardless of the engine, rendering typically involves outputting multiple render passes (or AOVs – Arbitrary Output Variables). These passes might include diffuse, reflections, refractions, normals, Z-depth, and object IDs. Post-processing in software like Adobe Photoshop or Foundry Nuke is crucial for the final polish. Here, you can:
- Adjust overall exposure, contrast, and color balance.
- Add lens effects like glare, bloom, and chromatic aberration.
- Refine reflections and add subtle atmospheric effects.
- Perform color grading to achieve a specific mood or style.
- Dodge and burn specific areas to draw the viewer’s eye.
This compositing stage allows for non-destructive adjustments and often elevates a good render to an exceptional one, making it ready for client presentations or marketing campaigns. The high-quality 3D car models available on 88cars3d.com are typically optimized for these advanced rendering workflows, ensuring seamless integration into your chosen engine.
Optimizing 3D Car Models for Game Engines and Real-time Applications
While film and architectural visualization demand extreme polygon counts and texture resolutions, game development and real-time applications like VR/AR operate under much stricter performance budgets. A beautifully detailed 3D car model designed for rendering might have millions of polygons and dozens of 4K textures, making it completely unfeasible for interactive experiences. Optimizing 3D car models for game engines like Unity and Unreal Engine involves a strategic reduction of complexity while preserving visual fidelity as much as possible. This often means creating multiple versions of the model, baking high-resolution detail into low-resolution textures, and consolidating assets to minimize draw calls and memory footprint.
The core objective is to achieve a balance between visual quality and real-time performance, ensuring smooth frame rates across target hardware platforms. This process requires a deep understanding of game engine pipelines, efficient asset management, and technical artistic skill to translate complex details into optimized forms. From polygon reduction techniques to sophisticated texture atlasing, every optimization step contributes to a fluid and immersive user experience.
LODs, Draw Calls, and Texture Atlasing
One of the most critical optimization techniques is the implementation of **Levels of Detail (LODs)**. LODs are multiple versions of the same model, each with progressively lower polygon counts. The game engine dynamically switches between these versions based on the camera’s distance from the object. A common setup for a car might include:
- LOD0: Full detail, highest poly count (e.g., 50,000-150,000 tris), for close-up views.
- LOD1: Medium detail (e.g., 20,000-50,000 tris), for medium distances.
- LOD2: Low detail (e.g., 5,000-20,000 tris), for far distances.
- LOD3: Very low detail, sometimes a billboard or impostor for extreme distances.
The process involves manually or semi-automatically reducing polygons while preserving overall shape and baking normal maps from the high-poly LOD0 onto the lower-poly versions to retain perceived detail.
**Draw Calls** are another major performance bottleneck. Each time the CPU tells the GPU to render an object, it’s a draw call. If a car has many separate meshes, each with its own material, it generates many draw calls, impacting performance. To reduce this, combine meshes where possible and, crucially, use **Texture Atlasing**. This involves merging multiple smaller texture maps (for different car parts) into one larger texture atlas. By sharing a single material and texture atlas, many separate meshes can be rendered in a single draw call, significantly improving performance. This is particularly important for models with many small components like headlights, grilles, or interior elements. Tools like Substance Painter and Blender can facilitate texture atlasing and material merging. A well-optimized car model often has 1-3 materials for the entire vehicle, instead of 20+.
Exporting and Integration (Unity, Unreal Engine)
Once optimized, the 3D car model needs to be correctly exported and integrated into the target game engine. The **FBX file format** is the industry standard for this, as it supports meshes, materials, textures, animations, and LODs. When exporting from 3ds Max, Blender, or Maya, ensure the following:
- Scale: Export with the correct scale (e.g., 1 unit = 1 meter) to avoid scaling issues in the engine.
- Up Axis: Confirm the correct Up Axis (usually Y or Z) for the target engine.
- Smoothing Groups/Hard Edges: Ensure these are correctly preserved to prevent shading errors.
- Transforms: Freeze/reset transformations on the model to avoid rotation or scaling issues upon import.
- Materials: Ensure PBR textures (Albedo, Normal, Metallic, Roughness, AO) are correctly assigned and ideally packed into channels for efficiency (e.g., Metallic-Roughness-AO in RGB channels of one texture).
In **Unity**, import the FBX, set up LOD groups (often through the LOD Group component), assign materials, and configure colliders for physics. For **Unreal Engine**, import the FBX, ensure material instances are created for PBR textures, set up LODs within the Static Mesh Editor, and add physics assets for collision detection. For both engines, consider adding lightmap UVs if the car will be a static prop, and ensure proper post-processing volumes are set up to match the intended visual style. A high-quality 3D car model from a reputable source like 88cars3d.com will typically come with correctly prepared FBX files, often including LODs and optimized PBR textures, streamlining the integration process considerably.
Beyond Rendering: AR/VR, 3D Printing, and Visualization
The utility of 3D car models extends far beyond traditional rendering and game development. The burgeoning fields of Augmented Reality (AR) and Virtual Reality (VR) demand highly optimized, real-time assets, while the physical realm of 3D printing requires models with specific structural integrity. Furthermore, specialized visualization applications, such as product configurators, interactive showrooms, and even forensic animation, leverage 3D car models in unique ways, each with its own set of technical considerations. Adapting a 3D car model for these diverse applications requires an understanding of their distinct technical constraints and opportunities.
Successfully transitioning a model across these platforms means more than just file conversion; it involves re-evaluating poly counts, material types, and structural integrity. For AR/VR, the emphasis shifts to extreme optimization and intuitive user experience. For 3D printing, the focus is on watertight meshes and printability. For visualization, it’s often about dynamic configurability and real-time responsiveness. This versatility underscores the enduring value and evolving role of high-quality 3D car models in various industries.
AR/VR-Specific Optimizations and USDZ/GLB
AR/VR environments impose the most stringent performance requirements due to the need for stereoscopic rendering (two views rendered simultaneously) and maintaining high, consistent frame rates (e.g., 90 FPS for comfortable VR experiences). This means even more aggressive optimization than standard game development:
- Extreme Poly Count Reduction: Aim for the lowest possible polygon count for your LOD0, potentially tens of thousands of triangles for an entire car, with lower LODs being even simpler.
- Draw Call Minimization: Consolidate materials and texture atlases as much as possible, ideally reducing the car to 1-2 materials.
- Texture Resolution: Use smaller texture resolutions (e.g., 1K or 2K) and pack channels (e.g., Metallic/Roughness/AO into one RGB texture).
- Optimized Shaders: Utilize mobile-friendly or highly optimized PBR shaders provided by the AR/VR platform (e.g., Unity’s Universal Render Pipeline, Unreal’s Mobile Renderer).
- Collision Meshes: Simplify collision meshes to prevent physics overhead.
- Static Batching/Instancing: Leverage engine features to reduce draw calls for multiple instances of the same car.
For AR, new file formats like **USDZ (Universal Scene Description Zip)** and **GLB (Binary glTF)** are becoming industry standards. USDZ, developed by Apple, is optimized for iOS AR experiences and supports PBR materials, animations, and hierarchical structures. GLB is the binary version of glTF, a royalty-free, open standard for 3D scenes and models, widely adopted across web AR, Android ARCore, and other real-time viewers. Both formats are designed for efficient transmission and rendering, making them ideal for delivering 3D car models to a broad range of AR/VR devices. When sourcing models for these applications, ensure they are compatible and optimized for these critical formats.
Preparing Models for 3D Printing and Mesh Repair
3D printing presents an entirely different set of challenges. Unlike digital renders, 3D printed models are physical objects, subject to real-world physics and the limitations of printing technology.
- Watertight Mesh: The most critical requirement is a “watertight” or “manifold” mesh. This means the model must be a completely closed volume, with no holes, gaps, or intersecting faces. Every edge must be connected to exactly two faces. Non-manifold geometry (e.g., edges connected to more than two faces) will cause printing errors.
- Wall Thickness: Ensure all parts of the model have sufficient wall thickness (e.g., minimum 1-2mm depending on printer and material) to prevent them from breaking during printing or post-processing. Thin details like door handles or mirrors might need to be thickened.
- Polygon Count: While 3D printers can handle high polygon counts, excessively dense meshes can slow down slicing software. Decimate the model if necessary, but carefully, ensuring crucial details are preserved.
- File Formats: The most common file formats for 3D printing are **STL (Standard Tessellation Language)** and **OBJ**. STL is a tessellated format, representing surfaces as a collection of triangles, ideal for most 3D printers. OBJ also supports polygons and can include color information.
- Mesh Repair: Tools within 3D software (e.g., 3ds Max’s STL Check, Blender’s 3D Print Toolbox addon) or dedicated mesh repair software (e.g., Netfabb, Meshmixer) are invaluable for identifying and fixing non-manifold edges, inverted normals, holes, and other printing errors. It’s often necessary to merge separate car components into a single mesh before export, or to add connectors for multi-part prints.
Careful preparation is essential to avoid costly print failures and ensure a physically robust and accurate printed car model.
Conclusion
The journey from concept to a fully realized, deployable 3D car model is a testament to technical skill, artistic vision, and an unyielding commitment to detail. We’ve explored the fundamental importance of clean, quad-based topology and precise edge flow, which lay the groundwork for flawless subdivision and realistic reflections. We’ve delved into the strategic art of UV mapping, emphasizing consistent texel density and smart seam placement crucial for high-quality texturing across complex automotive surfaces. The power of PBR materials and advanced shader networks has been illuminated, showing how to craft everything from multi-layered car paint to intricate glass and chrome effects that respond authentically to light.
Beyond material creation, we’ve navigated the sophisticated world of high-fidelity rendering, discussing optimal lighting setups, the nuances of various render engines like Corona, V-Ray, Cycles, and Arnold, and the essential role of post-processing in delivering visually stunning results. Crucially, we’ve tackled the vital realm of optimization for game engines and real-time applications, detailing techniques such as LODs, draw call reduction through texture atlasing, and proper export procedures for Unity and Unreal Engine. Finally, we touched upon the specialized requirements for AR/VR platforms, including the use of USDZ and GLB formats, and the distinct challenges of preparing models for successful 3D printing.
Mastering these workflows equips you with the expertise to produce 3D car models that excel in any digital medium, from photorealistic cinematic sequences to immersive real-time experiences and even physical prototypes. Whether you’re building assets from scratch or integrating professional models into your projects, this comprehensive understanding is invaluable. For those looking to jumpstart their projects with ready-to-use, impeccably crafted assets, platforms like 88cars3d.com offer a vast library of high-quality 3D car models, designed with clean topology, realistic PBR materials, and multiple file formats, ready to be incorporated into your next masterpiece. Invest in quality assets and best practices, and watch your automotive visions accelerate into reality.
Featured 3D Car Models
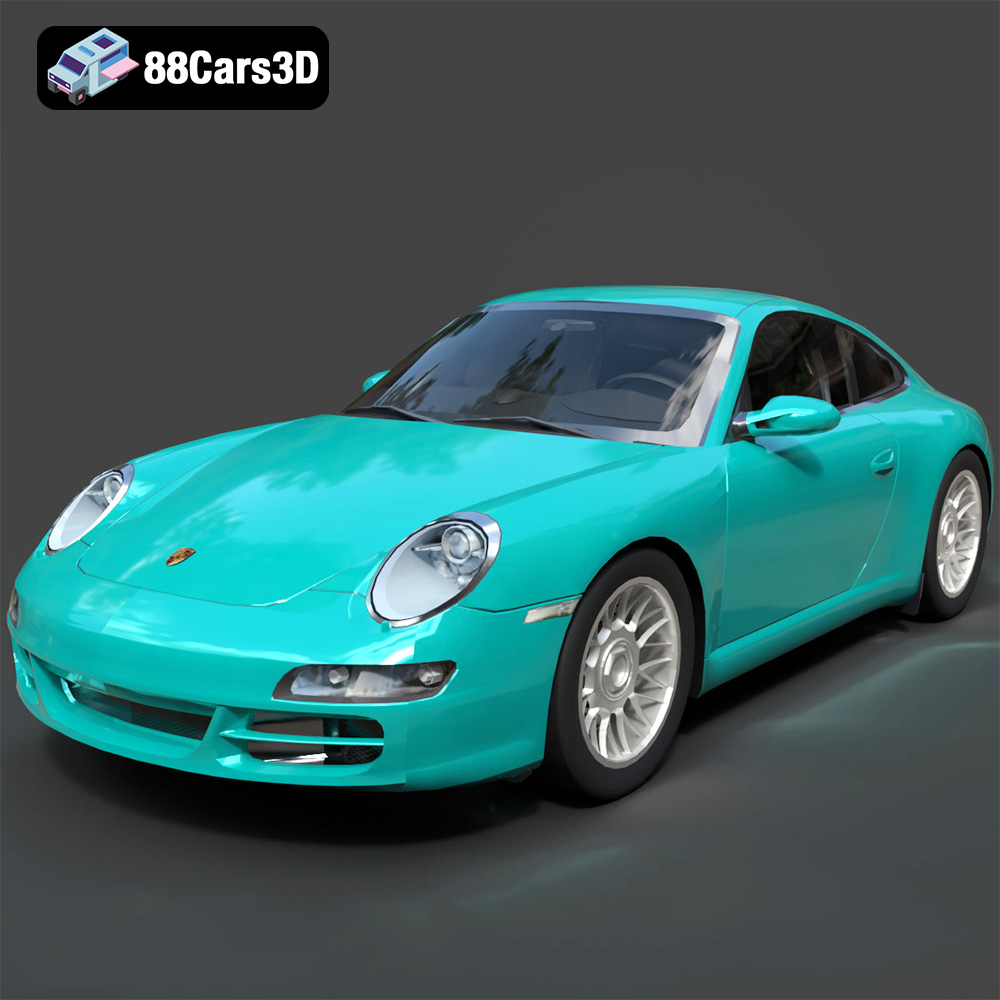
Porsche 911 Carrera S 2005 3D Model
Texture: Yes
Material: Yes
Download the Porsche 911 Carrera S 2005 3D Model featuring clean geometry, realistic detailing, and a fully modeled interior. Includes .blend, .fbx, .obj, .glb, .stl, .ply, .unreal, and .max formats for rendering, simulation, and game development.
Price: $4.99
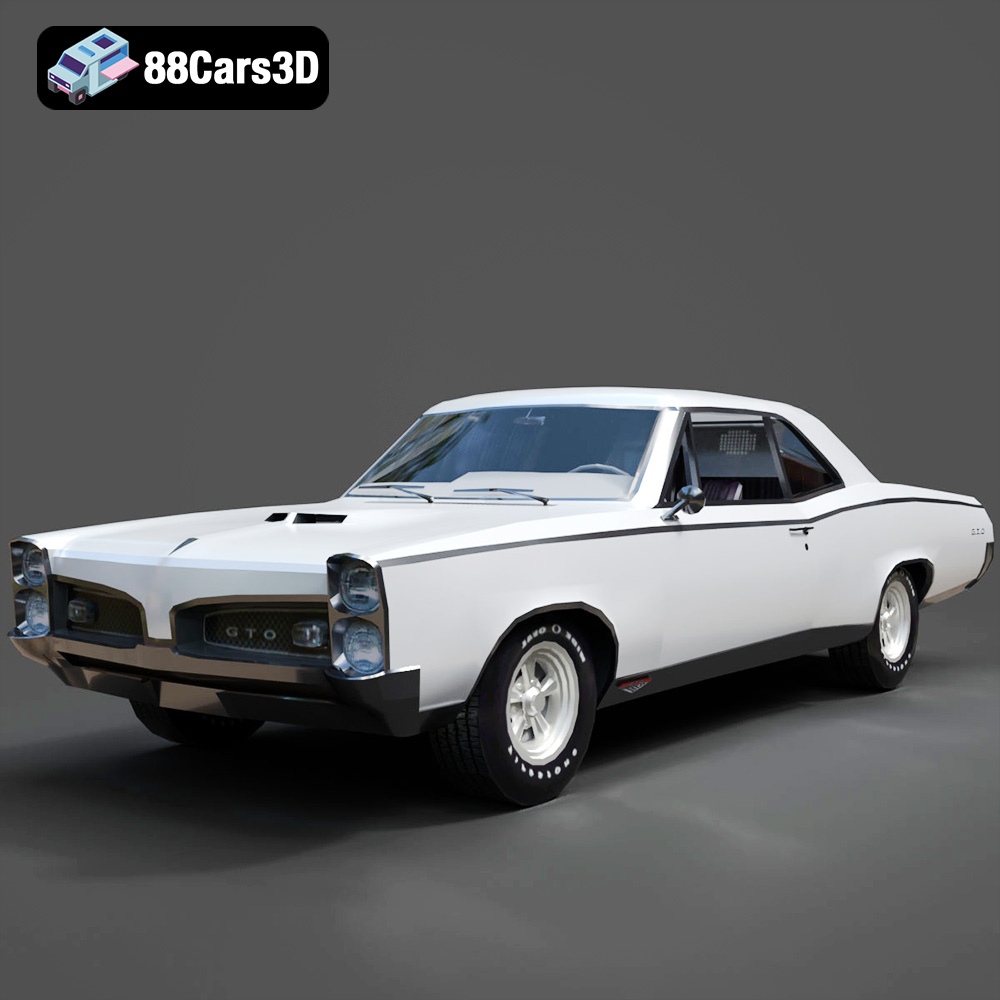
Pontiac GTO 1967 3D Model
Texture: Yes
Material: Yes
Download the Pontiac GTO 1967 3D Model featuring clean geometry, realistic detailing, and a fully modeled interior. Includes .blend, .fbx, .obj, .glb, .stl, .ply, .unreal, and .max formats for rendering, simulation, and game development.
Price: $4.99
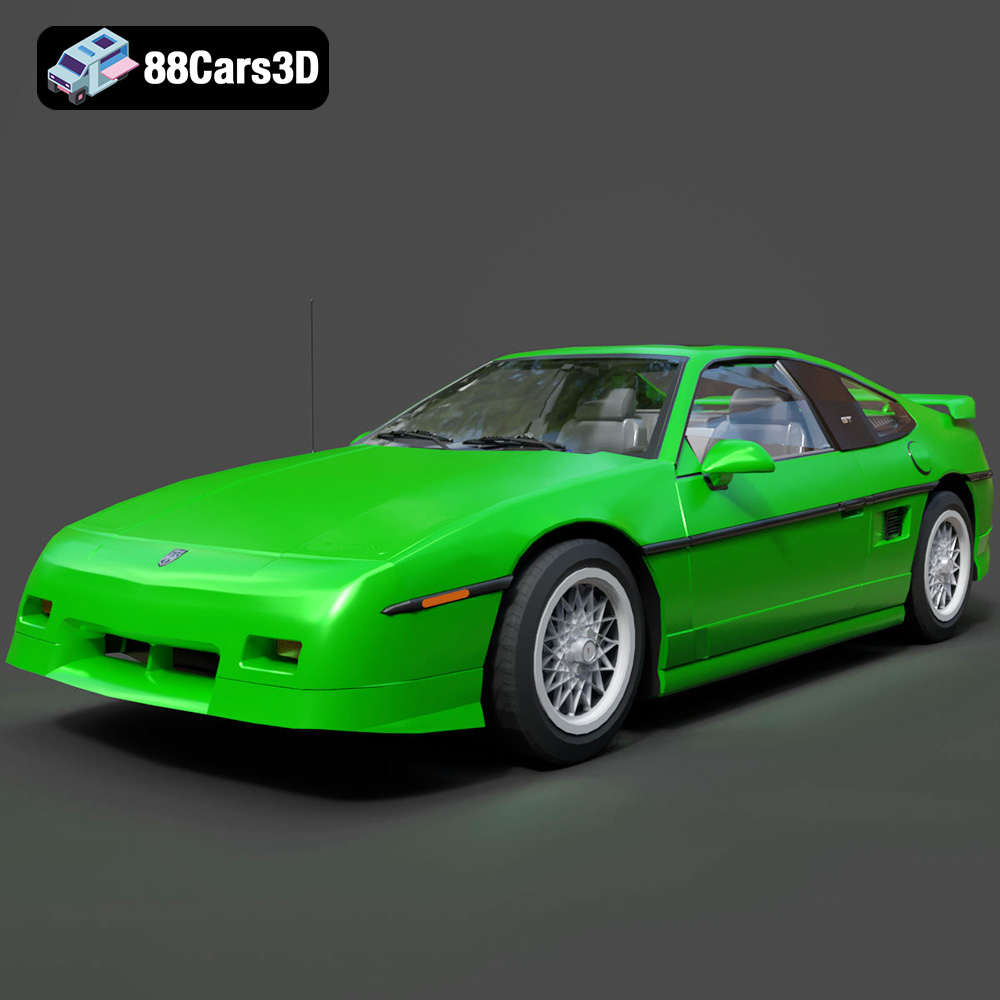
Pontiac Fiero GT 1987 3D Model
Texture: Yes
Material: Yes
Download the Pontiac Fiero GT 1987 3D Model featuring clean geometry, realistic detailing, and a fully modeled interior. Includes .blend, .fbx, .obj, .glb, .stl, .ply, .unreal, and .max formats for rendering, simulation, and game development.
Price: $4.99
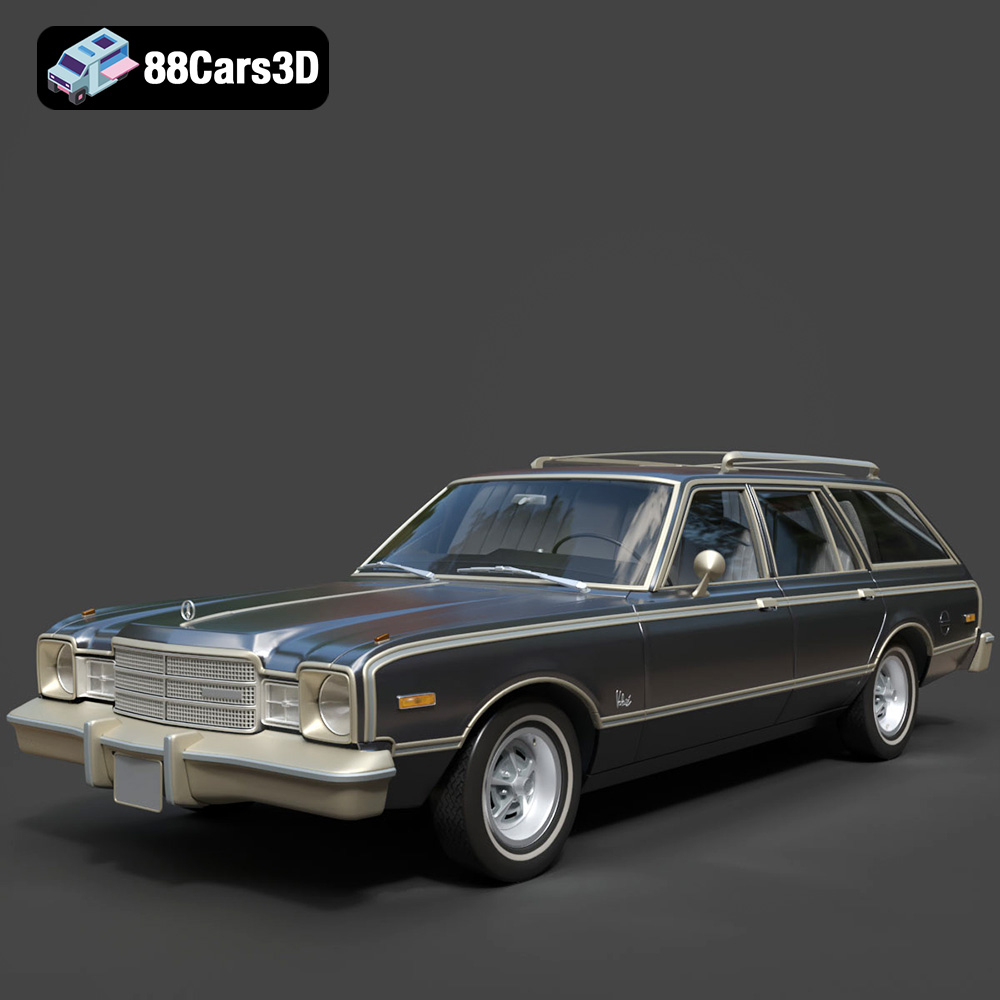
Plymouth Volare Wagon 1976 3D Model
Texture: Yes
Material: Yes
Download the Plymouth Volare Wagon 3D Model featuring clean geometry, realistic detailing, and a fully modeled interior. Includes .blend, .fbx, .obj, .glb, .stl, .ply, .unreal, and .max formats for rendering, simulation, and game development.
Price: $4.99
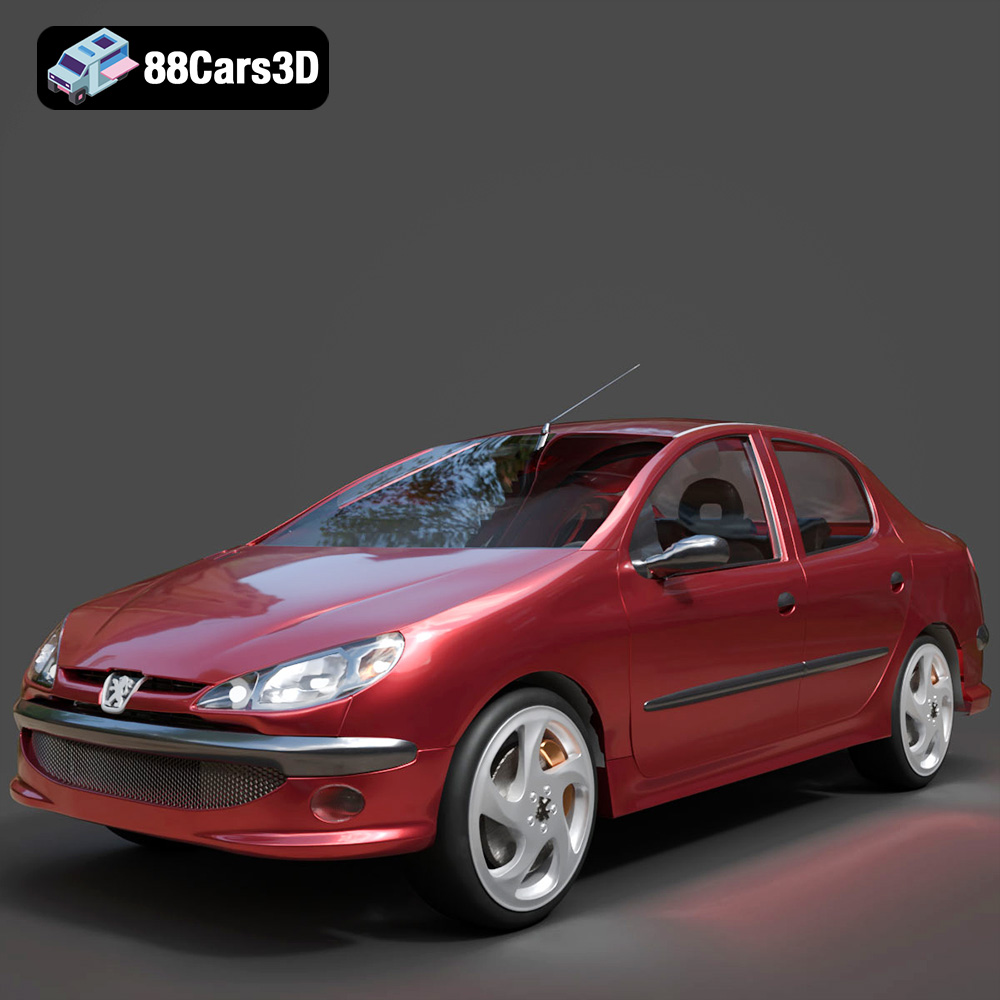
Peugeot 206 Sedan 2002 3D Model
Texture: Yes
Material: Yes
Download the Peugeot 206 Sedan 2002 3D Model featuring clean geometry, realistic detailing, and a fully modeled interior. Includes .blend, .fbx, .obj, .glb, .stl, .ply, .unreal, and .max formats for rendering, simulation, and game development.
Price: $4.99
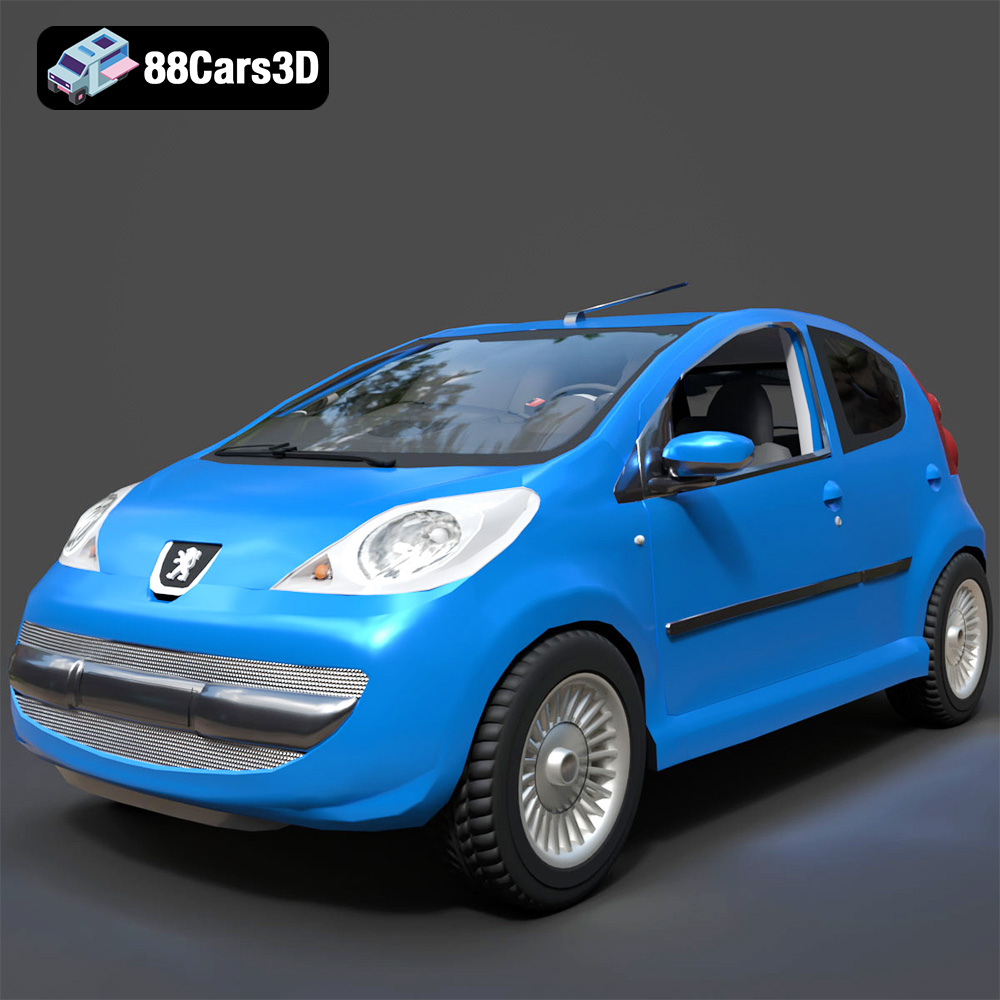
Peugeot 107 2005 3D Model
Texture: Yes
Material: Yes
Download the Peugeot 107 2005 3D Model featuring clean geometry, realistic detailing, and a fully modeled interior. Includes .blend, .fbx, .obj, .glb, .stl, .ply, .unreal, and .max formats for rendering, simulation, and game development.
Price: $4.99
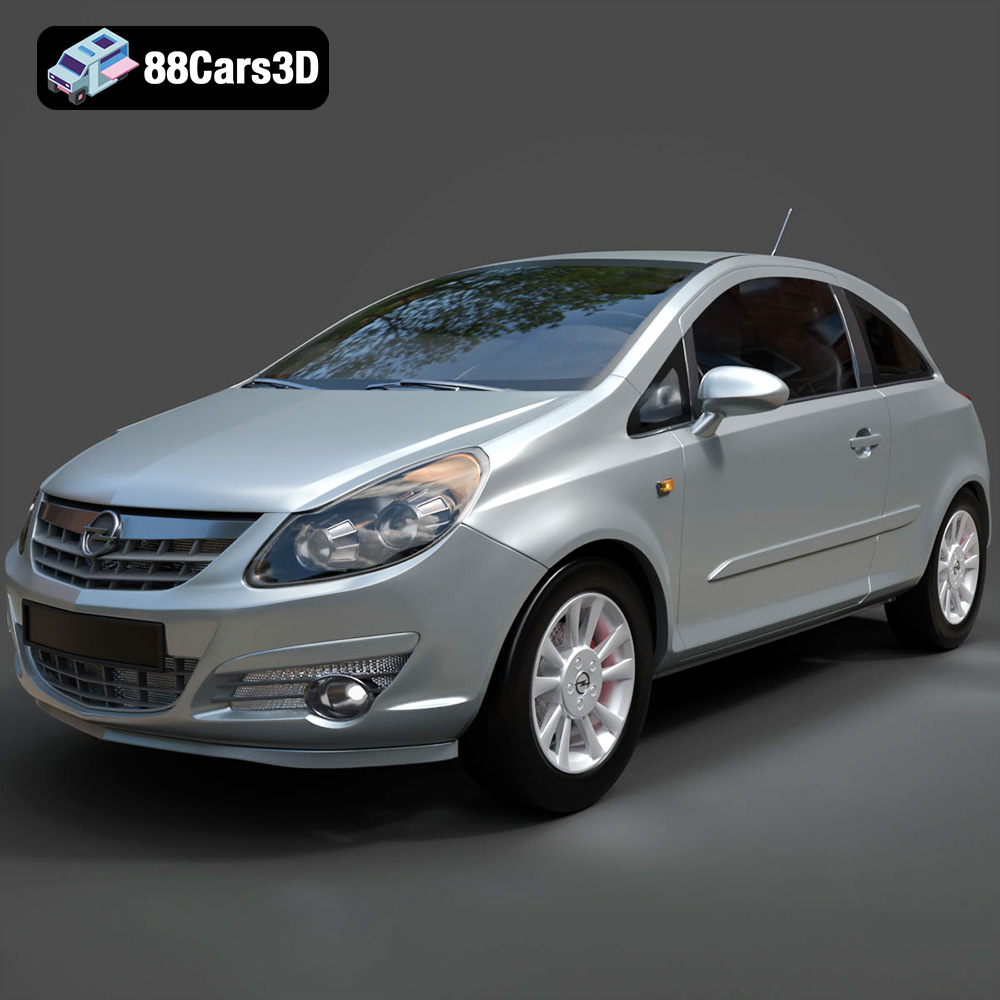
Opel Corsa 2007 3D Model
Texture: Yes
Material: Yes
Download the Opel Corsa 2007 3D Model featuring clean geometry, realistic detailing, and a fully modeled interior. Includes .blend, .fbx, .obj, .glb, .stl, .ply, .unreal, and .max formats for rendering, simulation, and game development.
Price: $4.99
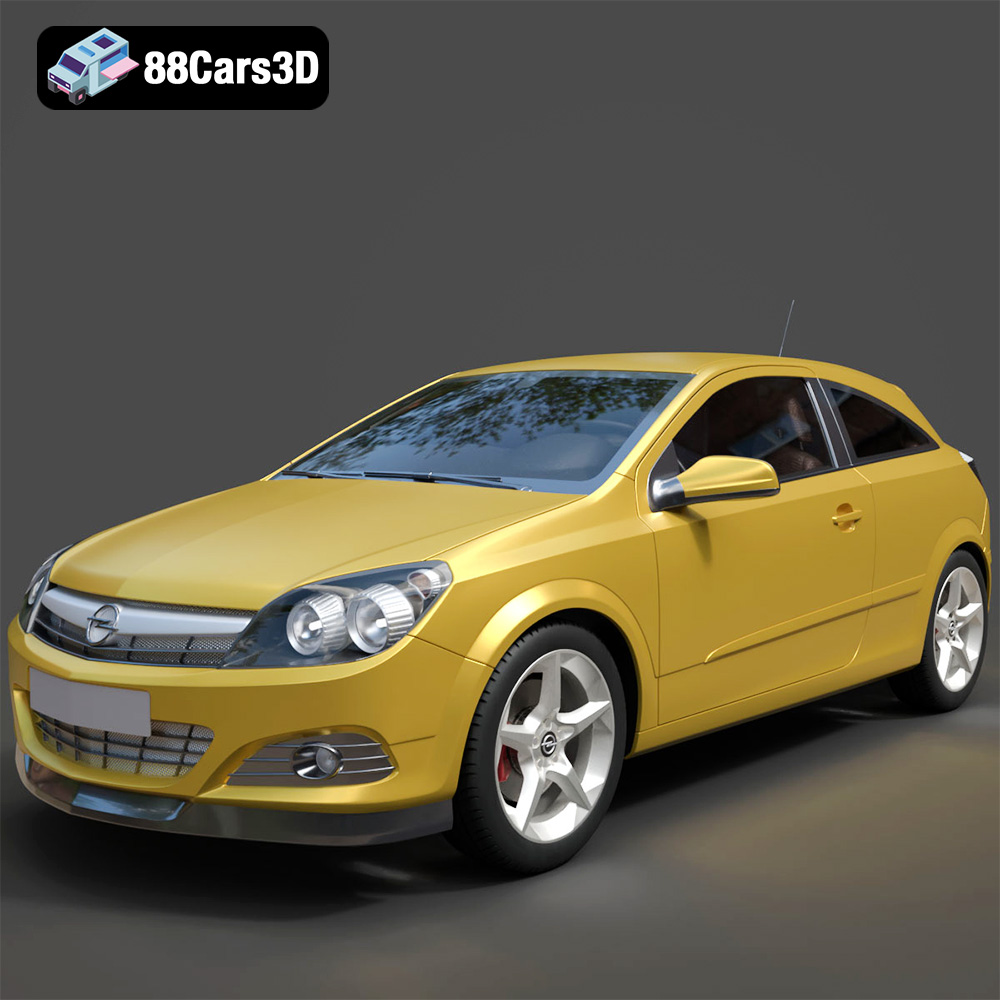
Opel Astra H GTC 3D Model
Texture: Yes
Material: Yes
Download the Opel Astra H GTC 3D Model featuring clean geometry, realistic detailing, and a fully modeled interior. Includes .blend, .fbx, .obj, .glb, .stl, .ply, .unreal, and .max formats for rendering, simulation, and game development.
Price: $4.99
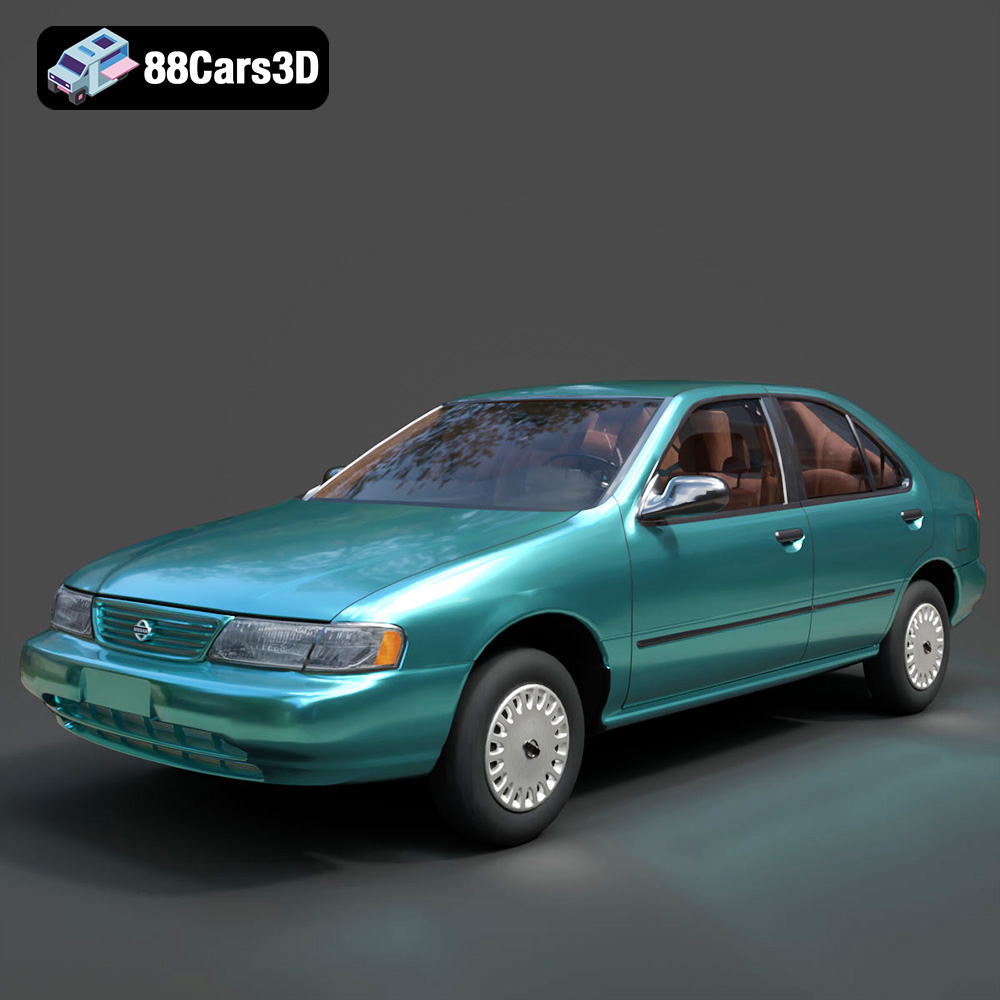
Nissan Sentra GXE 1996 3D Model
Texture: Yes
Material: Yes
Download the Nissan Sentra GXE 1996 3D Model featuring clean geometry, realistic detailing, and a fully modeled interior. Includes .blend, .fbx, .obj, .glb, .stl, .ply, .unreal, and .max formats for rendering, simulation, and game development.
Price: $4.99
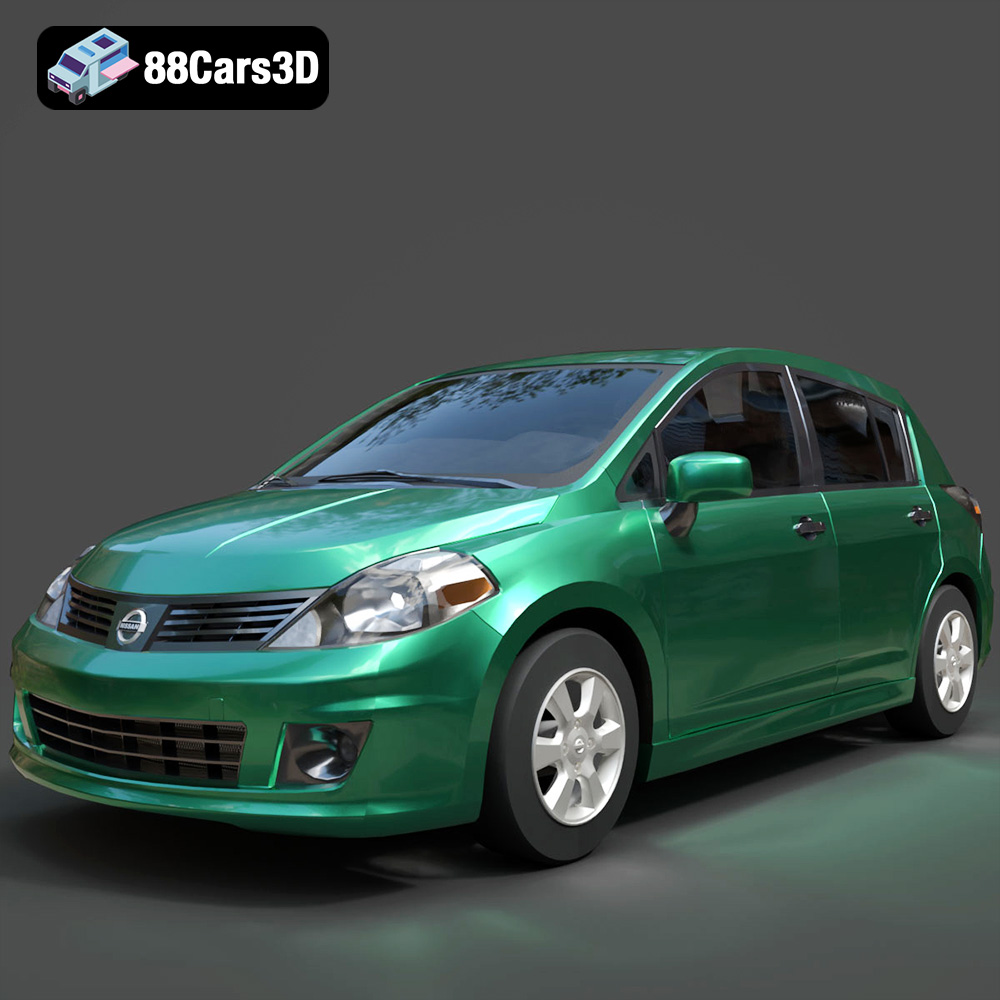
Nissan Tiida 3D Model
Texture: Yes
Material: Yes
Download the Nissan Tiida 3D Model featuring clean geometry, realistic detailing, and a fully modeled interior. Includes .blend, .fbx, .obj, .glb, .stl, .ply, .unreal, and .max formats for rendering, simulation, and game development.
Price: $4.99
