⚡ FLASH SALE: Get 60% OFF All Premium 3D & STL Models! ⚡
The automotive industry has always been at the forefront of innovation, and in the digital age, this extends deeply into 3D modeling and visualization. From the earliest concept sketches to the final marketing campaign, high-quality 3D car models are indispensable tools for designers, engineers, game developers, and artists alike. They power everything from photorealistic renders that define a vehicle’s aesthetic to immersive virtual reality experiences that allow prospective buyers to explore their dream car. However, creating or utilizing these complex digital assets is a discipline that demands a profound understanding of technical workflows, artistic principles, and performance optimization.
This comprehensive guide delves into the intricate world of automotive rendering and game asset development for cars, offering a deep dive into the techniques and best practices that elevate a 3D model from a simple mesh to a photorealistic masterpiece or a perfectly optimized game-ready asset. We will explore everything from the foundational principles of topology and UV mapping to advanced PBR material creation, rendering workflows across various software, and critical optimization strategies for real-time applications like AR/VR. Whether you’re a seasoned professional seeking to refine your pipeline or an aspiring artist eager to master the craft, prepare to unlock the secrets behind stunning 3D car models and their diverse applications. Let’s embark on this technical journey to transform your automotive visions into digital reality.
The foundation of any high-quality 3D car model lies in its topology and edge flow. Automotive surfaces are notoriously complex, characterized by smooth, sweeping curves, sharp creases, and highly reflective materials. Incorrect topology can lead to artifacts, pinching, and an inability to achieve realistic reflections, which are crucial for showcasing a vehicle’s design. A clean, efficient mesh is not just about aesthetics; it’s fundamental for smooth subdivision, proper UV unwrapping, and optimal performance in rendering and game engines.
The golden rule in automotive modeling is the dominance of quad polygons. Quads (four-sided polygons) allow for predictable subdivision, cleaner deformations, and easier manipulation compared to triangles or N-gons (polygons with more than four sides). When modeling a car, your primary goal is to guide the edge loops to follow the natural contours and design lines of the vehicle. For instance, the edges around a wheel arch should flow seamlessly, maintaining an even distribution of polygons to prevent faceting and ensure smooth curvature. Similarly, the creases defining panel gaps or character lines should be supported by tight edge loops to hold their sharpness when subdivided. A common practice is to use three edge loops around a sharp crease: one on the crease itself and two supporting loops on either side, running parallel to it. This provides crispness without excessive subdivision.
The reflective nature of car paint makes topology absolutely critical. Any imperfection in the mesh will be magnified by reflections, revealing ugly distortions or “pinching.” Therefore, maintaining an even distribution of quads and guiding edge loops along the primary flow of light and form is paramount. Imagine the light reflecting off a fender: the edge flow should mirror that trajectory, creating smooth, uninterrupted reflections. Tools like 3ds Max’s "Graphite Modeling Tools" or Blender’s "LoopTools" can aid in maintaining an even quad distribution and straightening edge loops. When modeling complex areas like headlights or grilles, consider them as separate components that seamlessly integrate into the main body, ensuring their edge loops also transition smoothly.
For high-detail models intended for cinematic rendering or visualization, a higher polygon count is acceptable, often exceeding 500,000 to several million polygons for a fully detailed car. This allows for intricate details and smooth curves even without extensive subdivision. For game assets, the goal is often to start with a clean, lower-poly base mesh (e.g., 50,000-150,000 polygons for a hero car) and then use subdivision only for baking normal maps from a high-poly sculpt, or for rendering cinematic cutscenes. The key is to achieve maximum visual quality with the fewest polygons necessary. Platforms like 88cars3d.com provide models with clean topology, saving artists significant time and effort in this crucial initial stage.
Balancing mesh density is a perpetual challenge. For static renders or high-end animations, you can afford a denser mesh, utilizing subdivision surface modifiers (like TurboSmooth in 3ds Max or Subdivision Surface in Blender) to achieve unparalleled smoothness. In such scenarios, a control mesh might be around 100,000-300,000 polygons, subdividing to millions. However, for real-time applications such as game engines or AR/VR, optimization is key. Here, the challenge is to convey complex forms with a constrained polygon budget. This often involves reducing unnecessary edge loops on flat surfaces, triangulating areas where deformation isn’t critical (though quads are still preferred for general cleanliness), and baking normal maps from a high-polygon model onto a lower-polygon game mesh to simulate detail without increasing geometry.
Tips for Optimal Automotive Topology:
Once your 3D car model‘s topology is meticulously crafted, the next critical step is UV mapping. UVs are the 2D coordinates that tell your 3D software how to project a 2D texture onto the 3D surface. For automotive models, which feature vast, often curved surfaces and highly detailed components, a well-executed UV map is paramount for applying realistic textures without distortion, seams, or stretching. Poor UVs can ruin even the most perfectly modeled car, leading to blurry textures, misaligned details, and an overall unprofessional appearance, especially noticeable on reflective car paint or intricate dashboard elements.
The goal of UV mapping is to create a seamless, non-overlapping, and efficiently packed layout of your model’s surfaces in UV space. For cars, this often means separating the model into logical components: the main body, doors, hood, trunk, wheels, interior elements, glass, lights, and small details like badges or grilles. Each of these components might have its own UV island or be grouped with similar elements on a single UV map, depending on the desired texture resolution and material complexity. When unwrapping, prioritize minimizing seams in highly visible areas, like the main body panels, by strategically placing cuts along natural breaks or hidden edges. For example, a seam might run along the bottom edge of a car door, where it’s less visible.
Unwrapping a car effectively involves a methodical approach. First, identify the major components that require distinct texture sets or high resolution. The main body of the car is often the most challenging due to its expansive, curved surfaces. Techniques like planar mapping for relatively flat surfaces, cylindrical or spherical mapping for wheels or curved glass, and advanced pelt mapping or LSCM (Least Squares Conformal Mapping) unwraps for complex organic shapes are commonly employed. In software like 3ds Max, the "Unwrap UVW" modifier offers robust tools for selecting edges and creating seams, then projecting and relaxing the UVs. Blender’s UV editor provides similar functionalities, including the powerful "Follow Active Quads" and "Lightmap Pack" options. Maya’s "UV Editor" with its comprehensive suite of tools for cutting, sewing, and arranging UV shells is also highly effective.
After the initial unwrapping, the critical step is to relax the UVs to minimize distortion. Distortion is where the 2D representation of your surface is stretched or compressed compared to its 3D counterpart. Visualizing UV distortion using a checker map overlay is a standard practice; perfect squares on the checker map indicate minimal distortion. Once unwrapped and relaxed, the UV islands need to be packed efficiently into the 0-1 UV space. This means arranging them to utilize as much of the texture area as possible without overlapping (unless explicitly desired for mirrored parts) and leaving adequate padding between islands to prevent texture bleeding. Smart packing algorithms found in tools like RizomUV, UVLayout, or built-in software packers can automate much of this process, but manual adjustments are often necessary for optimal results, especially for maximizing texel density in crucial areas.
Texel density refers to the number of texture pixels per unit of 3D space. Maintaining a consistent texel density across your model ensures that all surfaces appear equally sharp. A common target for a hero asset in games might be 10.24 pixels per centimeter (or 1024×1024 pixels for a 1-meter square surface). Achieving this often requires scaling different UV islands individually after unwrapping. For instance, the main body of a car will typically demand a much higher texel density than an obscured underside component.
Texture atlasing is a powerful optimization technique where multiple smaller textures are combined into a single, larger texture map (an “atlas”). This reduces the number of materials and draw calls in a game engine, significantly improving performance. For a car, you might create an atlas for all interior elements, another for exterior trims, and a separate high-resolution texture for the main body paint. This strategy is especially useful for game assets. When sourcing models from marketplaces such as 88cars3d.com, artists often find models that already feature meticulously organized UV maps and optimized texture sets, greatly streamlining their workflow.
UV Mapping Best Practices:
Achieving photorealistic automotive rendering is heavily reliant on the quality and accuracy of its materials. Physically Based Rendering (PBR) has revolutionized this process, providing a standardized workflow that ensures materials look consistent and believable under various lighting conditions. PBR materials simulate how light interacts with surfaces in the real world, accounting for phenomena like reflection, refraction, and absorption with scientific accuracy. This is particularly crucial for car models, where highly reflective paint, intricate glass, and varied interior textures demand precision.
The core concept of PBR is energy conservation: a surface cannot reflect more light than it receives. Most PBR workflows utilize either the Metallic-Roughness or Specular-Glossiness model. The Metallic-Roughness workflow, favored by many game engines and renderers, uses maps for Base Color (albedo), Metallic (defining whether a surface is a dielectric or a metal), Roughness (controlling the scattering of reflections), Normal (for surface detail), and Ambient Occlusion (simulating indirect shading). The Specular-Glossiness workflow uses Diffuse, Specular (color of reflections), and Glossiness (inverse of roughness). Understanding the nuances of each is vital for creating believable automotive materials.
For car paint, the Metallic-Roughness workflow is often preferred due to its intuitive nature. The Base Color map provides the primary hue. The Metallic map, often a grayscale image or a constant value, dictates whether the surface behaves like a metal (white) or a dielectric (black). Car paint itself is a complex dielectric with a metallic flake layer, but often its base color is set, and the metallic property is handled by other layers. The Roughness map is key; lower roughness values result in sharper, mirror-like reflections (e.g., polished chrome), while higher values produce diffuse, matte surfaces (e.g., rubber tires). Fine-tuning these values is where the art truly lies. Software like Substance Painter and Mari are industry standards for creating PBR texture maps, offering powerful tools for layering, procedural generation, and baking details.
Beyond the core PBR maps, advanced shading networks are often necessary for automotive realism. Car paint, for instance, is not a simple PBR material. It typically involves multiple layers: a base coat (containing color and metallic flakes), followed by a clear coat (a transparent, glossy layer that adds depth and reflection). Simulating this requires a multi-layered shader setup within your rendering software (e.g., 3ds Max + Corona Renderer, Blender + Cycles, Maya + Arnold). The clear coat often needs its own set of roughness, normal, and IOR (Index of Refraction) values to accurately simulate its thickness and reflectivity. Flakes within the paint can be achieved using micro-normal maps, procedural noise, or even actual geometry for extreme close-ups, though the latter is rare.
Car Paint: A typical advanced car paint shader might include:
Glass Shaders: Car glass requires accurate transmission, refraction, and reflection. Key parameters include:
Tire Shaders: Tires are complex dielectrics with a unique texture.
In renderers like Corona, V-Ray, Cycles, and Arnold, node-based material editors allow for incredibly complex and realistic shader networks. Understanding how to layer materials, blend textures, and use procedural nodes to add subtle variations (like dirt, dust, or wear) is essential for pushing the boundaries of realism in your 3D car models.
Bringing a 3D car model to life requires more than just excellent modeling and texturing; it demands a sophisticated understanding of lighting, camera work, and rendering techniques. High-fidelity rendering transforms your digital asset into a stunning visual, whether for marketing, product visualization, or portfolio showcases. The choices you make in lighting, environment, and renderer settings profoundly impact the final image’s realism and mood.
The core of realistic rendering lies in accurately simulating how light behaves in the real world. Global Illumination (GI) is a cornerstone of this, accounting for how light bounces off surfaces and indirectly illuminates other areas, creating soft shadows and realistic color bleeding. Path tracing and unbiased rendering algorithms, prevalent in modern renderers like Corona, V-Ray, Cycles (Blender), and Arnold (Maya/3ds Max), are designed to produce highly accurate GI. These renderers simulate millions of light paths, offering unparalleled realism, albeit with longer render times. For speed, biased renderers might employ approximations for GI, but typically with less accuracy.
Environment Lighting with HDRIs: High Dynamic Range Images (HDRIs) are the backbone of modern exterior and interior automotive rendering. An HDRI captures the full range of light intensities from a real-world environment (e.g., a sunny parking lot, an overcast studio, a futuristic cityscape) and can be used to light your 3D scene. This provides incredibly realistic reflections and diffuse illumination, making the car feel integrated into the scene. When selecting an HDRI, consider its resolution (higher resolution means sharper reflections), dynamic range (how bright the brightest parts are), and the overall mood it conveys. Most renderers support HDRI loading as an environment map, allowing you to rotate it for optimal lighting and reflections. Websites like Poly Haven offer a vast library of high-quality HDRIs.
Area Lights and Studio Setups: While HDRIs excel at environment lighting, often you need additional, controllable light sources to highlight specific features, create dramatic shadows, or simulate a studio setup. Area lights (rectangular or disk shapes) are ideal for soft, even illumination, mimicking studio softboxes. They are perfect for accentuating body lines or providing fill light. Spotlights can create focused highlights and sharp shadows, useful for dramatic effect or simulating direct sunlight. Combining these with volumetric effects can add depth and atmosphere. For a classic studio look, you might use a large top area light, two side-fill lights, and a back rim light to define the car’s silhouette.
Each renderer has its own set of parameters, but common settings include:
Camera and Composition: Just like photography, composition is key to an impactful render.
Post-processing in software like Adobe Photoshop or DaVinci Resolve is the final step, where color correction, contrast adjustments, vignette, lens flares, and subtle effects are added to achieve the desired mood and polish. This stage can dramatically elevate a raw render into a professional-grade image. Many high-quality 3D car models from marketplaces like 88cars3d.com are already set up with basic studio lighting, providing a perfect starting point for your rendering projects.
Deploying 3D car models into real-time environments like game engines (Unity, Unreal Engine) or AR/VR applications presents a unique set of challenges and demands specific optimization strategies. Unlike offline rendering, where time is less of a constraint, real-time rendering requires rendering dozens or even hundreds of frames per second to maintain a smooth, interactive experience. This means every polygon, every texture, and every material needs to be meticulously optimized to fit within strict performance budgets.
The primary goals for game engine optimization are to minimize polygon count, reduce draw calls (the number of times the CPU tells the GPU to render something), and optimize texture memory usage. A “hero” car asset in a modern game might have a polygon count ranging from 50,000 to 150,000 triangles, depending on the game’s platform and visual fidelity targets. This is significantly lower than cinematic models. Efficient optimization means maintaining visual quality while aggressively cutting down on unnecessary data. This often involves a multi-stage process of creating lower-poly meshes, baking high-resolution details onto normal maps, and consolidating materials.
Levels of Detail (LODs) are crucial for managing performance for objects that are viewed at varying distances. An LOD system swaps out a high-polygon model for a progressively lower-polygon version as the camera moves further away from the object. For a car, you might have:
Creating LODs can be done manually, by intelligently dissolving edges and vertices, or using automated tools within software like Blender (Decimate modifier), 3ds Max (ProOptimizer), Maya (Reduce), or directly within game engines like Unity (LOD Group component) and Unreal Engine (Simplygon integration). Manual LOD creation often yields better results for critical assets like cars, ensuring important silhouettes are preserved.
Polygon Reduction Techniques:
Draw Calls: Every time the GPU needs to switch materials or draw different objects, it incurs a “draw call,” which consumes CPU resources. Minimizing draw calls is a major optimization target.
Texture Optimization:
Collision Meshes & Physics Assets: For interactive game assets, a separate, much simpler collision mesh is required. This is a low-polygon mesh (often convex hulls or simple primitive shapes like boxes and spheres) that the physics engine uses for collision detection, not the high-fidelity render mesh. Complex car physics models in games often use a series of connected rigid bodies, springs, and dampers to simulate realistic suspension and damage. Properly configured physics assets are vital for a believable driving experience.
The entire optimization process requires continuous profiling within the game engine to identify bottlenecks and fine-tune assets. Tools like Unity’s Profiler or Unreal Engine’s Stat commands provide invaluable data on CPU and GPU performance, draw calls, and memory usage, guiding artists and developers toward efficient real-time 3D car models.
The digital landscape for 3D car models is a mosaic of file formats, each with its strengths, weaknesses, and intended applications. Understanding which format to use and how to manage conversions is crucial for seamless workflows, cross-software compatibility, and successful deployment across various platforms, from rendering software to game engines and AR/VR experiences. The choice of file format dictates not only how geometric data is stored but also how materials, textures, animations, and scene information are preserved and interpreted.
The primary challenge often lies in maintaining fidelity during conversion, especially concerning UVs, PBR materials, and embedded data. A clean export from one software doesn’t always guarantee a perfect import into another without some cleanup or re-linking of assets. Therefore, a strategic approach to file management and format selection is essential for any professional working with 3D car models.
These three formats represent the most common standards for exchanging 3D assets:
Many 3D car models originate from CAD (Computer-Aided Design) software (e.g., SolidWorks, CATIA, Rhino) used in industrial design and engineering. CAD models are typically NURBS (Non-Uniform Rational B-Splines) or solid geometry, which are mathematically precise and infinitely smooth, but not directly usable in polygon-based rendering or game engines. Converting CAD data to polygon meshes is a critical step, but it comes with challenges:
Specialized plugins (e.g., Datasmith for Unreal Engine, nPower Translators for 3ds Max) and dedicated software (e.g., MOI3D, Rhino) assist in this conversion, providing more control over the tessellation process and producing cleaner initial meshes.
USDZ is a proprietary file format developed by Apple in collaboration with Pixar, based on Pixar’s Universal Scene Description (USD) framework. It’s specifically designed for AR (Augmented Reality) experiences on Apple devices (iOS, macOS). USDZ files are optimized for performance in real-time AR, supporting geometry, PBR materials (primarily Metallic-Roughness), animations, and scene hierarchy. Its single-file, compressed nature makes it ideal for distribution on the web or through apps for quick loading in AR viewers. For anyone developing AR experiences featuring 3D car models for the Apple ecosystem, USDZ is the definitive format. Converting existing 3D assets to USDZ often involves careful preparation of PBR textures and ensuring the model adheres to AR performance guidelines.
The choice of file format should always be driven by the specific requirements of your project and target platform. While FBX remains a general workhorse, glTF/GLB is ascendant for web and real-time, and USDZ is indispensable for Apple AR. Understanding these formats and their respective conversion nuances ensures that your meticulously crafted 3D car models can traverse any digital pipeline with minimal friction.
The utility of high-quality 3D car models extends far beyond traditional rendering and game development. They are increasingly pivotal in cutting-edge applications such as Augmented Reality (AR), Virtual Reality (VR), and advanced manufacturing through 3D printing. Each of these specialized fields imposes unique technical requirements and optimization challenges, pushing the boundaries of what’s possible with digital automotive assets. Leveraging these applications effectively requires a tailored approach to model preparation and pipeline integration.
From virtual showrooms that allow customers to explore car configurations in real-time to industrial simulations for ergonomic design validation, 3D car models are transforming industries. For visualization professionals, architects, and product designers, these models provide powerful tools for communicating complex ideas with unparalleled realism and interactivity. The meticulous attention to detail required for the core modeling, UV mapping, and material creation stages discussed previously becomes even more critical when preparing assets for these diverse and demanding applications.
AR and VR are rapidly changing how we interact with products, offering immersive experiences that were once the realm of science fiction. For 3D car models, this means virtual test drives, interactive configurators, and even holographic projections of vehicles in real-world environments. Optimizing cars for AR/VR demands extreme performance efficiency due to the high frame rates (typically 90 FPS or higher) required to prevent motion sickness and ensure a smooth user experience.
When sourcing assets for AR/VR, verifying their real-time performance characteristics is paramount. Platforms like 88cars3d.com often specify if models are “game-ready” or optimized for real-time applications, which is a valuable indicator.
3D printing allows for the physical manifestation of digital car designs, from concept prototypes to intricate scale models. However, transferring a render-ready 3D model to a printable format requires a different set of considerations:
This conversion process often requires specialized knowledge beyond standard 3D rendering workflows, focusing on the physical properties and limitations of materials and printing technologies.
Professional visualization for the automotive industry extends beyond producing stunning static images. It encompasses a broader spectrum of interactive and animated experiences:
Each of these applications requires a tailored approach, often blending advanced rendering techniques with real-time optimization, scripting, and a deep understanding of user experience. The versatility of a well-crafted 3D car model truly shines when adapted for these diverse and innovative uses, offering endless possibilities for engaging audiences and streamlining design processes.
The journey through the intricate world of 3D car models, from the foundational principles of topology to the cutting-edge applications in AR/VR and 3D printing, reveals a discipline that is both technically demanding and creatively boundless. We’ve explored how meticulous attention to detail in mesh construction, strategic UV mapping, and scientifically accurate PBR material creation are the cornerstones of achieving hyperrealism in automotive rendering. We also delved into the crucial optimization strategies that transform these high-fidelity assets into efficient game assets, ready for real-time interactive experiences.
The digital automotive landscape is continually evolving, driven by advancements in rendering technology, game engines, and immersive platforms. Mastering these workflows not only enhances the visual quality of your projects but also unlocks new opportunities for visualization, product development, and interactive marketing. Whether you’re crafting a cinematic masterpiece in 3ds Max with Corona, developing an immersive driving simulator in Unreal Engine, or preparing a concept car for a physical 3D print, the underlying principles of clean data, efficient assets, and thoughtful execution remain paramount.
To truly excel in this field, embrace continuous learning, experiment with new tools and techniques, and always strive for perfection in your digital craft. The demand for high-quality 3D car models will only continue to grow, making expertise in this niche invaluable. Remember that foundational elements like topology and UVs, while often overlooked, are the bedrock upon which all subsequent realism and performance are built. Invest time in mastering these basics, and your advanced projects will flourish. For those seeking a head start or looking to expand their digital garage, platforms like 88cars3d.com offer a curated selection of professionally built 3D car models, designed with clean topology, realistic materials, and various optimized formats, providing an excellent foundation for any project. Dive in, experiment, and drive your creativity forward.
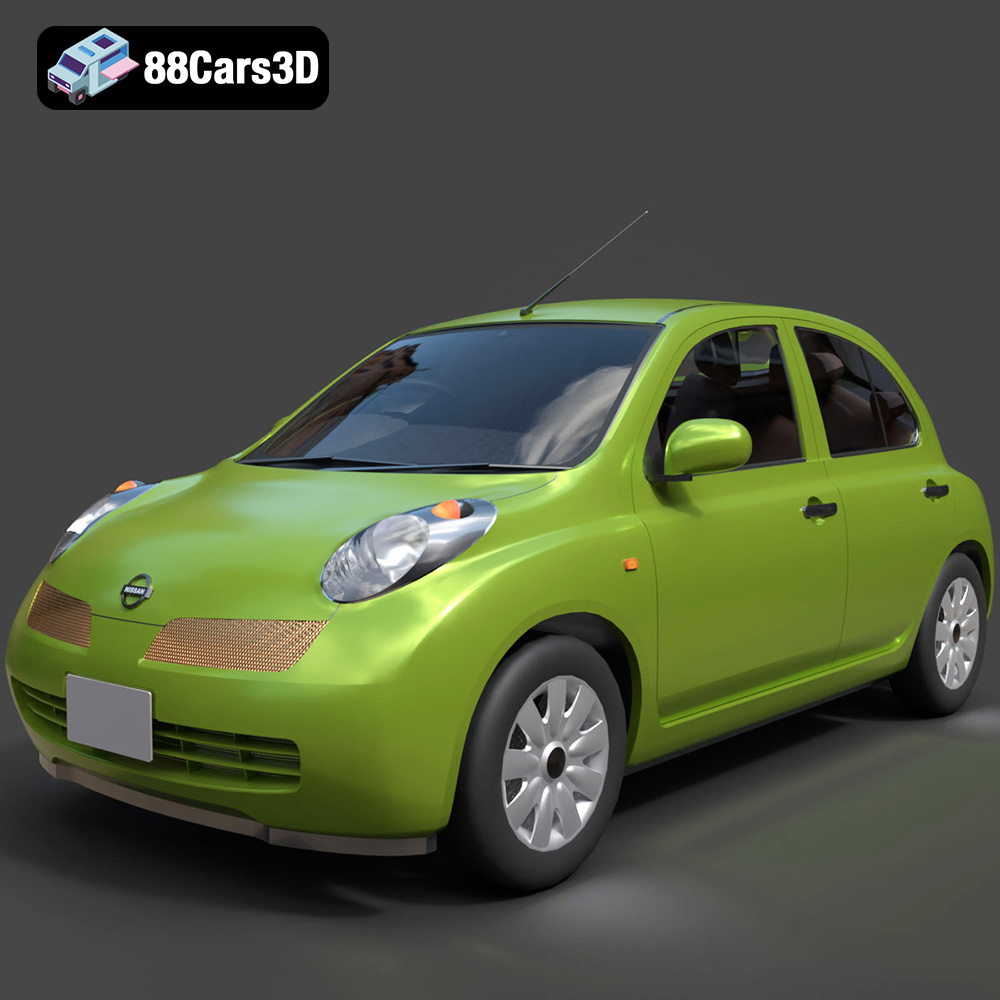
Texture: Yes
Material: Yes
Download the Nissan Micra 5-Door 2025 3D Model featuring clean geometry, realistic detailing, and a fully modeled interior. Includes .blend, .fbx, .obj, .glb, .stl, .ply, .unreal, and .max formats for rendering, simulation, and game development.
Price: $4.99

Texture: Yes
Material: Yes
Download the Opel Insignia Sports Tourer 2009 3D Model featuring clean geometry, realistic detailing, and a fully modeled interior. Includes .blend, .fbx, .obj, .glb, .stl, .ply, .unreal, and .max formats for rendering, simulation, and game development.
Price: $4.99
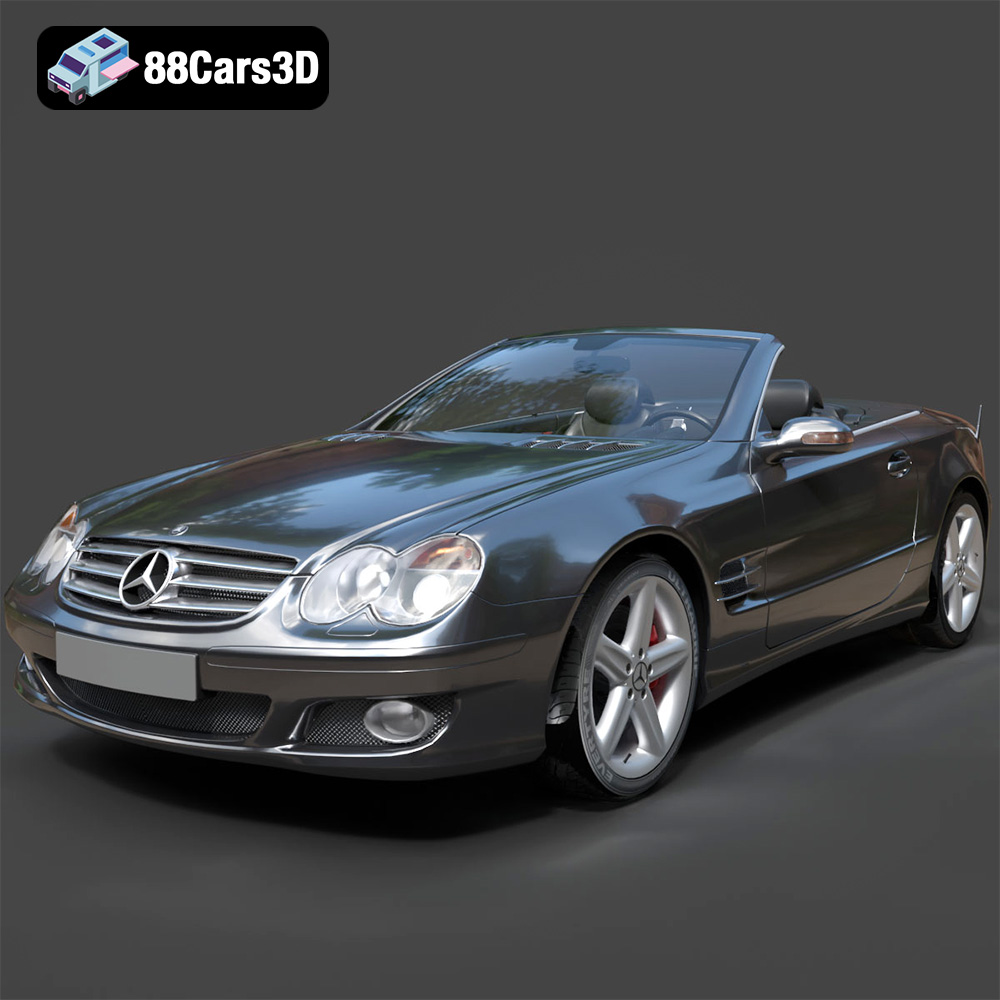
Texture: Yes
Material: Yes
Download the Mercedes-Benz SL-Klasse R230 2002 3D Model featuring clean geometry, realistic detailing, and a fully modeled interior. Includes .blend, .fbx, .obj, .glb, .stl, .ply, .unreal, and .max formats for rendering, simulation, and game development.
Price: $4.99
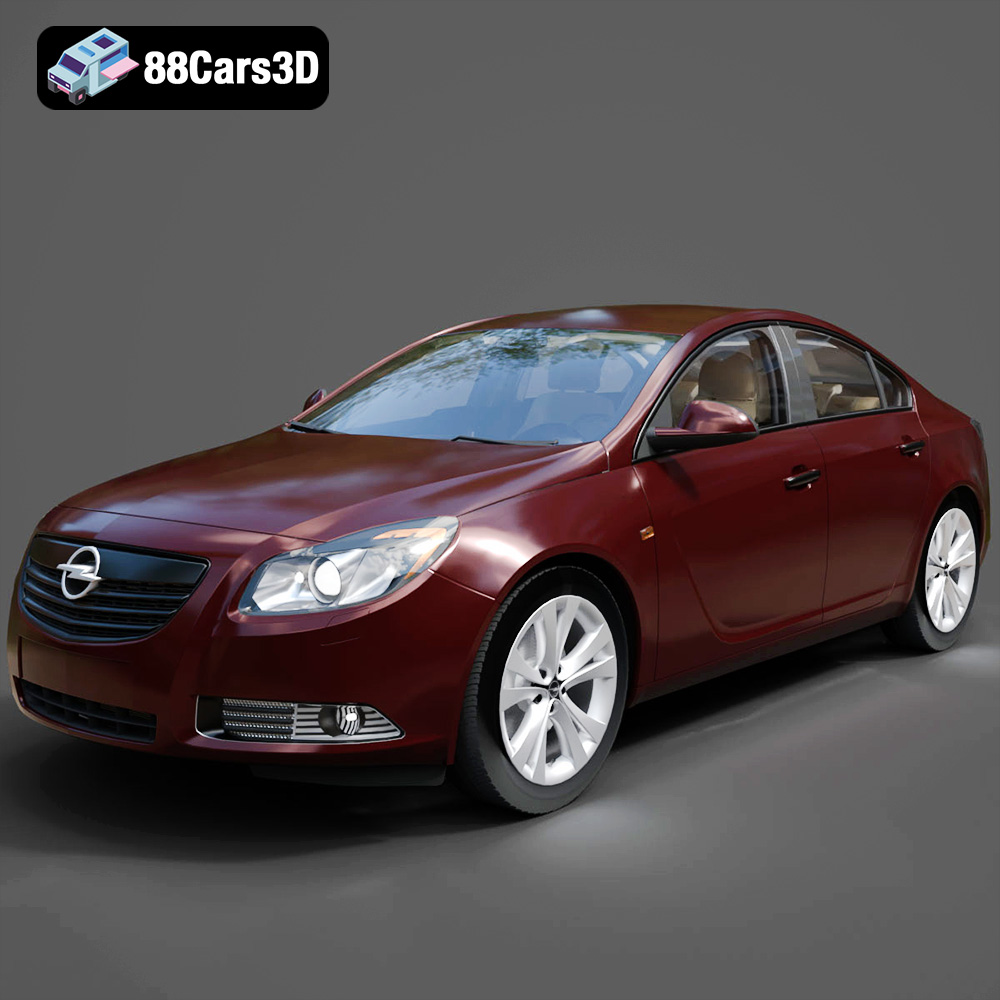
Texture: Yes
Material: Yes
Download the Opel Insignia 2009 3D Model featuring clean geometry, realistic detailing, and a fully modeled interior. Includes .blend, .fbx, .obj, .glb, .stl, .ply, .unreal, and .max formats for rendering, simulation, and game development.
Price: $4.99

Texture: Yes
Material: Yes
Download the Peugeot 206 3D Model featuring clean geometry, realistic detailing, and a fully modeled interior. Includes .blend, .fbx, .obj, .glb, .stl, .ply, .unreal, and .max formats for rendering, simulation, and game development.
Price: $4.99
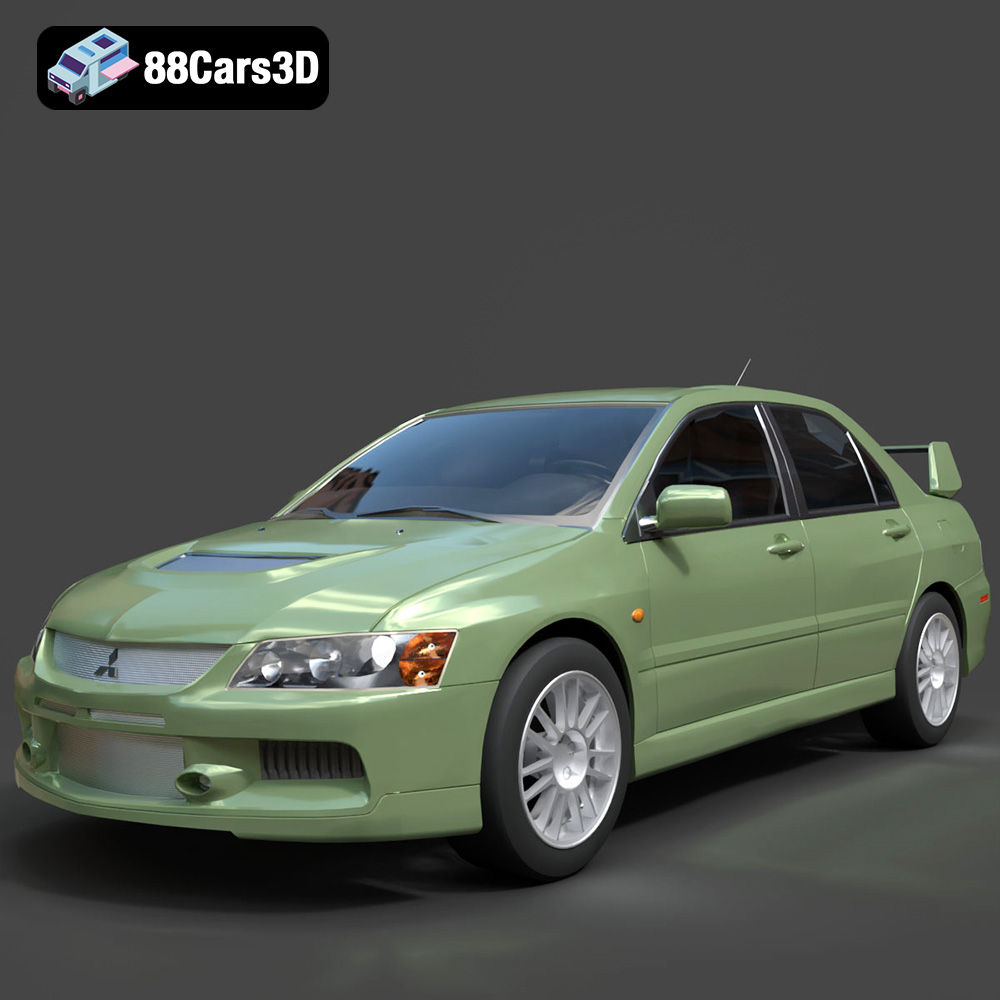
Texture: Yes
Material: Yes
Download the Mitsubishi Lancer Evolution IX 3D Model featuring clean geometry, realistic detailing, and a fully modeled interior. Includes .blend, .fbx, .obj, .glb, .stl, .ply, .unreal, and .max formats for rendering, simulation, and game development.
Price: $4.99

Texture: Yes
Material: Yes
Download the Mitsubishi i-MIEV 3D Model featuring clean geometry, realistic detailing, and a fully modeled interior. Includes .blend, .fbx, .obj, .glb, .stl, .ply, .unreal, and .max formats for rendering, simulation, and game development.
Price: $4.99
Texture: Yes
Material: Yes
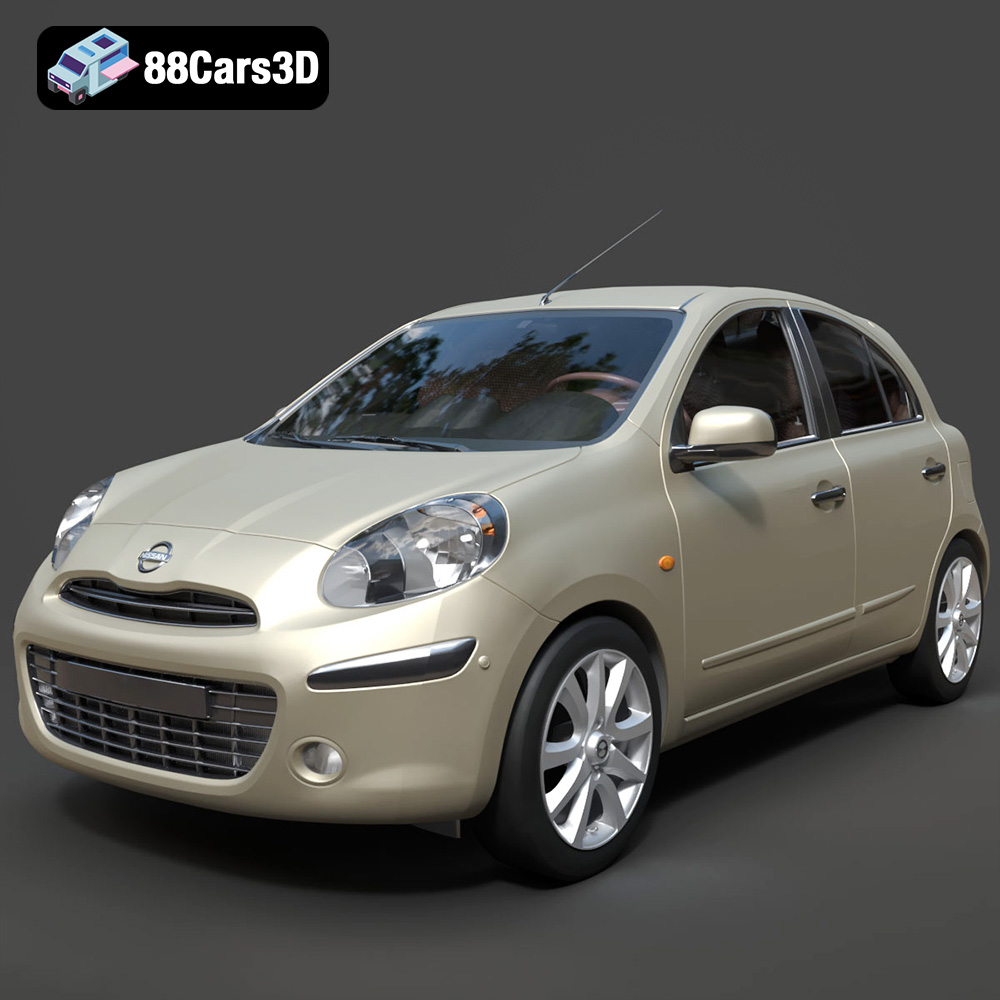
Download the Nissan Micra 2010 3D Model featuring clean geometry, realistic detailing, and a fully modeled interior. Includes .blend, .fbx, .obj, .glb, .stl, .ply, .unreal, and .max formats for rendering, simulation, and game development.
Price: $4.99
Texture: Yes
Material: Yes
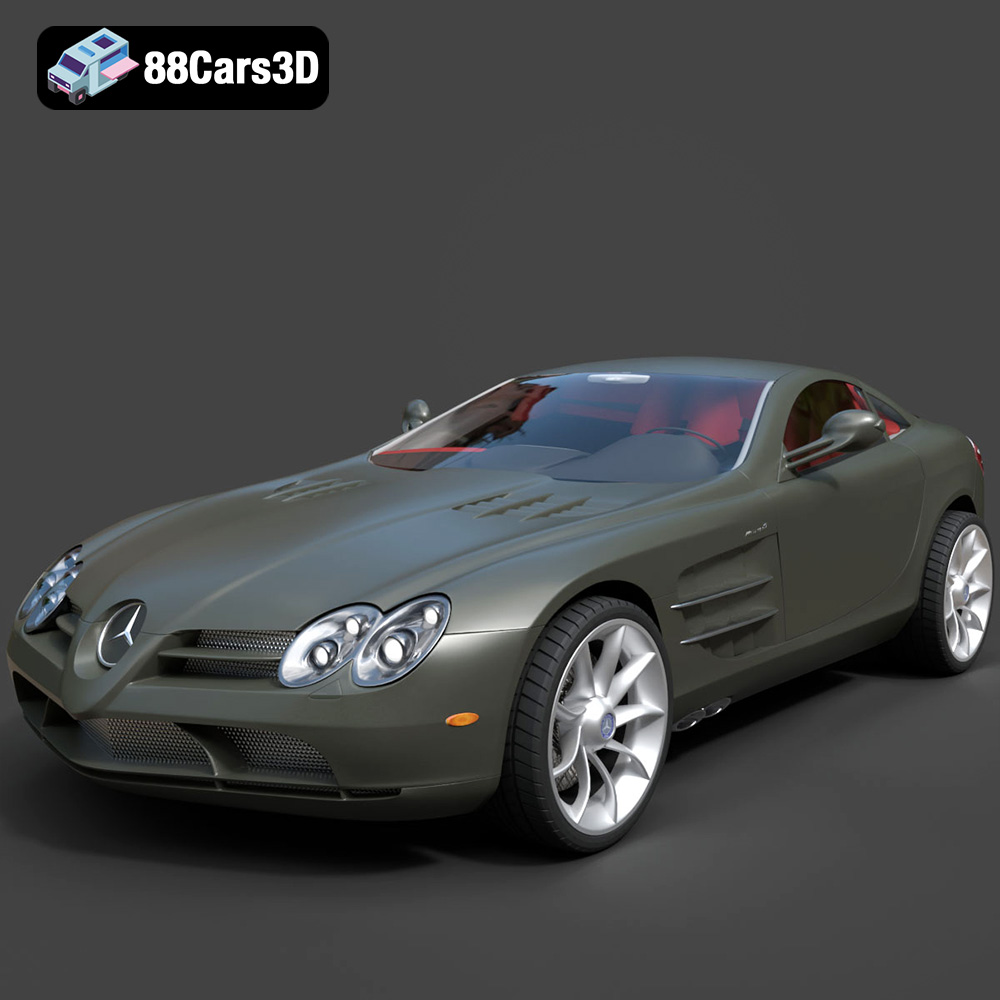
Download the Mercedes-Benz SLR McLaren 3D Model featuring clean geometry, realistic detailing, and a fully modeled interior. Includes .blend, .fbx, .obj, .glb, .stl, .ply, .unreal, and .max formats for rendering, simulation, and game development.
Price: $4.99
Texture: Yes
Material: Yes
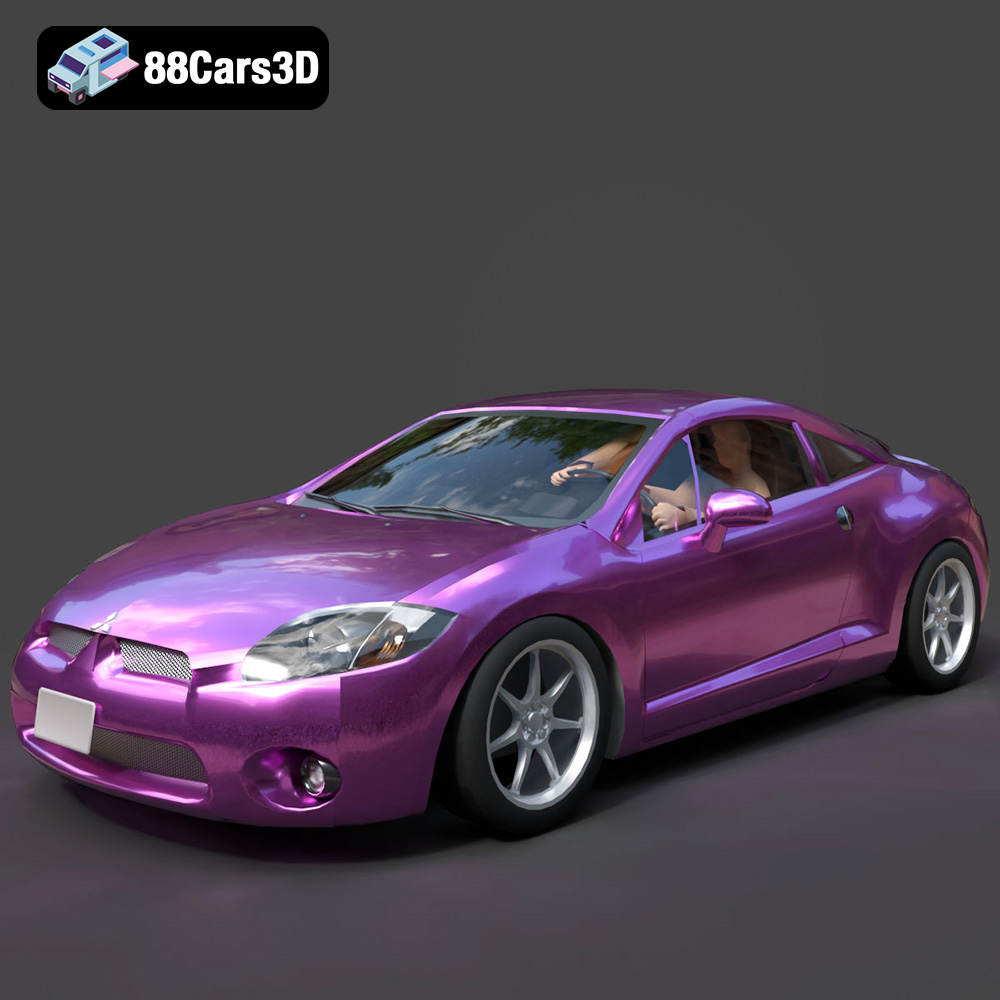
Download the Mitsubishi Eclipse GT 2001 3D Model featuring clean geometry, realistic detailing, and a fully modeled interior. Includes .blend, .fbx, .obj, .glb, .stl, .ply, .unreal, and .max formats for rendering, simulation, and game development.
Price: $4.99