⚡ FLASH SALE: Get 60% OFF All Premium 3D & STL Models! ⚡
In the rapidly evolving world of digital visualization, 3D car models stand as a testament to both artistic skill and technical precision. From the sleek lines of concept cars in automotive design studios to the high-octane action in AAA video games, and even the immersive experiences of AR/VR, the demand for exceptionally detailed and optimized 3D vehicle assets has never been higher. Creating or acquiring these models, however, is a journey fraught with technical considerations, requiring a deep understanding of modeling workflows, material science, rendering techniques, and optimization strategies.
This comprehensive guide delves into the intricate world of high-quality 3D car models, providing a detailed roadmap for anyone looking to master their creation, utilization, or integration. Whether you’re a seasoned 3D artist aiming for photorealistic renders, a game developer optimizing for performance, an automotive designer exploring new concepts, or an AR/VR enthusiast pushing the boundaries of immersion, this article will equip you with the essential knowledge and industry best practices. We’ll explore everything from the foundational principles of clean topology and efficient UV mapping to advanced PBR material creation, rendering workflows, game engine optimization, and even preparation for 3D printing and AR/VR deployment. Prepare to unlock the full potential of your digital automotive projects.
At the heart of any high-quality 3D car model lies impeccable topology and edge flow. These are not merely aesthetic choices but fundamental aspects that dictate how your model deforms, reflects light, and ultimately performs across various applications. For automotive models, which are characterized by smooth, complex curves and sharp creases, maintaining clean quad-based topology is paramount. A good topology ensures that subdivision surfaces (like OpenSubdiv in 3ds Max or Blender’s Subdivision Surface modifier) can smoothly interpolate the mesh, resulting in flawless reflections and accurate surface continuity.
The ideal scenario involves an all-quad mesh, minimizing triangles and N-gons, especially in areas that will be heavily deformed or receive close-up scrutiny. Edge loops should follow the natural contours of the vehicle, defining key features such as panel gaps, body lines, wheel arches, and window frames. This intelligent edge flow is critical for achieving crisp edges where needed while allowing for smooth, flowing surfaces elsewhere. Consider a high-resolution render-ready car model, which might range from 150,000 to 500,000 polygons (quads) for the entire vehicle, excluding highly detailed interiors, which can push poly counts much higher. This allows for smooth reflections and intricate details even up close. For game engines, however, these counts would be significantly lower, demanding a carefully crafted base mesh that can be effectively decimated or used for bake targets.
When modeling hard-surface objects like cars, using a combination of control edge loops and supporting edges around sharp features is a common practice. These extra edges tighten the subdivision surface around corners, preventing unwanted softening. For instance, around a headlight housing or a car door’s edge, you might place two or three parallel edge loops very close together. This technique ensures that the curvature is maintained precisely. Furthermore, maintaining consistent face sizes across the mesh, particularly on large, flat-ish panels like a car door or hood, helps prevent stretching or uneven subdivisions, which can manifest as rippling in reflections. Tools like the “Chamfer” modifier in 3ds Max or “Bevel” in Blender are invaluable for creating these controlled hard edges while maintaining quad topology.
Automotive design often features intricate curves that transition smoothly into sharp angles. Achieving this with clean topology requires foresight. One common challenge is managing the edge flow around complex intersections, such as where a fender meets a bumper. Here, careful planning of edge loops that feed into each other, potentially using pole distributions (vertices with more or fewer than four connecting edges) in less visible areas, becomes crucial. Panel gaps, which are thin, consistent indentations, are typically modeled directly into the mesh with dedicated edge loops rather than relying solely on normal maps for the highest fidelity. This creates actual geometric separation, leading to more realistic light interaction and depth, especially beneficial for close-up renders and cinematic shots. Understanding these fundamental principles ensures that the underlying structure of your 3D car model is robust, flexible, and ready for any subsequent stage of the production pipeline.
Once your 3D car model boasts impeccable topology, the next critical step is preparing it for realistic materials through advanced UV mapping and texturing. UV mapping is the process of flattening the 3D surface of your model into a 2D space, allowing textures to be accurately painted and applied without distortion. For complex, multi-part objects like cars, efficient and clean UVs are non-negotiable for achieving high-quality results and optimizing performance.
A strategic approach to UV seam placement is vital. Seams should be hidden in less visible areas, such as along the underside of a vehicle, inside door jambs, or along natural panel gaps. The goal is to minimize visible texture stretching and discontinuities. Effective UV unwrapping aims for uniform texel density across all surfaces, meaning that texture pixels (texels) are distributed evenly, preventing some areas from looking blurry while others appear pixelated. For a high-detail automotive asset, texture resolutions can range from 4K (4096×4096 pixels) for major body panels to 2K or 1K for smaller details like lights, tires, and interior components. These high resolutions are essential for showcasing intricate details and material variations in photorealistic renders.
Modern workflows frequently utilize multiple UV sets. A primary UV set (UV0) is typically used for color, normal, and roughness maps. A secondary UV set (UV1) is often employed for lightmaps in game engines, ensuring that pre-baked lighting doesn’t interfere with the primary texture details. For game assets, texture atlasing is a powerful optimization technique. This involves combining multiple smaller textures for different parts of the car (e.g., lights, emblems, small interior details) into a single, larger texture map. By doing so, the game engine only needs to make one draw call to render these combined textures, significantly reducing rendering overhead and improving performance. For example, a car’s dashboard might have individual buttons, screens, and vents, each originally mapped to separate small textures. An atlas combines these into one 4K or 2K map, referenced by specific UV coordinates. Platforms like 88cars3d.com often provide models with optimized UVs and atlases for immediate use in game development.
Software packages like 3ds Max offer the robust UVW Unwrapper, while Blender features a comprehensive UV editor, and Maya boasts the intuitive UV Toolkit. These tools provide features like automatic unwrapping algorithms, distortion visualization, and tools for arranging UV islands. For more control and precision, manual cutting and stitching of UV seams, followed by careful packing to maximize UV space, is the professional standard. When working with models that have multiple material zones (e.g., body, windows, tires, interior), it’s common to assign each zone its own material ID in the 3D software and then unwrap them separately, ensuring that their respective textures can be easily managed and optimized. This meticulous approach to UV mapping forms the backbone of convincing material representation, setting the stage for truly stunning visual outcomes.
Achieving photorealism in 3D car models hinges on the accurate implementation of Physically Based Rendering (PBR) materials. PBR is a rendering approach that simulates how light interacts with surfaces in a physically accurate manner, resulting in highly believable and consistent results across various lighting conditions. Unlike older workflows, PBR materials require a specific set of texture maps, each controlling a particular physical property of the surface.
The core PBR maps typically include:
Modern rendering engines and game engines rely heavily on these maps, often consolidating them into efficient packed textures (e.g., combining Roughness, Metalness, and AO into the RGB channels of a single texture) to save memory and draw calls.
Automotive paint is notoriously complex, often featuring multiple layers: a base coat (color), metallic flakes, and a clear coat. Replicating this requires sophisticated shader networks within your 3D software (e.g., 3ds Max’s Slate Material Editor, Blender’s Node Editor, or Maya’s Hypershade). A typical car paint shader might involve:
Specialized software like Substance Painter, Mari, or Quixel Mixer are industry standards for painting and generating these PBR textures. They allow artists to layer materials, add wear and tear, and export a full suite of maps optimized for various renderers and game engines.
Each 3D software and renderer has its own nuances for PBR material setup. In 3ds Max with Corona Renderer, you’d typically use a Corona Physical Material, plugging in your PBR maps into the corresponding slots. For Blender’s Cycles or Eevee, the Principled BSDF shader node is the go-to, offering intuitive inputs for Albedo, Metallic, Roughness, Normal, and more. Unreal Engine and Unity have their own robust material editors (graph-based) where you connect texture nodes to PBR material inputs. Understanding these software-specific implementations, coupled with the foundational principles of PBR, empowers artists to create digital automotive surfaces that are virtually indistinguishable from their real-world counterparts. When sourcing models from marketplaces such as 88cars3d.com, you can often find models with pre-configured PBR materials, saving significant setup time.
The final visual impact of a 3D car model is largely determined by the rendering workflow. Achieving photorealism involves more than just great models and materials; it requires a sophisticated understanding of lighting, camera settings, and the capabilities of your chosen render engine. Render engines like Corona Renderer, V-Ray (3ds Max), Cycles (Blender), and Arnold (Maya) are physically based, simulating light behavior in the real world to produce stunning results.
A typical high-end automotive rendering workflow begins with environment setup. High Dynamic Range Images (HDRIs) are indispensable here. An HDRI provides both accurate environment lighting and reflections, often replicating specific studio setups or outdoor locations. Combining an HDRI with additional localized lighting – such as area lights to emphasize reflections on car body panels, or spot lights to highlight specific details like headlights – creates a dynamic and believable scene. For studio shots, a classic three-point lighting setup (key, fill, back light) can be adapted to cars, focusing on enhancing their form and surface quality. For example, a large softbox overhead can create beautiful, even reflections across the hood and roof, while strip lights positioned alongside can accentuate the car’s profile.
Just like in real-world photography, physical camera settings are crucial. Adjusting focal length (e.g., 85mm-120mm for a pleasing perspective without distortion), aperture (f-stop for depth of field), and shutter speed to control motion blur can significantly enhance the realism. Depth of Field (DOF), in particular, can draw the viewer’s eye to specific parts of the car. Render passes (also known as render elements or AOVs – Arbitrary Output Variables) are essential for advanced post-processing and compositing. Instead of rendering a single final image, you render separate layers such as:
These passes offer unparalleled control in compositing software like Photoshop or Adobe After Effects, allowing you to fine-tune aspects of the image without re-rendering the entire scene.
Render engine settings require a balance between quality and render time. For instance, in Corona Renderer, adjusting the ‘Passes limit’ or ‘Time limit’ determines the render duration, while factors like ‘GI vs. AA balance’ can optimize noise reduction. In V-Ray, primary and secondary GI engines (e.g., Brute Force + Light Cache) are configured for efficiency. Denoisers, integrated into modern renderers (e.g., Corona Denoiser, NVIDIA OptiX), are game-changers, significantly reducing render times by cleaning up noise, allowing for lower sampling settings without sacrificing quality. For high-resolution automotive renders (e.g., 4K or 8K), meticulous attention to these settings ensures a clean, photorealistic output that truly showcases the intricate details and beautiful materials of your 3D car model.
The demands of real-time applications like video games and AR/VR experiences are fundamentally different from those of offline rendering. Here, performance is paramount, requiring highly optimized 3D car models that look great while maintaining fluid frame rates. The core challenge is balancing visual fidelity with computational efficiency within game engines such as Unity, Unreal Engine, or custom real-time renderers.
A critical optimization technique is the use of Level of Detail (LOD) models. Instead of rendering a single high-polygon model at all distances, LODs involve creating several versions of the same car model, each with progressively fewer polygons. For example, a detailed hero car (LOD0) might have 80,000-150,000 polygons, while a medium-distance version (LOD1) might be 30,000-60,000, a far-distance version (LOD2) 10,000-20,000, and an ultra-far version (LOD3) as low as 2,000-5,000 polygons. The game engine automatically swaps between these models based on the camera’s distance, dramatically reducing the poly count rendered in any given frame. Generating LODs can be done manually or semi-automatically using tools like ‘ProOptimizer’ in 3ds Max or Blender’s Decimate modifier, ensuring that critical silhouettes are maintained.
Another major optimization target is draw calls. Each time the CPU tells the GPU to render an object or a material, it incurs a “draw call” overhead. Minimizing these calls is crucial. Texture atlasing, as discussed earlier, helps by consolidating multiple materials into fewer, larger textures. Combining separate meshes into single objects where possible (e.g., merging all interior elements into one mesh) also reduces draw calls. Instancing, where multiple identical objects (like parked cars) share the same mesh data, is another powerful technique. Collision meshes, often simplified low-polygon versions of the car, are used for physics calculations, further saving processing power.
For AR/VR applications, optimization becomes even more stringent due to the need for stereoscopic rendering and maintaining high frame rates (e.g., 90 FPS or higher) to prevent motion sickness. This often means very strict polygon budgets (e.g., 20,000-50,000 polygons for an entire vehicle) and careful use of materials. Baked lighting, where complex light interactions are pre-calculated into lightmap textures, is widely used to achieve realistic lighting without expensive real-time calculations. PBR materials for AR/VR are often “packed,” meaning multiple texture maps (like roughness, metalness, and ambient occlusion) are combined into the RGB channels of a single texture to reduce memory footprint and sample calls. Furthermore, accurate scaling of the 3D car model is vital for AR applications, ensuring it appears correctly sized in the real world when overlaid.
When preparing assets for Unity or Unreal Engine, understanding their specific import settings and material pipelines is key. FBX is the preferred format for transferring models, animations, and basic materials. Ensure proper scale settings, correct axis orientations, and appropriate material setups (e.g., using the Standard or HDRP/URP materials in Unity, or the default PBR materials in Unreal). By meticulously optimizing your 3D car models using these techniques, you can deliver stunning visual quality even in the most demanding interactive environments, ensuring your vehicle assets drive an immersive and high-performance experience.
The utility of 3D car models extends far beyond digital screens, venturing into the physical realm through 3D printing and requiring interoperability across a multitude of software platforms via various file formats. Preparing a 3D car model for physical fabrication presents a unique set of challenges compared to digital rendering or real-time applications.
For 3D printing, the most crucial aspect is ensuring your mesh is “watertight” or “manifold.” This means every edge must be shared by exactly two faces, forming a completely enclosed volume with no gaps, holes, inverted normals, or self-intersecting geometry. If a mesh isn’t watertight, a 3D printer won’t know where the “inside” and “outside” of the object are, leading to printing errors. Tools like Meshmixer, Netfabb, or the 3D Print Toolbox in Blender are invaluable for analyzing and repairing mesh integrity. Additionally, considerations for wall thickness are vital. For most desktop FDM (Fused Deposition Modeling) printers, a minimum wall thickness of 1.5mm-2mm is recommended to ensure structural integrity and prevent breakage. For intricate details, ensuring they are thick enough to be accurately printed (e.g., thin grilles or emblems) is critical. The polygon count, while important for visual fidelity, often needs to be balanced against file size for the printer’s slicer software, often requiring a unified mesh without overlapping parts.
The digital landscape is rich with various 3D file formats, each with its strengths and specific applications. Understanding these formats is essential for seamless collaboration and multi-platform deployment:
Proper file format conversion and asset management are crucial for modern pipelines. When sourcing high-quality 3D car models, like those available on 88cars3d.com, you often find them offered in multiple formats, ensuring compatibility with your specific software and project needs, from high-fidelity rendering to interactive real-time experiences.
Even the most meticulously modeled and textured 3D car can fall flat without the right lighting, environment, and post-processing. These final stages are where the artistry truly shines, transforming a good render into a captivating visual masterpiece. Effective lighting defines the mood, highlights design features, and gives a sense of place, while post-processing enhances realism and storytelling.
Lighting a 3D car model is an art form in itself. Beyond basic HDRI setups, consider adding accent lights to emphasize specific contours or reflective surfaces. For instance, strip lights along the side can create dramatic reflections that highlight the car’s body lines, while a soft fill light from the front can open up shadows and reveal intricate details in the grille or wheels. For outdoor scenes, ensuring that the sun’s angle and intensity match the HDRI is crucial for seamless integration. Backplates (photographic backgrounds) require meticulous matching of perspective, focal length, and lighting to the 3D scene. This involves using perspective matching tools in your 3D software to align the camera and scene elements perfectly with the photograph, followed by careful color grading and shadow casting to blend the car into the environment convincingly.
The environment surrounding your 3D car model plays a significant role in its presentation. For studio shots, a simple infinite plane or cyclorama provides a clean backdrop, often complemented by large softbox lights to create professional-grade reflections. For outdoor renders, building a realistic digital environment or skillfully integrating your car into a photographic backplate is key. This could involve modeling basic ground geometry, adding relevant background elements (trees, buildings), and scattering details like pebbles or leaves to enhance realism. Volumetric effects, such as atmospheric fog or haze, can add depth and realism to outdoor scenes, simulating the scattering of light particles in the air and making the car feel truly embedded in the scene.
Post-processing in software like Adobe Photoshop, After Effects, or Blackmagic Fusion is where the final magic happens. This stage allows you to refine your render far beyond what’s possible in the 3D software alone, leveraging the power of render passes. Key post-processing techniques include:
A professional workflow often involves multiple iterations of rendering, compositing, and feedback, continually refining every pixel until the 3D car model achieves its full visual potential. This meticulous attention to the final stages ensures your digital machine doesn’t just look realistic, but evokes emotion and tells a compelling story.
The journey from a blank canvas to a high-quality 3D car model is a intricate blend of artistic vision and rigorous technical execution. We’ve traversed the essential stages, from establishing a flawless foundation with clean topology and intelligent edge flow to meticulously preparing surfaces with advanced UV mapping. We then dived into the science of realism with PBR materials, learning how to craft intricate shaders that mimic real-world physics. Our exploration continued into the realm of photorealistic rendering, understanding the interplay of lighting, camera, and render engine settings, before tackling the critical optimizations required for seamless integration into game engines and immersive AR/VR experiences. Finally, we examined the practical considerations for 3D printing and demystified the array of file formats crucial for modern workflows, culminating in the artistic refinements of lighting, environments, and post-processing.
Mastering these disciplines not only elevates the quality of your 3D car models but also broadens their applicability across diverse industries, from automotive design and cinematic visualization to interactive entertainment and product prototyping. The constant evolution of tools and techniques means continuous learning is key, but the core principles of precision, efficiency, and artistic intent remain timeless. Whether you’re building a hyper-realistic render for a client or optimizing a game asset for mass consumption, the pursuit of quality in every detail is what sets exceptional work apart.
For those looking to accelerate their projects with pre-made, high-quality assets, platforms like 88cars3d.com offer a curated selection of 3D car models that adhere to many of the best practices discussed here, providing a powerful starting point for your next digital automotive endeavor. Embrace the challenge, hone your skills, and drive your creations to new levels of realism and performance.
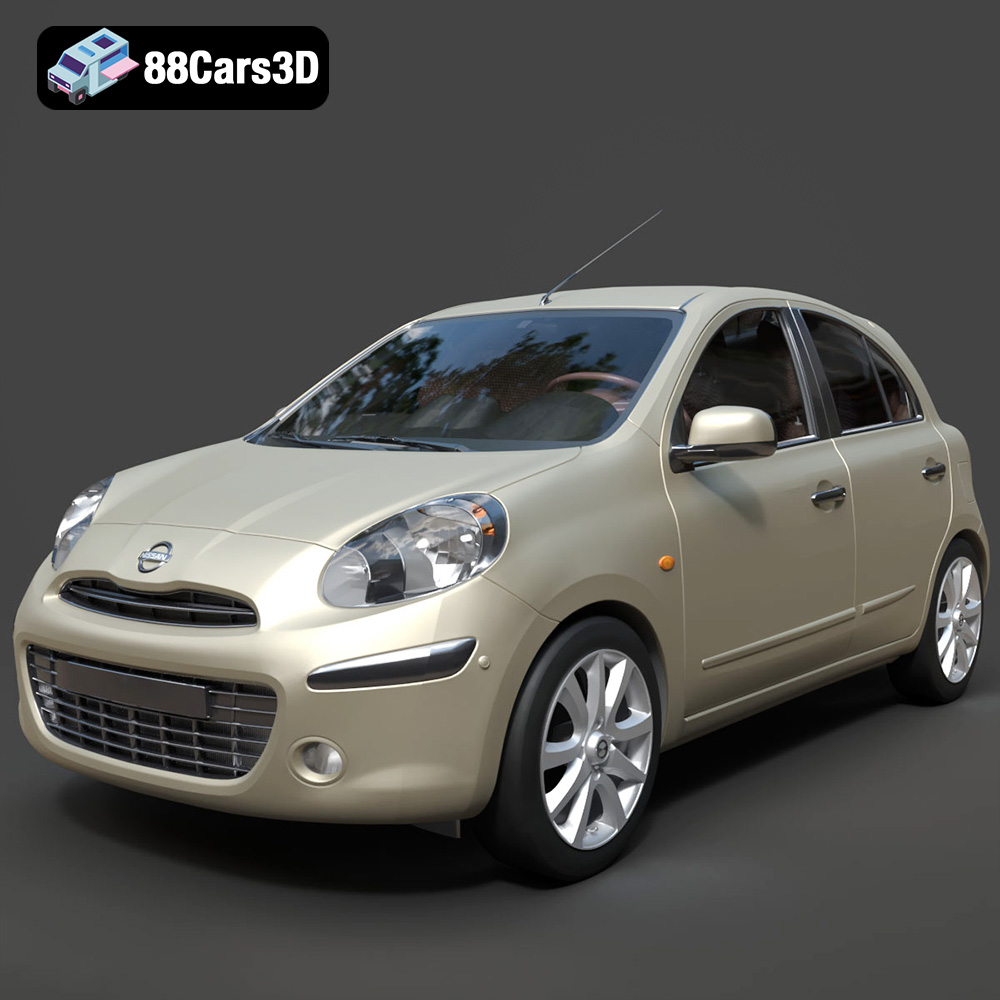
Texture: Yes
Material: Yes
Download the Nissan Micra 2010 3D Model featuring clean geometry, realistic detailing, and a fully modeled interior. Includes .blend, .fbx, .obj, .glb, .stl, .ply, .unreal, and .max formats for rendering, simulation, and game development.
Price: $4.99
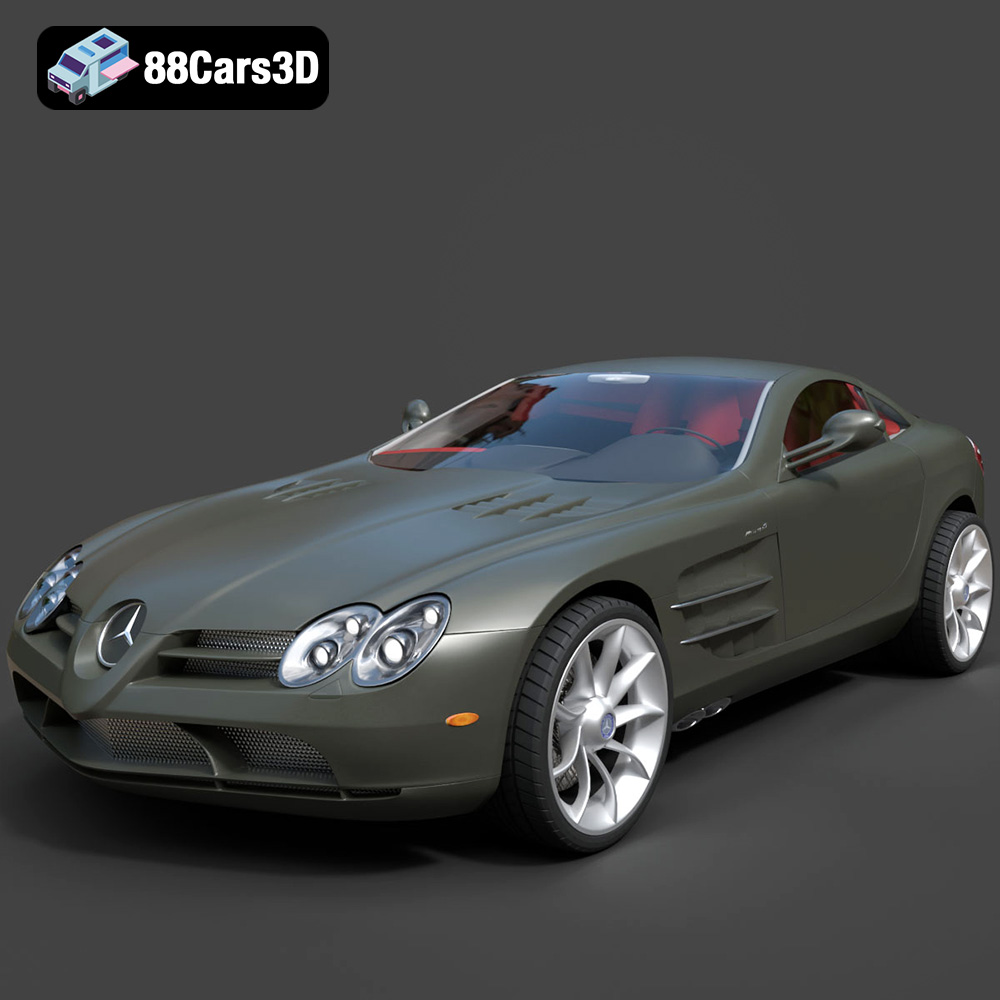
Texture: Yes
Material: Yes
Download the Mercedes-Benz SLR McLaren 3D Model featuring clean geometry, realistic detailing, and a fully modeled interior. Includes .blend, .fbx, .obj, .glb, .stl, .ply, .unreal, and .max formats for rendering, simulation, and game development.
Price: $4.99
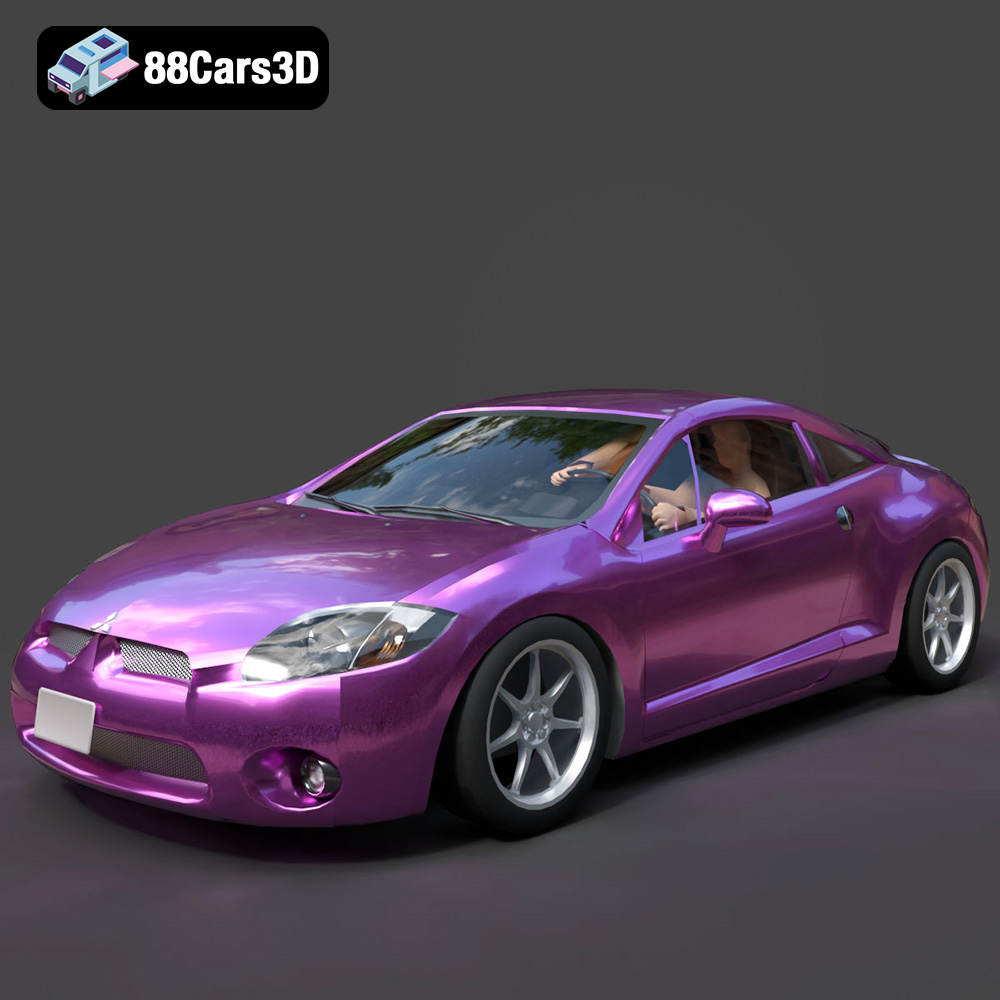
Texture: Yes
Material: Yes
Download the Mitsubishi Eclipse GT 2001 3D Model featuring clean geometry, realistic detailing, and a fully modeled interior. Includes .blend, .fbx, .obj, .glb, .stl, .ply, .unreal, and .max formats for rendering, simulation, and game development.
Price: $4.99
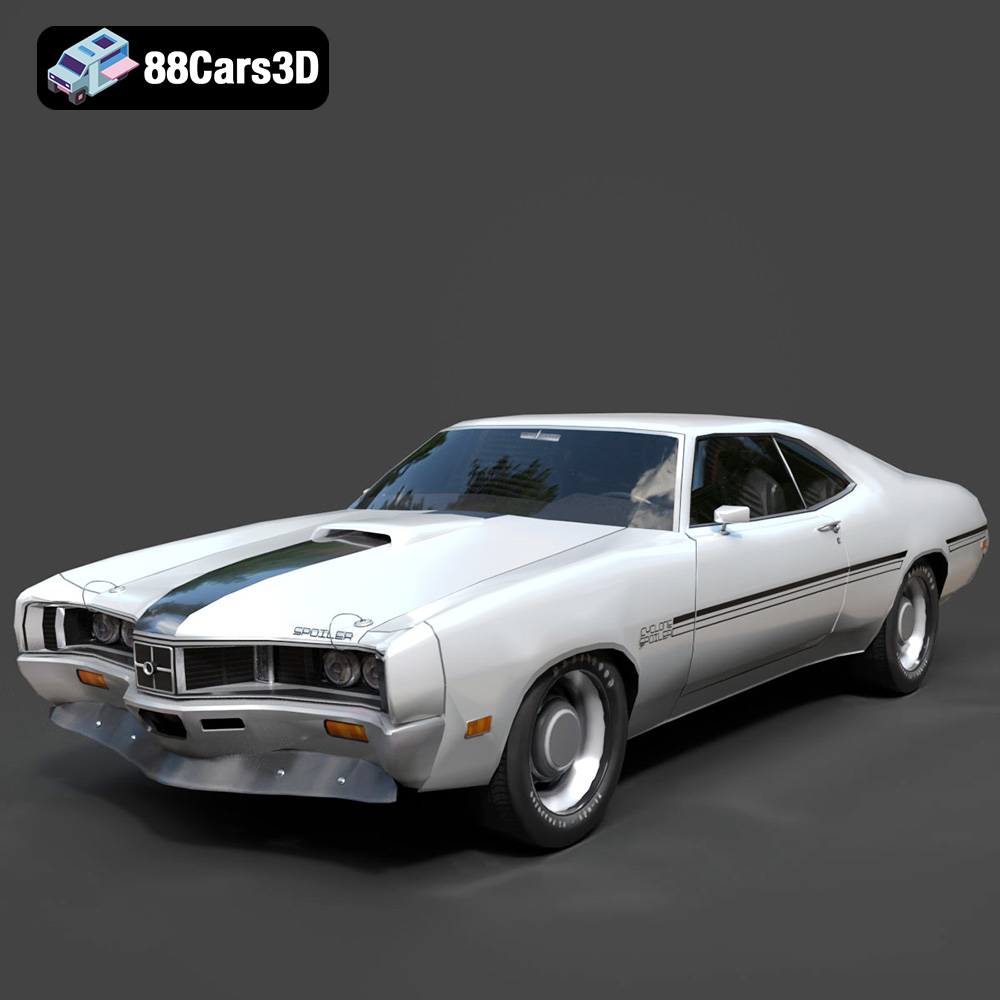
Texture: Yes
Material: Yes
Download the Mercury Cyclone Spoiler 1970 3D Model featuring clean geometry, realistic detailing, and a fully modeled interior. Includes .blend, .fbx, .obj, .glb, .stl, .ply, .unreal, and .max formats for rendering, simulation, and game development.
Price: $4.99
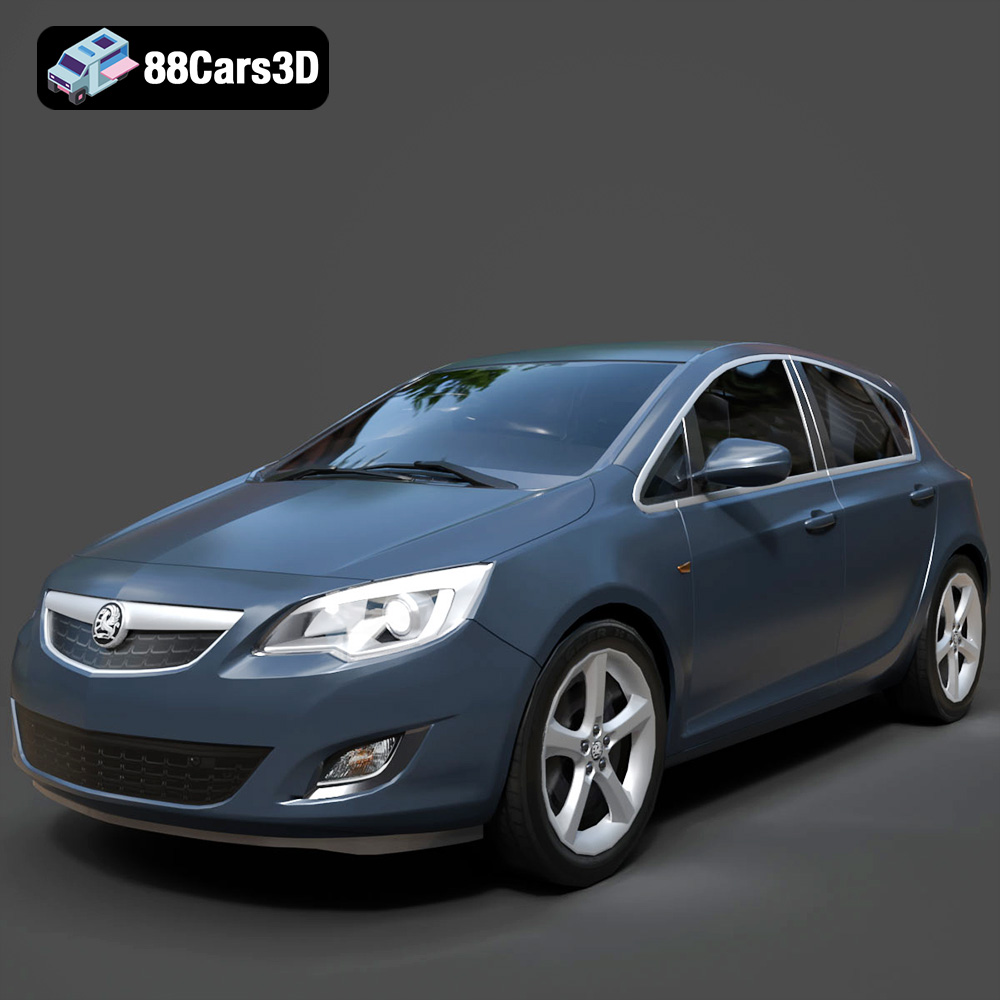
Texture: Yes
Material: Yes
Download the Opel Astra 3D Model featuring clean geometry, realistic detailing, and a fully modeled interior. Includes .blend, .fbx, .obj, .glb, .stl, .ply, .unreal, and .max formats for rendering, simulation, and game development.
Price: $4.99
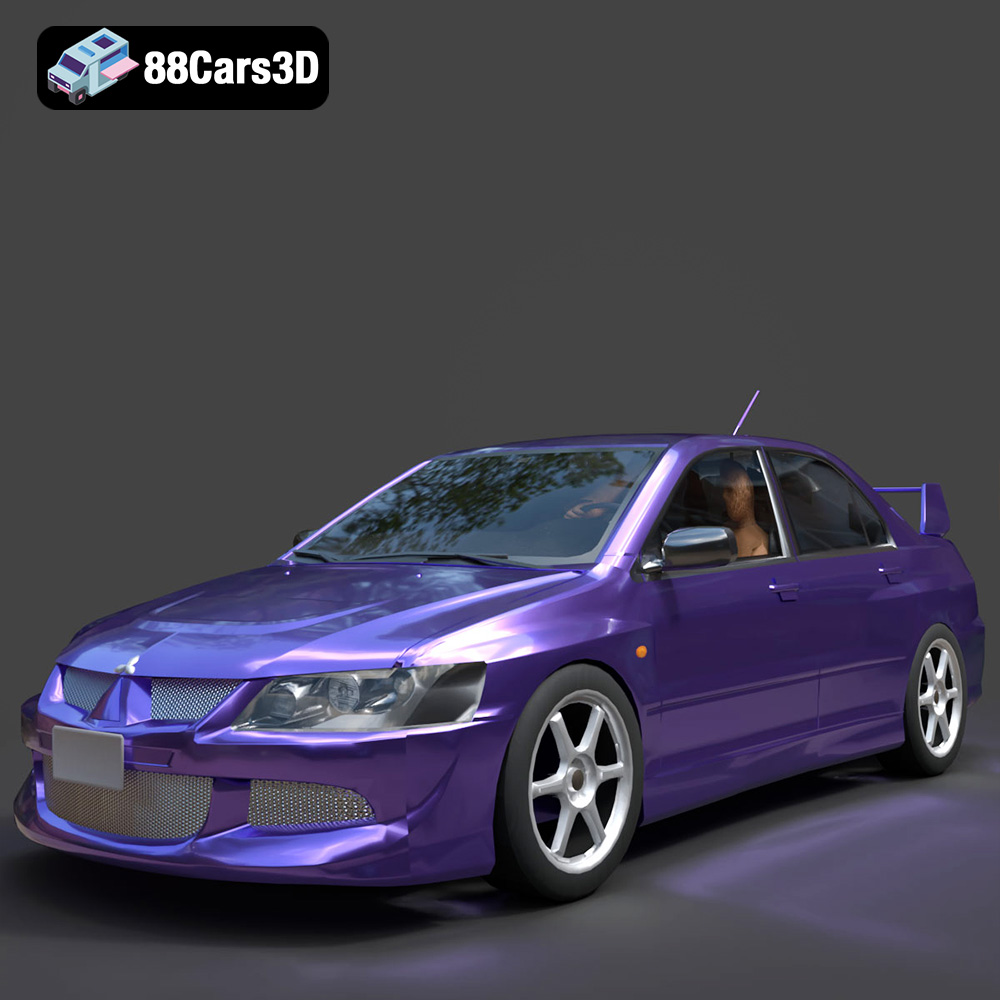
Texture: Yes
Material: Yes
Download the Mitsubishi Lancer Evolution VIII 3D Model featuring clean geometry, realistic detailing, and a fully modeled interior. Includes .blend, .fbx, .obj, .glb, .stl, .ply, .unreal, and .max formats for rendering, simulation, and game development.
Price: $4.99
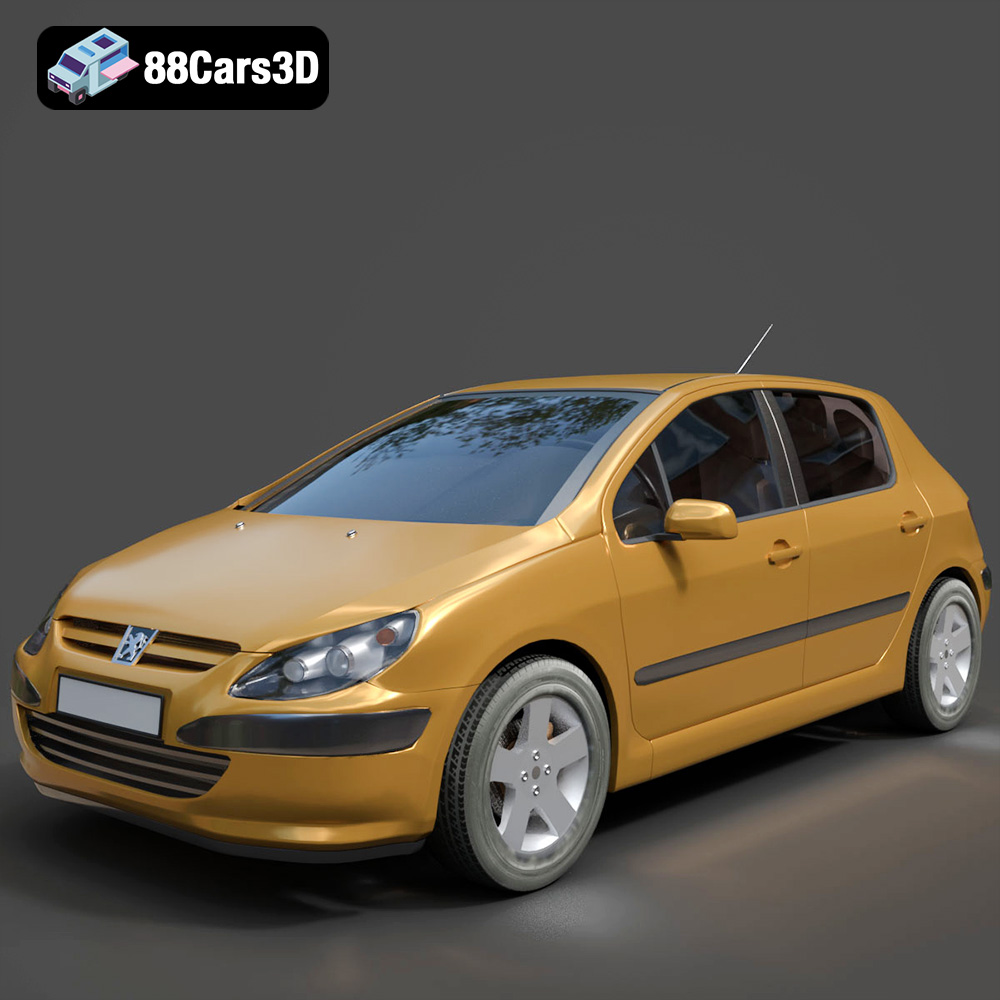
Texture: Yes
Material: Yes
Download the Peugeot 307 3D Model featuring clean geometry, realistic detailing, and a fully modeled interior. Includes .blend, .fbx, .obj, .glb, .stl, .ply, .unreal, and .max formats for rendering, simulation, and game development.
Price: $4.99
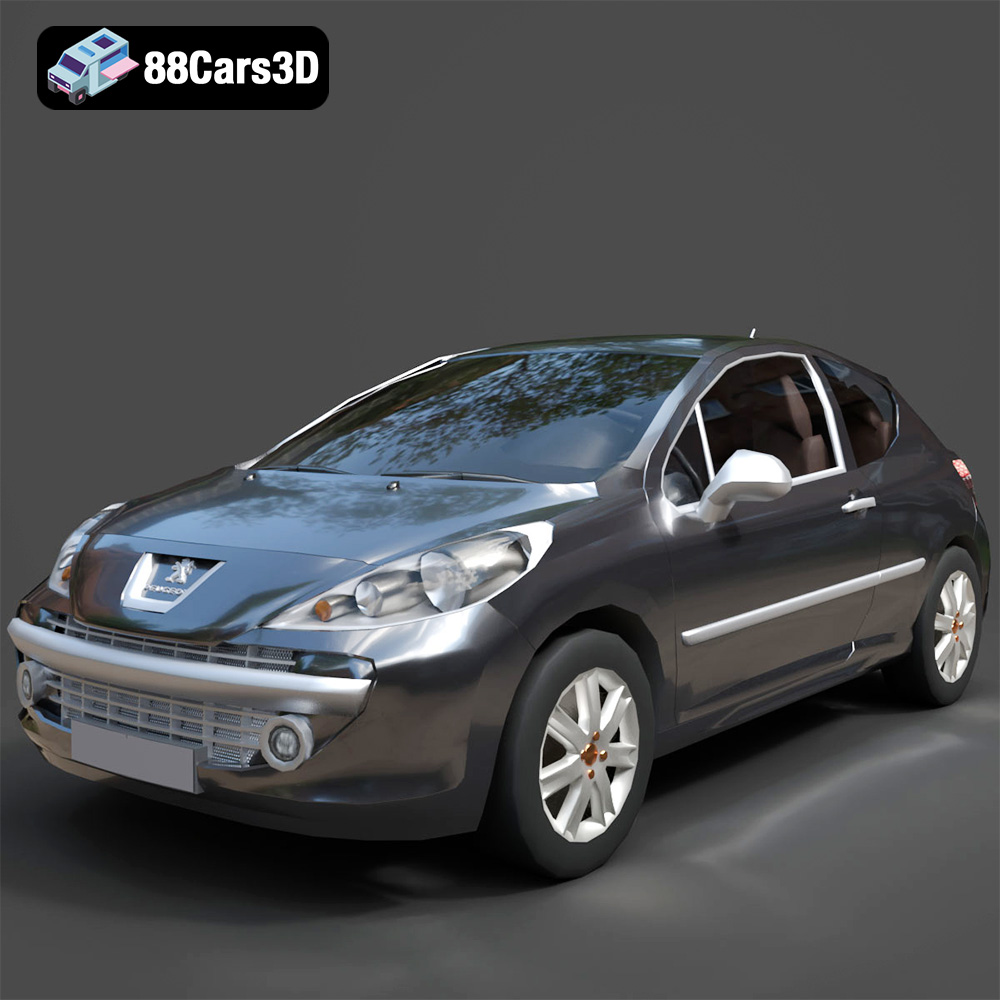
Texture: Yes
Material: Yes
Download the Peugeot 207 3D Model featuring clean geometry, realistic detailing, and a fully modeled interior. Includes .blend, .fbx, .obj, .glb, .stl, .ply, .unreal, and .max formats for rendering, simulation, and game development.
Price: $4.99
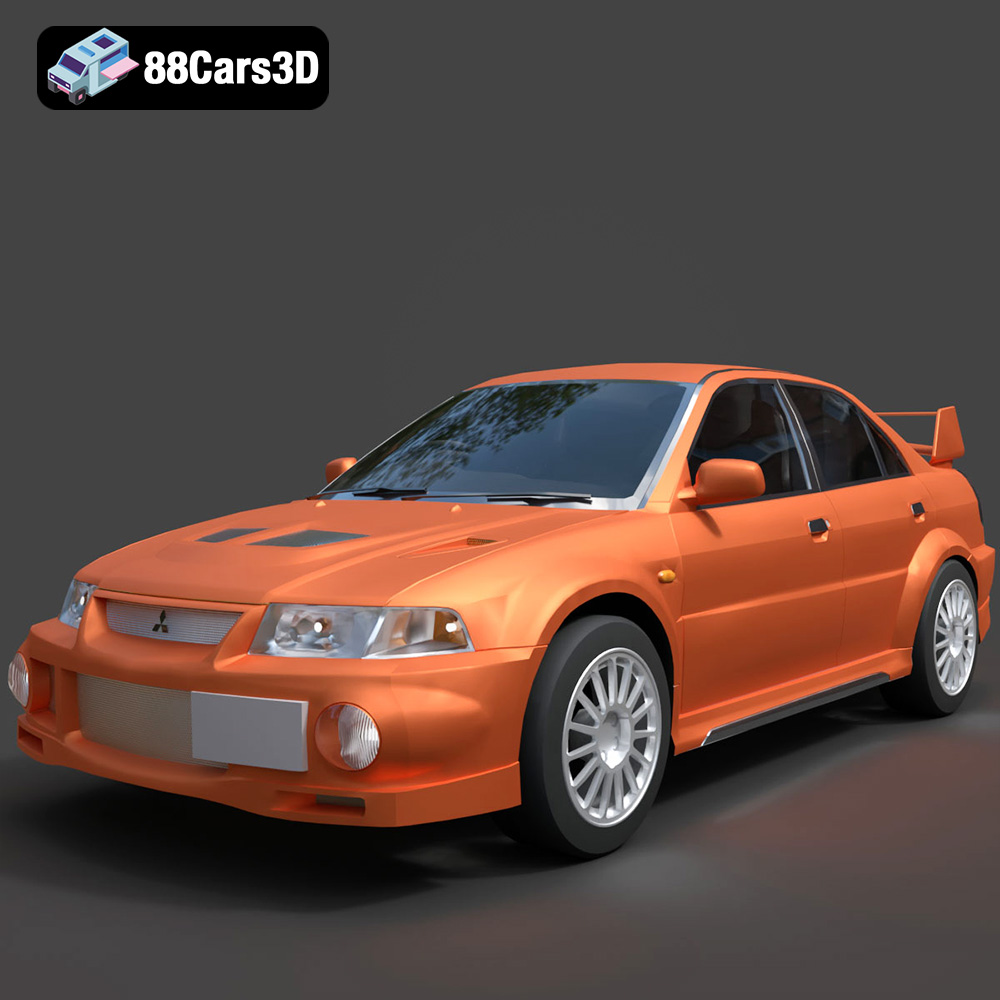
Texture: Yes
Material: Yes
Download the Mitsubishi Lancer Evolution VI 3D Model featuring clean geometry, realistic detailing, and a fully modeled interior. Includes .blend, .fbx, .obj, .glb, .stl, .ply, .unreal, and .max formats for rendering, simulation, and game development.
Price: $4.99
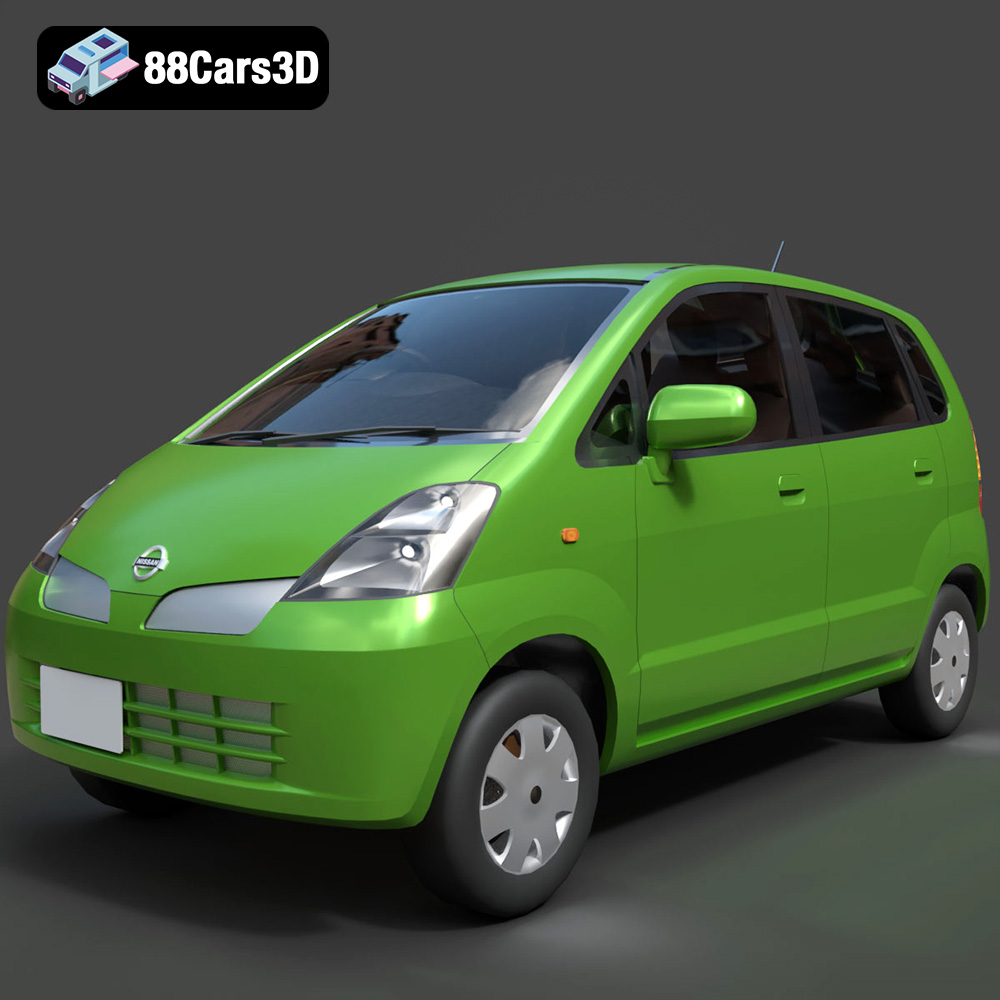
Texture: Yes
Material: Yes
Download the Nissan Moco 007 3D Model featuring clean geometry, realistic detailing, and a fully modeled interior. Includes .blend, .fbx, .obj, .glb, .stl, .ply, .unreal, and .max formats for rendering, simulation, and game development.
Price: $4.99