⚡ FLASH SALE: Get 60% OFF All Premium 3D & STL Models! ⚡
In the expansive and continually evolving world of 3D visualization, automotive models stand as a pinnacle of complexity, precision, and aesthetic appeal. From stunning photorealistic renders that grace advertising campaigns to high-performance game assets driving immersive virtual experiences, the demand for exceptionally crafted 3D car models has never been higher. Mastering the art and science behind these assets requires a deep understanding of intricate workflows, technical specifications, and industry best practices.
Whether you’re an automotive designer visualizing a new concept, a game developer building the next racing sensation, an architect integrating vehicles into a scene, or a student aspiring to enter the competitive field of 3D, the journey from a raw mesh to a polished, optimized 3D car model is fraught with technical nuances. This comprehensive guide will take you through the critical stages of developing, optimizing, and deploying high-quality 3D car models across various applications, including rendering, game development, AR/VR, and even 3D printing. We’ll delve into the foundational principles of topology, sophisticated UV mapping, advanced PBR material creation, rendering techniques, and crucial optimization strategies, equipping you with the knowledge to elevate your 3D automotive projects.
The bedrock of any high-quality 3D car model is its topology. This refers to the arrangement of vertices, edges, and faces that define the mesh. For automotive subjects, clean and efficient topology is paramount, impacting everything from the smoothness of reflections on curved surfaces to the ease of UV mapping and deformation. A meticulously modeled car will feature a predominantly quad-based mesh, ensuring predictable subdivision behavior and seamless integration with various pipelines. The goal is to create a structure that accurately represents the vehicle’s form while being as efficient as possible, balancing detail with performance.
Achieving this requires a methodical approach to edge flow, ensuring that edge loops follow the natural contours and design lines of the car. This not only makes the model visually appealing but also facilitates adding detail, creating panel gaps, and animating parts if necessary. Poor topology, characterized by unevenly distributed polygons, excessive triangles in flat areas, or erratic edge flow, can lead to undesirable pinching, shading artifacts, and difficulties in subsequent production stages. Industry professionals often spend a significant portion of their modeling time meticulously refining topology to ensure a robust and flexible asset.
The golden rule for automotive topology is to prioritize quads (four-sided polygons). While triangles are permissible in very specific, flat, and non-deforming areas, an excessive number can lead to unpredictable shading and subdivision issues. Crucial to clean topology are edge loops: continuous chains of edges that run along the model’s surface. For cars, these loops should meticulously follow the design lines of the body panels, wheel arches, windows, and creases. Proper edge flow allows for controlled deformation and smooth transitions between different surface characteristics.
Another key concept is managing poles – vertices where more or less than four edges meet. While unavoidable in some areas, minimizing N-gons (polygons with more than four sides) and ensuring poles are placed in areas of low curvature or detail is essential to prevent shading artifacts. For instance, aiming for 5-edge poles in convex areas and 3-edge poles in concave areas can help maintain smooth surfaces. When working with subdivision surfaces (like OpenSubdiv in 3ds Max or Blender’s Subdivision Surface modifier), clean quad topology ensures that the smoothed mesh remains true to the original design, free from unexpected bumps or dips, even at high subdivision levels. A typical high-detail render-ready car model might range from 150,000 to 500,000 polygons for the base mesh, which can then be subdivided to millions for extreme close-ups, while a game-ready asset targets much lower counts, often between 50,000 and 150,000 for the highest LOD.
Automotive design is characterized by sleek, often subtly curved surfaces that transition into sharp, well-defined creases. Replicating these nuances requires specific modeling techniques. For sharp edges and panel gaps, supporting edge loops are essential. These are additional edge loops placed very close to the hard edge, preventing excessive rounding when subdivision modifiers are applied. The proximity of these supporting loops dictates the sharpness of the edge. For instance, to create a crisp panel gap, you might duplicate a series of edges, slightly offset them, and then bridge them to create the gap, ensuring both sides maintain their curvature.
Maintaining curvature across large, seemingly flat panels is another challenge. It’s rarely a truly flat surface; often, there are subtle convex or concave forms designed to catch light in specific ways. Using tools like “flow connect” or “connect edges” judiciously helps distribute polygons evenly, preventing “stretching” or “pinching” that can occur if polygon density varies too much. When modeling complex components like headlights or intricate wheel designs, breaking them down into simpler, manageable parts before combining them can streamline the process. Always aim for symmetry where appropriate to reduce modeling time and ensure consistency across the vehicle. This meticulous attention to detail at the topology stage pays dividends throughout the entire production pipeline.
Once the topology is solid, the next crucial step is UV mapping and texturing. UV mapping is the process of unfolding the 3D mesh into a 2D space, allowing 2D textures to be applied accurately to the model’s surface. For the intricate geometry of a car, strategic UV mapping is vital for achieving realistic surface details, preventing texture stretching, and optimizing material application. Poor UVs can lead to distorted textures, visible seams, and inefficient texture memory usage, especially critical for real-time applications.
Texturing then brings life to these UV layouts, allowing you to define everything from the subtle metallic flakes in the car paint to the intricate patterns on interior fabrics and the worn appearance of tires. Modern workflows heavily rely on Physically Based Rendering (PBR) texturing, which demands a precise understanding of how various maps (Albedo, Roughness, Metalness, Normal) interact to simulate real-world material properties. The combination of well-executed UVs and high-quality PBR textures transforms a geometric mesh into a visually compelling and believable automotive asset.
UV unwrapping a car is a delicate balance between minimizing seams, reducing distortion, and optimizing texture space. The general strategy involves segmenting the car into logical, manageable parts (e.g., hood, doors, roof, bumpers, wheels, interior elements) and unwrapping each section individually. For large, curved panels like the hood or roof, a planar or cylindrical projection might be a good starting point, followed by manual seam placement to hide them in less visible areas, such as under panel gaps or along hard edges. Tools like “Pelt mapping” in 3ds Max or the “Follow Active Quads” option in Blender are invaluable for achieving even UV distribution and minimizing stretch.
Maintaining consistent Texel Density across the entire model is also critical. Texel density refers to the number of pixels per unit of 3D space. Ensuring similar texel density for all visible parts prevents some areas from appearing blurry while others are crisp. For instance, if a car model uses 4K textures, a section like the hood might occupy a significant portion of the UV space to ensure high detail, while smaller, less visible components might share space or use lower resolution textures if their detail isn’t critical. Many artists use checkerboard patterns during unwrapping to visually inspect for distortion and inconsistent texel density. Non-overlapping UVs are a must for baking accurate normal maps and for consistent PBR material behavior across the model.
Beyond base colors, the true realism of a car model comes from its intricate texturing. Modern workflows leverage PBR texture sets, typically including Albedo (Base Color), Roughness, Metalness, Normal, and sometimes Height or Ambient Occlusion maps. For car paint, this involves creating a base metallic map, then building layers of clear coat and metallic flakes through shader networks rather than pure texture maps. Scratches, dirt, and wear are often added through secondary texture layers or masks, allowing for non-destructive iteration.
For interior elements, high-resolution textures are crucial for materials like leather, fabric, and plastics. A 4K or even 8K texture resolution for primary body elements is common for high-end rendering, while game assets might use 2K for the main body and 1K or 512px for smaller components, often packed into texture atlases to reduce draw calls. Decals, such as logos, badges, and warning labels, are often handled with separate texture sheets or placed directly on the model via texture projection or secondary UV channels. Utilizing software like Substance Painter or Mari allows artists to paint directly onto the 3D model, ensuring seamless integration and leveraging procedural generators for realistic wear and tear. This holistic approach to texturing ensures that every surface tells a story, contributing to the overall believability of the 3D car model.
With clean topology and meticulously unwrapped UVs, the next monumental step is defining the materials that give your 3D car model its visual identity. Physically Based Rendering (PBR) has become the industry standard for achieving photorealistic results, moving away from subjective artistic interpretations of light and surface interaction. PBR materials simulate how light behaves in the real world, based on physical properties of surfaces like reflectivity, roughness, and metallicity. This approach ensures that your models look consistent and realistic under various lighting conditions, making them ideal for everything from cinematic renders to real-time game engines. Understanding PBR principles and how to construct sophisticated shader networks is essential for creating compelling automotive visuals.
The complexity of a car’s surface, with its myriad of materials – glossy paint, reflective chrome, matte plastics, intricate carbon fiber, and plush interior fabrics – demands a robust and flexible material system. Shading networks allow artists to layer these properties, combine different textures, and introduce procedural elements to create highly nuanced and detailed materials. Whether you’re working in 3ds Max with Corona or V-Ray, Blender with Cycles, or Maya with Arnold, the underlying principles of PBR remain consistent, ensuring transferability and predictable results across different renderers and applications.
At the core of a PBR material are several key maps that define how light interacts with the surface:
Additional maps like Ambient Occlusion (for baked-in contact shadows), Height/Displacement (for actual geometric detail), and Opacity can further enhance realism. The correct interplay of these maps ensures physically accurate light interaction, a cornerstone of professional automotive rendering.
Creating realistic car paint is one of the most challenging aspects of automotive material development due to its layered nature. A typical car paint shader involves:
For interior materials, the focus shifts to a wider array of textures and properties. Leather might require detailed normal maps for grain, combined with specific roughness variations to simulate its subtle sheen and wear. Carbon fiber uses a complex blend of intricate normal maps for the weave, coupled with metallic and roughness maps to achieve its characteristic depth and reflection. Fabric shaders rely on detailed normal maps for weave patterns and often utilize subsurface scattering to simulate light penetrating and scattering within the material, giving it a softer, more realistic look. The judicious use of tileable textures, often at 2K or 4K resolution, for repeating patterns (like fabric weaves) and unique textures for specific details (like instrument clusters) ensures both detail and efficiency.
Bringing a 3D car model to life culminates in the rendering process. This is where all the meticulously crafted geometry, UVs, and PBR materials converge under simulated lighting conditions to produce breathtaking images. Achieving photorealism in automotive rendering is an art form that blends technical proficiency with an eye for visual storytelling. It involves choosing the right renderer, understanding its capabilities, setting up complex lighting environments, and extracting various data passes for post-production refinement. The goal is to create images that are indistinguishable from real-world photography, showcasing the vehicle’s design and detail in the most appealing way.
Modern renderers offer incredible power and flexibility, but harnessing them effectively requires knowledge of their specific settings, optimization techniques, and the ability to work with a multi-pass compositing workflow. Whether your output is a still image for advertising, an animation for a product launch, or high-fidelity visualization for automotive configurators, a structured approach to rendering will yield the best results. Platforms like 88cars3d.com offer models already optimized for various rendering engines, providing a solid starting point for these advanced workflows.
The choice of renderer significantly impacts workflow, render times, and the final aesthetic. Each renderer has its strengths:
When choosing, consider your existing software ecosystem, project requirements (still image vs. animation), and desired balance between speed and quality. Most professional workflows involve test renders at lower resolutions and quality settings to quickly iterate on lighting and materials before committing to final high-resolution renders.
Achieving truly photorealistic automotive renders often involves a multi-pass rendering and compositing workflow. Instead of rendering a single image, the scene is rendered into multiple ‘passes’ or ‘render elements,’ each containing specific information. Common passes include:
These passes are then brought into a compositing software like Adobe Photoshop, After Effects, Nuke, or DaVinci Resolve. Here, they can be non-destructively combined and adjusted. For instance, you can separately tweak the intensity of reflections on the car paint, adjust the color of the headlights, or add subtle glow effects without re-rendering the entire scene. Compositing also allows for advanced post-processing effects like color grading, vignetting, lens flares, film grain, and subtle atmospheric haze, adding that final layer of polish that transforms a good render into an exceptional one. This modular approach provides immense control and flexibility, making it an indispensable part of high-end automotive visualization pipelines.
While photorealistic renders prioritize visual fidelity above all else, integrating 3D car models into real-time environments like game engines introduces a new set of challenges: performance optimization. Game engines like Unity and Unreal Engine need to render thousands, if not millions, of polygons per frame at 30-120 frames per second. An unoptimized, high-polygon car model designed for cinematic rendering would cripple game performance. Therefore, game assets require a distinct approach to modeling, texturing, and material setup to ensure smooth gameplay without sacrificing visual quality.
Optimizing 3D car models for games involves reducing polygon counts, efficiently managing textures, minimizing draw calls, and leveraging techniques like Level of Detail (LODs). The goal is to strike a balance between visual quality and real-time performance, ensuring that players have an immersive experience without lag or stutter. This optimization is crucial for open-world games, racing simulations, and any interactive application where multiple vehicles might be present simultaneously.
The primary strategy for managing polycount in games is using Level of Detail (LODs). Instead of having a single high-polygon model, multiple versions of the car are created, each with a progressively lower polygon count.
Game engines automatically switch between these LODs based on the camera’s distance to the object, ensuring that only the necessary level of detail is rendered. Tools within 3ds Max, Blender, Maya, and directly in Unity/Unreal Engine (e.g., automatic LOD generation tools) assist in this process. When creating LODs, it’s crucial to maintain consistent UVs across all levels to prevent texture popping and ensure smooth transitions. Additionally, baking normal maps from the high-poly model to the lower-poly LODs helps retain crucial surface detail without increasing vertex count. When sourcing game-ready 3D car models, ensure they come with pre-configured LODs and optimized meshes.
Beyond polygon count, texture and material efficiency are critical for game performance. Excessive texture memory usage and high draw calls can severely impact frame rates.
These strategies collectively ensure that the 3D car models not only look great but also perform optimally in real-time interactive environments, delivering a fluid and immersive user experience.
The utility of high-quality 3D car models extends far beyond traditional rendering and game development. With the advent of augmented reality (AR) and virtual reality (VR), and the increasing accessibility of 3D printing, these digital assets are finding new and exciting applications. From interactive car configurators that allow customers to explore vehicles in a virtual showroom to precise physical prototypes used in design validation, 3D car models are becoming indispensable tools in various industries. However, each of these emerging technologies presents its own unique set of requirements and optimization challenges.
For AR/VR, the emphasis shifts to extreme performance optimization and highly immersive, real-time interactivity. For 3D printing, the focus is on mesh integrity, watertightness, and physical accuracy. Understanding how to prepare and optimize your 3D car models for these diverse applications ensures versatility and maximizes their value. Platforms like 88cars3d.com provide models often already prepared with common file formats like GLB and USDZ, which are essential for AR/VR deployment.
AR and VR experiences demand incredibly efficient 3D assets due to the high frame rates (typically 60-90 FPS per eye) required to prevent motion sickness and ensure immersion. This means even more stringent polycount budgets than traditional games, often targeting 30,000-80,000 polygons for an entire car, including interior, for a comfortable VR experience.
Testing performance on target hardware (e.g., Oculus Quest, iPhone ARKit) is crucial during development to ensure a smooth and responsive experience.
3D printing requires an entirely different approach to mesh preparation compared to digital rendering. The primary concern is creating a watertight, manifold mesh that accurately translates into a physical object.
For detailed car models, it’s often necessary to separate components (e.g., body, wheels, interior) for individual printing and later assembly, especially if different materials or colors are desired. This modular approach can simplify the printing process and improve the final quality of the physical model. High-quality 3D models suitable for 3D printing often require specific preparation and quality checks to ensure manufacturability.
With a meticulously modeled, UV-mapped, textured, and optimized 3D car model, the final stages of rendering involve creating a compelling visual narrative through expert lighting, realistic environment integration, and sophisticated post-processing. These elements transform a technically sound asset into an evocative image or animation that captures attention and conveys emotion. Just as a professional photographer carefully sets up their studio or selects the perfect outdoor location, a 3D artist must master the interplay of light and shadow, the subtleties of environmental reflections, and the power of post-production to achieve truly stunning results.
Lighting is paramount, defining the mood, highlighting design features, and revealing material properties. The environment provides context and realistic reflections, grounding the car in its scene. Finally, post-processing techniques add the finishing touches, mimicking real-world camera effects and correcting any minor imperfections. This holistic approach to the final output ensures that every render of your 3D car model achieves its maximum visual impact.
Effective lighting is the single most important factor in achieving photorealistic renders. Different lighting setups serve different purposes:
A common technique is to combine an HDRI for primary lighting and reflections with additional targeted area lights or spotlights to accentuate specific features, add kickers, or brighten shadowed areas. Understanding how light interacts with the car’s metallic paint and reflective surfaces is crucial for making it pop.
Even the best raw render can be significantly improved through post-production and compositing. This stage mimics the processes used by professional photographers and filmmakers, adding a final layer of artistry and polish:
By leveraging render passes (as discussed earlier) in compositing software, artists gain granular control over every aspect of the final image. This non-destructive workflow provides immense creative freedom and is a hallmark of professional automotive visualization.
The journey from a blank canvas to a fully realized, high-quality 3D car model is a testament to technical skill, artistic vision, and meticulous attention to detail. We’ve explored the critical stages, from establishing flawless topology and strategic UV mapping to crafting advanced PBR materials and executing photorealistic rendering workflows. We’ve also delved into the crucial considerations for optimizing models for real-time game engines, preparing them for immersive AR/VR experiences, and ensuring their integrity for accurate 3D printing. Each step, from polycount management to texture atlasing and render pass compositing, plays an indispensable role in creating compelling automotive visuals.
Mastering these techniques requires practice, patience, and a continuous desire to learn and adapt to new technologies. The principles discussed here form the bedrock for creating versatile and impactful 3D car models that can excel across diverse applications – from the most demanding cinematic productions to the fastest-paced interactive simulations. Investing in high-quality starting assets can significantly streamline your workflow. When you’re ready to elevate your projects, consider platforms that prioritize precision and fidelity. For professionals seeking top-tier assets, 88cars3d.com offers a curated selection of 3D car models, meticulously crafted with clean topology, realistic PBR materials, and optimized for various pipelines, providing the perfect foundation for your next masterpiece. Embrace the challenge, apply these best practices, and watch your automotive visualizations truly shine.
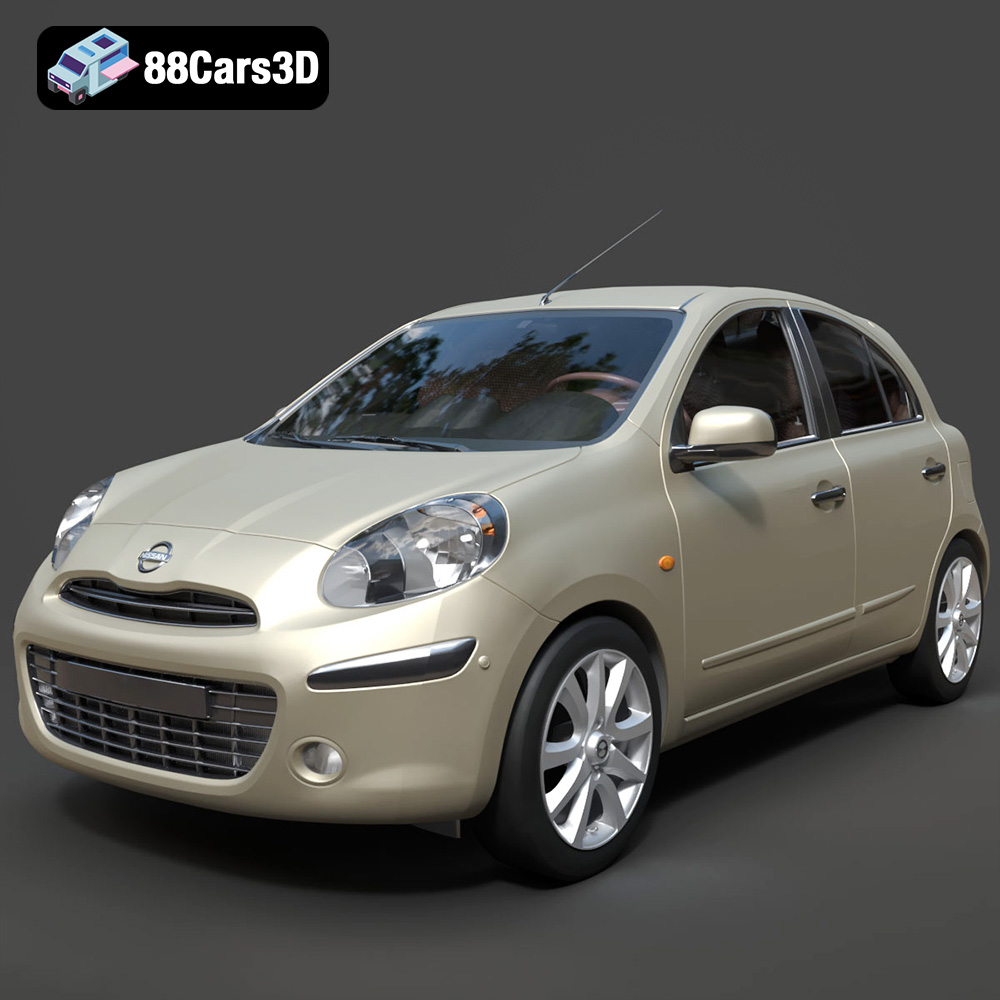
Texture: Yes
Material: Yes
Download the Nissan Micra 2010 3D Model featuring clean geometry, realistic detailing, and a fully modeled interior. Includes .blend, .fbx, .obj, .glb, .stl, .ply, .unreal, and .max formats for rendering, simulation, and game development.
Price: $4.99
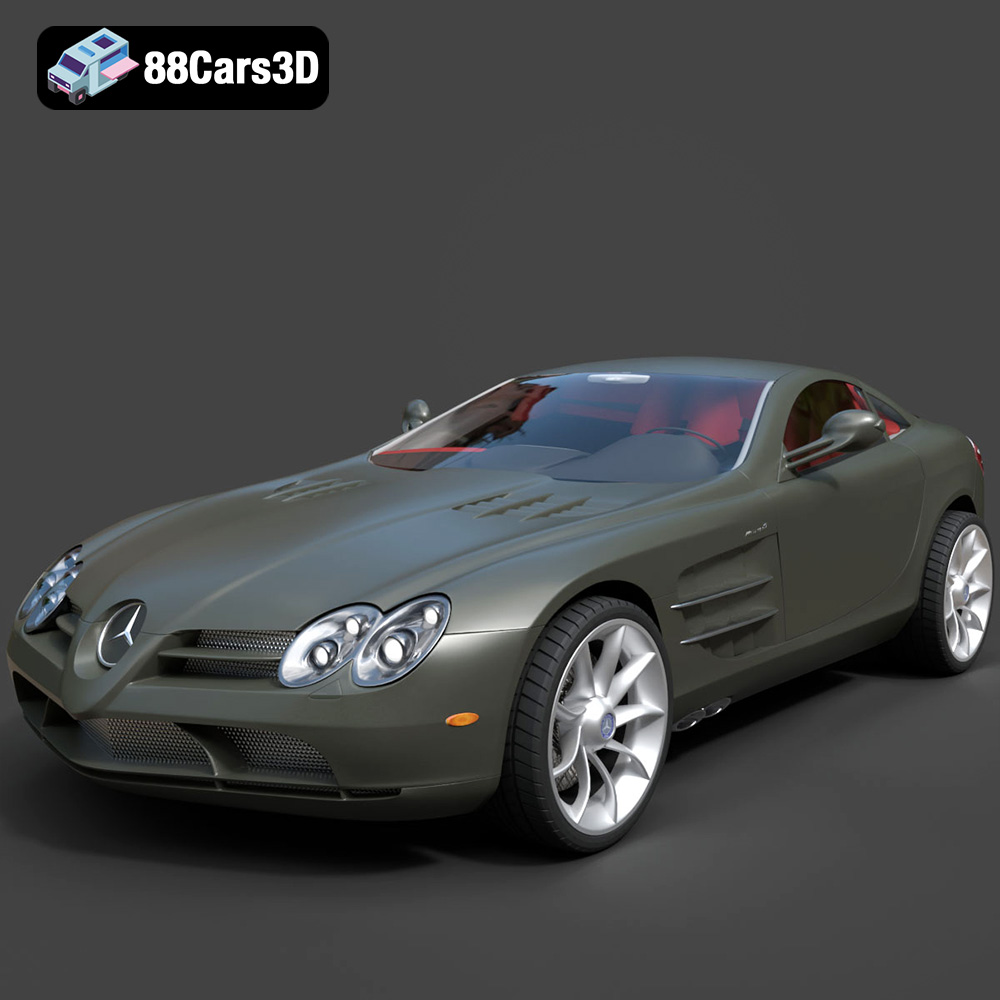
Texture: Yes
Material: Yes
Download the Mercedes-Benz SLR McLaren 3D Model featuring clean geometry, realistic detailing, and a fully modeled interior. Includes .blend, .fbx, .obj, .glb, .stl, .ply, .unreal, and .max formats for rendering, simulation, and game development.
Price: $4.99
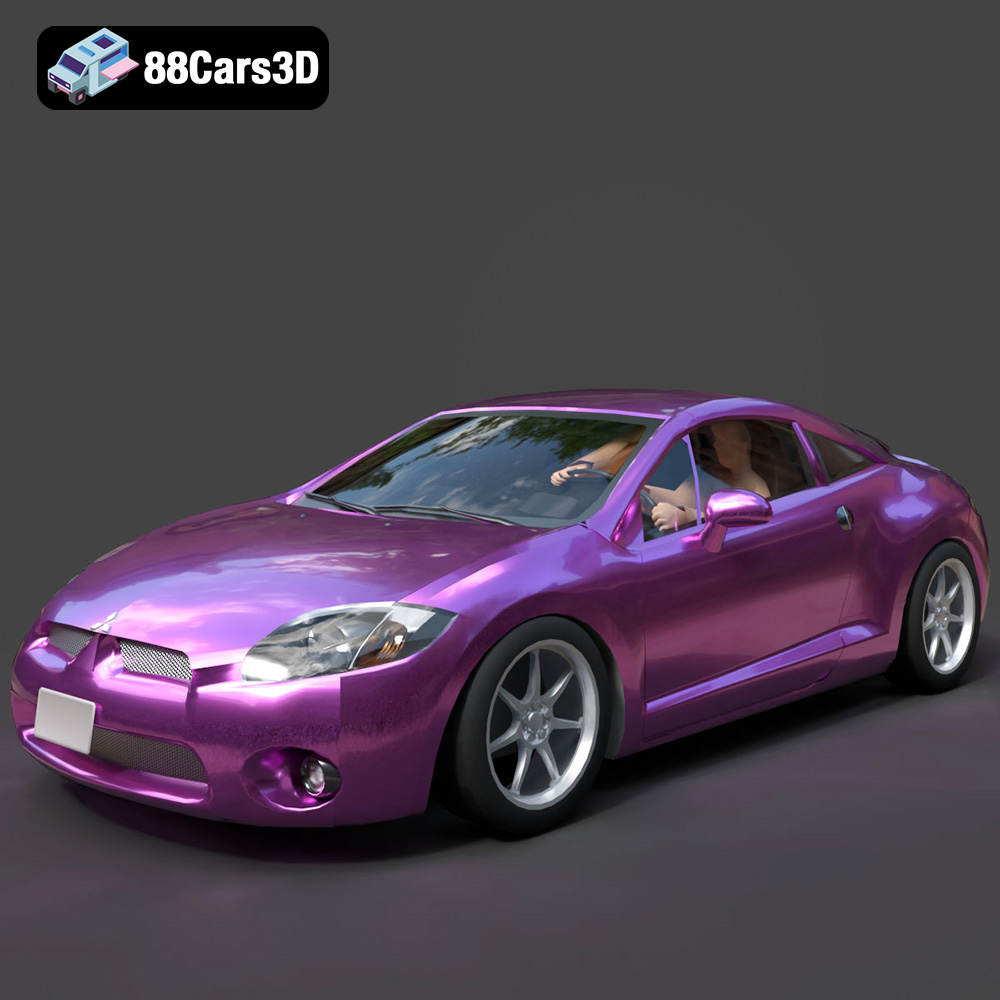
Texture: Yes
Material: Yes
Download the Mitsubishi Eclipse GT 2001 3D Model featuring clean geometry, realistic detailing, and a fully modeled interior. Includes .blend, .fbx, .obj, .glb, .stl, .ply, .unreal, and .max formats for rendering, simulation, and game development.
Price: $4.99
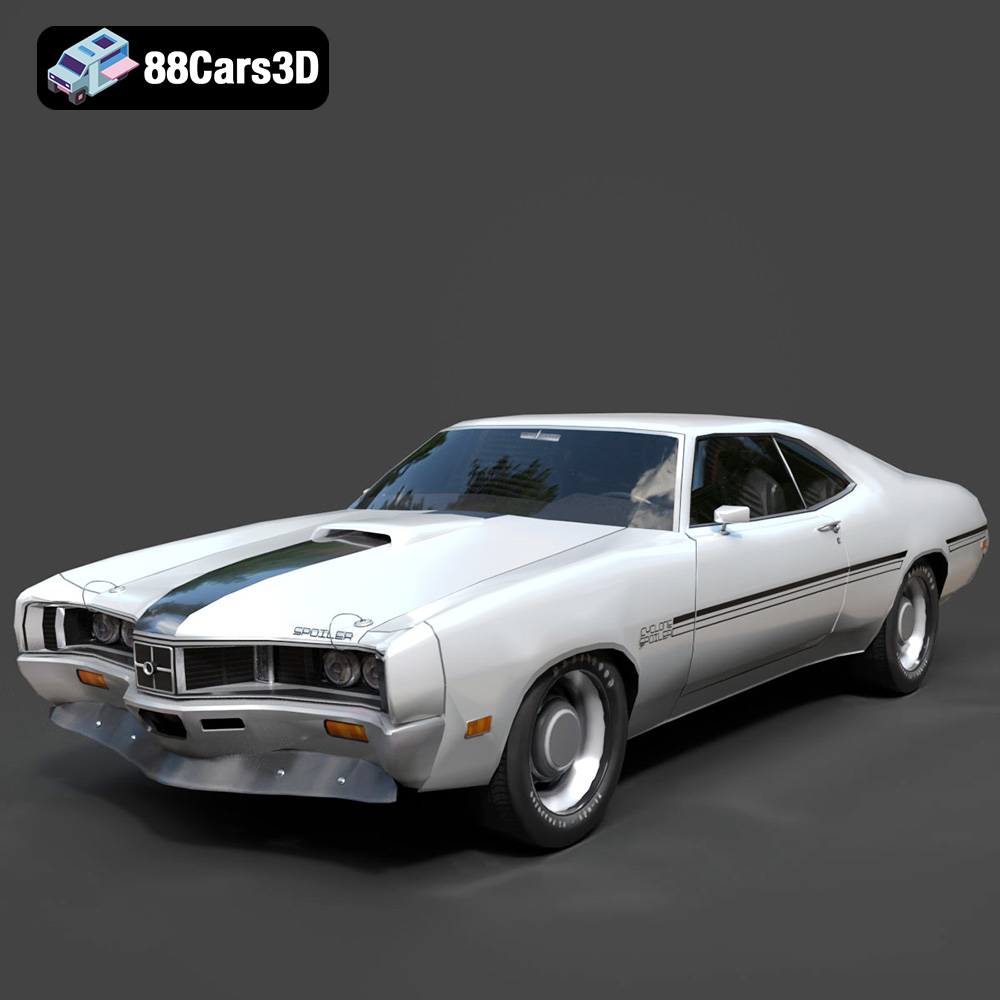
Texture: Yes
Material: Yes
Download the Mercury Cyclone Spoiler 1970 3D Model featuring clean geometry, realistic detailing, and a fully modeled interior. Includes .blend, .fbx, .obj, .glb, .stl, .ply, .unreal, and .max formats for rendering, simulation, and game development.
Price: $4.99
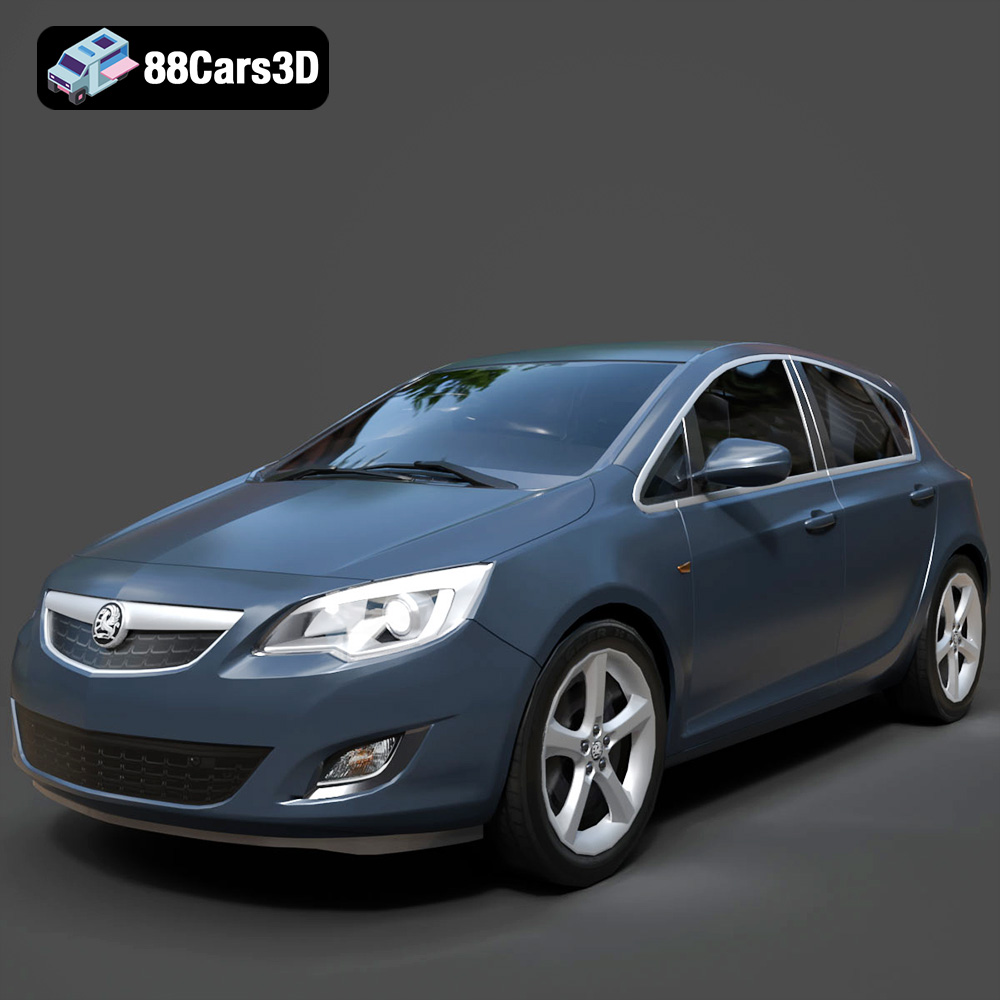
Texture: Yes
Material: Yes
Download the Opel Astra 3D Model featuring clean geometry, realistic detailing, and a fully modeled interior. Includes .blend, .fbx, .obj, .glb, .stl, .ply, .unreal, and .max formats for rendering, simulation, and game development.
Price: $4.99
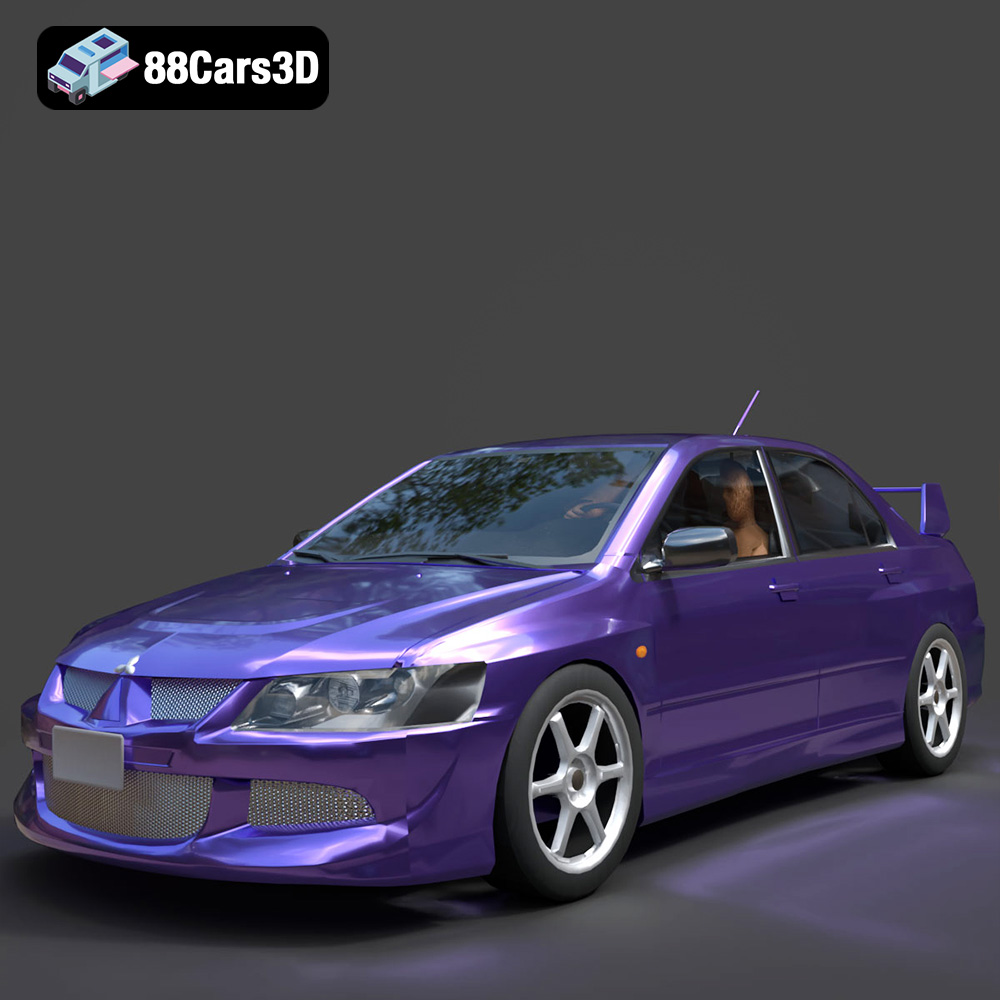
Texture: Yes
Material: Yes
Download the Mitsubishi Lancer Evolution VIII 3D Model featuring clean geometry, realistic detailing, and a fully modeled interior. Includes .blend, .fbx, .obj, .glb, .stl, .ply, .unreal, and .max formats for rendering, simulation, and game development.
Price: $4.99
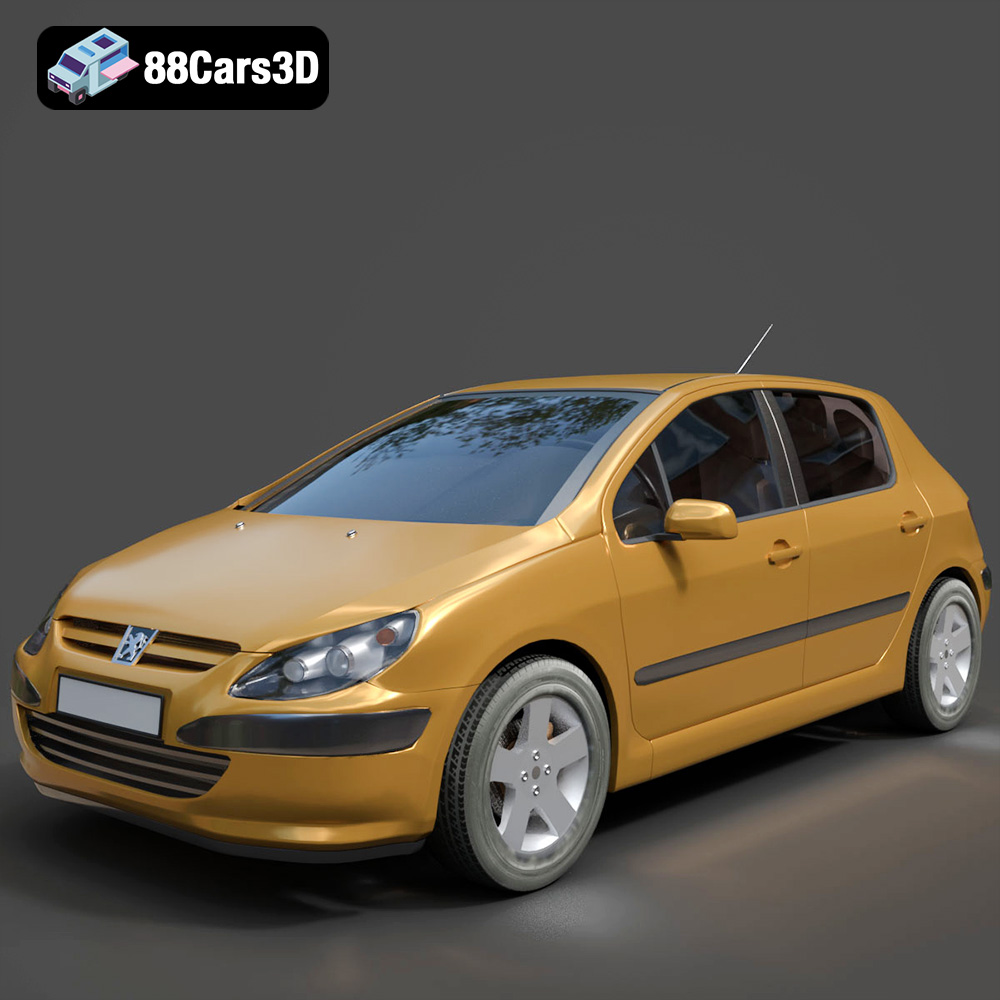
Texture: Yes
Material: Yes
Download the Peugeot 307 3D Model featuring clean geometry, realistic detailing, and a fully modeled interior. Includes .blend, .fbx, .obj, .glb, .stl, .ply, .unreal, and .max formats for rendering, simulation, and game development.
Price: $4.99
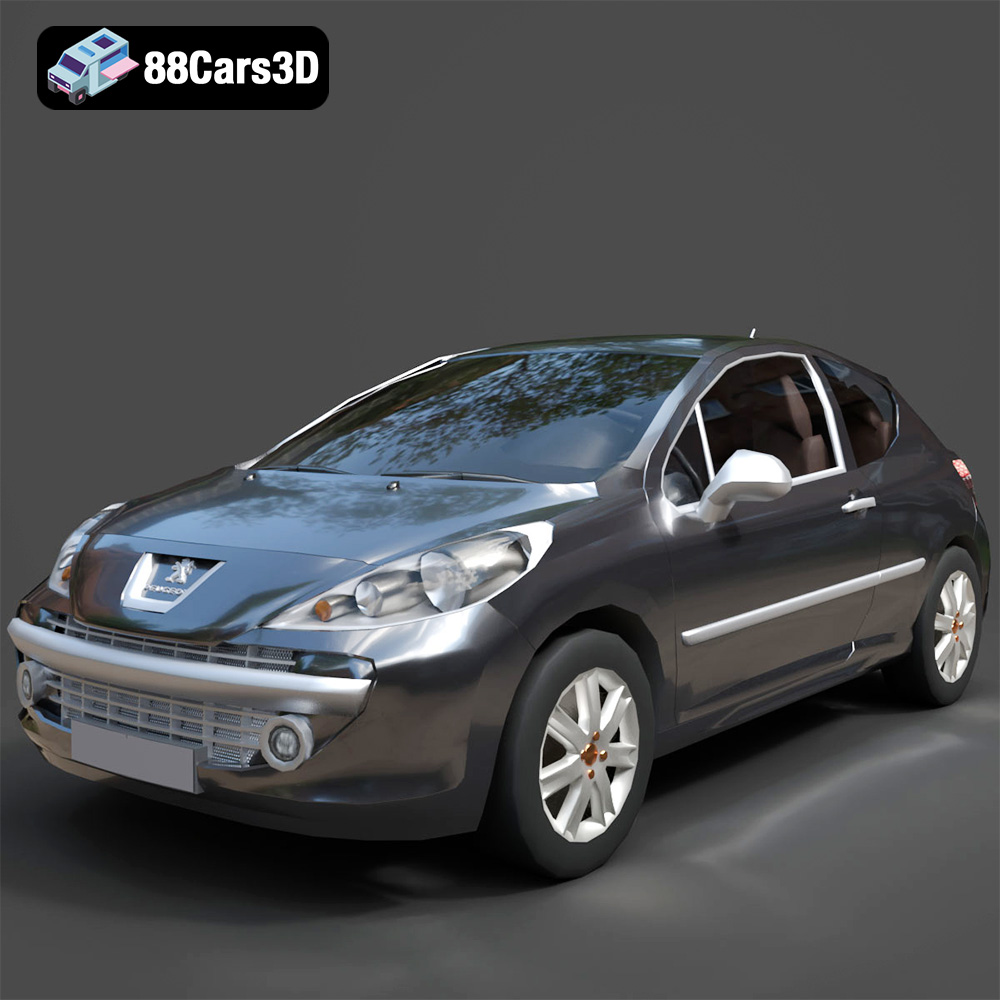
Texture: Yes
Material: Yes
Download the Peugeot 207 3D Model featuring clean geometry, realistic detailing, and a fully modeled interior. Includes .blend, .fbx, .obj, .glb, .stl, .ply, .unreal, and .max formats for rendering, simulation, and game development.
Price: $4.99
Texture: Yes
Material: Yes
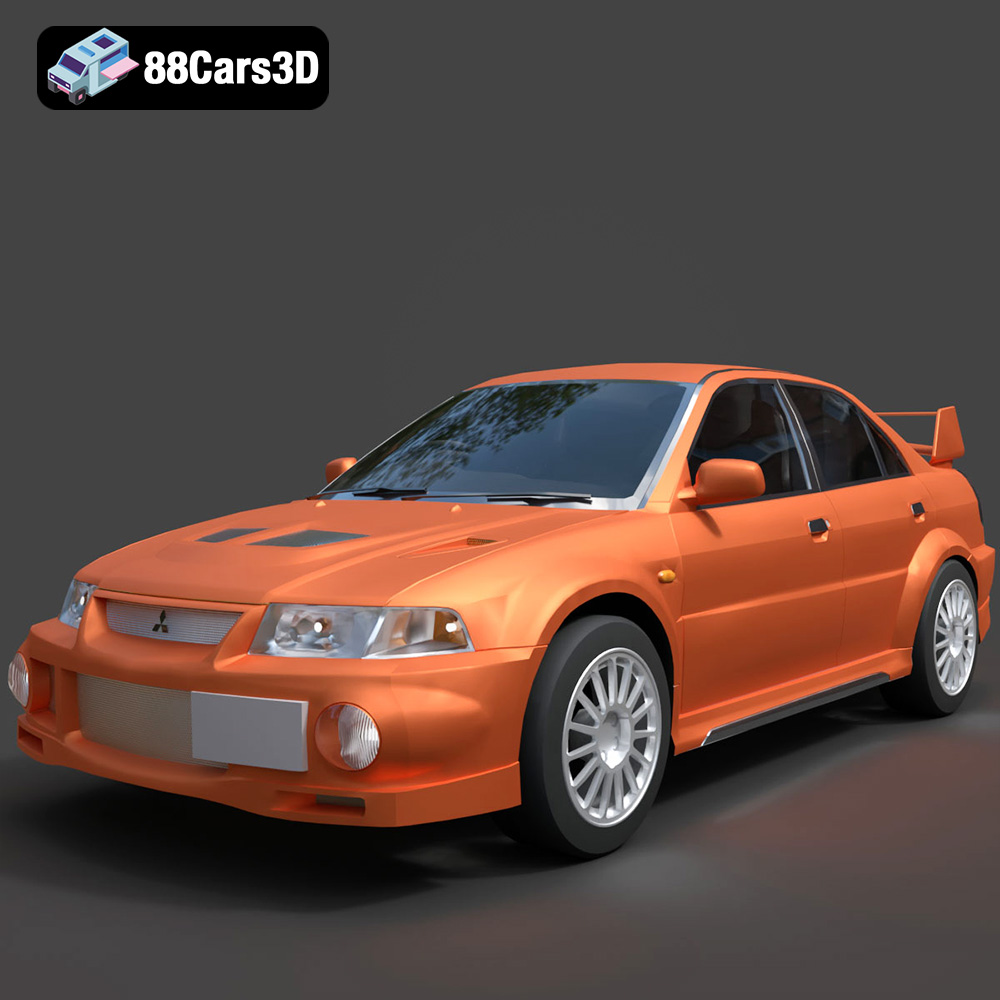
Download the Mitsubishi Lancer Evolution VI 3D Model featuring clean geometry, realistic detailing, and a fully modeled interior. Includes .blend, .fbx, .obj, .glb, .stl, .ply, .unreal, and .max formats for rendering, simulation, and game development.
Price: $4.99
Texture: Yes
Material: Yes
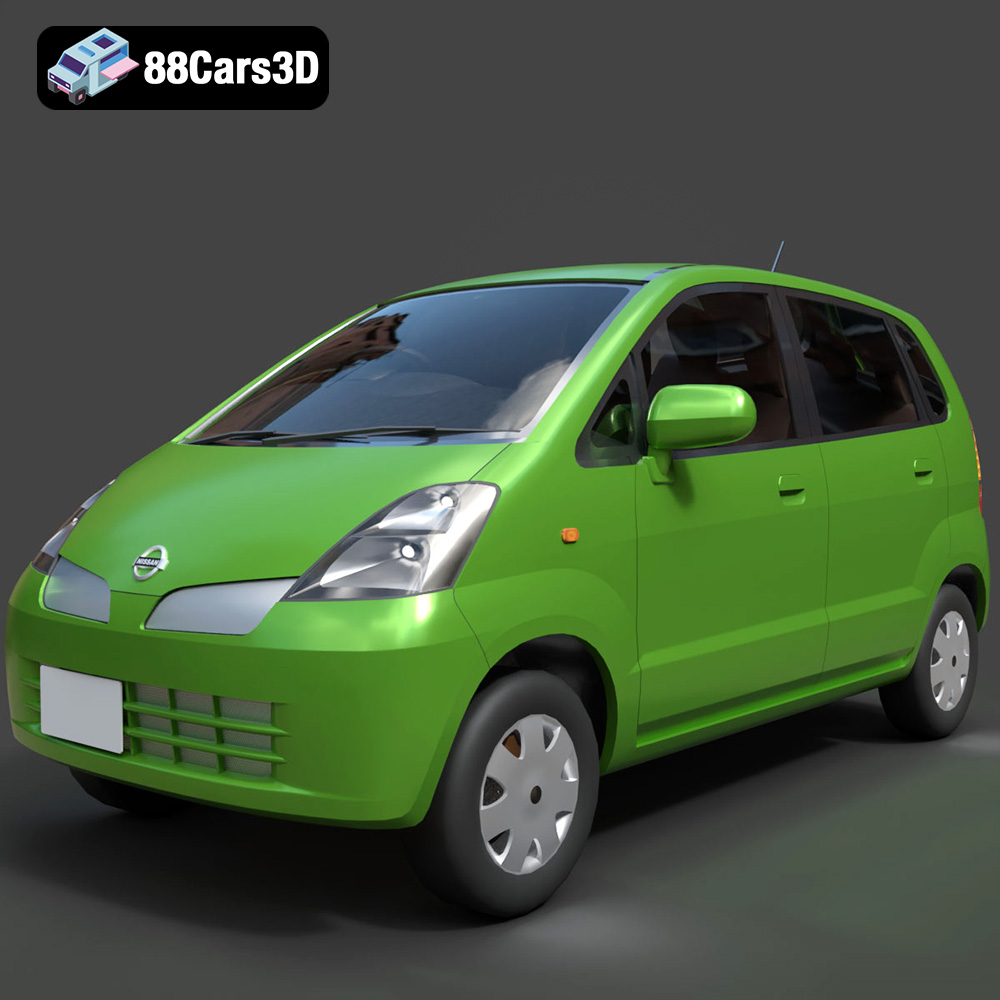
Download the Nissan Moco 007 3D Model featuring clean geometry, realistic detailing, and a fully modeled interior. Includes .blend, .fbx, .obj, .glb, .stl, .ply, .unreal, and .max formats for rendering, simulation, and game development.
Price: $4.99