⚡ FLASH SALE: Get 60% OFF All Premium 3D & STL Models! ⚡
In the vibrant and ever-evolving world of 3D visualization, automotive models stand as a pinnacle of technical artistry and precision. From photorealistic advertising campaigns to immersive game environments and cutting-edge AR/VR experiences, the demand for high-quality 3D car models is insatiable. Crafting or integrating these digital masterpieces requires a deep understanding of intricate workflows, meticulous attention to detail, and a mastery of various software tools and industry best practices.
This comprehensive guide dives into the technical bedrock of creating, optimizing, and deploying 3D automotive assets across diverse applications. We’ll dissect everything from the foundational principles of topology and UV mapping to advanced PBR material creation, rendering techniques, and crucial optimization strategies for real-time engines. Whether you’re a seasoned 3D artist aiming to refine your craft, a game developer seeking to enhance your asset pipeline, or an automotive designer exploring new visualization frontiers, this post will equip you with the knowledge to elevate your 3D car models to professional standards. Join us as we unlock the secrets to achieving stunning realism and impeccable performance in the digital automotive realm.
The structural integrity of any high-quality 3D car model begins with its topology – the arrangement of vertices, edges, and faces that form the mesh. For automotive subjects, precise topology is paramount, dictating not only how the model deforms but also how light interacts with its surfaces. Clean, quad-based topology is the industry standard, ensuring smooth reflections, accurate sculpting, and predictable subdivision surfaces. Bad topology, characterized by triangles, N-gons (faces with more than four sides), or stretched quads, leads to artifacts like pinching, unwanted creasing, and difficulties in UV mapping and animation.
A key aspect of automotive topology is maintaining impeccable edge flow. This refers to the logical progression of edges that follow the contours and design lines of the car. For instance, edge loops should meticulously trace around panel gaps, wheel arches, headlights, and body creases. This allows for precise control over hard edges and curvature, which are crucial for defining the vehicle’s form. When modeling, artists often start with low-poly base meshes to establish the overall silhouette and proportions, then gradually add detail through subdivision modeling or careful edge insertion. Tools in software like 3ds Max, Blender, and Maya provide extensive capabilities for creating and refining mesh topology, from extruding edges to using retopology tools to generate clean meshes from scanned data or sculpted forms. A well-constructed mesh might range from 100,000 to 500,000 polygons for a high-detail rendering model, while a game-ready model would be significantly lower, often requiring multiple Levels of Detail (LODs) to manage polygon counts.
Achieving a balance between polygon count and visual fidelity is critical. For complex curved surfaces characteristic of modern cars, sufficient polygon density is needed to avoid faceted appearances, especially when rendered up close or under direct light. However, excessive polygons can lead to performance bottlenecks. Professional workflows often involve using subdivision surface modifiers (like TurboSmooth in 3ds Max or Subdivision Surface in Blender) on a clean, low-poly base mesh. The base mesh should have strategically placed support loops (also known as control loops or holding edges) around sharp features to maintain crispness after subdivision. These loops “tighten” the edge, preventing it from softening too much.
Another crucial consideration is the placement of poles (vertices with more or less than four connected edges). While unavoidable in some areas, poles should be strategically placed in flatter, less visible regions of the mesh to minimize their impact on surface smoothness and light reflection. Avoiding long, thin triangles and ensuring a relatively even distribution of polygon size across the surface are also vital for predictable shading and deformation. Mastering these techniques ensures that the underlying mesh of your 3D car models is robust, efficient, and ready for the next stages of development.
Often, 3D car models originate from CAD data, 3D scans, or high-detail sculpting. These sources typically produce meshes with incredibly dense, often triangulated, or messy topology. For production use, especially for animation or game engines, these meshes require retopology. Retopology is the process of creating a clean, quad-based mesh over an existing high-polygon model. Tools like ZBrush’s ZRemesher, Blender’s Retopoflow addon, or manual retopology tools in Maya and 3ds Max are indispensable here. The goal is to generate a new mesh that is optimized for performance and deformation while preserving the high-fidelity surface details of the original. This often involves projecting the details (like normal maps) from the high-poly source onto the retopologized low-poly mesh, which is a key step in creating efficient game assets.
Once the topology of your 3D car model is perfected, the next crucial step is applying its “skin” – the textures that define its appearance. This process begins with UV mapping, which is the act of flattening the 3D surface of your model into a 2D space, allowing 2D images (textures) to be painted onto it accurately. Without proper UVs, textures will appear stretched, distorted, or incorrectly aligned. For complex objects like cars, meticulous UV unwrapping is essential to achieve photorealistic results, especially for intricate details like panel lines, decals, and material variations.
The goal of efficient UV mapping is to create seams strategically placed in less visible areas, minimize texture stretching, and ensure consistent texel density across the model. Texel density refers to the number of texture pixels per unit of surface area. Inconsistent texel density can lead to some areas looking blurry while others appear overly sharp. For car bodies, UVs are often split along natural panel lines or hidden edges to make the unwrapping process cleaner. Different parts of the car, such as the body, wheels, interior, and glass, will typically have their own dedicated UV maps or be organized within specific regions of a larger UV atlas, maximizing texture space utilization. Software like 3ds Max (with its Unwrap UVW modifier), Blender, and Maya offer powerful UV editing toolsets, including tools for cutting seams, unwrapping, packing UV islands, and visualizing texel density. A common texture resolution for high-quality car models is 4K (4096×4096 pixels) for the main body, with 2K or 1K textures for smaller details like wheels and interior components.
Smart seam placement is an art. For automotive bodies, seams are often hidden along the bottom edges of panels, within wheel wells, or where components meet. The aim is to make these cuts as inconspicuous as possible to avoid visible texture discontinuities. After creating seams, the next step is to “unwrap” the UV shells and then “relax” them to minimize distortion, ensuring that the proportions of the 2D UV island accurately reflect the 3D surface. Tools such as “Pelt Mapping” in 3ds Max or “Follow Active Quads” in Blender are invaluable for generating clean, rectangular UV layouts from complex shapes.
Maintaining consistent texel density across different parts of the car is critical for visual uniformity. If the main body uses a 4K texture, the smaller details like badges or door handles might need to occupy a proportionally smaller area on the same UV map or have their own smaller texture maps if they require extreme detail. Tools that visualize texel density, often through a checkerboard pattern, help artists identify and correct inconsistencies, ensuring every part of the 3D car model receives appropriate texture detail. For models sourced from marketplaces like 88cars3d.com, artists can usually expect models to come with clean, pre-unwrapped UVs, saving significant production time.
With clean UVs, the focus shifts to texture creation. The industry standard for realistic rendering is Physically Based Rendering (PBR), which simulates how light interacts with surfaces in a physically accurate way. PBR textures typically include maps for Albedo (base color), Roughness, Metallic, Normal, Ambient Occlusion, and sometimes Height or Displacement. These maps are often created using dedicated texturing software like Adobe Substance Painter, Substance Designer, or Mari. Artists can paint directly onto the 3D model, leveraging smart materials and procedural generators to create realistic paint finishes, tire rubber, metallic trims, and worn surfaces.
For automotive models, particular attention is paid to the car paint shader, which often involves multiple layers to simulate clear coat, metallic flakes, and subsurface scattering effects for depth. Normal maps are crucial for adding fine surface details without increasing polygon count, such as subtle panel lines or manufacturer logos. Baking high-resolution details from a sculpted or CAD model onto a lower-poly game mesh is a standard practice for generating these maps. This entire process ensures that the automotive rendering achieves a level of realism that is visually indistinguishable from real-world photography, a key goal for high-end visualization.
Beyond the raw texture maps, the true magic of photorealistic 3D car models lies in their materials and the intricate shader networks that define how they interact with light. Physically Based Rendering (PBR) has revolutionized this aspect, providing a standardized approach that accurately simulates real-world material properties. Understanding PBR principles – specifically the Metallic-Roughness workflow or the Specular-Glossiness workflow – is essential for achieving consistent and believable results across different rendering engines and lighting conditions. For automotive visualization, highly detailed and optimized PBR materials are non-negotiable.
The core PBR maps include: Albedo/Base Color (diffuse color without lighting information), Metallic (defines if a surface is metallic or dielectric), Roughness (controls the micro-surface detail affecting reflections, from mirror-like to matte), Normal Map (adds surface detail without geometry), and Ambient Occlusion (AO) (simulates soft shadows from ambient light). Advanced car paint shaders often go further, incorporating multiple layers for clear coats, metallic flakes, and even subtle subsurface scattering for depth. For glass, dedicated transmission and absorption parameters are vital, along with accurate Fresnel reflections. Tires require a complex rubber material with micro-displacement or extreme normal mapping for realistic tread patterns and sidewall text. Building these shader networks involves connecting various texture maps, procedural nodes, and utility functions within the material editors of software like 3ds Max (V-Ray, Corona), Blender (Cycles, Eevee), or Maya (Arnold), ensuring each component of the car reacts correctly to light.
Automotive paint is one of the most challenging materials to replicate realistically due to its multi-layered nature. A typical car paint shader in a production environment might consist of several components: a base coat (Albedo and Roughness), a metallic flake layer (often a procedural texture or noise map driving reflectivity and color shift), and a clear coat layer. The clear coat is usually a highly reflective, low-roughness dielectric material that sits atop the base and flake layers, simulating the protective gloss. This clear coat needs accurate Fresnel reflections, meaning its reflectivity changes with the viewing angle. Some advanced setups even simulate orange peel texture, tiny imperfections, or dust particles on the surface to enhance realism. Implementing these layers often involves mixing multiple materials or using dedicated car paint shaders provided by render engines like V-Ray’s VRayCarPaintMtl or Corona Renderer’s advanced material layers.
While the exterior paint demands significant attention, the interior and undercarriage also require robust material setups. Interior materials range from various fabrics (cloth, leather, suede) to plastics, brushed metals, and chrome. Each requires specific PBR map sets and careful tweaking of roughness and metallic values. Leather, for example, often benefits from subtle normal maps to simulate grain and an appropriate roughness value to show its slight sheen. Plastics might need a subtle clear coat for a “new car” look or increased roughness for a matte finish. Undercarriage components like suspension arms, engine blocks, and exhaust pipes often require weathered metals, rusty textures, and grime accumulation. Using dirt and grunge maps, often generated procedurally or painted in Substance Painter, significantly enhances the realism. When sourcing 3D car models from platforms like 88cars3d.com, artists can expect expertly crafted PBR materials, ready for immediate use and further customization across various rendering engines.
With a perfectly modeled and textured 3D car model, the next step is to bring it to life through high-fidelity rendering. This is where all the prior hard work culminates into breathtaking visual imagery. Automotive rendering demands a sophisticated understanding of lighting, camera composition, and render engine settings to achieve photorealistic results that can rival professional photography. The choice of renderer (e.g., Corona Renderer, V-Ray, Cycles, Arnold) significantly impacts the workflow and the final aesthetic, each offering distinct advantages in terms of speed, features, and realism.
A typical rendering workflow begins with setting up a captivating environment. High Dynamic Range Image (HDRI) maps are indispensable for realistic global illumination and reflections, providing a complete 360-degree light source from real-world locations. These often simulate studio setups, outdoor scenes, or specific automotive showrooms. Beyond HDRI, artists often supplement with targeted physical lights (directional, spot, area lights) to highlight specific features, add rim lighting, or simulate car headlights and taillights. Camera settings are crucial, mimicking real-world photography with appropriate focal lengths (e.g., 85mm-135mm for flattering automotive shots), aperture (for depth of field), and shutter speed. Render settings need careful calibration for optimal quality and render times, balancing sample counts, noise thresholds, and denoiser algorithms. The goal is to produce images with crisp detail, accurate reflections, and a compelling mood that showcases the vehicle’s design and materials.
Effective lighting is the cornerstone of a great automotive render. Beyond a primary HDRI, a common technique involves using “studio” lighting setups. This often includes large area lights positioned strategically around the car to create soft, flattering reflections on the bodywork and highlight its contours. A common setup might include a large overhead softbox, a couple of side strip lights, and perhaps a subtle fill light. Rim lights placed behind the car can separate it from the background and accentuate its silhouette. For exterior shots, integrating the 3D car model seamlessly into a backplate (a photographic background image) requires matching perspective, scale, and lighting direction. Shadow catchers are used to ensure the car casts realistic shadows onto the ground plane of the backplate, making the integration believable. Experimentation with light intensity, color temperature, and position is key to finding the most impactful presentation.
Render settings vary significantly between engines, but common parameters include global illumination (GI) bounces, anti-aliasing samples, and noise thresholds. For example, in Corona Renderer, adjusting the “Pass Limit” and “Noise Limit” can fine-tune render quality versus speed. In V-Ray, balancing GI engines (like Brute Force and Light Cache) and subdivs on lights and materials is key. Modern renderers also incorporate powerful denoisers (e.g., NVIDIA OptiX, Intel Open Image Denoise) that dramatically reduce render times by cleaning up noise in the final passes. After rendering, the image isn’t typically finished. Post-processing in software like Adobe Photoshop or Affinity Photo is crucial. This involves color grading, adjusting contrast, adding lens effects (like bloom or glare), correcting minor imperfections, and often compositing multiple render passes (e.g., reflection, raw lighting, diffuse) to gain maximum control over the final image. This step elevates a good render to an exceptional one, ready for marketing or portfolio use.
While high-end rendering prioritizes visual fidelity with fewer constraints on polygon count and texture resolution, game assets for real-time engines like Unity and Unreal Engine demand aggressive optimization. The goal is to maintain visual quality while ensuring smooth framerates and efficient resource utilization, even with dozens of cars on screen. This involves a multi-faceted approach to mesh geometry, UV mapping, material setup, and overall scene organization. Without proper optimization, even a single complex 3D car model can cripple game performance.
The most significant optimization technique for geometry is implementing Levels of Detail (LODs). Instead of using a single high-polygon mesh, LODs consist of multiple versions of the same model, each with a progressively lower polygon count. For instance, LOD0 might be 100,000 polygons (for close-up views), LOD1 at 50,000, LOD2 at 15,000, and LOD3 at 5,000 polygons (for distant views). Game engines automatically swap between these LODs based on the camera’s distance to the object, reducing the computational load. Another critical aspect is reducing draw calls – the number of times the CPU tells the GPU to draw something. Each material, texture, or separate mesh object can generate a draw call. Consolidating materials and meshes through texture atlasing (packing multiple smaller textures onto a single large one) and combining mesh components can drastically reduce draw calls, improving performance. Proper UV mapping is still essential, but often more constrained to maximize texture reuse and support atlasing. Models from reputable marketplaces like 88cars3d.com often come with pre-optimized LODs and efficient material setups, which is invaluable for game developers.
Effective LOD generation requires careful planning. The most common method involves starting with the highest detail mesh (LOD0) and then iteratively simplifying it using poly-reduction tools (e.g., in Maya, 3ds Max, or Blender’s Decimate modifier). It’s crucial that each LOD retains the silhouette and key features of the car, with detail loss being imperceptible at its target viewing distance. For game engines, typical poly counts for a hero vehicle might be:
Proper LOD setup not only includes geometry but also often simpler materials or lower-resolution textures for distant LODs. Implementing LODs correctly ensures that the game engine only renders the necessary detail, freeing up GPU resources for other demanding tasks.
Reducing draw calls is paramount for optimizing game performance, especially in scenes with many objects. Every time the GPU switches materials or textures, it incurs a performance cost. Texture atlasing solves this by combining multiple smaller textures (e.g., for different car parts like mirrors, door handles, badges) into a single, larger texture map. The UVs for these individual parts are then rearranged to point to their respective areas on the atlas. This allows the game engine to render many parts of the car using a single material and texture, significantly reducing draw calls. Similarly, combining separate mesh objects into a single mesh (batching) can also reduce draw calls, provided they share the same material. For example, instead of separate meshes for each tire, wheel, and brake caliper, they might be combined into one wheel assembly mesh if they share a material atlas. Other optimizations include using efficient PBR workflows (Metallic-Roughness is generally preferred for real-time), baking complex lighting into textures (lightmaps), and employing occlusion culling to prevent rendering objects that are hidden from view.
The utility of a high-quality 3D car model extends far beyond traditional rendering and game development. Modern applications like Augmented Reality (AR), Virtual Reality (VR), and 3D printing demand specific considerations regarding file formats, optimization, and mesh integrity. Understanding these specialized requirements is crucial for ensuring your digital automotive assets are versatile and ready for deployment across a wide spectrum of emerging technologies.
Choosing the right file format is often the first step in inter-application compatibility. FBX (Filmbox) is a widely used proprietary format by Autodesk, excellent for transferring models with animation, skeletal rigs, and PBR materials between various 3D software (e.g., Maya, 3ds Max) and game engines (Unity, Unreal Engine). OBJ (Wavefront Object) is a simpler, universal format for static mesh data, widely supported but lacks support for animations or advanced material properties within the file itself. For AR/VR and web-based applications, GLB (Binary glTF) and USDZ are gaining prominence. GLB is a binary version of glTF (Graphics Language Transmission Format), designed for efficient transmission and loading of 3D scenes and models, complete with PBR materials and animations. USDZ, developed by Apple, is optimized for AR experiences on iOS devices. Each format has its strengths and limitations, and selecting the appropriate one depends heavily on the target platform and required functionalities.
AR/VR environments impose even stricter performance constraints than traditional games due to the need for very high framerates (e.g., 90 FPS per eye for VR) and minimal latency. AR/VR optimization for 3D car models focuses on extreme polygon reduction, often targeting below 50,000 triangles for an entire vehicle (or even lower for mobile AR), heavy use of baked normal maps, and minimal draw calls. Materials should be simplified PBR, often consolidating multiple materials into one and using texture atlases. Lighting is frequently baked into lightmaps rather than relying on real-time global illumination, further reducing runtime computation. Static batching of small, non-moving parts is common. For interactive elements, careful scripting and event handling are crucial. For example, a car configurator in AR/VR might swap out wheel models or change paint colors instantly, requiring efficient asset loading and material instancing. Companies leveraging 3D car models from marketplaces like 88cars3d.com can greatly benefit from pre-optimized assets specifically tagged for AR/VR use cases.
3D printing a car model involves a completely different set of technical requirements. Unlike digital models, physical objects must adhere to real-world physics and manufacturing constraints. The most critical aspect is ensuring the mesh is “manifold” – meaning it’s a completely enclosed, watertight volume without any holes, disconnected vertices, or intersecting faces. Non-manifold geometry will cause errors during slicing (the process of converting the 3D model into layers for printing). Tools like Blender’s 3D Print Toolbox, MeshMixer, or professional CAD software are used for mesh inspection and repair.
Other key considerations include:
Converting a high-detail rendering model into a print-ready mesh often involves a significant amount of cleanup and optimization to ensure structural integrity.
Even the most meticulously crafted 3D car model, with flawless topology and PBR materials, requires a final layer of polish to truly shine. This involves mastering the nuances of lighting, refining the output through post-processing, and presenting the model in a way that captivates the audience. These steps are critical whether you are creating still renders for marketing, animations for a cinematic sequence, or interactive experiences for a configurator.
Lighting, as discussed earlier, goes beyond simple illumination; it’s about storytelling and emphasizing design. For automotive subjects, the play of light and shadow across the curves and surfaces is what gives the vehicle its character and depth. This often involves careful placement of virtual lights to mimic a professional photo studio, creating sharp reflections and dramatic contrasts that accentuate the car’s aesthetic. Beyond the technical setup, the artistic eye for composition and framing is paramount. Choosing compelling camera angles, applying appropriate depth of field to isolate the subject, and ensuring the background complements rather than distracts are all elements of a professional presentation. This artistic layer transforms a mere technical output into a captivating piece of visual communication, essential for conveying the luxury, power, or elegance inherent in a beautifully designed car.
For truly striking automotive renders, artists often move beyond basic HDRI lighting. Advanced setups might involve a combination of multiple HDRIs for different lighting contributions (e.g., one for global illumination, another for reflections), coupled with a carefully constructed array of mesh lights or area lights. These additional lights are shaped and positioned to create specific highlights and shadows that sculpt the car’s form. For exterior shots, seamlessly integrating the 3D car model into a photographic backplate or a fully rendered 3D environment is key. This involves not only matching the perspective and lighting but also ensuring accurate color balance and atmospheric effects. Render passes, such as reflection passes, shadow passes, and alpha masks, become invaluable here, allowing artists to fine-tune the integration in post-processing software. Creating convincing ground reflections and subtle atmospheric haze can significantly enhance the believability of the composite.
No raw render is ever truly final. Post-processing is where a render achieves its full potential, adding that “extra something” that elevates it to a professional-grade image. In tools like Adobe Photoshop, artists perform color correction, contrast adjustments, and levels/curves tweaks to bring out the vibrancy and depth of the image. Adding subtle effects like bloom (for light sources), lens flares, chromatic aberration, or even a hint of camera noise can increase realism. Compositing multiple render passes provides unparalleled control; for instance, artists can independently adjust the intensity of reflections, the color of shadows, or the amount of ambient occlusion. Sharpening details, selectively blurring backgrounds, and adding cinematic vignetting are other common techniques. The goal is to enhance the mood, direct the viewer’s eye, and polish every pixel to perfection, making the automotive rendering not just accurate, but emotionally engaging and visually stunning.
The journey through the intricate world of 3D car models reveals a convergence of technical precision and artistic vision. From the foundational integrity of clean topology and efficient UV mapping to the sophisticated realism of PBR materials and the captivating artistry of automotive rendering, every stage demands expertise and attention to detail. We’ve explored how these assets are meticulously crafted, optimized for various platforms like game engines and AR/VR, and prepared for tangible applications like 3D printing, demonstrating their immense versatility and impact across industries.
Mastering these workflows is an ongoing pursuit, but the rewards are significant: the ability to create visually stunning and functionally robust digital vehicles that power everything from blockbuster games and immersive simulations to photorealistic advertising and cutting-edge design visualization. Whether you’re building from scratch or leveraging high-quality assets, understanding the underlying principles and best practices is your key to success. For those looking to accelerate their projects with ready-to-use, meticulously crafted models, platforms like 88cars3d.com provide an invaluable resource, offering a vast library of 3D car models designed with professional standards in mind.
Embrace these technical insights, continue to experiment with new tools and techniques, and push the boundaries of what’s possible in the digital automotive realm. The future of automotive visualization is bright, and with the right knowledge, you are poised to drive its innovation.
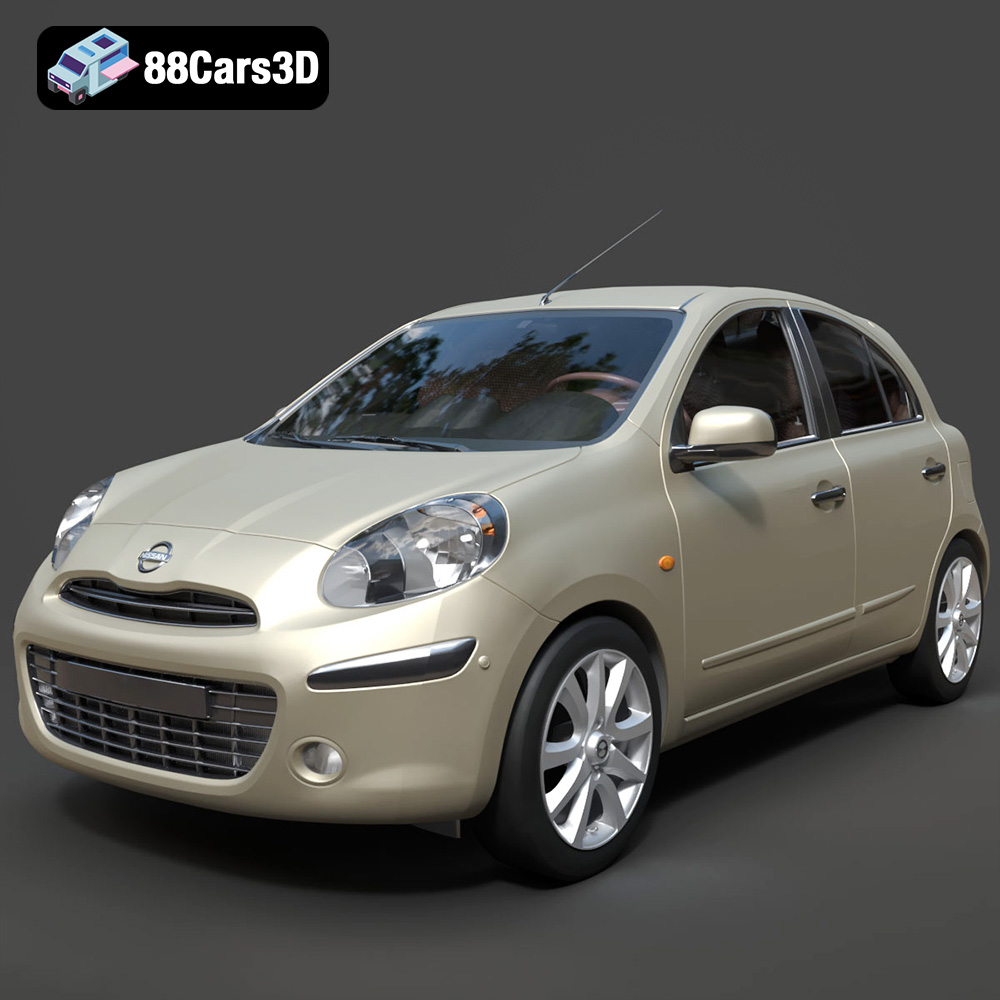
Texture: Yes
Material: Yes
Download the Nissan Micra 2010 3D Model featuring clean geometry, realistic detailing, and a fully modeled interior. Includes .blend, .fbx, .obj, .glb, .stl, .ply, .unreal, and .max formats for rendering, simulation, and game development.
Price: $4.99
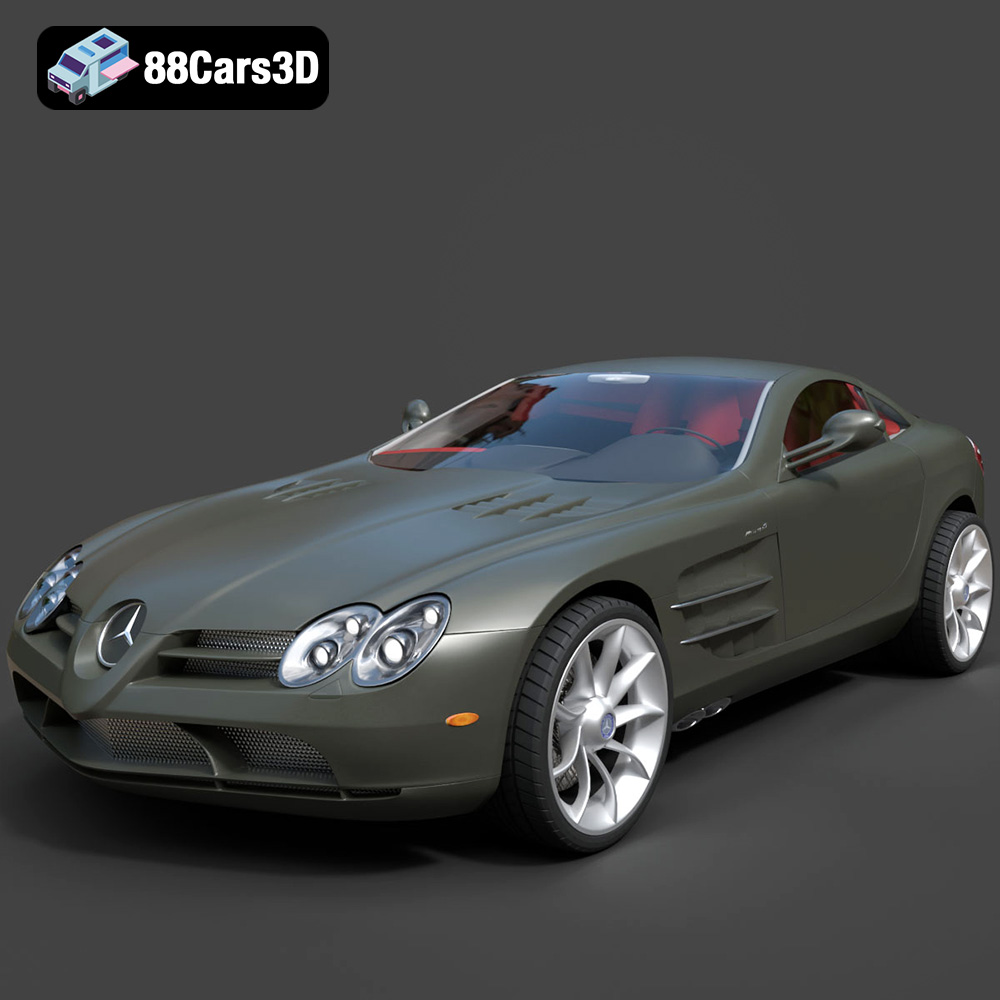
Texture: Yes
Material: Yes
Download the Mercedes-Benz SLR McLaren 3D Model featuring clean geometry, realistic detailing, and a fully modeled interior. Includes .blend, .fbx, .obj, .glb, .stl, .ply, .unreal, and .max formats for rendering, simulation, and game development.
Price: $4.99
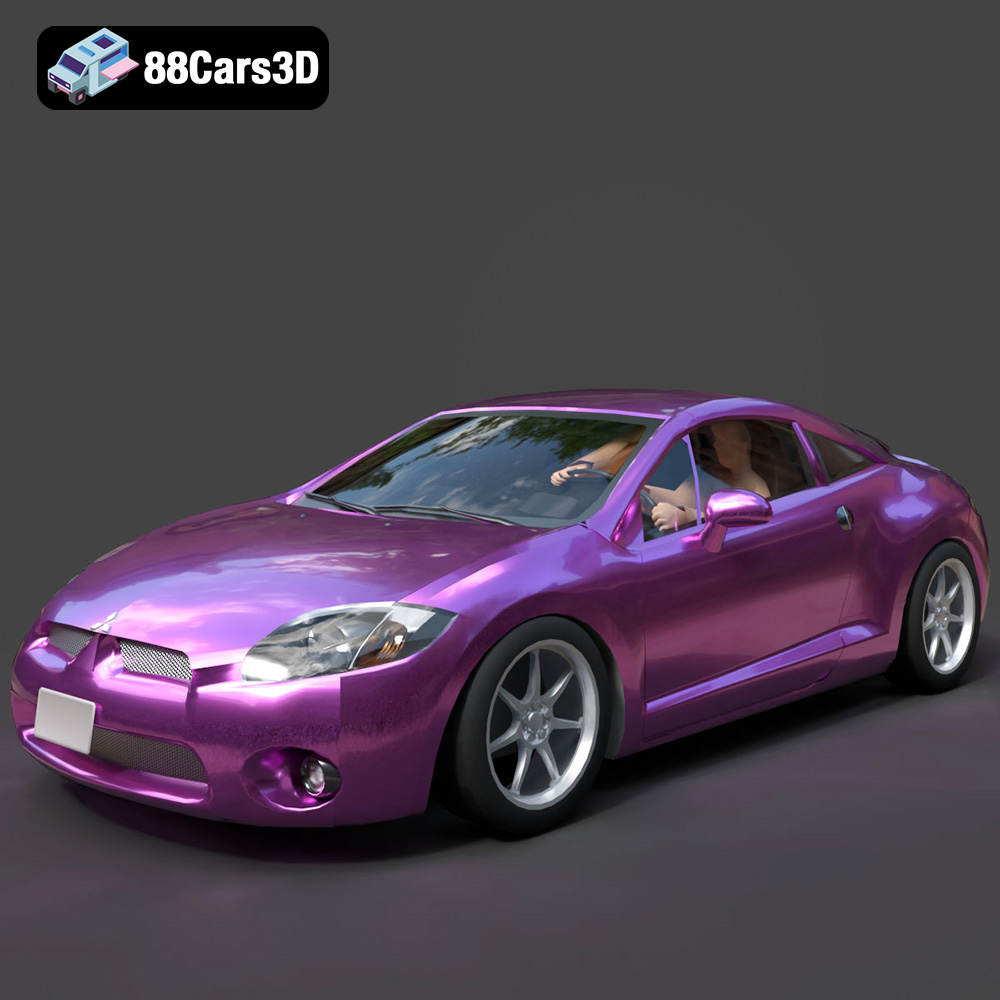
Texture: Yes
Material: Yes
Download the Mitsubishi Eclipse GT 2001 3D Model featuring clean geometry, realistic detailing, and a fully modeled interior. Includes .blend, .fbx, .obj, .glb, .stl, .ply, .unreal, and .max formats for rendering, simulation, and game development.
Price: $4.99
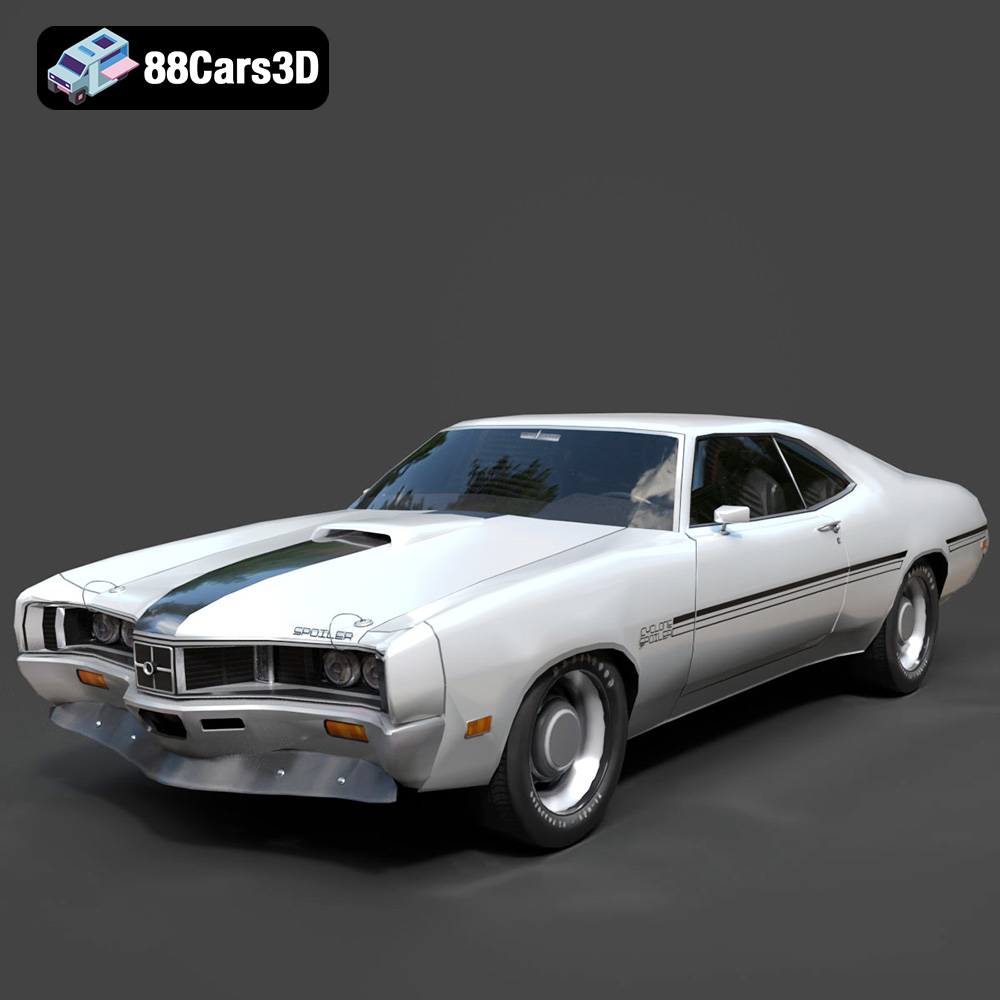
Texture: Yes
Material: Yes
Download the Mercury Cyclone Spoiler 1970 3D Model featuring clean geometry, realistic detailing, and a fully modeled interior. Includes .blend, .fbx, .obj, .glb, .stl, .ply, .unreal, and .max formats for rendering, simulation, and game development.
Price: $4.99
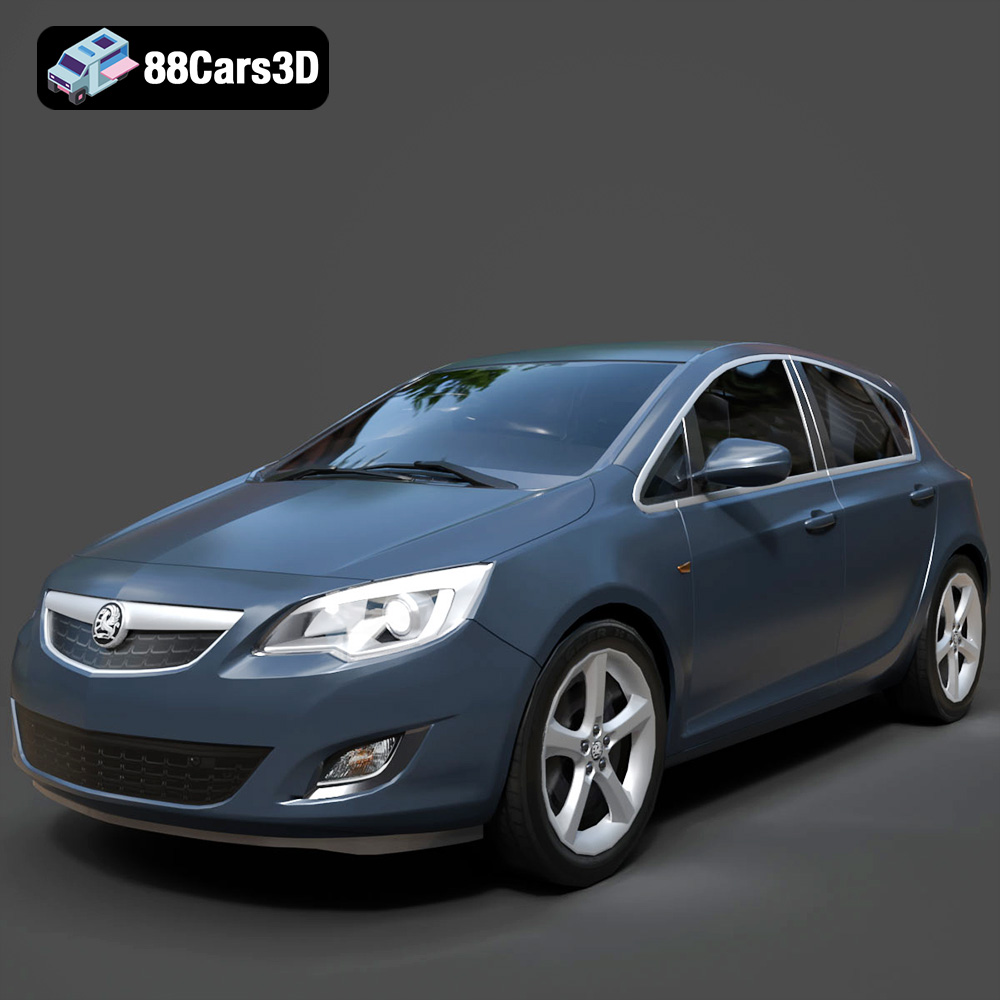
Texture: Yes
Material: Yes
Download the Opel Astra 3D Model featuring clean geometry, realistic detailing, and a fully modeled interior. Includes .blend, .fbx, .obj, .glb, .stl, .ply, .unreal, and .max formats for rendering, simulation, and game development.
Price: $4.99
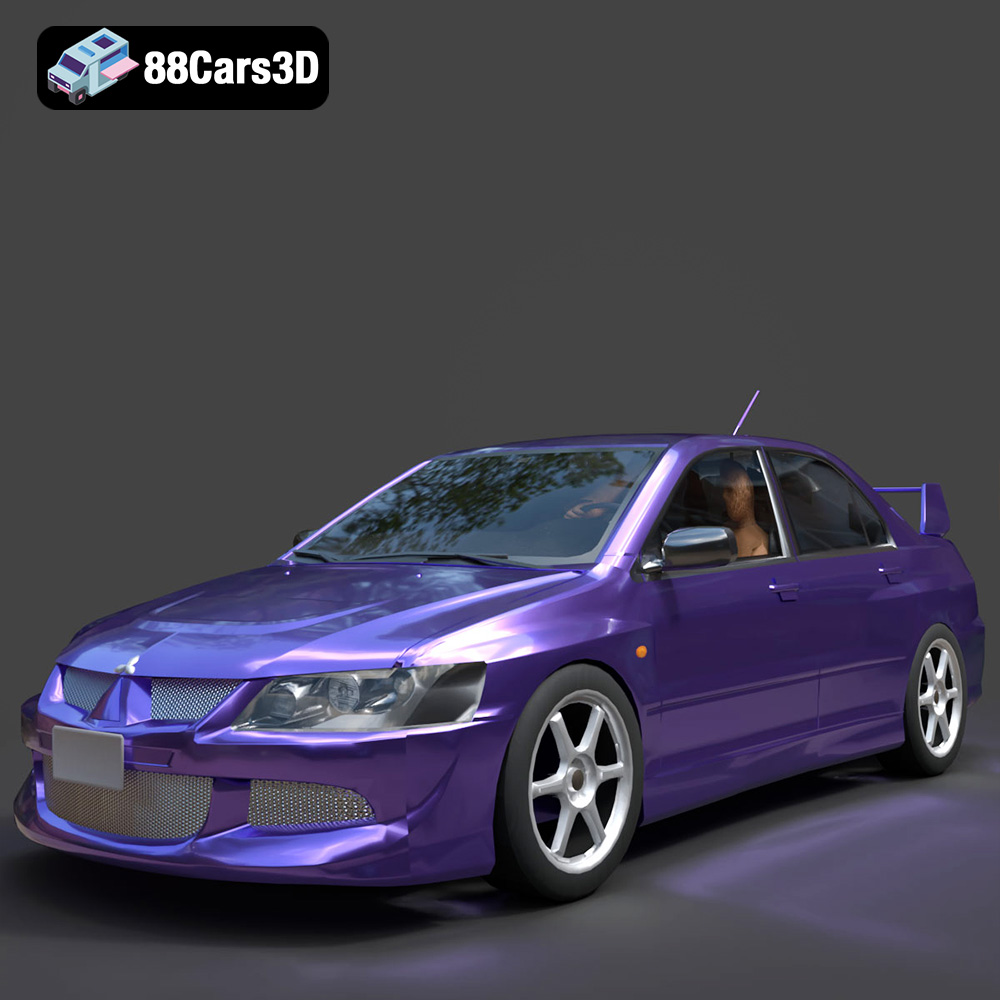
Texture: Yes
Material: Yes
Download the Mitsubishi Lancer Evolution VIII 3D Model featuring clean geometry, realistic detailing, and a fully modeled interior. Includes .blend, .fbx, .obj, .glb, .stl, .ply, .unreal, and .max formats for rendering, simulation, and game development.
Price: $4.99
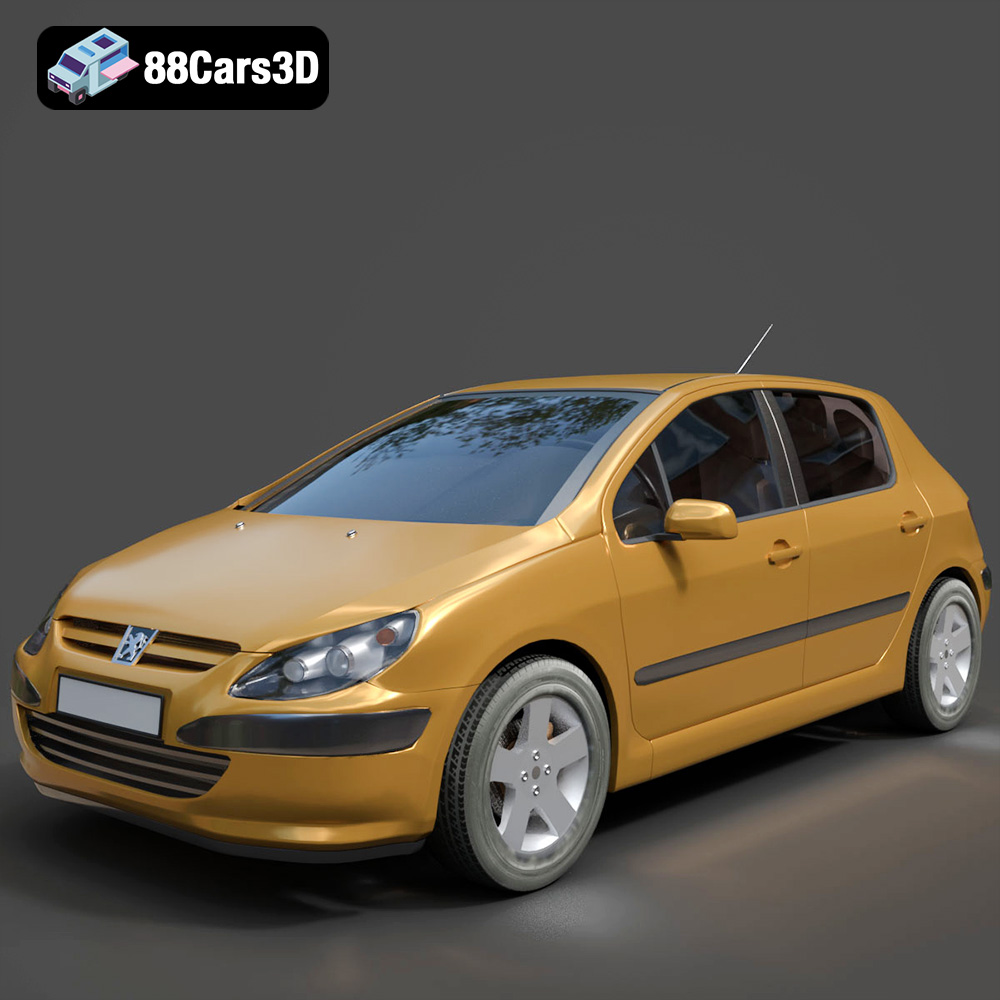
Texture: Yes
Material: Yes
Download the Peugeot 307 3D Model featuring clean geometry, realistic detailing, and a fully modeled interior. Includes .blend, .fbx, .obj, .glb, .stl, .ply, .unreal, and .max formats for rendering, simulation, and game development.
Price: $4.99
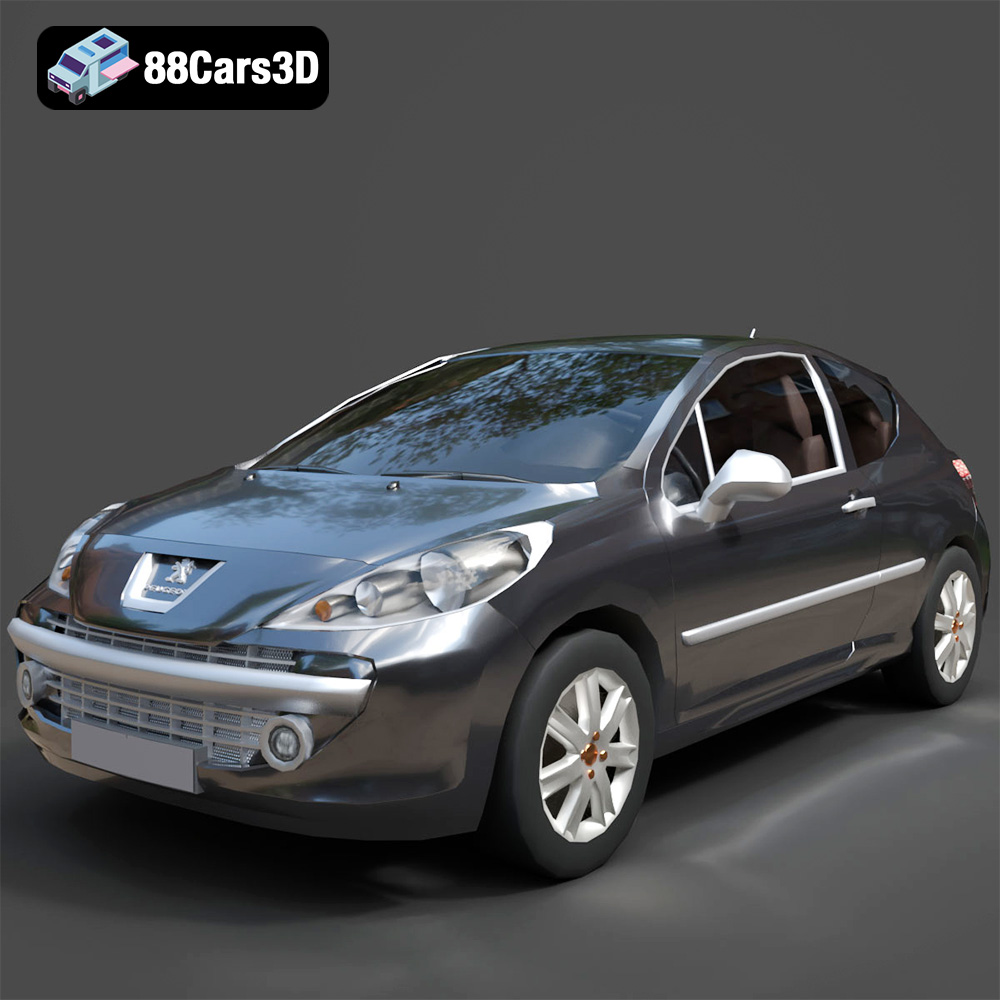
Texture: Yes
Material: Yes
Download the Peugeot 207 3D Model featuring clean geometry, realistic detailing, and a fully modeled interior. Includes .blend, .fbx, .obj, .glb, .stl, .ply, .unreal, and .max formats for rendering, simulation, and game development.
Price: $4.99
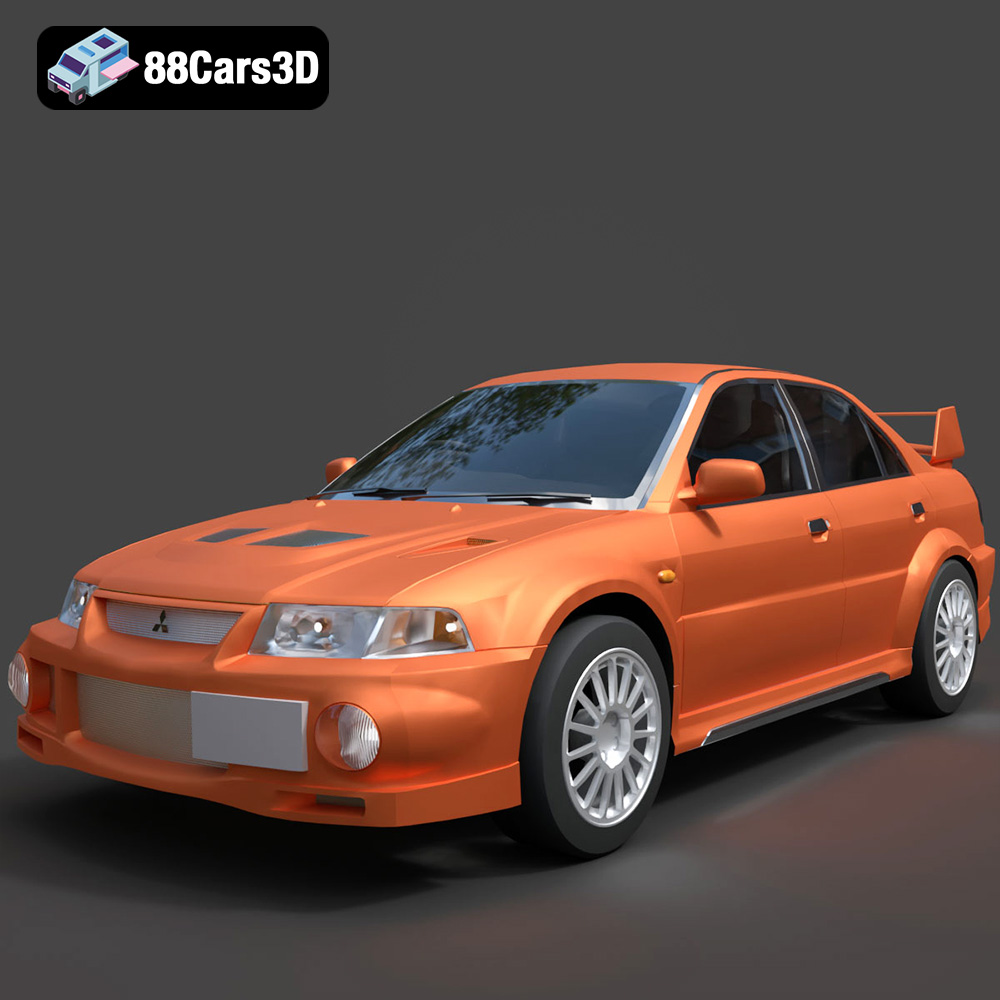
Texture: Yes
Material: Yes
Download the Mitsubishi Lancer Evolution VI 3D Model featuring clean geometry, realistic detailing, and a fully modeled interior. Includes .blend, .fbx, .obj, .glb, .stl, .ply, .unreal, and .max formats for rendering, simulation, and game development.
Price: $4.99
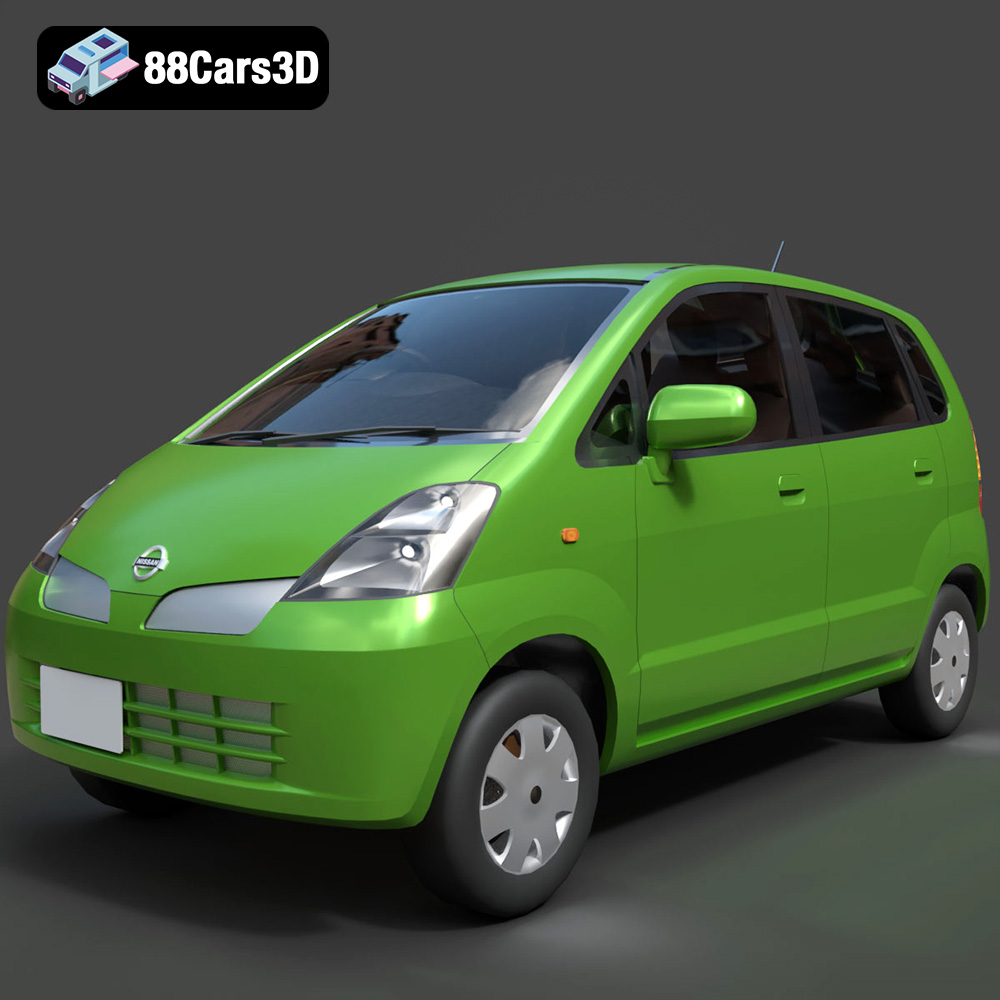
Texture: Yes
Material: Yes
Download the Nissan Moco 007 3D Model featuring clean geometry, realistic detailing, and a fully modeled interior. Includes .blend, .fbx, .obj, .glb, .stl, .ply, .unreal, and .max formats for rendering, simulation, and game development.
Price: $4.99