⚡ FLASH SALE: Get 60% OFF All Premium 3D & STL Models! ⚡
The world of 3D visualization is a meticulously crafted domain where precision meets artistry, especially when it comes to replicating the intricate beauty of automotive design. From breathtaking photorealistic renders that grace automotive marketing campaigns to high-performance game assets that define virtual racing experiences, the demand for exceptional 3D car models is constant and ever-growing. Crafting these digital masterpieces involves a deep understanding of technical workflows, artistic principles, and performance optimization.
Whether you’re an aspiring 3D artist, a seasoned game developer, an automotive designer seeking advanced visualization tools, or a student delving into the complexities of digital production, mastering the nuances of automotive rendering and asset creation is paramount. This comprehensive guide will take you on an in-depth journey through the entire lifecycle of a 3D car model, from its foundational topology to its final, polished presentation across diverse applications like real-time engines, AR/VR experiences, and even 3D printing. We’ll explore critical techniques for achieving clean geometry, applying realistic PBR materials, optimizing for various platforms, and leveraging powerful rendering software. Prepare to unlock the secrets behind creating stunning, high-quality 3D car models that truly stand out.
The integrity of a 3D car model begins and ends with its topology. Clean, efficient, and well-structured geometry is not merely an aesthetic choice; it is a technical imperative that dictates everything from the smoothness of reflections to the performance within a game engine. Automotive surfaces are notoriously challenging, characterized by expansive, highly reflective panels, sharp creases, and complex curves that demand meticulous attention to topology and edge flow.
The primary goal is to maintain an all-quad workflow, meaning your mesh should consist almost entirely of four-sided polygons. While triangles (tri-polygons) and N-gons (polygons with more than four sides) might seem convenient, they introduce shading artifacts, deform poorly during animation or subdivision, and complicate UV unwrapping. For high-fidelity automotive models used in professional rendering, aiming for minimal non-quads is a golden rule. Edge loops, sequences of edges that flow continuously around a mesh, are crucial for defining the contours, controlling curvature, and supporting sharp details like panel gaps and body lines. These loops provide the necessary support for subdivision surface modifiers (often referred to as ‘SubD’ or ‘Meshsmooth’), ensuring that even with relatively low base polygon counts, the final rendered model achieves glass-smooth surfaces and crisp edges.
Achieving pristine automotive surfaces requires adherence to specific topological principles. Firstly, ensure an even distribution of polygons across large, curved surfaces. Uneven distribution can lead to pinching, ripples, or distorted reflections, which are immediately noticeable on highly reflective car bodies. Secondly, minimize “poles” – vertices where more than five edges converge. While poles are sometimes unavoidable, especially in areas with complex curvature transitions, they should be strategically placed in flatter, less visible regions to prevent unsightly shading inconsistencies. Thirdly, utilize “holding loops” or “crease edges” around sharp details. These are extra edge loops placed close to the primary edge that you want to sharpen, providing the necessary support for the subdivision surface modifier to maintain its crispness without rounding off excessively. For instance, the intricate panel lines between a car door and its fender require precise edge flow to render accurately without jaggedness or bleeding into adjacent surfaces. A typical hero asset 3D car model might feature a polygon count ranging from 200,000 to 500,000 polygons (quads) for its base mesh, allowing for high detail upon subdivision without becoming overly dense.
Several modeling techniques are employed to tackle the unique challenges of automotive design. Subdivision surface modeling (SDS) is a dominant method, where a low-resolution base mesh is smoothed and refined by a modifier, allowing for iterative adjustments and a non-destructive workflow. This approach makes it easier to achieve fluid, organic shapes while maintaining control over the final mesh density. Another powerful technique involves converting CAD data (often from NURBS software like Alias or Rhino) into polygon meshes. While CAD provides extremely precise surfaces, the conversion process can be complex, often requiring manual retopology or extensive cleanup to produce production-ready polygon models with optimal edge flow. Platforms like 88cars3d.com excel by providing models already optimized with clean topology, saving artists significant time and effort. When working with hard-surface poly modeling, artists often use a combination of extrusion, beveling, and knife tools, carefully building up the mesh section by section, ensuring each new face adheres to the overall edge flow strategy. Attention to crucial areas like wheel wells, grilles, and intricate headlight assemblies demands patience and a keen eye for detail, often involving floating geometry or booleans that are later cleaned up manually to integrate seamlessly into the main mesh.
Once the foundational geometry of your 3D car model is solid, the next crucial step is to define its surface details through meticulous UV mapping and high-resolution texturing. UV mapping is the process of flattening out the 3D surface of your model into a 2D space, allowing textures to be applied accurately. This seemingly technical step is an art in itself, directly impacting the quality of your renders and the performance of your model in real-time applications. Poor UVs can lead to stretched textures, visible seams, and wasted texture space, undermining all the hard work put into modeling.
For a complex object like a car, strategic UV unwrapping involves breaking down the model into logical, manageable islands. The car body, wheels, interior components, glass, and lights will typically have their own dedicated UV islands. The goal is to minimize seams, place them in inconspicuous areas (like along panel lines or hidden edges), and ensure a uniform “texel density” across all islands. Texel density refers to the number of pixels per unit of surface area; maintaining consistency prevents some parts of the model from appearing blurry while others are sharp. Modern software like 3ds Max, Blender, Maya, and dedicated UV tools such as RizomUV offer powerful features for automated unwrapping and manual manipulation, enabling artists to optimize UV space efficiently. Texturing then takes these UVs and wraps digital paint around the model, defining its color, reflectivity, roughness, and all other surface properties that contribute to realism.
Effective UV unwrapping for automotive models involves a strategic approach to island creation. The main car body often requires a single large UV island if possible, or a few carefully separated ones, to ensure reflections flow smoothly across large surfaces without interruption from seams. Interior components, such as dashboard elements, seats, and steering wheel, are usually unwrapped separately due to their distinct material properties and potential for unique textures. Glass elements (windshield, windows, headlights) might also benefit from their own UV space, especially if they include embedded details or custom patterns. A common technique is to use multiple UV sets: one for primary PBR textures and another for decals, ambient occlusion (AO) maps, or lightmaps in game engines. Overlapping UVs can also be employed for repetitive elements like bolts, rivets, or tire treads, saving texture memory by allowing multiple faces to share the same texture space. For instance, a high-quality model might use an 8K texture set for the main body, with separate 4K or 2K sets for the interior, wheels, and glass, all meticulously laid out to maximize detail and minimize distortion.
Modern texturing workflows are predominantly based on Physically Based Rendering (PBR), which uses a set of texture maps to accurately simulate how light interacts with surfaces in a physically plausible way. Key PBR texture types include: Albedo (base color), Normal Map (adds surface detail without extra geometry), Roughness Map (controls microsurface imperfections and reflectivity), Metallic Map (defines metallic vs. dielectric surfaces), Ambient Occlusion (AO) Map (simulates soft shadows from ambient light), and sometimes Height/Displacement Maps for subtle surface variations. Software like Substance Painter and Mari are industry standards for creating these complex texture sets, allowing artists to paint directly onto the 3D model with incredible detail and procedural generation capabilities. For automotive paint, layers of textures can simulate the base coat, clear coat, and even metallic flakes, all driven by separate maps. Achieving realism demands high texture resolutions; 4K (4096×4096 pixels) is common for detailed parts, and 8K (8192×8192) or even 16K can be used for hero renders of main body panels. Challenges include managing texture memory (especially for game assets), eliminating visible seams, and ensuring accurate color calibration to match real-world car finishes. Texture atlasing, combining multiple smaller textures into one larger sheet, is a performance optimization crucial for game development, as it reduces draw calls and improves GPU efficiency.
With clean topology and perfectly unwrapped textures, the next critical step is to define how light interacts with the surfaces of your 3D car model. This is where Physically Based Rendering (PBR) materials and advanced shader networks come into play. PBR is a rendering approach that aims to simulate light’s behavior based on real-world physics, resulting in far more realistic and consistent results across different lighting conditions and rendering environments. Unlike older, artistic-driven material systems, PBR relies on physically accurate properties like roughness, metallicness, and Fresnel reflectance to ensure surfaces react believably to light.
For automotive models, the distinction is paramount. A car’s paint finish isn’t just a color; it’s a complex interplay of diffuse reflection, specular highlights, and subsurface scattering, often layered beneath a clear coat. Chrome parts need to be perfectly reflective, glass transparent yet refractive, and rubber tires possess a distinct matte, slightly rough quality. Mastering PBR involves understanding the specific material parameters and how to translate real-world observations into digital values. This often means working within node-based shader editors found in renderers like V-Ray, Corona, Cycles, and Arnold, allowing artists to build intricate networks that precisely mimic complex materials.
At the core of PBR are two main workflows: Metallic-Roughness and Specular-Glossiness. While both are valid, Metallic-Roughness is widely adopted due to its intuitive nature. Here, the ‘Metallic’ map dictates whether a surface is a metal (value near 1) or a dielectric/non-metal (value near 0), while the ‘Roughness’ map controls the micro-surface imperfections, determining how diffuse or sharp reflections appear. For automotive paint, it’s typically treated as a dielectric material (Metallic = 0) with a very low roughness value for the clear coat, creating sharp, mirror-like reflections. Underneath, a layered approach is often used, where the base paint (with its color and subtle metallic flakes) is combined with a clear coat shader that simulates the protective, glossy layer. Rubber tires, in contrast, would be non-metallic with a higher roughness value. Chrome and polished metals would be metallic (Metallic = 1) with extremely low roughness. Accurate Fresnel reflectance, which describes how reflectivity changes with viewing angle, is automatically handled by PBR shaders but understanding its behavior is key for fine-tuning.
The true power of PBR is unleashed through advanced shader networks. For realistic car paint, beyond basic PBR maps, artists often employ custom shaders to simulate effects like metallic flakes. This might involve a procedural noise texture plugged into a normal map slot, combined with a subtle reflective component, all layered under a glossy clear coat with accurate Index of Refraction (IOR) values. For glass and other refractive materials, precise IOR values (e.g., 1.52 for typical glass) are crucial, along with considerations for dispersion (how light splits into colors) and absorption (how light loses intensity passing through the material). For instance, an automotive headlight lens might have subtle imperfections or a patterned surface, requiring a normal map in addition to its refractive properties. Tires demand detailed normal maps for tread patterns, combined with a subtly rough, non-metallic material. Interior materials like leather, fabric, and plastics each require their own specific PBR texture sets and shader configurations to achieve visual fidelity. When sourcing high-quality 3D car models from marketplaces like 88cars3d.com, you often find these complex shader networks already expertly set up, ensuring consistent and realistic rendering across different engines and renderers like Corona, V-Ray, Cycles, and Arnold.
Even the most perfectly modeled and textured 3D car model will fall flat without compelling illumination. Lighting is arguably the single most critical factor in achieving stunning, photorealistic automotive rendering. It’s not just about making the car visible; it’s about shaping its form, highlighting its design lines, emphasizing material properties, and setting the overall mood and atmosphere of the scene. Effective lighting can transform a static 3D model into a dynamic, emotional visual narrative, crucial for automotive visualization and marketing.
The workflow typically involves a combination of global illumination, which simulates the natural bounce of light within an environment, and direct lighting from specific light sources. High Dynamic Range Imagery (HDRI) maps are a cornerstone of modern automotive lighting, providing both realistic environmental illumination and detailed reflections. These spherical images capture real-world lighting conditions, from bright sunny days to moody twilight, and project them onto your scene, ensuring that your car is lit and reflected in a physically accurate manner. Beyond HDRIs, individual area lights, spotlights, and fill lights are strategically placed to sculpt the car’s surfaces, create captivating highlights, and accentuate specific design features. Mastering these techniques requires a blend of technical understanding and an artistic eye, knowing where to place lights to best flatter the car’s form and evoke the desired emotion.
For professional automotive renders, lighting setups can range from controlled studio environments to realistic outdoor scenes. Studio lighting often utilizes a “three-point lighting” system (key, fill, and back/rim lights) as a base, supplemented by large area lights positioned to create broad, soft reflections on the car’s body panels. Rim lights are particularly effective for outlining the car’s silhouette and separating it from the background. For environmental lighting, a high-quality HDRI map (preferably 16K or 32K resolution) is typically loaded into the renderer’s environment slot. This single image can provide both primary illumination and intricate reflections, creating a cohesive and believable scene. Matching the HDRI’s sun position with a direct light source (like a Corona Sun, V-Ray Sun, or Arnold Skydome light) ensures that shadows align perfectly with the environmental lighting. Further refinement involves placing subtle fill lights to lift shadows or adding specific spotlights to draw attention to details like brake calipers, headlight clusters, or interior details. Understanding light temperature (e.g., warm for sunsets, cool for overcast days) and intensity values is crucial for creating a cohesive lighting narrative.
Once lighting is in place, optimizing render settings is key to achieving both high quality and efficient render times. Different renderers have their own specific parameters, but common concepts apply. In 3ds Max with Corona Renderer or V-Ray, key settings include noise thresholds, light path depths, and global illumination (GI) solvers. Lower noise thresholds result in cleaner images but increase render time. High ray depths (e.g., 8-16 for reflections/refractions) are essential for complex materials like car paint and glass. Blender’s Cycles and Eevee render engines offer similar controls, with Cycles being path-traced for realism and Eevee a real-time rasterizer for speed. Arnold in Maya also emphasizes physical accuracy with settings for samples per light, diffuse/specular/transmission depths. For production, render element passes are indispensable. These separate image layers (e.g., diffuse, reflections, refractions, Z-depth, ambient occlusion, object IDs) give compositing artists immense control in post-production, allowing adjustments to specific elements without re-rendering the entire image. Finally, choosing between CPU and GPU rendering depends on your hardware and renderer; some renderers like Cycles and V-Ray support robust GPU rendering, offering significant speed advantages for certain scenes, while Corona and Arnold often rely on CPU for their physically accurate calculations. For large animation projects, leveraging render farms or cloud rendering services becomes essential for managing computational demands efficiently.
The journey of a 3D car model often extends beyond static renders into the dynamic, interactive worlds of game engines and real-time AR/VR experiences. Here, the priorities shift dramatically from pure visual fidelity to a delicate balance of aesthetics and performance. A model that looks stunning in an offline renderer can bring a game engine to its knees if not properly optimized. The challenge lies in maintaining visual integrity while adhering to strict polygon budgets, managing draw calls, and ensuring smooth frame rates across diverse hardware, from high-end gaming PCs to mobile AR devices.
This optimization phase requires a different set of technical skills, focusing on efficiency without sacrificing too much detail. Techniques like Level of Detail (LODs), aggressive texture compression, and strategic material setup become paramount. Whether developing for Unity, Unreal Engine, or building assets for web-based AR experiences, understanding these optimization principles is crucial for delivering engaging and performant real-time applications. The goal is to make the car look as good as possible given the performance constraints, creating an immersive experience for the end-user.
For game development, Level of Detail (LOD) is a fundamental optimization. This involves creating multiple versions of the same car model, each with progressively lower polygon counts. For example, LOD0 (high-poly, ~100k-200k polys) is used when the car is close to the camera, LOD1 (~50k-80k) for medium distances, LOD2 (~15k-30k) for far distances, and LOD3 (~5k-10k) for extreme distances or background elements. The engine automatically swaps between these versions based on distance, dramatically reducing the computational load. Another critical aspect is reducing “draw calls” – the number of times the CPU tells the GPU to render an object. Each material and separate mesh typically incurs a draw call. By combining meshes (e.g., merging all wheel components into a single mesh) and using texture atlases (combining multiple smaller textures into one larger sheet), artists can significantly lower draw calls. High-poly details, such as intricate panel lines or mesh grilles, can be “baked” onto normal maps for lower-poly versions, giving the illusion of detail without the geometric overhead. Simple collision meshes or physics proxies are also created for accurate interaction without using the complex visual mesh. When sourcing game assets, always look for models with pre-made LODs and optimized material setups, a feature often found on platforms like 88cars3d.com.
AR/VR optimization takes game engine principles to an even stricter level, particularly for mobile AR and standalone VR headsets. Polygon budgets are often severely constrained; a hero car model for mobile AR might need to be under 50,000 polygons in total. This necessitates aggressive decimation of meshes (using tools like Blender’s decimate modifier) and careful normal map baking to retain visual quality. Texture compression becomes vital: formats like ASTC (Adaptive Scalable Texture Compression) for Android and ETC2 for general mobile use, or DXT for desktop, are crucial for reducing memory footprint. Minimizing unique materials and combining them into fewer, larger texture atlases further reduces draw calls, which is paramount for mobile GPUs. Single-pass instanced rendering, where the scene is rendered once but projected to both eyes simultaneously, is a common VR optimization. Efficient shader usage is also key; avoiding complex procedural shaders or excessive calculations within materials can yield significant performance gains. For Web AR (e.g., using Three.js or Babylon.js), the model needs to be packaged in highly optimized formats like GLB, which bundles geometry, materials, and textures into a single file. Apple’s ARKit often prefers the USDZ format. These formats are designed for rapid loading and efficient rendering in real-time environments, showcasing the versatility required for modern 3D car models.
The utility of 3D car models extends far beyond virtual screens. With the advent and proliferation of advanced fabrication technologies, these digital assets can be transformed into physical objects through 3D printing. This opens up avenues for rapid prototyping, collectible miniatures, custom car parts, and educational models. However, preparing a model for physical production introduces a new set of technical requirements that are distinct from those for rendering or real-time applications. A mesh designed for visual fidelity may have issues when translated into a solid, tangible object, demanding careful pre-processing and validation.
Alongside 3D printing, navigating the diverse landscape of file formats is a critical skill for any 3D professional. Different software, engines, and platforms utilize specific formats, each with its own advantages and limitations regarding what data it can carry (geometry, UVs, materials, animations, scene data). Understanding which format to use for a given purpose, and how to convert between them while preserving data integrity, is essential for seamless collaboration and broad application of your 3D car models. The ability to export and import across various ecosystems ensures maximum versatility for your digital assets.
The primary consideration for 3D printing is ensuring a “manifold” mesh. This means the model must represent a completely closed volume, with no open edges, intersecting faces, or non-manifold geometry (e.g., an edge shared by more than two faces). Printers require a watertight mesh to understand what to build. Common issues include flipped normals, internal geometry, and zero-thickness surfaces, all of which must be resolved. Wall thickness is another critical factor; different 3D printing technologies (FDM, SLA, SLS) have minimum wall thickness requirements. Too thin, and parts may break during printing or post-processing; too thick, and material costs increase. Scaling and unit consistency are also paramount. Models should be scaled to real-world dimensions or the desired print size and exported in units compatible with the slicer software (e.g., millimeters for most printers). Tools like Autodesk Meshmixer, Netfabb, or Blender’s 3D Print Toolbox offer powerful mesh repair functionalities, allowing artists to analyze, fix, and optimize their models for printability. Complex assemblies, like a car chassis with separate wheels, often require careful Boolean operations or interlocking designs to ensure they print correctly and fit together without issues. For artists creating models for 88cars3d.com, providing 3D-print-ready versions adds significant value to their offerings.
The world of 3D software is fragmented, leading to a variety of file formats, each serving specific purposes. The most common include:
Understanding the strengths and weaknesses of each format is crucial for workflow efficiency. When converting, be aware of potential data loss, especially concerning complex shaders, rigging, or animation. Always check scale upon import, as unit discrepancies between software can lead to models appearing tiny or gargantuan. Providing models in multiple, relevant formats significantly enhances their utility and appeal to a broader audience, a practice championed by marketplaces offering diverse 3D car models.
Having meticulously modeled, textured, and optimized your 3D car model, the final stage is about bringing it all together into a compelling visual narrative. This involves crafting the perfect environment, establishing cinematic camera angles, and enhancing the raw render through expert post-processing and compositing. This is where the artistic vision truly shines, transforming technically proficient renders into emotionally resonant images that captivate viewers and effectively communicate the design intent of the vehicle. It’s the difference between a good render and a great one.
Beyond simply placing the car in a scene, environment design involves creating a context that complements the vehicle, whether it’s a sleek urban backdrop, a rugged off-road landscape, or a minimalist studio setting. Camera work dictates how the car is presented, guiding the viewer’s eye and emphasizing key design features. Finally, post-production in software like Photoshop or DaVinci Resolve allows for a level of refinement that is often difficult to achieve solely within the 3D renderer. Adjustments to color, contrast, glow, and depth of field, along with the integration of render passes, can elevate the realism and artistic impact of your automotive rendering to professional marketing standards. This last polish ensures your visualization stands out in a competitive field.
An engaging environment acts as a stage for your 3D car model. This can involve integrating the car seamlessly into a backplate image by precisely matching perspective, lighting, and focal length. For entirely 3D environments, careful set dressing with ground planes, subtle background elements, and strategically placed props can enhance realism and context. Environmental reflections are particularly crucial for cars, as they define the surface quality of the paint and chrome. Matching the HDRI lighting from the rendering stage to the backplate is paramount for seamless integration. The choice of camera angle is equally important. Employing cinematic principles like the “rule of thirds,” leading lines, and dynamic low-angle shots can imbue your renders with a sense of speed, power, or elegance. Depth of field (DOF) is a powerful tool to draw focus to the car while artfully blurring the foreground and background. Integrating subtle motion blur for wheels or the entire car can suggest movement even in a static image. Utilizing realistic physical camera settings (f-stop, shutter speed, ISO) within your 3D software helps mimic real-world photography, adding an authentic touch to the final output.
Post-processing is the final, indispensable layer in the creation of professional-grade automotive visualization. Using render elements (also known as render passes), artists gain granular control over every aspect of the image. For example, reflections can be separately adjusted for intensity, color, and blur, or highlights can be enhanced without affecting the diffuse color of the paint. Software like Adobe Photoshop, Affinity Photo, or DaVinci Resolve for video compositing becomes the digital darkroom. Common post-processing techniques include color grading to set the mood (e.g., warm, cool, desaturated), contrast adjustments to add punch, and global exposure corrections. Adding subtle atmospheric effects like haze, lens flares, or light streaks can enhance realism. A vignette can subtly frame the car, drawing the eye inwards. Chromatic aberration, a subtle color fringing at high-contrast edges, can mimic imperfections of real camera lenses. Dodge and burn techniques can be used to locally brighten highlights and deepen shadows, sculpting the car’s form even further. The art of compositing allows for iterative adjustments and a level of creative freedom that elevates raw renders into polished, magazine-quality imagery, making the 3D car model truly shine.
The creation of high-quality 3D car models is a multifaceted discipline, demanding a blend of technical expertise, artistic vision, and an unwavering attention to detail. We’ve journeyed through the intricate stages, from establishing flawless topology and mastering UV mapping and texturing, to crafting realistic PBR materials and illuminating scenes with expert automotive rendering techniques. We’ve also explored the critical aspects of optimizing 3D car models for demanding game engines and immersive AR/VR experiences, preparing models for physical 3D printing, and navigating the complex world of file formats. The final polish through expert lighting, environment design, and post-processing truly elevates a model from good to exceptional.
Each stage presents its own challenges and opportunities, emphasizing that the most impactful 3D car models are the result of meticulous planning, technical prowess, and an artistic eye. Whether your goal is to create stunning marketing visuals, high-performance interactive assets, or precise prototypes, understanding these workflows is your key to success. As the demand for high-quality digital assets continues to grow, investing in your knowledge and skills in these areas will yield invaluable results.
To kickstart your next project or elevate your existing portfolio, consider exploring platforms like 88cars3d.com, where you can find a curated selection of meticulously crafted 3D car models, ready for realistic rendering, game development, and diverse visualization applications. These models often come with clean topology, optimized UVs, and PBR materials, providing a robust foundation for your creative endeavors. Embrace these techniques, continue to experiment, and watch your 3D automotive projects come to life with unparalleled realism and impact.
Texture: Yes
Material: Yes
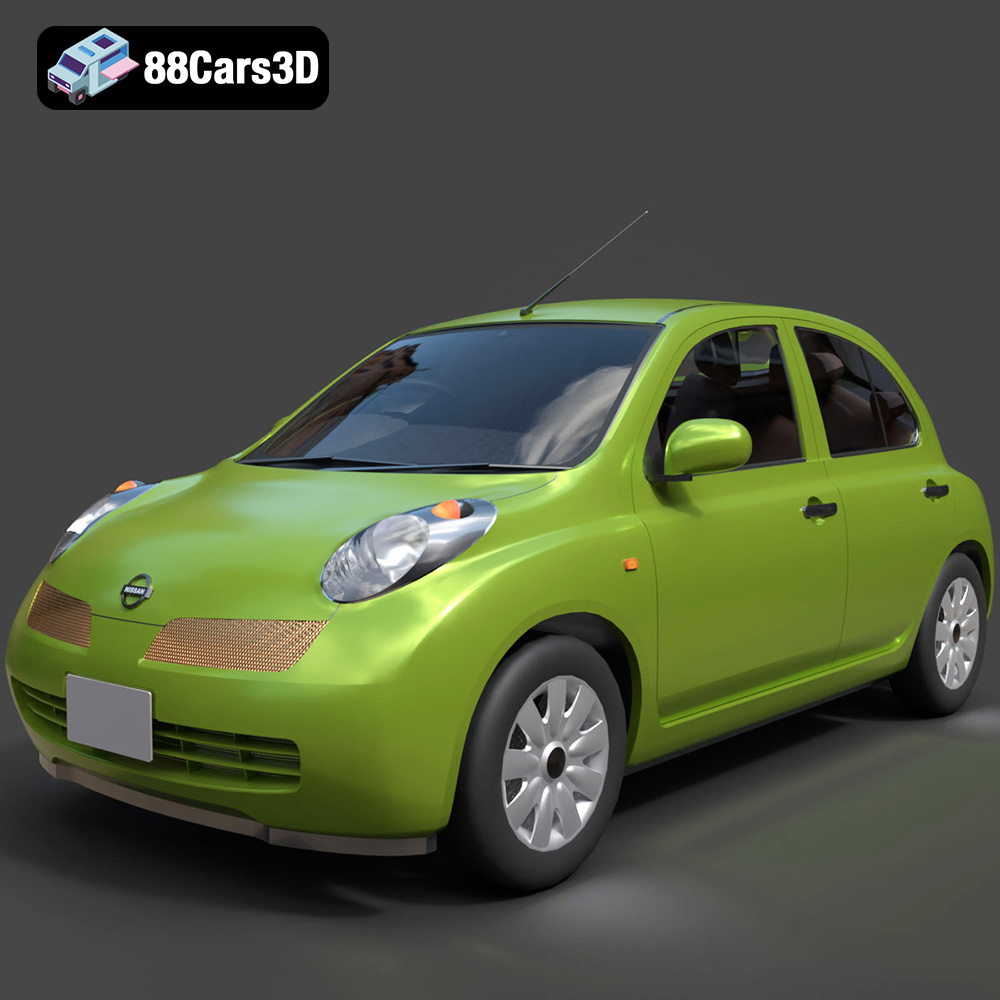
Download the Nissan Micra 5-Door 2025 3D Model featuring clean geometry, realistic detailing, and a fully modeled interior. Includes .blend, .fbx, .obj, .glb, .stl, .ply, .unreal, and .max formats for rendering, simulation, and game development.
Price: $4.99

Texture: Yes
Material: Yes
Download the Opel Insignia Sports Tourer 2009 3D Model featuring clean geometry, realistic detailing, and a fully modeled interior. Includes .blend, .fbx, .obj, .glb, .stl, .ply, .unreal, and .max formats for rendering, simulation, and game development.
Price: $4.99
Texture: Yes
Material: Yes
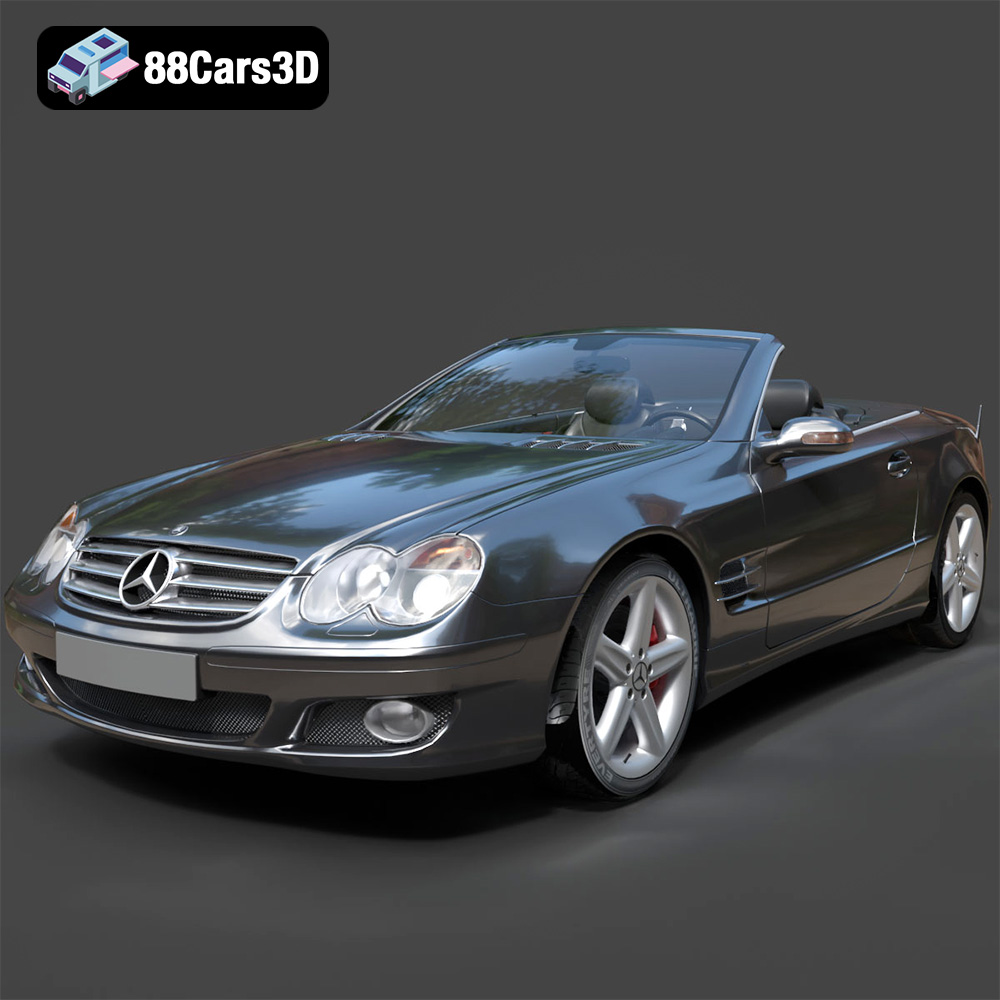
Download the Mercedes-Benz SL-Klasse R230 2002 3D Model featuring clean geometry, realistic detailing, and a fully modeled interior. Includes .blend, .fbx, .obj, .glb, .stl, .ply, .unreal, and .max formats for rendering, simulation, and game development.
Price: $4.99
Texture: Yes
Material: Yes
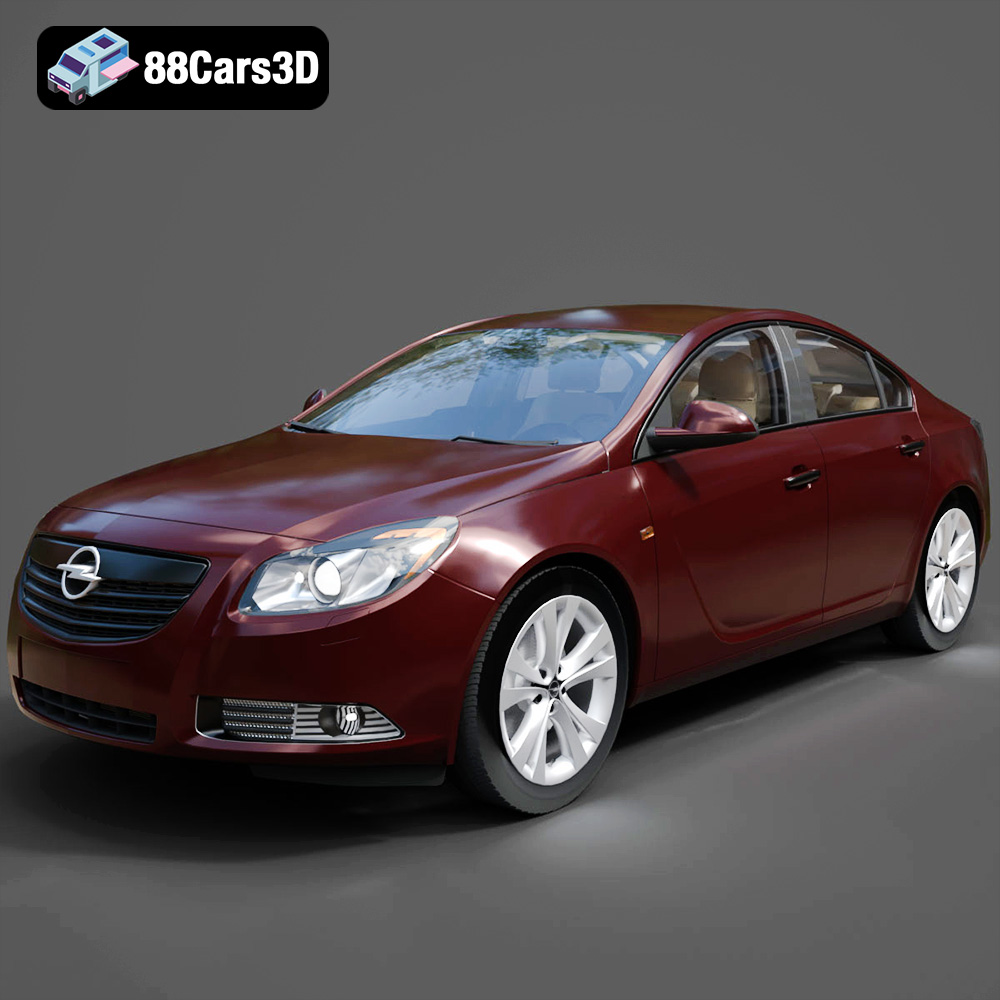
Download the Opel Insignia 2009 3D Model featuring clean geometry, realistic detailing, and a fully modeled interior. Includes .blend, .fbx, .obj, .glb, .stl, .ply, .unreal, and .max formats for rendering, simulation, and game development.
Price: $4.99

Texture: Yes
Material: Yes
Download the Peugeot 206 3D Model featuring clean geometry, realistic detailing, and a fully modeled interior. Includes .blend, .fbx, .obj, .glb, .stl, .ply, .unreal, and .max formats for rendering, simulation, and game development.
Price: $4.99
Texture: Yes
Material: Yes
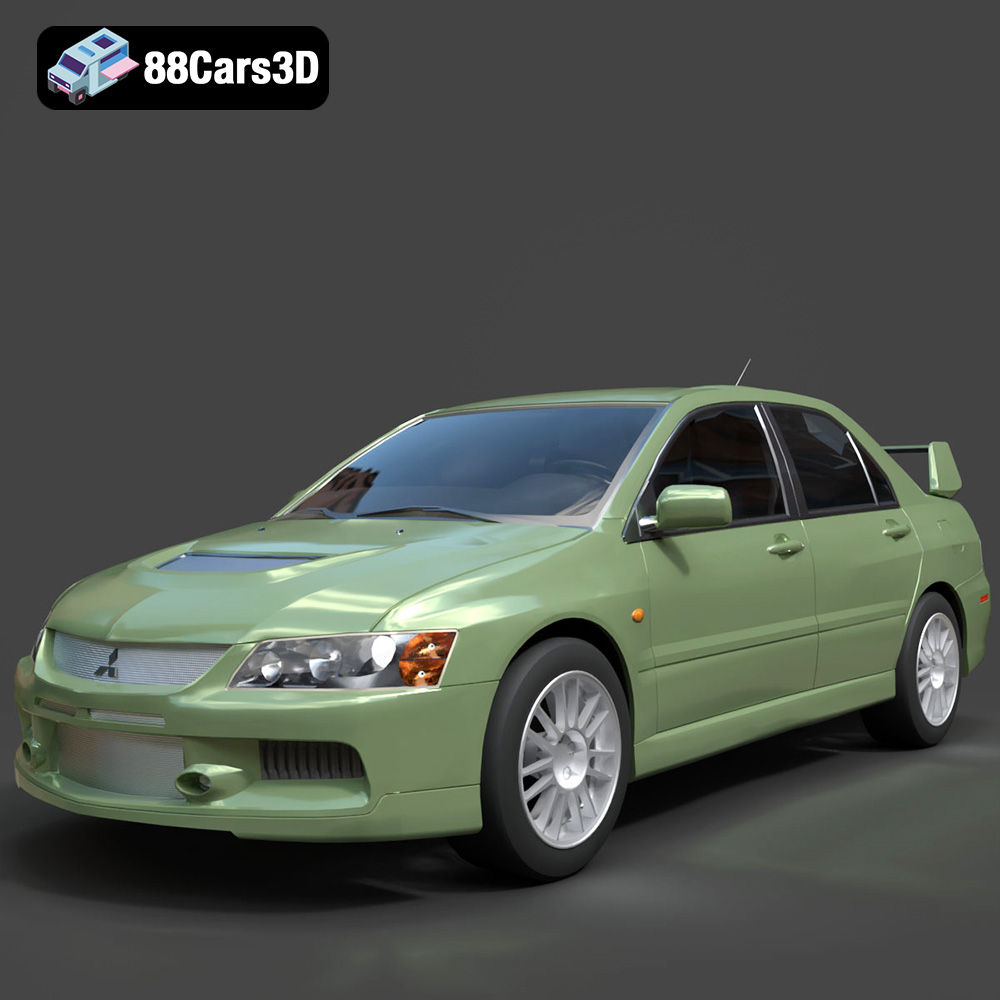
Download the Mitsubishi Lancer Evolution IX 3D Model featuring clean geometry, realistic detailing, and a fully modeled interior. Includes .blend, .fbx, .obj, .glb, .stl, .ply, .unreal, and .max formats for rendering, simulation, and game development.
Price: $4.99
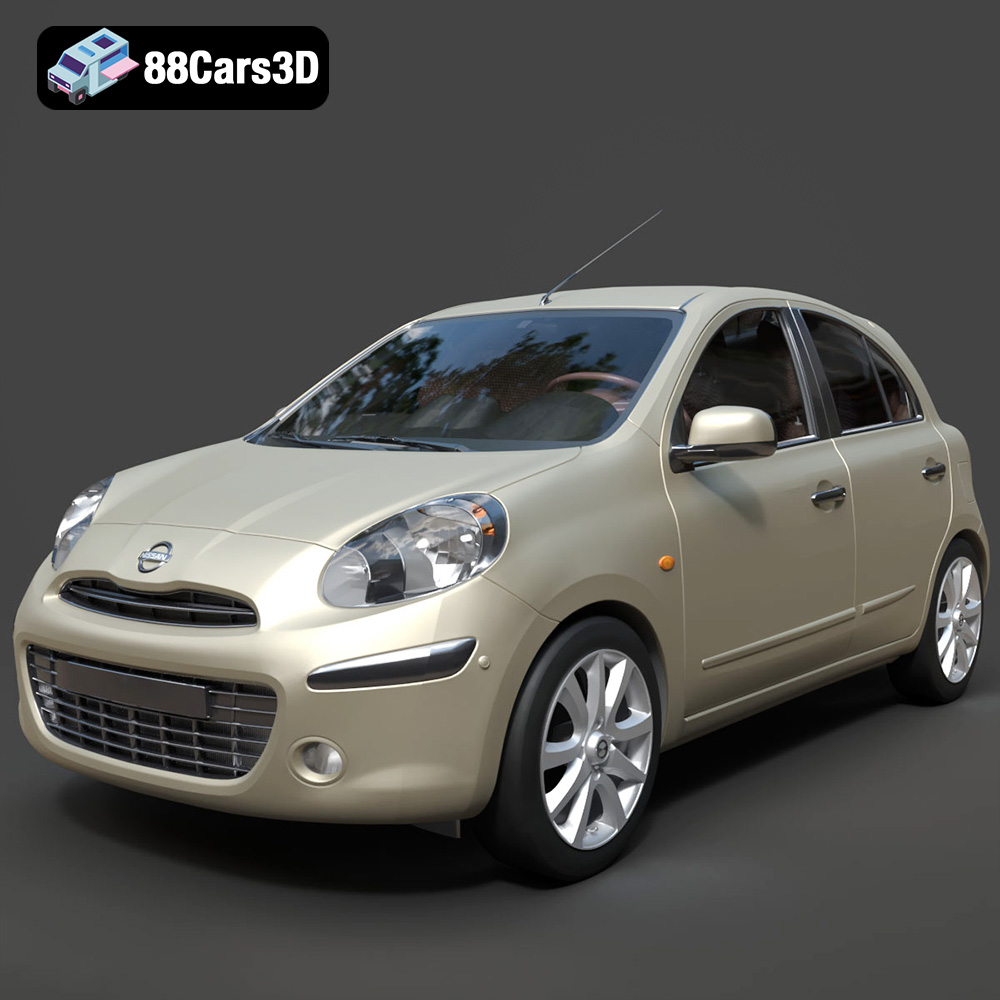
Texture: Yes
Material: Yes
Download the Nissan Micra 2010 3D Model featuring clean geometry, realistic detailing, and a fully modeled interior. Includes .blend, .fbx, .obj, .glb, .stl, .ply, .unreal, and .max formats for rendering, simulation, and game development.
Price: $4.99
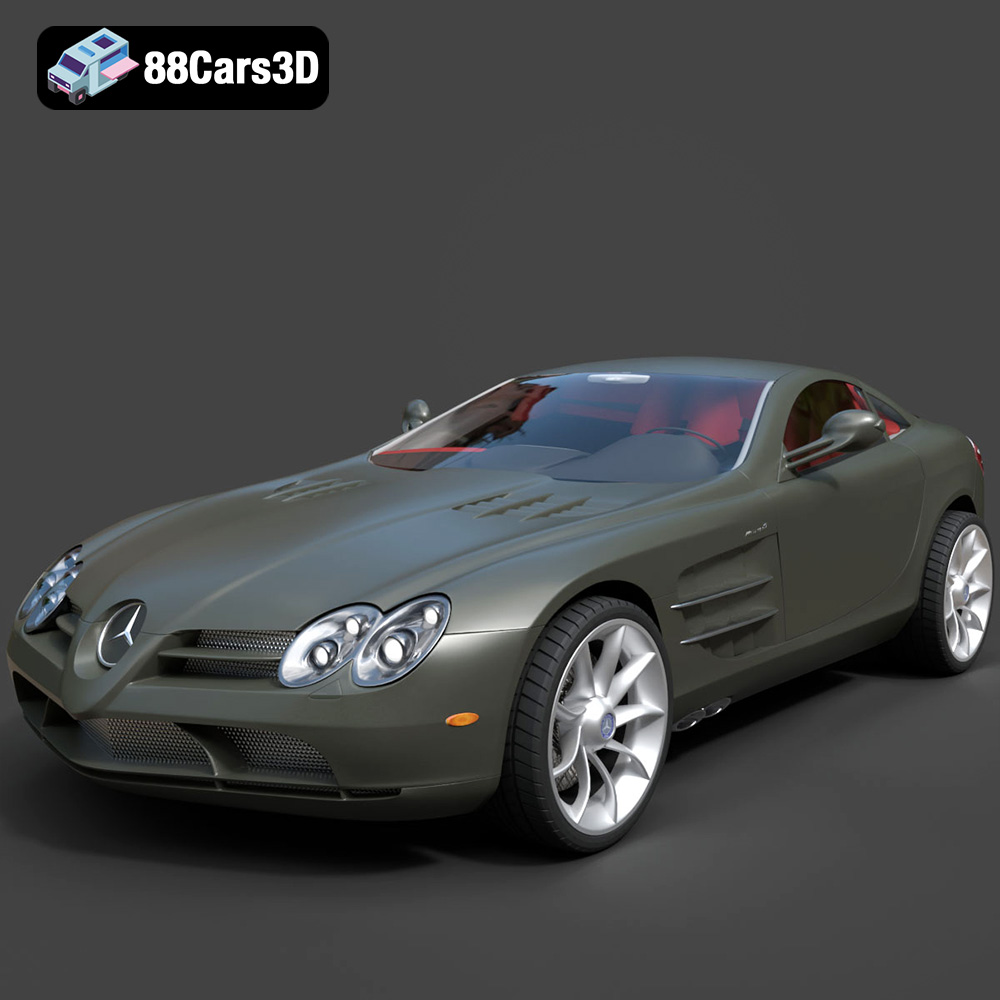
Texture: Yes
Material: Yes
Download the Mercedes-Benz SLR McLaren 3D Model featuring clean geometry, realistic detailing, and a fully modeled interior. Includes .blend, .fbx, .obj, .glb, .stl, .ply, .unreal, and .max formats for rendering, simulation, and game development.
Price: $4.99
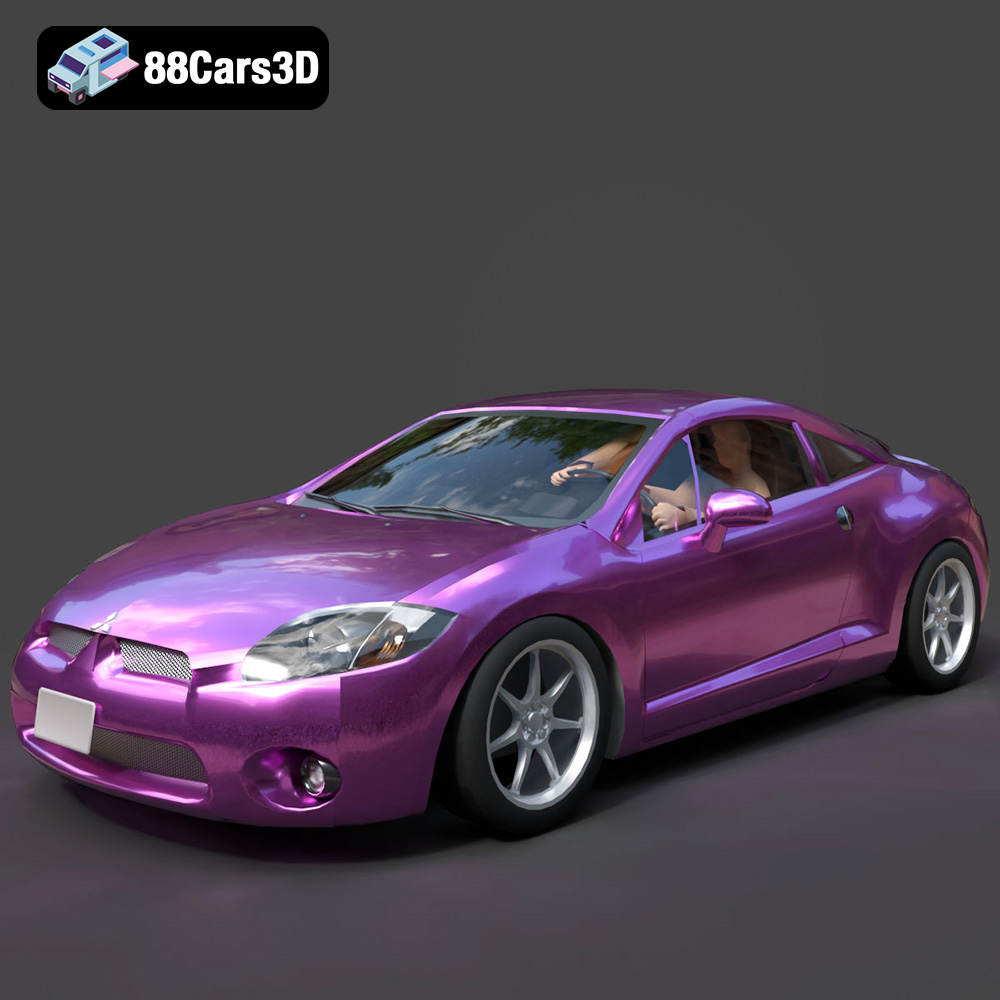
Texture: Yes
Material: Yes
Download the Mitsubishi Eclipse GT 2001 3D Model featuring clean geometry, realistic detailing, and a fully modeled interior. Includes .blend, .fbx, .obj, .glb, .stl, .ply, .unreal, and .max formats for rendering, simulation, and game development.
Price: $4.99
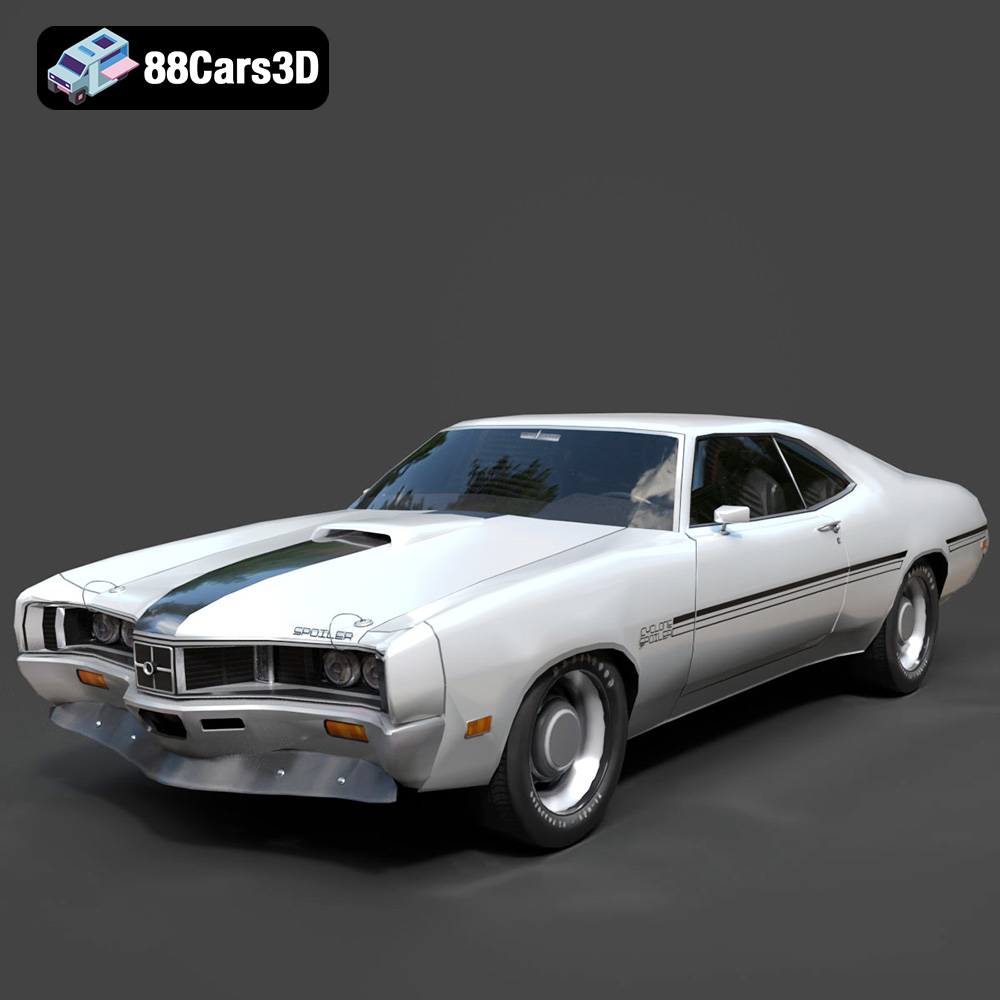
Texture: Yes
Material: Yes
Download the Mercury Cyclone Spoiler 1970 3D Model featuring clean geometry, realistic detailing, and a fully modeled interior. Includes .blend, .fbx, .obj, .glb, .stl, .ply, .unreal, and .max formats for rendering, simulation, and game development.
Price: $4.99