⚡ FLASH SALE: Get 60% OFF All Premium 3D & STL Models! ⚡
The world of 3D automotive modeling is a fascinating intersection of art and engineering, where precision meets passion. From the sleek curves of a classic sports car to the robust utility of a modern SUV, translating these intricate designs into a digital format requires a profound understanding of technical workflows, artistic principles, and performance optimization. Whether you’re an aspiring 3D artist, a seasoned game developer, an automotive designer envisioning future concepts, or a visualization professional seeking unparalleled realism, mastering the intricacies of 3D car models is paramount.
In this comprehensive guide, we’ll delve deep into the technical bedrock that underpins high-quality 3D automotive assets. We’ll explore everything from the foundational principles of topology and UV mapping to the advanced nuances of physically based rendering (PBR), game engine optimization, and preparing models for cutting-edge applications like AR/VR and 3D printing. Our goal is to equip you with the knowledge and actionable insights needed to create, adapt, and leverage 3D car models effectively across diverse pipelines, ensuring your projects stand out with professional-grade realism and efficiency. Get ready to accelerate your skills and unlock the full potential of digital automotive design.
At the heart of any exceptional 3D car model lies impeccable topology – the structural arrangement of vertices, edges, and faces that define its geometry. For automotive assets, where smooth, reflective surfaces are paramount, topology dictates not only the visual fidelity but also the model’s deformability, ease of UV mapping, and overall performance. A clean, quad-based mesh with thoughtful edge flow is crucial for maintaining crisp lines, preventing shading artifacts, and supporting subdivision surfaces.
Poor topology, characterized by N-gons (faces with more than four sides), excessive triangles in flat areas, or uneven density, can lead to a host of problems. These include pinching and creasing during subdivision, artifacts when applying normal maps, and difficulties in creating seamless UV layouts. The goal is always to achieve a balance: enough polygons to define the shape and smooth curves, but not so many that it bogs down performance or becomes unwieldy to edit. Industry standards often dictate a polygon count for high-quality render models ranging from 150,000 to 500,000 quads for the body alone, while game-ready assets target significantly lower counts, often between 10,000 to 80,000 triangles for an entire vehicle, depending on the level of detail.
The golden rule for automotive modeling, especially for subdivision surfaces, is to maintain an all-quad topology. Quads deform predictably and allow for smooth interpolation when subdivided. Triangles are generally acceptable only in very flat, non-deforming areas or for hard-surface details where surface curvature is not critical. N-gons should be avoided entirely, as they cause unpredictable shading and subdivision issues. The key to successful quad modeling lies in guiding the edge flow to follow the natural contours and design lines of the car. This means edges should flow along panel gaps, character lines, and around areas of curvature change. This creates a visually pleasing mesh that captures the vehicle’s design intent accurately.
Think about how light will reflect off the surface. Continuous edge loops help define these reflections smoothly. When modeling panel gaps, ensure enough supporting edge loops are present to hold the sharp crease when using subdivision surfaces like OpenSubdiv in 3ds Max, Maya’s Smooth Mesh Preview, or Blender’s Subdivision Surface modifier. Typically, two to three tight edge loops are required around a sharp edge to prevent it from softening too much. Mastering these techniques requires a deep understanding of polygonal modeling tools within software like Blender, Maya, or 3ds Max, utilizing tools such as edge loop selection, cut, slide, and bridge.
Balancing detail with performance is a constant challenge, particularly for assets intended for diverse applications. For cinematic renders or high-resolution visualizations, a high polygon count is desirable to capture every subtle curve and detail, often utilizing subdivision surfaces set to a high iteration. However, for real-time applications like games or AR/VR, excessive polygons are a performance killer. This necessitates a strategic approach to mesh density.
One common technique is to create a high-polygon (HP) model for baking normal maps and ambient occlusion, and a low-polygon (LP) model for the actual game engine or real-time renderer. The LP model should retain the silhouette and major features of the HP model while drastically reducing the vertex count. Tools like ZRemesher in ZBrush or retopology tools in Blender (Retopoflow add-on) and Maya (Quad Draw) can assist in creating clean low-poly meshes from sculpted or CAD data. When optimizing, focus on areas of high curvature, where more polygons are genuinely needed, and simplify flat surfaces by collapsing edges or vertices. Aim for a consistent texel density across the UVs of your LP model, as this ensures your baked textures appear uniform without blurring or pixelation in certain areas. This meticulous approach ensures that even complex components like rims, brake calipers, and intricate interior details maintain their fidelity without compromising real-time performance.
Once your 3D car model boasts impeccable topology, the next critical step is bringing its surfaces to life through realistic materials and textures. Physically Based Rendering (PBR) has become the industry standard for achieving photorealistic results, accurately simulating how light interacts with surfaces based on real-world physical properties. Understanding and correctly implementing PBR workflows is essential for creating compelling automotive visuals that respond correctly to various lighting conditions.
PBR relies on a set of texture maps (channels) that define a material’s properties, such as its base color (albedo), reflectivity (metallic or specular), roughness, and normal detail. These maps are not merely aesthetic; they are data-driven inputs that allow renderers to calculate light transport accurately. The result is a consistent, predictable appearance across different rendering environments, whether it’s a high-fidelity offline renderer like Corona or V-Ray, or a real-time engine like Unity or Unreal Engine. Properly textured car models from platforms like 88cars3d.com often come with a complete set of PBR textures, simplifying this crucial stage for artists and developers.
Before you can apply detailed textures, your model needs proper UV coordinates – a 2D representation of its 3D surface. UV mapping for a complex object like a car is a meticulous process, demanding careful seam placement and minimal distortion. The goal is to create a clean, organized UV layout where all islands (separate pieces of the unwrapped mesh) are correctly scaled relative to each other, ensuring uniform texel density.
Strategic seam placement is crucial. For cars, seams are typically hidden along edges that are less visible or where separate panels meet, such as along panel gaps, under the vehicle, or on the inside faces of wheel wells. Avoid placing seams in the middle of large, continuous surfaces like the hood or roof, as this can lead to visible texture breaks or difficult painting. Tools like 3ds Max’s Unwrap UVW modifier, Blender’s UV Editor, or Maya’s UV Toolkit offer powerful features for unfolding, relaxing, and packing UV islands. Consider using multiple UV sets for different purposes: one for general PBR textures, another for lightmaps in game engines, or even UDIMs (multi-tile UVs) for extremely high-resolution detailing on specific panels in film production. A common approach is to allocate separate UV islands for distinct parts: body, interior, wheels, glass, and lights. This modularity not only aids texturing but also allows for targeted material assignments.
Creating believable PBR materials involves defining a range of attributes through a combination of texture maps and numerical values within your shader. Key PBR texture maps include:
For car paint, which often has complex multi-layered properties, specialized shaders are often used. These shaders might include a clear coat layer with its own roughness and refractive index, metallic flakes (controlled by a flake map or procedural noise), and subsurface scattering for subtle effects on plastic components. In renderers like Corona or V-Ray, you’d build these complex materials using a node-based editor, blending layers and masks to achieve the desired effect. Software like Substance Painter is invaluable for creating these PBR texture sets, allowing artists to paint directly onto the 3D model with smart materials and powerful generators, streamlining the texturing process for automotive parts, rust, dirt, and wear.
The journey from a textured 3D car model to a photorealistic image is profoundly influenced by your rendering workflow and the art of lighting. A well-modeled and textured car can still look flat and unconvincing without proper illumination that accentuates its form, materials, and environment. Mastering advanced rendering techniques involves understanding light physics, material interactions, and the capabilities of modern render engines, followed by critical post-processing steps.
Modern renderers leverage sophisticated algorithms like global illumination (GI) to simulate realistic light bounces, reflections, and refractions. Whether you’re aiming for a sleek studio shot, a dramatic street scene, or an immersive product configurator, the right lighting setup is your most powerful tool. It transforms your raw 3D data into a captivating visual narrative. This stage often involves careful camera placement, depth of field considerations, and artistic composition, turning a technical exercise into a creative endeavor.
Effective lighting for automotive rendering typically combines several elements. The foundation is often an Environment Map, specifically an HDRI (High Dynamic Range Image). HDRIs provide realistic sky and environmental lighting, complete with accurate color temperatures and reflections. These single images can dramatically enhance realism, serving as both a light source and a reflection map. For detailed shots, supplementing the HDRI with targeted physical lights (area lights, spot lights, or spherical lights) is essential. These can be used to:
Advanced techniques include using light groups to individually adjust the intensity and color of specific lights during rendering, offering greater flexibility during post-production. Understanding indirect illumination and caustics (light focusing through transparent objects like glass) is also key for hyper-realistic glass and headlight effects. For outdoor scenes, replicating natural daylight conditions with a physical sky system can provide an authentic backdrop, complementing the HDRI with dynamic sun and cloud setups. The careful orchestration of these elements, often within software like 3ds Max with Corona or V-Ray, or Blender with Cycles, is what truly defines a professional automotive render.
The choice of rendering engine significantly impacts workflow and output. Each engine has its strengths:
Regardless of the engine, rendering often involves generating multiple render passes (AOV’s – Arbitrary Output Variables). These passes separate elements like diffuse color, reflections, refractions, global illumination, Z-depth, object IDs, and normal maps. Compositing these passes in software like Adobe Photoshop, After Effects, or Blackmagic Fusion provides immense control over the final image. You can adjust exposure, color balance, add subtle effects like chromatic aberration or lens flares, correct reflections, and fine-tune individual material properties without re-rendering the entire scene.
Post-processing also includes denoising, often applied directly within the renderer (e.g., Corona’s or V-Ray’s denoiser) or as a separate pass, to clean up noise inherent in path-traced renders. Color grading is another crucial step, allowing artists to establish mood and visual consistency. This iterative process of rendering, analyzing passes, and compositing is where the final artistic polish is applied, transforming a raw render into a stunning, cinematic automotive visual.
In the realm of game development, simply having a high-quality 3D car model is not enough; it must be rigorously optimized for real-time performance. Game engines like Unity and Unreal Engine demand assets that are lean, efficient, and designed to minimize draw calls and GPU load, while still maintaining visual fidelity. The optimization process is a delicate balance between visual quality and frame rate, crucial for delivering a smooth and immersive interactive experience, whether in a racing simulator or an open-world environment.
An unoptimized car model can cripple game performance, leading to frame rate drops, stuttering, and a poor user experience. This section focuses on the technical strategies and best practices for transforming detailed automotive models into game-ready assets that perform flawlessly. Considerations include not just the polygon count but also the complexity of materials, the number of individual meshes, and how efficiently textures are handled within the game engine’s rendering pipeline.
One of the most effective strategies for managing mesh density in games is implementing Level of Detail (LODs). LODs are multiple versions of the same asset, each with a progressively lower polygon count. The game engine dynamically swaps between these versions based on the camera’s distance from the object. For a 3D car model, you might have:
Creating LODs can be done manually through decimation tools in 3D software (e.g., Blender’s Decimate modifier, Maya’s Reduce) or automatically using engine-specific tools (e.g., Unreal Engine’s Static Mesh Editor LOD generation, Unity’s LOD Group component). The goal is to reduce vertices, edges, and faces while preserving the silhouette and key features. Closely related to LODs is culling. Frustum Culling automatically prevents objects outside the camera’s view from being rendered. Occlusion Culling takes this a step further by not rendering objects that are hidden behind other objects, even if they are within the camera’s frustum. Implementing these culling techniques effectively, often through careful scene setup and baking occlusion data, significantly reduces the number of rendered polygons and draw calls.
Beyond mesh optimization, efficient texturing and shading are vital for real-time performance. Game engines benefit greatly from reducing the number of materials and textures they need to process. This is where techniques like Texture Atlasing come into play. Instead of having separate texture maps for each component (door, hood, bumper), all textures for the entire car (or major parts) are packed into a single, larger texture sheet. This drastically reduces draw calls, as the engine only needs to bind one material and one texture set for multiple meshes. When creating models for game development, sourcing models from marketplaces such as 88cars3d.com ensures that these models often come pre-optimized with atlased textures, saving significant development time.
Another powerful technique is Channel Packing. Instead of using separate grayscale texture maps for Roughness, Metallic, and Ambient Occlusion, these maps can be packed into the individual color channels (Red, Green, Blue, Alpha) of a single texture file. For example, the Red channel might contain the Ambient Occlusion, Green the Roughness, and Blue the Metallic map. This reduces the total number of texture samples the GPU needs to perform, improving shader performance. Shader complexity itself is also a factor. While PBR shaders are standard, overly complex node networks with many instructions can be taxing. Simplifying shaders where possible, or baking complex effects into textures, can provide performance gains. Using instancing for identical objects (like multiple identical cars in a crowd) further optimizes rendering by allowing the GPU to draw many copies of the same mesh with a single draw call.
The utility of high-quality 3D car models extends far beyond traditional rendering and game development. They are increasingly becoming indispensable assets for cutting-edge applications like Augmented Reality (AR), Virtual Reality (VR), and advanced 3D printing. Each of these domains presents its own unique technical requirements and challenges, demanding specific optimization strategies to ensure seamless performance, immersive experiences, or physical accuracy. Preparing a model for these diverse uses requires a specialized understanding of their respective pipelines and limitations.
For AR/VR, the focus shifts to extremely tight performance budgets and maintaining immersion, while for 3D printing, the emphasis is on physical integrity and manufacturability. Visualization, on the other hand, can encompass everything from high-fidelity product configurators to real-time interactive showrooms. The versatility of a well-constructed 3D car model is truly highlighted when it can be adapted to these varied and demanding applications, showcasing its inherent value across multiple industry sectors.
AR and VR environments place immense pressure on performance due to the need for high, stable frame rates (typically 72-90+ FPS per eye) to prevent motion sickness and maintain immersion. For 3D car models in AR/VR, the optimization strategies are even more stringent than for traditional games:
Models optimized for platforms like 88cars3d.com often provide GLB (glTF Binary) or USDZ formats, which are specifically designed for efficient asset delivery and rendering in AR/VR applications, featuring embedded textures and optimized mesh data.
Transforming a digital 3D car model into a physical object via 3D printing requires a fundamentally different approach to geometry. The model must be “watertight” – a completely enclosed, solid volume without any gaps, non-manifold edges, or intersecting faces. Any holes or open edges will cause the slicing software to fail or result in an unprintable object.
Key preparation steps for 3D printing:
Additionally, consider the orientation of the model for printing and the necessity of support structures, which can be generated by slicing software or manually modeled for complex overhangs.
In the highly collaborative and multi-software world of 3D production, the ability to seamlessly transfer assets between different applications is paramount. This necessitates a deep understanding of various 3D file formats, their specific strengths, weaknesses, and the best practices for conversion and integration into diverse pipelines. A 3D car model might start in CAD software, move to a polygonal modeler, then to a texturing suite, a renderer, and finally into a game engine or AR/VR experience. Each step requires a reliable exchange of data.
Ensuring compatibility and data integrity during these transitions is critical. Issues such as incorrect scaling, lost material assignments, broken UVs, or missing textures can significantly disrupt workflows and waste valuable time. Platforms specializing in 3D models, such as 88cars3d.com, often provide models in multiple popular formats precisely to streamline this process for their users, ensuring broad compatibility from the outset.
Understanding the common 3D file formats is essential for any professional working with digital assets. Here are some of the most prevalent formats for 3D car models and their typical applications:
Converting between these formats can sometimes be tricky. The key is to understand what data each format preserves and what might be lost. When converting, always prioritize the cleanest possible source model. Here are best practices for smooth conversions:
A well-managed pipeline anticipates these conversion challenges, often using intermediate formats for specific stages (e.g., OBJ for initial mesh transfer, FBX for animation, GLB for final deployment), ensuring that your high-quality 3D car models remain versatile and functional across every step of your creative and technical journey.
The journey through the creation, optimization, and deployment of high-quality 3D car models is a testament to the intricate blend of artistic vision and rigorous technical execution. From the foundational principles of clean topology and thoughtful edge flow that define the very shape of the vehicle, through the nuanced art of PBR material creation and the meticulous craft of advanced rendering, every stage demands precision and expertise. We’ve explored the critical optimizations needed for seamless real-time experiences in game engines, delved into the specific demands of cutting-edge applications like AR/VR and 3D printing, and demystified the complexities of file formats and cross-platform compatibility.
Mastering these technical workflows empowers artists and developers to not only replicate reality but also to innovate and create immersive digital experiences. The continuous evolution of rendering technologies, real-time engines, and new formats like GLB and USDZ means that the landscape of 3D automotive design is constantly expanding, offering endless possibilities for creativity and application. Whether you’re aiming for cinematic realism, game-ready performance, or a physical manifestation of your design, a solid understanding of these principles is your most valuable asset.
As you continue to refine your skills and tackle new projects, remember that access to high-quality starting assets can dramatically accelerate your workflow. Platforms like 88cars3d.com provide expertly crafted 3D car models that adhere to industry best practices, offering clean topology, realistic PBR materials, and multiple optimized file formats. Investing in such resources allows you to focus your energy on further customization, scene setup, and pushing the boundaries of what’s possible. Embrace the challenge, keep learning, and drive your 3D automotive projects towards unparalleled success.
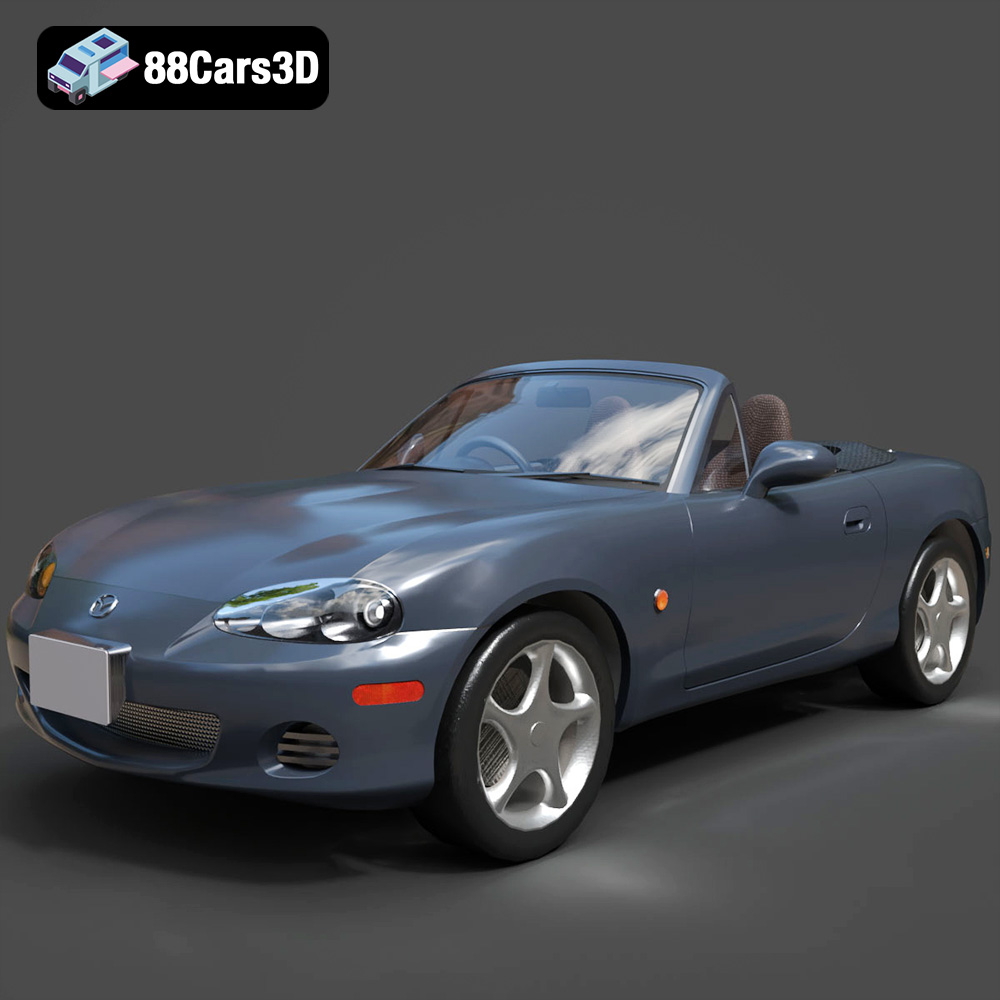
Texture: Yes
Material: Yes
Download the Mazda MX-5 2025 3D Model featuring clean geometry, realistic detailing, and a fully modeled interior. Includes .blend, .fbx, .obj, .glb, .stl, .ply, .unreal, and .max formats for rendering, simulation, and game development.
Price: $4.99

Texture: Yes
Material: Yes
Download the Nissan Maxima 2009 3D Model featuring clean geometry, realistic detailing, and a fully modeled interior. Includes .blend, .fbx, .obj, .glb, .stl, .ply, .unreal, and .max formats for rendering, simulation, and game development.
Price: $4.99
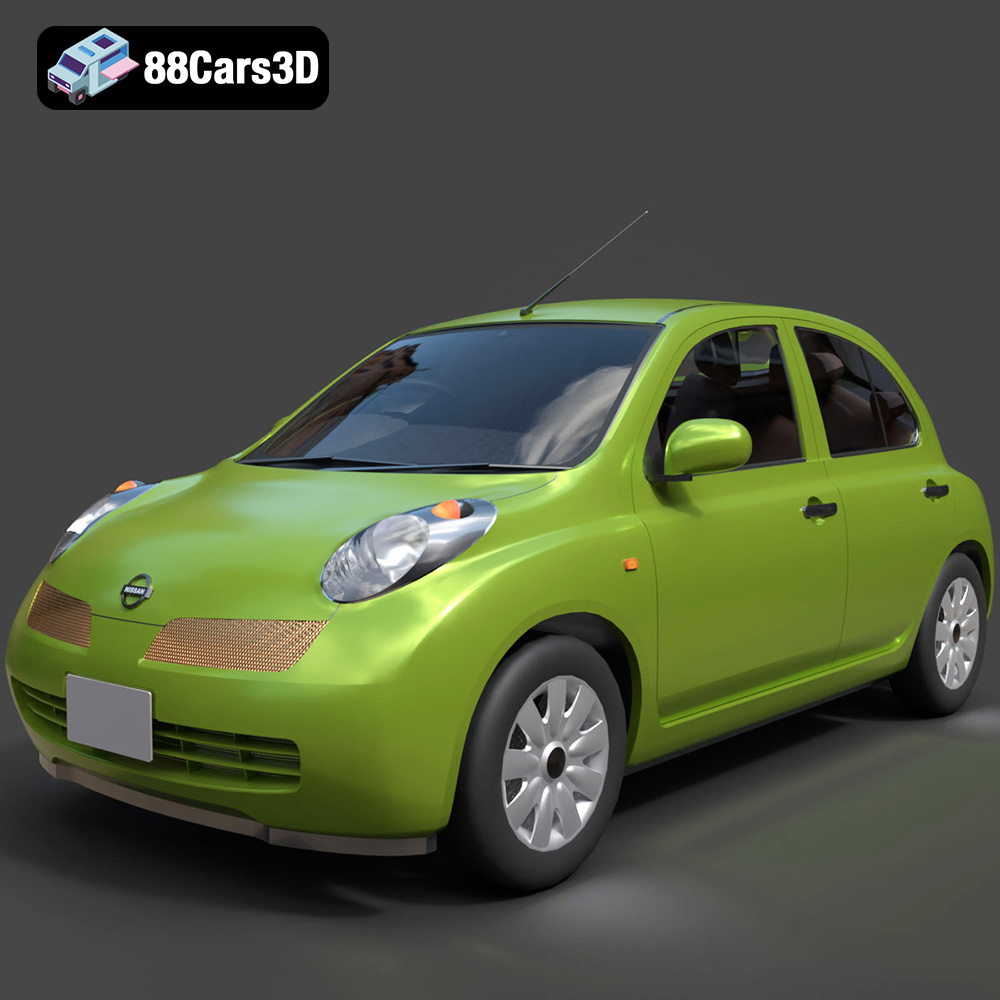
Texture: Yes
Material: Yes
Download the Nissan Micra 5-Door 2025 3D Model featuring clean geometry, realistic detailing, and a fully modeled interior. Includes .blend, .fbx, .obj, .glb, .stl, .ply, .unreal, and .max formats for rendering, simulation, and game development.
Price: $4.99

Texture: Yes
Material: Yes
Download the Opel Insignia Sports Tourer 2009 3D Model featuring clean geometry, realistic detailing, and a fully modeled interior. Includes .blend, .fbx, .obj, .glb, .stl, .ply, .unreal, and .max formats for rendering, simulation, and game development.
Price: $4.99
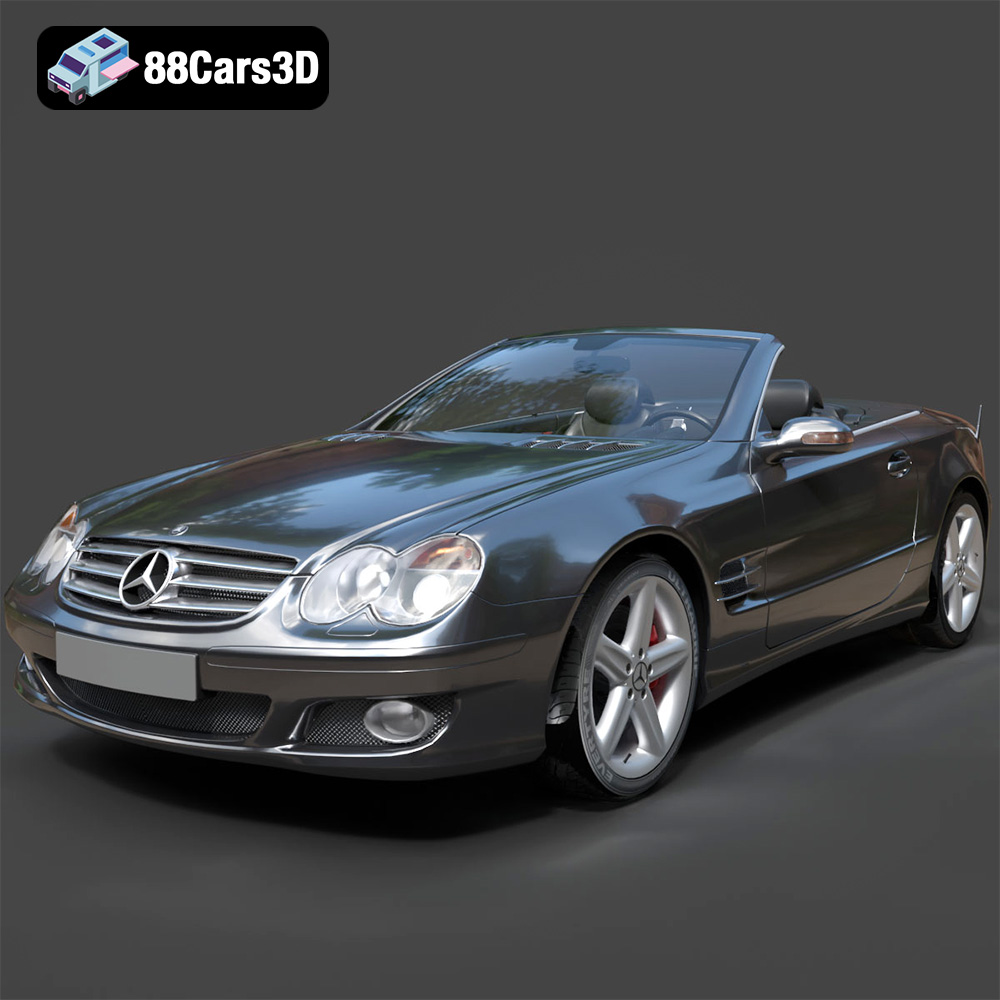
Texture: Yes
Material: Yes
Download the Mercedes-Benz SL-Klasse R230 2002 3D Model featuring clean geometry, realistic detailing, and a fully modeled interior. Includes .blend, .fbx, .obj, .glb, .stl, .ply, .unreal, and .max formats for rendering, simulation, and game development.
Price: $4.99
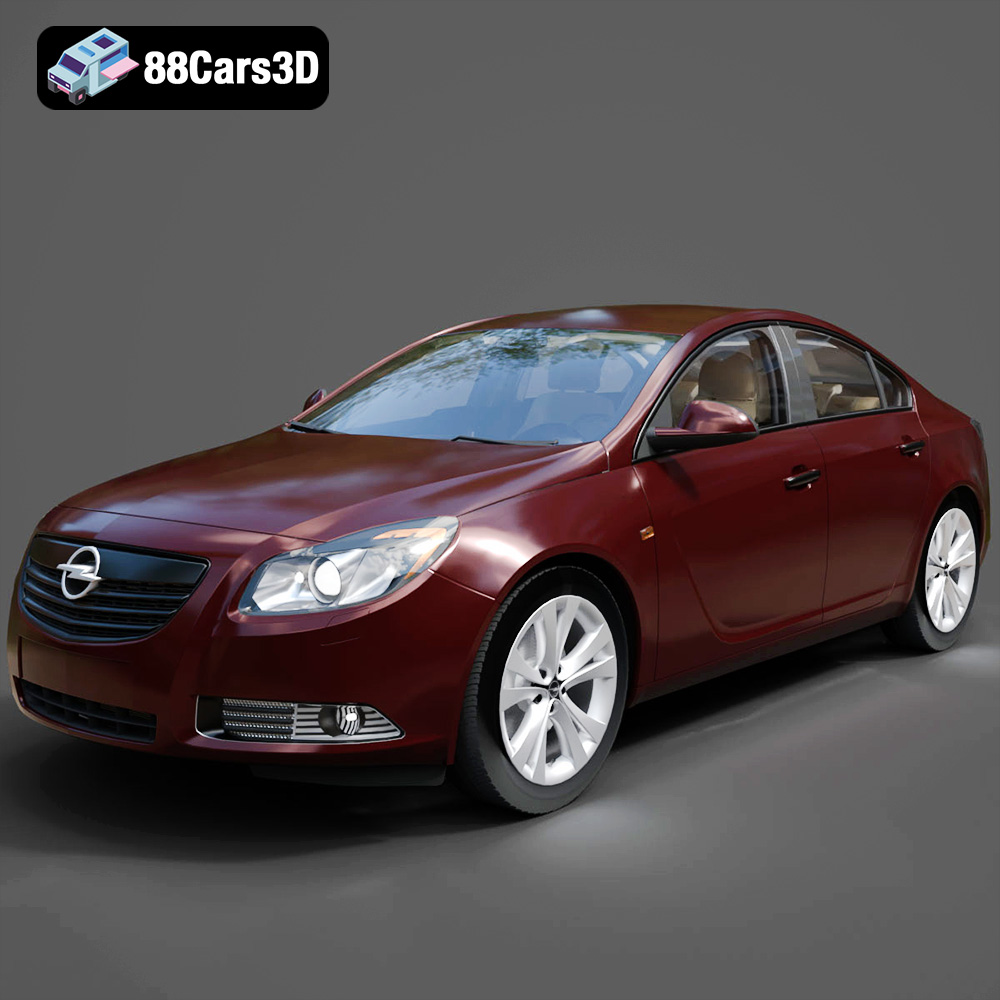
Texture: Yes
Material: Yes
Download the Opel Insignia 2009 3D Model featuring clean geometry, realistic detailing, and a fully modeled interior. Includes .blend, .fbx, .obj, .glb, .stl, .ply, .unreal, and .max formats for rendering, simulation, and game development.
Price: $4.99

Texture: Yes
Material: Yes
Download the Peugeot 206 3D Model featuring clean geometry, realistic detailing, and a fully modeled interior. Includes .blend, .fbx, .obj, .glb, .stl, .ply, .unreal, and .max formats for rendering, simulation, and game development.
Price: $4.99
Texture: Yes
Material: Yes
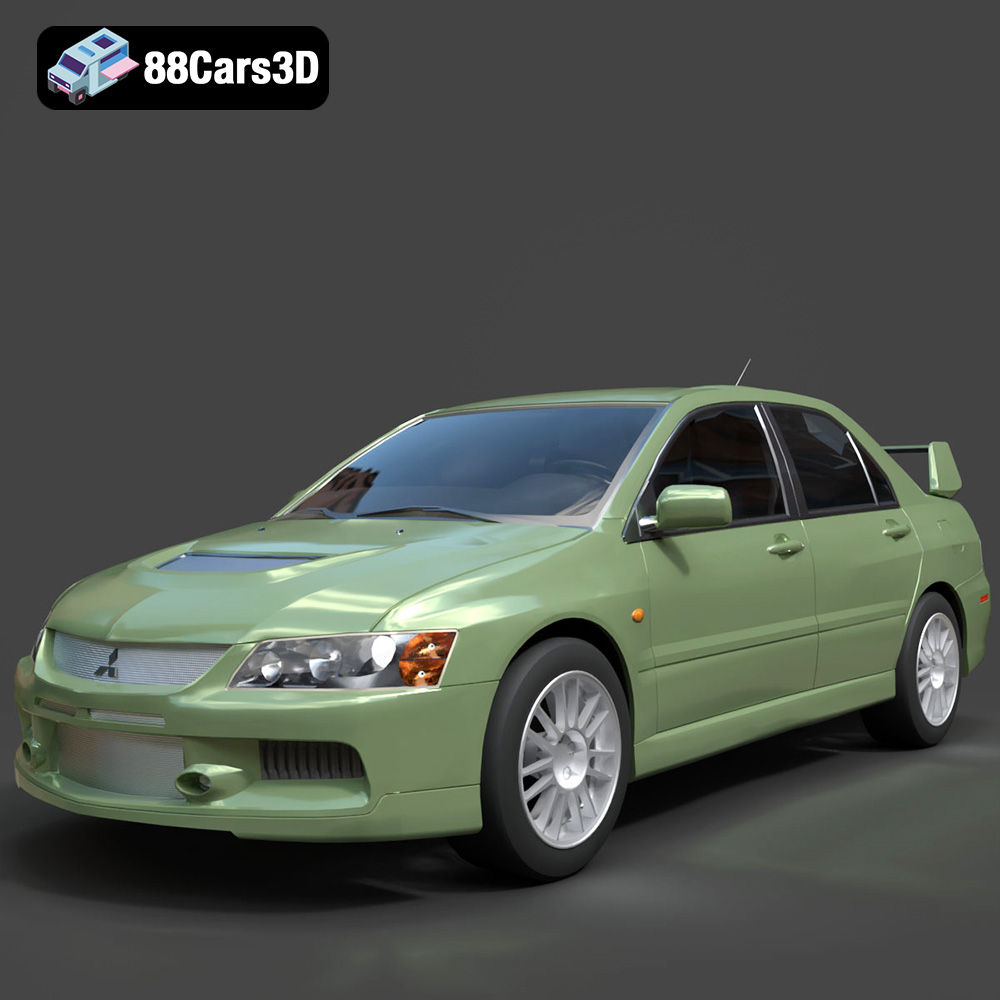
Download the Mitsubishi Lancer Evolution IX 3D Model featuring clean geometry, realistic detailing, and a fully modeled interior. Includes .blend, .fbx, .obj, .glb, .stl, .ply, .unreal, and .max formats for rendering, simulation, and game development.
Price: $4.99

Texture: Yes
Material: Yes
Download the Mitsubishi i-MIEV 3D Model featuring clean geometry, realistic detailing, and a fully modeled interior. Includes .blend, .fbx, .obj, .glb, .stl, .ply, .unreal, and .max formats for rendering, simulation, and game development.
Price: $4.99
Texture: Yes
Material: Yes
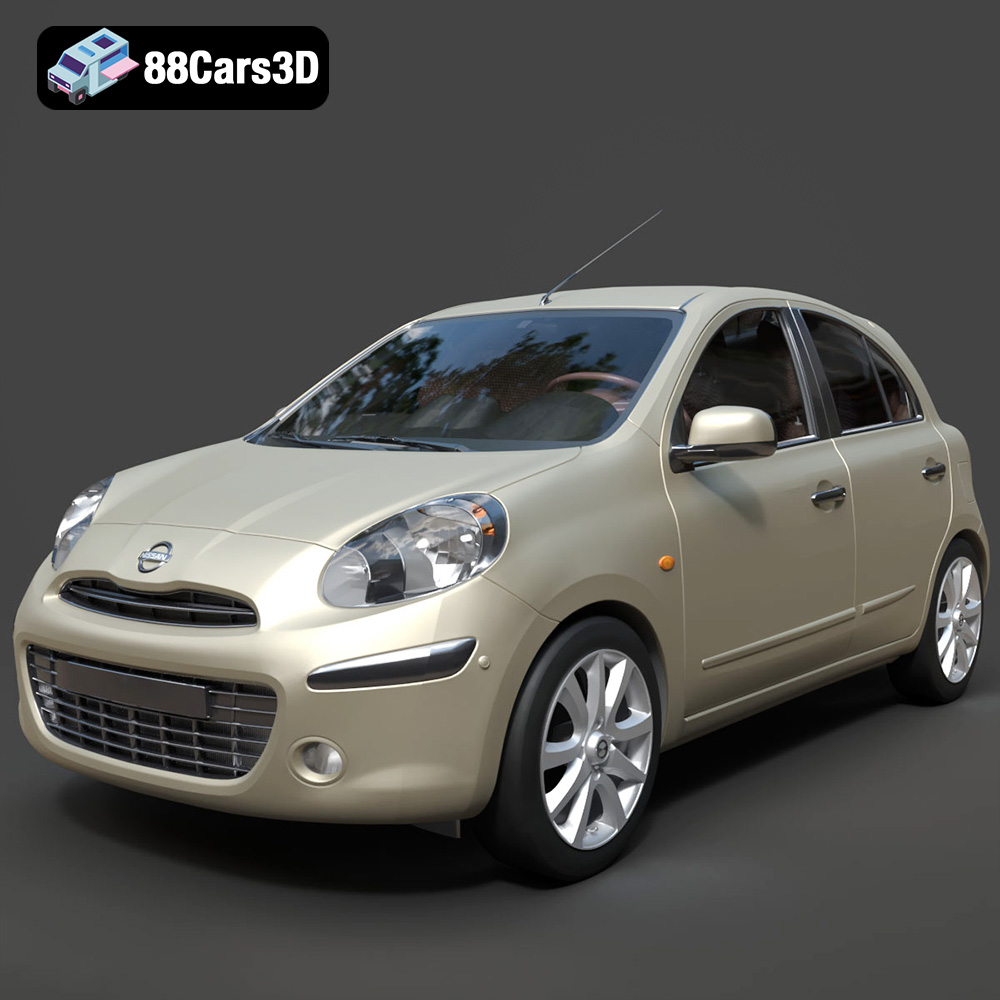
Download the Nissan Micra 2010 3D Model featuring clean geometry, realistic detailing, and a fully modeled interior. Includes .blend, .fbx, .obj, .glb, .stl, .ply, .unreal, and .max formats for rendering, simulation, and game development.
Price: $4.99