⚡ FLASH SALE: Get 60% OFF All Premium 3D & STL Models! ⚡
The automotive industry has always been at the forefront of innovation, and in the digital age, this extends to the meticulous creation and application of 3D car models. Far more than just static representations, these digital assets are the lifeblood of breathtaking visualizations, immersive game experiences, cutting-edge AR/VR applications, and even precision 3D printing. Crafting a truly outstanding 3D car model is an intricate art form, demanding a deep understanding of complex workflows, technical specifications, and industry best practices. From the foundational principles of clean topology to the nuances of physically based rendering and real-time optimization, every stage plays a critical role in achieving unparalleled realism and performance.
This comprehensive guide will take you on a journey through the essential techniques and professional insights required to excel in the world of 3D automotive modeling. We’ll explore the intricate details of creating flawless mesh structures, mastering UV layouts, building sophisticated PBR materials, and navigating the specialized demands of various rendering engines and interactive platforms. Whether you’re an aspiring 3D artist, a game developer pushing visual boundaries, an automotive designer seeking powerful visualization tools, or a student eager to master the craft, understanding these core principles is paramount. Prepare to elevate your skills and unlock the full potential of high-quality 3D car models.
The quality of a 3D car model begins and ends with its topology. Clean, efficient, and well-structured mesh is not just an aesthetic choice; it’s a functional necessity that dictates how well your model deforms, subdivides, and renders. Automotive models, with their sleek curves and complex paneling, demand particular attention to edge flow. The goal is to create a mesh composed predominantly of quads (four-sided polygons), ensuring smooth surfaces without pinching or unwanted artifacts. Poor topology can lead to render errors, difficult UV unwrapping, and issues during animation or game engine integration. A robust topology also allows for easier iteration and modification, saving countless hours in the long run.
At its core, clean topology means building your model from quads that flow logically along the natural contours of the vehicle. Avoid triangles (tris) and N-gons (polygons with more than four sides) as much as possible, especially in areas that will be visible or receive subdivision. Tris can cause pinching and unpredictable subdivision results, while N-gons are problematic for many renderers and game engines. The edge loops should follow the major forms and creases of the car, defining features like door seams, wheel arches, and body lines. For instance, the edges around a wheel arch should form a continuous loop that defines its curvature, making it easy to select and manipulate. This systematic approach ensures that the mesh accurately represents the physical object and behaves predictably under various transformations. Aim for an even distribution of polygons, avoiding overly stretched or dense areas unless absolutely necessary for detailed regions.
Automotive design is characterized by its blend of sweeping curves and razor-sharp edges. Achieving these complex forms with clean topology requires strategic placement of edge loops. For sharp creases, like those found on door edges or bumper transitions, you’ll need “supporting edge loops” or “holding edges.” These are additional edge loops placed very close to the primary edge, effectively tightening the surface when subdivision is applied. For example, a door panel might have three edge loops defining its edge: one main loop and two support loops on either side. The distance between these loops will determine the sharpness of the crease. Smooth, broad curves, on the other hand, require a more even distribution of quads across the surface, allowing the subdivision modifier to create a truly seamless and organic shape. Maintaining consistent panel gaps, even in a high-poly model, is crucial for realism. Model these gaps explicitly with separate geometry or by carefully defining edge loops to create the illusion of separation.
Most high-fidelity automotive models are designed with subdivision surfaces in mind, meaning a low-polygon base mesh is smoothed at render time or dynamically in real-time engines. The efficiency and quality of this process depend entirely on the base topology. A well-constructed quad mesh will subdivide cleanly, producing smooth surfaces without artifacts. Conversely, poor topology will result in lumps, bumps, or pinches even after subdivision. When considering deformation (e.g., car doors opening, suspension compression), proper edge flow is paramount. Edge loops should follow the natural bend lines of the deforming part, preventing stretching or collapsing of polygons. For game assets, where deformation might be handled via blend shapes or bone rigging, a consistent vertex order and clean mesh simplify the rigging process and ensure smooth animations.
UV mapping is the invisible yet indispensable bridge between your 3D model and its 2D textures. For a complex object like a car, effective UV layout is crucial for applying realistic materials without distortion, seams, or wasted texture space. A poorly UV-mapped model will inevitably suffer from stretched textures, visible seams, and inefficient texture memory usage, no matter how high-resolution your texture maps are. The goal is to create a UV layout that is both visually clean and technically efficient, allowing artists to paint and apply textures seamlessly across the entire vehicle.
The key to successful automotive UV mapping lies in strategic planning. Body panels, being the largest and most visible components, usually require large, undistorted UV islands. Consider unwrapping each major panel (hood, roof, doors, fenders) as a separate, flat piece. For cylindrical or curved parts like tires, exhausts, or mirrors, cylindrical or planar projections followed by careful unwrapping can work effectively. It’s often beneficial to separate pieces that would logically be distinct materials (e.g., paint, glass, rubber, chrome) into their own UV spaces or texture sets. This modular approach not only simplifies the texturing process but also allows for different texture resolutions and material types to be applied without affecting unrelated parts. Always try to minimize stretching by using checkerboard patterns during the unwrapping process to visually identify and correct distortion.
Visible seams are one of the most common pitfalls in UV mapping, especially on large, contiguous surfaces like car bodies. To mitigate this, strategically place seams in areas that are naturally hidden or less visible, such as along panel gaps, under trim pieces, or in creases. When a seam is unavoidable on a visible surface, ensure that your texture artist can seamlessly blend across it. Using unwrapping tools that allow for pelt mapping or relaxation can help minimize distortion and stretch, ensuring that texel density (the number of pixels per unit of 3D space) is as consistent as possible across all UV islands. In scenarios where multiple texture sets are used (e.g., UDIM workflows), ensure proper padding between UV islands to prevent texture bleeding—where pixels from one island bleed into another due to mipmapping or compression. A general rule of thumb is to maintain at least 4-8 pixels of padding for game assets, and more for high-resolution renders.
For game engines and real-time applications, UV atlasing is a critical optimization technique. This involves consolidating multiple smaller UV islands into a single, larger UV map (and thus a single texture). This approach significantly reduces the number of draw calls in a game engine, as multiple materials or texture sets can be rendered with a single pass, improving performance. For example, all interior components – dashboard, seats, steering wheel – could be atlased onto one UV map, sharing a single material. The challenge lies in efficiently packing these islands without excessive wasted space or overlap. Automatic packing algorithms in most 3D software can help, but manual adjustments are often necessary for optimal results. When sourcing models from marketplaces such as 88cars3d.com, pay attention to how models are UV-mapped; good atlasing indicates a model optimized for various applications beyond just static rendering. This strategy is also beneficial for AR/VR applications where draw call optimization is paramount.
Achieving photorealism in 3D car models hinges on the quality of their materials and shaders. Physically Based Rendering (PBR) has revolutionized this aspect, providing a standardized approach that ensures materials react realistically to light, regardless of the rendering environment. PBR materials mimic real-world physics, delivering consistent and believable results across different lighting conditions and rendering engines. For automotive models, this translates to stunningly realistic paint, glass, chrome, rubber, and interior fabrics, each with their unique optical properties.
PBR is built on two primary workflows: Metallic-Roughness and Specular-Glossiness. The Metallic-Roughness workflow, common in game engines and many modern renderers, uses a “Metallic” map (0-1, non-metallic to metallic) and a “Roughness” map (0-1, smooth to rough) to define surface properties. The Albedo (base color) map defines the color for non-metallic surfaces and the color of the reflectivity for metallic surfaces. The Specular-Glossiness workflow, often found in architectural visualization and film rendering, uses a “Specular” map (color of reflectivity), a “Glossiness” map (inverse of roughness), and a “Diffuse” map (base color). Both workflows require a solid understanding of how light interacts with surfaces. For automotive paint, a multi-layered approach using clear coats and subtle flake maps often yields the best results, simulating the depth and shimmer of real car finishes.
Automotive shaders can be incredibly complex. Car paint, for instance, is rarely a simple PBR material. It typically involves multiple layers: a base metallic/roughness layer for the colored paint, followed by a clear coat layer that adds reflections and gloss, often with its own roughness and fresnel properties. For even greater realism, a subtle “flake” or “sparkle” map can be blended in under the clear coat to simulate the metallic particles in real automotive finishes. Glass shaders require accurate Index of Refraction (IOR) values (around 1.5-1.6 for typical glass), along with careful consideration of transmission color and roughness for dirty or frosted windows. Chrome and other polished metals are characterized by high metallic values and very low roughness, often combined with an anisotropic reflection component to mimic brushed metal effects. Building these shaders often involves connecting multiple texture maps, procedural nodes, and blending functions within a shader graph, ensuring each component contributes to the overall realism.
A comprehensive PBR material relies on an array of texture maps:
Texture resolutions are critical. For hero assets, 4K (4096×4096) or even 8K textures might be used for large body panels, while smaller details like bolts or interior buttons might suffice with 512×512 or 1024×1024 maps. Optimal texture resolution ensures fidelity without excessive memory usage.
Rendering a 3D car model is the culmination of all the previous stages, transforming raw data into stunning, photorealistic images or animations. Automotive visualization demands precision in lighting, materials, and camera work to accurately convey the design and aesthetic appeal of a vehicle. Modern renderers offer incredible power and flexibility, but harnessing them effectively requires a systematic approach to lighting, environment setup, and post-processing.
Effective lighting is paramount for showcasing a car’s form and finishes.
Each rendering engine has its strengths and specific workflows:
Regardless of the renderer, specific settings like sampling rates, denoising (which significantly reduces render times), depth of field, and motion blur need careful adjustment to balance quality and performance. High-quality 3D car models purchased from platforms like 88cars3d.com often come with pre-configured materials compatible with popular renderers, saving significant setup time.
The render output is rarely the final image. Post-processing in software like Adobe Photoshop or Affinity Photo, and compositing in Nuke or After Effects, elevate the image to cinematic quality.
This final polish is where the image truly comes alive, transforming a good render into an exceptional visualization.
Bringing high-fidelity 3D car models into real-time environments like game engines (Unity, Unreal Engine) presents a unique set of challenges. The pursuit of visual fidelity must be balanced with strict performance budgets. Unlike offline rendering where render times are less critical, real-time applications demand smooth frame rates, often 30-60 frames per second or higher. This requires meticulous optimization of polygon counts, texture memory, and draw calls.
Level of Detail (LOD) is a cornerstone of real-time optimization. It involves creating multiple versions of a single asset, each with a progressively lower polygon count and potentially lower texture resolution. The game engine then dynamically switches between these LODs based on the camera’s distance from the object.
This strategy ensures that the engine only renders the necessary detail, saving significant computational resources. Tools within Unity, Unreal Engine, and 3D modeling software assist in generating and managing LODs, often using automatic decimation algorithms, but manual cleanup is often required for optimal results.
Draw calls are instructions from the CPU to the GPU to render a batch of triangles. Minimizing draw calls is critical for performance. Each unique material on an object typically results in at least one draw call. By using texture atlasing – combining multiple textures for different parts of the car into a single, larger texture – you can consolidate materials and drastically reduce draw calls. For example, all interior textures (dashboard, seats, steering wheel, console) could be part of one large atlas, allowing a single material to cover the entire interior.
Other draw call reduction techniques include:
Beyond visual representation, cars in games need robust collision detection and physics.
Platforms like 88cars3d.com provide game-ready 3D car models that often come with pre-configured LODs, optimized UVs, and collision meshes, significantly accelerating development workflows.
The utility of high-quality 3D car models extends far beyond traditional rendering and game development. They are increasingly vital for augmented reality (AR), virtual reality (VR), and even for manufacturing through 3D printing. Each application presents its own unique set of requirements and optimization strategies, highlighting the versatility of a well-crafted digital asset.
AR/VR applications demand extremely high performance and very low latency to prevent motion sickness and ensure a smooth, immersive experience. This means aggressive optimization of 3D car models.
When developing for AR/VR, every polygon, texture, and shader instruction must justify its presence.
3D printing transforms digital models into physical objects, but not all 3D models are print-ready. Specific preparations are needed to ensure a successful print.
A high-quality, clean topology model provides an excellent starting point for 3D printing preparation, making the process much smoother.
The world of 3D relies on various file formats, each with its strengths and preferred use cases. Understanding their characteristics is crucial for seamless data exchange.
When acquiring models, especially from marketplaces like 88cars3d.com, check the available file formats to ensure compatibility with your specific software and project needs. The provision of multiple formats demonstrates a commitment to versatility and ease of use for the buyer.
The journey through the creation and application of high-fidelity 3D car models is a testament to the intricate blend of art and technical expertise required in the digital realm. From meticulously sculpting clean topology and mastering the art of UV unwrapping to crafting photorealistic PBR materials and optimizing for diverse platforms, each step demands precision and a deep understanding of industry best practices. We’ve explored how flawless topology underpins smooth subdivision, how strategic UV mapping prevents texture distortion, and how PBR materials bring surfaces to life with physical accuracy.
We also delved into the specialized workflows for stunning offline rendering, the critical optimization strategies for real-time game engines, and the unique considerations for immersive AR/VR experiences and tangible 3D prints. Understanding file formats like FBX, OBJ, GLB, and USDZ empowers you to navigate the vast landscape of 3D production with confidence. The demand for exquisite 3D automotive models continues to grow, driving innovation across visualization, entertainment, and interactive technologies. By mastering these foundational and advanced techniques, you equip yourself to produce assets that not only look incredible but perform flawlessly across every imaginable application. Embrace these principles, refine your craft, and unlock new possibilities in the exciting world of 3D automotive design.
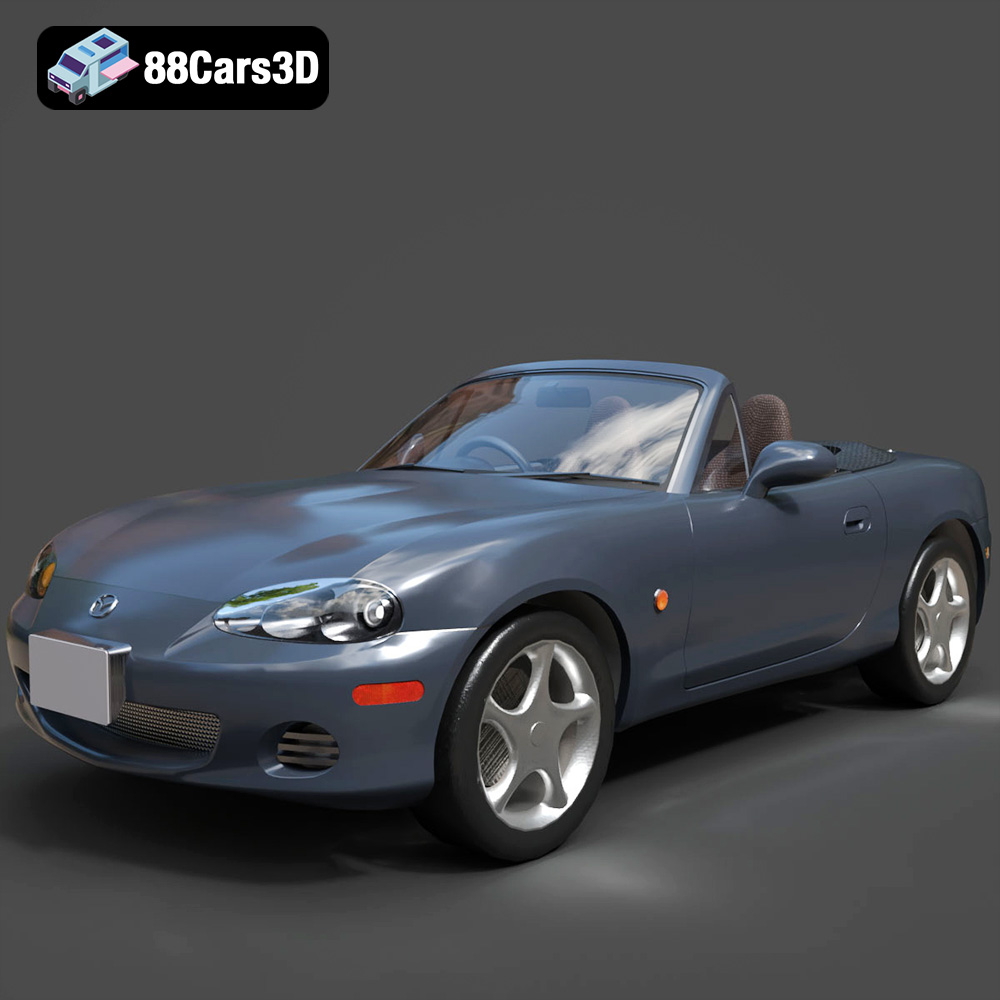
Texture: Yes
Material: Yes
Download the Mazda MX-5 2025 3D Model featuring clean geometry, realistic detailing, and a fully modeled interior. Includes .blend, .fbx, .obj, .glb, .stl, .ply, .unreal, and .max formats for rendering, simulation, and game development.
Price: $4.99

Texture: Yes
Material: Yes
Download the Nissan Maxima 2009 3D Model featuring clean geometry, realistic detailing, and a fully modeled interior. Includes .blend, .fbx, .obj, .glb, .stl, .ply, .unreal, and .max formats for rendering, simulation, and game development.
Price: $4.99
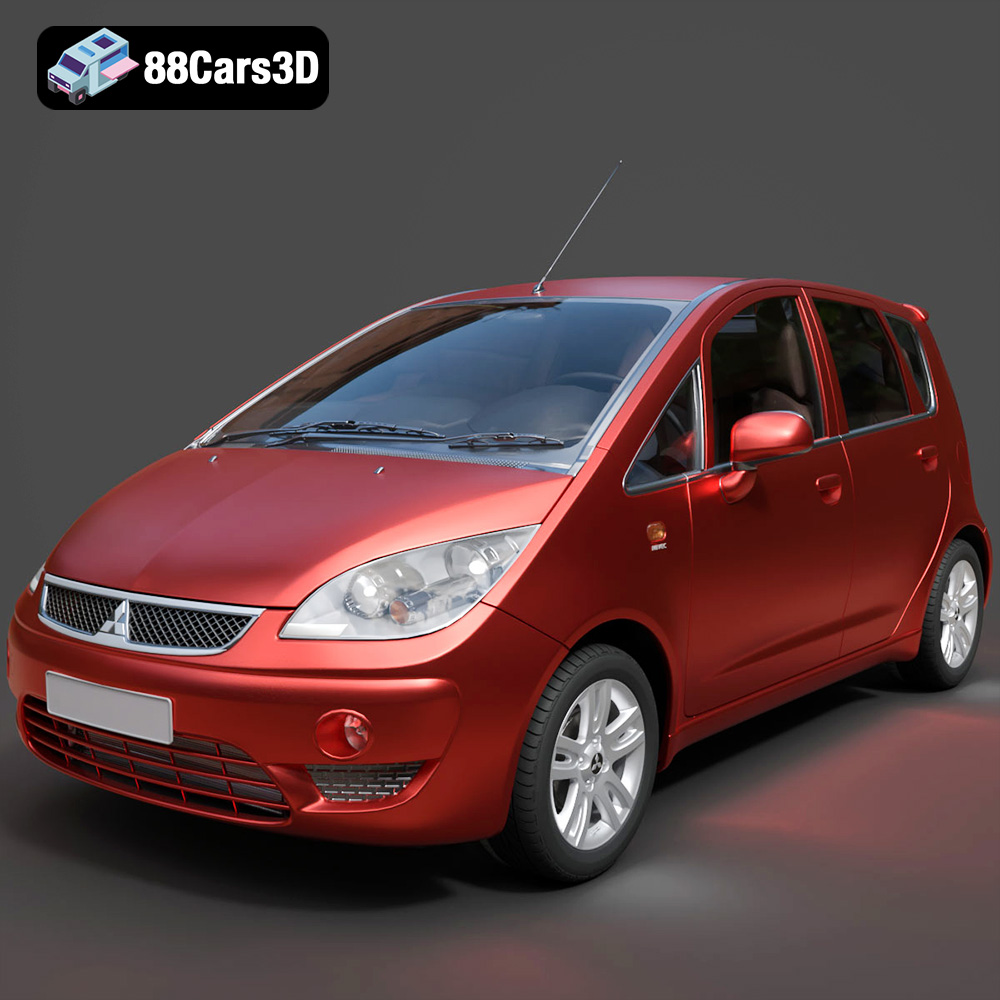
Texture: Yes
Material: Yes
Download the Mitsubishi Colt 2025 3D Model featuring clean geometry, realistic detailing, and a fully modeled interior. Includes .blend, .fbx, .obj, .glb, .stl, .ply, .unreal, and .max formats for rendering, simulation, and game development.
Price: $4.99
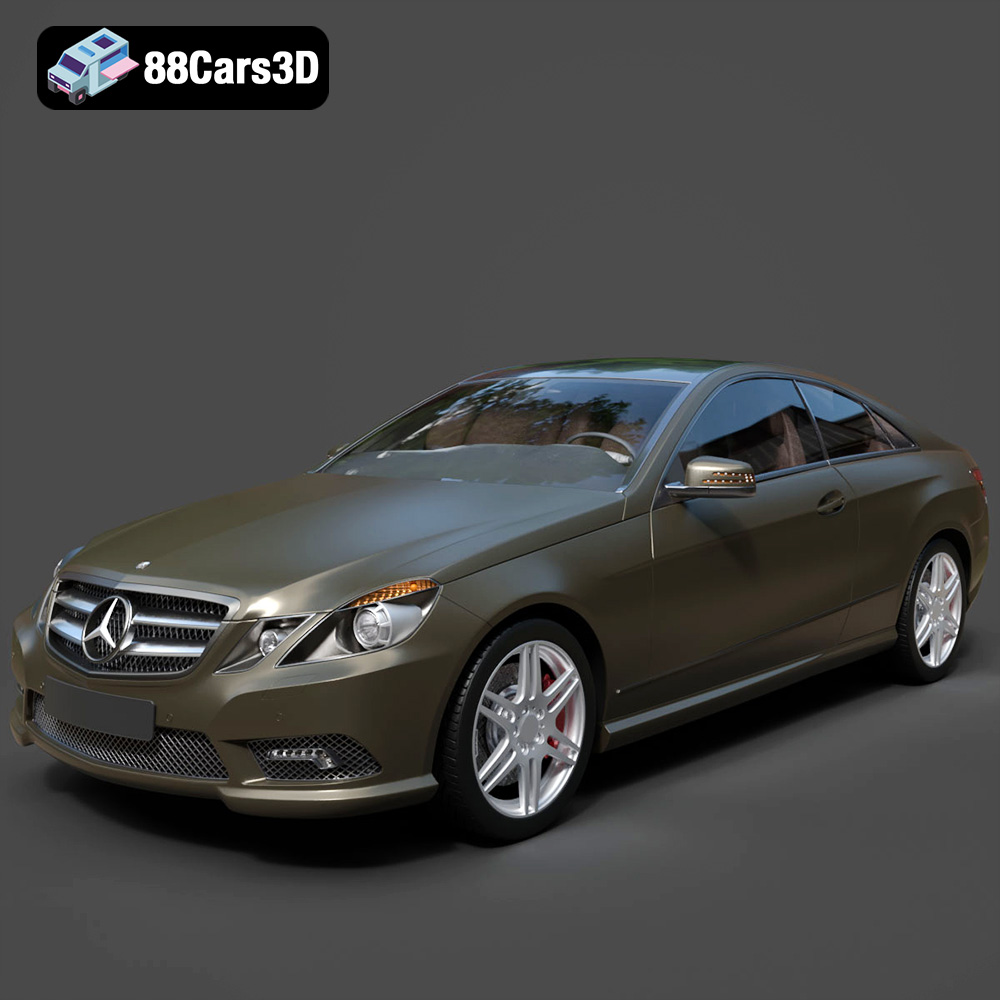
Texture: Yes
Material: Yes
Download the Mercedes-Benz E Coupe 2010 3D Model featuring clean geometry, realistic detailing, and a fully modeled interior. Includes .blend, .fbx, .obj, .glb, .stl, .ply, .unreal, and .max formats for rendering, simulation, and game development.
Price: $4.99
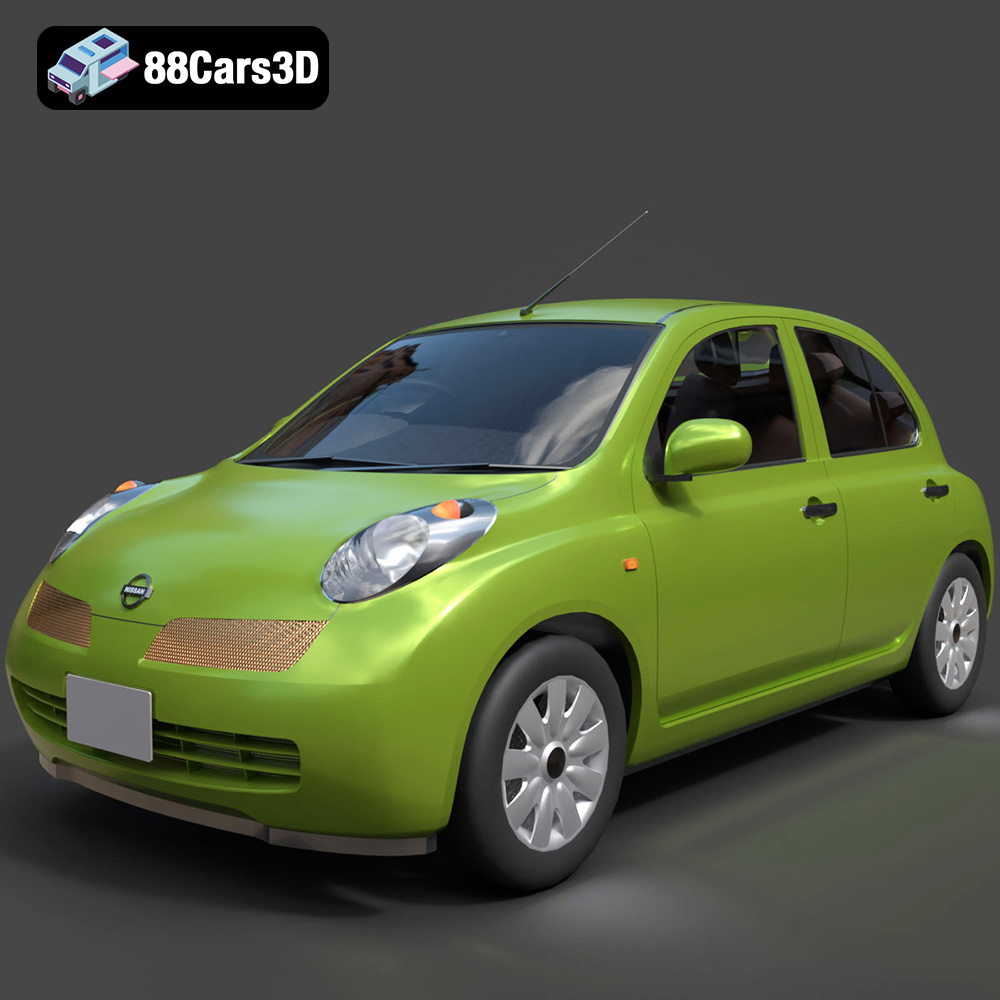
Texture: Yes
Material: Yes
Download the Nissan Micra 5-Door 2025 3D Model featuring clean geometry, realistic detailing, and a fully modeled interior. Includes .blend, .fbx, .obj, .glb, .stl, .ply, .unreal, and .max formats for rendering, simulation, and game development.
Price: $4.99

Texture: Yes
Material: Yes
Download the Opel Insignia Sports Tourer 2009 3D Model featuring clean geometry, realistic detailing, and a fully modeled interior. Includes .blend, .fbx, .obj, .glb, .stl, .ply, .unreal, and .max formats for rendering, simulation, and game development.
Price: $4.99
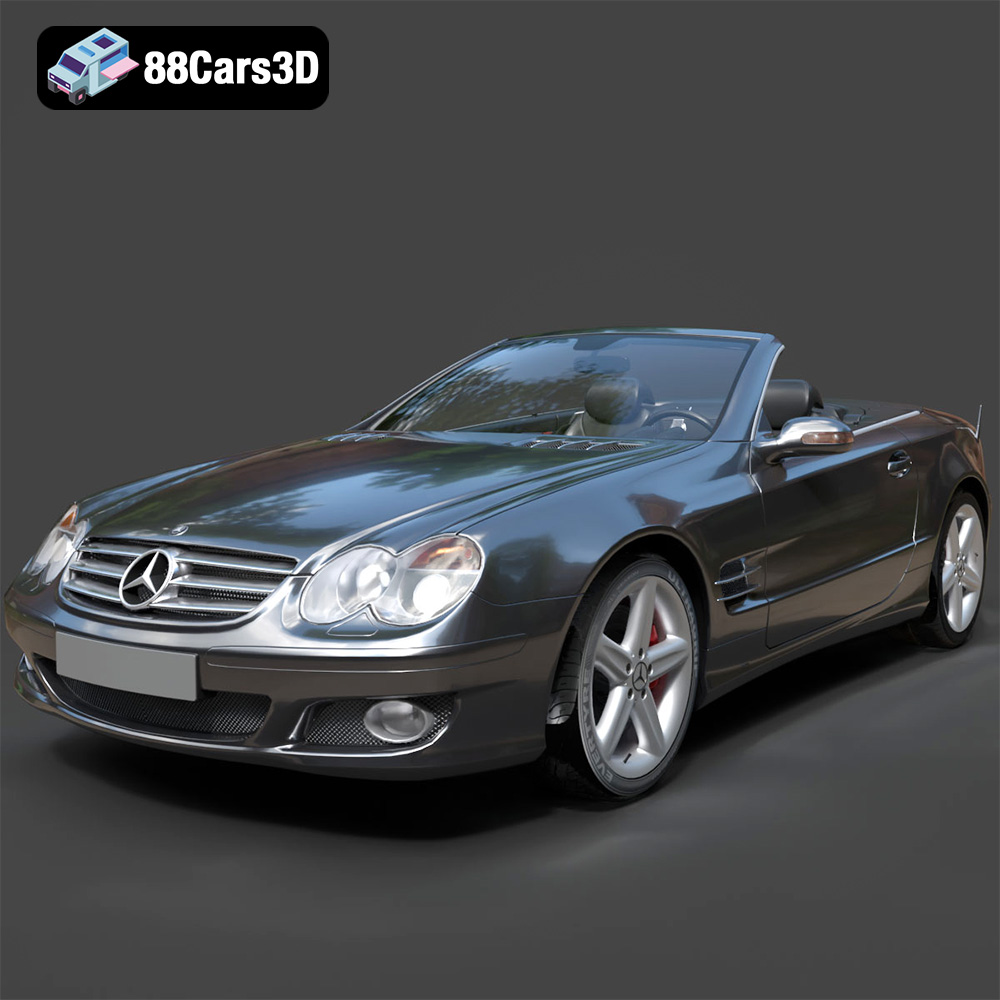
Texture: Yes
Material: Yes
Download the Mercedes-Benz SL-Klasse R230 2002 3D Model featuring clean geometry, realistic detailing, and a fully modeled interior. Includes .blend, .fbx, .obj, .glb, .stl, .ply, .unreal, and .max formats for rendering, simulation, and game development.
Price: $4.99
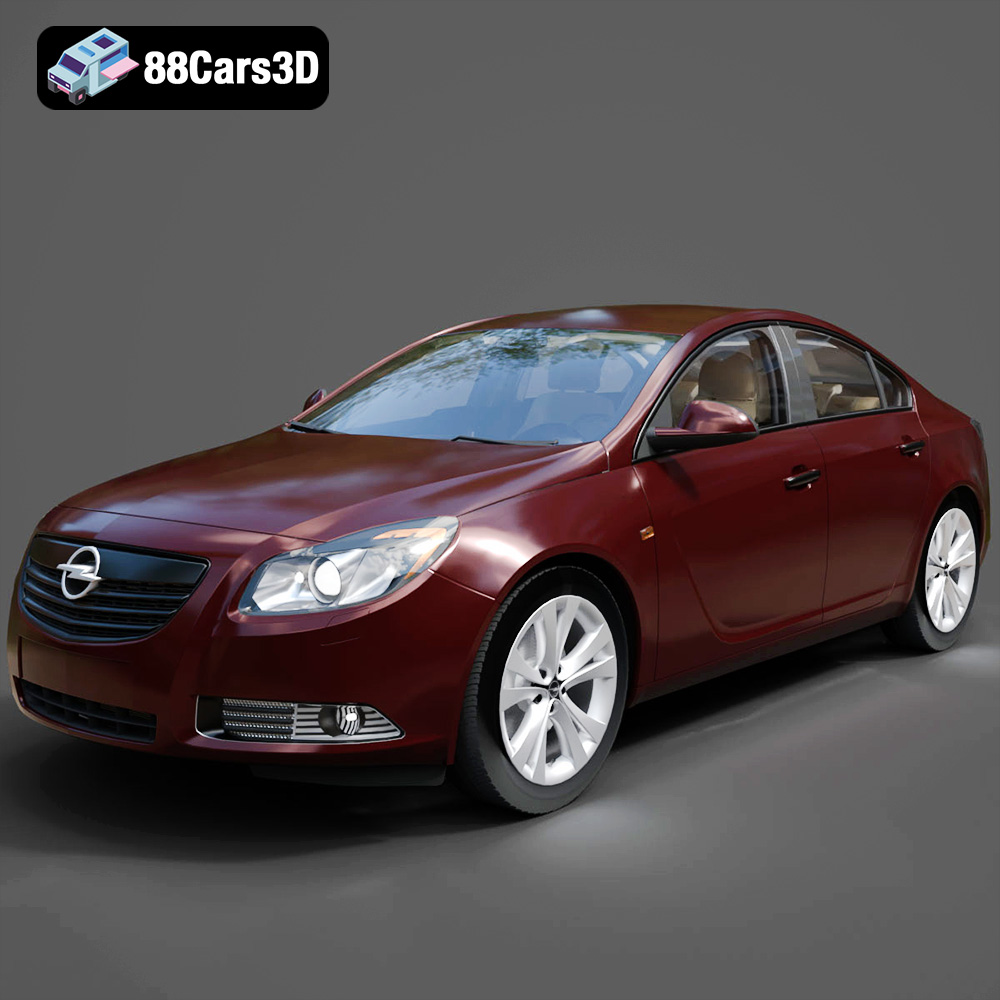
Texture: Yes
Material: Yes
Download the Opel Insignia 2009 3D Model featuring clean geometry, realistic detailing, and a fully modeled interior. Includes .blend, .fbx, .obj, .glb, .stl, .ply, .unreal, and .max formats for rendering, simulation, and game development.
Price: $4.99

Texture: Yes
Material: Yes
Download the Peugeot 206 3D Model featuring clean geometry, realistic detailing, and a fully modeled interior. Includes .blend, .fbx, .obj, .glb, .stl, .ply, .unreal, and .max formats for rendering, simulation, and game development.
Price: $4.99
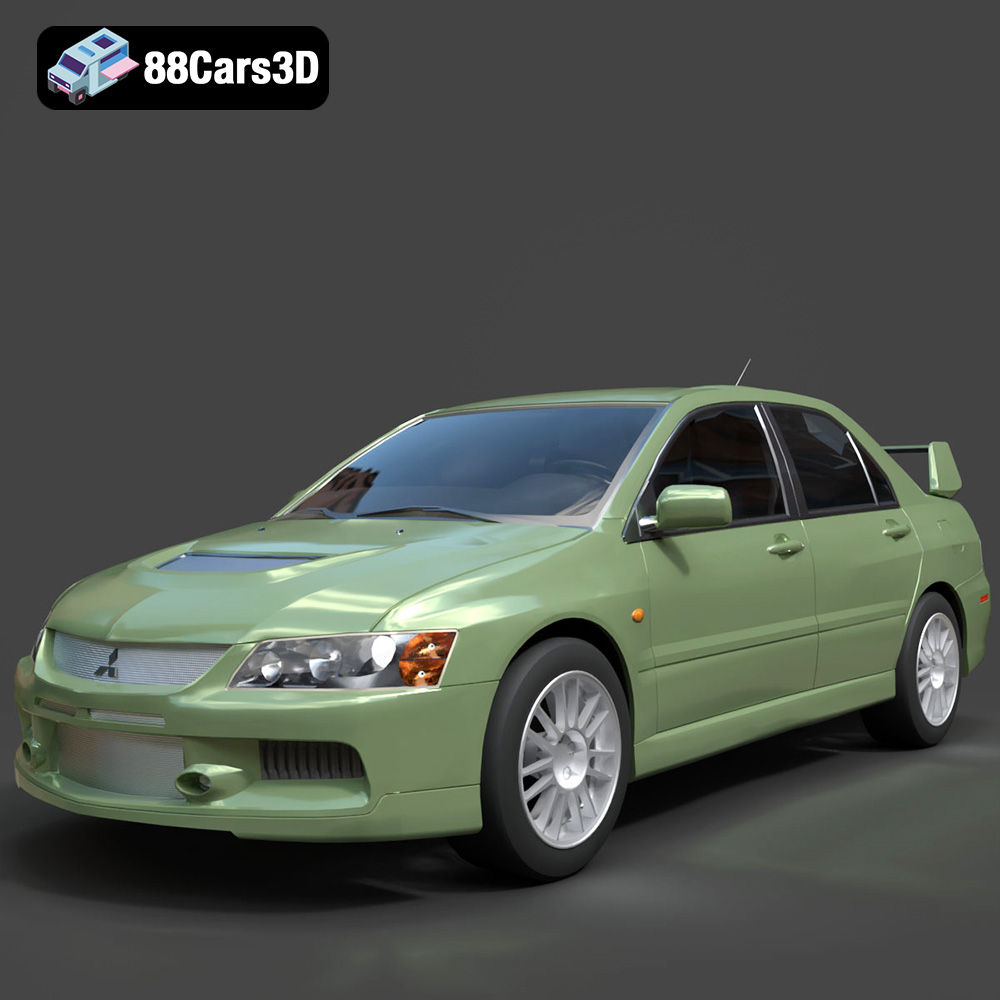
Texture: Yes
Material: Yes
Download the Mitsubishi Lancer Evolution IX 3D Model featuring clean geometry, realistic detailing, and a fully modeled interior. Includes .blend, .fbx, .obj, .glb, .stl, .ply, .unreal, and .max formats for rendering, simulation, and game development.
Price: $4.99