⚡ FLASH SALE: Get 60% OFF All Premium 3D & STL Models! ⚡
In the vibrant and ever-evolving landscape of 3D visualization, the demand for high-quality, realistic 3D car models has never been greater. From blockbuster video games and interactive AR/VR experiences to breathtaking architectural visualizations and intricate automotive design reviews, 3D vehicles are central to bringing digital worlds to life. However, creating and effectively utilizing these complex assets goes far beyond simply building a mesh. It requires a deep understanding of intricate technical workflows, from meticulous topology and UV mapping to advanced PBR material creation, rendering optimization, and preparing models for diverse platforms like game engines, AR/VR, and even 3D printing.
This comprehensive guide is designed for 3D artists, game developers, automotive designers, visualization professionals, and students alike, offering an in-depth exploration of the best practices and technical nuances involved in working with 3D car models. We’ll peel back the layers of complex processes, providing actionable insights into sculpting flawless surfaces, achieving stunning photorealism, and ensuring optimal performance across various applications. Whether you’re aiming for a cinematic render, a smooth real-time experience, or a physically printed prototype, mastering these techniques is paramount. Join us as we navigate the technical journey of transforming raw polygons into industry-standard, versatile automotive rendering and game-ready assets.
The underlying mesh structure, or topology, is arguably the most critical aspect of any high-quality 3D car model. For automotive designs, where smooth, reflective surfaces and precise lines are paramount, impeccable topology is non-negotiable. It dictates how the model deforms, how shading appears, and how easily it can be edited or optimized. Poor topology—characterized by non-quad faces, triangles in areas of deformation, or irregular edge loops—can lead to pinching, unsightly artifacts, and significant headaches down the line. The goal is always to maintain an all-quad mesh where possible, with a clean, predictable edge flow that follows the natural curves and contours of the car’s body panels.
Automotive surfaces often feature subtle convexities and concavities, sharp creases, and complex transitional areas. A well-executed edge flow will follow these features precisely, providing the necessary support for smooth subdivision (e.g., using a TurboSmooth or Subdivision Surface modifier) without introducing unwanted lumps or bumps. This careful construction ensures that highlights from environmental reflections travel smoothly across the surface, a hallmark of realistic automotive rendering. For instance, the sharp lines of a car’s character lines require tight edge loops running parallel on either side to maintain their crispness after subdivision, while broad, sweeping panels need fewer, evenly spaced loops to prevent unnecessary polygon density and maintain a clean aesthetic.
The industry standard for modeling organic shapes and hard surfaces requiring subdivision is to maintain a quad-dominant mesh. Quads (four-sided polygons) are ideal because they subdivide predictably and evenly, distributing new vertices in a uniform manner. While triangles are unavoidable in some intricate areas or for performance optimization in game engines, they should be minimized on primary surfaces, especially where subdivision is applied. In 3ds Max, Blender, or Maya, artists often start with low-polygon base meshes and then apply subdivision modifiers. The effectiveness of these modifiers hinges entirely on the quality of the initial topology. If your base mesh has stretching quads or n-gons (polygons with more than four sides), the subdivision will exacerbate these issues, creating pinching and shading errors.
A typical workflow involves blocking out the primary shapes with simple primitives, then carefully using tools like poly-modeling (extrude, inset, loop cut, slide edge) to refine the form. Key areas like wheel wells, door seams, and window frames require particular attention to edge flow, ensuring that loops flow continuously around these features. Aim for consistent face sizes across panels to distribute detail evenly. For complex curved surfaces, radial edge loops around circular openings and concentric loops for spherical areas ensure smooth curvature. This meticulous approach to topology not only guarantees visual fidelity but also sets the stage for efficient UV mapping and material application, ultimately saving countless hours in the texturing and rendering phases.
Achieving crisp edges and defined creases on a subdivided model without resorting to an unnecessarily high base polycount is a crucial skill. This is accomplished through the strategic placement of “supporting loops” or “control loops.” These are extra edge loops placed very close to a sharp edge or corner. When subdivision is applied, these tight loops force the surface to remain sharp in that area, rather than smoothing out entirely. For example, along the edge of a car door, two closely-spaced edge loops running parallel to the seam will ensure that the edge remains crisp when subdivided, accurately mimicking the manufacturing precision of a real vehicle.
The spacing of these supporting loops directly influences the sharpness of the crease. Closer loops yield a sharper edge, while slightly wider spacing results in a softer, more rounded transition. This technique is especially important for areas like the sharp angles of headlights, the edges of body kits, or the distinct lines that define a car’s aesthetic. In software like ZBrush, artists might use Crease Sets, while in traditional poly-modeling, it’s about manual insertion and adjustment of edge loops. Understanding how to manage these loops allows artists to maintain a relatively low base mesh density while still achieving incredibly detailed and smooth final surfaces—a hallmark of professional 3D car models found on platforms like 88cars3d.com.
Once your 3D car model boasts impeccable topology, the next critical step is UV mapping. UV mapping is the process of unwrapping the 3D mesh onto a 2D plane, creating a set of coordinates (UVs) that tell the rendering engine how to apply textures to the model’s surface. For cars, with their large, often continuous, and highly reflective surfaces, flawless UVs are paramount to prevent texture distortion, seams, and artifacts that can instantly break realism. A poorly UV-mapped model will exhibit stretched textures, visible seams, or low-resolution areas, regardless of how high-quality the texture maps themselves are.
The primary goal of UV mapping for automotive models is to minimize distortion, maximize texel density (the number of texture pixels per unit of surface area), and strategically place seams where they are least noticeable. This often means breaking the model into logical UV islands—separate pieces like the hood, doors, roof, bumpers, and interior elements—each unwrapped and packed efficiently within the 0-1 UV space. Tools in 3ds Max, Blender, Maya, and other DCC applications provide various projection methods (planar, cylindrical, spherical, box) and unwrapping tools (pelt mapping, LSCM) to achieve optimal results. It’s an iterative process of cutting seams, unfolding islands, and then relaxing the UVs to ensure even texel distribution.
The placement of UV seams is a critical decision. For car models, seams should ideally be hidden along natural breaks in the geometry, such as panel gaps, edges that meet other parts, or areas that will be obscured by other components (e.g., the underside of a bumper). Avoid placing seams across prominent, continuous surfaces like the middle of a hood or a door panel, as these will become visible artifacts when texture maps are applied. Good seam placement minimizes the appearance of texture breaks and facilitates easier texturing. For instance, creating a single UV island for an entire side panel, if feasible without excessive distortion, is often preferred.
After defining seams, the unwrapping process unfolds these 3D islands into 2D space. Tools like ‘Unfold3D’ or ‘Roadkill’ (now integrated into some DCCs) are invaluable. The next step is ‘relaxing’ the UVs to ensure that the texture pixels are evenly distributed, preventing stretching or compression. Checking for uniform checkerboard patterns across the entire model is a common visual cue for proper texel density. Finally, all the unwrapped UV islands are packed efficiently into the 0-1 UV space, making the most of the texture resolution. This packing process should leave minimal wasted space while preventing islands from overlapping, which would cause texture conflicts.
Texel density is a measure of how many texture pixels are projected onto a given unit of real-world surface area on your 3D model. Consistent texel density across all parts of your 3D car model is vital for uniform texture clarity. Different parts of a car, like the main body panels, might require higher texel density than hidden undercarriage components or interior elements not meant for close-up views. It’s essential to decide on an appropriate target texel density based on the model’s primary use (e.g., game asset vs. high-res render) and then scale your UV islands accordingly. For high-fidelity models, texture resolutions ranging from 2K (2048×2048) to 8K (8192×8192) are common for main body panels, while smaller details might use 1K or 512×512 maps.
For game development and performance optimization, texture atlasing is a common technique. Instead of having many small textures for individual parts, multiple UV islands from different parts of the car (e.g., interior elements, dashboard dials, small exterior trim pieces) are packed into a single, larger UV map and texture. This reduces the number of draw calls in a game engine, as fewer materials need to be processed, leading to better performance. For example, all the interior buttons, vents, and dashboard trim could share one 4K texture atlas. While requiring careful UV packing and potentially larger texture maps, atlasing significantly streamlines rendering processes, making it a key strategy for creating efficient game assets.
After meticulous modeling and UV mapping, the next step in achieving stunning photorealism for your 3D car model is the creation of Physically Based Rendering (PBR) materials. PBR is a shading paradigm that aims to represent how light interacts with surfaces in a physically accurate way, mimicking real-world material properties. This approach ensures that your materials look consistent and realistic under various lighting conditions, making them ideal for both still renders and dynamic game environments. The core of PBR revolves around a set of texture maps that define properties like base color, roughness, metallicness, normal detail, and more.
For automotive finishes, PBR is particularly powerful. Car paint, chrome, glass, and rubber all exhibit distinct light-interaction properties that PBR accurately captures. For example, metallic car paint often involves a base color, a metallic map (which is binary, indicating metallic or non-metallic properties), and a roughness map to control the microscopic surface irregularities that scatter light. Clear coat layers, common on car paint, introduce additional complexity, often simulated with dedicated clear coat parameters in advanced PBR shaders, controlling their own roughness and index of refraction (IOR). Understanding how each PBR map contributes to the final look is crucial for finessing your automotive rendering to perfection.
The primary PBR texture maps define the fundamental characteristics of a surface:
Creating these maps typically involves a combination of procedural generation, hand-painting in software like Substance Painter or Mari, and baking details from high-poly sculpts onto low-poly meshes. Software like Substance Painter is particularly adept at handling PBR workflows, offering smart materials and generators that accelerate the texturing process for vehicles.
Beyond the basic PBR channels, advanced automotive rendering often requires complex shader networks to accurately represent intricate finishes. Car paint, for example, is rarely a simple PBR material. It typically consists of multiple layers: a base coat (color), a flake layer (for metallic shimmer), and a clear coat (glossy, transparent top layer). In rendering engines like V-Ray, Corona, Cycles, or Arnold, these layers can be built using mix materials or dedicated multi-layered car paint shaders. The clear coat, for instance, would have its own roughness and IOR (Index of Refraction) values, influencing how light reflects and refracts through it, contributing significantly to the paint’s depth and shine.
Glass materials for windows and headlights also demand careful attention. They need accurate IOR values (typically around 1.5-1.55 for standard glass), proper transparency, and often a subtle reflection component. Headlight lenses might also incorporate normal maps for intricate lens patterns and separate materials for the internal reflectors and bulbs. Tires require a robust rubber material with appropriate roughness, perhaps a subtle normal map for sidewall text and tread patterns, and displacement maps for deeper tread depth in high-fidelity renders. Building these shader networks involves combining various texture maps, procedural nodes, and layering techniques to achieve a visually rich and physically accurate representation of every surface on the vehicle.
After your 3D car model is impeccably modeled, UV mapped, and textured with PBR materials, the final step in bringing it to life is the rendering process. Photorealistic automotive rendering is an art form that combines technical mastery of rendering engines with an artistic eye for lighting, composition, and post-processing. The goal is to create images that are indistinguishable from real-world photographs, often used in advertising, product visualization, and cinematic productions.
Modern renderers like V-Ray, Corona Renderer (for 3ds Max/Cinema 4D), Cycles (Blender), and Arnold (Maya/3ds Max) are all physically based, meaning they simulate light behavior in a real-world fashion, making them excellent choices for achieving photorealism. The workflow typically involves setting up a compelling environment, sophisticated lighting, realistic cameras, and then tweaking render settings for optimal quality and speed. For instance, a studio car render might utilize a seamless infinity cyclorama, softbox lighting, and controlled reflections, while an outdoor scene would integrate the car into an HDRI (High Dynamic Range Image) environment combined with targeted artificial lights.
Lighting is the soul of any render. For cars, it’s particularly crucial because their reflective surfaces interact with light in complex ways, revealing every subtle curve and contour.
Raw renders, no matter how good, almost always benefit from post-processing and compositing in software like Adobe Photoshop, Affinity Photo, or Blackmagic Fusion. This stage allows for fine-tuning the image to achieve a cinematic look and polish.
While high-end rendering focuses on maximum fidelity, game development prioritizes performance. 3D car models destined for real-time game engines like Unity or Unreal Engine require a different approach, balancing visual quality with stringent performance budgets. Unoptimized assets can cripple frame rates, leading to a poor user experience. The key is to reduce computational overhead wherever possible, primarily by managing polygon count, draw calls, and texture memory efficiently, making them true game assets.
The journey from a high-poly render-ready model to a game-ready asset often involves significant optimization. This typically includes creating multiple Levels of Detail (LODs), carefully optimizing UV layouts for texture atlasing, and ensuring efficient collision meshes. Game engines have specific requirements for materials, often utilizing their own PBR shading systems that need to be configured correctly. Furthermore, considerations for physics interactions, visual effects, and dynamic lighting all play a role in integrating car models seamlessly into a game environment.
One of the most effective optimization techniques for complex models like cars is the implementation of Levels of Detail (LODs). LODs are multiple versions of the same model, each with a progressively lower polygon count. The game engine dynamically switches between these versions based on the distance of the object from the camera. When the car is close, the highest detail LOD (LOD0) is rendered. As it moves further away, lower detail versions (LOD1, LOD2, etc.) are used, significantly reducing the number of polygons the GPU needs to process for objects that are far away and contribute less to visual fidelity.
A typical LOD setup for a game car might look like this:
Creating LODs can be done manually by artists through retopology, or semi-automatically using decimation tools found in DCC software (e.g., ProOptimizer in 3ds Max, Decimate modifier in Blender) or directly within game engines like Unity or Unreal Engine. Careful consideration must be given to preserving key silhouettes and avoiding popping artifacts when transitioning between LODs.
Beyond polygon count, several other factors heavily impact game engine performance:
For game asset development, a disciplined approach to optimization from the outset, rather than as an afterthought, is crucial for delivering high-performing and visually appealing vehicles.
The applications for high-quality 3D car models extend far beyond traditional rendering and game development. Augmented Reality (AR) and Virtual Reality (VR) platforms are increasingly leveraging 3D vehicles for interactive experiences, training simulations, and virtual showrooms. Furthermore, the burgeoning field of 3D printing offers a tangible way to bring digital car designs into the physical world. Each of these applications, however, presents its own unique set of technical requirements and optimization challenges, demanding specific preparation workflows to ensure functionality and quality.
AR/VR environments prioritize extreme performance and minimal latency to maintain immersion. This means even more aggressive optimization than typical game assets, focusing on polygon budgets, efficient textures, and streamlined shader networks. For 3D printing, the concerns shift from real-time performance to ensuring manifold geometry, watertight meshes, and appropriate wall thickness, transforming a digital concept into a robust physical object.
Developing 3D car models for AR/VR environments requires a highly disciplined approach to optimization, often pushing the limits of efficiency. The high frame rates (typically 90 FPS or higher) required for a comfortable VR experience mean that every polygon, draw call, and texture instruction must be justified.
The goal is a smooth, high-fidelity experience that avoids motion sickness, making careful optimization a paramount consideration for AR/VR visualization.
Transitioning a digital 3D car model into a physical 3D print requires a different set of technical checks and adjustments. The primary concern is ensuring the model is “manifold” or “watertight” – meaning it has no holes, self-intersections, or inverted normals, forming a completely enclosed volume. 3D printers cannot print non-manifold geometry, leading to errors or incomplete prints.
Key steps for 3D printing preparation:
While models from marketplaces like 88cars3d.com are typically high-quality, they might still require these specific adjustments if their primary purpose wasn’t initially 3D printing. Always perform a thorough check and repair process before sending to a slicer.
The world of 3D assets is characterized by a multitude of file formats, each with its strengths, weaknesses, and specific use cases. Understanding these formats and their implications for compatibility and workflow integration is essential for any professional working with 3D car models. The choice of format can affect everything from the preservation of geometry and UVs to the transfer of materials, animations, and even scene lighting between different software applications and platforms.
Common formats like FBX, OBJ, GLB, and USDZ serve distinct purposes, and knowing when to use each is key to maintaining data integrity and ensuring a smooth production pipeline. For instance, while OBJ is a universal standard for geometry, it has limitations with animation and advanced materials. FBX, on the other hand, is a robust interchange format for animated models, whereas GLB and USDZ are optimized for real-time web and AR/VR applications. Effectively managing these formats ensures that your meticulously crafted 3D car models are versatile and ready for any project.
The process of moving a 3D car model between different DCC (Digital Content Creation) software packages (e.g., 3ds Max to Blender, Maya to Unity) often involves intermediate file formats.
When transferring models, always ensure consistency in unit scales (e.g., centimeters in 3ds Max, meters in Unreal Engine) to avoid scaling issues upon import. Also, verify that all textures are correctly linked and that materials translate as expected, especially when moving between different rendering paradigms.
Maintaining data integrity throughout a project’s lifecycle, especially for valuable 3D car models, is paramount. This involves not only choosing the right file formats but also implementing sound archiving and version control strategies.
By following these best practices, you ensure that your visualization assets remain accessible, usable, and future-proof, whether for internal team collaboration or distribution on platforms like 88cars3d.com.
The journey through the intricacies of creating, optimizing, and deploying high-quality 3D car models is a testament to the blend of artistic vision and technical prowess required in modern 3D production. From the foundational principles of clean topology and efficient UV mapping to the advanced techniques of PBR material creation, photorealistic rendering, and meticulous optimization for diverse platforms like game engines, AR/VR, and 3D printing, every step plays a crucial role in bringing digital vehicles to life. Mastering these workflows not only elevates the visual fidelity of your projects but also ensures their performance and versatility across an ever-expanding range of applications.
The demand for such sophisticated automotive rendering and game-ready assets continues to grow, driving innovation in both software and methodologies. Whether you are an aspiring artist aiming for cinematic realism, a game developer pushing the boundaries of real-time performance, or an automotive designer visualizing future concepts, a deep understanding of these technical details is your most valuable asset. The pursuit of perfection in 3D visualization is an ongoing endeavor, but with the right knowledge and tools, you can create truly exceptional 3D car models that captivate audiences and stand the test of technical scrutiny. Embrace the challenge, refine your skills, and leverage high-quality resources available on platforms like 88cars3d.com to bring your automotive visions to stunning reality.
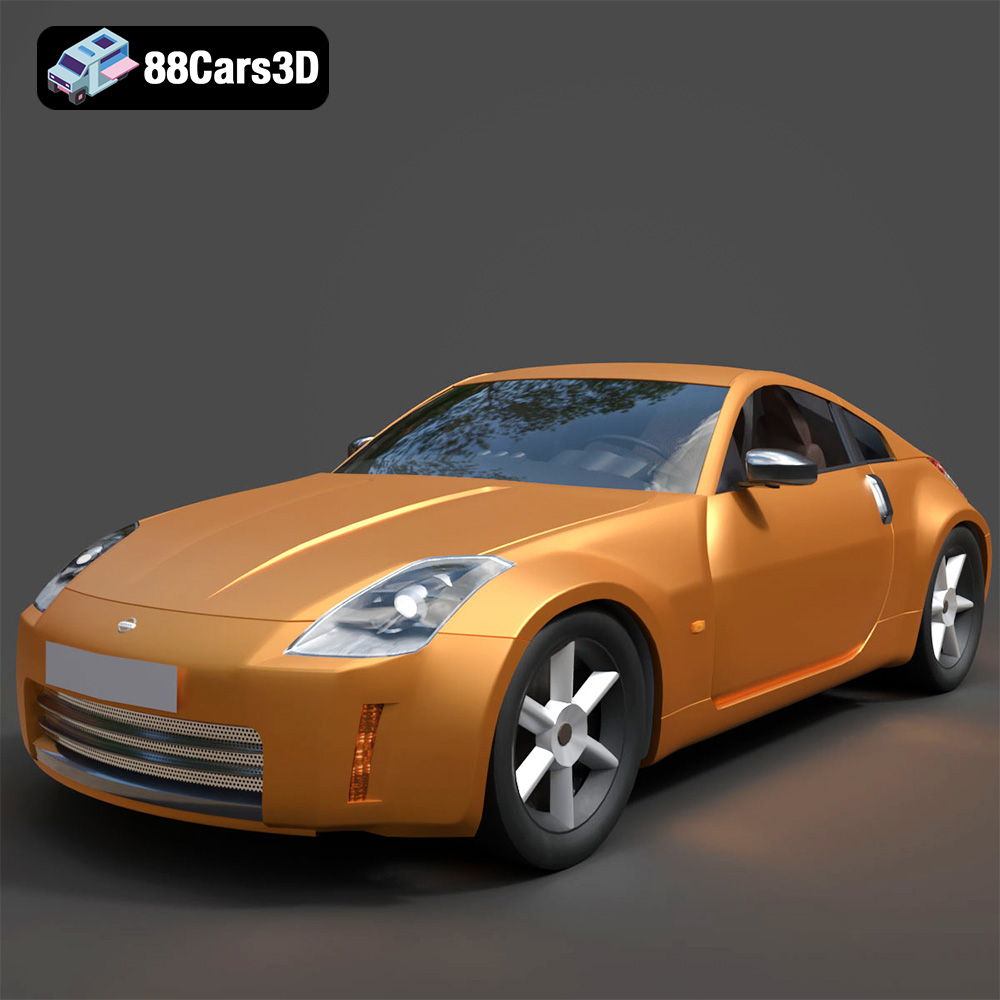
Texture: Yes
Material: Yes
Download the Nissan 350Z 3D Model featuring clean geometry, realistic detailing, and a fully modeled interior. Includes .blend, .fbx, .obj, .glb, .stl, .ply, .unreal, and .max formats for rendering, simulation, and game development.
Price: $4.99

Texture: Yes
Material: Yes
Download the Nissan Fuga 2003 3D Model featuring clean geometry, realistic detailing, and a fully modeled interior. Includes .blend, .fbx, .obj, .glb, .stl, .ply, .unreal, and .max formats for rendering, simulation, and game development.
Price: $4.99
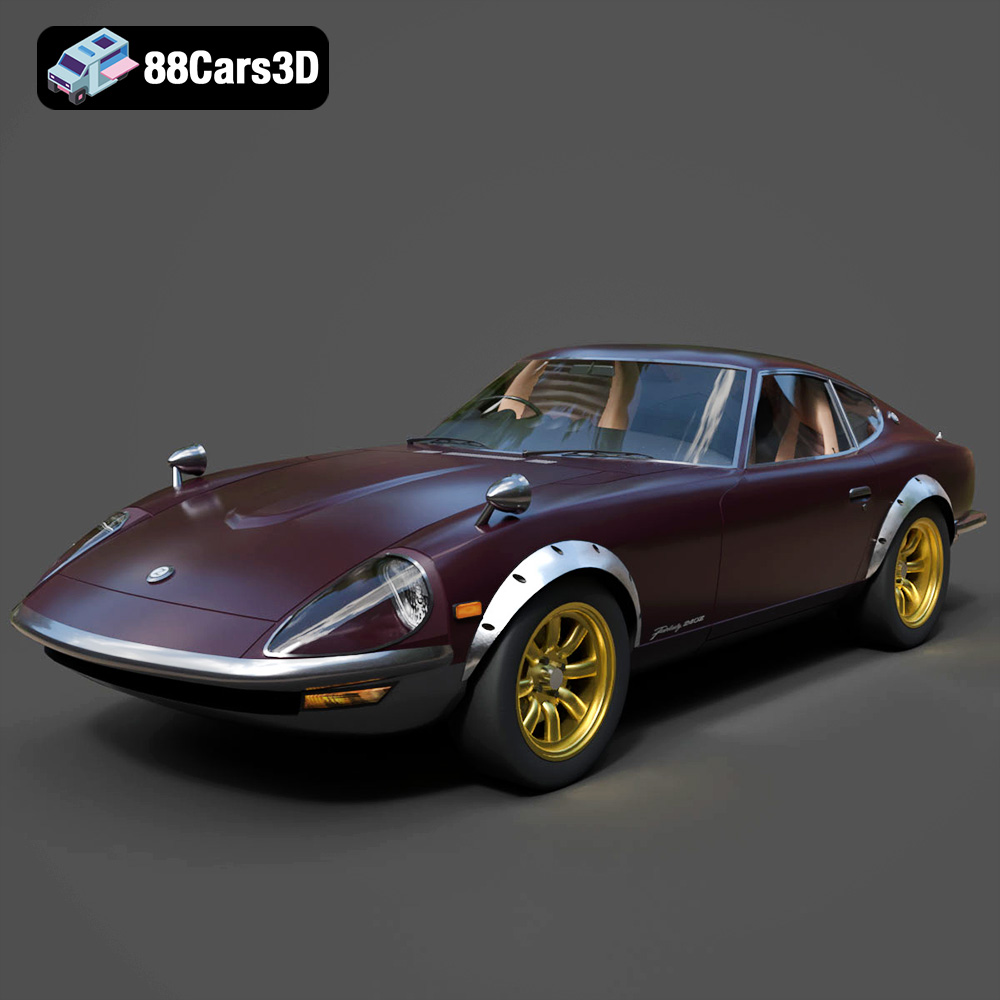
Texture: Yes
Material: Yes
Download the Nissan FairLady 240ZG 3D Model featuring clean geometry, realistic detailing, and a fully modeled interior. Includes .blend, .fbx, .obj, .glb, .stl, .ply, .unreal, and .max formats for rendering, simulation, and game development.
Price: $4.99
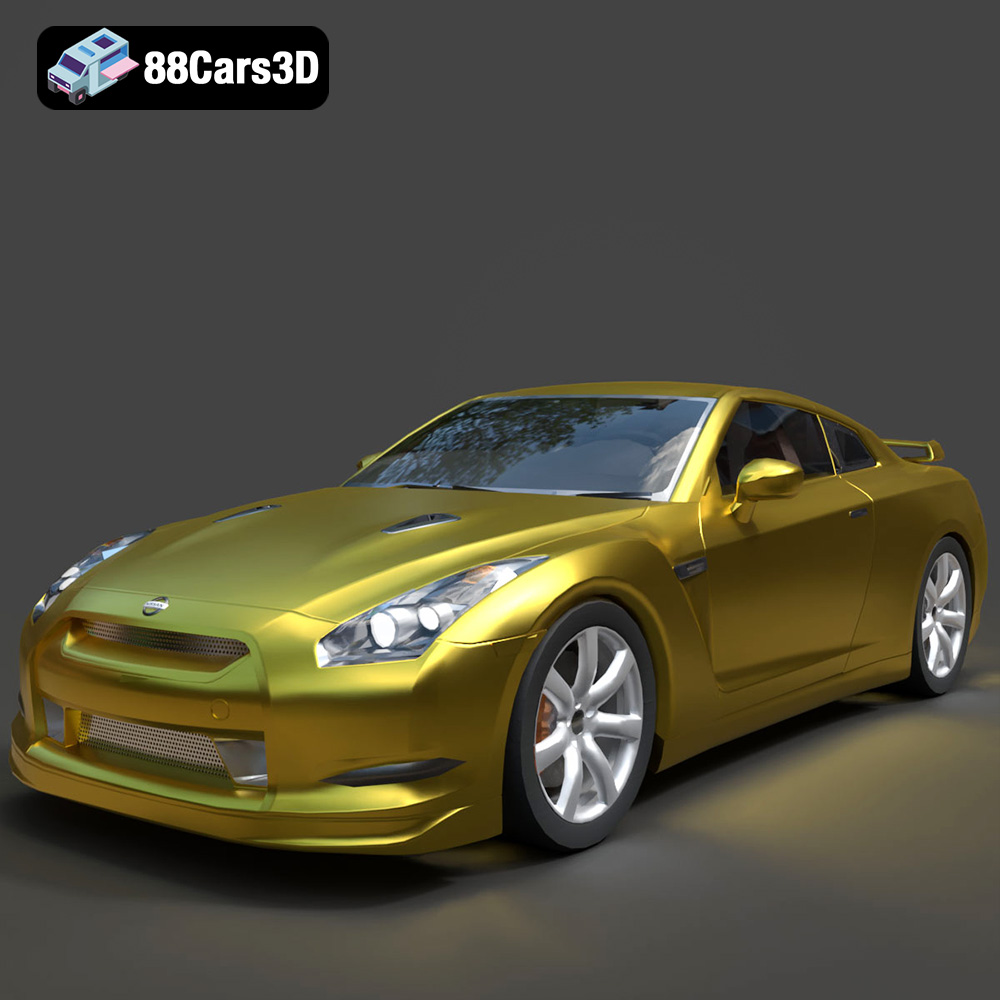
Texture: Yes
Material: Yes
Download the Nissan GT-R 2008 3D Model featuring clean geometry, realistic detailing, and a fully modeled interior. Includes .blend, .fbx, .obj, .glb, .stl, .ply, .unreal, and .max formats for rendering, simulation, and game development.
Price: $4.99

Texture: Yes
Material: Yes
Download the Nissan Cube 3D Model featuring clean geometry, realistic detailing, and a fully modeled interior. Includes .blend, .fbx, .obj, .glb, .stl, .ply, .unreal, and .max formats for rendering, simulation, and game development.
Price: $4.99

Texture: Yes
Material: Yes
Download the Nissan Cedric Y32 3D Model featuring clean geometry, realistic detailing, and a fully modeled interior. Includes .blend, .fbx, .obj, .glb, .stl, .ply, .unreal, and .max formats for rendering, simulation, and game development.
Price: $4.99

Texture: Yes
Material: Yes
Download the Nissan Cima Infiniti Q45 2007 3D Model featuring clean geometry, realistic detailing, and a fully modeled interior. Includes .blend, .fbx, .obj, .glb, .stl, .ply, .unreal, and .max formats for rendering, simulation, and game development.
Price: $4.99

Texture: Yes
Material: Yes
Download the Nissan Juke 2025 3D Model featuring clean geometry, realistic detailing, and a fully modeled interior. Includes .blend, .fbx, .obj, .glb, .stl, .ply, .unreal, and .max formats for rendering, simulation, and game development.
Price: $4.99
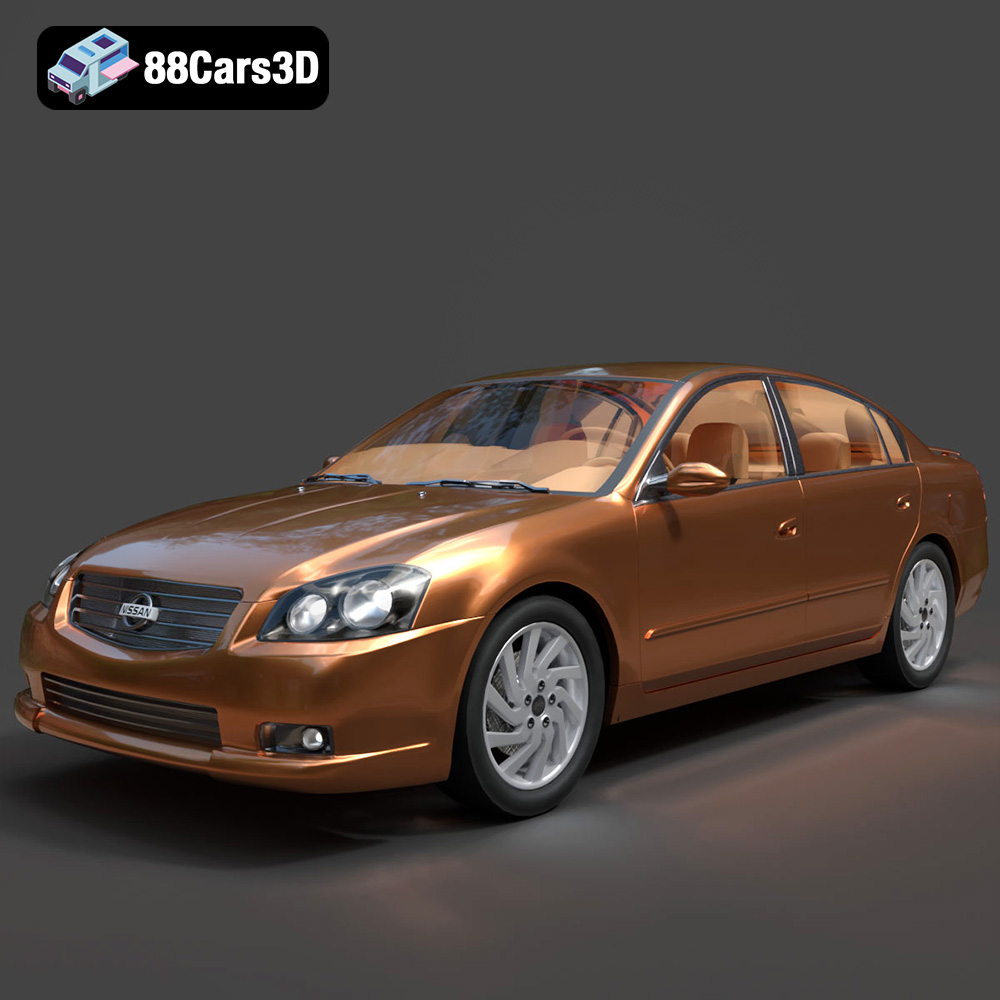
Texture: Yes
Material: Yes
Download the Nissan Altima 007 3D Model featuring clean geometry, realistic detailing, and a fully modeled interior. Includes .blend, .fbx, .obj, .glb, .stl, .ply, .unreal, and .max formats for rendering, simulation, and game development.
Price: $4.99
Texture: Yes
Material: Yes
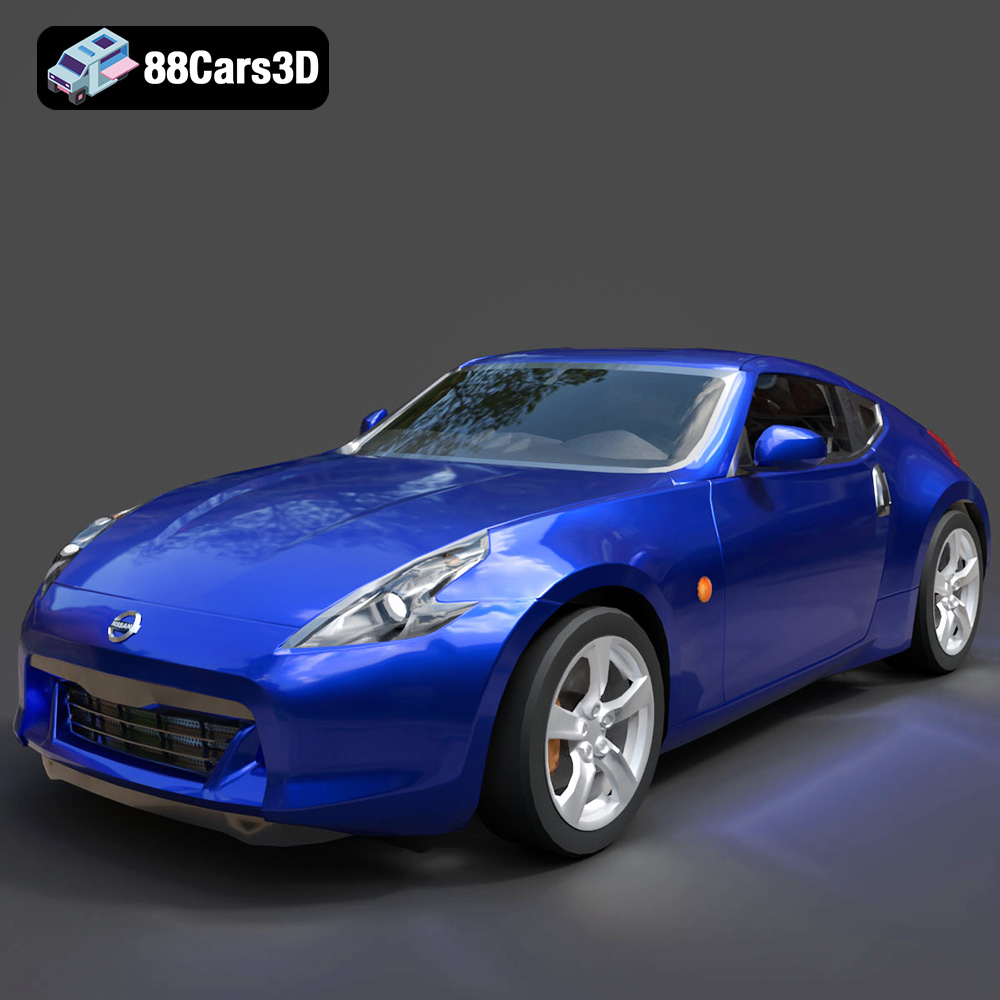
Download the Nissan 370Z 2020 3D Model featuring clean geometry, realistic detailing, and a fully modeled interior. Includes .blend, .fbx, .obj, .glb, .stl, .ply, .unreal, and .max formats for rendering, simulation, and game development.
Price: $4.99