⚡ FLASH SALE: Get 60% OFF All Premium 3D & STL Models! ⚡
The allure of the automobile transcends mere transportation; it’s an embodiment of design, engineering, and cultural significance. In the digital realm, this fascination translates into an insatiable demand for high-quality 3D car models. From exhilarating next-generation video games to groundbreaking automotive design visualizations, immersive AR/VR experiences, and detailed 3D prints, the fidelity and versatility of these digital assets are paramount. But what truly defines a high-quality 3D car model, and what technical mastery goes into creating and deploying them across diverse platforms?
This comprehensive guide dives deep into the intricate world of 3D car modeling, exploring the critical stages from foundational topology to advanced rendering, real-time optimization, and specialized applications. Whether you’re a seasoned 3D artist, a game developer pushing graphical boundaries, an automotive designer envisioning future vehicles, or a student embarking on your journey, understanding these technical nuances is crucial. We’ll demystify complex workflows, share industry best practices, and provide actionable insights to elevate your automotive 3D projects, ensuring your models not only look stunning but perform flawlessly in any given context.
At the heart of every great 3D car model lies impeccable topology. For automotive surfaces, which are characterized by their sleek curves, sharp creases, and complex paneling, clean and efficient geometry is non-negotiable. Topology dictates how a model deforms, how smooth its subdivisions appear, and how easily it can be UV mapped and textured. A clean quad-dominant mesh is the gold standard, facilitating seamless sculpting, animation, and future modifications.
The goal is to create a mesh that faithfully captures the vehicle’s design intent while maintaining a uniform distribution of polygons. This ensures that when subdivision surfaces (like OpenSubdiv in 3ds Max or Subdivision Surface modifier in Blender) are applied, the model maintains its elegant curvature without unsightly pinching or wobbling. Poor topology, characterized by triangles in flat areas, irregular edge loops, or excessive poles (vertices with more than five connected edges), can lead to rendering artifacts, difficult UV unwrapping, and a generally unworkable asset.
The fundamental principle for high-quality automotive topology is the extensive use of quads (four-sided polygons). Quads provide predictable deformation and subdivision behavior, crucial for the smooth, reflective surfaces of a car body. While triangles are acceptable in some specific, non-deforming areas (like very flat surfaces or internal geometry not visible to the user), they should be avoided on primary surfaces, especially those intended for subdivision. N-gons (polygons with more than four sides) are almost universally problematic and should be eliminated entirely from your final mesh.
Poles, or vertices with more or less than four connecting edges, are sometimes unavoidable, especially on highly curved or merging surfaces. The key is strategic placement. Vertices with five edges (5-poles) are generally acceptable, as long as they are placed in areas of minimal curvature or stress, away from critical reflections. Poles with three edges (3-poles) can be problematic, potentially causing pinching. The goal is to route edge loops around complex areas, guiding the flow of geometry to define the shape and minimize pole visibility, especially on the primary, reflective body panels.
Achieving realistic curvature on car bodies requires a delicate balance. Edge loops should follow the natural contours of the vehicle, mirroring the flow of light and reflections. Adding “support loops” or “holding edges” near hard edges is essential when using subdivision surfaces. These extra edge loops, placed very close to the intended hard edge, prevent the subdivision algorithm from smoothing out critical design lines, such as door seams, window frames, or body creases. Typically, two or three closely spaced edge loops are sufficient to define a sharp edge while allowing the surrounding surface to remain smooth.
For large, sweeping panels like a car’s hood or roof, maintaining an even distribution of quads helps to prevent subtle bumps or dents, which become glaringly obvious under studio lighting. Regularly checking your model with a reflection shader or a high-contrast matcap can quickly reveal any topological imperfections that would otherwise go unnoticed until the final render.
Realistic panel gaps are crucial for an authentic automotive model. Instead of simply creating a gap with a boolean operation, which often results in messy topology, it’s best practice to model separate panels (e.g., doors, hood, trunk) with their own thickness and then create the gaps between them. This approach mimics real-world construction and provides clean edges for realistic ambient occlusion and shadow casting.
For interior geometry, engine bays, and chassis details, while complexity is often high, the topology can sometimes be slightly more relaxed than the exterior. However, maintaining good quad flow for deformable parts (like seats or steering wheel elements) and logical poly distribution for smaller components is still important for efficient texturing and rendering. When sourcing high-quality assets from platforms like 88cars3d.com, you can often expect this level of meticulous detail and clean topology throughout the entire model.
Once the topology is solid, the next critical step for any high-quality 3D car model is UV mapping. UVs are the 2D coordinates that tell your 3D software how to project a 2D texture onto the 3D surface of your model. Poor UV mapping leads to stretched, distorted, or blurry textures, completely undermining the visual fidelity, no matter how detailed your model or high-resolution your texture maps are. For complex automotive surfaces with their intricate curves and hard edges, thoughtful UV unwrapping is paramount.
The primary goal of UV mapping for cars is to create a set of UV islands that are as un-distorted as possible, with seams placed strategically in less visible areas. This allows for clean texture application, whether it’s for detailed PBR materials like car paint, intricate decals, or realistic interior fabrics. Effective UVs also contribute to efficient texture memory usage and optimized real-time performance.
For the main car body, projection mapping methods (like planar or cylindrical projections) can be a good starting point, followed by careful cutting and unfolding. The key is to minimize the number of seams and place them where they will be least noticeable – often along natural hard edges, hidden crevices, or underneath the vehicle. For example, seams for the main body panel might run along the bottom edge of the car, inside the wheel wells, or along the natural divisions between panels (e.g., where the hood meets the fenders, but on the underside of that joint).
Using relaxation tools in software like 3ds Max (UVW Unwrap Modifier), Blender (UV Editor), or Maya (UV Editor) is essential to spread out UV islands evenly and minimize stretching. Tools that show color-coded distortion maps can help you identify and fix problem areas. Overlapping UVs should generally be avoided for unique parts, especially if you plan to bake ambient occlusion or other unique maps. However, for repeating patterns or identical parts (like individual tire treads or bolts), overlapping can be an efficient way to save texture space.
Maintaining consistent texel density across all parts of your car model is crucial for visual consistency. Texel density refers to the number of texture pixels per unit of 3D space. If parts have vastly different texel densities, some areas will appear crisp and detailed while others look blurry or pixelated, even with high-resolution textures. Calculate a target texel density based on the resolution of your textures and the size of your model. For instance, if a major car body panel is 2 meters long and uses a 4K (4096px) texture, you might aim for roughly 2048 texels per meter.
Software tools can often help visualize and standardize texel density. For smaller, highly detailed components like emblems, headlights, or brake calipers, you might intentionally allocate more UV space to allow for higher detail. Conversely, less prominent parts that are rarely seen up close can afford a slightly lower texel density to save texture space. The goal is to prioritize detail where the viewer’s eye will naturally gravitate.
For extremely high-detail 3D car models, especially those destined for cinematic renders, automotive configurators, or high-end visualization, Multi-Tile UVs (often referred to by the Mari/Mudbox standard, UDIM) are frequently employed. UDIMs allow you to spread your UV islands across multiple 1001-style UV tiles, effectively enabling you to use many high-resolution textures (e.g., multiple 4K or 8K maps) for a single model without hitting a single texture size limit. This is ideal for retaining incredible detail on large surfaces like the car body, where a single 8K texture might still not be enough.
Conversely, for game development and real-time applications where performance is paramount, a single texture atlas (or a few atlases) is often preferred. This approach consolidates all the UV islands for a model or a logical group of components (e.g., exterior, interior, wheels) into one or two large UV spaces. The main benefit is reducing draw calls in the game engine, as multiple materials can share the same texture atlas. While this might limit the ultimate texel density for extremely large models compared to UDIMs, it offers significant performance gains. When you buy 3D car models from marketplaces like 88cars3d.com, ensure they provide appropriate UV setups for your target application, whether it’s UDIM for maximum detail or atlased for game engine efficiency.
Physically Based Rendering (PBR) has revolutionized the way we create realistic materials in 3D. Moving beyond older, less accurate lighting models, PBR simulates how light interacts with surfaces in the real world, leading to incredibly convincing results. For 3D car models, mastering PBR materials is essential for capturing the nuanced reflections of car paint, the subtle sheen of leather, or the gritty texture of tires.
PBR workflows rely on a set of texture maps that define how light should behave on a surface. The two main workflows are Metallic-Roughness and Specular-Glossiness, with Metallic-Roughness being the more common standard in modern engines and renderers. Understanding the core principles and how to craft intricate shader networks for a car’s diverse surfaces is key to photorealistic output.
In the Metallic-Roughness workflow, the primary maps are:
The Specular-Glossiness workflow uses Diffuse, Specular (color of reflections), and Glossiness (inverse of roughness) maps, but Metallic-Roughness is generally simpler to conceptualize for artists as it aligns more closely with real-world material properties.
Car paint is one of the most challenging materials to replicate realistically due to its multi-layered nature. A typical car paint shader often comprises:
In software like 3ds Max with Corona or V-Ray, or Blender Cycles/Arnold, you’d typically build this using layered materials or dedicated car paint shaders. The clear coat usually has very low roughness and a Fresnel IOR (Index of Refraction) that mimics real-world automotive finishes (around 1.5). Fine-tuning the balance between the base color, flake intensity, and clear coat gloss is crucial for a convincing look.
Beyond the gleaming exterior, the interior of a car model requires an equally meticulous approach to materials. Leather, fabric, plastic, chrome, and glass all have distinct PBR properties:
Building these intricate shader networks, utilizing procedural textures where appropriate (e.g., noise for plastic grain) and high-resolution texture maps, allows for the stunning realism seen in top-tier 3D car models. Ensure your materials are logically named and organized within your 3D application for easy editing and transfer.
Once your 3D car model boasts impeccable topology, precise UVs, and photorealistic PBR materials, the final frontier for visual excellence is the rendering process. High-fidelity rendering transforms your digital asset into stunning images or animations, making it appear as if it exists in the real world. This involves mastering lighting, camera work, render settings, and understanding the capabilities of various render engines like Corona, V-Ray, Cycles, and Arnold.
The goal of automotive rendering is often to highlight design features, surface quality, and the interplay of light and shadow on complex curves. This requires a meticulous approach to every aspect of the scene, from the environment to the smallest camera setting. A poorly lit or composed render can diminish even the most perfectly modeled car.
Effective lighting is the single most important factor in a realistic render. For automotive models, two primary lighting approaches are common:
Experiment with different HDRI maps – open-air environments, industrial settings, or even specific studio HDRIs – to see how they interact with your car’s reflective surfaces. Pay close attention to how reflections behave on the car paint and glass, as this is a key indicator of realism.
Just like a professional photographer, a 3D artist must understand camera principles. Using a physical camera model in your 3D software allows you to control focal length, aperture, ISO, and shutter speed.
Consider showcasing different aspects: a full exterior shot, a detailed wheel close-up, or an interior perspective. Each requires a thoughtful approach to camera placement and settings.
Each render engine has its strengths and specific workflows:
Regardless of the engine, understanding global illumination, sampling, render passes (for post-processing), and adaptive sampling techniques is vital for achieving high-quality results efficiently. Many marketplaces, including 88cars3d.com, provide models specifically set up for various renderers, saving valuable setup time.
While cinematic renders aim for absolute fidelity, game development and real-time applications demand a different kind of mastery: optimization. A high-poly 3D car model, perfect for a static render, will likely cripple a game engine’s performance. The challenge lies in retaining visual quality while drastically reducing the computational overhead. This involves strategic polygon reduction, efficient texturing, and smart asset management for platforms like Unity and Unreal Engine.
The goal is to create a seamless experience where players perceive high detail without experiencing lag or frame rate drops. This often means creating multiple versions of the same car model, each tailored to a specific distance from the camera, and consolidating textures and materials to minimize draw calls.
One of the most critical techniques for game engine optimization is the implementation of Levels of Detail (LODs). This involves creating several versions of your 3D car model, each with a progressively lower polygon count.
Game engines automatically switch between these LODs based on the camera’s distance, ensuring high detail up close and saving processing power when detail isn’t needed. This drastically reduces the total polygon count the GPU has to render. Additionally, minimizing the number of separate meshes for a car helps reduce draw calls, as each distinct mesh (or material) often requires its own draw call, impacting performance.
In game engines, every material typically incurs a draw call. A 3D car model with dozens of separate materials (e.g., one for each small component like a bolt, a separate material for each part of the interior, etc.) can quickly lead to hundreds of draw calls, significantly impacting performance. Texture atlasing is the solution: combining multiple smaller textures into one large texture map (an atlas). All the UVs for different parts are then packed into this single atlas.
By using a single (or very few) material(s) that references this texture atlas, you can drastically reduce the number of draw calls. For example, all exterior panels might share one material and one atlas for their PBR textures (Base Color, Normal, Metallic, Roughness). Similarly, all interior components might share another. While this requires careful UV packing to maximize space utilization, the performance benefits are immense, especially for mobile games or VR applications where draw calls are a major bottleneck.
Beyond visual meshes, game engines require collision meshes for physics interactions. These should be extremely simplified versions of your main model, often just primitive shapes (boxes, capsules, spheres) or a very low-poly hull. The goal is to accurately represent the car’s physical boundaries without adding unnecessary geometric complexity to the physics engine. A car might have a single convex hull for basic collision or several simple shapes for more detailed impacts.
Understanding and adhering to polygon budgets is crucial. For modern AAA games, a hero vehicle might have a total poly count (across all LODs) of 100,000-200,000 triangles, while background vehicles might be 10,000-30,000. Mobile or VR applications will have much tighter budgets (e.g., 30,000-50,000 for a hero car). Always target the specific performance requirements of your platform. Many high-quality 3D car models purchased from professional marketplaces are pre-optimized with LODs and atlased textures, making them ready for immediate integration into Unity or Unreal Engine.
The utility of high-quality 3D car models extends far beyond traditional rendering and game development. They are becoming indispensable assets for augmented reality (AR) and virtual reality (VR) experiences, rapid prototyping through 3D printing, and sophisticated configurators. However, each of these applications introduces its own set of technical requirements and optimization challenges, particularly concerning mesh integrity and file format compatibility.
Understanding these diverse needs and how to prepare your models for them ensures maximum versatility and longevity for your 3D assets. The choice of file format, in particular, is critical for seamless integration into various pipelines and platforms.
AR and VR environments demand extreme optimization due to their real-time nature and the need for high frame rates to prevent motion sickness. Similar to game optimization, LODs, texture atlasing, and material consolidation are crucial. However, AR/VR often imposes even stricter limits:
For AR, especially on mobile devices, ensuring the model’s scale is correct and that it has an appropriate “shadow catcher” plane is vital for realistic integration into the real world.
Transforming a digital 3D car model into a physical object via 3D printing introduces a unique set of requirements focused on mesh integrity and physical properties:
3D printing workflows often involve exporting to STL or OBJ formats, which are widely supported by slicing software.
The choice of file format profoundly impacts compatibility, data preservation, and workflow efficiency:
When acquiring 3D car models, always check which file formats are included. Reputable platforms like 88cars3d.com typically offer a range of formats (FBX, OBJ, GLB, etc.) to ensure compatibility with various workflows, from high-end rendering to game development and AR/VR.
The rendering process delivers a raw image, but it’s in post-processing and compositing that the true magic often happens. This final stage is where you refine, enhance, and integrate your 3D car render into its ultimate presentation, elevating it from a good image to a truly stunning piece of visual art. Tools like Adobe Photoshop, Affinity Photo, GIMP, or even dedicated compositing software like Adobe After Effects or Blackmagic Fusion are indispensable.
Post-processing adds those subtle touches that mimic real-world photographic effects, while compositing provides unparalleled control over different elements of your render, allowing for non-destructive adjustments and perfect integration into any scene.
Color grading is paramount for setting the mood and atmosphere of your automotive render. It involves adjusting the overall color balance, contrast, and brightness to achieve a specific aesthetic:
Experiment with adjustment layers in your image editor to keep your changes non-destructive, allowing for easy revisions.
Most professional renderers offer the ability to output various “render passes” or “render elements.” These are individual layers of information (e.g., color, reflections, shadows, depth) that, when combined, make up the final image. Compositing these passes gives you an incredible level of control in post-processing:
By combining these passes using blending modes and masks, you can achieve a level of realism and artistic control that is impossible with a single beauty render. For example, you can adjust only the car paint’s reflectivity without touching the glass or interior. This granular control is a hallmark of high-end automotive visualization.
The final rendered and post-processed car often needs to be integrated into a larger scene, whether it’s a photorealistic backplate, a 3D architectural visualization, or live-action footage.
This final stage is where all the preceding technical work culminates, transforming raw data into compelling visual stories. A meticulously crafted 3D car model, whether sourced from platforms like 88cars3d.com or created from scratch, truly shines when it receives this expert final polish.
The journey from a blank canvas to a high-fidelity 3D car model is a meticulous one, demanding a deep understanding of artistic principles and technical workflows. We’ve traversed the critical stages, from establishing flawless topology that ensures smooth surfaces and predictable deformations, to mastering UV mapping for pristine texture application. We’ve delved into the intricacies of PBR materials and shader networks, unlocking the secrets to photorealistic car paint, glass, and interior elements. Furthermore, we explored advanced rendering techniques that breathe life into your models, and crucial optimization strategies for seamless integration into demanding game engines and immersive AR/VR experiences.
The world of 3D automotive modeling is dynamic and ever-evolving, constantly pushing the boundaries of realism and interactivity. Whether your goal is a stunning cinematic render, a high-performance game asset, a detailed 3D print, or an interactive AR configurator, the foundational knowledge and advanced techniques discussed here are your roadmap to success. Embrace the challenges, hone your skills, and leverage the powerful tools at your disposal.
Remember that the quality of your base assets is paramount. For those seeking professional-grade, meticulously crafted 3D car models that are ready for rendering, game development, or AR/VR applications, exploring marketplaces like 88cars3d.com can provide an excellent starting point, saving you countless hours and ensuring a solid foundation for your projects. Continue to experiment, learn, and push the boundaries of what’s possible, and your digital automotive creations will undoubtedly leave a lasting impression.
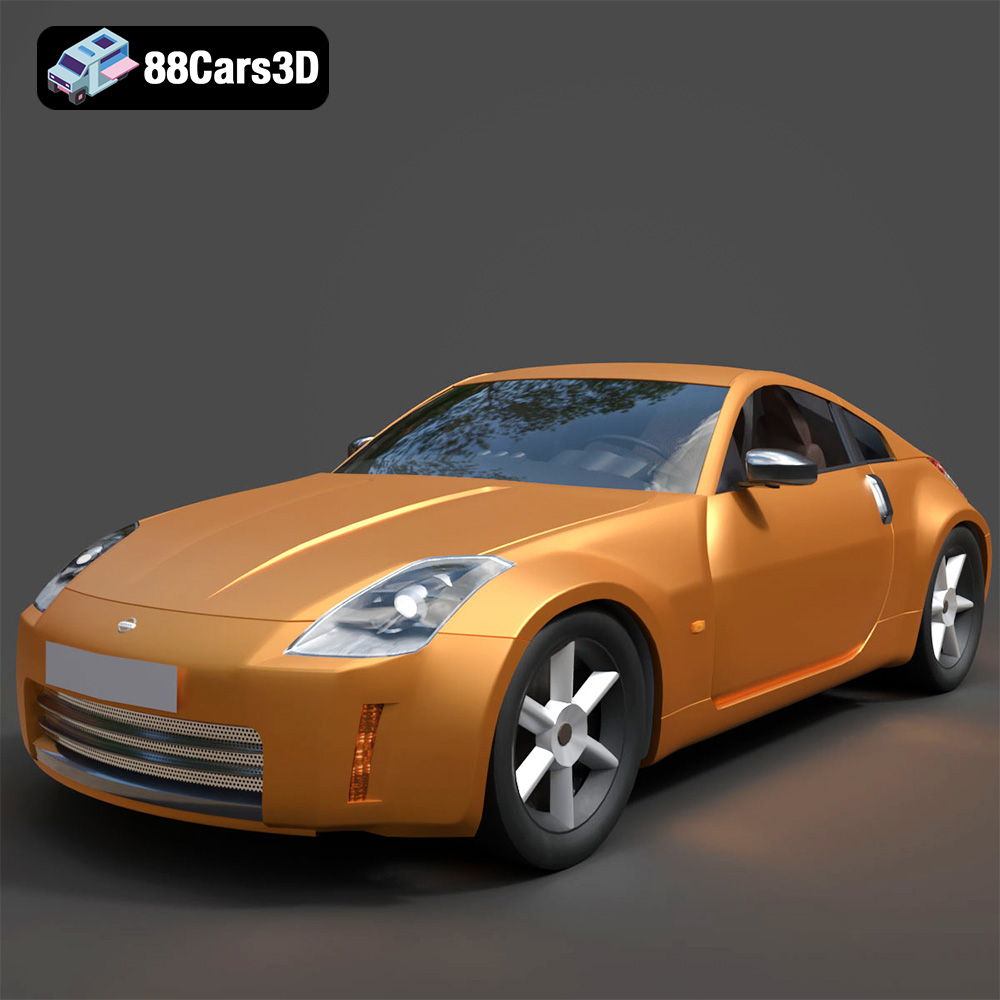
Texture: Yes
Material: Yes
Download the Nissan 350Z 3D Model featuring clean geometry, realistic detailing, and a fully modeled interior. Includes .blend, .fbx, .obj, .glb, .stl, .ply, .unreal, and .max formats for rendering, simulation, and game development.
Price: $4.99

Texture: Yes
Material: Yes
Download the Nissan Skyline V35 2001 3D Model featuring clean geometry, realistic detailing, and a fully modeled interior. Includes .blend, .fbx, .obj, .glb, .stl, .ply, .unreal, and .max formats for rendering, simulation, and game development.
Price: $4.99

Texture: Yes
Material: Yes
Download the Mercedes-Benz S-Klasse 221-007 3D Model featuring clean geometry, realistic detailing, and a fully modeled interior. Includes .blend, .fbx, .obj, .glb, .stl, .ply, .unreal, and .max formats for rendering, simulation, and game development.
Price: $4.99
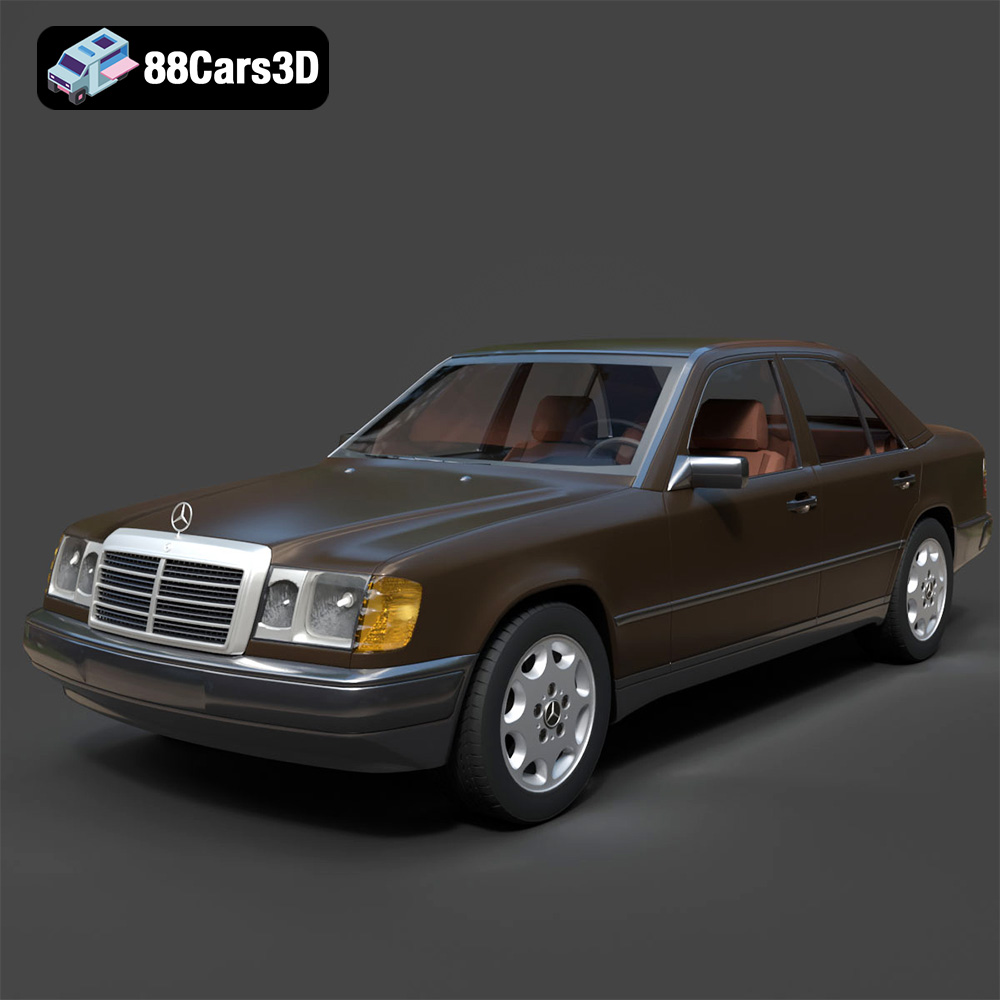
Texture: Yes
Material: Yes
Download the Mercedes W124 Sedan 3D Model featuring clean geometry, realistic detailing, and a fully modeled interior. Includes .blend, .fbx, .obj, .glb, .stl, .ply, .unreal, and .max formats for rendering, simulation, and game development.
Price: $4.99
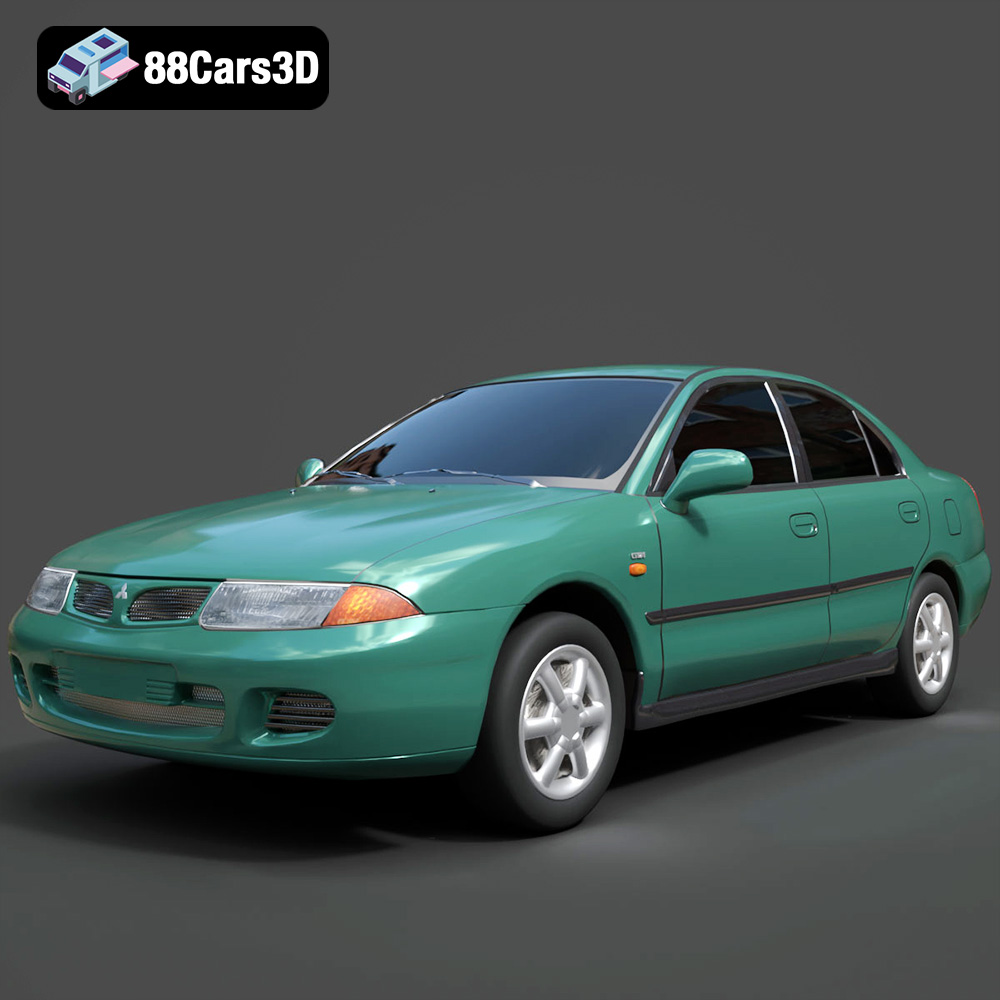
Texture: Yes
Material: Yes
Download the Mitsubishi Carisma 3D Model featuring clean geometry, realistic detailing, and a fully modeled interior. Includes .blend, .fbx, .obj, .glb, .stl, .ply, .unreal, and .max formats for rendering, simulation, and game development.
Price: $4.99
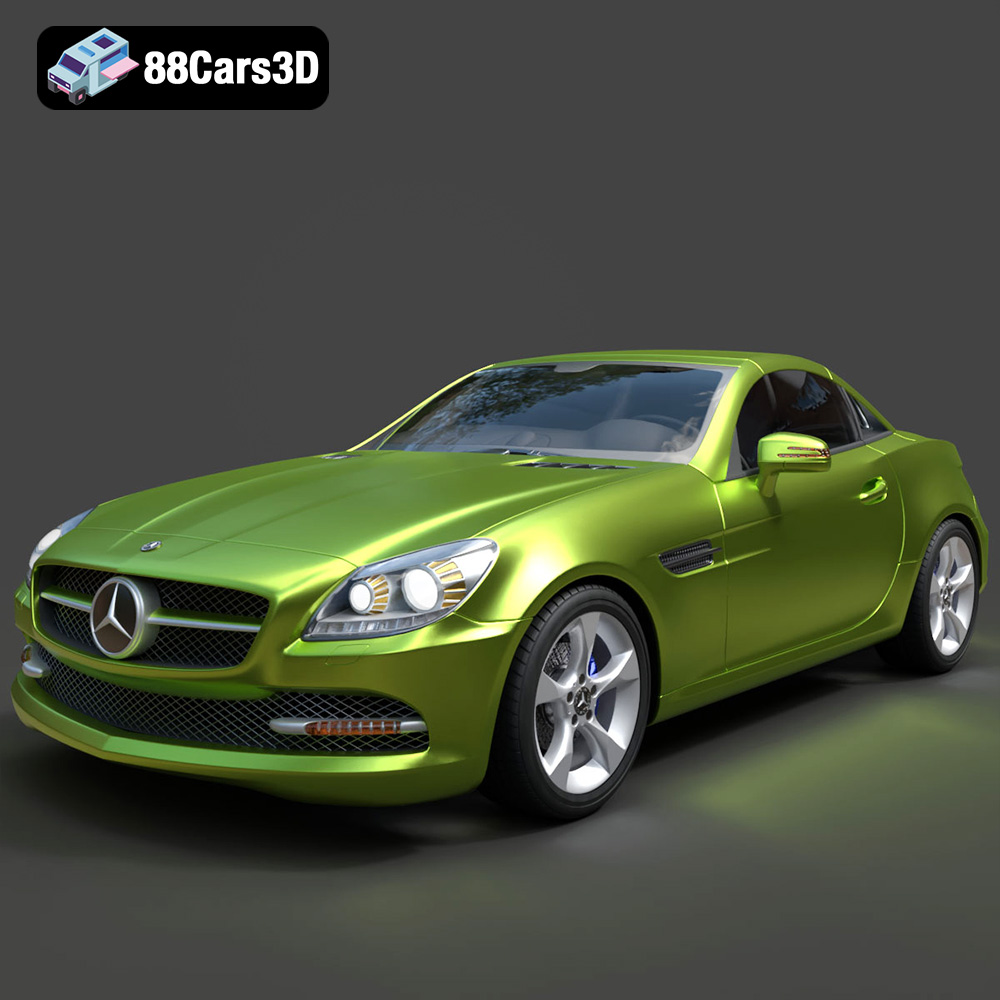
Texture: Yes
Material: Yes
Download the Mercedes-Benz SLK-Class 3D Model featuring clean geometry, realistic detailing, and a fully modeled interior. Includes .blend, .fbx, .obj, .glb, .stl, .ply, .unreal, and .max formats for rendering, simulation, and game development.
Price: $4.99
Texture: Yes
Material: Yes
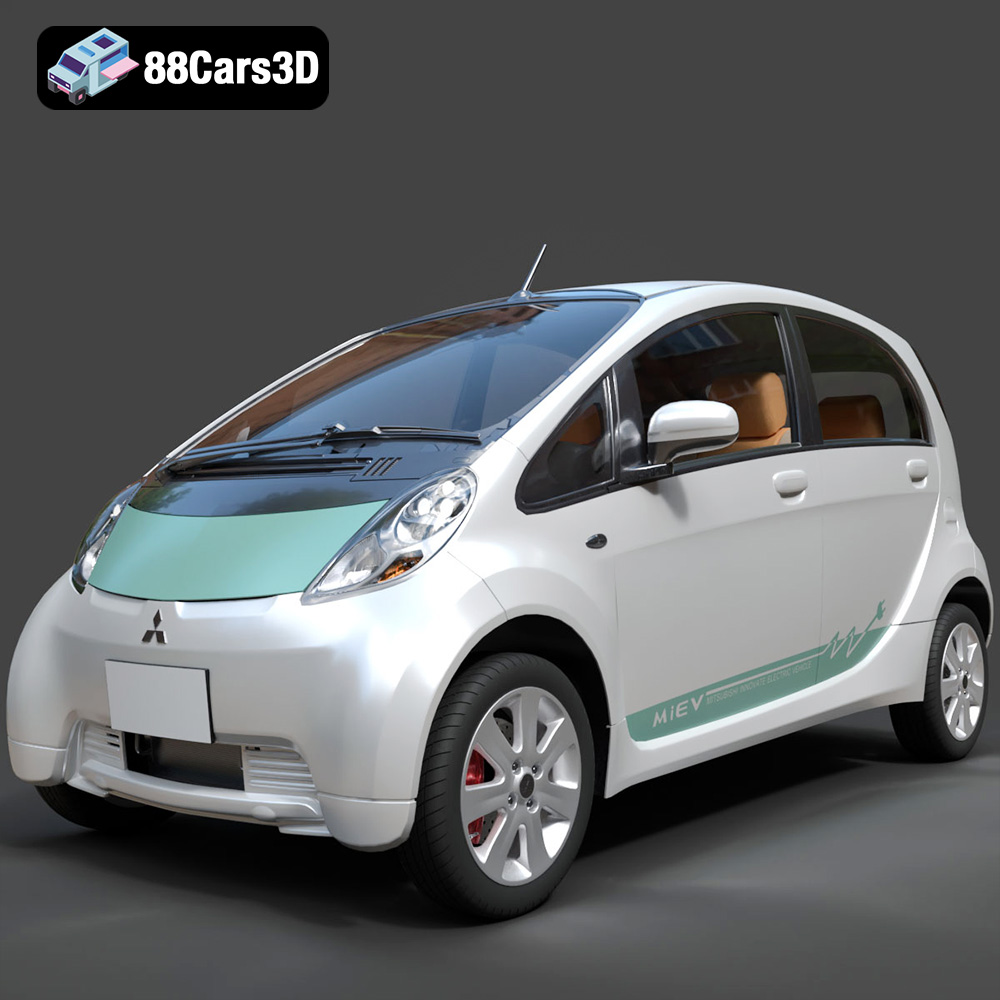
Download the Mitsubishi i-MiEV 2025 3D Model featuring clean geometry, realistic detailing, and a fully modeled interior. Includes .blend, .fbx, .obj, .glb, .stl, .ply, .unreal, and .max formats for rendering, simulation, and game development.
Price: $4.99
Texture: Yes
Material: Yes
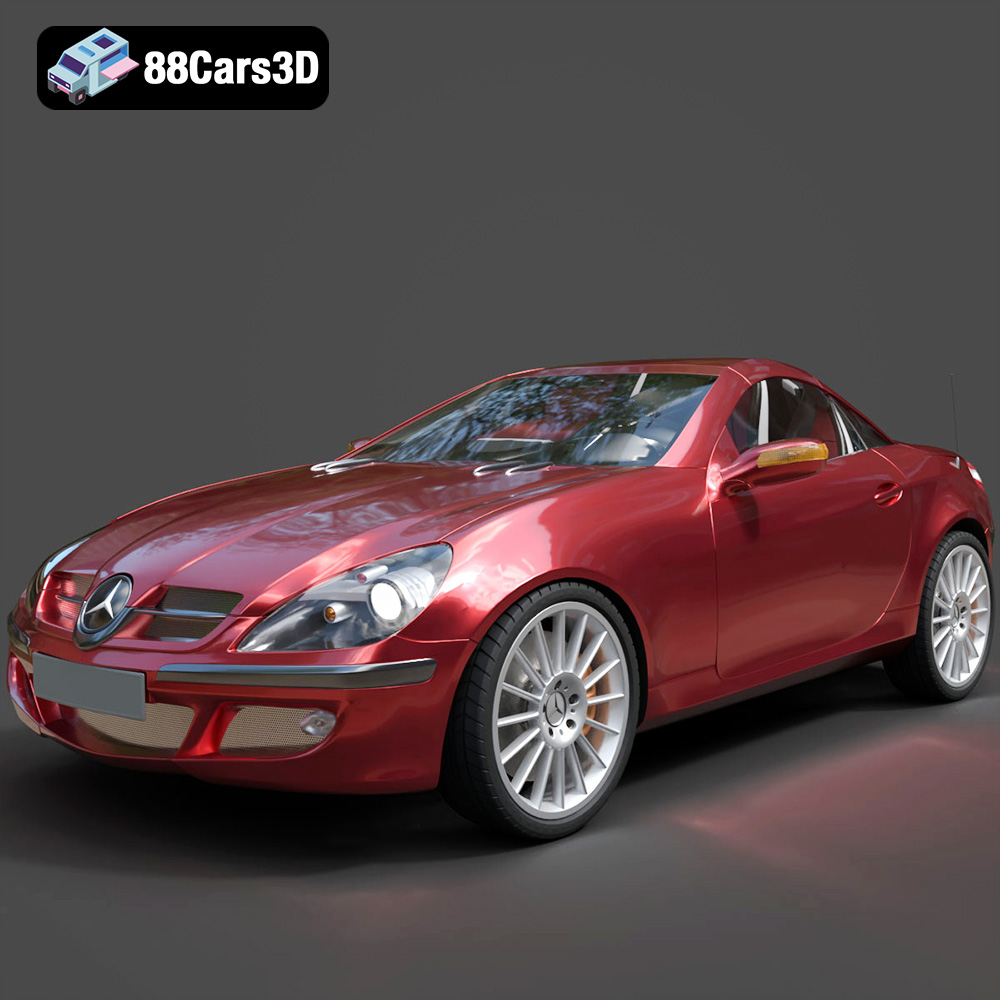
Download the Mercedes-Benz SLK-Klasse 3D Model featuring clean geometry, realistic detailing, and a fully modeled interior. Includes .blend, .fbx, .obj, .glb, .stl, .ply, .unreal, and .max formats for rendering, simulation, and game development.
Price: $4.99
Texture: Yes
Material: Yes
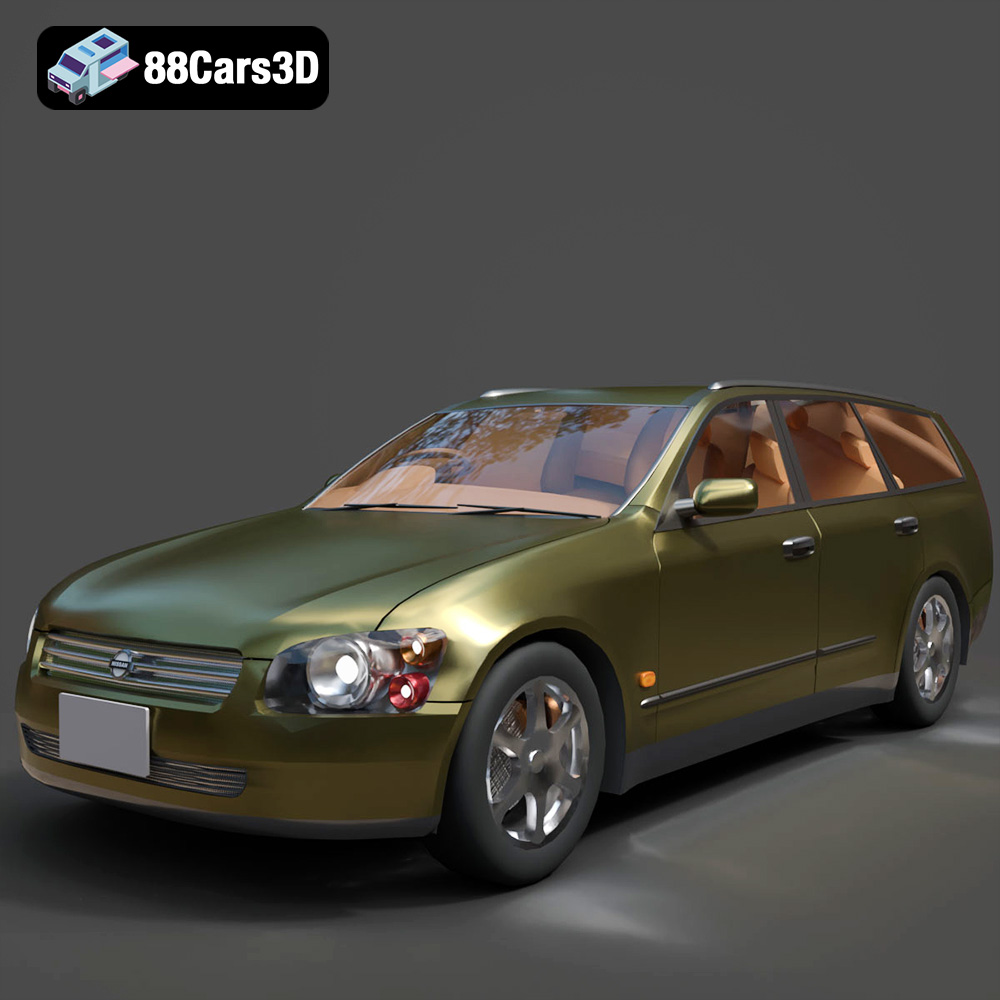
Download the Nissan Stagea 2001 3D Model featuring clean geometry, realistic detailing, and a fully modeled interior. Includes .blend, .fbx, .obj, .glb, .stl, .ply, .unreal, and .max formats for rendering, simulation, and game development.
Price: $4.99

Texture: Yes
Material: Yes
Download the Mitsubishi 3000 GT 1993 3D Model featuring clean geometry, realistic detailing, and a fully modeled interior. Includes .blend, .fbx, .obj, .glb, .stl, .ply, .unreal, and .max formats for rendering, simulation, and game development.
Price: $4.99