⚡ FLASH SALE: Get 60% OFF All Premium 3D & STL Models! ⚡
The world of 3D modeling is vast and exciting, but few subjects captivate the imagination quite like the intricate beauty of a perfectly crafted 3D car model. From sleek supercars destined for high-octane racing games to meticulously accurate replicas for architectural visualization and cutting-edge AR/VR experiences, the demand for high-quality automotive assets is constantly accelerating. Mastering the creation and deployment of these complex models requires a deep understanding of various technical disciplines, spanning precision modeling, advanced material creation, intricate rendering workflows, and rigorous optimization techniques.
This comprehensive guide is designed to be your definitive roadmap, navigating the entire lifecycle of a 3D car model. We’ll delve into the foundational principles of topology and edge flow, explore the nuances of UV mapping and PBR material creation, demystify advanced rendering strategies across popular engines, and reveal the secrets to optimizing your assets for demanding real-time applications like game engines and immersive AR/VR platforms. Whether you’re a seasoned 3D artist, a game developer, an automotive designer, or a student eager to push your skills, you’ll gain invaluable insights and actionable techniques to elevate your projects. Platforms like 88cars3d.com provide an excellent resource for sourcing high-quality, production-ready 3D car models, but understanding the underlying creation process is key to leveraging them effectively or crafting your own masterpieces.
The core of any exceptional 3D car model lies in its topology – the arrangement of vertices, edges, and faces that define its geometric structure. For automotive surfaces, where smooth reflections and precise panel gaps are paramount, immaculate topology and intelligent edge flow are non-negotiable. Poor topology can lead to pinching, artifacts, and difficult deformations, making your model look cheap and unrealistic. A clean, quad-based mesh is the gold standard, facilitating seamless subdivision and preserving the integrity of complex curves.
When modeling a car, particularly its exterior, every edge loop serves a purpose. These loops dictate how light reflects off the surface, how creases and design lines are formed, and how the model will deform if animated. Maintaining consistent spacing between edge loops and ensuring they follow the natural contours of the vehicle is critical. This precision allows for smooth, predictable subdivision using techniques like TurboSmooth in 3ds Max or Subdivision Surface in Blender, resulting in a high-fidelity mesh suitable for close-up renders. The average poly-count for a high-detail automotive render model can range from 200,000 to over 1 million polygons, while game-ready models will typically target much lower counts through optimization techniques we’ll discuss later.
In the realm of automotive 3D modeling, working with a clean, all-quad topology is universally accepted as a best practice. Quads (four-sided polygons) offer superior control over surface curvature and deformation compared to triangles (three-sided) or N-gons (polygons with more than four sides). When subdivided, quads produce predictable results, maintaining surface smoothness and preventing unsightly pinches or distortions that often arise from non-quad geometry. For car bodies, this is particularly crucial because even subtle imperfections in the mesh can become glaringly obvious under reflective materials, which are common in automotive finishes.
A typical workflow involves starting with low-polygon base meshes, often created through spline-based modeling or box modeling, then meticulously refining the topology to ensure optimal edge flow. Tools like loop cut, slide edge, and dissolve edge are indispensable for managing and tidying the mesh. Avoiding poles (vertices where five or more edges meet) and ensuring that edge loops flow smoothly around key features like wheel arches, door lines, and window frames will save immense time in the texturing and rendering phases, guaranteeing a professional-grade asset.
Edge flow dictates how the mesh’s edges follow the contours and surface changes of the model. For vehicles, this means ensuring that edge loops accentuate design lines, body creases, and aerodynamic curves. Proper edge flow is essential for capturing the subtle nuances of automotive design, from the gentle roll of a fender to the sharp definition of a spoiler. When light hits a surface, the reflections tell the story of its shape, and clean edge flow ensures those reflections are smooth and accurate, free from ripples or bumps.
Realistic panel gaps are another critical detail that elevates a 3D car model from good to excellent. These aren’t just simple cut-ins; they require careful modeling to simulate the subtle chamfering and depth found in real vehicles. A common technique involves creating dedicated edge loops on either side of a panel line, then extruding or beveling them to create a precise recess. This approach ensures that the panel gap has actual geometric depth, which catches light and shadow realistically. Depending on the level of detail, these gaps can be modeled directly into the mesh or simulated using normal maps, though direct modeling offers superior fidelity for high-end renders. Aim for a consistent gap width, typically between 0.5mm and 2mm in real-world scale, translating proportionally to your model’s units.
Once your 3D car model boasts impeccable geometry, the next crucial step is to prepare it for texturing and material application. This involves two primary stages: UV mapping, which essentially flattens the 3D surface into a 2D plane for texture application, and PBR (Physically Based Rendering) material creation, which defines how light interacts with the model’s surfaces in a realistic manner. These processes are fundamental to achieving the convincing visual fidelity expected in modern visualization and real-time environments.
Without proper UV mapping, textures will appear stretched, distorted, or simply won’t align correctly. For a complex object like a car, this demands a strategic approach to unwrapping, ensuring efficient use of texture space and minimal seams. Coupled with robust PBR material workflows, where properties like albedo, roughness, metallic, and normal maps work together, you can simulate a vast array of realistic surfaces – from the high-gloss clear coat of automotive paint to the matte finish of plastic trim, the intricate weave of carbon fiber, or the subtle imperfections of leather upholstery. This synergy between UVs and PBR materials is what truly makes a 3D car model visually compelling.
UV unwrapping a car model is an art form in itself, requiring foresight and meticulous execution. The goal is to create a clean, organized UV layout that maximizes texture resolution and minimizes distortion and visible seams. For large, continuous surfaces like the main body panels, projection methods such as planar, cylindrical, or spherical mapping are often used as a starting point, followed by extensive manual refinement. Breaking down the car into logical components (e.g., hood, doors, roof, fenders, wheels, interior elements) and unwrapping each separately into distinct UV islands is a common and effective strategy.
Key considerations include:
Modern tools like RizomUV, UVLayout, and the built-in UV editors in 3ds Max, Blender, and Maya offer sophisticated features to streamline this process, including automatic unwrapping, packing, and distortion visualization.
Physically Based Rendering (PBR) has revolutionized material creation, enabling artists to achieve photorealistic results with greater consistency across different lighting conditions and rendering engines. A PBR material for a car model typically consists of several texture maps, each defining a specific surface property:
Texture resolutions are crucial for detail. For hero assets in high-end renders, 4K (4096×4096) or even 8K texture sets are common for major components like the car body, while smaller details might use 2K or 1K maps. The cumulative file size for a high-detail car model with multiple 4K PBR texture sets can easily exceed hundreds of megabytes. Software like Substance Painter and Quixel Mixer are industry standards for painting and generating these complex PBR texture sets, offering intuitive layering, mask-based workflows, and intelligent material presets.
With a meticulously modeled and textured 3D car model, the final step in achieving breathtaking visuals is the rendering process. This stage is where all the hard work comes together, transforming raw 3D data into a photorealistic image. Automotive rendering is particularly demanding due to the highly reflective surfaces, intricate lighting interactions, and the need to convey a sense of realism that matches real-world photography. It involves a sophisticated interplay of lighting, camera settings, material properties, and renderer-specific optimizations.
Achieving a stunning automotive render goes beyond simply hitting the “render” button. It requires a keen eye for composition, an understanding of photographic principles, and a deep familiarity with your chosen rendering engine. The right lighting setup can dramatically alter the mood and perceived quality of your model, highlighting its form and capturing the luxurious sheen of its paintwork. This section will explore advanced lighting techniques, camera settings, and specific strategies for popular rendering engines to help you produce renders that truly stand out.
Lighting is paramount in automotive rendering, as it directly influences how the car’s form, reflections, and materials are perceived. A typical studio lighting setup for a car often employs:
The interaction of light with the car’s paint, glass, and chrome requires careful balancing. For car paint, understanding how to control reflections through subtle variations in roughness maps and the use of a clear coat layer in advanced shaders (available in renderers like V-Ray and Corona) is crucial for achieving that characteristic deep, glossy finish. Camera settings should mimic real-world photography, using appropriate focal lengths (e.g., 85mm-120mm for a pleasing perspective), depth of field for artistic blur, and slight chromatic aberration for added realism.
Each rendering engine has its unique strengths and optimization techniques. While the core principles of lighting and materials remain universal, specific settings can drastically impact render times and quality.
Regardless of the renderer, using render passes (also known as AOVs – Arbitrary Output Variables) is critical. These separate image layers (e.g., diffuse, reflection, specular, raw light, Z-depth, object ID) provide immense control during post-processing and compositing, allowing you to fine-tune aspects of your render without costly re-renders.
While offline rendering allows for extremely high polygon counts and complex shader networks, real-time applications like video games and AR/VR experiences demand a completely different approach to asset creation. Performance is paramount; every polygon, every texture, and every draw call can impact frame rate and user experience. Optimizing 3D car models for these environments is a specialized skill that balances visual fidelity with computational efficiency. The goal is to make the model look as good as possible while running smoothly on target hardware, which often has significantly more constraints than a dedicated rendering workstation.
This section focuses on strategies to drastically reduce the computational load of your 3D car models without sacrificing visual appeal. We’ll explore techniques like intelligent polygon reduction, creating multiple levels of detail, efficient texture management, and specific considerations for the unique demands of augmented and virtual reality platforms. When sourcing pre-made models from marketplaces such as 88cars3d.com, it’s crucial to check their game-ready status, poly-count, and included LODs to ensure they fit your performance requirements.
For real-time applications, an unoptimized high-poly model can cripple performance. A typical game-ready car model might range from 30,000 to 150,000 polygons, depending on the game’s fidelity target and platform. To achieve this, several techniques are employed:
Game engines like Unity and Unreal Engine provide robust LOD systems that automatically swap between these models based on camera distance, saving immense processing power.
Polygon counts are typically measured in triangles (tris) for game engines, as quads are triangulated internally. Aim to keep the overall triangle count for a primary vehicle asset within the recommended range for your target platform (e.g., 50k-100k tris for current-gen console hero cars, much less for mobile).
Efficient texture and material management is as vital as polygon optimization:
Typical texture resolutions for game assets range from 1K (1024×1024) to 4K, with the body often getting a 2K or 4K map, and smaller parts getting 1K or 512×512 maps, all ideally packed into atlases.
AR/VR platforms introduce even stricter performance budgets due to the need for high, stable frame rates (typically 60-90 frames per second per eye) to prevent motion sickness.
Focus on achieving a smooth and consistent frame rate above all else, as even minor drops can cause significant discomfort for the user.
The utility of 3D car models extends far beyond digital screens. With the advent of affordable 3D printing technology, these models can now transition into tangible objects, serving purposes ranging from concept prototyping and scale models to collectible figurines. However, converting a model designed for rendering or games into one suitable for physical fabrication involves a distinct set of considerations and preparation steps. Simultaneously, understanding the myriad of 3D file formats and their specific applications is crucial for smooth interoperability across different software and platforms.
This section will guide you through the essential process of preparing your automotive models for 3D printing, highlighting common pitfalls and best practices for ensuring a successful print. We’ll also demystify the most prevalent 3D file formats, explaining when and why to use FBX, OBJ, GLB, USDZ, and STL, ensuring your assets are always compatible with their intended destination, whether it’s another software package, a game engine, or a 3D printer.
3D printing demands a fundamentally “solid” or “watertight” mesh, meaning the model must have no open edges, intersecting geometry, or inverted normals. Unlike rendering, where these issues might go unnoticed or be easily corrected in post-production, they will cause printing errors. Here are the key preparation steps:
The final format for 3D printing is most commonly STL (Stereolithography), though OBJ and 3MF are also gaining traction. STL is a simple triangular mesh format that describes only the surface geometry, making it universally compatible with slicer software.
The 3D industry uses a variety of file formats, each with its strengths and weaknesses:
When converting between formats, always check the export settings. Ensure that transforms are applied, normals are consistent, and materials are correctly mapped. Using intermediary formats like FBX or OBJ with careful export options is often the safest bet for complex models, while GLB and USDZ are best for final deployment on specific platforms.
The journey of a 3D car model doesn’t necessarily end with the raw render output. To truly achieve that magazine-quality, visually stunning aesthetic, post-processing and compositing are indispensable steps. Even the most perfectly rendered image can be enhanced and refined through these techniques, adding a layer of polish and artistry that elevates it from a mere digital image to a captivating piece of visual communication. This stage involves taking the various output layers from your renderer and expertly blending them, adding effects, and making critical color adjustments to achieve the desired mood and impact.
Post-processing leverages tools typically found in 2D image manipulation software, allowing for adjustments that would be costly or impossible to achieve solely within the 3D rendering pipeline. Compositing, on the other hand, involves layering multiple render passes to gain granular control over every aspect of the final image. Together, these processes provide an artist with immense power to fine-tune reflections, deepen shadows, enhance lighting, and introduce atmospheric elements that make a 3D car model truly shine in its final presentation.
Render passes, also known as Arbitrary Output Variables (AOVs), are separate image layers that a renderer can output, each containing specific data about the scene. Instead of a single final image, you get a collection of images that can be recombined and manipulated in a compositing application. This non-destructive workflow offers unparalleled control:
By outputting these passes, you gain the flexibility to fine-tune your image, correct errors, and experiment with different looks long after the render is complete. For a high-fidelity car render, it’s not uncommon to export 10-20 different passes.
Compositing is the process of layering and blending these render passes together in software like Adobe Photoshop, After Effects, Nuke, or DaVinci Resolve Fusion. Here are common techniques:
The key to successful post-processing is subtlety. The goal is to enhance, not to overpower. Each adjustment should serve to bring out the best in your 3D car model, making it look as though it was captured by a professional photographer in the real world.
The journey from a blank canvas to a fully realized, photorealistic 3D car model or a meticulously optimized game asset is a challenging yet incredibly rewarding endeavor. As we’ve explored, it demands a mastery of diverse technical skills—from the precise art of topology and edge flow, through the intricacies of UV mapping and PBR material creation, to the sophisticated world of rendering, optimization, and post-production. Each stage builds upon the last, with attention to detail and adherence to industry best practices being the true hallmarks of a professional-grade asset.
Whether your goal is a breathtaking automotive visualization, a high-performance game asset, a detailed model for AR/VR, or a precision piece for 3D printing, understanding these workflows is crucial. The continuous evolution of software and hardware means that staying updated with new techniques and optimizations is an ongoing process. High-quality 3D car models, like those available on 88cars3d.com, represent the pinnacle of these combined skills and serve as invaluable resources for learning, prototyping, and deployment. By applying the knowledge shared in this guide, you are now better equipped to tackle complex projects, achieve stunning results, and truly accelerate your capabilities in the exciting domain of 3D automotive design.

Texture: Yes
Material: Yes
Download the Nissan Fuga 2003 3D Model featuring clean geometry, realistic detailing, and a fully modeled interior. Includes .blend, .fbx, .obj, .glb, .stl, .ply, .unreal, and .max formats for rendering, simulation, and game development.
Price: $4.99

Texture: Yes
Material: Yes
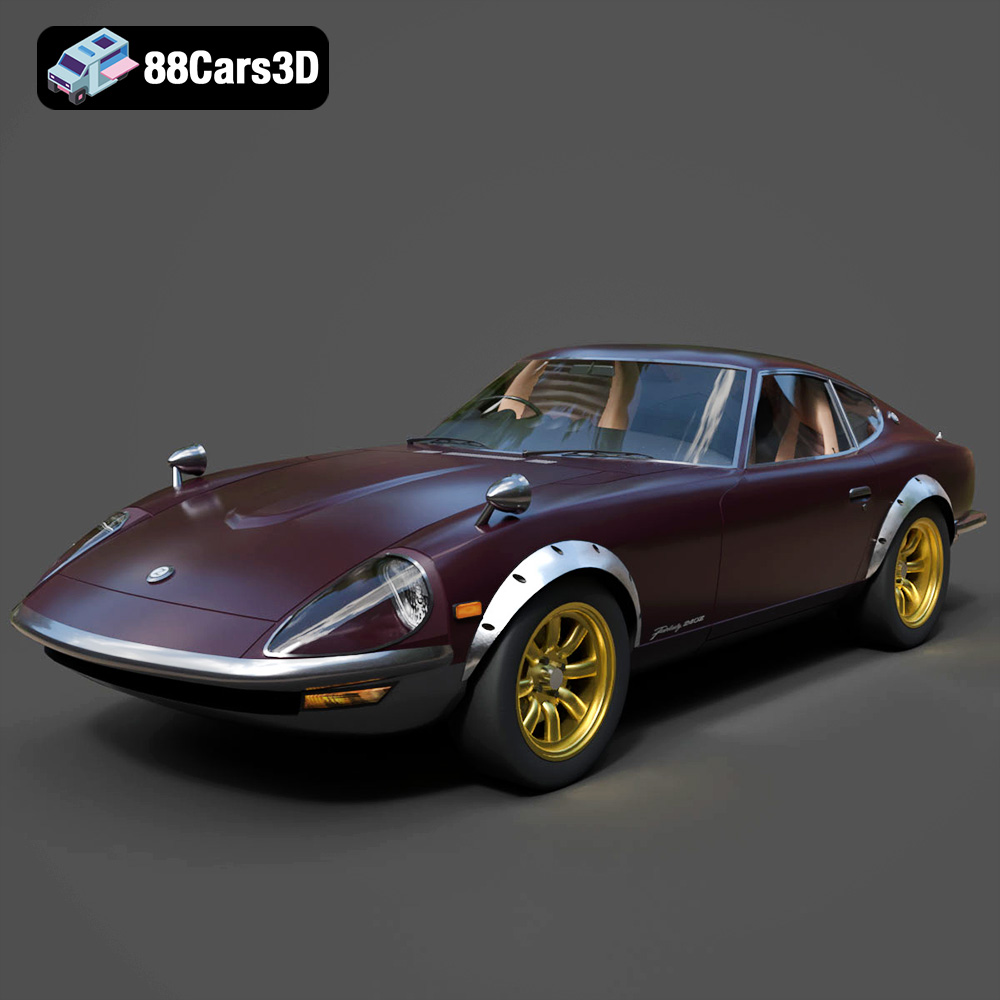
Download the Nissan FairLady 240ZG 3D Model featuring clean geometry, realistic detailing, and a fully modeled interior. Includes .blend, .fbx, .obj, .glb, .stl, .ply, .unreal, and .max formats for rendering, simulation, and game development.
Price: $4.99

Texture: Yes
Material: Yes
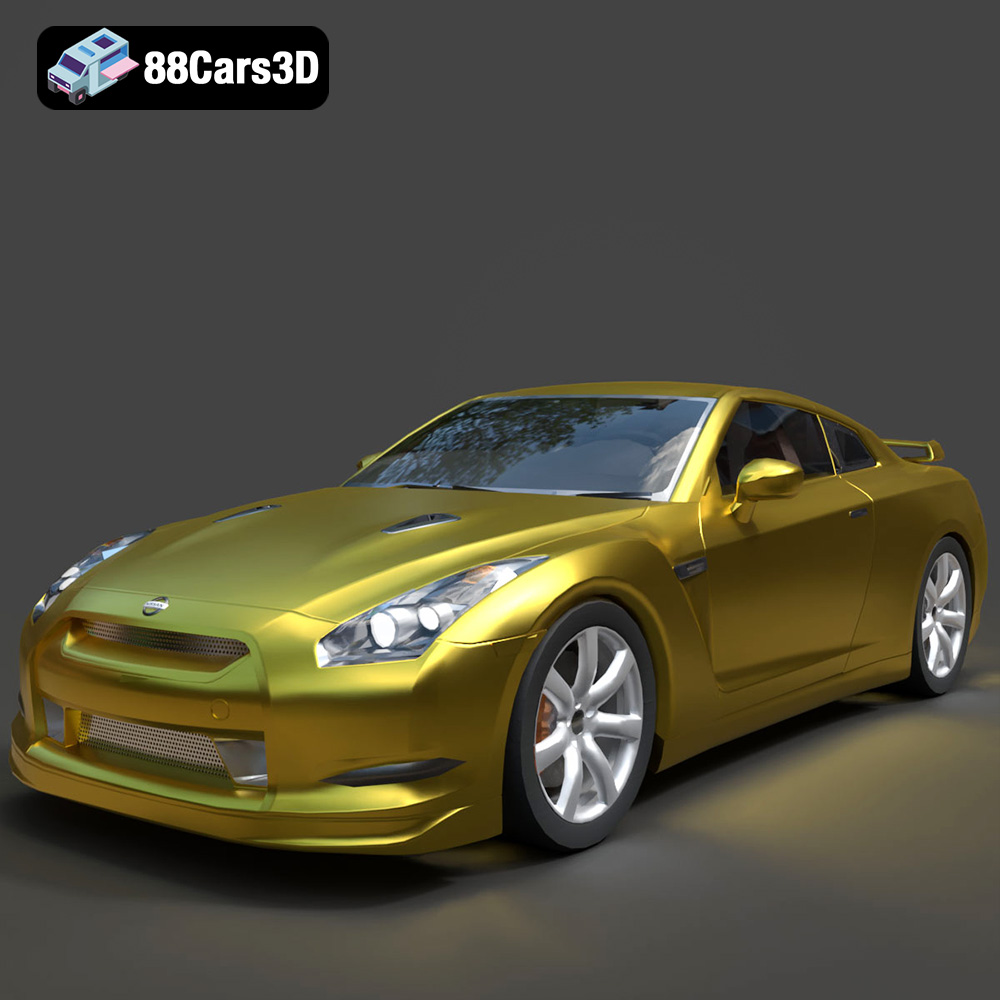
Download the Nissan GT-R 2008 3D Model featuring clean geometry, realistic detailing, and a fully modeled interior. Includes .blend, .fbx, .obj, .glb, .stl, .ply, .unreal, and .max formats for rendering, simulation, and game development.
Price: $4.99

Texture: Yes
Material: Yes
Download the Nissan Cube 3D Model featuring clean geometry, realistic detailing, and a fully modeled interior. Includes .blend, .fbx, .obj, .glb, .stl, .ply, .unreal, and .max formats for rendering, simulation, and game development.
Price: $4.99

Texture: Yes
Material: Yes
Download the Nissan Cedric Y32 3D Model featuring clean geometry, realistic detailing, and a fully modeled interior. Includes .blend, .fbx, .obj, .glb, .stl, .ply, .unreal, and .max formats for rendering, simulation, and game development.
Price: $4.99

Texture: Yes
Material: Yes
Download the Nissan Cima Infiniti Q45 2007 3D Model featuring clean geometry, realistic detailing, and a fully modeled interior. Includes .blend, .fbx, .obj, .glb, .stl, .ply, .unreal, and .max formats for rendering, simulation, and game development.
Price: $4.99

Texture: Yes
Material: Yes
Download the Nissan Juke 2025 3D Model featuring clean geometry, realistic detailing, and a fully modeled interior. Includes .blend, .fbx, .obj, .glb, .stl, .ply, .unreal, and .max formats for rendering, simulation, and game development.
Price: $4.99

Texture: Yes
Material: Yes
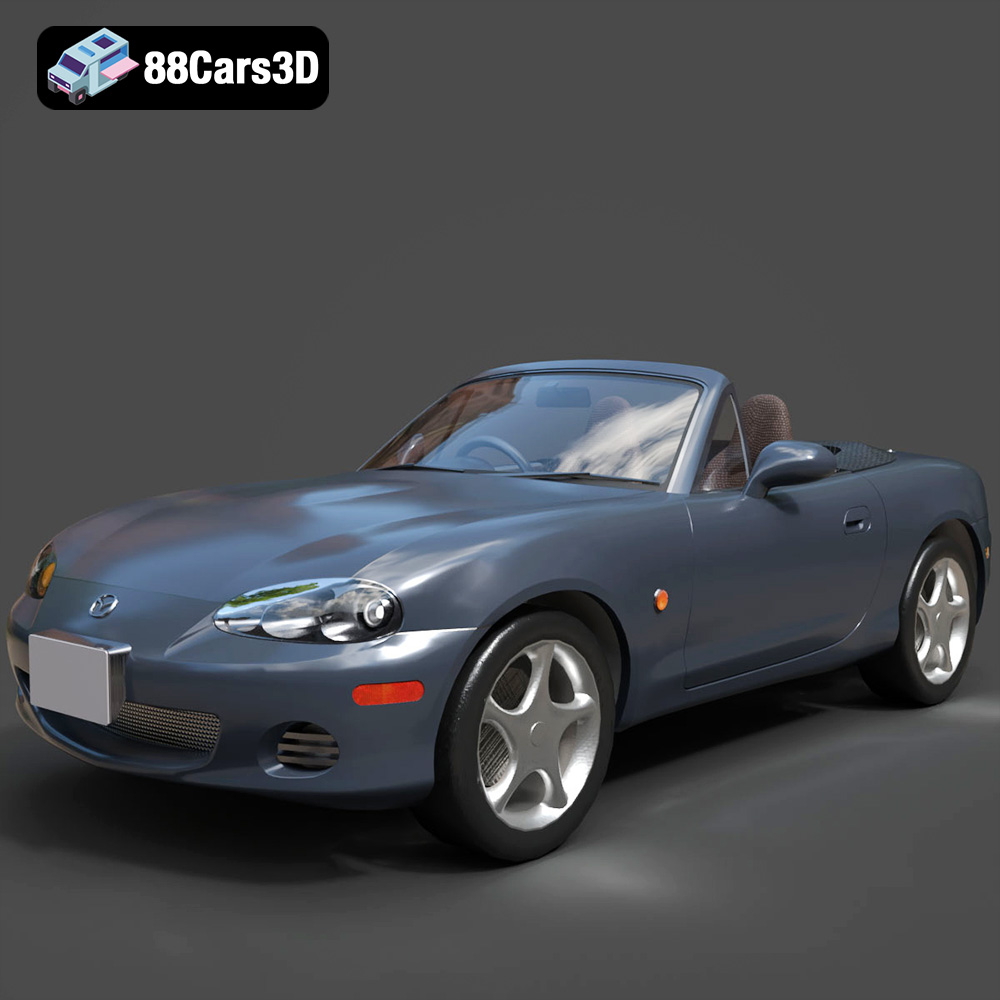
Download the Mazda MX-5 2025 3D Model featuring clean geometry, realistic detailing, and a fully modeled interior. Includes .blend, .fbx, .obj, .glb, .stl, .ply, .unreal, and .max formats for rendering, simulation, and game development.
Price: $4.99

Texture: Yes
Material: Yes
Download the Nissan Maxima 2009 3D Model featuring clean geometry, realistic detailing, and a fully modeled interior. Includes .blend, .fbx, .obj, .glb, .stl, .ply, .unreal, and .max formats for rendering, simulation, and game development.
Price: $4.99

Texture: Yes
Material: Yes
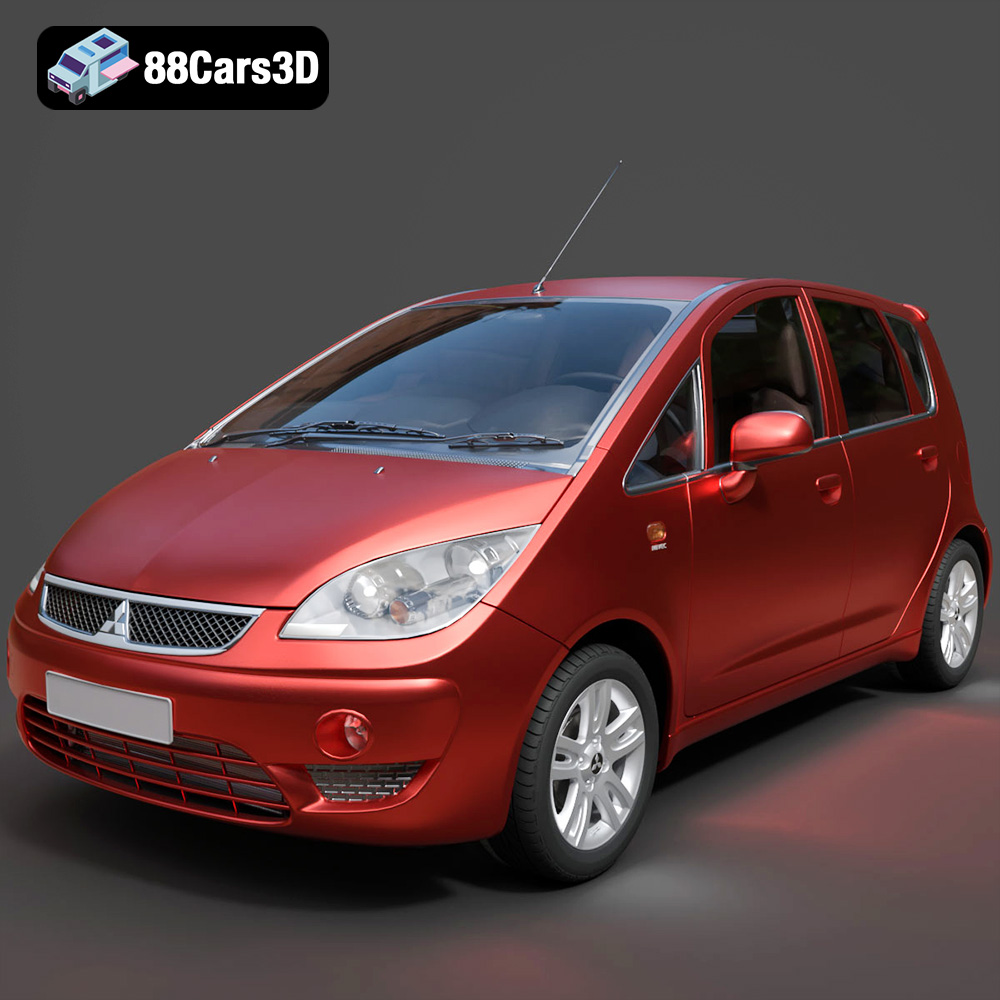
Download the Mitsubishi Colt 2025 3D Model featuring clean geometry, realistic detailing, and a fully modeled interior. Includes .blend, .fbx, .obj, .glb, .stl, .ply, .unreal, and .max formats for rendering, simulation, and game development.
Price: $4.99