The allure of a perfectly rendered automobile, whether cruising through a virtual city, gleaming in an advertising campaign, or poised as an interactive AR experience, lies in the intricate blend of artistic vision and technical mastery. High-quality 3D car models are the cornerstone of these captivating visuals, demanding precision in every facet of their creation, from the initial polygonal structure to the final pixel. For 3D artists, game developers, automotive designers, and visualization professionals, understanding the profound technicalities behind these assets is not just beneficial—it’s essential.
This comprehensive guide delves deep into the multifaceted world of creating and deploying stunning automotive 3D models. We’ll navigate the complex landscape of topology and edge flow, unravel the intricacies of UV mapping, demystify PBR materials and advanced shading, and explore the best practices for achieving breathtaking automotive rendering. Furthermore, we’ll uncover critical strategies for game engine optimization, adapting models for immersive AR/VR experiences, and preparing them for physical manifestation through 3D printing. By the end of this journey, you’ll possess the knowledge to not only appreciate but also to create and manipulate truly exceptional 3D car assets, elevating your projects to professional standards.
The Foundation: Flawless Topology and Edge Flow for Automotive Models
The underlying mesh structure, or topology, is arguably the single most critical factor determining the quality and usability of a 3D car model. For automotive surfaces, which are defined by their smooth curves, sharp creases, and precise panel gaps, impeccable topology is non-negotiable. Poor topology leads to shading artifacts, difficulties in UV mapping, problems with deformation, and ultimately, a less realistic appearance. Professional 3D car models demand a clean, quad-dominant mesh where edge loops flow logically, defining the contours and features of the vehicle.
This foundational work ensures that when subdivision surfaces (like OpenSubdiv in Maya/3ds Max, or Subdivision Surface modifier in Blender) are applied, the model retains its intended form without pinching, bumps, or jagged edges. It also facilitates easier modifications and sculpts down the line. A common pitfall for beginners is to focus solely on visual accuracy without considering the underlying mesh’s technical integrity. However, true craftsmanship in automotive 3D modeling begins with a deep understanding of how polygons connect and influence each other.
Understanding Quad-Dominant Mesh and Subdivisions
A quad-dominant mesh, meaning the vast majority of faces are quadrilaterals (four-sided polygons), is the industry standard for organic and hard-surface modeling, especially when working with subdivision surfaces. Triangles (three-sided polygons) can cause unpredictable shading and pinching when subdivided, making them undesirable for smooth, curved surfaces like those found on car bodies. Ngons (polygons with more than four sides) are even more problematic, often leading to severe shading issues.
- Edge Loops: These are continuous rings of edges that flow around the contours of the model. For a car, edge loops define the wheel arches, the perimeter of windows, panel lines, and the overall silhouette. They are essential for controlling how the model smooths under subdivision and for creating crisp hard edges.
- Pole Stars: These are vertices where more or less than four edges meet. While sometimes unavoidable, good topology minimizes their occurrence and strategically places them in flat areas or corners where their influence on shading is minimal. Excessive poles, especially on curved surfaces, can introduce visual anomalies.
- Subdivision Surfaces: Tools like OpenSubdiv or Blender’s Subdivision Surface modifier interpret the base mesh (cage) and generate a smoother, higher-polygon version. The quality of this smoothed mesh is directly dependent on the base topology. A clean base mesh with proper edge flow will yield a perfectly smooth, artifact-free surface, crucial for photorealistic automotive rendering. For high-end cinematic renders, models might reach several million polygons after subdivision, while well-optimized game assets will utilize normal maps to bake in this detail onto a lower poly mesh.
Crafting Panel Gaps and Hard Edges
Achieving realistic panel gaps and sharp, defined edges on a 3D car model requires specific topological techniques. Simply relying on the base mesh’s edges to define these features will result in soft, rounded edges once subdivided. The solution involves adding “control loops” or “holding edges” near the edges you wish to keep sharp.
For panel gaps:
- Model the primary panels as separate objects or distinct groups of faces.
- Create a slight gap between the panels.
- Introduce two or three tight edge loops along each side of the gap. These control loops “hold” the sharpness of the edge when subdivisions are applied, creating a crisp, realistic separation without over-densifying the entire mesh. The number and proximity of these loops determine the sharpness; tighter loops mean sharper edges.
- Ensure consistent spacing and depth for all panel gaps across the vehicle for a uniform, professional look, mimicking real-world manufacturing tolerances.
For hard edges (e.g., around headlights, grilles, or body lines):
- Similar to panel gaps, use tight edge loops running parallel to the edge you want to sharpen.
- Consider using features like crease sets in Maya/3ds Max or Crease weights in Blender for specific edges, which allows for selective sharpening without adding extra geometry globally. However, for baking normal maps, geometric control loops are often preferred as they provide a more reliable base.
Balancing Detail and Performance
While high polygon counts deliver exceptional detail, they come at the cost of performance. This balance is especially critical for game assets and real-time applications like AR/VR. A common strategy is to create a high-polygon “source” model for baking and a lower-polygon “game-ready” model for real-time use.
- High-Poly Model: Used for creating detailed normal maps, ambient occlusion maps, and other texture information. This model can have millions of polygons, capturing every subtle curve and surface imperfection.
- Low-Poly Model: The optimized version, typically ranging from 20,000 to 150,000 polygons for a hero vehicle, depending on the platform and desired fidelity. It should have clean topology suitable for deformation and animation, with crucial edge loops preserved for key contours. Details from the high-poly model are transferred via texture maps.
- Polygon Reduction: For highly complex models, tools like ZBrush’s ZRemesher, Instant Meshes, or manual retopology in software like Maya, Blender, or TopoGun are used to create an optimized low-poly mesh from a high-poly sculpt. This process is crucial for generating efficient game-ready 3D car models.
Achieving this balance ensures that your 3D car models are versatile, performing well across various applications without compromising visual quality. This meticulous approach to topology is a hallmark of the high-quality assets you’d find on platforms like 88cars3d.com.
Mastering UV Mapping for Pristine Automotive Surfaces
Once your 3D car model boasts impeccable topology, the next crucial step towards realism is UV mapping. UVs are the 2D coordinates that tell your software how to project 2D textures onto your 3D model. Poor UV mapping leads to distorted textures, visible seams, and an unprofessional finish. For complex, curved surfaces like those on a car, meticulous UV unwrapping is paramount to ensure textures like car paint, decals, and surface imperfections appear crisp and accurate.
Effective UV mapping is a blend of technical precision and artistic judgment. It involves strategically cutting (seaming) the model into flat, manageable pieces (UV islands) and then arranging these islands efficiently within a UV space, typically a 0-1 unit square. The goal is to maximize texture resolution where it counts most, minimize distortion, and keep seams in inconspicuous locations.
Strategic UV Layout for Efficiency and Quality
A well-planned UV layout is crucial for any 3D car model. It dictates how texture artists will paint and how the material will ultimately look. For automotive models, which often have large, contiguous painted surfaces, minimizing seams and maintaining uniform texel density (pixels per unit of surface area) is key.
- Seam Placement: Strategically place UV seams along natural breaks in the geometry, such as panel lines, creases, or edges that are hidden from common camera angles (e.g., the underside of a car, inside door jams). This minimizes their visibility.
- Texel Density: Ensure that all UV islands have a consistent texel density. This means that a texture applied to the door will have the same visual resolution as a texture applied to the hood. Inconsistent texel density leads to some parts looking blurry while others are sharp. Most 3D software offers tools to visualize and equalize texel density. For high-fidelity models, target resolutions like 4K or 8K for large body panels are common, with smaller components like tires or emblems using 2K or 1K.
- Non-overlapping UVs: Absolutely essential for baking maps (normal maps, ambient occlusion) and for most real-time engines. Overlapping UVs mean two different parts of the model share the same texture space, leading to incorrect lighting and rendering artifacts.
Minimizing Distortion and Overlaps
UV distortion occurs when a 3D surface is flattened into 2D, causing textures to stretch or compress. While some distortion is inevitable, it must be minimized to preserve texture integrity.
- Unwrapping Techniques: Use appropriate unwrapping methods. For hard-surface objects like car panels, projection mapping (planar, cylindrical, spherical) followed by relaxing the UVs is often effective. Tools like “Unfold” in Maya, “Relax” in 3ds Max, or the “Unwrap” tool in Blender are invaluable for evening out distortion.
- UV Checkers: Apply a checkerboard texture to your model during UV unwrapping. This visual aid immediately highlights areas of stretching, compression, or inconsistent texel density, allowing you to adjust your UVs for optimal results. The squares on the checker pattern should appear uniform across the entire surface.
- Packing Efficiency: After unwrapping and minimizing distortion, pack your UV islands efficiently into the 0-1 UV space. Leave a small margin (padding) between islands to prevent bleeding when mipmaps are generated. Tools like UV-Packer in Blender or the packing algorithms in Maya/3ds Max can automate this process, but manual adjustments often yield better results for complex models.
UV Atlasing for Game Engines
For game assets, optimizing draw calls is crucial for performance. UV atlasing is a powerful technique where multiple smaller textures are combined into a single, larger texture atlas. This means various parts of the car (e.g., body, wheels, interior components) can share one material and one set of texture maps, reducing the number of draw calls the game engine needs to make.
- Consolidating Textures: Instead of having separate material IDs and textures for every small component, you combine the UVs of many parts onto a single UV sheet. For example, all interior dashboard components might share one atlas, or all undercarriage components another.
- Benefits: Reduces memory footprint, fewer draw calls, and potentially better streaming performance in game engines like Unity or Unreal Engine. This is a critical step for creating efficient game-ready 3D car models.
- Workflow:
- Unwrap each component individually, ensuring consistent texel density.
- Combine the meshes that will share an atlas.
- Arrange their UV islands within the 0-1 UV space, leaving appropriate padding.
- Bake all necessary texture maps (Diffuse, Normal, Metallic, Roughness, AO) into new texture sheets that correspond to the combined UV layout.
By mastering UV mapping, you ensure that your 3D car models are not only visually appealing but also technically sound and optimized for various applications. It’s an indispensable skill for any professional working with high-quality 3D vehicle models.
The Art of Realism: PBR Materials and Advanced Shading Networks
Even with perfect topology and UVs, a 3D car model won’t look realistic without convincing materials. Physically Based Rendering (PBR) has revolutionized the industry by simulating how light interacts with surfaces in a physically accurate manner. This means that once a PBR material is set up correctly, it will react realistically to any lighting environment, delivering consistent and believable results across different render engines and game engines. Understanding PBR workflows and crafting intricate shader networks is paramount for achieving photorealistic automotive rendering.
PBR relies on a set of standardized texture maps that describe the physical properties of a surface, such as its color (Albedo/Base Color), how metallic it is (Metallic), how rough or smooth it is (Roughness/Glossiness), and its micro-surface details (Normal map). Beyond these core maps, advanced shading techniques incorporate layers of detail, subtle imperfections, and complex environmental interactions to truly bring a 3D car model to life.
Metallic-Roughness vs. Specular-Glossiness Workflows
The two dominant PBR workflows are Metallic-Roughness and Specular-Glossiness. While both aim for physical accuracy, they store material properties differently.
- Metallic-Roughness Workflow:
- Base Color: Defines the diffuse color for non-metallic surfaces and the reflected color for metallic surfaces.
- Metallic: A grayscale map (0 to 1) indicating if a surface is metallic (1) or non-metallic (0). There are generally no in-between values; objects are either metal or dielectric.
- Roughness: A grayscale map (0 to 1) defining the micro-surface detail. A value of 0 is perfectly smooth (mirror-like), while 1 is completely rough (matte).
- Advantages: Simpler to understand for artists, often preferred in game engines like Unreal Engine and industry standards like glTF and USDZ, making it ideal for game assets and AR/VR.
- Specular-Glossiness Workflow:
- Diffuse: Defines the non-specular color for dielectrics.
- Specular: An RGB color map defining the color and intensity of specular reflections. Metallic surfaces have colored specular reflections, while dielectrics typically have achromatic (grayscale) specular.
- Glossiness: The inverse of roughness (0 is rough, 1 is smooth).
- Advantages: Offers more artistic control over specular color, often favored in offline renderers like V-Ray and Corona, giving fine-tuned results for high-end automotive visualization.
It’s crucial to understand which workflow your target renderer or engine uses to ensure your texture maps are correctly interpreted and rendered.
Creating Realistic Car Paint and Interior Materials
Car paint is one of the most challenging materials to replicate due to its complex layered structure. A realistic car paint shader typically involves several components:
- Base Coat (Color): The primary color of the paint, often with metallic flakes or pearlescent particles. This is usually driven by a Base Color map and a Metallic map with subtle variations for the flakes.
- Clear Coat (Varnish): A highly reflective, usually rough, transparent layer that protects the base coat. This is simulated by adding a secondary glossy reflection layer on top of the base coat, with its own roughness/glossiness and potentially a falloff (Fresnel effect) based on viewing angle. Some advanced shaders might even include micro-scratch normal maps on the clear coat for added realism.
- Dirt/Grime/Wear: Adding subtle layers of dirt, dust, water streaks, or wear and tear (scratches, chips) through layered textures and masks significantly enhances realism. These can be driven by procedural noise, grunge maps, or painted masks applied to roughness, metallic, and even normal maps.
For interior materials, the focus shifts to a variety of fabric, leather, plastic, and metallic surfaces. Each requires specific PBR map sets:
- Leather/Fabric: High-resolution normal maps to capture weave or grain, accompanied by roughness and possibly displacement maps for subtle bumps.
- Plastics: Varying levels of roughness, from glossy dashboard panels to textured matte surfaces, often with subtle normal map details.
- Chrome/Brushed Metal: High metallic values, low roughness for chrome, and directional normal maps for brushed effects.
Platforms like 88cars3d.com provide models with these complex material setups pre-configured, saving artists significant time and effort in achieving high fidelity.
Node-Based Shading in Practice (Blender, 3ds Max, Maya)
Modern 3D software utilizes node-based shading networks, offering incredible flexibility and control over material properties. Instead of simple sliders, artists connect various nodes—texture maps, procedural textures, math operations, mix nodes, and utility nodes—to build sophisticated shaders.
- Blender’s Shader Editor (Cycles/Eevee): Powerful and intuitive. You connect image texture nodes to PBR shader inputs (Principled BSDF) and use nodes like MixRGB, Math, ColorRamp, and Noise Texture to layer effects or procedurally generate patterns for scratches or wear.
- 3ds Max (Material Editor with Corona/V-Ray): Both Corona and V-Ray offer their own PBR materials (Corona Physical Material, V-Ray PBR) with extensive node-based options. You drag and drop maps and apply mixers, color correctors, and procedural textures to build complex material graphs.
- Maya (Hypershade with Arnold): Arnold’s aiStandardSurface shader is highly versatile. Artists use the Hypershade editor to connect file nodes (for textures), utility nodes (like aiNoise, aiCurvature), and various math nodes to fine-tune material attributes. For example, a curvature map can be used as a mask to apply dirt to edges or cavities.
Mastering node-based shading is an advanced skill that allows artists to push the boundaries of realism, creating materials that truly react and tell a story, crucial for any high-end 3D automotive visualization.
Beyond the Model: Achieving Photorealistic Automotive Renders
A perfectly modeled and textured 3D car model is only half the battle. To transform it into a stunning visual, you need a robust rendering workflow that leverages powerful render engines, strategic lighting, and meticulous post-processing. Photorealistic automotive rendering is an art form that combines technical knowledge with a keen eye for aesthetics, replicating the look and feel of real-world photography.
Whether for marketing campaigns, cinematic sequences, or high-fidelity design reviews, the goal is always to evoke emotion and showcase the vehicle’s design in the most appealing way possible. This involves understanding how light behaves, choosing the right rendering tools, and finessing the final image through compositing techniques.
Lighting Scenarios for Maximum Impact (Studio vs. HDRI)
Lighting is the single most important factor in bringing out the details and beauty of a 3D car model. Different lighting setups serve different purposes:
Render Engine Deep Dive (Corona, V-Ray, Cycles, Arnold)
Each render engine has its strengths and nuances, but all modern engines are capable of producing stunning photorealistic automotive renders. They use algorithms like path tracing or photon mapping to simulate light transport realistically.
- Corona Renderer (3ds Max, Cinema 4D): Known for its ease of use, speed, and beautiful physically accurate results. It’s a CPU-based unbiased renderer, meaning it simulates light paths very accurately, ideal for high-quality architectural and automotive visualization. Its interactive rendering provides instant feedback, streamlining the look development process.
- V-Ray (3ds Max, Maya, SketchUp, Rhino, Blender): A long-standing industry standard, V-Ray is incredibly versatile and powerful, offering both biased and unbiased rendering options. It’s highly optimized for complex scenes and offers extensive control over every aspect of the rendering process, making it a favorite for demanding production environments.
- Cycles (Blender): Blender’s integrated, physically based path tracer. It’s open-source, robust, and capable of high-quality results. With GPU rendering support (CUDA, OptiX, HIP), it can achieve impressive speeds. Its node-based material system is very powerful for creating complex car paint shaders.
- Arnold (Maya, 3ds Max, Houdini): A high-performance, unbiased Monte Carlo path tracer, known for its ability to handle extremely complex scenes and produce clean, highly realistic images. It’s a favorite in film and animation studios for its predictable results and quality.
When selecting a render engine, consider your specific needs, software ecosystem, and desired level of control versus ease of use. All these engines support PBR workflows, making material setup consistent across platforms, especially when sourcing high-quality models from marketplaces like 88cars3d.com.
Post-Processing and Compositing for the Final Touch
Raw renders, no matter how good, rarely look finished. Post-processing and compositing in software like Adobe Photoshop, Affinity Photo, or Blackmagic Fusion are essential steps to elevate your images to publication quality.
- Image Adjustments:
- Exposure & Contrast: Fine-tuning the overall brightness and dynamic range.
- Color Correction: Adjusting white balance, color saturation, and hue to achieve a desired mood or match a reference.
- Levels & Curves: Precise control over the tonal range of the image.
- Atmospheric Effects:
- Vignette: Subtly darkening the edges of the image to draw attention to the center.
- Chromatic Aberration: A subtle color fringing effect that can add a photographic touch.
- Depth of Field (DoF): Blurring elements outside the focal plane to enhance realism and guide the viewer’s eye. While often rendered in 3D, it can be enhanced or simulated in post.
- Grain/Noise: Adding subtle photographic noise to break up perfect digital smoothness.
- Compositing Render Passes: Professional renders often output multiple “render passes” (e.g., Diffuse, Specular, Reflections, Z-Depth, Normals, Ambient Occlusion). Compositing these passes gives you granular control over each aspect of the image in post, allowing for non-destructive adjustments. For example, you can adjust reflections independently or fine-tune ambient occlusion without re-rendering the entire scene.
- Adding Backgrounds & Foreground Elements: Seamlessly integrating your 3D car model into a backplate photograph or a 3D environment, adding motion blur to wheels, and incorporating lens flares or other photographic effects.
This final stage is where your render transforms from a raw output into a polished, emotionally resonant image, making your automotive visualization truly captivating.
Optimizing 3D Car Models for Real-Time Game Engines
The demands of real-time rendering in video games are fundamentally different from offline rendering. While offline renders prioritize ultimate visual fidelity at the cost of time, game engine optimization focuses on achieving compelling visuals while maintaining high frame rates. For 3D car models, this means a rigorous approach to polygon count, texture management, and scene complexity to ensure smooth performance in environments like Unity and Unreal Engine.
Optimized game assets are not just about reducing polygons; it’s about making smart decisions that balance visual quality with performance budgets. Every polygon, every texture, and every draw call contributes to the overall computational load. A well-optimized car model can be featured prominently in a racing game or open-world environment, while a poorly optimized one can cripple performance.
Level of Detail (LOD) Generation and Implementation
Level of Detail (LOD) is a crucial technique for rendering complex objects like cars efficiently in real-time. It involves creating multiple versions of the same model, each with a progressively lower polygon count, and swapping them out based on the camera’s distance from the object.
- LOD0 (High Detail): The full-resolution model, used when the car is close to the camera. This might have 50,000-150,000 polygons, displaying all subtle details.
- LOD1 (Medium Detail): A reduced polygon version, used when the car is at a mid-distance. Perhaps 15,000-30,000 polygons, with some small details removed.
- LOD2 (Low Detail): A heavily reduced version, for cars further away. Maybe 3,000-8,000 polygons, retaining only the primary silhouette.
- LOD3+ (Impostors/Billboards): For cars at very far distances, sometimes a 2D sprite (impostor or billboard) of the car is used to save even more performance.
Implementation: Game engines like Unity and Unreal Engine have built-in LOD systems. You import your different LOD meshes, assign them to the LOD group, and define the screen percentage at which each LOD should switch. The key is to ensure smooth transitions between LODs without noticeable popping artifacts. Most 3D software offers tools for polygon reduction, or external tools like Simplygon can automate the LOD generation process.
Draw Call Reduction and Texture Optimization
Draw calls are instructions from the CPU to the GPU to draw objects. Each draw call incurs a performance cost. Minimizing draw calls is essential for game optimization.
- Material Merging/Atlasing: As discussed in UV mapping, combining multiple materials and their associated textures into a single texture atlas (and thus a single material) dramatically reduces draw calls. Instead of 20 different materials for a car (body, interior, wheels, glass, lights), you might condense it to 3-5 atlases.
- Mesh Merging: Combining separate mesh objects (e.g., all interior components into one mesh) can also reduce draw calls, provided they share the same material.
- Static Batching: Game engines can “batch” static meshes (objects that don’t move) that share the same material, reducing draw calls.
Texture Optimization:
- Texture Resolution: Use appropriate texture resolutions. A 4K texture for a car body might be necessary, but smaller components often suffice with 1K or 512px. Overly high resolutions waste memory.
- Texture Compression: Apply appropriate compression formats (e.g., DXT1/BC1, DXT5/BC5, ASTC, ETC2) depending on the platform and alpha channel needs.
- Texture Packing: Pack multiple grayscale maps (e.g., Metallic, Roughness, Ambient Occlusion) into different channels (R, G, B, A) of a single RGB texture to save memory and texture fetches.
Collision Meshes and Physics Asset Setup
For realistic interaction in a game, 3D car models need collision detection and physics. It’s inefficient and often problematic to use the visual mesh directly for collisions, especially high-poly LOD0 meshes.
- Collision Meshes: Create separate, simplified meshes specifically for collision detection. These are often convex hulls or simple primitive shapes (boxes, capsules, spheres) that closely approximate the car’s physical form. A common approach is to use a few convex hulls to wrap the main body, and simple boxes for wheels.
- Physics Asset (Ragdoll/Vehicle Physics): Game engines allow you to set up complex physics assets. For vehicles, this often involves:
- Rigid Bodies: Assigning physical properties (mass, inertia) to components like the chassis, wheels, and doors.
- Constraints/Joints: Defining how these rigid bodies connect (e.g., hinge joints for doors, suspension joints for wheels).
- Wheel Colliders: Specific components that simulate wheel interaction with the ground, including suspension, friction, and drive forces.
- Optimization for Physics: Keep collision meshes as simple as possible. Complex collision meshes can be computationally expensive, especially when many vehicles are interacting in a scene.
By diligently applying these optimization techniques, you ensure that your 3D car models are not only visually stunning but also perform flawlessly in the demanding real-time environments of modern video games.
Expanding Horizons: AR/VR, 3D Printing, and Visualization Applications
The versatility of high-quality 3D car models extends far beyond traditional rendering and game development. With the rise of augmented reality (AR) and virtual reality (VR), along with advancements in additive manufacturing (3D printing), and increasingly sophisticated visualization tools, these digital assets are finding new and exciting applications. Tailoring your models for these diverse platforms requires specific considerations and technical adjustments, ensuring optimal performance and fidelity in each unique medium.
From interactive showrooms to rapid prototyping and immersive training simulations, the demand for adaptable 3D vehicle models is growing. Understanding the nuances of preparation for each application can significantly broaden the utility and impact of your digital creations.
Tailoring Models for AR/VR Performance and Immersion
Augmented Reality (AR) and Virtual Reality (VR) demand highly optimized assets due to their strict performance budgets and the need for seamless immersion. Frame rates must be consistently high (e.g., 90+ FPS for VR) to prevent motion sickness and maintain presence. 3D car models for AR/VR require a meticulous balance between visual quality and performance.
- Polygon Count: Even more critical than for standard games. For standalone VR headsets like Oculus Quest, target polygons might be as low as 50,000-100,000 for an entire scene, meaning a car would need to be very aggressively optimized (e.g., 20,000-50,000 triangles). For PC-VR or AR on high-end mobile devices, this budget can be higher.
- Draw Calls & Batches: Aggressive texture atlasing and material merging are paramount. Minimizing materials and textures directly contributes to lower draw calls, which is a major performance bottleneck in AR/VR.
- Texture Resolution: Use the lowest acceptable resolution. 1K or 2K textures are often preferred over 4K for memory and performance. Pack multiple channels (Metallic, Roughness, AO) into a single RGB texture.
- Lighting: Often uses baked lighting (lightmaps) rather than real-time dynamic lighting, especially in mobile AR/VR, to save computational resources. If real-time lighting is used, keep it simple (e.g., a single directional light).
- Interactive Elements: Ensure interactive components (doors, hood, interior controls) are separated, properly pivoted, and rigged with simple joints for smooth animation.
- File Formats: GLB (for glTF) and USDZ are increasingly popular for AR/VR due to their ability to bundle meshes, materials, and animations into a single, compact file. 88cars3d.com often provides models in these formats for easy deployment.
Preparing 3D Car Models for Flawless 3D Printing
Transforming a digital 3D car model into a physical object through 3D printing introduces an entirely different set of technical requirements. The mesh needs to be “watertight” and manifold, meaning it has no holes, non-manifold edges, or inverted normals.
- Manifold Mesh: Every edge must be connected to exactly two faces. No internal faces, no overlapping geometry, and no open edges (holes). This ensures the printer knows what is “inside” and “outside” the model.
- Mesh Repair: Tools like Blender’s 3D Print Toolbox, Netfabb, or Meshmixer are invaluable for analyzing and repairing meshes for 3D printing. Common repairs include filling holes, fixing non-manifold geometry, and removing intersecting faces.
- Wall Thickness: Ensure all parts of the model have sufficient wall thickness. If walls are too thin, they might not print correctly or will be too fragile. Minimum thickness varies by printer technology and material (e.g., 0.8mm – 2mm is a common range).
- Scale & Units: Ensure the model is scaled correctly in real-world units (mm, cm, inches) before exporting.
- Detail vs. Printability: High-frequency details like fine scratches or small text from normal maps will not translate to a physical print. For detailed prints, these must be modeled geometrically (e.g., embossed text).
- File Formats: STL is the most common format for 3D printing, followed by OBJ, and sometimes AMF.
- Support Structures: Consider overhangs and islands. For complex car shapes, support structures will be necessary during printing. Sometimes, minor model adjustments can reduce the need for extensive supports.
High-Fidelity Visualization in Architectural and Product Design
3D car models are indispensable assets in architectural visualization (ArchViz) and product design presentations. They add context, scale, and a sense of realism to scenes, making architectural renders more dynamic and product designs more relatable.
- Contextual Realism: Placing a highly detailed 3D car model in an architectural render immediately brings the scene to life, showing how spaces are used and adding a human element. The quality of the car model directly impacts the overall realism of the ArchViz project.
- Design Integration: Automotive manufacturers use 3D models extensively in their design process, from initial concept to final production. They leverage advanced rendering software to visualize new designs, evaluate aesthetics, and conduct virtual reviews before physical prototypes are ever made.
- Interactive Configurator: High-end car configurators (online or in showrooms) utilize real-time 3D models to allow customers to customize colors, wheels, and interior options, providing an immersive pre-purchase experience. These demand highly optimized, yet visually rich models.
- Cinematic & Broadcast: For commercials, films, or documentaries, 3D car models are used for chase sequences, product reveals, or historical reconstructions, requiring the absolute highest level of detail and realism from both the model and the rendering pipeline.
In all these applications, the underlying quality of the 3D car model – its topology, UVs, and PBR materials – is paramount. Sourcing meticulously crafted models from reliable marketplaces ensures that your projects begin with a strong, professional foundation.
Conclusion: The Pursuit of Perfection in 3D Automotive Assets
The journey through the intricacies of 3D car models reveals a sophisticated interplay of technical discipline and artistic finesse. From the foundational principles of clean topology and efficient UV mapping to the advanced techniques of PBR material creation and photorealistic automotive rendering, every stage demands precision and an understanding of industry best practices. Whether you’re optimizing for game engines, preparing for immersive AR/VR experiences, or creating tangible objects through 3D printing, the underlying quality of your 3D car assets dictates the success of your project.
Mastering these workflows not only elevates the visual fidelity of your work but also enhances its versatility and performance across diverse platforms. The commitment to producing high-quality, technically sound 3D car models is what distinguishes professional-grade content. By adhering to these guidelines, you equip yourself with the knowledge to tackle any challenge in the demanding world of automotive visualization.
For artists and developers seeking to kickstart their projects with assets built to these exacting standards, platforms like 88cars3d.com offer a curated selection of high-quality 3D car models, meticulously crafted with clean topology, realistic materials, and optimized for various applications. Explore their extensive library to find the perfect foundation for your next automotive masterpiece and streamline your workflow with ready-to-use, professional-grade assets.
Featured 3D Car Models

Texture: Yes
Material: Yes
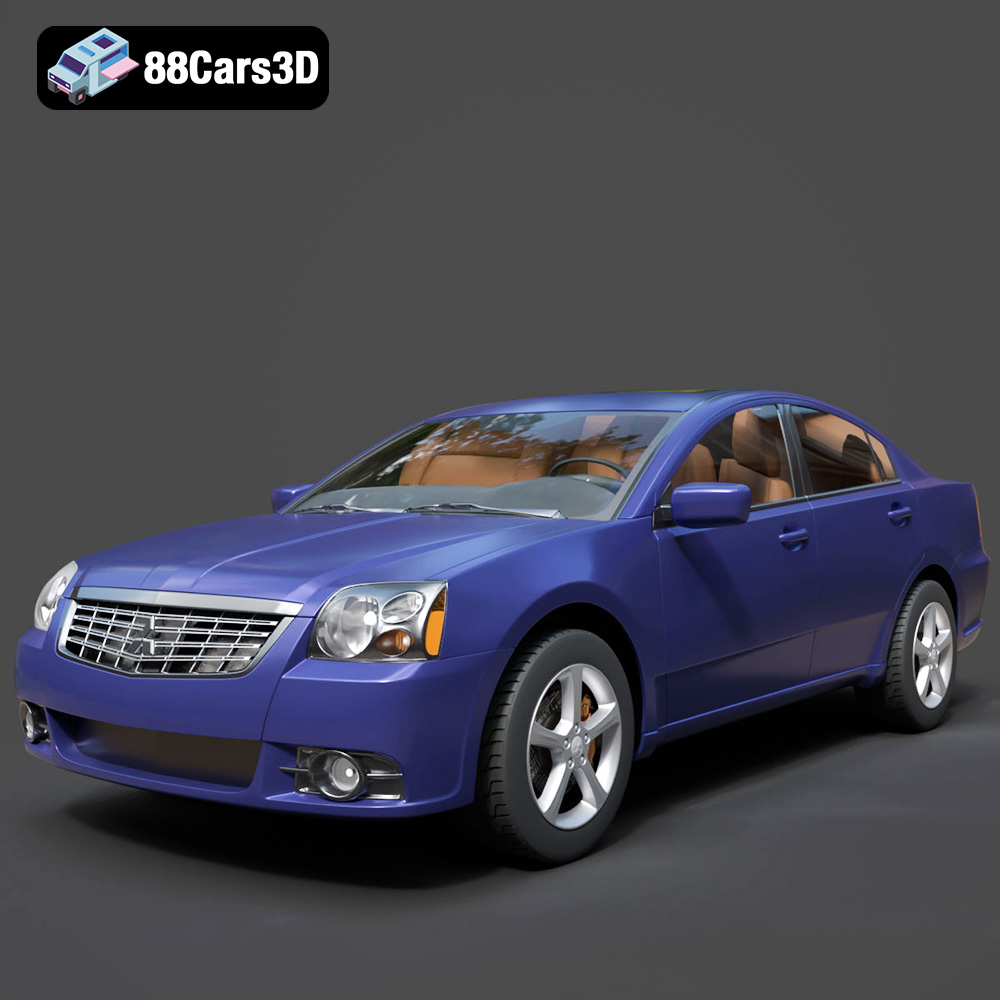
Download the Mitsubishi Galant 2009 3D Model featuring clean geometry, realistic detailing, and a fully modeled interior. Includes .blend, .fbx, .obj, .glb, .stl, .ply, .unreal, and .max formats for rendering, simulation, and game development.
Price: $4.99
View Product

Texture: Yes
Material: Yes
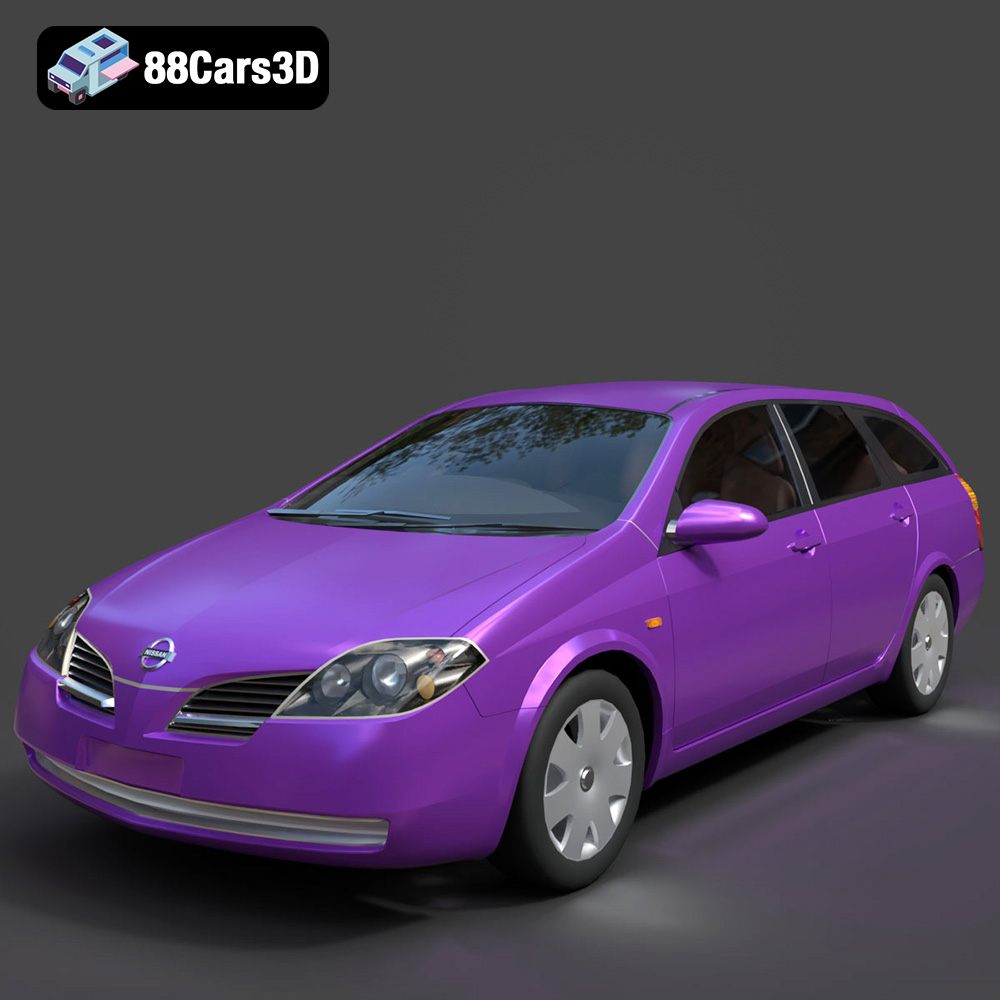
Download the Nissan Primera Wagon 3D Model featuring clean geometry, realistic detailing, and a fully modeled interior. Includes .blend, .fbx, .obj, .glb, .stl, .ply, .unreal, and .max formats for rendering, simulation, and game development.
Price: $4.99
View Product

Texture: Yes
Material: Yes
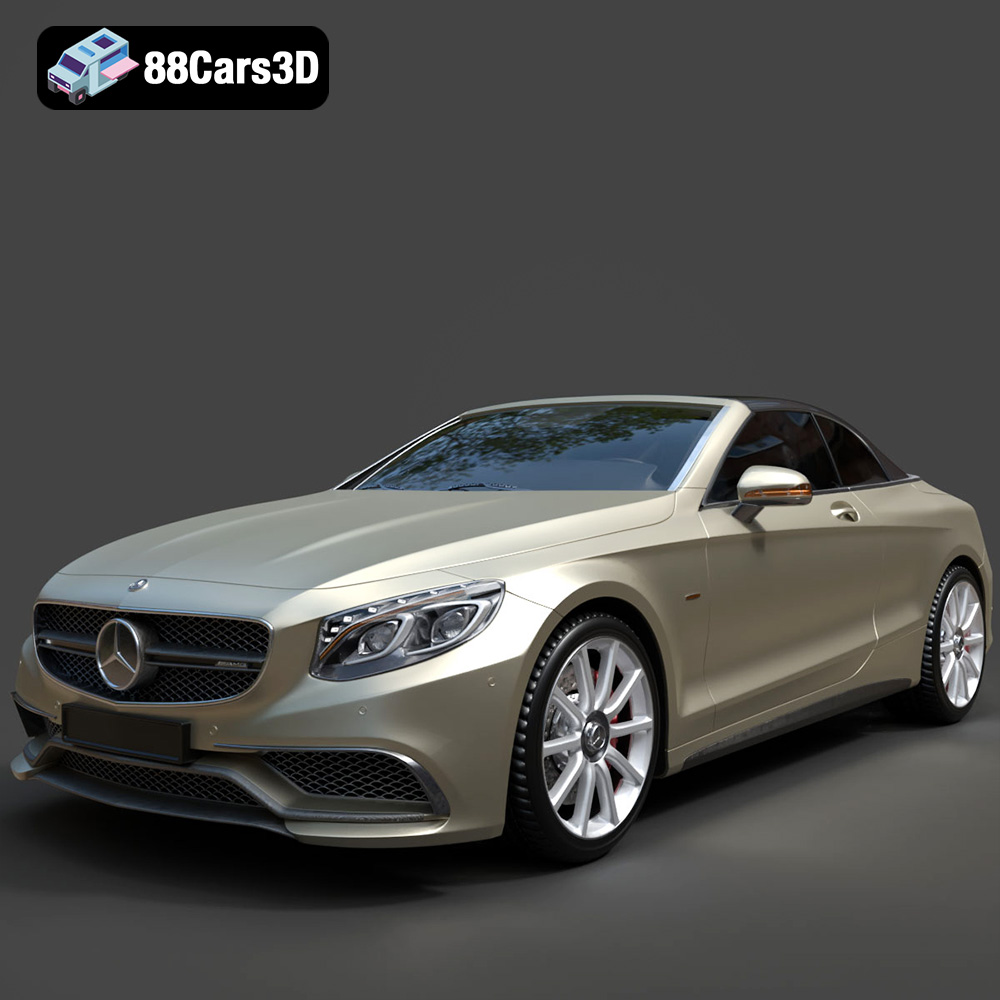
Download the Mercedes-Benz S63 AMG Cabriolet 2017 3D Model featuring clean geometry, realistic detailing, and a fully modeled interior. Includes .blend, .fbx, .obj, .glb, .stl, .ply, .unreal, and .max formats for rendering, simulation, and game development.
Price: $20.99
View Product

Texture: Yes
Material: Yes
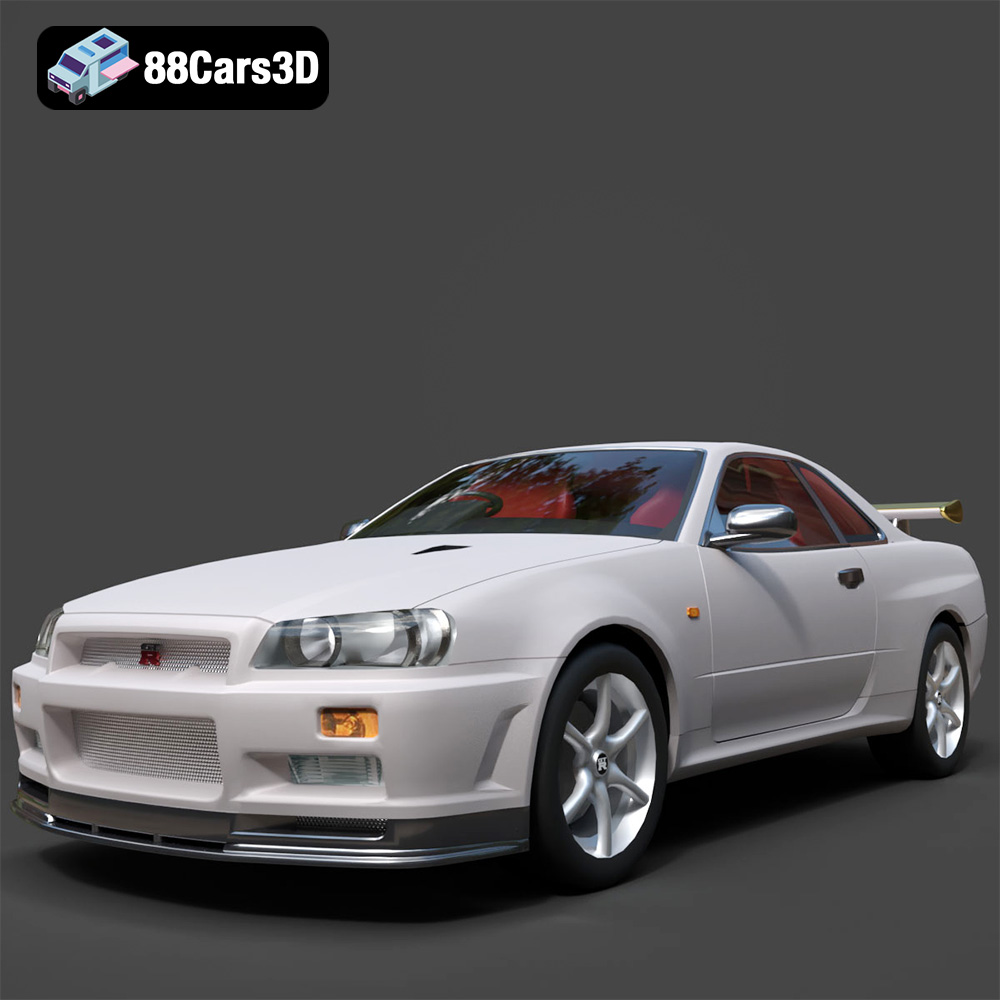
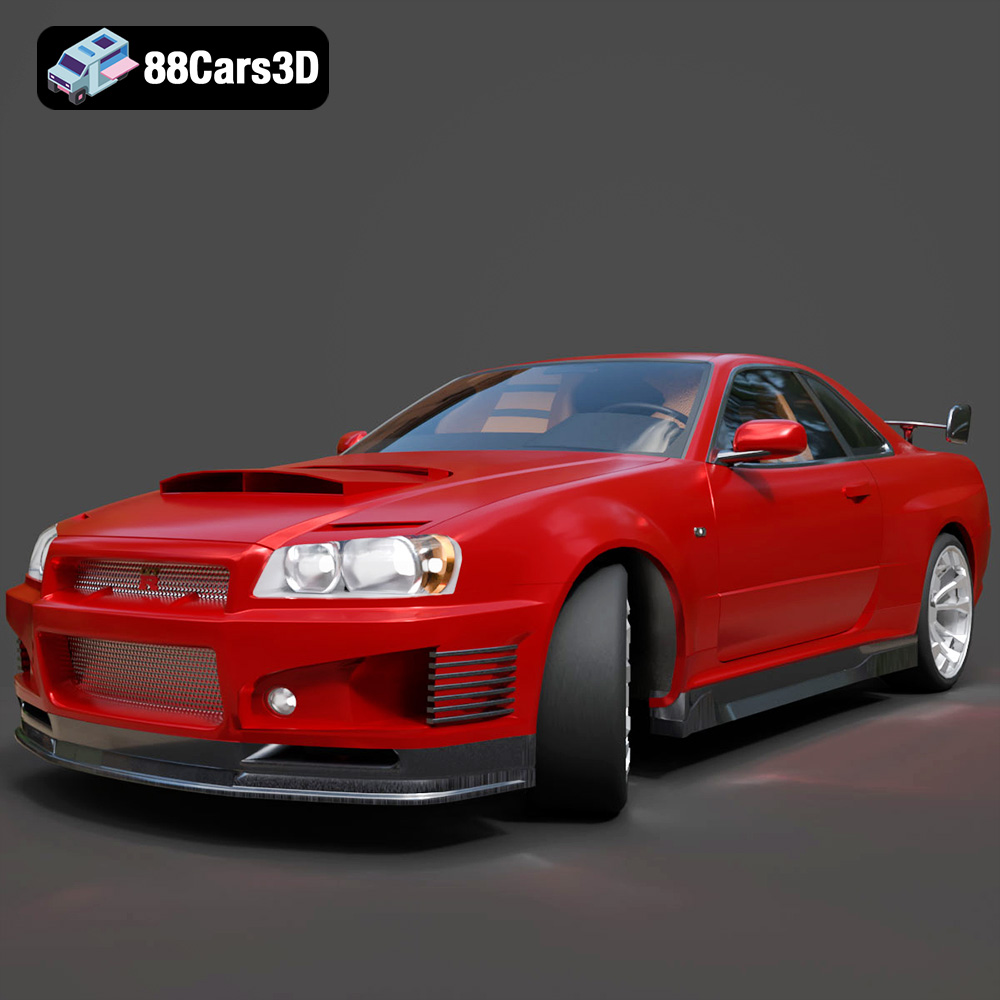
Download the Nissan Skyline R34 2002 3D Model featuring clean geometry, realistic detailing, and a fully modeled interior. Includes .blend, .fbx, .obj, .glb, .stl, .ply, .unreal, and .max formats for rendering, simulation, and game development.
Price: $4.99
View Product

Texture: Yes
Material: Yes
Download the Nissan Skyline 3D Model featuring clean geometry, realistic detailing, and a fully modeled interior. Includes .blend, .fbx, .obj, .glb, .stl, .ply, .unreal, and .max formats for rendering, simulation, and game development.
Price: $9.99
View Product

Texture: Yes
Material: Yes
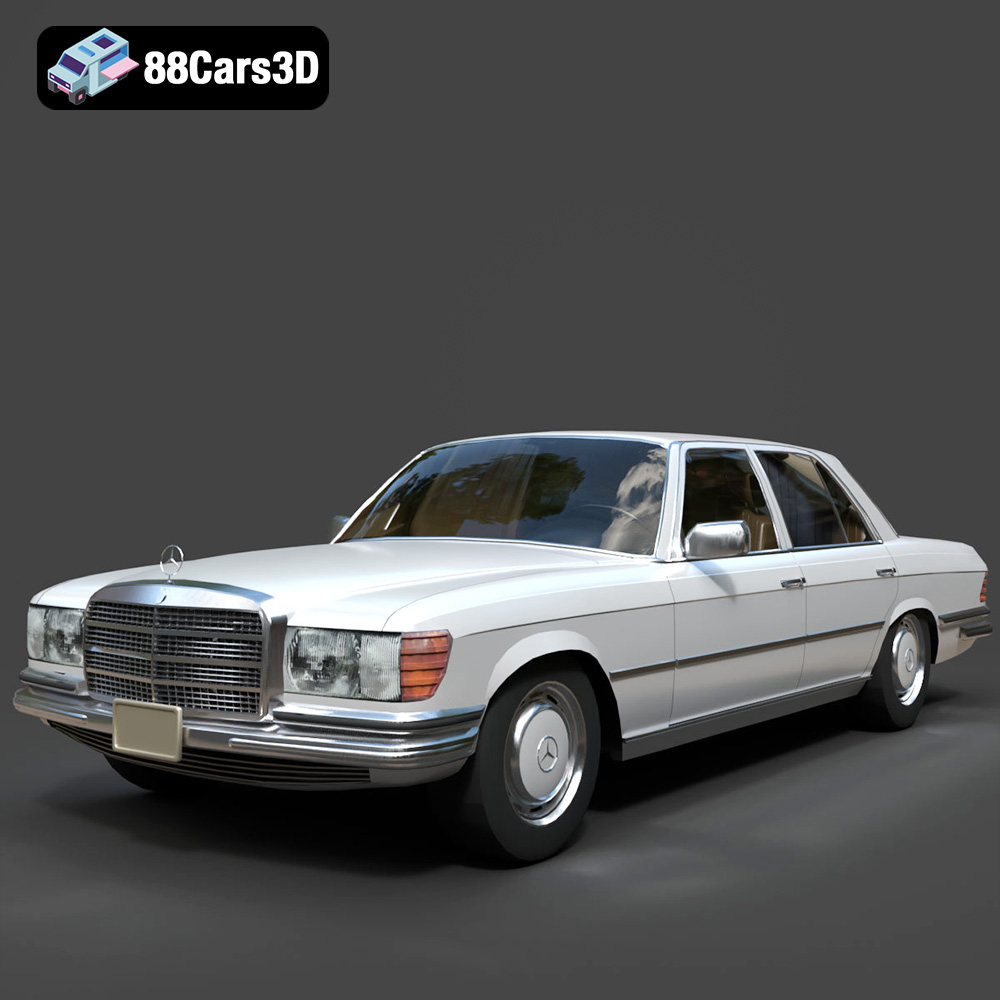
Download the Mercedes-Benz S-Klasse W116 3D Model featuring clean geometry, realistic detailing, and a fully modeled interior. Includes .blend, .fbx, .obj, .glb, .stl, .ply, .unreal, and .max formats for rendering, simulation, and game development.
Price: $4.99
View Product

Texture: Yes
Material: Yes
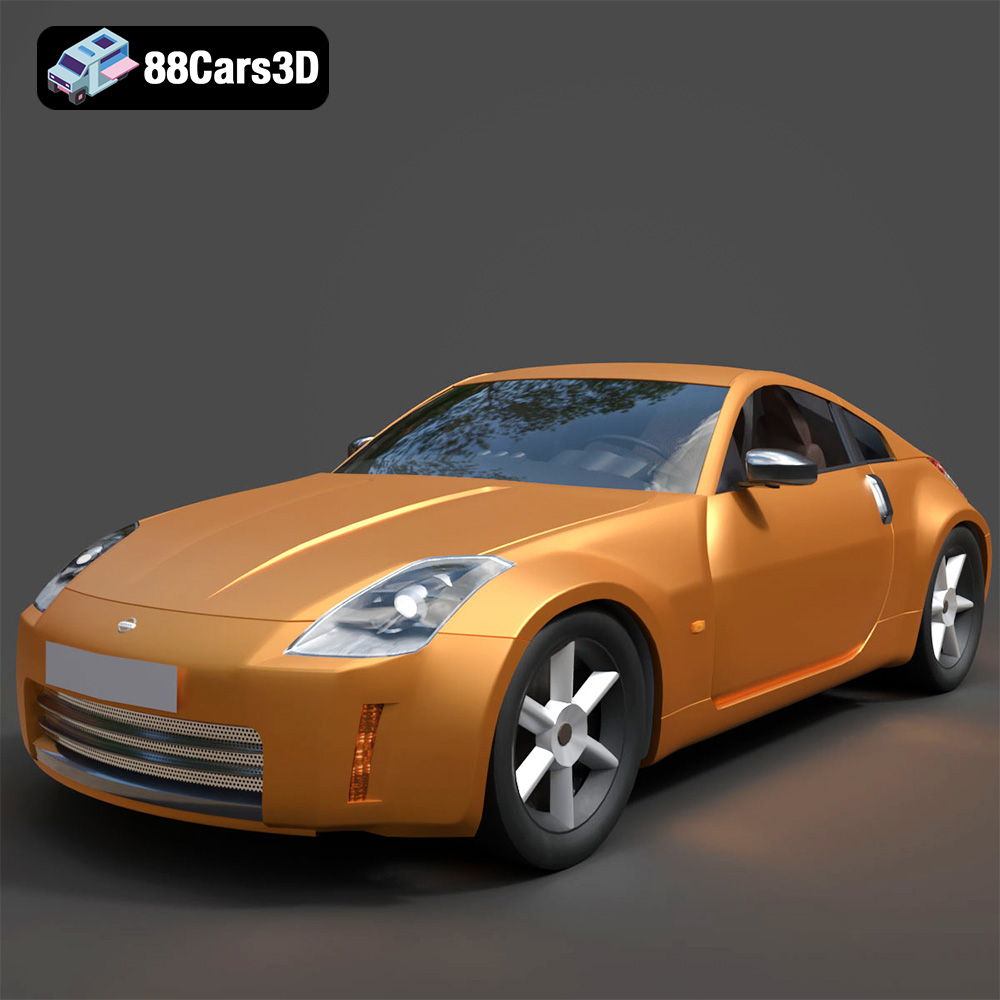
Download the Nissan 350Z 3D Model featuring clean geometry, realistic detailing, and a fully modeled interior. Includes .blend, .fbx, .obj, .glb, .stl, .ply, .unreal, and .max formats for rendering, simulation, and game development.
Price: $4.99
View Product

Texture: Yes
Material: Yes
Download the Nissan Skyline V35 2001 3D Model featuring clean geometry, realistic detailing, and a fully modeled interior. Includes .blend, .fbx, .obj, .glb, .stl, .ply, .unreal, and .max formats for rendering, simulation, and game development.
Price: $4.99
View Product

Texture: Yes
Material: Yes
Download the Mercedes-Benz S-Klasse 221-007 3D Model featuring clean geometry, realistic detailing, and a fully modeled interior. Includes .blend, .fbx, .obj, .glb, .stl, .ply, .unreal, and .max formats for rendering, simulation, and game development.
Price: $4.99
View Product

Texture: Yes
Material: Yes
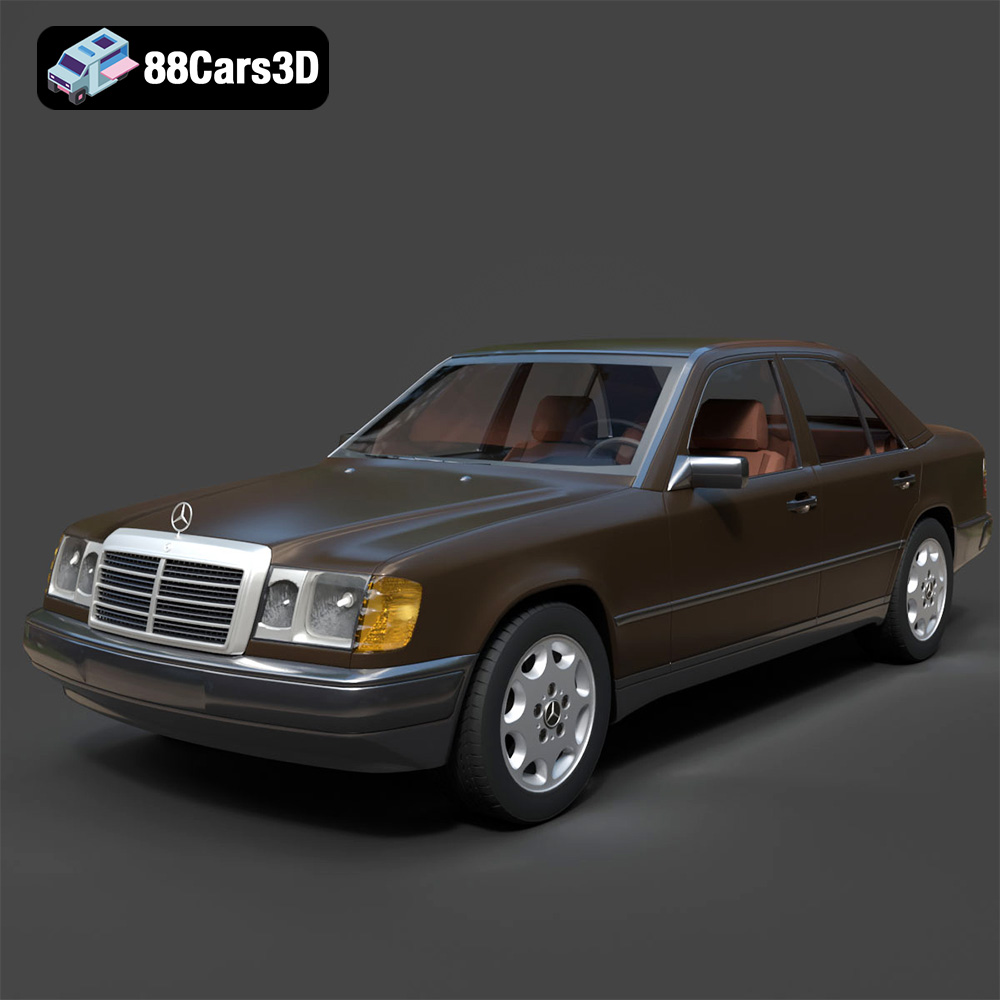
Download the Mercedes W124 Sedan 3D Model featuring clean geometry, realistic detailing, and a fully modeled interior. Includes .blend, .fbx, .obj, .glb, .stl, .ply, .unreal, and .max formats for rendering, simulation, and game development.
Price: $4.99
View Product
