⚡ FLASH SALE: Get 60% OFF All Premium 3D & STL Models! ⚡
The sleek lines, intricate details, and raw power of an automobile have always captivated designers, engineers, and enthusiasts alike. In the digital realm, transforming these magnificent machines into high-fidelity 3D car models is an art and a science, pivotal for industries ranging from film and gaming to automotive design and architectural visualization. A truly exceptional 3D car model is more than just geometry; it’s a meticulously crafted digital asset, brimming with clean topology, realistic PBR materials, and optimized structures, ready for any application. Mastering the creation and utilization of these assets can elevate your projects from good to groundbreaking.
This comprehensive guide delves deep into the technical intricacies of working with 3D car models. We’ll explore the foundational principles of modeling, the nuances of UV mapping, the magic of PBR materials, advanced rendering techniques, and crucial optimization strategies for real-time environments like game engines and AR/VR. Whether you’re a seasoned 3D artist, an aspiring game developer, or an automotive designer looking to push the boundaries of digital visualization, understanding these processes is essential. Prepare to unlock the full potential of your automotive rendering and visualization projects, ensuring your digital vehicles look stunning and perform flawlessly across all platforms.
The bedrock of any high-quality 3D car model lies in its topology and edge flow. For automotive designs, where smooth, reflective surfaces are paramount, pristine topology is not merely a preference but a necessity. It dictates how light reflects off the surface, how the model deforms, and how seamlessly textures can be applied. Poor topology can lead to artifacts like pinching, unwanted creases, or lumpy reflections, undermining the realism of your final render or real-time application. A professional model, such as those found on platforms like 88cars3d.com, typically prioritizes clean, quad-based geometry to ensure optimal performance and visual fidelity.
In 3D modeling, faces are generally composed of polygons with varying numbers of vertices. Quads (four-sided polygons) are the gold standard for organic and hard-surface modeling, especially for car bodies. They offer predictable subdivision, smooth deformation, and excellent compatibility with sculpting tools and various renderers. When subdividing a quad mesh, each quad splits into four new quads, maintaining a consistent flow. Triangles (three-sided polygons) are often generated at the lowest level by render engines and game engines, as they are the most basic unit for rasterization. While acceptable in areas of flat detail or where deformation is minimal (e.g., hidden areas or very low-poly models), excessive triangles can disrupt edge flow and lead to shading inconsistencies on curved surfaces. N-gons (polygons with five or more sides) should be avoided in production-ready models, particularly on visible or deforming surfaces. They cause unpredictable shading, create issues with subdivision surfaces, and can lead to triangulation errors upon export, making them a common source of problems for modelers.
Edge flow refers to the direction and continuity of edge loops across a mesh. For complex automotive surfaces, perfect edge flow is crucial for defining curvature, maintaining smooth highlights, and allowing for subtle deformations. Key principles include ensuring edge loops follow the natural contours of the vehicle, particularly around prominent lines, wheel arches, and panel gaps. This meticulous approach helps prevent “pinching,” where reflections appear distorted or unnatural due to uneven surface transitions. Techniques involve carefully planning your topology, using guide curves, and leveraging tools like edge slide or flow connect in software such as 3ds Max, Blender, or Maya. For a hero car asset, a typical polygon count might range from 200,000 to 500,000 polygons, with higher counts reserved for extreme close-ups or detailed interiors. Maintaining clean edge flow throughout ensures that even at these poly counts, the model remains manageable and visually superior, crucial for photorealistic automotive rendering.
Once the geometric form of your 3D car model is perfected, the next critical step is UV mapping. UVs are the 2D coordinates that tell your 3D software how to project a 2D texture onto the 3D surface. Flawed UVs can result in stretched textures, visible seams, or inefficient texture usage, detracting significantly from the visual quality of even the most detailed model. For the complex, often highly reflective surfaces of a car, a thoughtful and strategic UV layout is indispensable for achieving realistic PBR materials and optimal performance.
Effective UV mapping for a car involves breaking down its intricate geometry into manageable, logical pieces. The goal is to minimize visible seams, prevent texture stretching, and maintain a uniform texel density across the entire model. For car bodies, techniques often involve a “road map” strategy, where large panels are unwrapped as individual islands, carefully separated along natural creases or panel gaps to hide seams. Cylindrical projections work well for components like tires, while planar projections might be suitable for flat surfaces. Tools within 3ds Max, Blender, and Maya offer various projection methods and relaxing algorithms to achieve distortion-free UVs. It’s crucial to allocate more UV space to areas that will be seen up close or require higher detail (e.g., headlights, grilles, badges) and less to less prominent or hidden areas. Aim for a consistent texel density, such as 10.24 pixels per centimeter, to ensure uniform detail levels across different parts of the car. This consistency is vital for realism in automotive rendering.
Optimization is key when preparing UVs for Physically Based Rendering (PBR) workflows and, especially, for game assets. For PBR, clean UVs ensure that metallic, roughness, and normal maps are accurately applied, contributing to realistic material response. For game engines, efficiency is paramount. Texture atlasing is a common technique where multiple smaller textures from different UV islands are combined into a single, larger texture map. This reduces the number of materials and draw calls required by the engine, significantly boosting performance. For instance, all interior components might share one UV atlas, or all undercarriage parts another. Overlapping UVs can be used for identical parts (e.g., all four tires, or bolts) to share the same texture space, further conserving memory. While UDIMs (a system for using multiple UV tiles) are excellent for high-resolution cinematic rendering, allowing for extreme detail on massive surfaces (e.g., an 8K texture for each car panel), they are generally avoided for real-time game engines due to their performance overhead. Typical texture resolutions for hero car assets range from 2K to 4K, with 8K used for ultra-high-quality renders, ensuring crisp details.
The tactile realism of a 3D car model truly comes alive through its materials and textures. Physically Based Rendering (PBR) has revolutionized this aspect, providing a standardized approach to material creation that mimics how light interacts with surfaces in the real world. Unlike older, artist-driven rendering methods, PBR materials behave consistently across different lighting conditions and rendering environments, ensuring a predictable and realistic appearance. This consistency is vital for achieving top-tier automotive rendering, whether for marketing visuals or interactive experiences.
PBR workflows generally adhere to one of two main paradigms: Metallic/Roughness or Specular/Glossiness. The Metallic/Roughness workflow is more common in modern game engines and real-time renderers (like Unity, Unreal Engine, Blender’s Cycles, and Marmoset Toolbag). It uses a Base Color map (which also carries diffuse information), a Metallic map (0 for dielectric/non-metal, 1 for metal), and a Roughness map (0 for perfectly smooth, 1 for perfectly rough). This workflow is intuitive, as artists conceptually define if a surface is metallic and then how rough it is. The Specular/Glossiness workflow, often found in offline renderers like V-Ray and Corona, uses a Diffuse map, a Specular map (defining the color and intensity of specular reflections), and a Glossiness map (the inverse of roughness, with 1 being perfectly smooth). While both can yield excellent results, the choice often depends on the target engine or renderer and existing asset pipelines. Regardless of the workflow, core PBR maps typically include: Albedo/Base Color, Metallic (or Specular), Roughness (or Glossiness), Normal (for surface detail without added geometry), and Ambient Occlusion (for baked self-shadowing). For a car, these maps are crucial for accurately representing everything from the paint and glass to chrome and rubber.
Car paint is one of the most challenging and rewarding materials to create with PBR. A realistic car paint shader often involves multiple layers to simulate the clear coat, base color, and metallic flakes. In render engines like V-Ray, Corona, or Blender’s Cycles, this is achieved by layering materials: a diffuse layer for the base color, a metallic flake layer (often a procedural noise or texture map driving anisotropy), and a transparent, highly reflective top layer for the clear coat. The clear coat itself will have a specific Index of Refraction (IOR, typically around 1.5) and controlled roughness for subtle imperfections. Realistic imperfections like dust, fingerprints, water spots, or subtle scratches can be introduced by blending additional roughness maps or normal maps, breaking up the perfect reflection and adding incredible realism. For interiors, the focus shifts to materials like leather, fabric, and various plastics. Leather textures require detailed normal maps and varying roughness to convey the grain and wear, while fabric shaders benefit from subtle patterns and even micro-fuzziness created with displacement or normal maps. Utilizing a node-based shader editor, artists can intricately build complex material networks, fine-tuning every parameter to achieve photorealistic results that hold up under intense scrutiny.
Even the most perfectly modeled and textured 3D car model will fall flat without compelling illumination. Lighting is the storyteller of a scene, guiding the viewer’s eye, emphasizing form, and establishing mood. For automotive rendering, the goal is often to showcase the vehicle in the most flattering and realistic light, whether for marketing, design evaluation, or virtual photography. Mastering lighting requires an understanding of both technical principles and artistic vision, utilizing advanced tools available in modern renderers.
There are two primary approaches to lighting a 3D car model: studio setups and environment-based lighting. Studio lighting often employs a controlled, artificial environment, mimicking real-world photo studios. A common technique is 3-point lighting (key, fill, and back lights) complemented by large area lights or softboxes to create soft, flattering reflections on the car’s body. HDRIs (High Dynamic Range Images) are invaluable for both studio and environment lighting. An HDRI acts as a 360-degree light source, providing realistic ambient light, reflections, and even shadow casting. For studio setups, an HDRI of a clean, neutral studio can quickly establish a baseline. For outdoor scenes, a dynamic sun & sky system (e.g., 3ds Max Physical Sun & Sky, Blender’s Nishita Sky) combined with an appropriate outdoor HDRI offers physically accurate global illumination and reflections. Tools like Corona Renderer’s LightMix allow artists to adjust the intensity and color of individual lights or groups of lights in real-time during rendering, offering unparalleled flexibility in fine-tuning the illumination. Careful consideration of light placement, intensity, and color temperature is essential to highlight the car’s design features and material properties.
Beyond basic illumination, advanced rendering techniques and post-processing significantly elevate the final image. Modern renderers like V-Ray, Corona, Cycles, and Arnold offer robust capabilities for producing highly detailed outputs. Render passes (also known as AOVs – Arbitrary Output Variables) are critical. These separate image layers capture specific information, such as reflections, refractions, shadows, diffuse color, object IDs, and Z-depth. For example, a Z-depth pass allows for realistic depth of field adjustments in post-production, while reflection passes offer granular control over metallic surfaces. Denoising technologies (like NVIDIA OptiX or Intel Open Image Denoise) are now standard, dramatically reducing render times by cleaning up noise in images rendered with fewer samples. Once rendered, the raw image and its passes move into post-processing software like Adobe Photoshop or Foundry Nuke. Here, artists perform color correction, adjust contrast, add subtle lens effects (e.g., bloom, glare, chromatic aberration), sharpen details, and integrate depth of field. This stage is where a render transforms into a polished, production-ready image, suitable for high-end marketing campaigns, design presentations, or virtual showrooms, showcasing the car model in its best light.
While offline rendering prioritizes visual fidelity with fewer performance constraints, preparing a 3D car model for real-time applications like game engines, AR, or VR demands a rigorous optimization strategy. High-quality models, such as those available on 88cars3d.com, are often structured with real-time use in mind, but further adaptation is usually required. The goal is to maintain visual quality while ensuring smooth frame rates and efficient resource usage, crucial for immersive interactive experiences.
One of the most effective optimization techniques is implementing Levels of Detail (LODs). This involves creating multiple versions of the same car model, each with progressively lower polygon counts and simpler materials. For instance, LOD0 might be the hero model with 150,000 polygons, LOD1 at 50,000, LOD2 at 15,000, and LOD3 at a mere 5,000. Game engines (Unity, Unreal Engine) automatically swap between these LODs based on the camera’s distance to the object. This ensures that distant objects use fewer resources while objects close to the viewer retain high detail. Occlusion culling and frustum culling are also essential. Occlusion culling prevents objects hidden behind other geometry from being rendered, while frustum culling prevents objects outside the camera’s view from being drawn. Minimizing draw calls—the commands sent from the CPU to the GPU to render an object—is paramount. Each unique material or mesh batch typically results in a draw call. Reducing these by combining meshes and using texture atlases (as discussed in UV mapping) significantly boosts performance, making your game assets run smoothly.
Beyond geometry, texture and material management play a huge role in real-time performance. As mentioned, texture atlasing consolidates multiple textures into one large sheet, allowing a single material to cover many parts and reducing draw calls. For example, all interior fabric, plastic, and button textures could be on one atlas. Another smart technique is texture packing, where multiple grayscale maps (like Metallic, Roughness, Ambient Occlusion, and Cavity) are combined into the RGB and Alpha channels of a single texture. This reduces the number of texture samples the GPU needs to perform, saving memory and bandwidth. Material instancing is also crucial: instead of creating a new material for every slight variation (e.g., different car colors), you create one master material and then create instances of it, changing only specific parameters (like base color). This reuses the shader code, saving computational resources. When targeting specific platforms, like mobile, texture resolutions must be carefully chosen (e.g., 1K or 2K maximum per atlas), and file sizes need to be tightly controlled. High-quality 3D car models from marketplaces like 88cars3d.com often come with optimized texture sets and pre-setup materials, ready for efficient integration into game engines.
The versatility of a well-crafted 3D car model extends far beyond traditional rendering. With advancements in augmented reality (AR), virtual reality (VR), and 3D printing technologies, these digital assets are now crucial for interactive product showcases, immersive training simulations, and even physical prototyping. Adapting a complex automotive model for these diverse applications requires specific considerations and optimization techniques to ensure fidelity, performance, or printability.
AR and VR environments present unique optimization challenges, demanding extremely lean assets to maintain high frame rates (typically 90 FPS for comfortable VR) and prevent motion sickness. For mobile AR experiences, strict polygon budgets are imposed, often ranging from 50,000 to 100,000 triangles for an entire car model. This often necessitates significant decimation and aggressive LODs. Materials should ideally be consolidated into a single PBR shader to minimize draw calls, and texture sets should be limited to 1K or 2K. Baked lighting, where ambient occlusion and static shadows are pre-rendered into texture maps, is often preferred for performance over real-time global illumination, especially in mobile VR. However, real-time shadows and reflections (often simplified screen-space reflections) are still desirable for grounding the car in the environment. Standardized file formats like GLB (glTF binary) and USDZ are gaining traction for AR/VR due to their efficiency and comprehensive scene description capabilities, supporting PBR materials, animations, and skeletal data. When sourcing models from marketplaces such as 88cars3d.com, it’s wise to check for AR/VR-ready formats or models with well-defined LODs for easy adaptation.
Converting a digital 3D car model into a physical object via 3D printing requires a different set of preparations. The primary concern is mesh integrity: the model must be “watertight” or “manifold,” meaning it has no holes, intersecting faces, or non-manifold edges. Every edge must connect exactly two faces, forming a completely enclosed volume. Issues like inverted normals, duplicate faces, or open boundaries can lead to printing errors. Software like Autodesk Netfabb, Meshmixer, or Blender’s 3D Print Toolbox offers tools for mesh repair, analysis, and automatic fixing. Wall thickness is another critical factor; the model’s surfaces must be thick enough to be physically printed without breaking, typically a minimum of 1-2mm depending on the print technology and material. Considerations for scaling and orientation are also important to ensure the model fits within the printer’s build volume and minimizes the need for support structures. Exporting the model as an STL (stereolithography) or OBJ file format is standard for 3D printing, as these formats are widely supported by slicing software. The process transforms a digital asset for visualization into a tangible prototype or collectible, showcasing the incredible versatility of high-quality 3D car models.
From the initial meticulous sculpting of polygons to the final pixel-perfect render, the journey of a 3D car model is a testament to the intricate blend of technical skill and artistic vision. We’ve traversed the critical stages of this journey, emphasizing the paramount importance of clean topology and pristine edge flow for automotive surfaces, the strategic art of UV mapping for seamless textures, and the science of PBR material creation for photorealistic shaders. We explored advanced rendering workflows that breathe life into static images and delved into the rigorous optimization required to transform high-fidelity models into performant game assets and interactive AR/VR experiences. Finally, we touched upon the unique preparations needed to bridge the digital and physical worlds through 3D printing.
Mastering these workflows not only elevates the visual quality of your projects but also ensures their versatility and longevity across various platforms and applications. The continuous evolution of 3D technology demands that artists and developers stay abreast of best practices, software advancements, and optimization strategies. By understanding the core principles discussed, you are better equipped to create, modify, and deploy stunning 3D car models that meet the highest industry standards for automotive rendering, game development, and immersive visualization. We encourage you to explore high-quality 3D car models from reputable sources to kickstart your next project, knowing that a strong foundation in asset quality and optimization is the key to unlocking truly remarkable digital experiences.
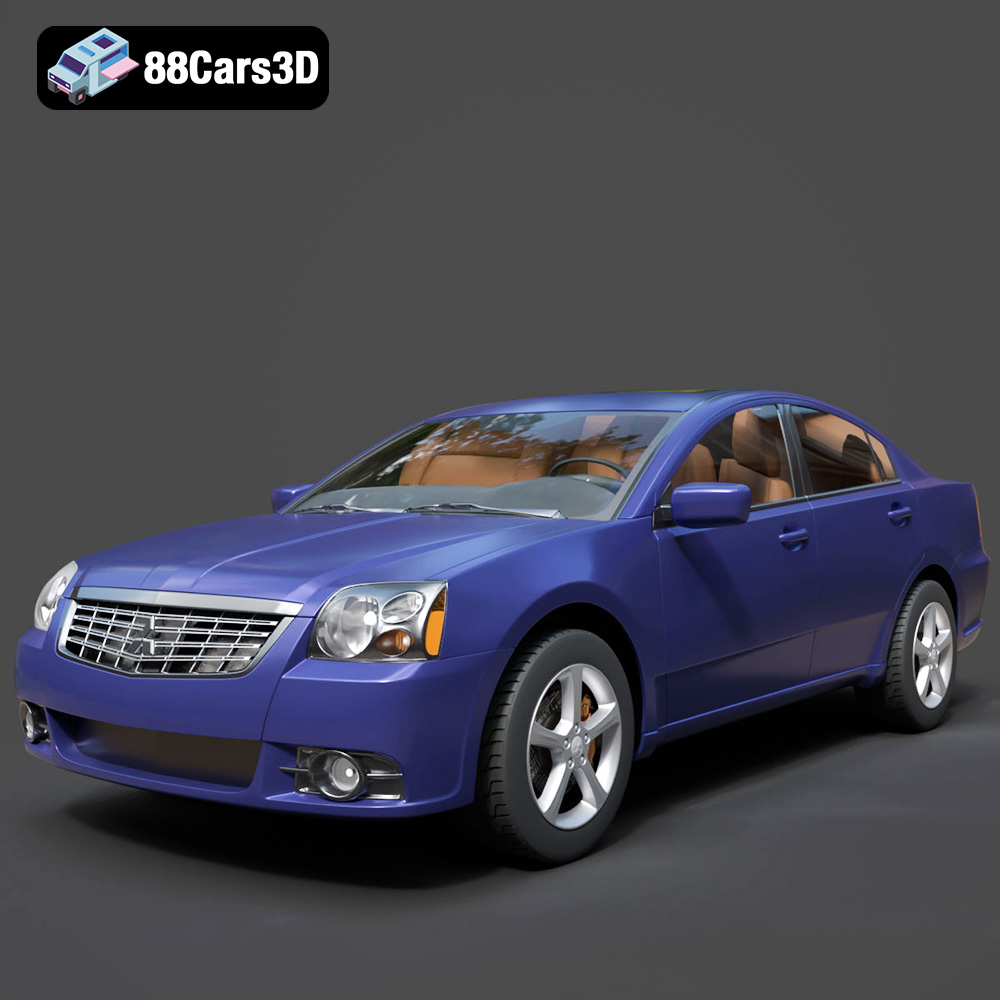
Texture: Yes
Material: Yes
Download the Mitsubishi Galant 2009 3D Model featuring clean geometry, realistic detailing, and a fully modeled interior. Includes .blend, .fbx, .obj, .glb, .stl, .ply, .unreal, and .max formats for rendering, simulation, and game development.
Price: $4.99
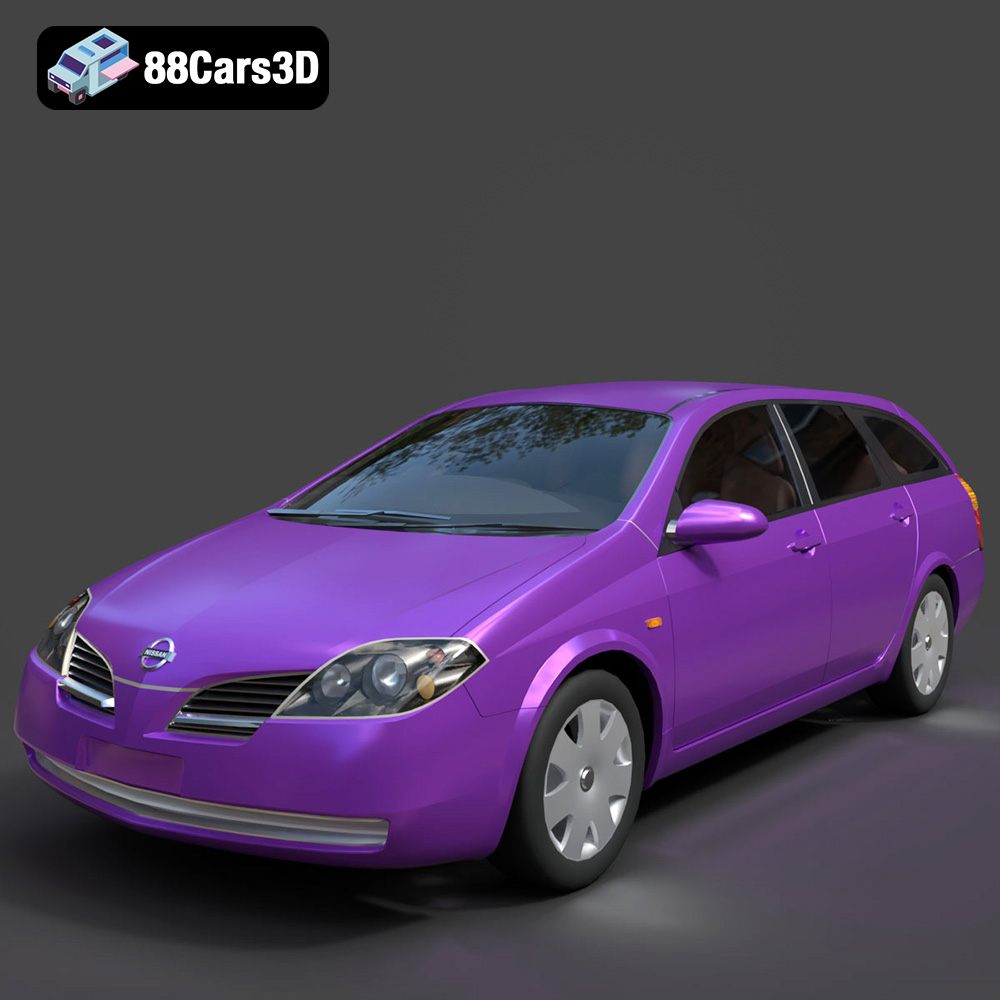
Texture: Yes
Material: Yes
Download the Nissan Primera Wagon 3D Model featuring clean geometry, realistic detailing, and a fully modeled interior. Includes .blend, .fbx, .obj, .glb, .stl, .ply, .unreal, and .max formats for rendering, simulation, and game development.
Price: $4.99
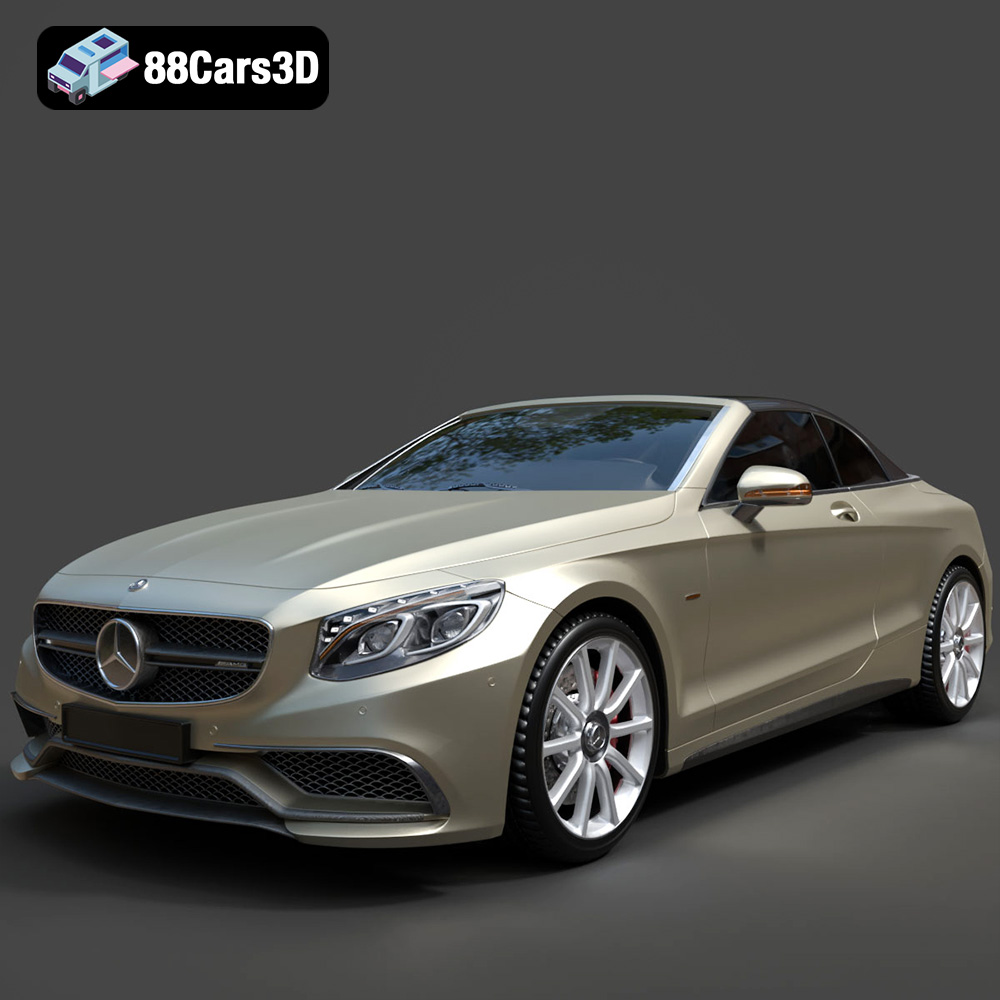
Texture: Yes
Material: Yes
Download the Mercedes-Benz S63 AMG Cabriolet 2017 3D Model featuring clean geometry, realistic detailing, and a fully modeled interior. Includes .blend, .fbx, .obj, .glb, .stl, .ply, .unreal, and .max formats for rendering, simulation, and game development.
Price: $20.99
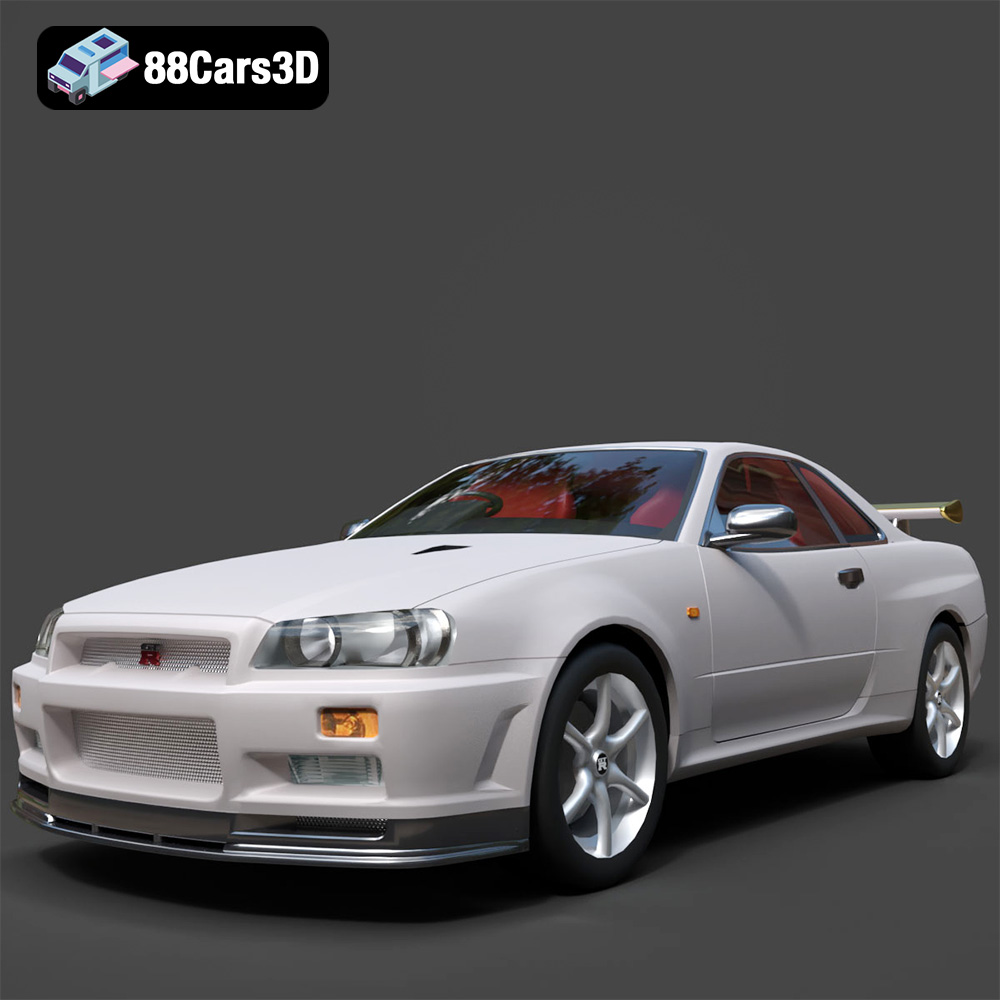
Texture: Yes
Material: Yes
Download the Nissan Skyline R34 2002 3D Model featuring clean geometry, realistic detailing, and a fully modeled interior. Includes .blend, .fbx, .obj, .glb, .stl, .ply, .unreal, and .max formats for rendering, simulation, and game development.
Price: $4.99
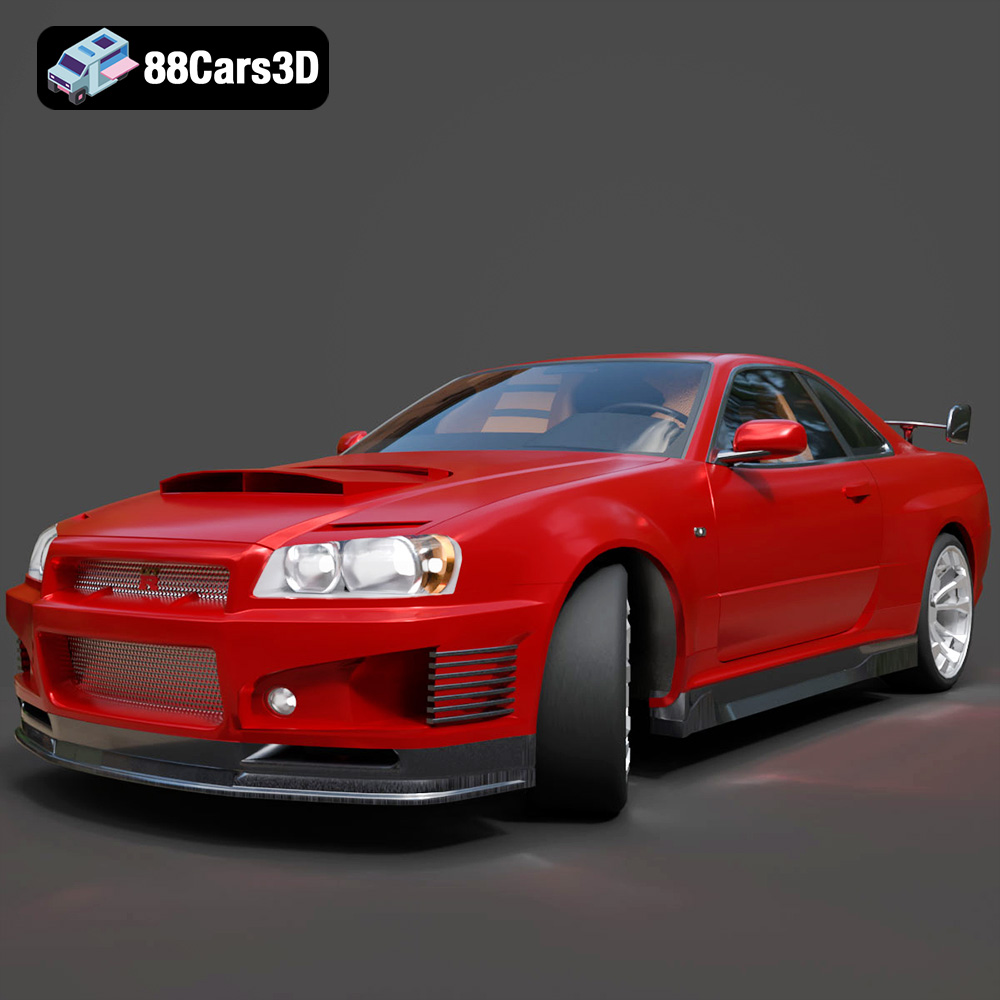
Texture: Yes
Material: Yes
Download the Nissan Skyline 3D Model featuring clean geometry, realistic detailing, and a fully modeled interior. Includes .blend, .fbx, .obj, .glb, .stl, .ply, .unreal, and .max formats for rendering, simulation, and game development.
Price: $9.99
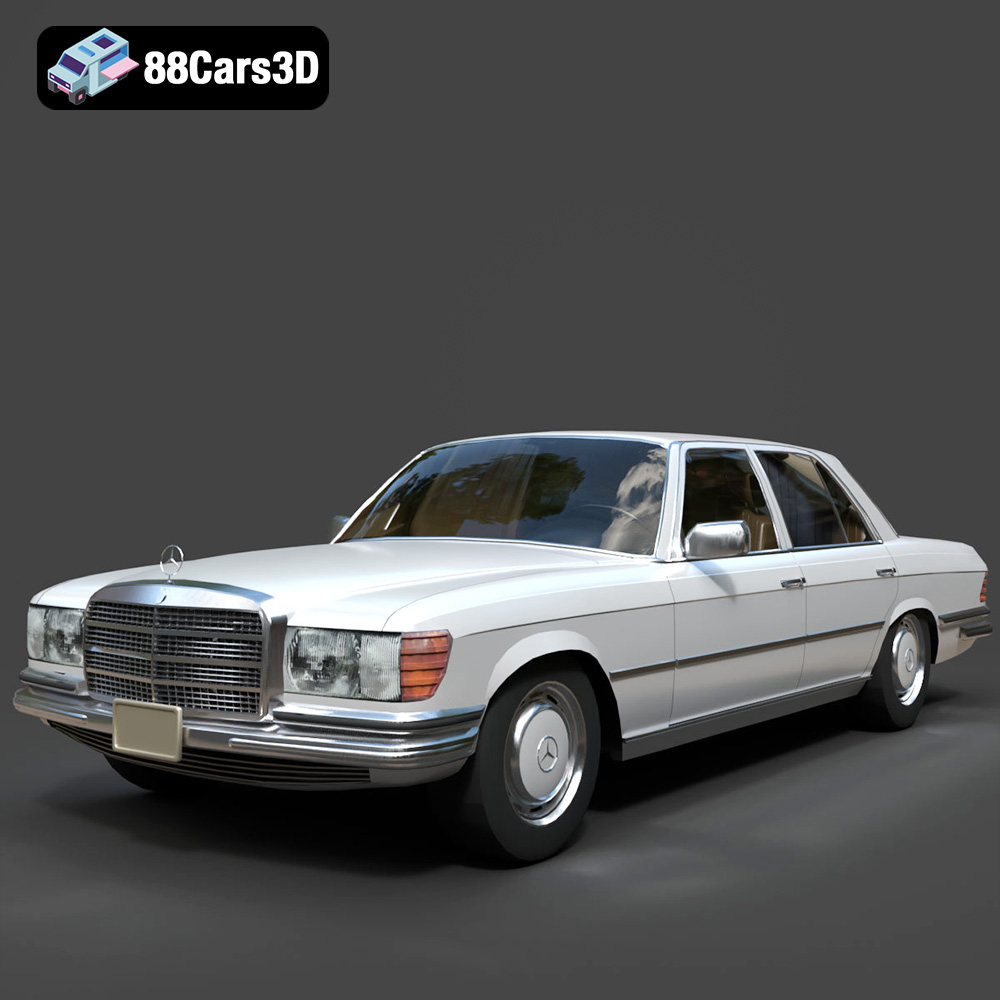
Texture: Yes
Material: Yes
Download the Mercedes-Benz S-Klasse W116 3D Model featuring clean geometry, realistic detailing, and a fully modeled interior. Includes .blend, .fbx, .obj, .glb, .stl, .ply, .unreal, and .max formats for rendering, simulation, and game development.
Price: $4.99
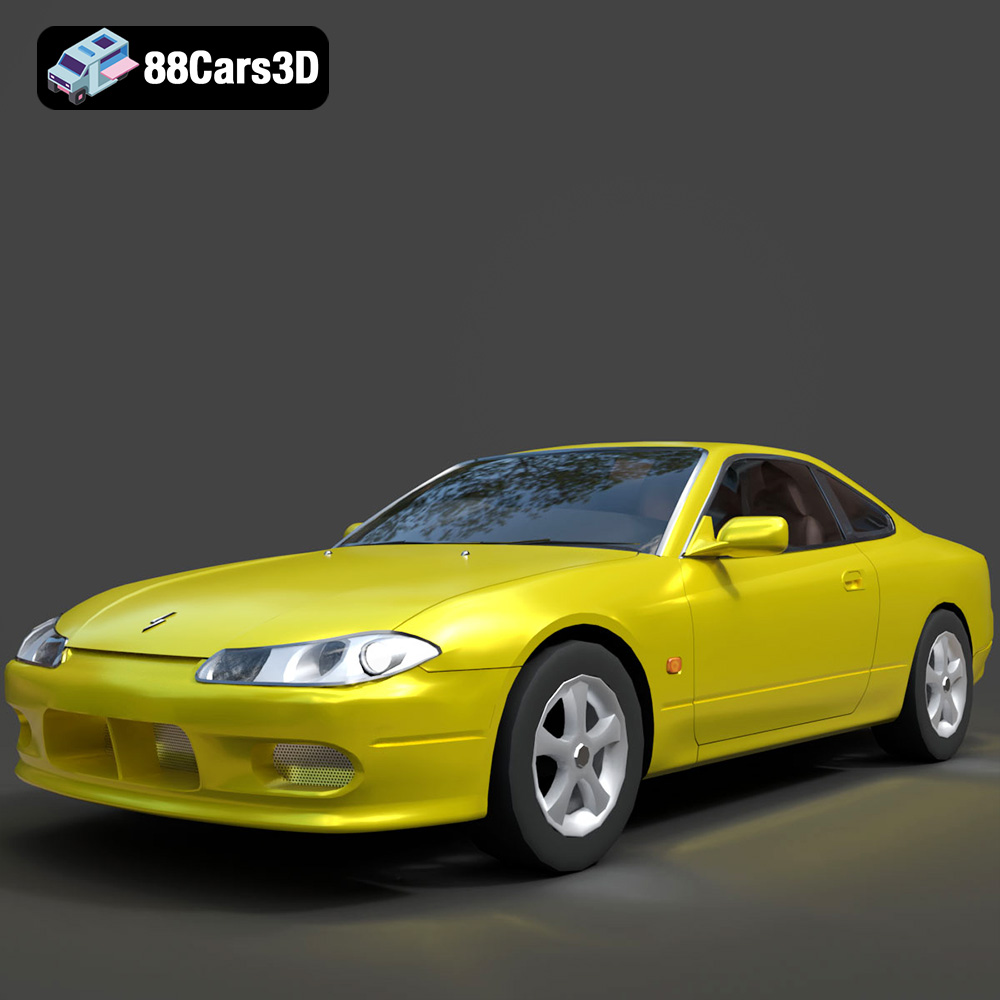
Texture: Yes
Material: Yes
Download the Nissan Silvia 3D Model featuring clean geometry, realistic detailing, and a fully modeled interior. Includes .blend, .fbx, .obj, .glb, .stl, .ply, .unreal, and .max formats for rendering, simulation, and game development.
Price: $4.99
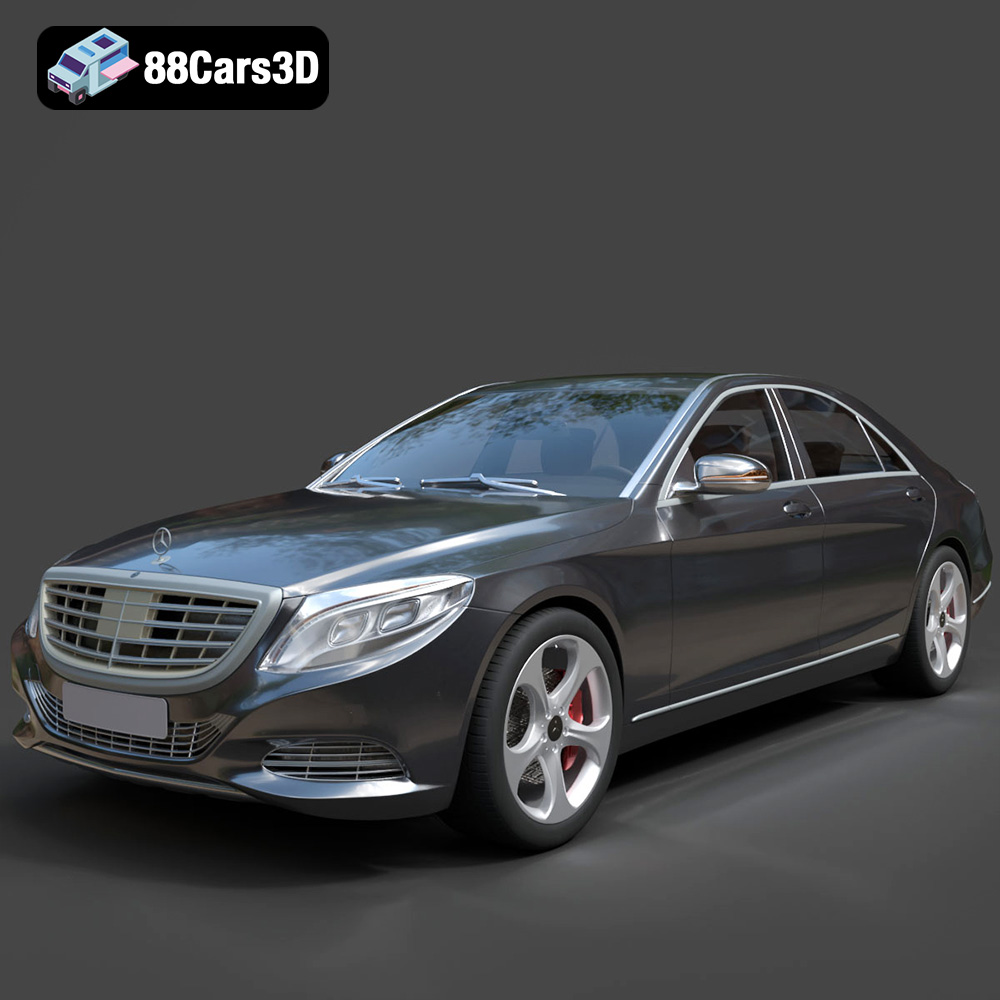
Texture: Yes
Material: Yes
Download the Mercedes-Benz S-Class 2014 3D Model featuring clean geometry, realistic detailing, and a fully modeled interior. Includes .blend, .fbx, .obj, .glb, .stl, .ply, .unreal, and .max formats for rendering, simulation, and game development.
Price: $6.99
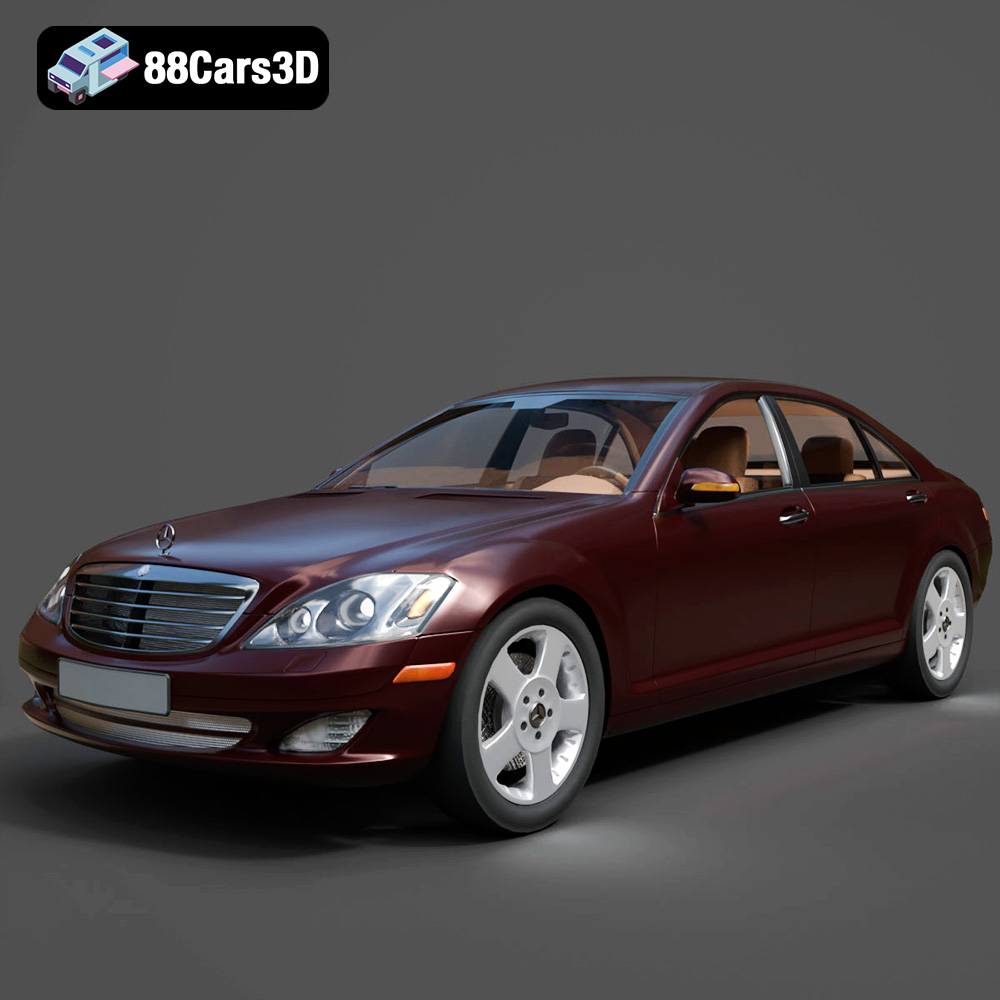
Texture: Yes
Material: Yes
Download the Mercedes-Benz S-Klasse W221 2008 3D Model featuring clean geometry, realistic detailing, and a fully modeled interior. Includes .blend, .fbx, .obj, .glb, .stl, .ply, .unreal, and .max formats for rendering, simulation, and game development.
Price: $4.99
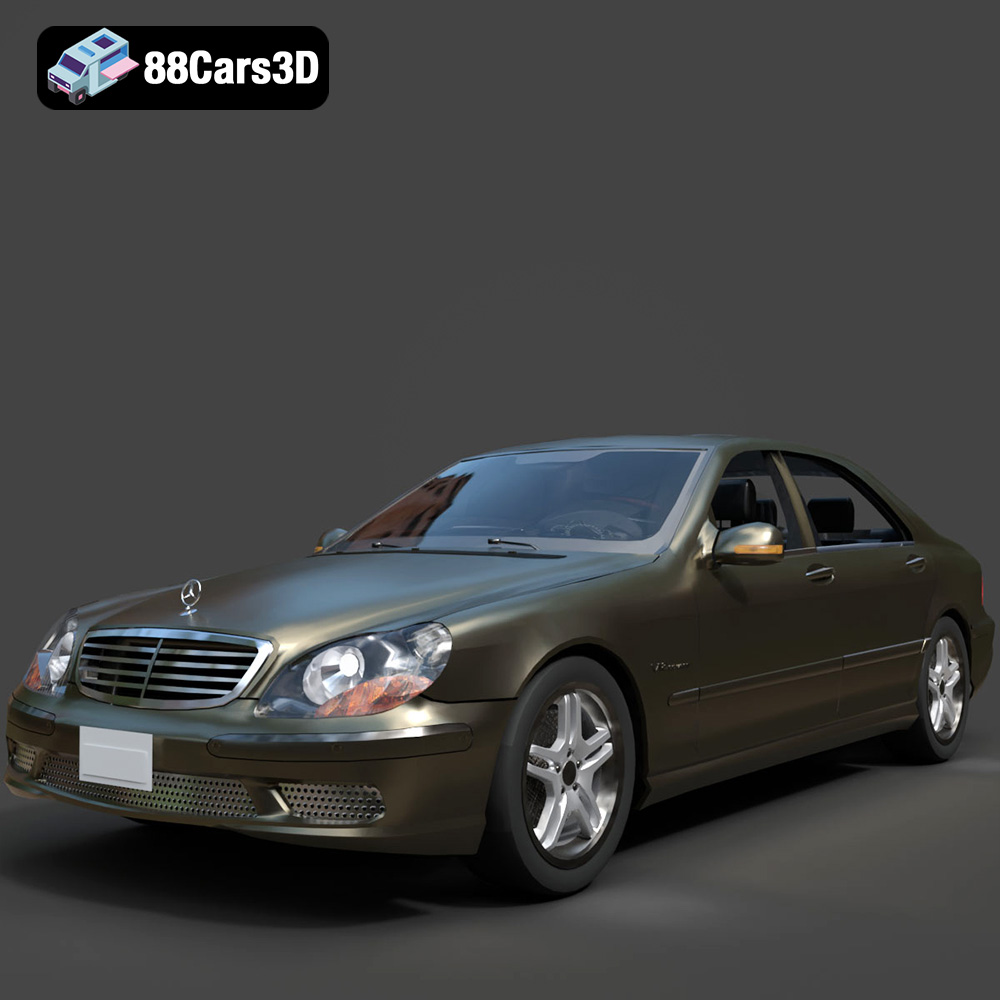
Texture: Yes
Material: Yes
Download the Mercedes-Benz S-Klasse W220 3D Model featuring clean geometry, realistic detailing, and a fully modeled interior. Includes .blend, .fbx, .obj, .glb, .stl, .ply, .unreal, and .max formats for rendering, simulation, and game development.
Price: $4.99