The Foundation – Masterful 3D Car Model Topology and Edge Flow
The allure of a perfectly rendered automobile, whether it’s an iconic classic or a futuristic concept, lies not just in its design but in the meticulous craftsmanship behind its 3D model. For artists, game developers, automotive designers, and visualization professionals, 3D car models are indispensable assets. They power immersive experiences, drive innovative product development, and enable breathtaking marketing visuals. But transforming raw geometry into a photorealistic or game-ready vehicle requires a deep understanding of complex technical workflows.
This comprehensive guide delves into the intricate world of creating, optimizing, and deploying high-quality 3D car models across various industries. We’ll explore the foundational principles of clean topology, the art of UV mapping, the science of PBR materials, and advanced rendering techniques. We’ll also uncover the secrets to optimizing these assets for demanding real-time environments like game engines and AR/VR platforms, and even how to prepare them for physical 3D printing. Whether you’re aiming for a stunning showroom render, a performant game asset, or an interactive visualization, mastering these techniques will elevate your automotive projects to an unprecedented level of realism and efficiency. Prepare to unlock the full potential of your 3D automotive endeavors.
The Foundation – Masterful 3D Car Model Topology and Edge Flow
At the heart of every great 3D car model lies impeccable topology. This isn’t just about having enough polygons; it’s about the strategic arrangement of vertices, edges, and faces to create a mesh that is clean, efficient, and deformation-friendly. For automotive subjects, which are characterized by sleek curves, sharp creases, and reflective surfaces, superior topology is paramount. Poor topology can lead to artifacts like pinching, undesirable shading, and difficulties in UV unwrapping or animation. The goal is to achieve a quad-based mesh where edge loops flow naturally along the contours and structural lines of the vehicle.
Understanding edge flow is critical for capturing the nuanced forms of a car body. Imagine the lines that define the fender flare, the door cut lines, or the hood scoop – these should ideally be represented by continuous edge loops. This allows for smooth subdivision (using modifiers like Turbosmooth in 3ds Max or Subdivision Surface in Blender) while preserving sharp details where needed. A common pitfall is the indiscriminate use of triangles or N-gons (faces with more than four sides), which can introduce unpredictable shading and make further modeling operations challenging. While small, isolated triangles might be acceptable in flat, non-deforming areas, they should generally be avoided on primary surfaces.
Clean Topology Principles for Automotive Surfaces
Creating clean topology for automotive surfaces involves adhering to several core principles. Firstly, aim for an all-quad mesh. Quads are predictable when subdivided and offer the most flexibility for editing. Secondly, minimize the use of poles (vertices where more than five edges meet) in critical, highly visible areas, as they can cause shading anomalies. If poles are necessary, try to place them in flatter, less reflective zones. Thirdly, ensure consistent mesh density. While some areas might require more detail (e.g., around headlights or grilles), avoid drastic changes in polygon density across a smooth panel, as this can lead to visible surface irregularities. When sourcing pre-made assets, platforms like 88cars3d.com prioritize models with such clean, production-ready topology, saving artists countless hours of cleanup.
A typical workflow starts with blocking out the primary shapes using simple primitives or splines, then carefully building the mesh panel by panel. Tools like PolyDraw (3ds Max) or Retopology tools (Blender, Maya) are invaluable for creating new geometry on top of a reference or initial sculpt. Focus on maintaining a uniform flow of edges and ensuring that each major curve and crease has its own defining edge loop. This is crucial for maintaining the integrity of the car’s design, especially when the model is subjected to subdivision for high-resolution renders.
Sculpting with Edge Flow: Achieving Realistic Curves and Creases
Achieving realistic curves and creases is an art form that directly relies on strategic edge flow. For example, to define the sharp edge of a car’s character line, you would typically use three closely spaced edge loops: one running directly along the crease, and two supporting loops on either side. When subdivided, these supporting loops “hold” the sharpness of the crease while the surrounding mesh remains smooth. This technique is often referred to as “crease modeling” or “supporting edge loops.”
Consider the delicate transitions on a car’s hood or door panel. The mesh should follow these subtle changes in curvature with continuous loops, preventing hard angles or “flat spots” that would betray the model’s digital origins. For complex areas like air intakes or wheel wells, careful planning of edge loops is essential to ensure smooth transitions and avoid pinching when the model is subdivided. Aim for controlled polygon counts; a high-detail hero car for rendering might have a base mesh of 150,000-300,000 polygons, which can then be subdivided to millions for photorealistic output. For game assets, base meshes will be significantly lower, often requiring careful optimization later, but still benefiting from a clean foundation.
Bringing Surfaces to Life – Advanced UV Mapping for Complex Car Geometry
Once the geometry of your 3D car model is meticulously crafted, the next crucial step is UV mapping. UVs are the 2D coordinates that tell your 3D software how to project a 2D texture onto the 3D surface. For the intricate and often reflective surfaces of an automobile, precise and organized UV mapping is non-negotiable. Poor UVs result in distorted textures, visible seams, and a chaotic workflow for material creation, ultimately undermining the realism of your renders and the quality of your game assets.
The primary goal of UV mapping for cars is to minimize stretching and distortion, strategically place seams where they are least visible (e.g., along panel gaps or undercarriage), and utilize texture space efficiently. A car’s surface is a patchwork of distinct materials – painted metal, glass, rubber, chrome, plastic, and various interior fabrics. Each of these components will likely require its own set of textures, and efficient UV layout ensures that every detail, from the metallic flakes in the paint to the tread on the tires, appears crisp and accurate.
Strategic UV Unwrapping for Panel Gaps and Interior Details
Strategic seam placement is paramount for clean UVs on automotive models. Instead of cutting across flat panels, place seams along natural breaks in the geometry, such as the edge lines of doors, hood, trunk, and fenders. These “panel gaps” serve as ideal locations for seams because they are already visually broken, making the texture transition less noticeable. For complex internal structures like engine bays or exhaust systems, careful dissection into logical, flat pieces is required. When working with modular components like wheels, tires, or interior elements, you can often utilize separate UV maps for each, or even stack UVs for repeating elements to save texture space, assuming no unique detail is needed.
For interior details, which often feature a mix of fabric, leather, plastic, and intricate dashboard elements, a different strategy might be employed. Smaller, less visible parts can often be packed into tighter spaces, while larger, more prominent surfaces like seats or the dashboard top require more dedicated UV real estate to prevent blurriness. Consider using UDIMs (a system for using multiple UV tiles) for extremely high-resolution models, where a single large texture isn’t feasible or efficient. This allows different parts of the car (e.g., one UDIM for the body, one for the interior, one for wheels) to have their own dedicated high-resolution textures without sharing a single UV space, which is especially useful for high-end cinematic automotive rendering.
Optimizing UV Space and Texture Resolution
Efficient utilization of UV space and careful consideration of texture resolution are critical for both visual quality and performance. “Texel density” refers to the consistency of texture pixel resolution across your model’s surface. Ideally, all visible surfaces of a car model should have a similar texel density to avoid areas appearing blurry next to sharper ones. This can be achieved by scaling UV shells proportionally. For instance, a main body panel might require a texel density of 10.24 pixels/cm, meaning a 4K texture (4096×4096 pixels) might cover a panel that’s 4 meters long, or proportionally smaller for higher detail. Tools like Texel Density Checker in various software can assist in maintaining consistency.
When packing UV shells into the 0-1 UV space, maximize coverage to avoid wasted pixels, but leave sufficient padding (a few pixels) between shells to prevent texture bleeding. For game assets, texture atlasing (combining multiple smaller textures into one larger texture) is a common optimization technique. This reduces draw calls in game engines, improving performance. You might have one atlas for all the interior plastics, another for exterior trims, and a dedicated high-resolution texture for the main car paint. Modern software provides advanced packing algorithms that automate this process while prioritizing texel density and minimizing wasted space, making the workflow much smoother for complex subjects like cars.
Realistic Materials and Shading – The Art of PBR for Automotive Rendering
The visual fidelity of a 3D car model hinges significantly on its materials and shading. Physically Based Rendering (PBR) has become the industry standard for achieving photorealistic results, accurately simulating how light interacts with surfaces in the real world. For automotive rendering, this means meticulously crafting materials that capture the intricate properties of car paint, glass, chrome, rubber, and various interior finishes. A robust PBR workflow involves creating a suite of texture maps – typically Base Color, Metallic, Roughness, Normal, and potentially Ambient Occlusion or Displacement – that precisely define a material’s appearance.
The beauty of PBR is its adherence to real-world physics, making materials look correct under any lighting conditions. Unlike older workflows where artists would “fake” reflections or highlights, PBR ensures that light energy is conserved, leading to more believable and consistent results. For cars, this is particularly important because of their highly reflective and often metallic surfaces, which react dramatically to environmental lighting. Understanding the interplay between these PBR maps is key to developing breathtakingly realistic automotive visuals, from the subtle metallic flakes in the paint to the precise refractions through the glass.
Crafting Physically Based Materials: Metallic, Roughness, Normal Maps
Let’s break down the essential PBR maps for automotive rendering. The Base Color map (or Albedo) defines the pure color of the surface, stripped of any lighting information. For car paint, this would be the underlying color of the pigment. The Metallic map is a grayscale image indicating which parts of the surface are metallic (white) and which are dielectric/non-metallic (black). Car paint’s base layer is dielectric, but its clear coat can simulate a metallic sheen if metallic flakes are present. Chrome and other polished metals would be entirely white on this map.
The Roughness map (or Glossiness, depending on the workflow) dictates how rough or smooth a surface is, influencing the sharpness of reflections. A low roughness value (dark on a roughness map) results in sharp, mirror-like reflections (e.g., polished chrome, clear coat), while a high roughness value (bright) yields diffuse, blurry reflections (e.g., matte plastic, rubber tires). The Normal map uses RGB values to store surface normal directions, effectively faking high-resolution detail (like small scratches, panel gaps, or subtle textures) without adding actual geometry. This is indispensable for optimizing game assets and adding fine detail to renders without increasing polygon counts. When combining these maps, ensure consistent color spaces (e.g., sRGB for Base Color, Linear for Roughness, Metallic, Normal) for accurate rendering.
Building Advanced Shader Networks for Car Paint and Glass
Car paint is arguably the most complex material on a vehicle, often requiring sophisticated shader networks to achieve photorealism. A typical car paint shader in renderers like Corona, V-Ray, Cycles, or Arnold might involve multiple layers: a base color layer (with metallic flakes often driven by a noise texture and masked by a clear coat material), an iridescent or metallic effect layer, and a clear coat layer. The clear coat is usually a highly reflective, very low roughness dielectric material that sits on top, providing depth and gloss. Factors like falloff, fresnel reflection, and anisotropy (for brushed metals) are crucial for accurately simulating car paint’s appearance from different viewing angles.
Glass shaders also demand precision. They require accurate refraction (IOR – Index of Refraction, typically around 1.5-1.7 for glass), transmission color (the tint of the glass), and reflection. For realistic car windows, consider subtle details like dirt or fingerprints on the surface, which can be achieved with grunge maps driving roughness variations. Headlight and taillight glass can be even more complex, often requiring emissive elements for the lights themselves, intricate internal reflectors, and textured surfaces for lens patterns, all meticulously modeled and shaded. Mastering these advanced shader networks is key to elevating your automotive rendering to a professional level.
Capturing the Vision – High-Fidelity Automotive Rendering Workflows
Creating a beautiful 3D car model and crafting exquisite PBR materials is only half the battle; the true magic happens in the rendering process. High-fidelity automotive rendering transforms your meticulously detailed model into a stunning, photorealistic image or animation. This involves a carefully orchestrated workflow encompassing lighting, environment setup, camera work, render engine configuration, and crucial post-processing steps. The goal is not just to show the car, but to tell a story, evoke emotion, and highlight its design and features with compelling visual flair.
Different render engines – such as Corona Renderer, V-Ray, Cycles, and Arnold – each offer unique strengths and workflows, but they all share the fundamental principles of physically accurate light simulation. Understanding how to leverage these tools to control reflections, shadows, and mood is essential. Whether you’re aiming for a sleek studio shot, an atmospheric outdoor scene, or a dynamic motion blur sequence, a systematic approach to rendering will ensure your 3D car models shine with unparalleled realism and impact.
Lighting and Environment Setup for Studio and Outdoor Scenes
Effective lighting is the single most important factor in a successful automotive render. For studio scenes, a classic three-point lighting setup (key, fill, back/rim light) often serves as a foundation, augmented by large softbox or area lights to create elegant reflections on the car’s body. HDRIs (High Dynamic Range Images) are indispensable for providing realistic environmental reflections and global illumination, even in studio settings. A high-quality studio HDRI with soft, varied lighting can dramatically enhance the realism of car paint and chrome. Strategically placed light cards (planes with emissive materials) can be used to sculpt specific reflections and highlights, mimicking professional automotive photography studios.
For outdoor scenes, HDRIs become even more crucial, providing both ambient lighting and realistic reflections of real-world environments. Combine a high-resolution outdoor HDRI (e.g., a sunny afternoon, an overcast sky) with a matching backplate photograph to seamlessly integrate the car into the scene. Direct sunlight can be simulated with a physical sun and sky system, casting sharp shadows that ground the car realistically. Pay attention to reflection nuances; car paint will reflect the sky, trees, and ground differently based on its angle. Subtle ambient occlusion and contact shadows are also vital for grounding the vehicle and preventing it from looking like it’s floating. The environment itself plays a critical role in how the car’s materials react, so careful selection and setup are paramount.
Renderer-Specific Techniques (Corona, V-Ray, Cycles, Arnold) and Post-Processing
Each renderer has its own set of strengths and specific settings for optimizing automotive rendering. For instance, Corona Renderer is renowned for its ease of use and physically accurate unbiased results, often requiring minimal setup for stunning images. V-Ray offers extensive control over render settings, passes, and optimization, making it a powerful choice for complex productions. Blender’s Cycles is a robust path tracer excellent for its integration with Blender’s workflow and node-based materials. Arnold is a CPU-based, unbiased path tracer known for its robust handling of complex scenes and physically accurate lighting, widely used in film production.
Regardless of the renderer, leverage render elements or passes (e.g., Z-depth, Cryptomatte, Object ID, Reflection, Refraction, Specular, AO) for greater control in post-processing. Post-processing in software like Adobe Photoshop, After Effects, or Blackmagic Fusion is where you add the final polish. This includes color grading, contrast adjustments, adding subtle lens flares, depth of field effects, chromatic aberration, and sharpening. Compositing render passes allows you to fine-tune reflections, adjust lighting intensity, and even introduce subtle atmospheric effects like haze or fog without re-rendering the entire scene. A carefully executed post-production workflow can elevate a good render to an exceptional one, providing that extra layer of realism and artistic touch that defines professional automotive visualization.
Beyond Static Images – Game Engine & AR/VR Optimization for 3D Car Models
While photorealistic renders create stunning static images, the world of interactive media demands a different approach. For game development, Augmented Reality (AR), and Virtual Reality (VR), 3D car models must be incredibly efficient to maintain high frame rates and a smooth user experience. This means dramatically reducing polygon counts, optimizing materials, and minimizing draw calls, all while preserving visual fidelity as much as possible. The transition from high-poly rendering assets to real-time interactive assets is a specialized skill set that balances aesthetics with performance.
Optimization strategies are crucial here, often involving techniques like Level of Detail (LODs), careful texture management, and smart material setup. Whether deploying to Unity, Unreal Engine, or developing for web-based AR experiences, understanding these performance bottlenecks and how to mitigate them is key to delivering immersive and fluid interactive automotive content. The ultimate goal is to provide a visually compelling experience without compromising the responsiveness of the application.
LODs, Draw Calls, and Texture Atlasing for Real-Time Performance
Level of Detail (LOD) is a fundamental optimization technique for real-time applications. It involves creating multiple versions of a 3D car model, each with progressively lower polygon counts. The engine then automatically switches between these LODs based on the camera’s distance from the object. A hero car might have LOD0 (full detail, ~80k-150k polygons for a primary game car), LOD1 (~30k-50k for medium distance), LOD2 (~10k-20k for far distance), and LOD3 (~2k-5k for extreme distance or background filler). This significantly reduces the processing load, as less detail is rendered when it’s not visually necessary. Tools like ProOptimizer in 3ds Max, Blender’s Decimate modifier, or integrated LOD tools in Unity/Unreal Engine assist in generating these lower-poly versions, ideally maintaining UV integrity.
Draw calls are instructions from the CPU to the GPU to render a batch of triangles. Every unique material, texture, or mesh often results in a new draw call, which can quickly bottleneck performance. Minimizing draw calls is crucial. One effective method is texture atlasing, where multiple smaller textures (e.g., for different car parts like rims, interior plastics, engine components) are combined into a single, larger texture atlas. All parts then share the same material and texture, reducing draw calls. Another technique is material instancing, where variations of a base material (e.g., different paint colors) can be created without incurring additional draw calls. When selecting models for game development, sourcing optimized assets from marketplaces like 88cars3d.com can save considerable development time.
File Formats and Platform-Specific Optimizations (Unity, Unreal Engine, GLB, USDZ)
Choosing the right file format is critical for interoperability and performance. For traditional game engines, **FBX** is the gold standard due to its robust support for geometry, materials, animations, and hierarchies. When exporting to Unity or Unreal Engine, ensure correct scale, pivot points, and coordinate systems. Unity and Unreal also provide their own specific material systems (Standard PBR, Lit, Unlit in Unity; PBR in Unreal’s Material Editor) that need to be configured after importing FBX files, often converting texture maps to engine-specific formats.
For modern web-based AR/VR and mobile applications, specialized formats are gaining traction. **GLB** (binary glTF) is an increasingly popular format for its efficiency and ability to embed all textures, meshes, and materials into a single file, making it ideal for web deployment and smaller file sizes. It’s widely supported by web viewers and many AR/VR platforms. For Apple’s ARKit, **USDZ** is the preferred format, optimized for iOS devices and offering high fidelity while maintaining performance. When optimizing for AR/VR, particularly on mobile, polygon budgets are even stricter (often aiming for under 50k-100k triangles for the entire scene, including the car). Materials should be simplified, complex shaders avoided, and overall texture resolution balanced against download size and memory limits. Always test performance on target devices early in the development cycle to identify and address bottlenecks.
Specialized Applications – 3D Printing, Visualization, and More
The versatility of 3D car models extends far beyond conventional rendering and interactive experiences. These digital assets are increasingly being utilized in niche applications like physical 3D printing, advanced architectural visualization, and even highly technical industry-specific simulations. Each of these applications introduces its own unique set of requirements and challenges, demanding specific preparation and optimization techniques to ensure the digital model translates perfectly into its intended real-world or simulated context.
From ensuring a watertight mesh for additive manufacturing to seamlessly integrating a vehicle into a sprawling architectural scene, understanding these specialized workflows opens up a world of possibilities for 3D artists. The ability to adapt a single high-quality 3D car model for diverse purposes underscores the value of starting with a clean, well-structured base asset, which can then be tailored for specific downstream uses. This section explores these unique applications, providing insights into the necessary steps for successful implementation.
Preparing 3D Car Models for Flawless 3D Printing
3D printing a car model requires a fundamentally different approach compared to rendering or game optimization. The primary concern is mesh integrity: the model must be “watertight” or “manifold,” meaning it has no holes, intersecting faces, or non-manifold edges. Every surface must have a defined inside and outside. Any gaps, flipped normals, or internal geometry can cause printing failures. The mesh should consist of a single, continuous shell, typically exported as an STL or OBJ file.
Key preparation steps include:
- Ensure Manifold Geometry: Use mesh repair tools within your 3D software (e.g., 3ds Max’s STL Check, Blender’s 3D Print Toolbox add-on) or dedicated repair software like Meshmixer or Netfabb. These tools can identify and often automatically fix common issues like flipped normals, duplicate faces, and small holes.
- Set Appropriate Wall Thickness: For successful printing, all parts of your model must have a minimum wall thickness, typically ranging from 1mm to 3mm depending on the print material and scale. Thin elements like emblems or antenna might need to be thickened or simplified.
- Scale Correctly: Export your model at the correct real-world scale, as 3D printers operate with physical units.
- Merge Separate Parts: If the car is composed of many separate objects (body, wheels, interior), merge them into a single watertight mesh or ensure all parts are interlocking and printable separately.
- Decimation (if needed): While not always necessary, if your model is excessively high-poly, decimation can reduce file size without losing critical detail, making it easier for slicing software to process. However, ensure details like emblems or grilles are not lost.
Careful preparation ensures that your digital car translates perfectly into a tangible physical object, ready for display or further fabrication.
Immersive Visualization and Architectural Integration
Visualization professionals frequently integrate 3D car models into architectural renderings, product showcases, and interactive walkthroughs. For architectural visualization (archviz), cars serve as crucial scene dressing, adding a sense of scale, realism, and dynamism to static building renders. Here, the emphasis is on realistic integration: matching lighting, reflections, and context. A car in an archviz scene needs to look like it belongs there, with accurate shadows cast by the building and reflections of the surrounding environment on its bodywork. This often involves careful placement, camera matching, and post-processing to blend the vehicle seamlessly.
Beyond static images, immersive visualization leverages 3D car models in interactive showroom experiences, virtual product configurators, and even virtual reality tours. In these scenarios, the model’s fidelity must be balanced with real-time performance, similar to game development but often with higher polygon and texture budgets due to more controlled environments and powerful hardware. Advanced automotive configurators allow users to customize paint colors, rim designs, interior materials, and accessories in real-time, demanding modular 3D assets and efficient material switching systems. These applications empower potential buyers to explore and personalize vehicles digitally, bridging the gap between digital design and real-world purchasing decisions. Such projects benefit immensely from high-quality, pre-optimized 3D car models available on marketplaces.
Conclusion
The journey of a 3D car model, from its initial polygon structure to its final rendered glory or interactive deployment, is a testament to the intricate blend of art and technical mastery. We’ve traversed the critical stages, beginning with the foundational importance of clean topology and intelligent edge flow, which ensures robust and aesthetically pleasing geometry. We then delved into the strategic art of UV mapping, essential for applying lifelike textures without distortion, and the scientific precision of PBR materials that bring surfaces to life with unparalleled realism.
Our exploration continued through the sophisticated workflows of high-fidelity automotive rendering, where lighting, environment, and post-processing converge to create breathtaking visuals. Finally, we tackled the performance-driven world of game engines and AR/VR, understanding how optimization techniques like LODs and texture atlasing transform high-detail models into efficient game assets. We also touched upon specialized applications like 3D printing and immersive visualization, highlighting the adaptability of well-crafted 3D models.
Mastering these techniques will empower you to tackle any 3D automotive project, from cinematic renders to interactive experiences. Remember that quality begins at the foundation: a clean mesh, efficient UVs, and physically accurate materials are non-negotiable. Whether you’re building from scratch or sourcing premium assets, platforms like 88cars3d.com provide the high-quality, production-ready 3D car models that serve as the perfect starting point for your creative endeavors. Embrace continuous learning, experiment with new technologies, and push the boundaries of what’s possible in the exciting world of 3D automotive design.
Featured 3D Car Models
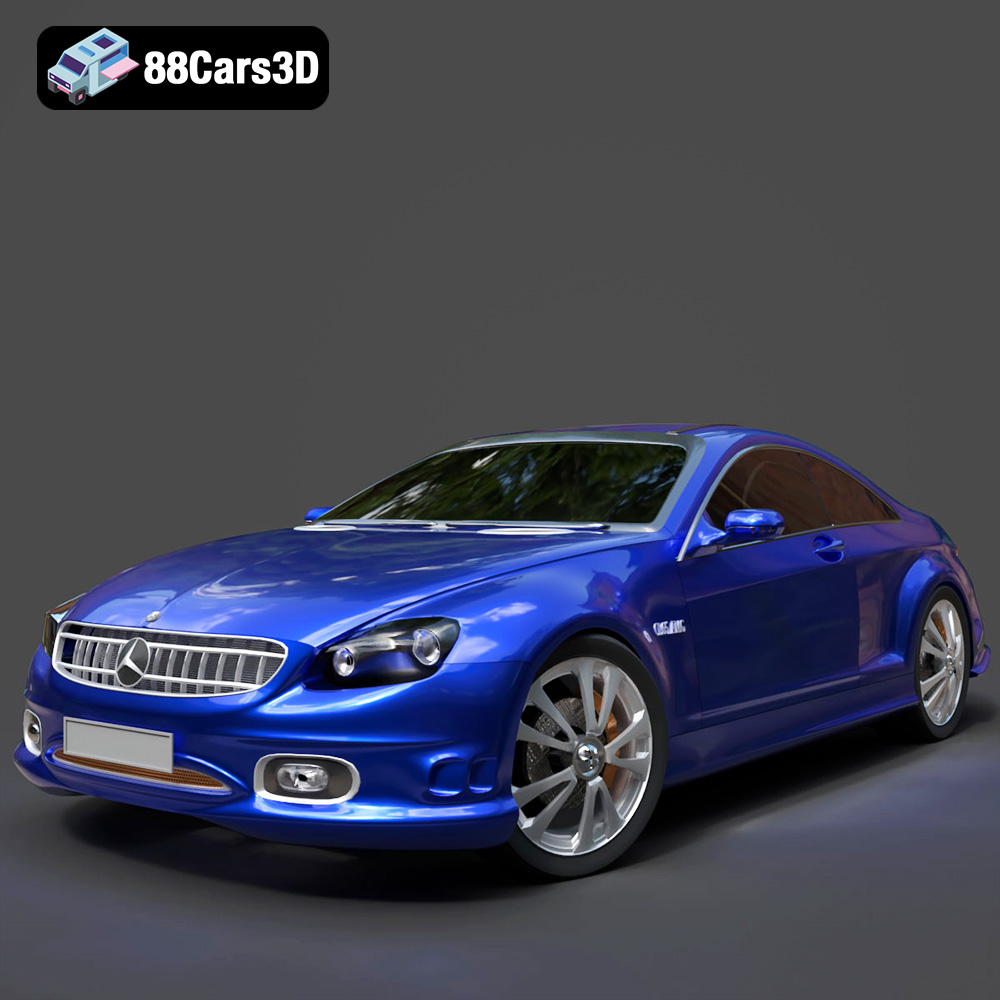
Mercedes-Benz CL6540-005 3D Model
Texture: Yes
Material: Yes
Download the Mercedes-Benz CL6540-005 3D Model featuring clean geometry, realistic detailing, and a fully modeled interior. Includes .blend, .fbx, .obj, .glb, .stl, .ply, .unreal, and .max formats for rendering, simulation, and game development.
Price: $4.99
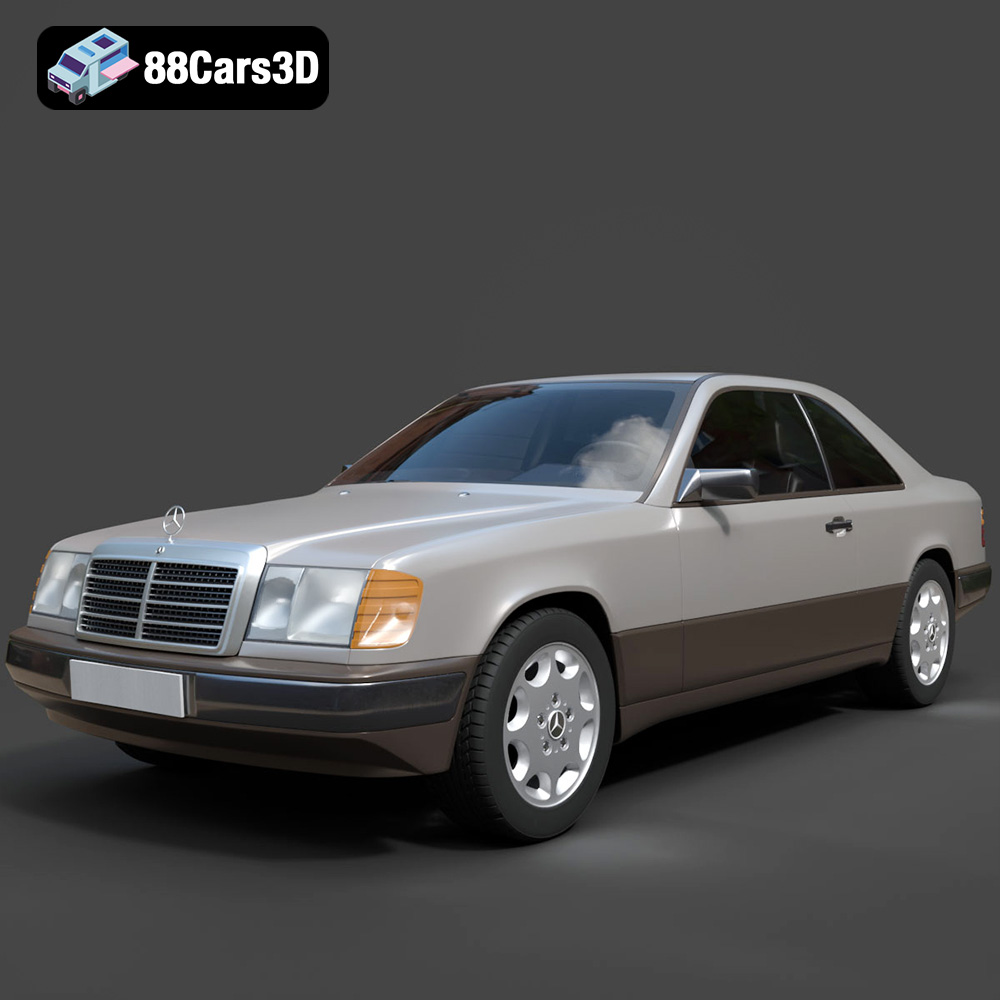
Mercedes E-Class w124 Coupe 3D Model
Texture: Yes
Material: Yes
Download the Mercedes E-Class w124 Coupe 3D Model featuring clean geometry, realistic detailing, and a fully modeled interior. Includes .blend, .fbx, .obj, .glb, .stl, .ply, .unreal, and .max formats for rendering, simulation, and game development.
Price: $4.99
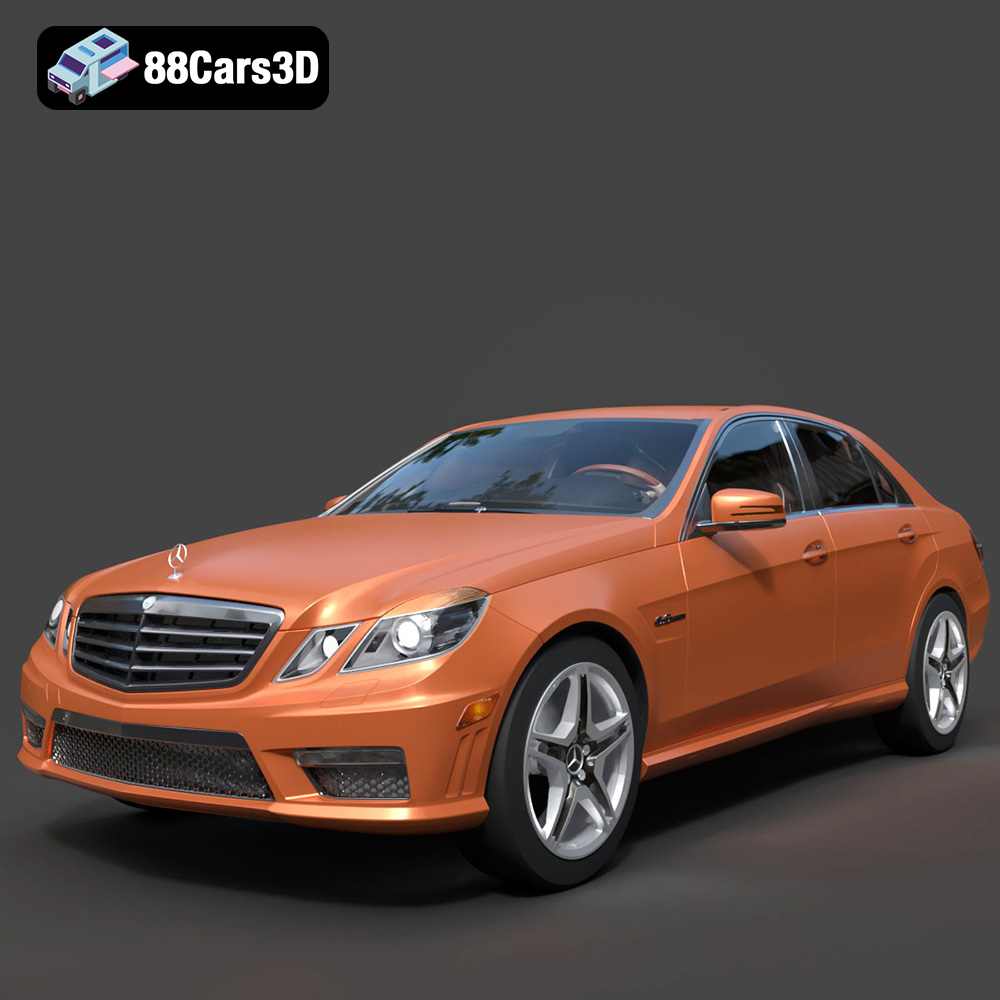
Mercedes-Benz E-Klasse 63 AMG 3D Model
Texture: Yes
Material: Yes
Download the Mercedes-Benz E-Klasse 63 AMG 3D Model featuring clean geometry, realistic detailing, and a fully modeled interior. Includes .blend, .fbx, .obj, .glb, .stl, .ply, .unreal, and .max formats for rendering, simulation, and game development.
Price: $4.99
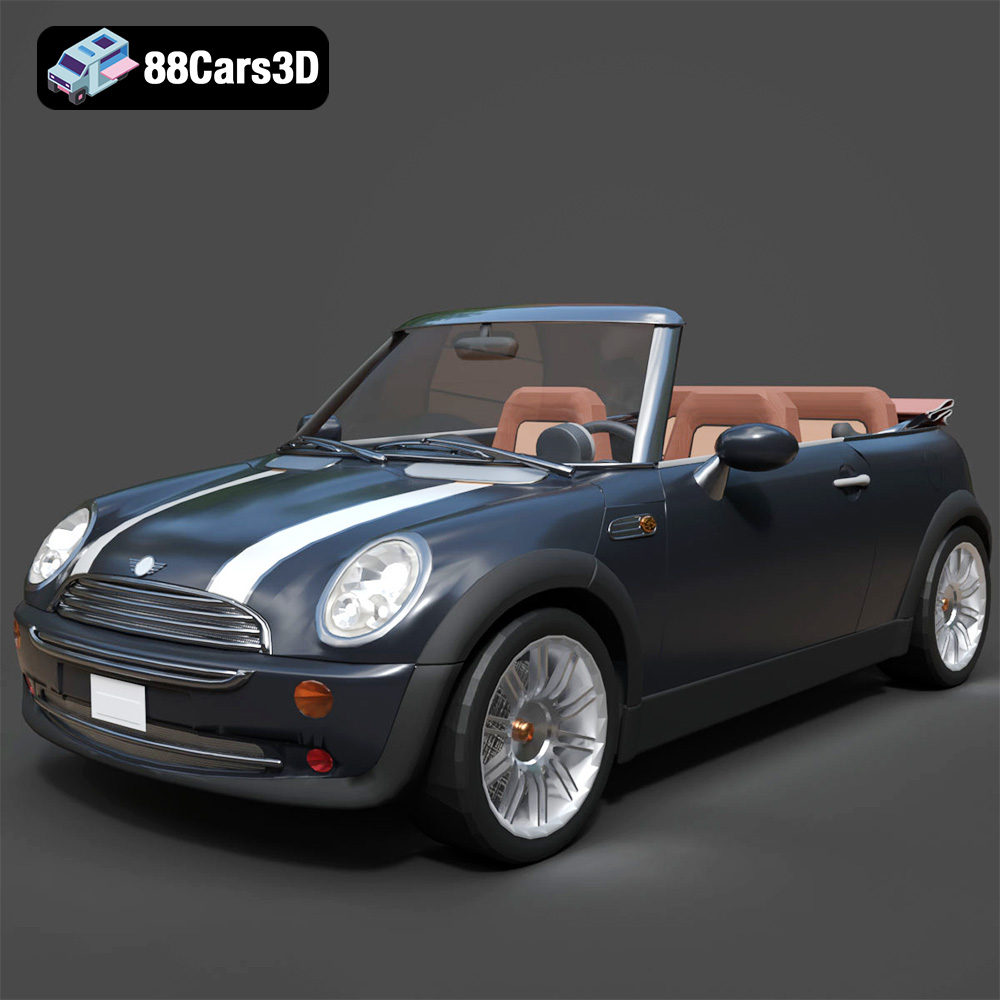
Mini Cabrio 2025 3D Model
Texture: Yes
Material: Yes
Download the Mini Cabrio 2025 3D Model featuring clean geometry, realistic detailing, and a fully modeled interior. Includes .blend, .fbx, .obj, .glb, .stl, .ply, .unreal, and .max formats for rendering, simulation, and game development.
Price: $4.99
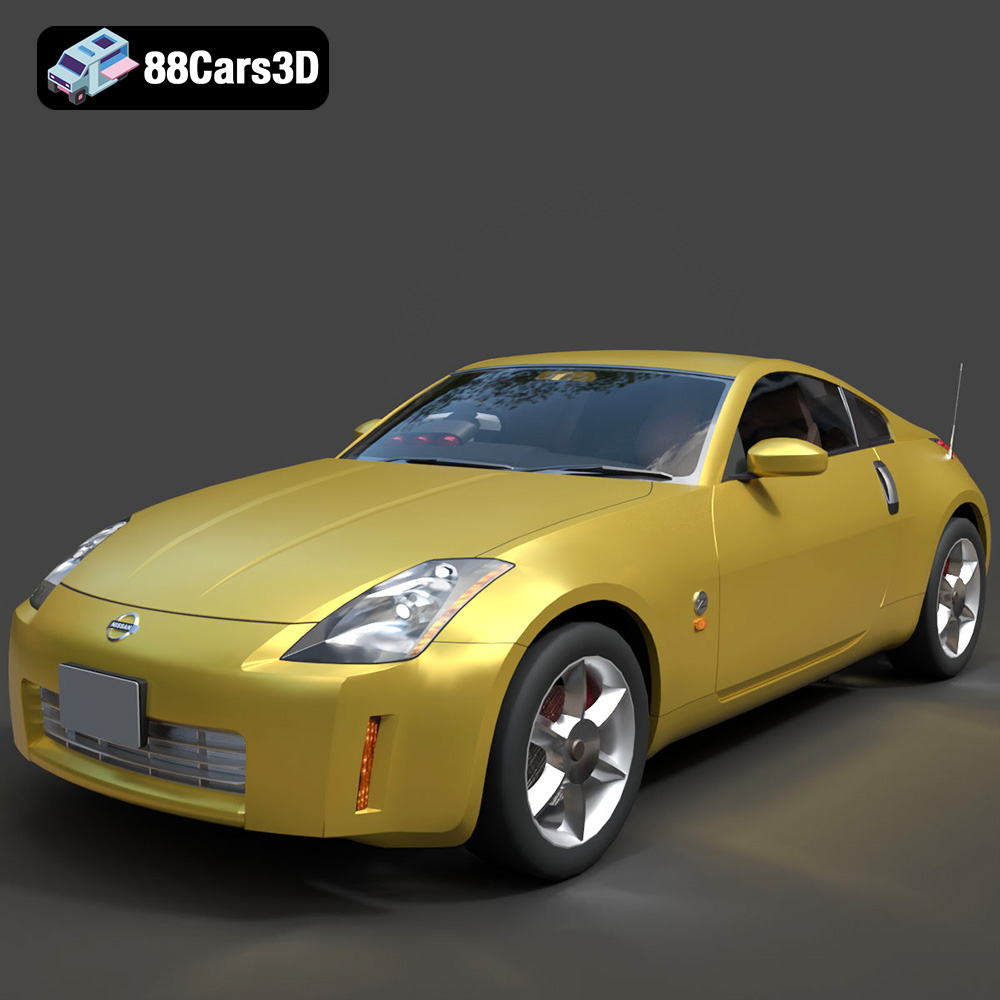
Nissan 350Z 3D Model
Texture: Yes
Material: Yes
Download the Nissan 350Z 3D Model featuring clean geometry, realistic detailing, and a fully modeled interior. Includes .blend, .fbx, .obj, .glb, .stl, .ply, .unreal, and .max formats for rendering, simulation, and game development.
Price: $4.99
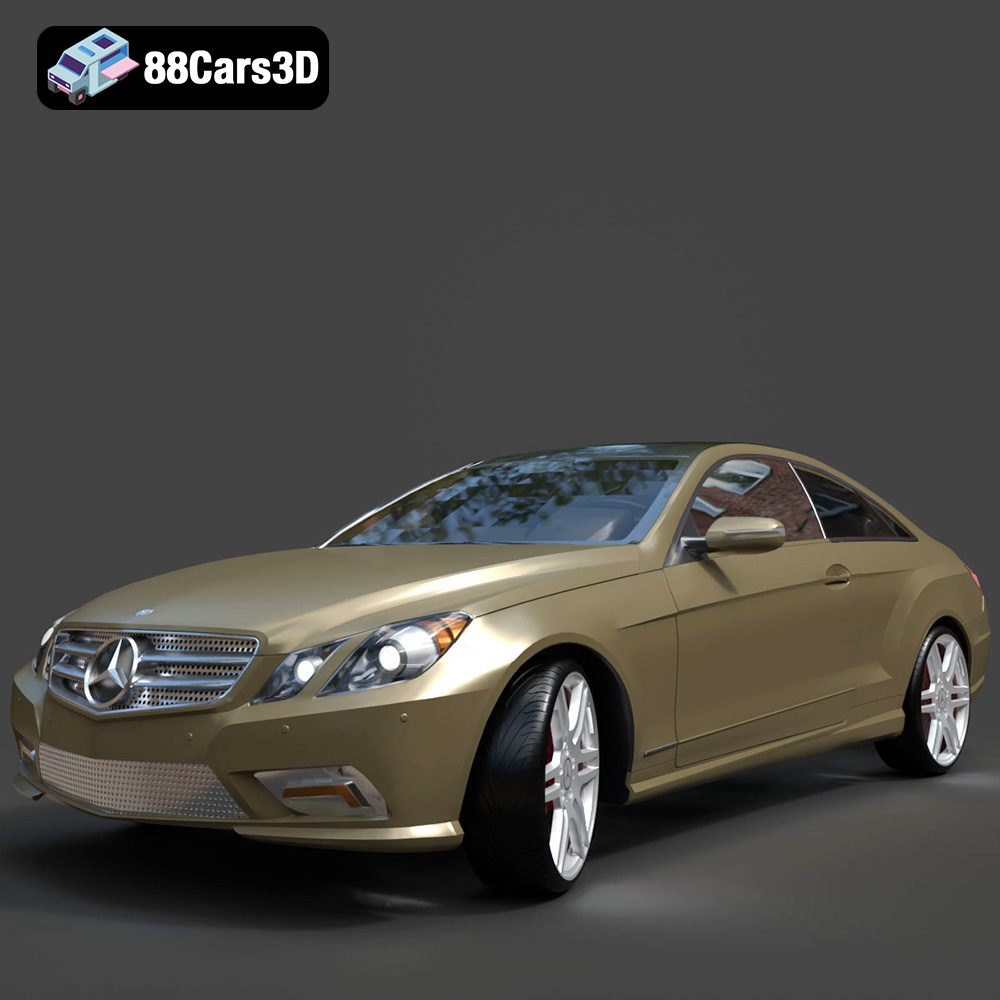
Mercedes-Benz E-Klasse Coupe 2010 3D Model
Texture: Yes
Material: Yes
Download the Mercedes-Benz E-Klasse Coupe 3D Model featuring clean geometry, realistic detailing, and a fully modeled interior. Includes .blend, .fbx, .obj, .glb, .stl, .ply, .unreal, and .max formats for rendering, simulation, and game development.
Price: $4.99
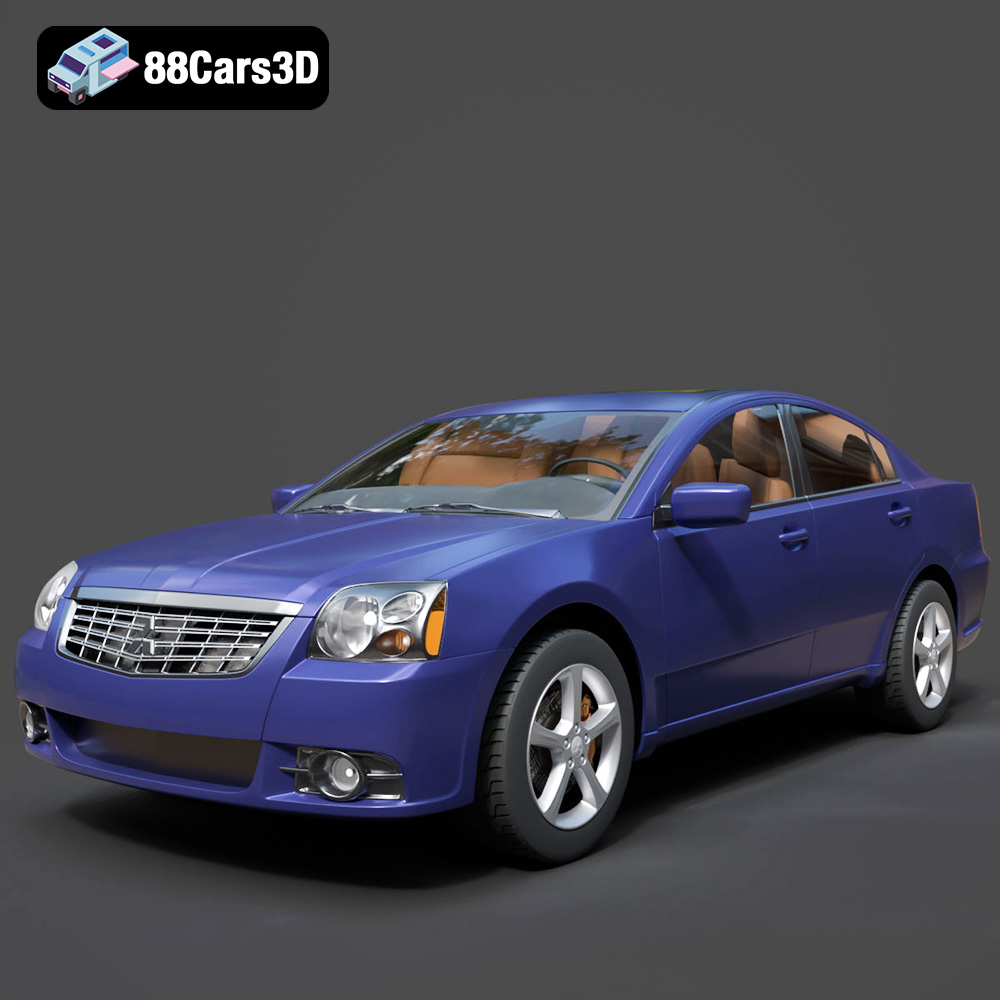
Mitsubishi Galant 2009 3D Model
Texture: Yes
Material: Yes
Download the Mitsubishi Galant 2009 3D Model featuring clean geometry, realistic detailing, and a fully modeled interior. Includes .blend, .fbx, .obj, .glb, .stl, .ply, .unreal, and .max formats for rendering, simulation, and game development.
Price: $4.99
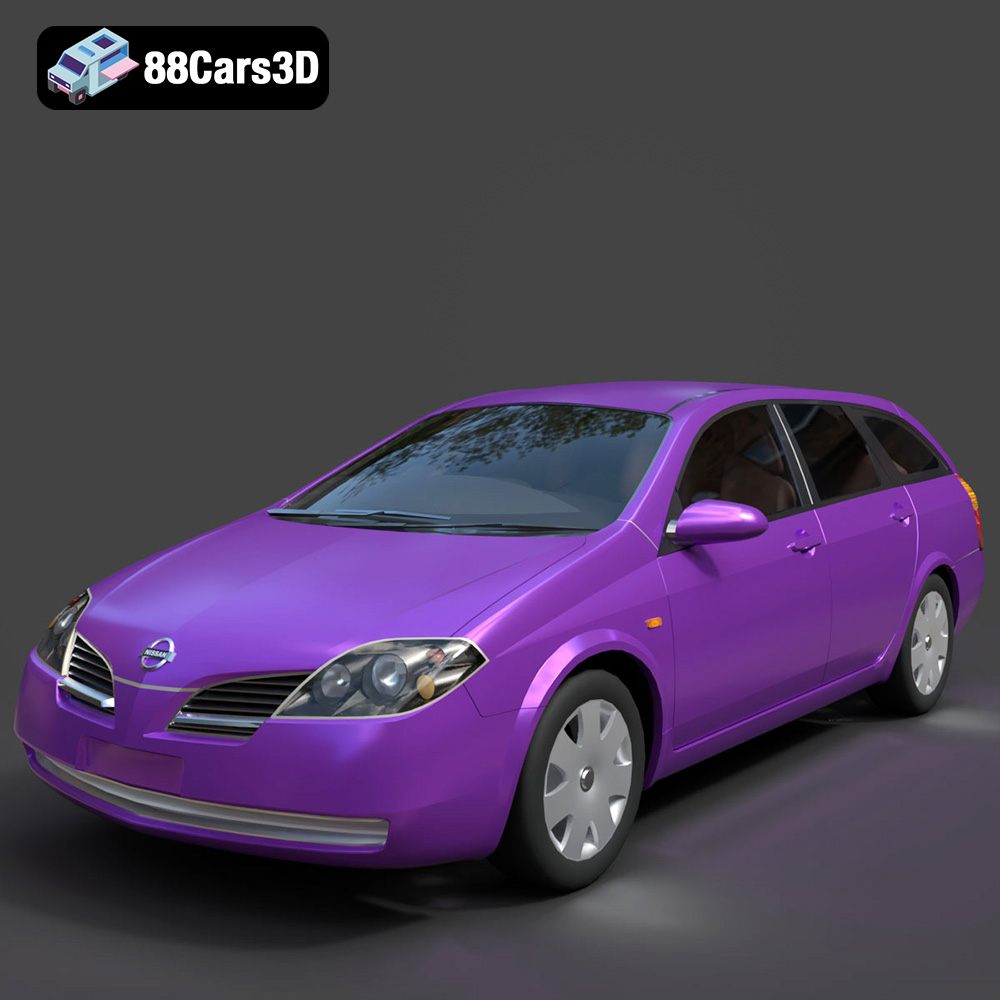
Nissan Primera Wagon 3D Model
Texture: Yes
Material: Yes
Download the Nissan Primera Wagon 3D Model featuring clean geometry, realistic detailing, and a fully modeled interior. Includes .blend, .fbx, .obj, .glb, .stl, .ply, .unreal, and .max formats for rendering, simulation, and game development.
Price: $4.99
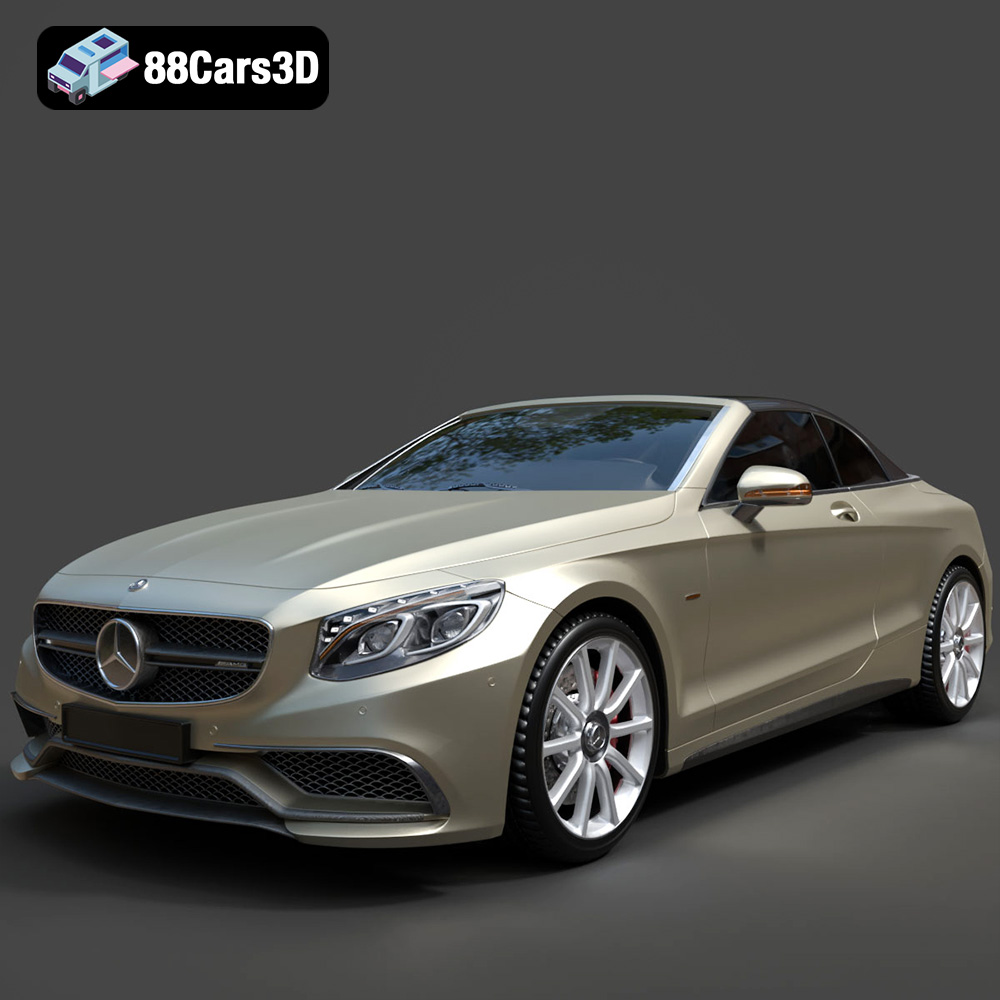
Mercedes-Benz S63 AMG Cabriolet 2017 3D Model
Texture: Yes
Material: Yes
Download the Mercedes-Benz S63 AMG Cabriolet 2017 3D Model featuring clean geometry, realistic detailing, and a fully modeled interior. Includes .blend, .fbx, .obj, .glb, .stl, .ply, .unreal, and .max formats for rendering, simulation, and game development.
Price: $20.99
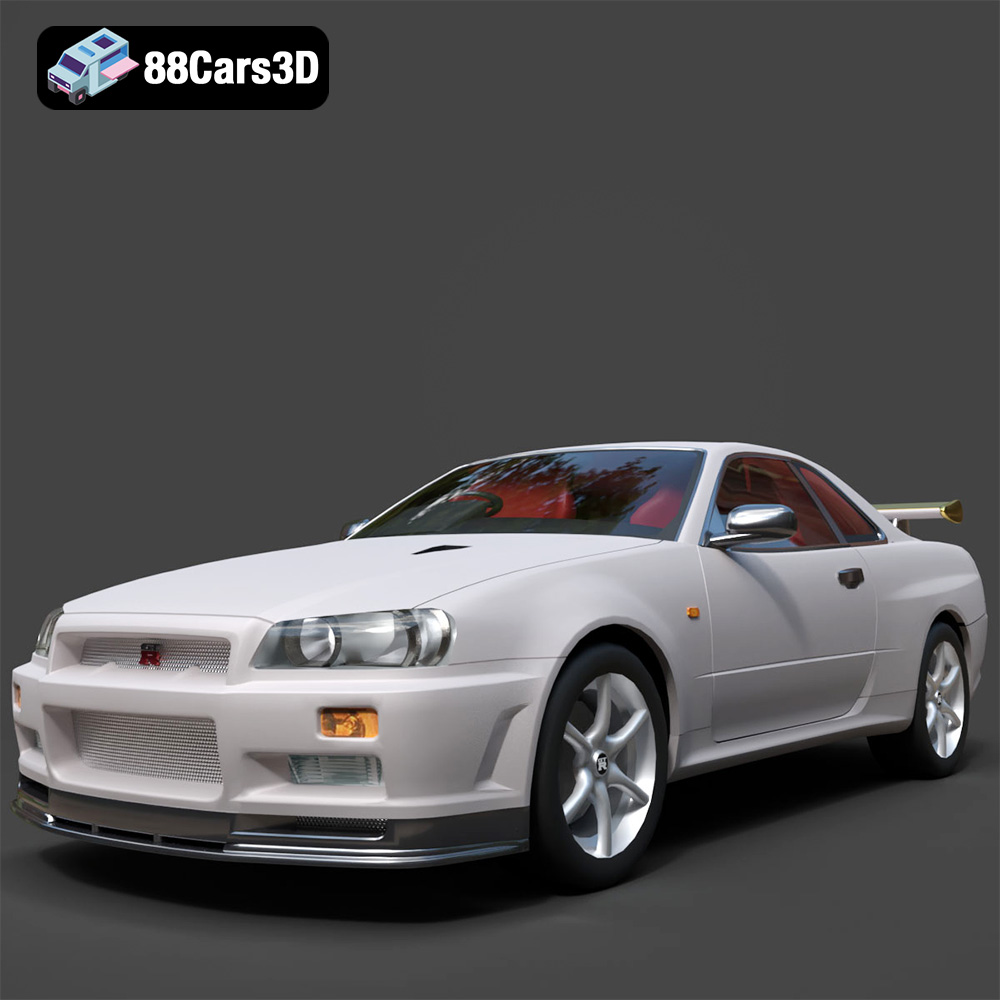
Nissan Skyline R34 2002 3D Model
Texture: Yes
Material: Yes
Download the Nissan Skyline R34 2002 3D Model featuring clean geometry, realistic detailing, and a fully modeled interior. Includes .blend, .fbx, .obj, .glb, .stl, .ply, .unreal, and .max formats for rendering, simulation, and game development.
Price: $4.99
