The Foundation: Mastering Automotive 3D Modeling Topology and Edge Flow
The allure of a perfectly sculpted automobile transcends mere transportation; it embodies design, engineering, and cultural significance. In the digital realm, capturing this essence requires an intricate blend of artistic vision and rigorous technical prowess. From the sleek lines of a supercar rendered with breathtaking realism to the optimized geometry of a vehicle speeding through a virtual world, 3D car models are pivotal across numerous industries.
Whether you’re an automotive designer visualizing a new concept, a game developer crafting immersive experiences, or an architect integrating vehicles into a scene, the demand for high-quality, technically sound 3D car assets is constant. But what truly defines a “high-quality” model? It’s more than just aesthetics; it’s about clean topology, precise UV mapping, realistic PBR materials, and meticulous optimization for specific applications.
This comprehensive guide delves deep into the multifaceted world of creating, refining, and deploying professional-grade 3D car models. We’ll explore the essential workflows, technical specifications, and industry best practices that transform a raw mesh into a photorealistic render or a seamlessly integrated game asset. From the foundational principles of topology to advanced rendering techniques, game engine optimization, and preparing models for emerging technologies like AR/VR and 3D printing, you’ll gain actionable insights to elevate your automotive visualization projects. If you’re looking to jumpstart your projects with production-ready assets, platforms like 88cars3d.com offer a vast collection of expertly crafted 3D car models designed for a multitude of professional uses.
The Foundation: Mastering Automotive 3D Modeling Topology and Edge Flow
At the heart of every exceptional 3D car model lies impeccable topology and strategic edge flow. For automotive models, which are characterized by smooth, reflective surfaces and intricate curves, clean geometry is not just a preference—it’s a necessity. Poor topology can lead to artifacts like pinching, unwanted bumps, and issues during subdivision, rendering, and animation. A well-constructed mesh ensures that surfaces deform predictably, reflections remain smooth, and the model holds up under scrutiny from any angle.
The primary goal is to achieve a quadrilateral-dominant mesh, meaning the vast majority of your faces should be quads (four-sided polygons). Quads are ideal for subdivision surface modeling (Sub-D modeling), which is the standard approach for automotive hard-surface modeling. This technique allows you to start with a relatively low-polygon base mesh and then apply a subdivision modifier (e.g., Turbosmooth in 3ds Max, Subdivision Surface in Blender) to generate a smooth, high-resolution surface. However, simply having quads isn’t enough; their arrangement, known as edge flow, is critical. Edge loops should follow the natural contours and design lines of the car, guiding the flow of light and reflections across the surface.
Sub-D Modeling Principles for Smooth Surfaces
When modeling car bodies, particular attention must be paid to how edges define the shape. Support edges are crucial for maintaining crisp edges and creases, such as those found around door seams, hood lines, and fender flares. Without sufficient support edges running parallel to sharp transitions, a subdivided mesh will round off excessively. For instance, a panel gap requires two closely spaced edge loops on either side of the gap to create a sharp crevice, rather than a soft, rounded indentation. Conversely, large, sweeping panels like the roof or doors should have widely spaced edge loops to allow for perfectly smooth, uninterrupted curvature.
While quads are king, the judicious use of triangles and N-gons (polygons with more than four sides) can sometimes be unavoidable, particularly in very dense or flat areas. However, for subdivision surfaces, triangles and N-gons should be minimized, especially on curved surfaces where they can cause pinching or undesirable shading artifacts. Achieving perfect surface continuity (G1, G2 curvature) across different panels is paramount for realism. This means ensuring that the tangents (G1) and curvature (G2) between connecting surfaces transition smoothly, preventing any visible seams or abrupt changes in reflection. High-poly models for hero shots often exceed 500,000 to over a million polygons, capturing every minute detail, while game-ready models will typically range from 50,000 to 150,000 polygons, depending on the platform and LOD strategy.
Optimizing Edge Flow for Deformation and Animation
Beyond static beauty, optimal edge flow prepares your 3D car model for dynamic scenarios. If a car’s doors need to open, or its wheels turn, the surrounding geometry must be designed to articulate without breaking or stretching unnaturally. Edge loops should encircle areas of intended movement, providing the necessary resolution for smooth deformation. For example, around wheel wells, edge loops should radiate outwards from the hub to allow for wheel rotation and suspension movement without distorting the fender.
For game development, this often involves creating a low-poly retopology of a high-poly sculpt. The high-poly model captures all the intricate details, which are then “baked” down into normal maps and other texture maps for the optimized low-poly mesh. This process leverages the detail without the polygon overhead. Software like 3ds Max, Blender, and Maya offer robust modeling toolsets, including retopology brushes and modifiers, to streamline this process. Understanding how to manually manipulate vertices, edges, and faces to guide edge flow is a fundamental skill that distinguishes a good modeler from a great one.
Bringing Surfaces to Life: UV Mapping and PBR Material Creation
Once the geometry is perfect, the next critical step is to apply textures that give the car its visual identity. This involves two closely related processes: UV mapping, which tells the software how to project 2D textures onto the 3D model, and PBR material creation, which defines how light interacts with the car’s surfaces to achieve photorealistic results. These stages are where the model truly comes alive, transforming a grey mesh into a gleaming automotive masterpiece.
Effective UV mapping is an art form itself. It’s about strategically “unwrapping” the 3D surface into a flat 2D layout, similar to unfolding a cardboard box. The goal is to minimize distortion, prevent stretching, and maximize texel density (the number of pixels per unit of surface area) across the model. Poor UVs lead to blurry, stretched, or mismatched textures, undermining all the effort put into modeling. For complex automotive surfaces with their myriad curves and details, a thoughtful approach is essential to ensure every texture, from the subtle metallic flakes of the paint to the intricate tread of a tire, appears crisp and accurate.
Advanced UV Unwrapping for Complex Automotive Surfaces
For a vehicle, UV unwrapping involves a blend of techniques. Hard edges, such as sharp creases or panel lines, are often good candidates for UV seams because they naturally break the surface. However, care must be taken to hide these seams where they will be least visible to avoid texture discontinuities. Many artists utilize a multi-tile UV workflow, specifically UDIMs (U-Dimension), which allows for multiple 4K or 8K texture maps across different parts of the car (e.g., one UDIM tile for the hood, another for a fender, etc.). This provides extremely high texel density for ultra-detailed close-ups without having to pack everything into a single, massive texture map, which can be inefficient.
Conversely, for symmetrical parts like side mirrors or certain interior components, overlapping UVs can be used to save texture space. This allows you to texture one half and have the texture mirrored perfectly on the other, halving the texture resolution requirement for those parts. Specific strategies are employed for different materials: the main body panels might use UDIMs, while glass elements might have their own simple, packed UV space, and tires require careful cylindrical or planar mapping to avoid stretching the tread pattern. Tools like RizomUV and UVLayout specialize in optimized unwrapping, while Blender, 3ds Max, and Maya offer robust built-in UV editing suites for precise control.
Crafting Realistic PBR Materials and Shader Networks
PBR materials (Physically Based Rendering) are the cornerstone of modern photorealism. They simulate how light interacts with surfaces based on real-world physical properties, ensuring consistent and believable results across different lighting environments. There are two primary PBR workflows: Metallic/Roughness and Specular/Glossiness. The Metallic/Roughness workflow, widely adopted in game engines and many renderers, is often more intuitive, using maps like Base Color (Albedo), Metallic, Roughness, Normal, Ambient Occlusion, and sometimes Displacement or Bump maps.
Automotive materials are particularly challenging due to their highly reflective and layered nature. Car paint, for example, isn’t a single material but a complex shader network that simulates a base color layer, a clear coat layer, and often metallic flakes embedded within. The clear coat layer provides the characteristic glossy reflections and fresnel effect, while normal maps can add subtle imperfections like micro-scratches for added realism. Other crucial materials include chrome (high metallic, low roughness), glass (transparent, reflective, with refraction), rubber (low metallic, higher roughness, subtle normal details for texture), and various interior materials like leather or fabric, each requiring specific PBR map values and intricate shader setups. Texture resolutions are crucial here; a 4096×4096 (4K) map for the main body is common, with 2K or 1K maps for smaller, less prominent parts to balance detail and performance.
The Art of Illumination: Automotive Rendering Workflows
Once your 3D car model is expertly modeled and textured, the ultimate test of its quality comes in the rendering stage. This is where illumination, camera settings, and material properties converge to create a compelling, photorealistic image. Automotive rendering is a specialized field, demanding a keen eye for aesthetics and a deep understanding of light physics. The goal is not just to make the car visible, but to make it desirable, highlighting its form, reflections, and intricate details in a flattering and convincing manner.
Successful automotive renders hinge on controlling every aspect of the virtual studio. This includes setting up precise lighting, choosing the right environment, and configuring the camera to mimic real-world photography. Each element plays a crucial role in shaping the final image, from the soft reflections on the car’s body panels to the sharp highlights that define its edges. Different rendering engines offer distinct approaches and features, but the core principles of lighting and material interaction remain universal.
Studio Lighting Techniques and Environment Setup
One of the most effective ways to light a 3D car model is through a combination of High Dynamic Range Images (HDRIs) and strategically placed area lights. HDRIs provide realistic global illumination and reflections, simulating complex real-world environments like a studio, a cityscape, or an open field. They give your car plausible environmental reflections and ambient lighting. Beyond HDRIs, targeted area lights serve as virtual softboxes, providing key, fill, and rim lighting to sculpt the car’s form. A classic three-point lighting setup (key light, fill light, back/rim light) is a good starting point, but automotive rendering often employs more complex studio setups, sometimes utilizing virtual “light tunnels” or large, softbox-like emitters to achieve continuous, flattering reflections across large panels.
The placement and intensity of these lights are critical for defining the car’s character. Reflections are paramount for car paint and chrome; ensuring clean, unbroken reflection lines (often called “character lines” or “light lines”) across the body panels is a hallmark of high-quality rendering. Physically accurate camera settings—such as ISO, shutter speed, and f-stop—help to mimic real-world photographic effects like depth of field and motion blur, adding to the realism. Compositing the car into a backplate (a photographic background) requires matching the camera angle, focal length, and lighting of the backplate precisely with your 3D scene.
Renderer-Specific Strategies (Corona, V-Ray, Cycles, Arnold)
Different rendering engines offer unique strengths and workflows. Corona Renderer and V-Ray, popular in 3ds Max, are known for their ease of use, speed, and photorealistic output. Corona excels with its interactive rendering, allowing real-time adjustments to lighting and materials, and its LightMix feature, which enables non-destructive manipulation of light intensity and color after the render is complete. V-Ray offers extensive control over global illumination methods (e.g., Brute Force, Irradiance Map, Light Cache) and has powerful denoisers. Both are highly integrated with 3ds Max’s material editor, making PBR material creation intuitive.
Blender’s Cycles engine, with its node-based material system, offers incredible flexibility for creating complex shaders and supports powerful GPU rendering with CUDA or OptiX, significantly speeding up render times. Understanding sampling settings and adaptive sampling can optimize quality versus speed. Arnold Renderer, common in Maya and also available for 3ds Max, is a robust, unbiased renderer known for its high-quality global illumination and production-proven reliability. Its AlShaders provide physically accurate materials, and careful attention to light units (e.g., lumens) is crucial for realistic illumination. Regardless of the renderer, balancing quality and render time involves understanding render settings like sample counts, ray depths, and the chosen Global Illumination (GI) method.
Performance and Portability: Game Engine Optimization & File Formats
While photorealistic renders are crucial for visualization, integrating 3D car models into real-time environments like game engines, AR/VR experiences, or interactive configurators presents a different set of challenges. Here, performance is paramount. Models must be optimized to render efficiently while maintaining visual fidelity, which requires careful management of polygon counts, draw calls, and texture memory. This is where the artistry of modeling meets the engineering of real-time graphics.
The process of optimizing a 3D car for a game engine involves a series of strategic decisions, often starting with a high-poly source model and systematically reducing its complexity without losing perceived detail. This involves creating multiple versions of the mesh for different distances, consolidating materials, and ensuring that the data is packaged efficiently. Understanding the target platform’s limitations—whether it’s a mobile device, a high-end PC, or a VR headset—is crucial for setting appropriate budgets for polygons and textures.
LODs, Draw Calls, and Texture Atlasing for Game Engines
Level of Detail (LOD) is a fundamental optimization technique. Instead of rendering a single, highly detailed mesh at all distances, LODs involve creating several progressively simpler versions of the same model. When the car is close to the camera, the highest LOD (LOD0) is used. As it moves further away, the engine swaps to LOD1, LOD2, and so on, which have significantly fewer polygons, reducing the rendering burden. Tools like Blender’s Decimate modifier or 3ds Max’s ProOptimizer can automate this process, though manual cleanup is often necessary to ensure topology integrity. A typical car in a modern game might have 3-5 LOD levels, with the lowest LOD potentially having less than 10% of the polygons of the highest.
Draw calls are instructions sent from the CPU to the GPU to render an object. Each material and separate mesh often generates a draw call, and too many draw calls can bottleneck performance. Optimizing draw calls involves combining meshes that share the same material into a single mesh and utilizing material instancing, where multiple objects share the same base material but can have unique parameters. Texture atlasing is another powerful technique: instead of using multiple small texture maps for different parts of the car, all textures are consolidated into one or a few large texture sheets. This reduces the number of texture swaps the GPU needs to perform, significantly improving rendering speed. Collision meshes, which are simplified proxy objects used for physics calculations, and shadow casters are also vital for game engines.
Navigating File Formats and Compatibility (FBX, OBJ, GLB, USDZ)
The choice of file format dictates a model’s portability and how well it retains its data across different software and platforms. The industry standard for interchange is FBX, which can store not only geometry and UVs but also materials, rigging, animations, and camera data. It’s widely supported by 3D software (Maya, 3ds Max, Blender) and game engines (Unity, Unreal Engine).
OBJ (Wavefront Object) is a simpler, widely compatible format primarily used for geometry and UVs, with basic material support. While lacking advanced features like animation, its universal support makes it a reliable choice for static models. For web-based applications, GLB (binary glTF) and glTF (GL Transmission Format) have become the de facto standards. They are compact, efficient, and support PBR materials, making them ideal for web AR/VR, online configurators, and 3D viewers. USDZ is Apple’s proprietary format built on Pixar’s Universal Scene Description (USD) framework, specifically designed for AR applications on iOS devices. When sourcing models for your projects, look for platforms like 88cars3d.com that offer a range of these formats, ensuring maximum compatibility and ease of integration into your specific workflow. Proper export settings, including embedding media and managing coordinate systems, are essential for seamless transitions between applications.
Expanding Horizons: AR/VR, 3D Printing, and Advanced Visualization
The utility of high-quality 3D car models extends far beyond traditional rendering and game development. Emerging technologies like Augmented Reality (AR), Virtual Reality (VR), and advanced 3D printing have opened up new frontiers for interaction, visualization, and rapid prototyping. Each of these applications comes with its own unique set of technical requirements and optimization strategies, pushing the boundaries of what’s possible with digital automotive assets.
In AR/VR, the emphasis shifts from passive viewing to immersive interaction, demanding extremely high frame rates and precise spatial tracking. For 3D printing, the digital model must be translated into a physical object, requiring a focus on mesh integrity, watertight geometry, and manufacturing considerations. These fields demonstrate the versatility and enduring value of meticulously crafted 3D models, transforming them from mere visuals into tangible experiences and products.
AR/VR Optimization and Real-time Interaction
AR and VR experiences demand uncompromising performance. Maintaining a high, stable frame rate (typically 90 FPS for VR to prevent motion sickness) is critical. This necessitates even stricter polycount and draw call budgets than traditional games. Developers often employ baked lighting, where lighting information is pre-calculated and stored in texture maps (lightmaps), rather than calculated in real-time. This significantly reduces the computational load on the GPU, allowing for more complex scenes and higher frame rates.
For interaction, accurate collision meshes are essential, enabling users to “touch” or “walk around” the car realistically. Physics simulations in engines like Unity and Unreal Engine allow for realistic vehicle dynamics, suspension, and tire behavior, creating a truly immersive driving experience. For AR, models must be lightweight and quick to load, often leveraging formats like GLB or USDZ. Ensuring the model scales correctly and anchors properly within the real-world environment are key AR development challenges. The goal is to create a seamless blend between the virtual car and the physical world, making it feel like a real object present in the user’s space.
Preparing Automotive Models for 3D Printing and Rapid Prototyping
Translating a digital 3D car model into a physical prototype or collectible through 3D printing requires a different kind of technical scrutiny. The most critical aspect is ensuring a “watertight” or “manifold” mesh, meaning there are no holes, inverted normals, or disconnected edges. Non-manifold geometry can lead to printing errors or failed prints. Tools like Netfabb, Meshmixer, or Blender’s 3D Print Toolbox are invaluable for analyzing and repairing mesh issues. Wall thickness is another vital consideration; 3D printers have minimum thickness requirements for features to be strong enough to print without breaking. Thin details like antenna or delicate mirrors might need to be thickened or simplified.
Scaling and unit consistency are also paramount to ensure the printed model is the desired size. Support structures are often necessary for complex overhangs or delicate features, which need to be designed to be easily removable post-print. Different 3D printing technologies (FDM, SLA, SLS) have varying capabilities and material properties, influencing the final finish and structural integrity. For instance, SLA printers offer high detail for intricate car parts, while FDM might be suitable for larger, less detailed prototypes. When getting ready for 3D printing, remember that quality 3D car models from resources like 88cars3d.com can be a great starting point, but always perform a thorough manifoldness check and consider print-specific optimizations to ensure a successful physical output.
The Final Touch: Post-Processing and Compositing
Even the most perfectly rendered 3D car model can benefit significantly from post-processing and compositing. This final stage is where you elevate a raw render into a polished, professional-grade image, adding a layer of artistry and refinement that enhances its visual impact. Think of it as the digital darkroom, where you fine-tune colors, add atmospheric effects, and blend elements seamlessly to achieve a compelling narrative or a striking visual statement. It’s a non-destructive process that offers immense creative control without needing to re-render the entire scene.
Post-processing goes beyond simple color adjustments; it involves a sophisticated layering of effects and corrections that can dramatically alter the mood, realism, and perceived quality of your automotive render. By leveraging render passes and specialized software, artists gain precise control over every aspect of the image, from subtle color grading to dramatic atmospheric effects, ensuring the final image truly shines.
Enhancing Visuals with Color Grading and Effects
The first step in post-processing is typically fundamental image correction: adjusting exposure to ensure proper brightness, tweaking contrast to give the image punch, and refining saturation for vibrant yet natural colors. White balance correction ensures that colors appear accurate under the scene’s lighting conditions. Beyond these basics, specific effects can dramatically enhance the render. Vignetting can subtly draw attention to the car, while a touch of chromatic aberration can add a cinematic, photographic feel. Lens flare, when used sparingly and realistically, can simulate light sources interacting with the camera lens, adding depth. Depth of field (DoF), if not fully rendered in 3D, can be convincingly added in post, blurring the foreground and background to isolate the car and create a sense of scale.
Look-Up Tables (LUTs) are powerful tools for applying consistent color grades and stylistic looks, mimicking film stocks or specific photographic styles. Software like Adobe Photoshop, Affinity Photo, or even DaVinci Resolve (for video renders) provide comprehensive toolsets for these adjustments. The key is subtlety; the best post-processing often goes unnoticed, simply making the image feel “right.”
Leveraging Render Passes for Non-Destructive Editing
To achieve maximum control in post-processing, professional workflows rely heavily on render passes (also known as AOV – Arbitrary Output Variables). Instead of a single final image, renderers can output individual layers that isolate different components of the scene. Common passes include: Ambient Occlusion (AO) for contact shadows, Reflection and Specular passes for fine-tuning shininess, Diffuse for base color, Z-Depth for accurate depth of field, Alpha for masking, and Normals for relighting. Each pass provides a mask or component that can be adjusted independently.
Compositing these passes in software like Nuke, Adobe After Effects, or Photoshop allows for non-destructive editing. For example, you can adjust the intensity of reflections without affecting the car’s base color, or add more ambient occlusion to specific areas. Masking capabilities enable you to isolate specific elements (e.g., the car body, windows, wheels) to apply targeted corrections. This granular control is invaluable for creating realistic motion blur (applied to moving wheels or the entire car if it’s in motion), fine-tuning subtle atmospheric haze, or seamlessly integrating the rendered car onto a photographic backplate, matching its lighting and reflections perfectly. By mastering render passes, you unlock an unparalleled level of precision and artistic freedom in your final output.
Conclusion
The journey from a conceptual idea to a stunning, deployed 3D car model is a complex yet immensely rewarding one. It demands a mastery of technical disciplines—from the foundational principles of clean topology and efficient UV mapping to the nuanced artistry of PBR materials and advanced automotive rendering. Every stage, from the meticulous detail of a high-poly sculpt to the strategic optimization for game engines or AR/VR, contributes to the realism, performance, and versatility of the final asset.
We’ve explored how proper edge flow dictates surface quality, how PBR materials breathe life into textures, and how intelligent lighting transforms a mesh into a captivating visual. We’ve also delved into the critical world of optimization, ensuring that these beautiful models are performant enough for real-time applications and adaptable for diverse uses like 3D printing. The intersection of artistic vision and technical execution is where truly exceptional 3D car models are forged.
As technology continues to evolve, the demand for high-quality, technically sound 3D car models will only grow. By embracing these best practices and continually refining your skills, you’ll be well-equipped to tackle any challenge the industry presents. Whether you’re a seasoned professional or just starting your journey, the possibilities are limitless. Explore, experiment, and continue to push the boundaries of what’s achievable in 3D. If you’re looking for a head start or need professional-grade assets for your next project, remember to visit 88cars3d.com for a curated selection of expertly crafted 3D car models designed to meet the highest industry standards.
Featured 3D Car Models
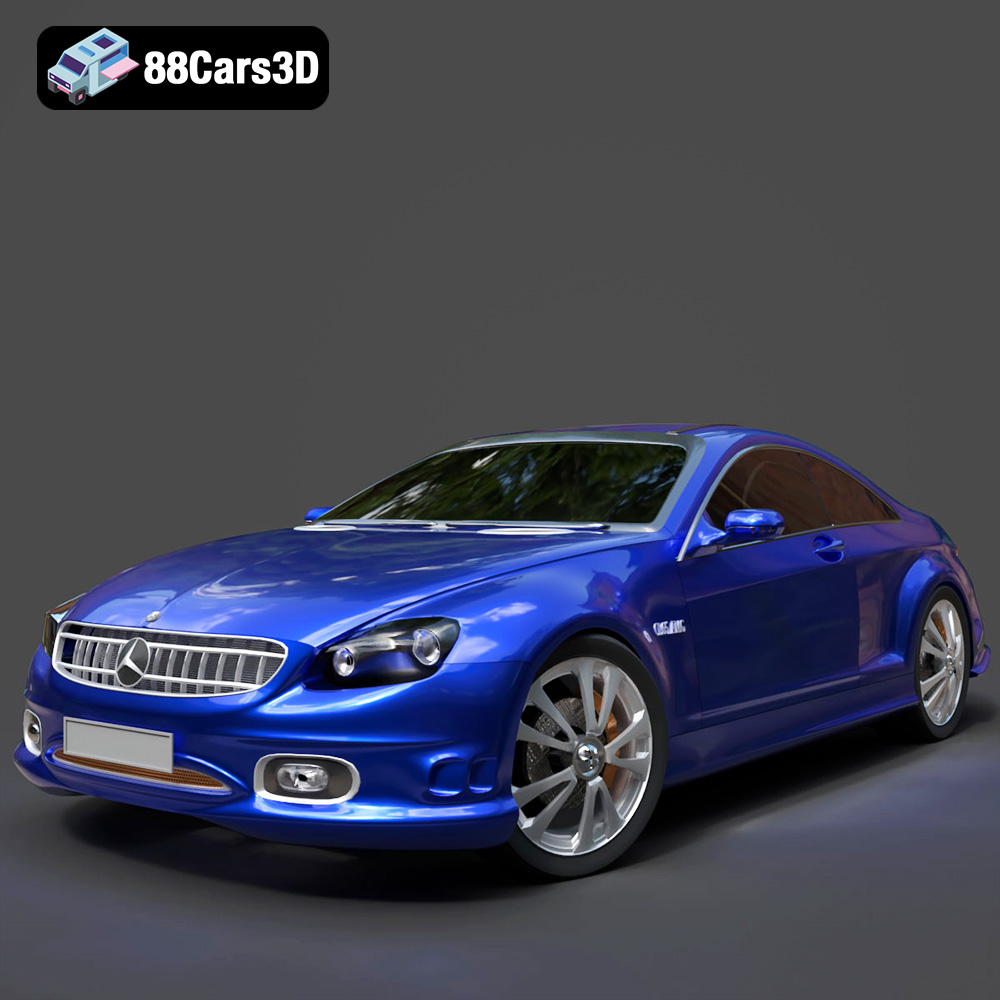
Mercedes-Benz CL6540-005 3D Model
Texture: Yes
Material: Yes
Download the Mercedes-Benz CL6540-005 3D Model featuring clean geometry, realistic detailing, and a fully modeled interior. Includes .blend, .fbx, .obj, .glb, .stl, .ply, .unreal, and .max formats for rendering, simulation, and game development.
Price: $4.99
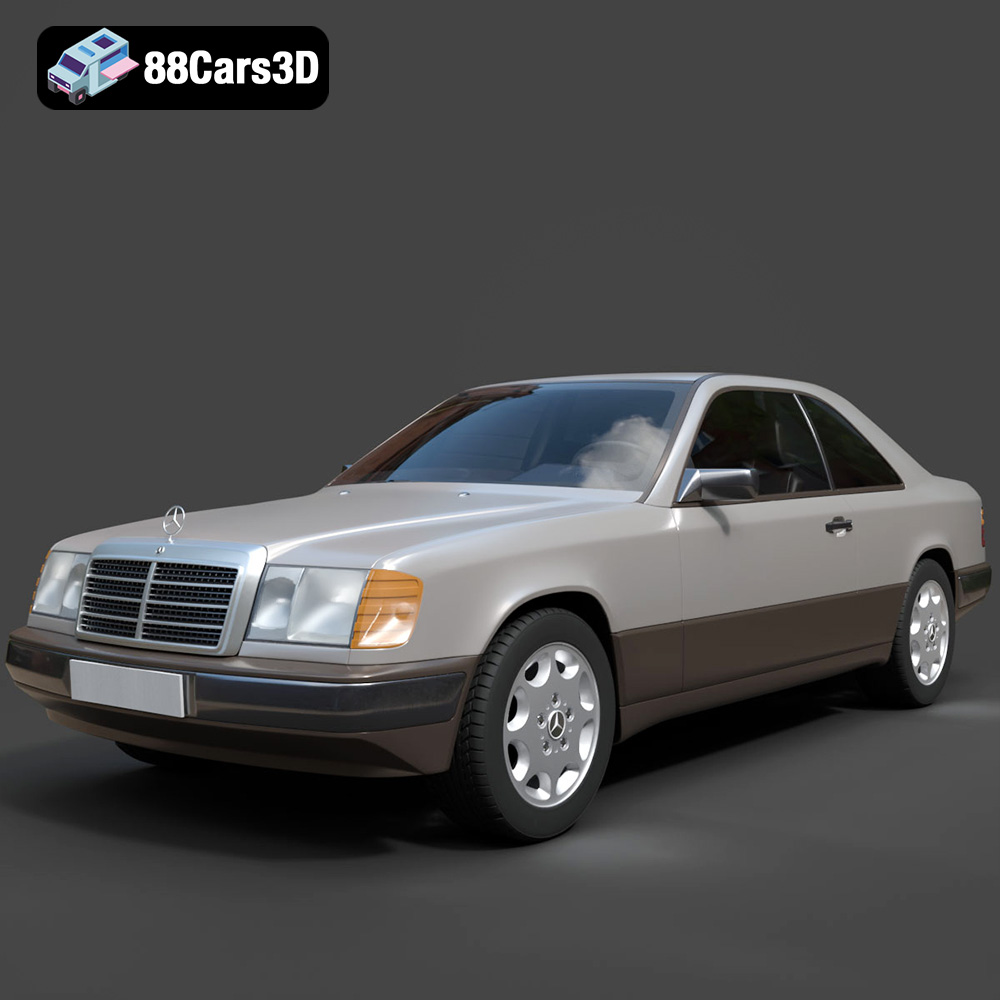
Mercedes E-Class w124 Coupe 3D Model
Texture: Yes
Material: Yes
Download the Mercedes E-Class w124 Coupe 3D Model featuring clean geometry, realistic detailing, and a fully modeled interior. Includes .blend, .fbx, .obj, .glb, .stl, .ply, .unreal, and .max formats for rendering, simulation, and game development.
Price: $4.99
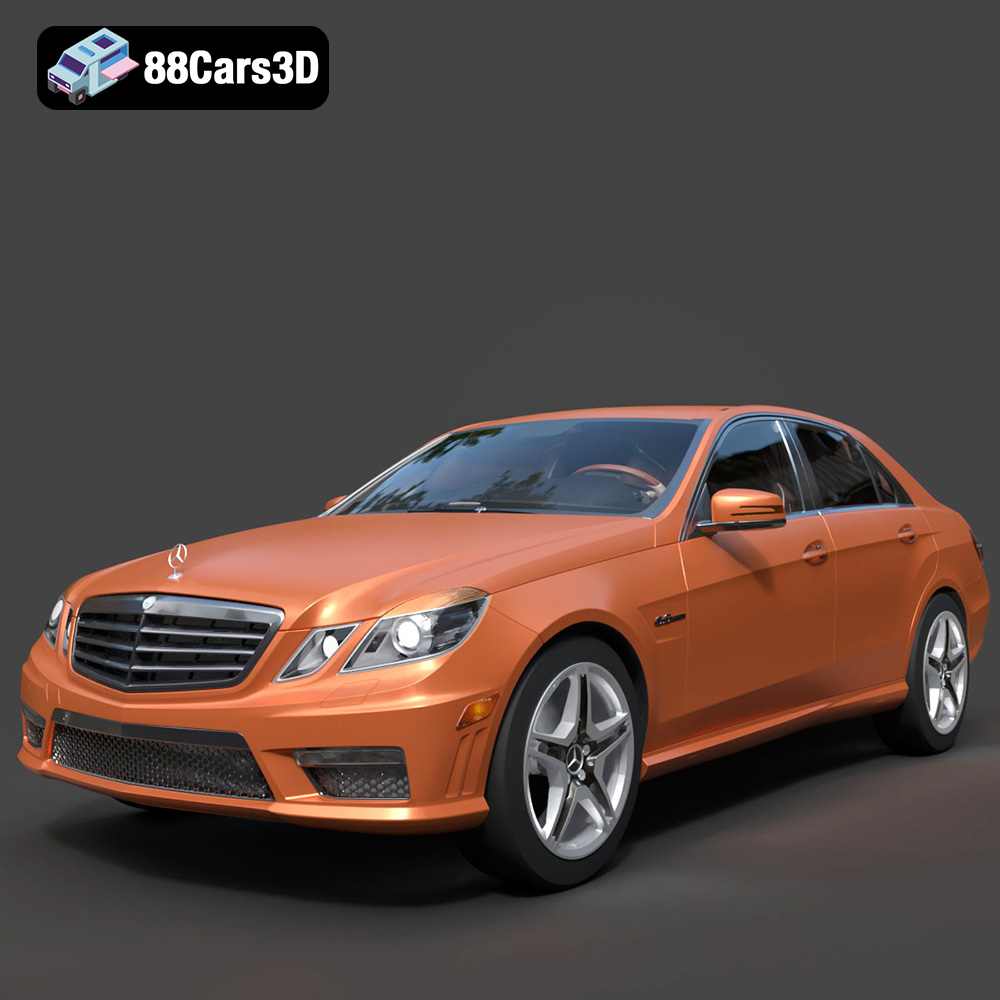
Mercedes-Benz E-Klasse 63 AMG 3D Model
Texture: Yes
Material: Yes
Download the Mercedes-Benz E-Klasse 63 AMG 3D Model featuring clean geometry, realistic detailing, and a fully modeled interior. Includes .blend, .fbx, .obj, .glb, .stl, .ply, .unreal, and .max formats for rendering, simulation, and game development.
Price: $4.99
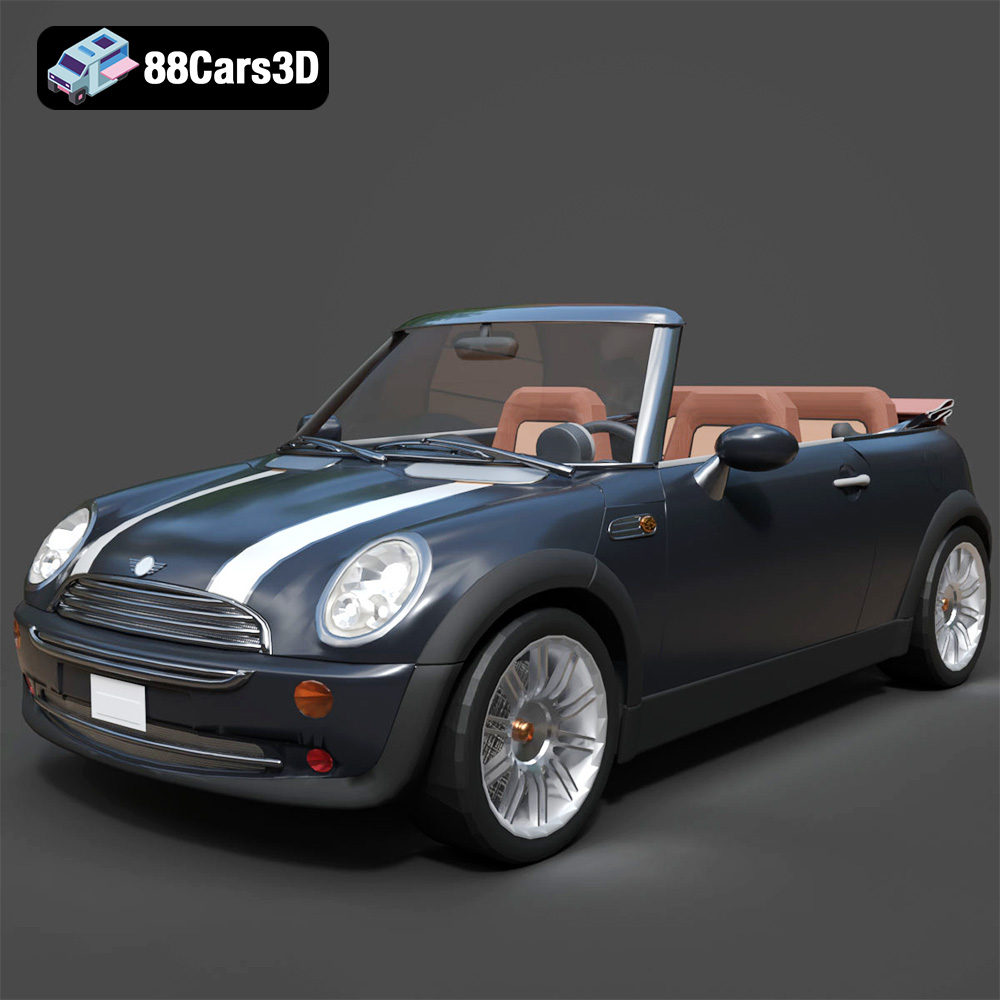
Mini Cabrio 2025 3D Model
Texture: Yes
Material: Yes
Download the Mini Cabrio 2025 3D Model featuring clean geometry, realistic detailing, and a fully modeled interior. Includes .blend, .fbx, .obj, .glb, .stl, .ply, .unreal, and .max formats for rendering, simulation, and game development.
Price: $4.99
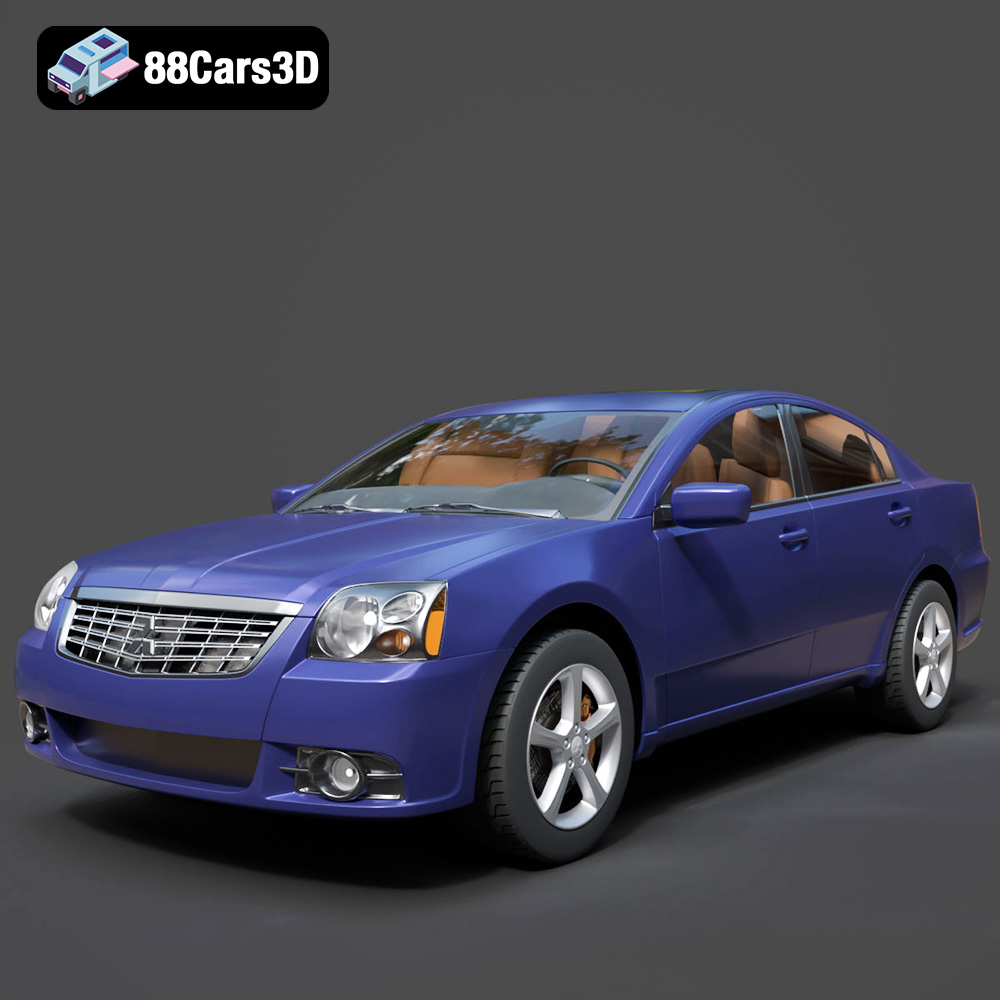
Mitsubishi Galant 2009 3D Model
Texture: Yes
Material: Yes
Download the Mitsubishi Galant 2009 3D Model featuring clean geometry, realistic detailing, and a fully modeled interior. Includes .blend, .fbx, .obj, .glb, .stl, .ply, .unreal, and .max formats for rendering, simulation, and game development.
Price: $4.99
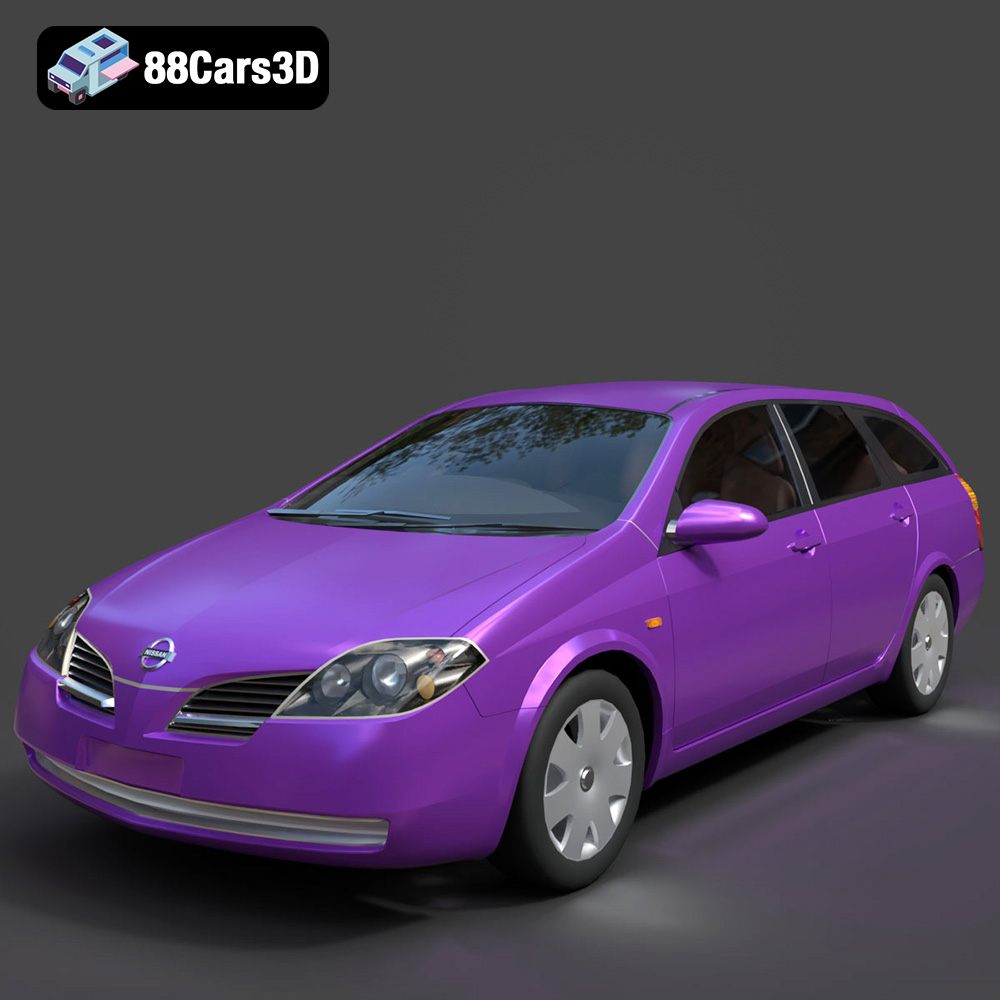
Nissan Primera Wagon 3D Model
Texture: Yes
Material: Yes
Download the Nissan Primera Wagon 3D Model featuring clean geometry, realistic detailing, and a fully modeled interior. Includes .blend, .fbx, .obj, .glb, .stl, .ply, .unreal, and .max formats for rendering, simulation, and game development.
Price: $4.99
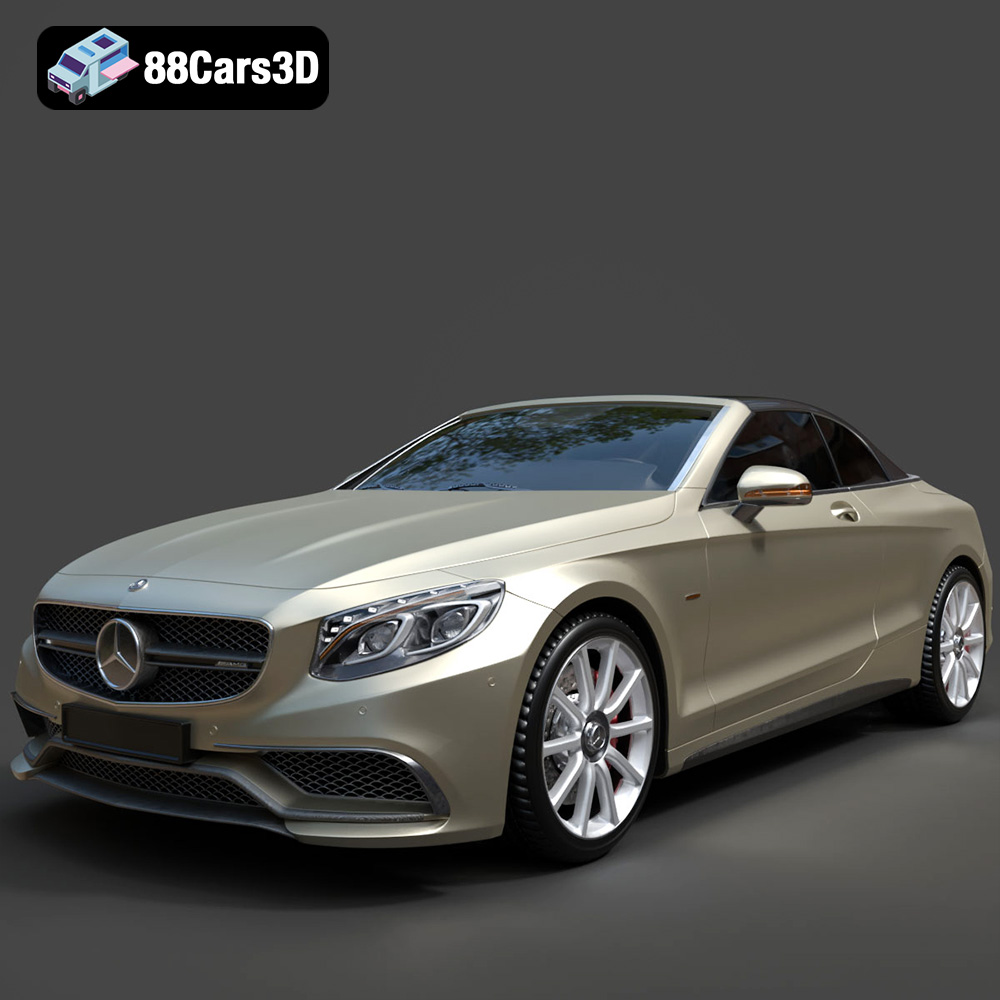
Mercedes-Benz S63 AMG Cabriolet 2017 3D Model
Texture: Yes
Material: Yes
Download the Mercedes-Benz S63 AMG Cabriolet 2017 3D Model featuring clean geometry, realistic detailing, and a fully modeled interior. Includes .blend, .fbx, .obj, .glb, .stl, .ply, .unreal, and .max formats for rendering, simulation, and game development.
Price: $20.99
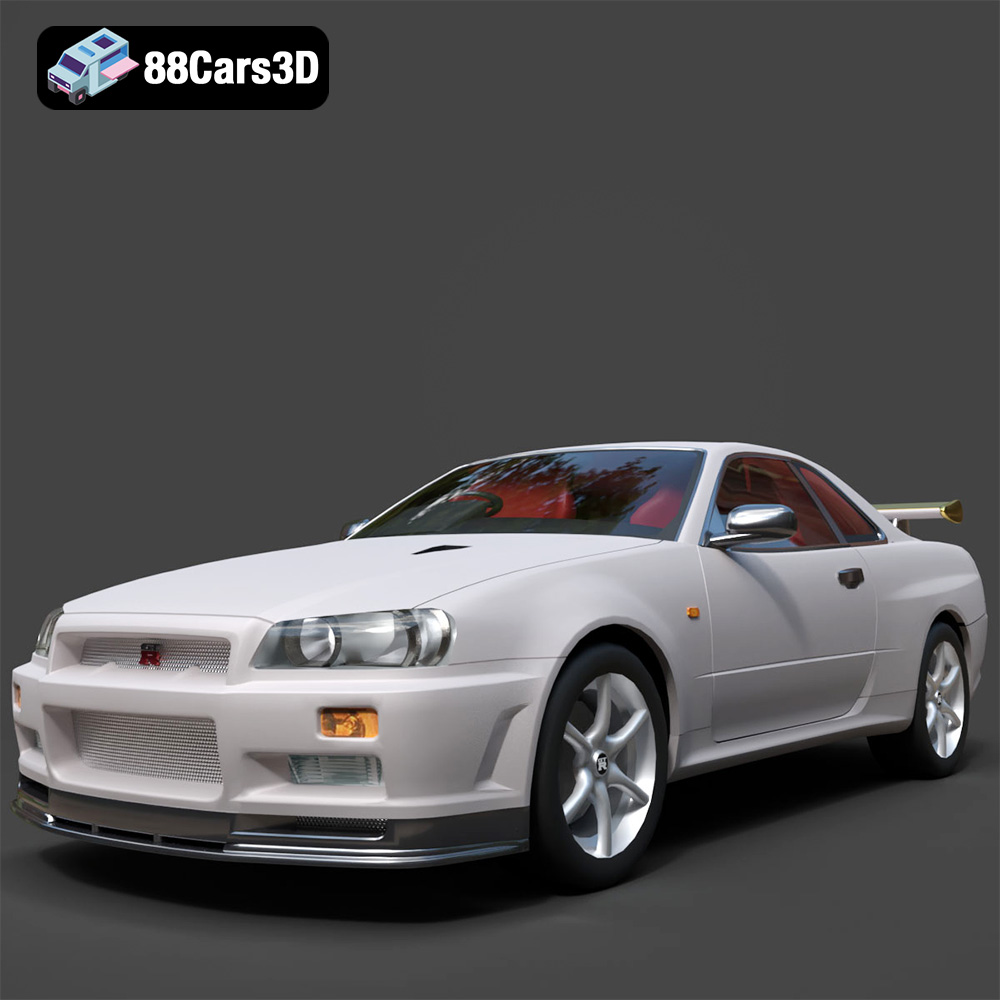
Nissan Skyline R34 2002 3D Model
Texture: Yes
Material: Yes
Download the Nissan Skyline R34 2002 3D Model featuring clean geometry, realistic detailing, and a fully modeled interior. Includes .blend, .fbx, .obj, .glb, .stl, .ply, .unreal, and .max formats for rendering, simulation, and game development.
Price: $4.99
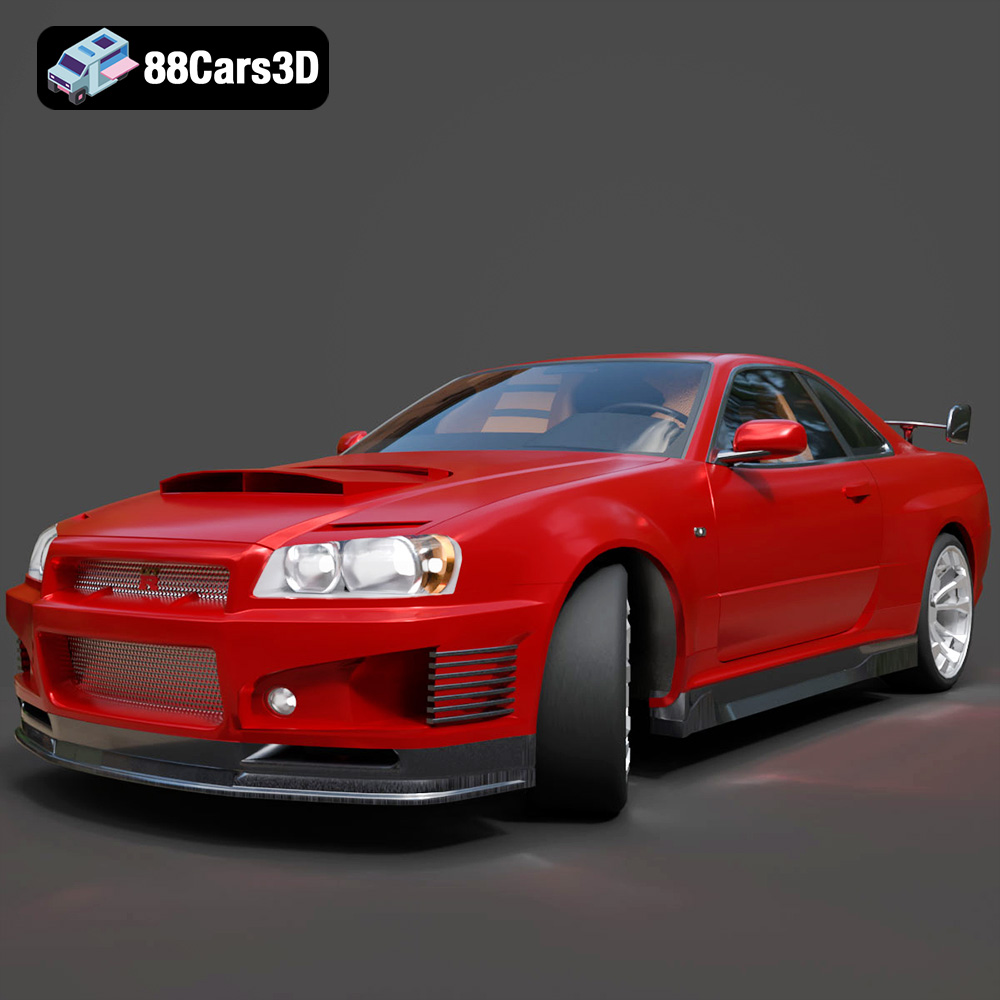
Nissan Skyline 3D Model
Texture: Yes
Material: Yes
Download the Nissan Skyline 3D Model featuring clean geometry, realistic detailing, and a fully modeled interior. Includes .blend, .fbx, .obj, .glb, .stl, .ply, .unreal, and .max formats for rendering, simulation, and game development.
Price: $9.99
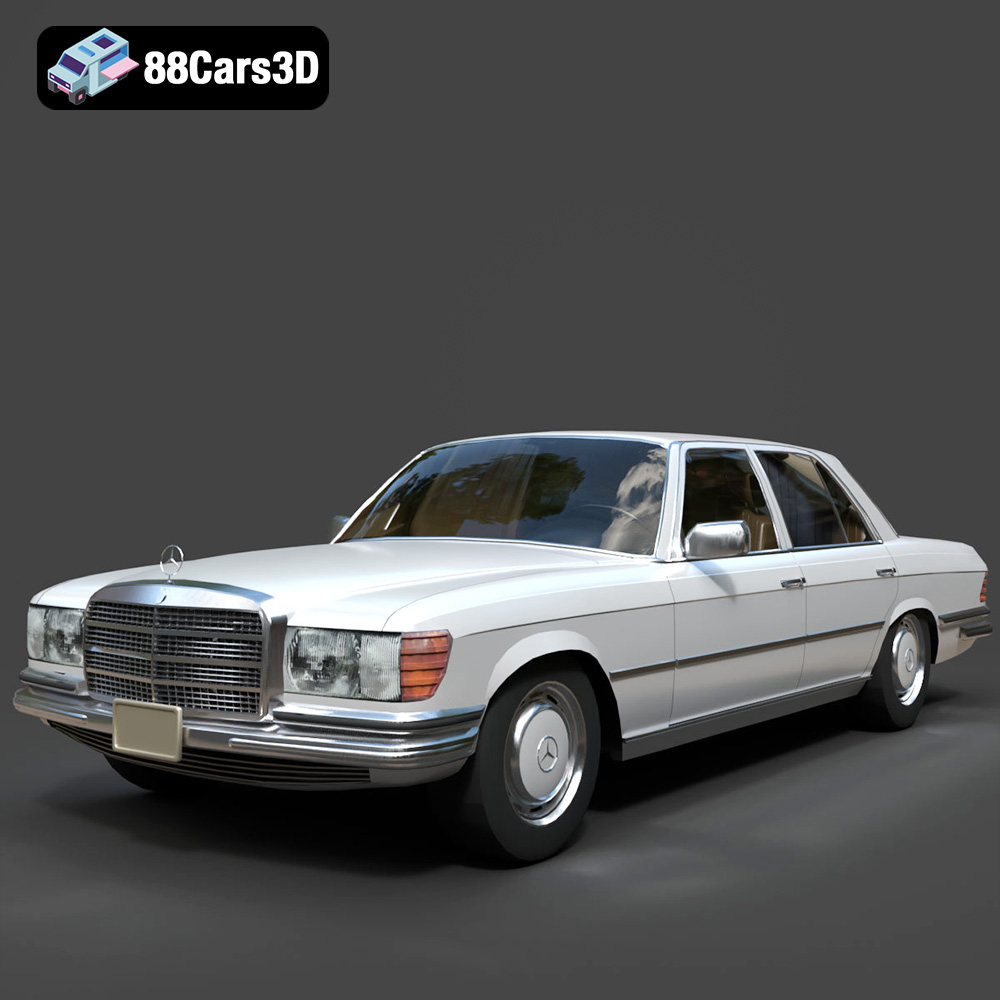
Mercedes-Benz S-Klasse W116 3D Model
Texture: Yes
Material: Yes
Download the Mercedes-Benz S-Klasse W116 3D Model featuring clean geometry, realistic detailing, and a fully modeled interior. Includes .blend, .fbx, .obj, .glb, .stl, .ply, .unreal, and .max formats for rendering, simulation, and game development.
Price: $4.99
