From Showroom to Engine: The Ultimate Guide to Preparing and Optimizing 3D Car Models
“`html
From Showroom to Engine: The Ultimate Guide to Preparing and Optimizing 3D Car Models
A high-quality 3D car model is a masterpiece of digital craftsmanship, a perfect blend of artistic form and technical precision. But acquiring a stunning, high-polygon model is just the first step in a much larger creative journey. Whether you’re an architectural visualization artist aiming for breathtaking realism, a game developer building the next blockbuster racing title, an AR innovator creating immersive experiences, or a hobbyist bringing a design to life with a 3D printer, that pristine source model needs to be carefully prepared and optimized. A model perfect for a 4K cinematic render is often fundamentally unsuitable for a real-time game engine or a physical print without significant work.
This comprehensive guide will walk you through the essential workflows for transforming a single, high-fidelity 3D car model into a versatile asset ready for any application. We’ll dive deep into the technical specifics of preparing models for photorealistic rendering, optimizing them for peak performance in game engines like Unity and Unreal, adapting them for the unique constraints of AR/VR, and making them physically sound for 3D printing. By understanding these distinct pipelines, you’ll unlock the full potential of your 3D car models and ensure your final project is not just beautiful, but also technically flawless and performant. Think of your source file as a block of digital marble; this guide will provide the chisels and techniques to sculpt it into its final, perfect form.
The Foundation: Understanding Your Source 3D Model
Before you can modify, optimize, or render, you must first thoroughly understand the asset you’re working with. High-quality assets, like those you might find on specialized marketplaces such as 88cars3d.com, are built with professionalism and versatility in mind, but knowing what to look for is crucial. A few minutes of initial analysis can save you hours of frustration down the line.
Decoding the Hierarchy and Naming Conventions
A well-constructed car model is not a single, monolithic mesh. It’s a carefully organized collection of individual parts. When you first open the file, inspect the scene outliner or object list. You should find a logical hierarchy with clearly named components. For example:
- Parent Objects: A main empty or null object that serves as the root for the entire car, allowing you to move, scale, and rotate it as a single unit.
- Primary Components: Main body panels (chassis, doors, hood, trunk), wheels (often grouped with tires, calipers, and discs), and glass elements.
- Interior Details: Seats, dashboard, steering wheel, and gear shift should all be separate objects.
This clean organization is vital. It allows you to easily select, hide, or isolate parts, which is essential for assigning different PBR materials (e.g., car paint vs. chrome trim) and for setting up animations like opening doors or spinning wheels.
Evaluating Topology and Edge Flow
Topology refers to the underlying structure of the 3D mesh—the arrangement of its vertices, edges, and polygons. For automotive models, clean, quad-based topology is the gold standard. Look for an even distribution of four-sided polygons (quads) that follow the natural contours and curves of the car’s body. This “edge flow” is critical because it determines how light reflects off the surface and how the model behaves when subdivided for smoother results in renders.
Key things to check for:
- Quads over Triangles/Ngons: While triangles are the final language of game engines, a source model dominated by quads is far more flexible for editing and subdivision. Ngons (polygons with more than four sides) can cause serious issues with texturing and deformation and should be avoided in a source file.
- Consistent Density: The polygon density should be higher in areas of high curvature (like fender arches) and lower on flat surfaces (like the roof or doors).
- Sharp Edges: Panel gaps and sharp character lines should be defined by tight edge loops, not just creased geometry, to ensure they hold up under subdivision.
Analyzing UV Maps and Textures
UV mapping is the process of unwrapping a 3D model’s surface onto a 2D plane so textures can be applied correctly. For a car, check the UVs for key parts like the body, interior, and tires. A professional model will have non-overlapping UV islands, meaning no two parts of the mesh share the same texture space unless intended (like for mirrored details). For ultra-high-resolution rendering, some models may use a UDIM (U-Dimension) workflow, which spreads the UVs across multiple texture tiles for incredible detail. Also, identify the included PBR texture maps. You should typically find maps for Albedo (base color), Roughness, Metallic, and a Normal map for fine surface details.
Prepping for Photorealistic Automotive Rendering
When the goal is pure realism, performance takes a backseat to detail. Here, the aim is to leverage the high-polygon source model and its detailed textures to create a final image that is indistinguishable from a real photograph. This process is heavily reliant on setting up materials and lighting correctly within a powerful render engine.
Material and Shader Network Setup
The soul of a realistic car render lies in its materials, especially the car paint. A simple color won’t do. A proper car paint shader is a layered material that mimics its real-world counterpart:
- Base Coat: This layer defines the main color of the car. It uses the Albedo texture map.
- Metallic Flakes: For metallic or pearlescent paints, a procedural noise map (like Cellular or Voronoi) is mixed in to simulate the metallic flakes. These flakes should have a high metallic value and a slightly different roughness to catch the light.
- Clear Coat: This is a top layer with its own reflectivity (IOR around 1.5-1.6) and roughness values. This layer gives the paint its glossy, wet look and is essential for achieving realistic reflections.
In renderers like Corona, V-Ray, or Blender’s Cycles, you’ll build this using a layered material node or by blending shaders. The same principle applies to other materials: chrome needs a 1.0 metallic value and low roughness; tire rubber requires high roughness and a detailed normal map for the sidewall texture; and glass needs proper refraction, absorption color (a slight green tint), and an IOR of around 1.52.
Lighting and Environment Setup
Cars are defined by their reflections, making lighting the most critical element of a scene. An Image-Based Lighting (IBL) setup using a High Dynamic Range Image (HDRI) is the fastest way to achieve photorealism. The HDRI provides both the scene’s ambient light and detailed reflections. For studio shots, an overcast studio HDRI works best. For outdoor scenes, choose an HDRI that matches your desired environment (a desert road, a city street).
To make the car “pop,” supplement the HDRI with a traditional 3-point lighting system: a main key light, a softer fill light to reduce harsh shadows, and one or more rim lights to highlight the car’s silhouette and character lines. The size, shape, and intensity of these lights will dramatically affect the final look.
Render Settings for Maximum Quality
Final render settings are a balance between quality and time. For a final automotive rendering, aim for a resolution of at least 4K (3840×2160 pixels). Key settings to focus on include:
- Noise Threshold/Limit: Instead of rendering for a fixed time, most modern path tracers allow you to set a target noise level (e.g., 2-3%). The render will stop once this clean level is achieved.
- Global Illumination (GI): Use high-quality GI solvers. For most engines, a combination of Path Tracing for primary bounces and a cached solution like UHD Cache (Corona) or Light Cache (V-Ray) for secondary bounces provides a great balance.
- Subdivision/Displacement: Enable render-time subdivision on the car body to create a perfectly smooth surface. This increases memory usage but is essential for close-up shots.
Optimization for Real-Time Game Engines (Unity & Unreal)
When preparing game assets, the priority shifts dramatically from visual fidelity at any cost to performance at an acceptable level of quality. A 5-million-polygon model that renders beautifully in Corona would bring any game engine to its knees. Optimization is a non-negotiable process of reduction and baking.
The Art of Polygon Reduction (Retopology)
The goal is to create a low-polygon model that retains the silhouette and key details of the high-polygon source. This process is called retopology. Target polycounts (measured in triangles, as that’s what GPUs render) vary based on the game’s platform and the car’s role:
- Hero Car (Player Vehicle): 100,000 – 300,000 triangles.
- High-Detail AI/Opponent Car: 50,000 – 100,000 triangles.
- Background Traffic Car: 10,000 – 30,000 triangles.
You can use automated tools like Quad Remesher or the tools within ZBrush/Blender for a quick reduction, but for hero assets, manual retopology using tools like 3ds Max’s Freeform tools or Blender’s poly-build tools yields the best results, allowing you to control the edge flow precisely.
Creating and Baking Level of Detail (LODs)
Level of Detail (LOD) models are a cornerstone of game optimization. They are a series of progressively lower-polygon versions of the same model that the engine swaps in and out as the object gets further from the camera. A typical car might have:
- LOD0: The highest quality in-game mesh (e.g., 150k triangles).
- LOD1: A 50% reduction, for medium distance (e.g., 75k triangles).
- LOD2: Another 50% reduction, for far distances (e.g., 35k triangles).
- LOD3: A highly simplified version for extreme distances (e.g., 10k triangles).
The magic happens during the “baking” process. You use the original high-poly model to generate a Normal Map that you apply to the low-poly LODs. This map fakes the high-resolution surface detail, creating the illusion of complexity on a simple mesh. Software like Marmoset Toolbag or Substance Painter are industry standards for baking high-quality maps.
Texture Atlasing and Draw Call Reduction
In a game engine, every unique material applied to an object on screen results in a “draw call”—a command from the CPU to the GPU. Too many draw calls can create a CPU bottleneck and cripple performance. A high-quality render model might have 30-50 different materials. For a game asset, this is unacceptable. The solution is texture atlasing. This involves combining the textures for many different parts (e.g., dashboard buttons, interior trim, emblems, calipers) into a single, larger texture sheet. You then assign one single material that uses this atlas. This can reduce the draw calls for a car from dozens down to just a few (e.g., one for the body, one for the interior atlas, one for glass), providing a massive performance boost.
Adapting for Augmented and Virtual Reality (AR/VR)
AR/VR applications, especially those on standalone headsets like the Meta Quest or on mobile devices, are the most performance-constrained platforms. Optimization here is even more aggressive than for traditional PC or console games. The goal is to maintain a consistently high frame rate (typically 72-90 FPS) to avoid motion sickness.
Extreme Performance Budgets
For mobile AR, your entire scene might have a budget of 100,000 polygons. A single car model must be incredibly light. A target of 30,000 – 70,000 triangles is common for a detailed AR vehicle. Texture memory is also a major bottleneck. Instead of 4K textures, you’ll be using 2K (2048×2048) or even 1K (1024×1024) textures. Aggressive texture atlasing is not just a good idea; it’s a requirement. You must also rely heavily on baked lighting information, as real-time dynamic lighting can be too computationally expensive.
File Formats for the Metaverse: GLB and USDZ
For AR/VR, you need specific file formats. The two dominant standards are GLB and USDZ.
- GLB (.glb): This is the binary version of the glTF format. Its main advantage is that it’s a self-contained file. The 3D mesh, PBR materials, and textures are all packed into a single `.glb` file, making it incredibly easy to distribute and load on web platforms and in Android applications.
- USDZ (.usdz): Developed by Apple and Pixar, USDZ is the standard for AR experiences on iOS devices (ARKit). It’s a zero-compression, unencrypted zip archive containing a USD (Universal Scene Description) file and its associated textures.
Most 3D software, like Blender, has built-in exporters for glTF/GLB. Converting to USDZ can be done with various tools, including Apple’s own Reality Converter.
Preparing Your Model for 3D Printing
Taking a digital model into the physical world through 3D printing presents a unique set of challenges that are purely geometric. The visual appearance matters less than the physical solidity and structure of the mesh. High-quality car models for rendering are often just a collection of surfaces, which is not suitable for printing.
Creating a Watertight (Manifold) Mesh
A 3D printable model must be “watertight” or “manifold.” This means it must be a single, continuous, enclosed surface with no holes. Imagine filling the model with water—if there are any leaks, it’s not manifold. Common problems in render models include:
- Disconnected Panels: The door panel might not be physically connected to the car body.
- Zero-Thickness Surfaces: Windows are often single planes. They must be given thickness.
- Internal Geometry: Unseen interior parts that intersect with the exterior shell must be removed or merged.
You must meticulously go through the model, booleaning or welding separate parts together into a single “shell.” Tools like Blender’s 3D-Print Toolbox add-on or Autodesk Meshmixer are invaluable for automatically detecting and helping to fix non-manifold edges and other errors.
Hollowing, Wall Thickness, and Slicing
Printing a car model as a solid block of plastic or resin is wasteful and time-consuming. It’s better to hollow the model, leaving a solid outer shell. When you do this, you must ensure the shell has a minimum wall thickness (e.g., 1.5mm – 2mm) to be structurally sound and print successfully. For resin printing, you’ll also need to add “escape holes” in inconspicuous locations to allow uncured resin to drain out from the hollow interior.
Finally, the prepared model is brought into “slicer” software (like Cura or PrusaSlicer). The slicer cuts the model into hundreds or thousands of horizontal layers and generates the G-code that the printer follows. In this stage, you decide on the model’s orientation on the print bed and generate the necessary support structures that hold up overhangs (like mirrors and spoilers) during the printing process.
Conclusion: The Versatile Digital Asset
The journey from a pristine, high-resolution source file to a perfectly optimized final asset is a testament to the versatility of 3D modeling. We’ve seen how a single, masterfully crafted 3D car model can be meticulously prepared for entirely different worlds: the hyper-realistic domain of cinematic rendering, the performance-driven landscape of game development, the resource-constrained environment of AR/VR, and the physical reality of 3D printing. Each application demands a unique mindset and a specific technical workflow, from layering complex shaders and managing polygon budgets to creating watertight meshes.
The key takeaway is that your work truly begins after you acquire the model. By starting with a professionally constructed asset from a trusted source like 88cars3d.com, you are building on a solid foundation of clean topology, accurate proportions, and high-quality textures. This allows you to focus your energy not on fixing fundamental flaws, but on the creative and technical task of optimization and preparation. Whether you’re baking normal maps for an LOD chain, building a multi-layered car paint shader, or hollowing a mesh for printing, you are now equipped with the knowledge to adapt your digital assets for any project you can imagine. Go forth and create.
“`
Featured 3D Car Models

Mercedes-Benz Citan 2025 3D Model
Texture: Yes
Material: Yes
Download the Mercedes-Benz Citan 2025 3D Model featuring clean geometry, realistic detailing, and a fully modeled interior. Includes .blend, .fbx, .obj, .glb, .stl, .ply, .unreal, and .max formats for rendering, simulation, and game development.
Price: $4.99
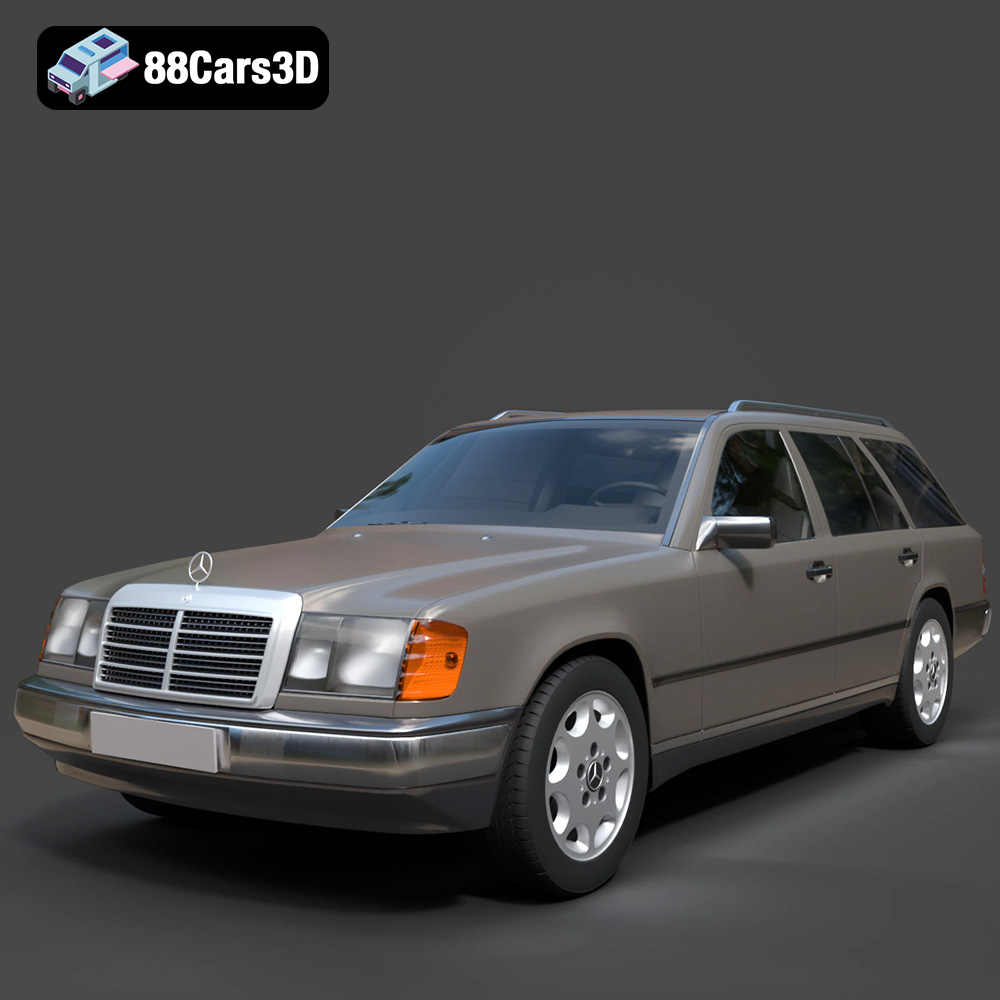
Mercedes E-Class w124 Kombi 3D Model
Texture: Yes
Material: Yes
Download the Mercedes E-Class w124 Kombi 3D Model featuring clean geometry, realistic detailing, and a fully modeled interior. Includes .blend, .fbx, .obj, .glb, .stl, .ply, .unreal, and .max formats for rendering, simulation, and game development.
Price: $4.99
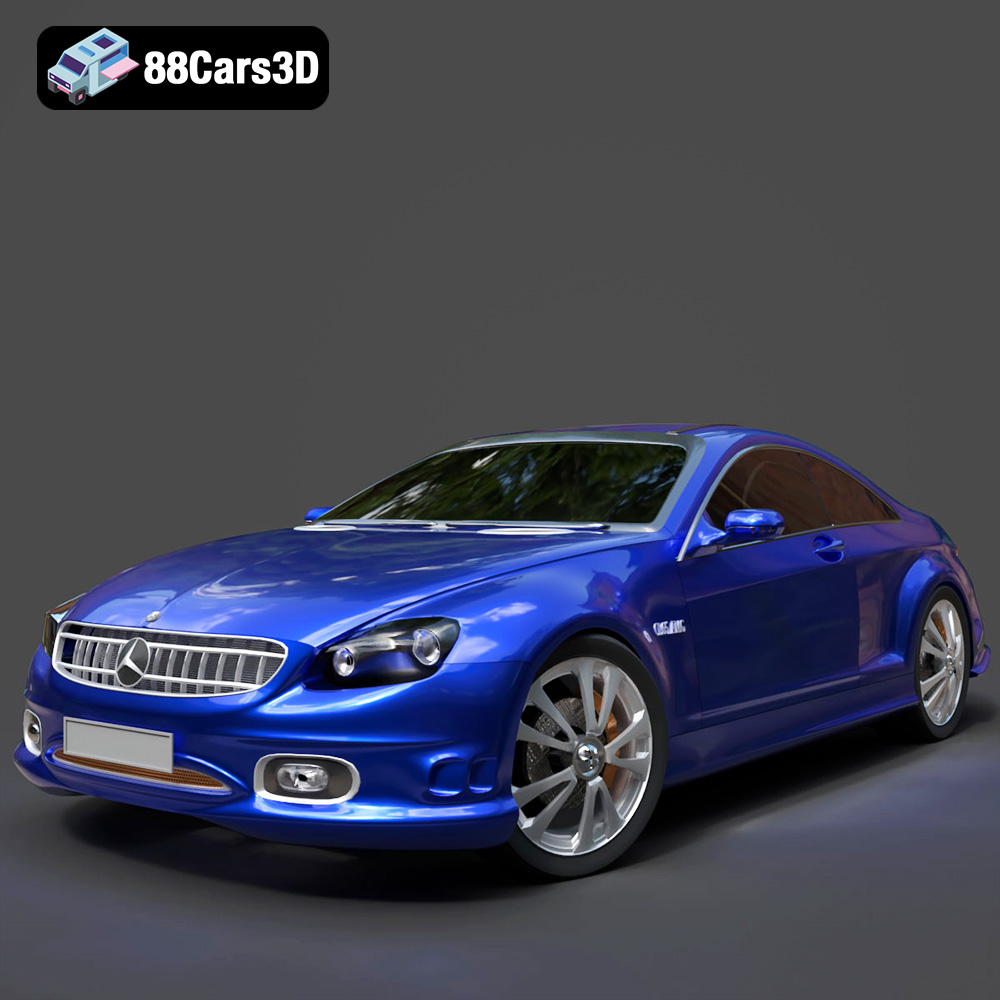
Mercedes-Benz CL6540-005 3D Model
Texture: Yes
Material: Yes
Download the Mercedes-Benz CL6540-005 3D Model featuring clean geometry, realistic detailing, and a fully modeled interior. Includes .blend, .fbx, .obj, .glb, .stl, .ply, .unreal, and .max formats for rendering, simulation, and game development.
Price: $4.99
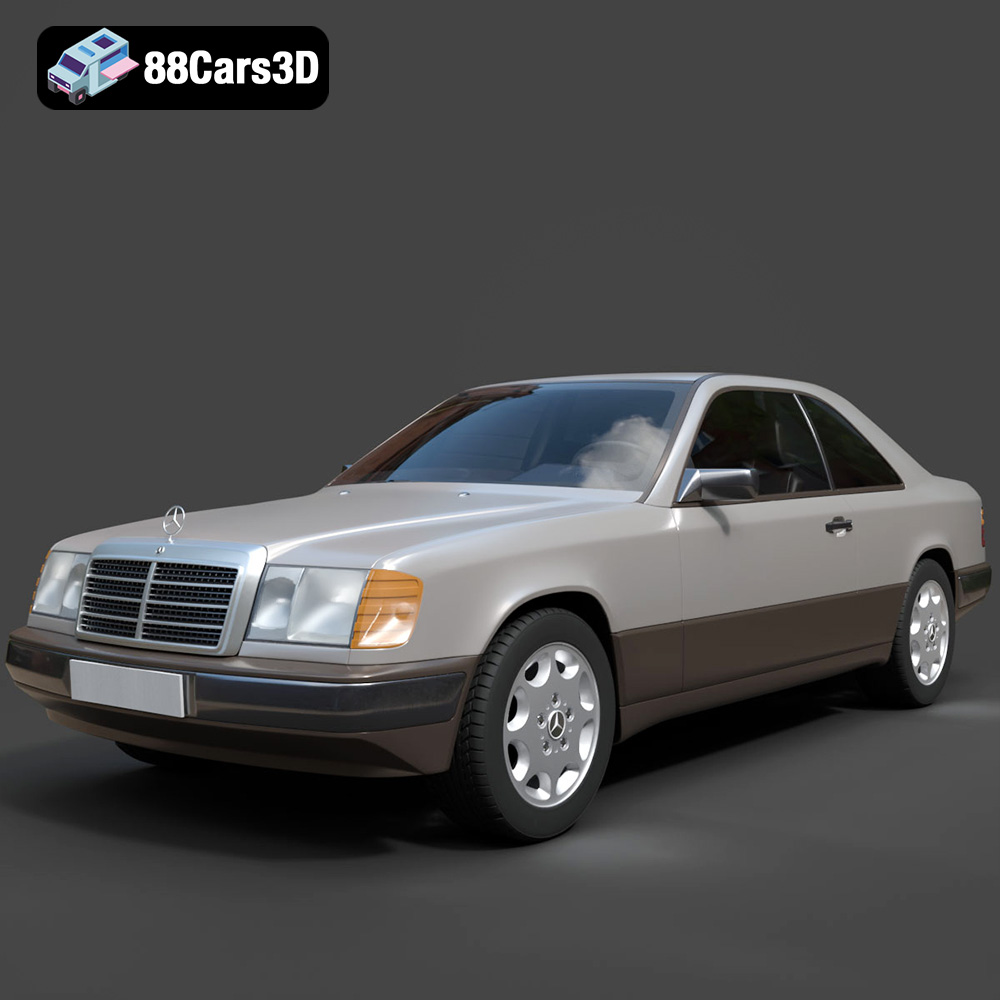
Mercedes E-Class w124 Coupe 3D Model
Texture: Yes
Material: Yes
Download the Mercedes E-Class w124 Coupe 3D Model featuring clean geometry, realistic detailing, and a fully modeled interior. Includes .blend, .fbx, .obj, .glb, .stl, .ply, .unreal, and .max formats for rendering, simulation, and game development.
Price: $4.99
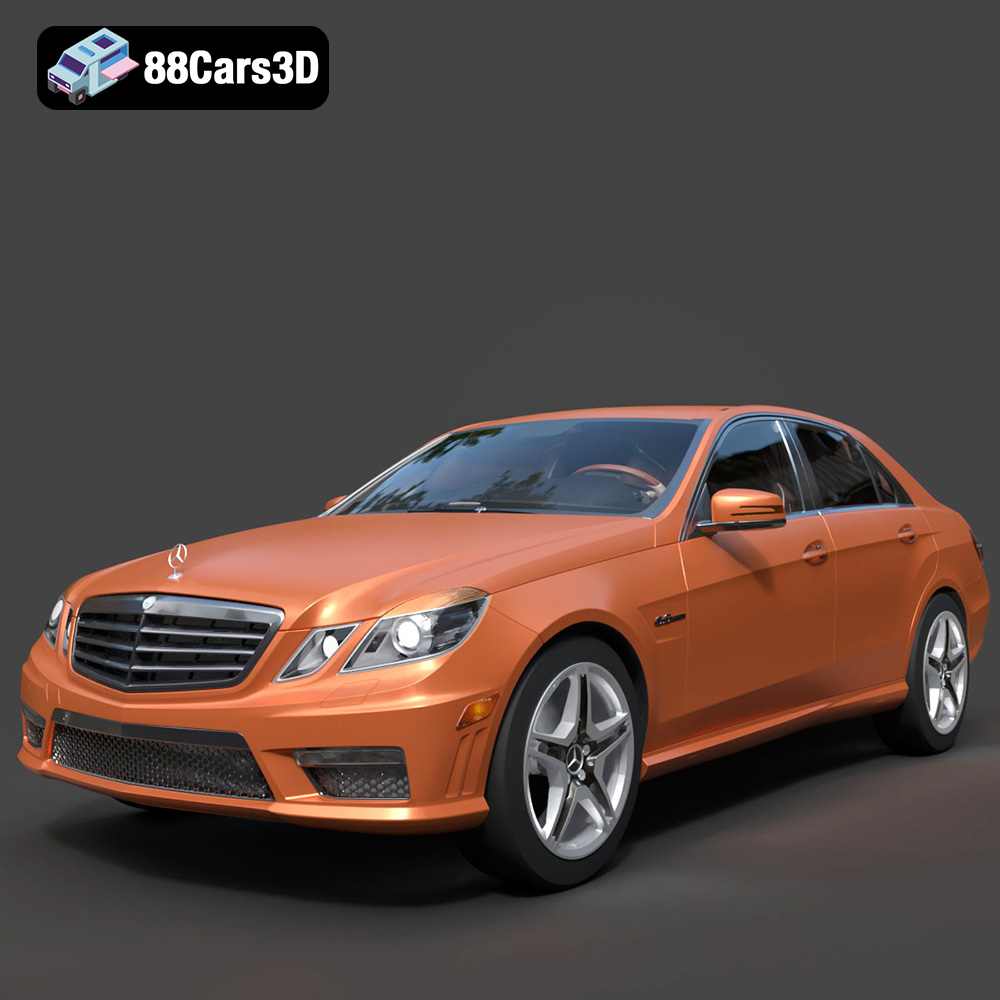
Mercedes-Benz E-Klasse 63 AMG 3D Model
Texture: Yes
Material: Yes
Download the Mercedes-Benz E-Klasse 63 AMG 3D Model featuring clean geometry, realistic detailing, and a fully modeled interior. Includes .blend, .fbx, .obj, .glb, .stl, .ply, .unreal, and .max formats for rendering, simulation, and game development.
Price: $4.99
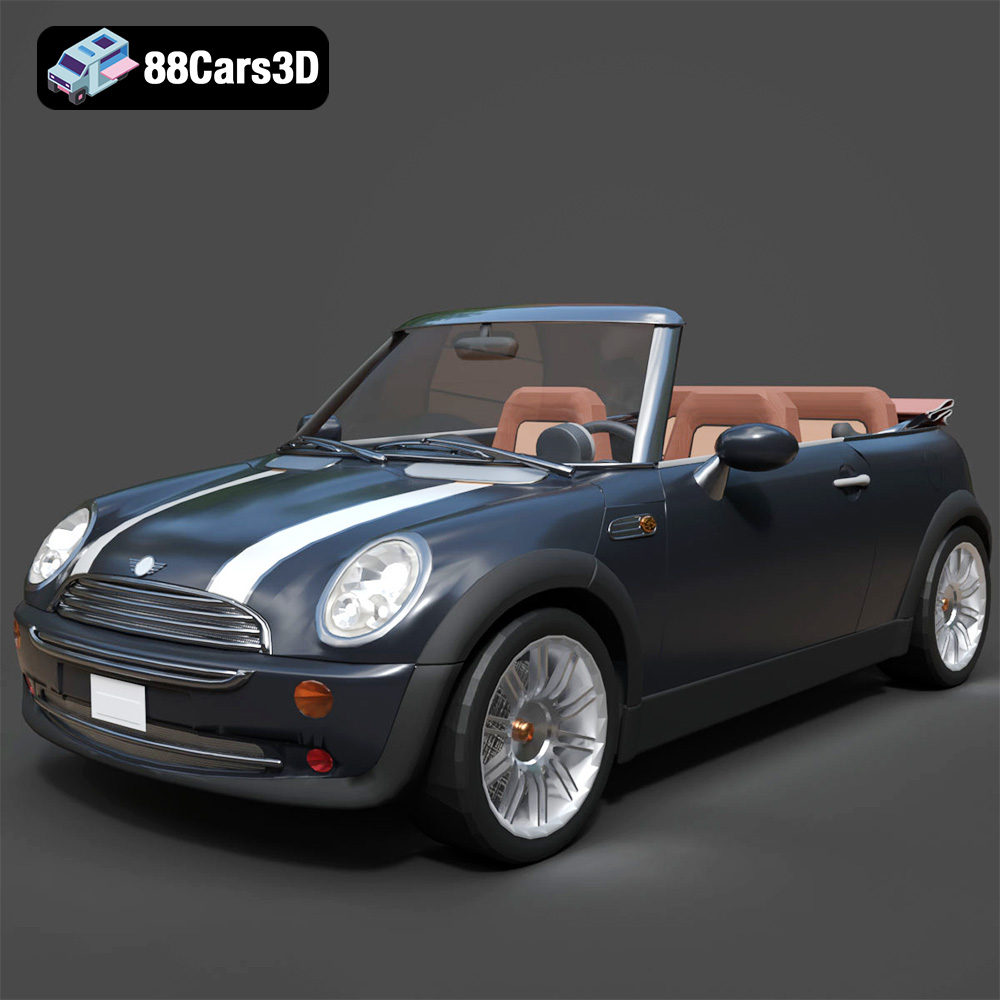
Mini Cabrio 2025 3D Model
Texture: Yes
Material: Yes
Download the Mini Cabrio 2025 3D Model featuring clean geometry, realistic detailing, and a fully modeled interior. Includes .blend, .fbx, .obj, .glb, .stl, .ply, .unreal, and .max formats for rendering, simulation, and game development.
Price: $4.99
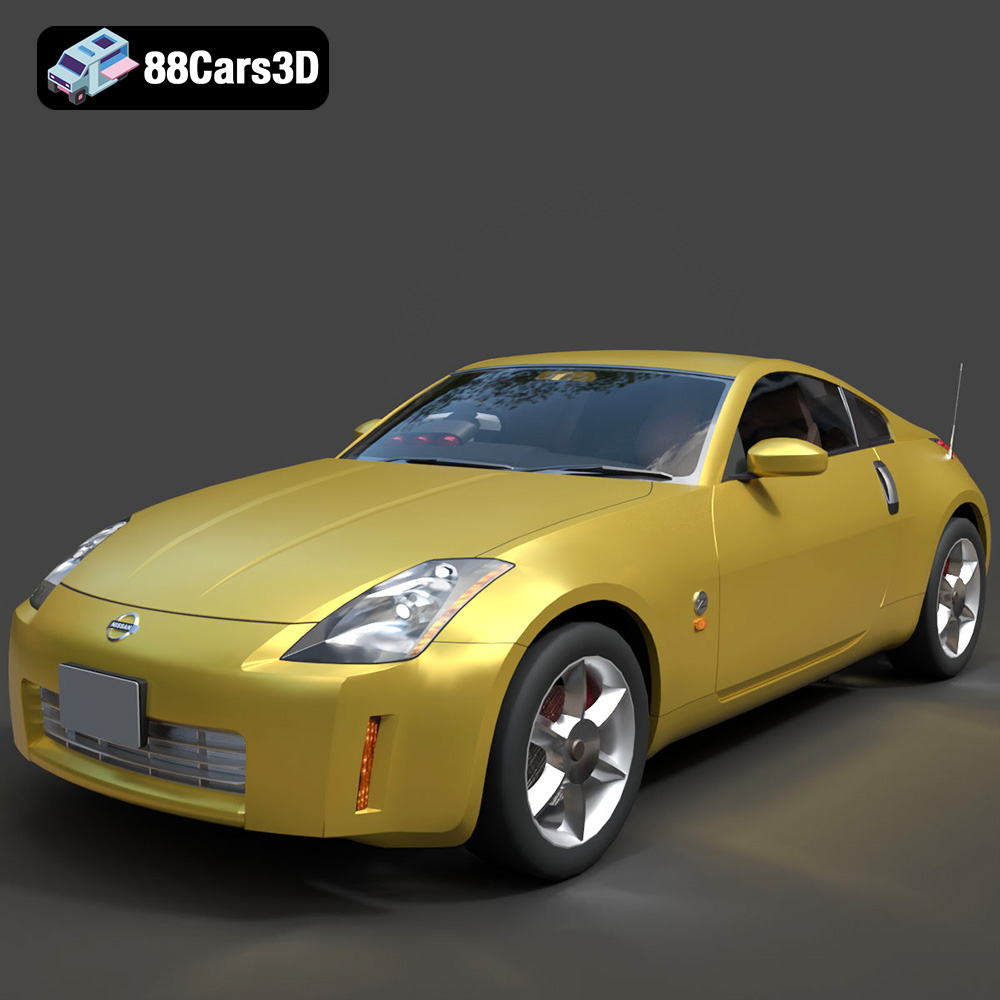
Nissan 350Z 3D Model
Texture: Yes
Material: Yes
Download the Nissan 350Z 3D Model featuring clean geometry, realistic detailing, and a fully modeled interior. Includes .blend, .fbx, .obj, .glb, .stl, .ply, .unreal, and .max formats for rendering, simulation, and game development.
Price: $4.99
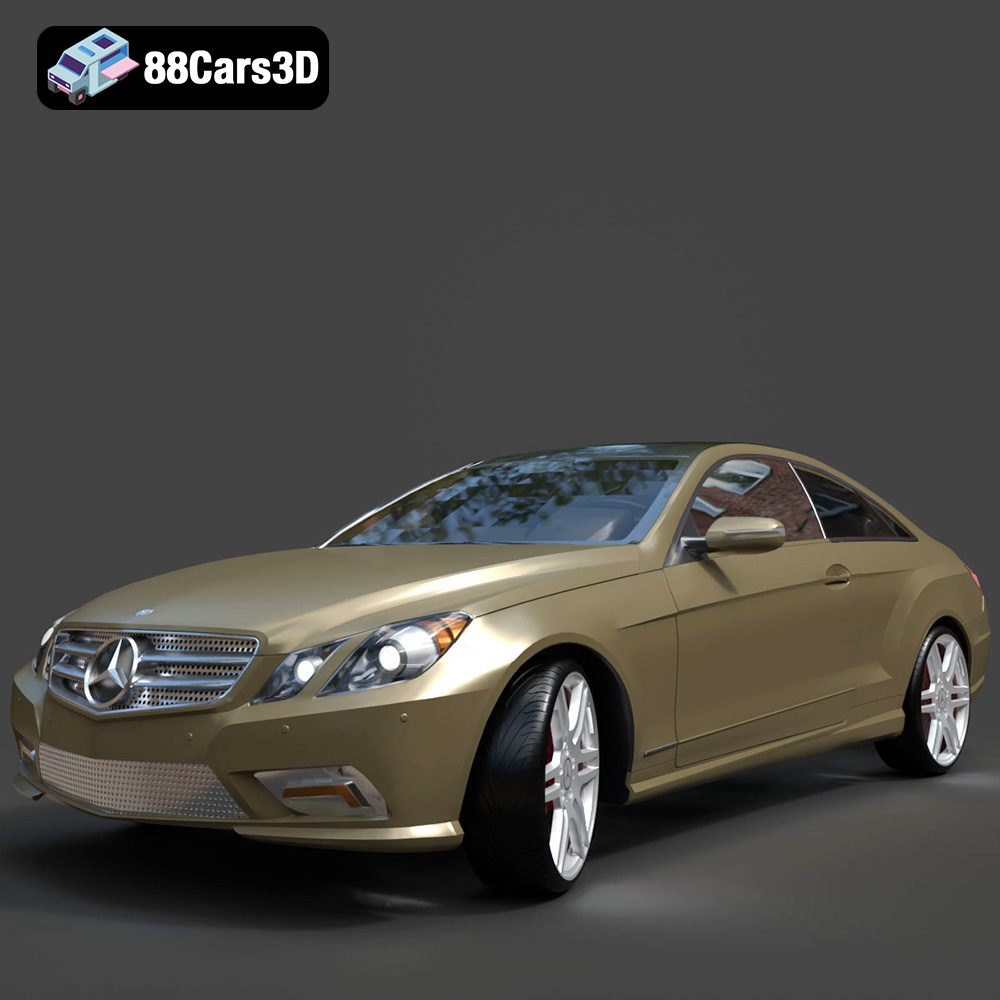
Mercedes-Benz E-Klasse Coupe 2010 3D Model
Texture: Yes
Material: Yes
Download the Mercedes-Benz E-Klasse Coupe 3D Model featuring clean geometry, realistic detailing, and a fully modeled interior. Includes .blend, .fbx, .obj, .glb, .stl, .ply, .unreal, and .max formats for rendering, simulation, and game development.
Price: $4.99
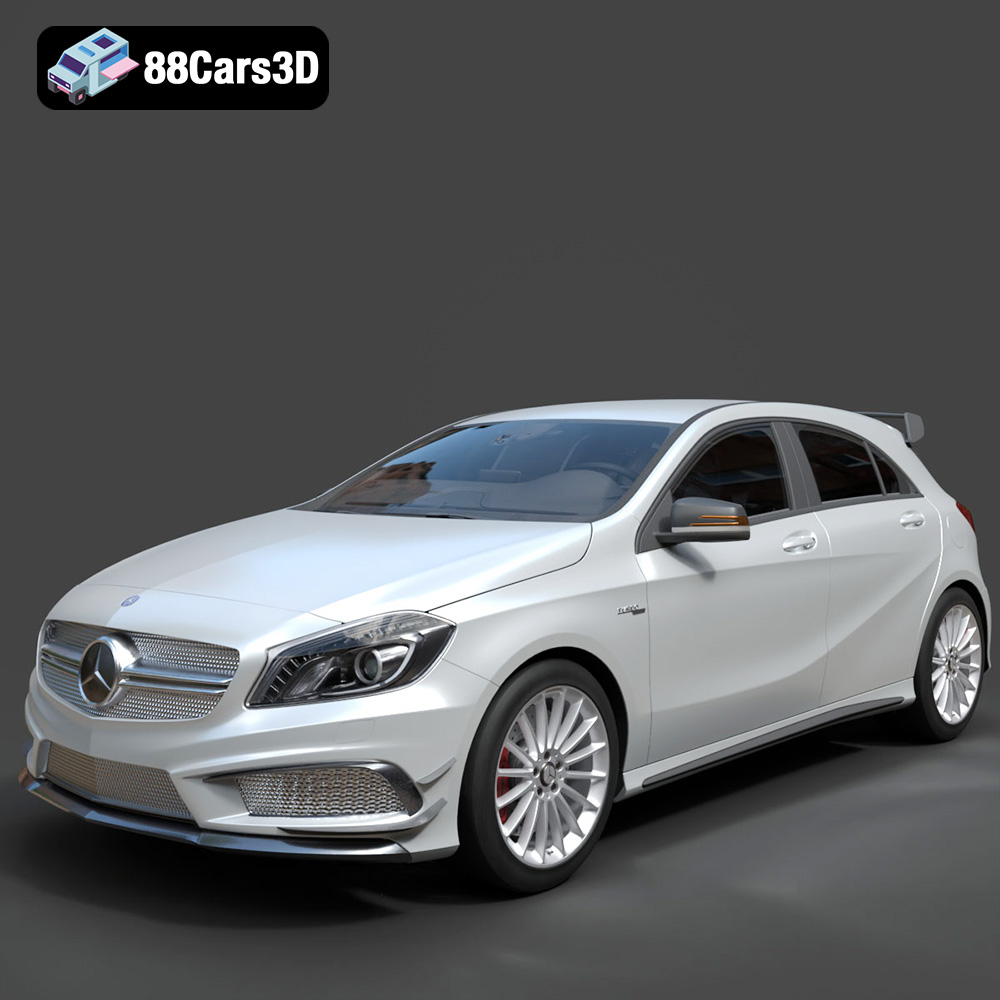
Mercedes-Benz A 45 AMG 3D Model
Texture: Yes
Material: Yes
Download the Benza MERS-007 3D Model featuring clean geometry, realistic detailing, and a fully modeled interior. Includes .blend, .fbx, .obj, .glb, .stl, .ply, .unreal, and .max formats for rendering, simulation, and game development.
Price: $4.99
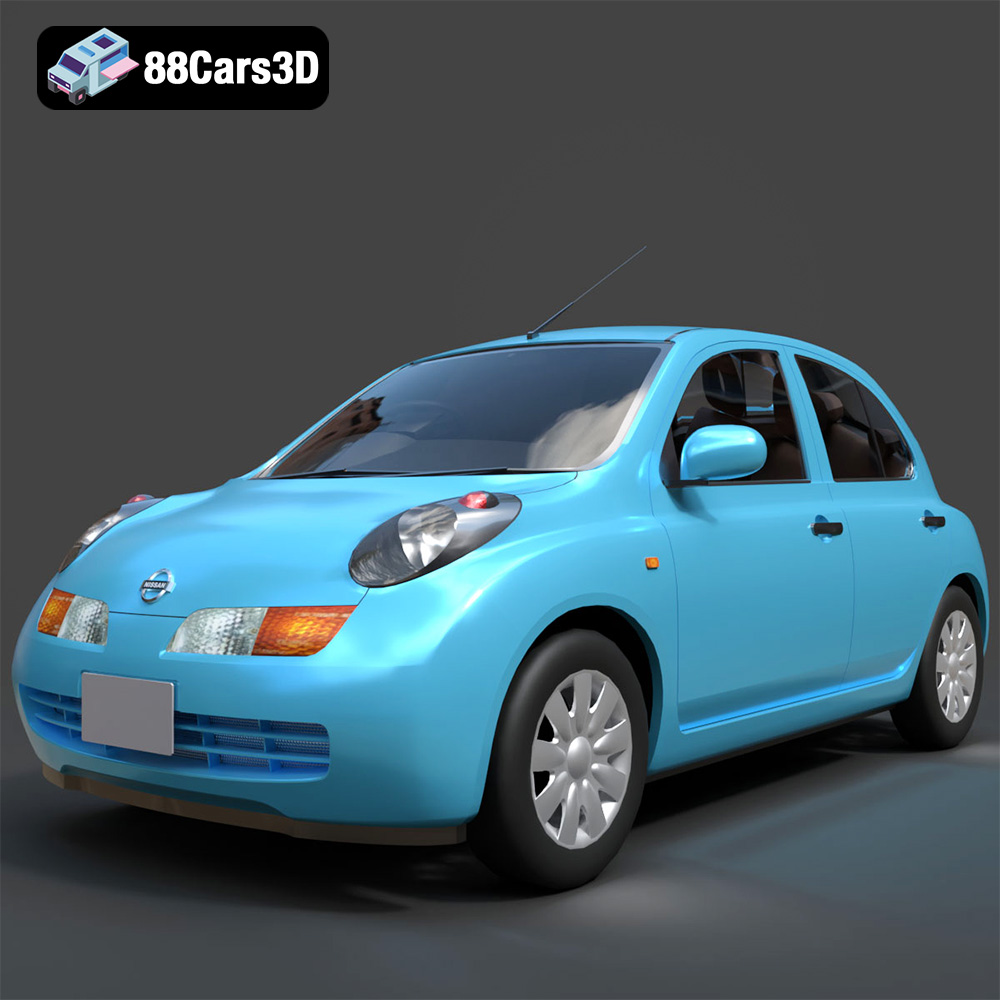
Nissan March 2025 3D Model
Texture: Yes
Material: Yes
Download the Nissan March 2025 3D Model featuring clean geometry, realistic detailing, and a fully modeled interior. Includes .blend, .fbx, .obj, .glb, .stl, .ply, .unreal, and .max formats for rendering, simulation, and game development.
Price: $4.99
