The Blueprint: Mastering Automotive Topology and Edge Flow
The allure of a perfectly rendered automobile, gleaming under a virtual sun, is undeniable. From high-octane video games and cinematic visualizations to interactive product configurators and cutting-edge AR/VR experiences, 3D car models are at the heart of modern digital design. Yet, behind every stunning render lies a meticulous journey of technical artistry – a complex interplay of polygons, textures, shaders, and optimization strategies. This isn’t just about making something look good; it’s about crafting models that are robust, efficient, and versatile across a myriad of applications.
For 3D artists, game developers, automotive designers, and visualization professionals, mastering the intricacies of 3D car models is a critical skill. It demands a deep understanding of topology, UV mapping, PBR materials, rendering workflows, and game engine optimization. In this comprehensive guide, we’ll peel back the layers of complexity, exploring the technical foundations and advanced techniques required to create, render, and deploy exceptional automotive assets. Whether you’re aiming for photorealism in a static render or seamless performance in a real-time environment, prepare to dive deep into the world of high-quality 3D automotive design.
The Blueprint: Mastering Automotive Topology and Edge Flow
At the very core of any high-quality 3D car model lies its topology – the arrangement of vertices, edges, and faces that define its surface. For automotive models, which are characterized by smooth, reflective, and often complex curved surfaces, impeccable topology is not just a preference; it’s a necessity. Poor topology can lead to visible pinching, artifacts, and a loss of surface integrity, especially under subdivision or when deformed. The goal is to create a mesh that is clean, efficient, and flows naturally with the contours of the vehicle.
When modeling a car, focus on quad-based topology (four-sided polygons) as much as possible. While triangles (tris) are acceptable in specific, non-deforming areas, an all-quad workflow ensures cleaner subdivision and easier manipulation. Aim for an even distribution of polygons, avoiding overly stretched or compressed faces. A common challenge with automotive models is managing the subtle curves and sharp creases simultaneously. This requires careful attention to edge loops and their flow around these features. For instance, edge loops should gracefully follow the contours of a car’s fender, mirroring its curvature, while also defining the crispness of a panel gap or a character line. Neglecting this can result in jagged edges or an unnatural appearance when the surface catches the light.
Why Topology Matters: Smoothness, Deformation, and Performance
The way your mesh is constructed directly impacts how light interacts with it. A well-constructed topology ensures that reflections on a car’s surface appear smooth and continuous, free from bumps or distortions. This is especially crucial for highly reflective materials like car paint and chrome. Beyond aesthetics, good topology facilitates easier UV mapping, enabling clean texture application without stretching or tearing. For animated elements, such as opening doors or rotating wheels, proper edge flow ensures that the mesh deforms predictably and without unwanted artifacts. Furthermore, an optimized topology reduces polygon count without sacrificing detail, leading to better performance in real-time applications and faster render times.
Practical Edge Flow Strategies for Complex Car Panels
When modeling complex car panels, start with blocking out the main shapes using reference blueprints or images. Use techniques like box modeling or spline modeling (e.g., in 3ds Max or Maya) to establish the primary surfaces. As you refine the model, concentrate on creating edge loops that follow the natural flow of the car’s body. For instance, an edge loop should run along the entire length of a car’s side, defining the upper and lower boundaries of doors, fenders, and quarter panels. Around wheel wells, create concentric edge loops that flow smoothly outwards. For hard edges, like those around windows or panel gaps, strategically place “control loops” or “holding edges” close to the main edge to ensure sharpness when subdivided. This often involves creating two or three parallel edge loops very close together to define a tight crease, then allowing the topology to spread out for smoother areas. Always visualize how the surface will look when subdivided, paying attention to the continuity of reflections.
Unwrapping Perfection: UV Mapping for Automotive Surfaces
UV mapping is the critical process of flattening a 3D model’s surface into a 2D space, allowing textures to be applied accurately. For complex 3D car models, this stage is particularly challenging due to the numerous curves, angles, and distinct panels. A well-executed UV layout is essential for applying realistic paint, decals, carbon fiber patterns, and internal components without distortion or seams. Conversely, poor UVs can ruin even the best PBR materials and unique wear-and-tear effects, unique UVs for both sides might be necessary. It’s also crucial to leave adequate padding (a few pixels) between UV shells to prevent texture bleeding and aliasing artifacts when mipmaps are generated.
Advanced UV Strategies for Seamless Car Textures
For large, contiguous surfaces like a car’s body, consider using a single large UV shell where possible to minimize visible seams. If seams are unavoidable (which they often are), strategically place them along natural breaks in the geometry, such as panel gaps, underneath the car, or in less visible areas. For parts that share materials, like multiple small bolts or grilles, consider creating a texture atlas where multiple smaller objects share a single UV map and texture sheet. This significantly reduces draw calls in game engines, improving performance. When working with extremely high-resolution models for cinematic renders, UDIM (UV Dimension) workflows can be invaluable. UDIMs allow you to use multiple UV tiles (separate texture files) for a single mesh, providing immense texture resolution without compromising performance or breaking the UV mapping into too many small, disconnected pieces. This is particularly useful for vehicles with intricate details or large surface areas where 4K or even 8K textures might not be enough for every component.
Beyond Pixels: Crafting Hyper-Realistic PBR Materials
The visual impact of a 3D car model hinges significantly on its materials. Physically Based Rendering (PBR) materials have become the industry standard for achieving photorealistic results, accurately simulating how light interacts with surfaces based on real-world physics. Understanding PBR workflows is paramount for creating convincing car paint, chrome, glass, rubber, and interior fabrics. PBR is not just a trend; it’s a fundamental shift in how we approach material creation, ensuring consistency and realism across different lighting conditions and renderers.
At its core, PBR relies on a set of texture maps that describe a material’s properties, rather than just its color. The two most common PBR workflows are Metallic-Roughness and Specular-Glossiness. The Metallic-Roughness workflow typically uses Albedo (Base Color), Metallic, Roughness, Normal, and Ambient Occlusion maps. The Albedo map defines the base color, excluding any lighting information. The Metallic map indicates which parts of the surface are metallic (usually 0 or 1, black or white). The Roughness map defines how rough or smooth a surface is, directly impacting how light reflects off it (0 for perfectly smooth, 1 for completely rough). The Normal map simulates surface detail without adding actual geometry, crucial for intricate details like panel lines or slight imperfections. Finally, Ambient Occlusion simulates contact shadows, enhancing depth.
Demystifying PBR Workflows: Metallic-Roughness vs. Specular-Glossiness
While both Metallic-Roughness and Specular-Glossiness workflows aim for physical accuracy, they define material properties differently. The Metallic-Roughness workflow, widely adopted by Substance Painter, Unity, and Unreal Engine, describes materials using a binary metallic property and a roughness value. Non-metallic (dielectric) materials have a Metallic value of 0, and their base color is defined by the Albedo map. Metallic materials have a Metallic value of 1, and their base color directly influences their reflection color (f0). The Roughness map dictates how blurry or sharp reflections appear. The Specular-Glossiness workflow, often found in V-Ray and older shaders, uses a Diffuse (Albedo) map for non-metallic color, a Specular map to define the color and intensity of reflections (f0), and a Glossiness map (inverse of Roughness) to control the clarity of reflections. While both can yield excellent results, consistency within a project is key, and Metallic-Roughness is generally simpler to conceptualize and more widely supported in real-time engines.
Building Complex Car Paint Shaders: Layers and Attributes
Car paint is one of the most challenging materials to replicate due to its multi-layered nature. A typical car paint shader often comprises several components: a base coat (color), a metallic flake layer, a clear coat (varnish), and sometimes a subsurface scattering component for pearlescent effects. In software like 3ds Max with Corona or V-Ray, or Blender with Cycles, you can build these complex shaders using layered materials or shader graphs. The base coat will use your primary PBR maps. The metallic flake layer might involve a noise texture or a dedicated flake map controlling roughness and normal deviations, mixed with the base layer. The clear coat is typically a very smooth, slightly tinted reflective layer (low roughness, high metallic/specular) that sits on top, allowing the underlying paint to show through. Experiment with Fresnel reflections to accurately simulate how reflection intensity changes with viewing angle. Additionally, adding subtle imperfections like fingerprints, dust, or micro-scratches via grunge maps in the roughness or normal channels can dramatically enhance realism.
The Spotlight: Advanced Automotive Rendering Workflows
Once your 3D car model is meticulously modeled and textured with PBR materials, the next crucial step is automotive rendering. This is where all the technical groundwork culminates into a stunning visual. Achieving photorealism in car renders requires more than just a good model; it demands a deep understanding of lighting, camera settings, renderer capabilities, and post-processing techniques. The goal is to create an image that could be mistaken for a photograph, evoking emotion and showcasing the vehicle’s design and craftsmanship.
Different renderers offer unique strengths and workflows. Industry standards like V-Ray, Corona Renderer (for 3ds Max and Cinema 4D), Cycles (Blender), and Arnold (Maya, 3ds Max) each provide powerful tools for global illumination, physically accurate reflections, and advanced material handling. Regardless of the chosen renderer, the foundational principles remain consistent: a balanced lighting setup, a cinematic camera angle, and an environment that complements the car without distracting from it. This phase often involves iterative adjustments, testing various lighting scenarios, and fine-tuning materials until every reflection, shadow, and highlight perfectly conveys the desired mood and realism.
Scene Setup and Lighting for Dramatic Car Visuals
The environment and lighting are paramount for compelling automotive renders. For static beauty shots, an HDR (High Dynamic Range) image is often the go-to solution for realistic global illumination and reflections. An HDR image, typically sourced from real-world locations, provides a 360-degree light source, casting accurate colors and reflections onto the car’s surface. Combine this with targeted area lights, mesh lights, or spotlights to highlight specific features, add key reflections, or create dramatic shadows. A common setup involves a primary key light, a fill light to soften shadows, and often a rim light from behind to separate the car from the background. Pay close attention to light placement to define the car’s contours and emphasize its form. Softboxes and large area lights are excellent for creating smooth, elongated reflections across the car’s body, mimicking studio photography setups. For reflections, consider adding simple planes or geometric shapes around the car acting as invisible light sources, specifically designed to catch the light on critical reflective surfaces.
Renderer-Specific Techniques: Corona, V-Ray, Cycles, Arnold
- Corona Renderer (3ds Max, Cinema 4D): Known for its ease of use and physically accurate results. Leverage Corona’s Interactive Rendering for immediate feedback on lighting and material adjustments. Utilize Corona’s layered material system for complex car paint. Its efficient unbiased rendering excels at realistic reflections and refractions.
- V-Ray (3ds Max, Maya, SketchUp): A versatile production renderer. Its hybrid rendering (CPU/GPU) offers flexibility. Master V-Ray’s Light Mix for real-time control over light intensities and colors during rendering. Experiment with V-Ray’s physical camera settings to mimic real-world lenses and depth of field.
- Cycles (Blender): Blender’s integrated path tracer is powerful and increasingly fast with GPU rendering. Use the Node Editor for intricate shader networks, allowing for highly customized car paint and material effects. Cycles benefits from proper denoiser settings for clean renders in less time.
- Arnold (Maya, 3ds Max): An industry-standard for film VFX. Arnold excels at handling complex geometry and volumetric effects. Its physically accurate ray tracing provides excellent results for glass and transparent materials. Focus on Arnold’s standard surface shader for PBR materials and its comprehensive light types.
Post-Processing and Compositing for Cinematic Results
Rendering is rarely the final step. Post-processing and compositing in software like Adobe Photoshop, Affinity Photo, or DaVinci Resolve can elevate a good render to an exceptional one. Render out various passes (render elements) from your 3D software, such as reflection, refraction, diffuse, raw lighting, Z-depth, and object IDs. These passes provide granular control in compositing. Common post-processing steps include: color correction (adjusting overall hue, saturation, and contrast), adding bloom and glare effects (especially for headlights and bright reflections), depth of field adjustments (using the Z-depth pass), vignetting, lens distortion, and grain. Masking using object ID passes allows for targeted adjustments to specific parts of the car or environment. A subtle touch of chromatic aberration can also add a cinematic feel. Remember, post-processing should enhance, not salvage, a render; the goal is to make a great render even better, not fix fundamental issues with lighting or materials.
Performance Unleashed: Optimizing 3D Car Models for Real-Time Applications
While cinematic renders prioritize visual fidelity above all else, real-time applications like video games, AR/VR experiences, and interactive configurators demand a delicate balance between visual quality and performance. An exquisitely detailed 3D car model designed for a static render might bring a game engine to its knees. Game engine optimization is a complex but crucial process that ensures smooth frame rates and responsive interactions without sacrificing too much visual appeal. This often involves reducing polygon counts, optimizing textures, managing draw calls, and implementing various performance-enhancing techniques.
The primary challenge is to make the model light enough for the engine to render multiple instances (e.g., a street full of cars) or highly detailed interactive views (e.g., a car showroom) while maintaining acceptable visual quality. This requires a systematic approach to asset preparation, starting from the modeling stage and extending through texturing and integration into the engine. Understanding the performance bottlenecks of target platforms (PC, console, mobile, VR headset) is key to making informed decisions about optimization strategies.
LODs and Mesh Decimation for Scalable Performance
One of the most effective optimization techniques is implementing Levels of Detail (LODs). LODs are multiple versions of the same 3D car model, each with a progressively lower polygon count. The highest detail (LOD0) is used when the car is close to the camera, while progressively lower detail models (LOD1, LOD2, etc.) are swapped in as the car moves further away. This ensures that the engine only renders the necessary detail, saving significant processing power. For a typical car, you might have LOD0 (50,000-200,000 tris), LOD1 (20,000-50,000 tris), LOD2 (5,000-20,000 tris), and even LOD3 (1,000-5,000 tris) for very distant views. These can be generated manually by retopologizing, or automatically using mesh decimation tools available in most 3D software (e.g., Blender’s Decimate modifier, Maya’s Reduce, 3ds Max’s ProOptimizer) or game engines (Unity’s LOD Group, Unreal’s Automatic LOD Generation). When decimating, ensure that critical silhouette-defining edges and important features (like headlights and grilles) retain enough detail.
Texture Atlasing, Draw Calls, and Batching
Another major performance bottleneck in real-time engines is the number of draw calls – instructions sent from the CPU to the GPU to render geometry. Each time a new material or texture is used, it typically incurs a new draw call. To minimize draw calls, consolidate materials and textures where possible. Texture atlasing involves combining multiple smaller textures into one larger texture sheet, then adjusting the UVs of the models to point to the correct sections of that atlas. For example, all interior fabric textures, dashboard textures, and trim textures could be combined into a single 4K texture atlas. This allows many parts of the car to share a single material, drastically reducing draw calls. Similarly, batching (static or dynamic) is a technique where the engine groups multiple objects that share the same material and renders them in a single draw call. Optimizing textures also means using appropriate resolutions (e.g., 2K or 4K for major components, 512×512 for small details) and efficient compression formats (e.g., DXT for diffuse/normal, PVRTC for mobile). Avoiding excessively large texture files helps manage GPU memory.
Real-Time Engine Integration: Unity and Unreal Best Practices
Integrating 3D car models into game engines like Unity and Unreal Engine requires specific considerations. Both engines natively support PBR workflows, making your existing PBR texture sets highly compatible. When exporting from your 3D software, FBX is the preferred file format due to its comprehensive support for meshes, materials, animations, and hierarchies. Ensure your scale is consistent (e.g., 1 unit = 1 meter) across your 3D software and engine. In Unity, utilize the LOD Group component to manage your LOD meshes. Optimize materials by using their built-in Standard or HDRP/URP Lit shaders and enabling GPU instancing where possible for identical objects (like multiple cars in a scene). For Unreal Engine, leverage the Automatic LOD Generation or manually set up LODs. Take advantage of Material Instances to easily create variations of a base car paint material (e.g., different colors) without creating entirely new materials, saving on performance. Both engines also offer powerful lighting solutions, including baked lighting for static elements and real-time global illumination (e.g., Lumen in Unreal 5, or light probes in Unity) for dynamic objects, which need careful optimization to run efficiently.
Expanding Horizons: AR/VR, 3D Printing, and Interactive Visualization
The utility of high-quality 3D car models extends far beyond traditional rendering and game development. With the rise of immersive technologies, AR/VR, 3D printing, and advanced interactive visualization are opening new avenues for showcasing automotive design. Each of these applications comes with its own set of technical requirements and optimization challenges, pushing artists to adapt their workflows to new mediums.
Imagine a customer exploring a new car in their driveway via augmented reality, or an engineer reviewing a prototype in a virtual reality environment. These experiences demand not just visual accuracy but also seamless performance and physical integrity. Similarly, preparing a model for 3D printing requires a fundamental shift in perspective, moving from digital aesthetics to physical manufacturability. Platforms like 88cars3d.com provide versatile models that are often pre-optimized for these diverse applications, saving valuable development time.
AR/VR Optimization: Polycount, Draw Calls, and Immersive Experiences
Developing for AR/VR environments presents some of the most stringent performance demands. Maintaining a high, stable frame rate (e.g., 72-90 FPS per eye) is crucial to prevent motion sickness and ensure a comfortable, immersive experience. This means aggressive optimization of 3D car models. Polycount limits are often significantly lower than for PC games, especially for mobile AR or standalone VR headsets (e.g., Oculus Quest 2). A complex car might need to be reduced to 30,000-80,000 triangles for AR/VR, with heavy reliance on normal maps to bake in detail. Minimize draw calls by atlasing textures and consolidating materials wherever possible. Baked lighting and light probes are highly recommended over real-time global illumination for performance. When sourcing models from marketplaces such as 88cars3d.com, look for explicitly “game-ready” or “VR/AR optimized” models, which typically feature pre-made LODs and atlased textures. Ensure materials are set up for the target AR/VR platform’s specific shaders (e.g., ARCore, ARKit, OpenXR). Occlusion culling and frustum culling can also significantly reduce rendering workload by only rendering what’s visible to the user’s view.
Preparing 3D Car Models for Flawless 3D Printing
Unlike screen-based applications, 3D printing requires a watertight, manifold mesh with no open edges, intersecting faces, or non-manifold geometry. The digital model must translate into a physically sound object. This often means converting thin surfaces (like a car’s body panels) into solid volumes with appropriate wall thickness. Topology, while important for smoothness, takes a back seat to mesh integrity. Tools like Blender’s 3D Print Toolbox, MeshLab, or specialized software like Netfabb are used for mesh repair, analysis, and preparing the model for printing. Common steps include: converting all quads to triangles, ensuring all normals are facing outwards, removing internal geometry (unless intended for hollow prints), and checking for minimum wall thickness requirements dictated by the printer and material. For intricate details, consider scaling up the model or simplifying certain features that would be too fine to print. The final model is typically exported in STL or OBJ format, ready for slicing software.
Interactive Visualization and Product Configurators
For marketing and sales, interactive visualization and product configurators allow customers to explore cars in real-time, change colors, view interior options, and even open doors. These applications often leverage game engines like Unity or Unreal Engine, combined with web technologies (e.g., WebGL, glTF/GLB). The optimization principles are similar to game development but often allow for slightly higher fidelity due to a more controlled environment (fewer dynamic objects, sometimes fewer concurrent cars). Key features include: dynamic material switching (to change paint colors or interior trims), animation controls (for opening doors, turning wheels), and often a clean, uncluttered user interface. The performance budget is crucial for smooth interactions. Leveraging GLB and USDZ file formats is increasingly important here for web-based and AR visualization, as they are optimized for efficient delivery and rendering.
Bridging the Gaps: File Formats and Cross-Software Compatibility
In the diverse ecosystem of 3D production, 3D car models rarely stay confined to a single software application. An artist might model in 3ds Max, texture in Substance Painter, render in V-Ray, and finally integrate the asset into Unreal Engine. This multi-tool workflow necessitates a robust understanding of file formats and their compatibility, ensuring that your valuable 3D car models transition seamlessly between different stages and software packages. Choosing the correct export format and adhering to best practices can prevent countless hours of troubleshooting, preserving your model’s geometry, UVs, materials, and animations.
The landscape of 3D file formats is broad, each with its strengths and weaknesses. Some are proprietary to specific software, while others are open standards designed for interoperability. The key is to select formats that retain as much information as possible for your specific use case, from high-fidelity rendering to real-time engine integration or even web deployment. When purchasing 3D car models from reputable sources like 88cars3d.com, you can expect them to offer a variety of industry-standard formats, simplifying your integration process.
Understanding Industry-Standard File Formats (FBX, OBJ, GLB, USDZ)
- FBX (Filmbox): Developed by Autodesk, FBX is the de facto industry standard for exchanging 3D data between DCC (Digital Content Creation) tools and game engines. It supports geometry, UVs, materials (though material conversion can be lossy), animations, bone rigs, cameras, and lights. It’s the go-to for game assets and complex scene transfers.
- OBJ (Wavefront Object): A widely supported, simpler format primarily for geometry and UVs. It’s excellent for mesh exchange and works across almost all 3D software. However, it doesn’t store animations, bone information, or complex PBR materials directly (it uses a separate .MTL file for basic material properties).
- GLB (Binary glTF): glTF (GL Transmission Format) and its binary counterpart GLB are emerging as the “JPEG for 3D.” Optimized for web and real-time applications, GLB packages all assets (geometry, materials, textures, animations) into a single, compact file. It natively supports PBR materials and is ideal for web-based AR/VR, product configurators, and low-latency interactive experiences.
- USDZ (Universal Scene Description Zip): Apple’s proprietary format built on Pixar’s Universal Scene Description (USD) framework. USDZ is specifically designed for AR applications on Apple devices (iOS/iPadOS) and leverages PBR materials. It efficiently packages 3D assets for quick loading and rendering in ARKit.
Exporting and Importing Best Practices
When exporting your 3D car models, always check the export settings. For FBX, ensure you’re baking animations (if any), embedding media (textures), and choosing the correct unit scale. Collapse modifiers/history where appropriate to reduce file size and simplify the mesh for the target application. When importing, pay attention to scale, axis conventions (e.g., Z-up vs. Y-up), and material conversion options. For PBR, it’s often best to export only the geometry and UVs, then re-create or re-assign PBR materials within the target engine or renderer, ensuring they fully leverage its native shader capabilities. For texture maps, ensure they are correctly linked and that color space settings (sRGB for base color, linear for normal/metallic/roughness) are properly applied in the target software.
Addressing Compatibility Challenges
Despite standardized formats, compatibility issues can still arise. These often stem from differences in how software interprets units, coordinate systems, or material properties. Always test your exported assets in the target environment early in the pipeline. If materials look off, inspect the normal map (green channel flip is a common issue between Maya/Unity and 3ds Max/Unreal), roughness/glossiness inversion, and color space. For complex animations, ensure pivot points are correctly set and transformations are frozen. For real-time applications, check for unnecessary empty groups, overlapping geometry, or duplicate objects that can inflate file size or draw calls. A clean, well-organized scene hierarchy in your DCC tool will translate to a more manageable asset in your game engine or visualization platform.
Conclusion
The journey from a conceptual sketch to a fully realized, interactive 3D car model is a testament to technical skill and artistic vision. We’ve traversed the intricate landscape of automotive topology and edge flow, unwrapped complex surfaces with precision UV mapping, and crafted hyper-realistic aesthetics with advanced PBR materials. We then moved into the dramatic world of automotive rendering, perfecting lighting and post-processing for cinematic results, before diving into the essential realm of game engine optimization to ensure flawless performance in real-time applications. Finally, we explored the expanded horizons of AR/VR, 3D printing, and visualization, along with the critical role of versatile file formats in bridging diverse software environments.
Mastering these technical disciplines is not merely about using software; it’s about understanding the underlying principles that govern digital realism and efficiency. Whether you’re a seasoned professional or an aspiring 3D artist, continually honing these skills will unlock new creative possibilities and enable you to produce truly exceptional 3D car models that meet the rigorous demands of today’s immersive industries. Remember, quality assets are built on a foundation of technical excellence. If you’re looking to jumpstart your projects with production-ready, high-quality models, explore the extensive collection available at 88cars3d.com, designed with clean topology, realistic materials, and cross-platform compatibility in mind. Your next masterpiece begins with a solid foundation.
Featured 3D Car Models
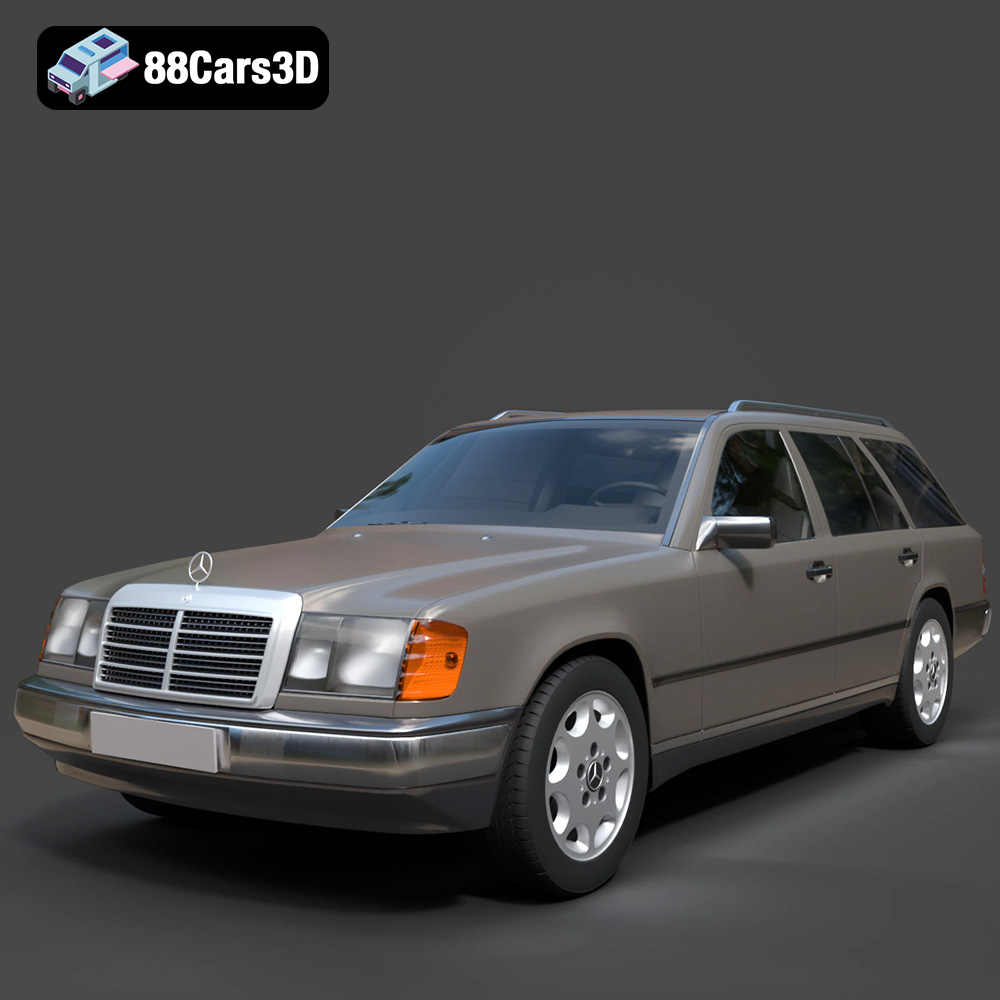
Mercedes E-Class w124 Kombi 3D Model
Texture: Yes
Material: Yes
Download the Mercedes E-Class w124 Kombi 3D Model featuring clean geometry, realistic detailing, and a fully modeled interior. Includes .blend, .fbx, .obj, .glb, .stl, .ply, .unreal, and .max formats for rendering, simulation, and game development.
Price: $4.99
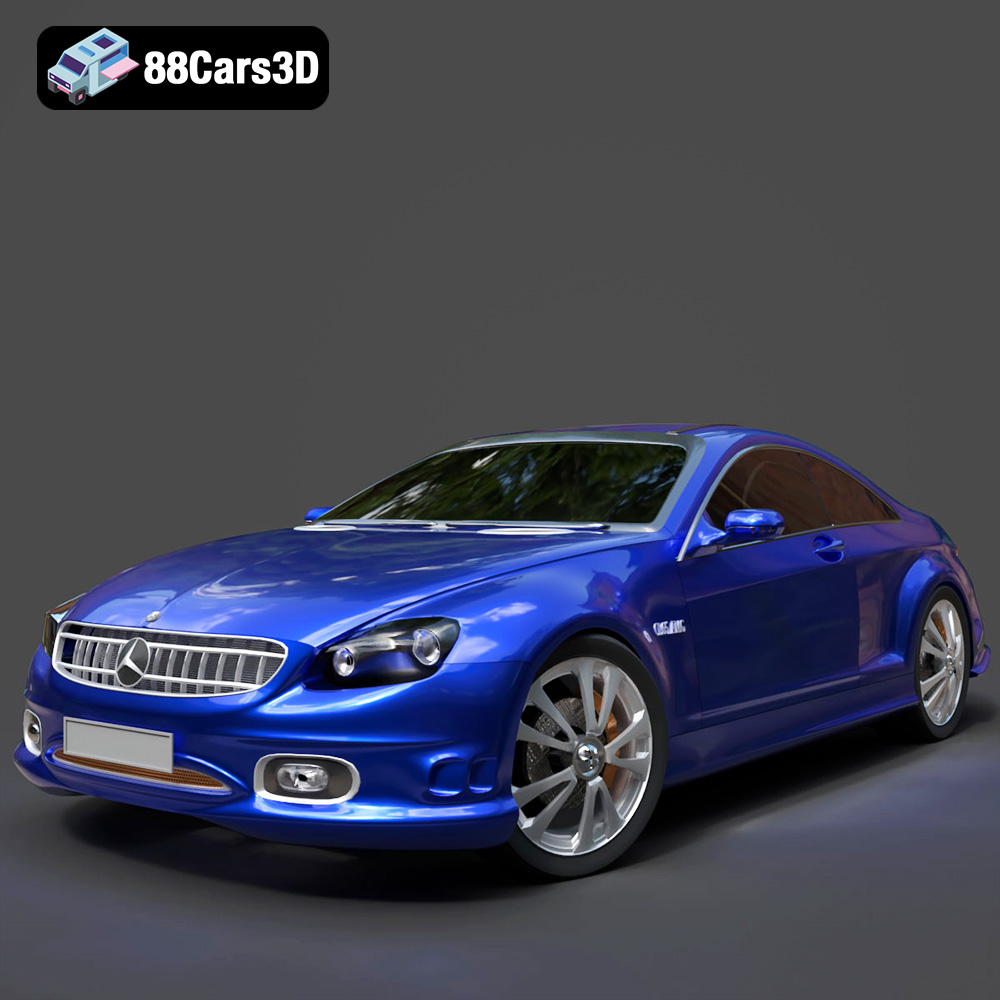
Mercedes-Benz CL6540-005 3D Model
Texture: Yes
Material: Yes
Download the Mercedes-Benz CL6540-005 3D Model featuring clean geometry, realistic detailing, and a fully modeled interior. Includes .blend, .fbx, .obj, .glb, .stl, .ply, .unreal, and .max formats for rendering, simulation, and game development.
Price: $4.99
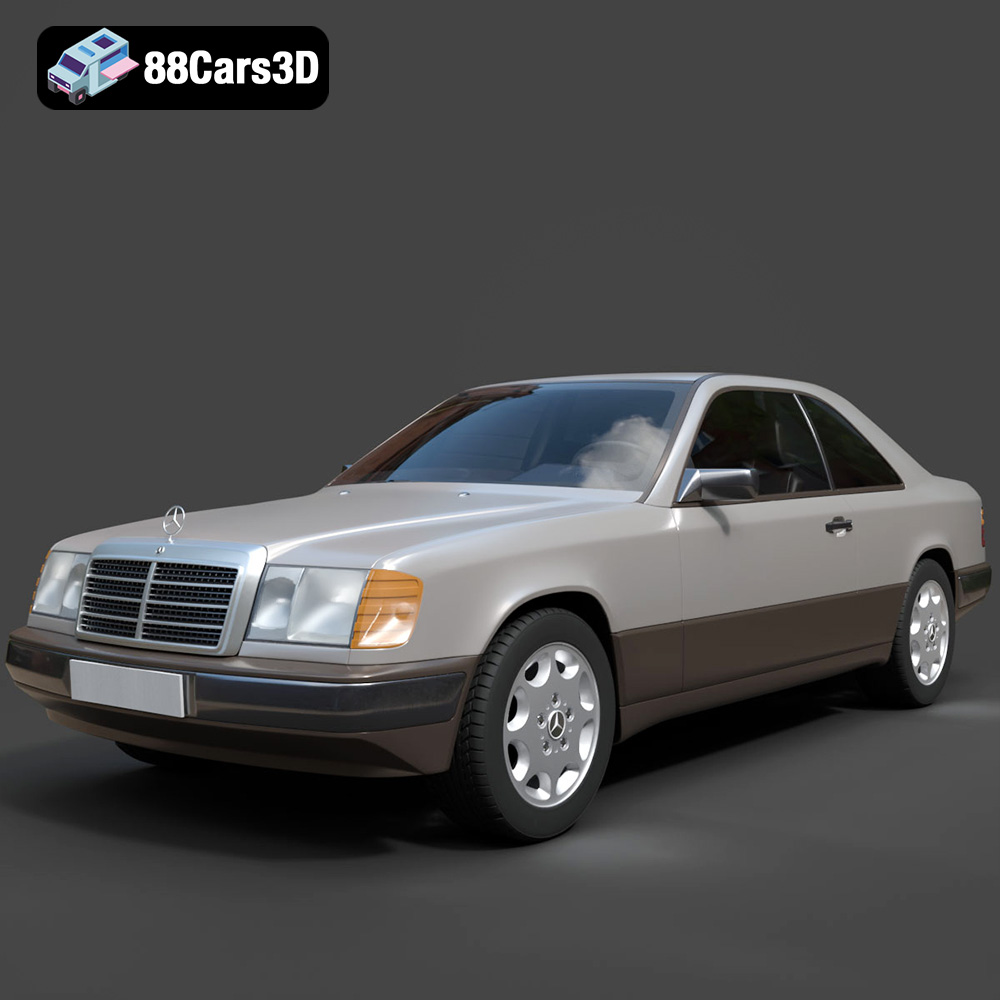
Mercedes E-Class w124 Coupe 3D Model
Texture: Yes
Material: Yes
Download the Mercedes E-Class w124 Coupe 3D Model featuring clean geometry, realistic detailing, and a fully modeled interior. Includes .blend, .fbx, .obj, .glb, .stl, .ply, .unreal, and .max formats for rendering, simulation, and game development.
Price: $4.99
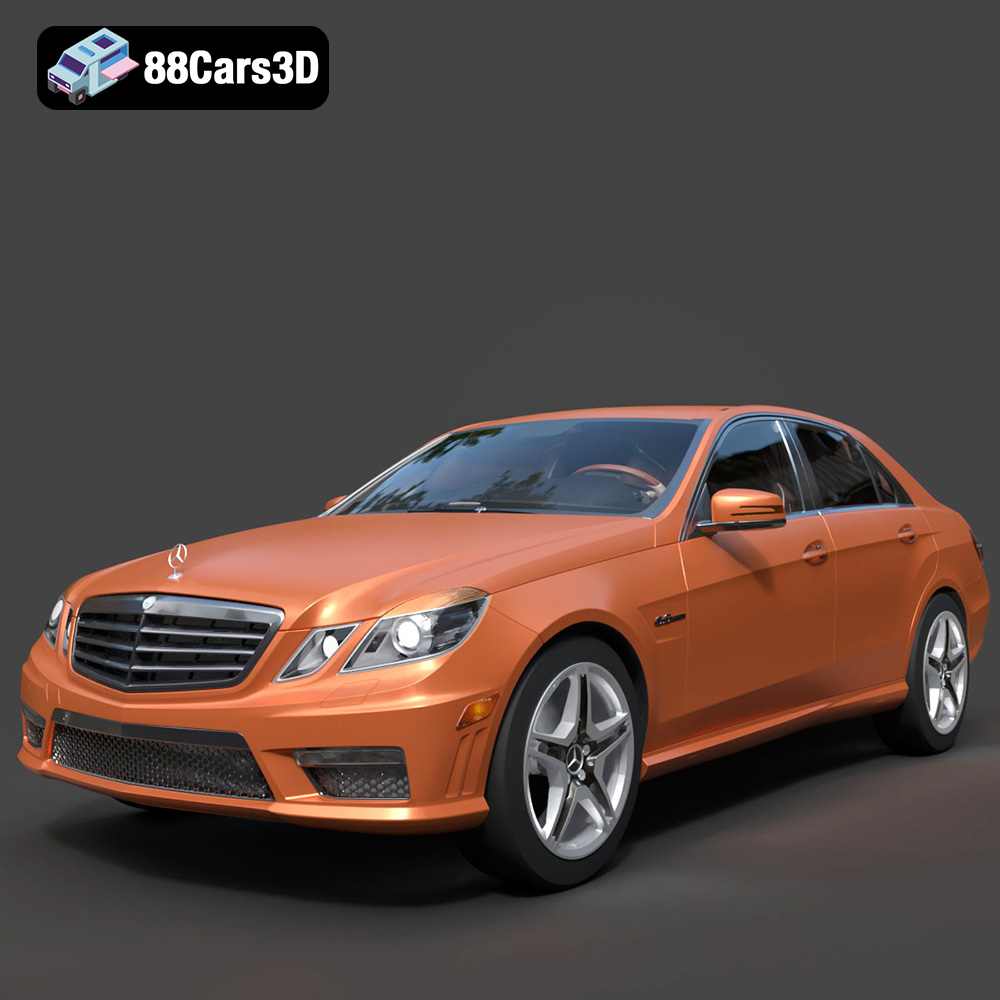
Mercedes-Benz E-Klasse 63 AMG 3D Model
Texture: Yes
Material: Yes
Download the Mercedes-Benz E-Klasse 63 AMG 3D Model featuring clean geometry, realistic detailing, and a fully modeled interior. Includes .blend, .fbx, .obj, .glb, .stl, .ply, .unreal, and .max formats for rendering, simulation, and game development.
Price: $4.99
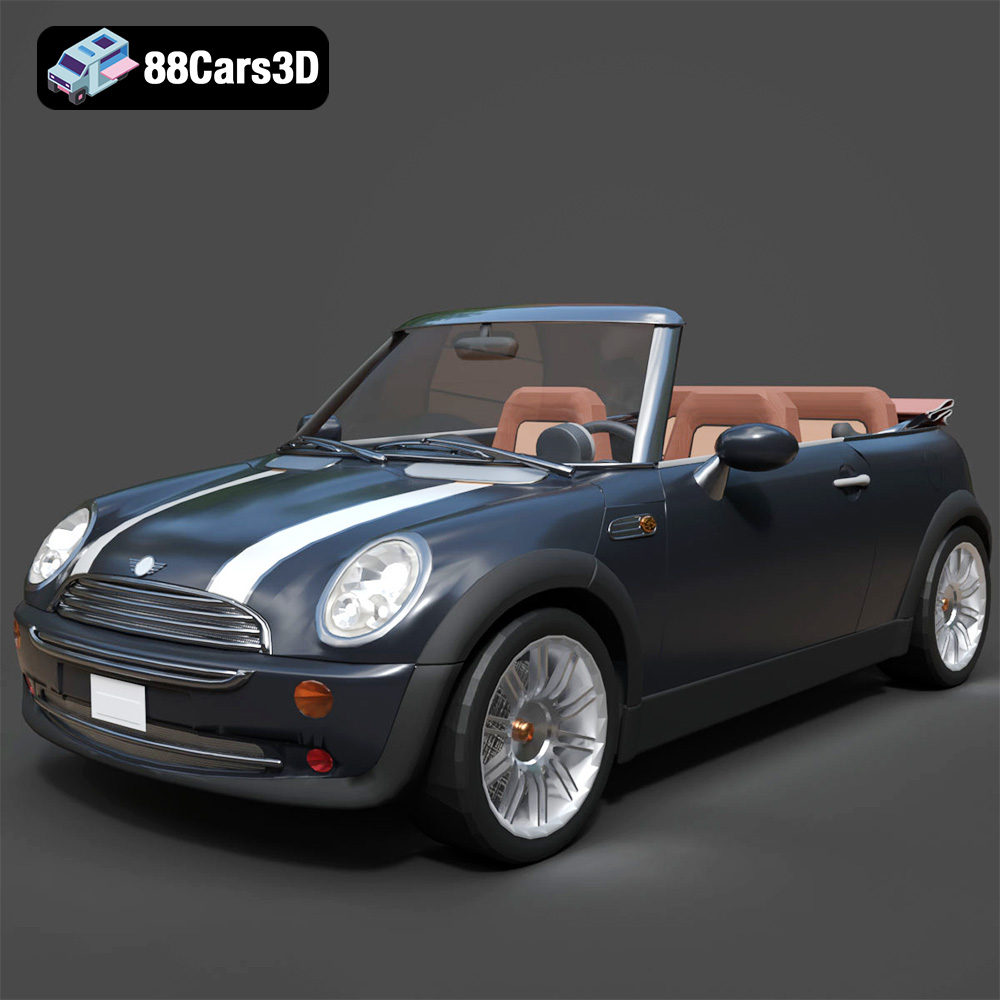
Mini Cabrio 2025 3D Model
Texture: Yes
Material: Yes
Download the Mini Cabrio 2025 3D Model featuring clean geometry, realistic detailing, and a fully modeled interior. Includes .blend, .fbx, .obj, .glb, .stl, .ply, .unreal, and .max formats for rendering, simulation, and game development.
Price: $4.99
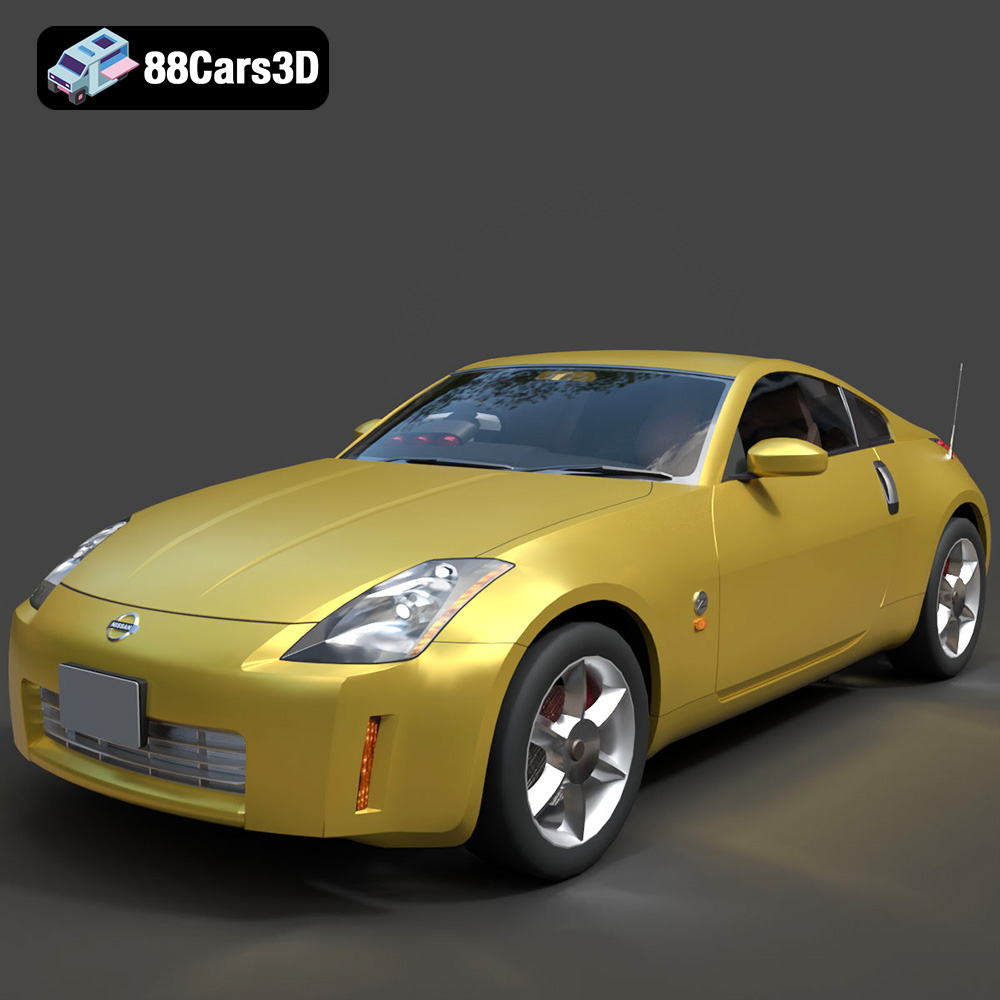
Nissan 350Z 3D Model
Texture: Yes
Material: Yes
Download the Nissan 350Z 3D Model featuring clean geometry, realistic detailing, and a fully modeled interior. Includes .blend, .fbx, .obj, .glb, .stl, .ply, .unreal, and .max formats for rendering, simulation, and game development.
Price: $4.99
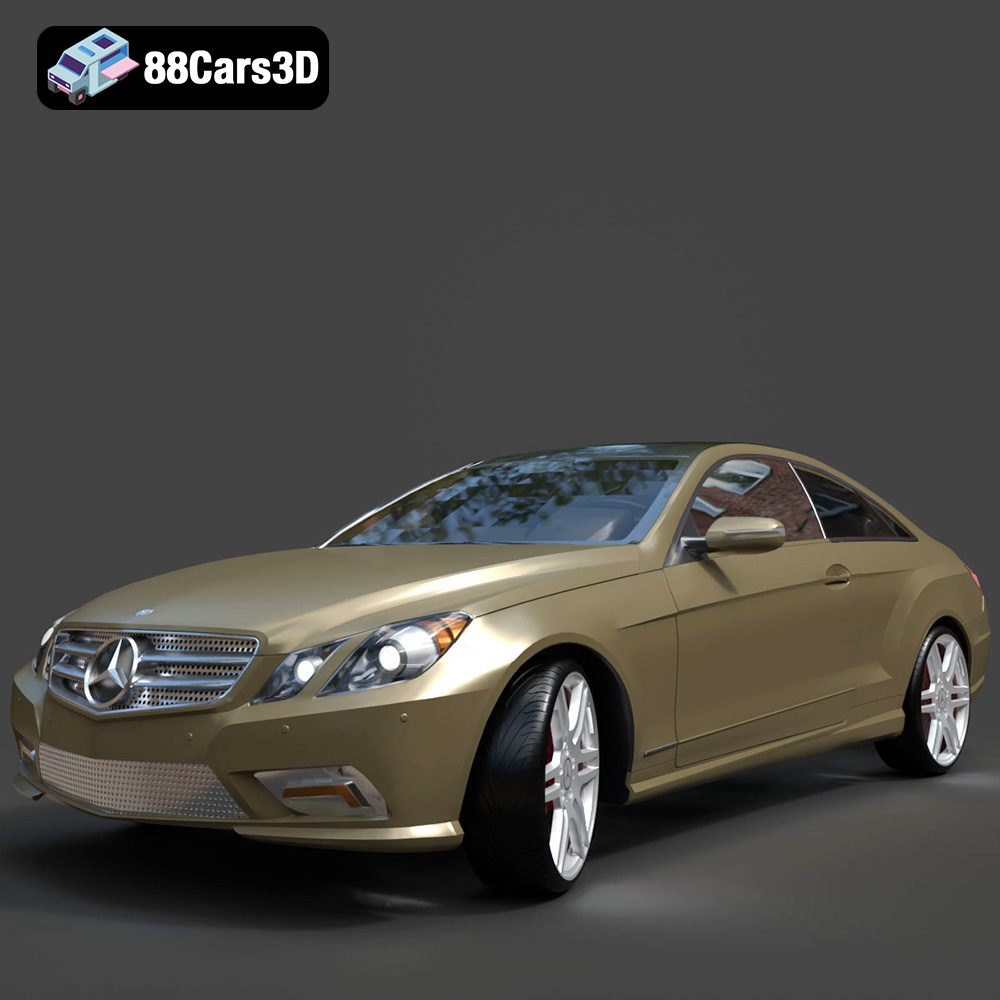
Mercedes-Benz E-Klasse Coupe 2010 3D Model
Texture: Yes
Material: Yes
Download the Mercedes-Benz E-Klasse Coupe 3D Model featuring clean geometry, realistic detailing, and a fully modeled interior. Includes .blend, .fbx, .obj, .glb, .stl, .ply, .unreal, and .max formats for rendering, simulation, and game development.
Price: $4.99
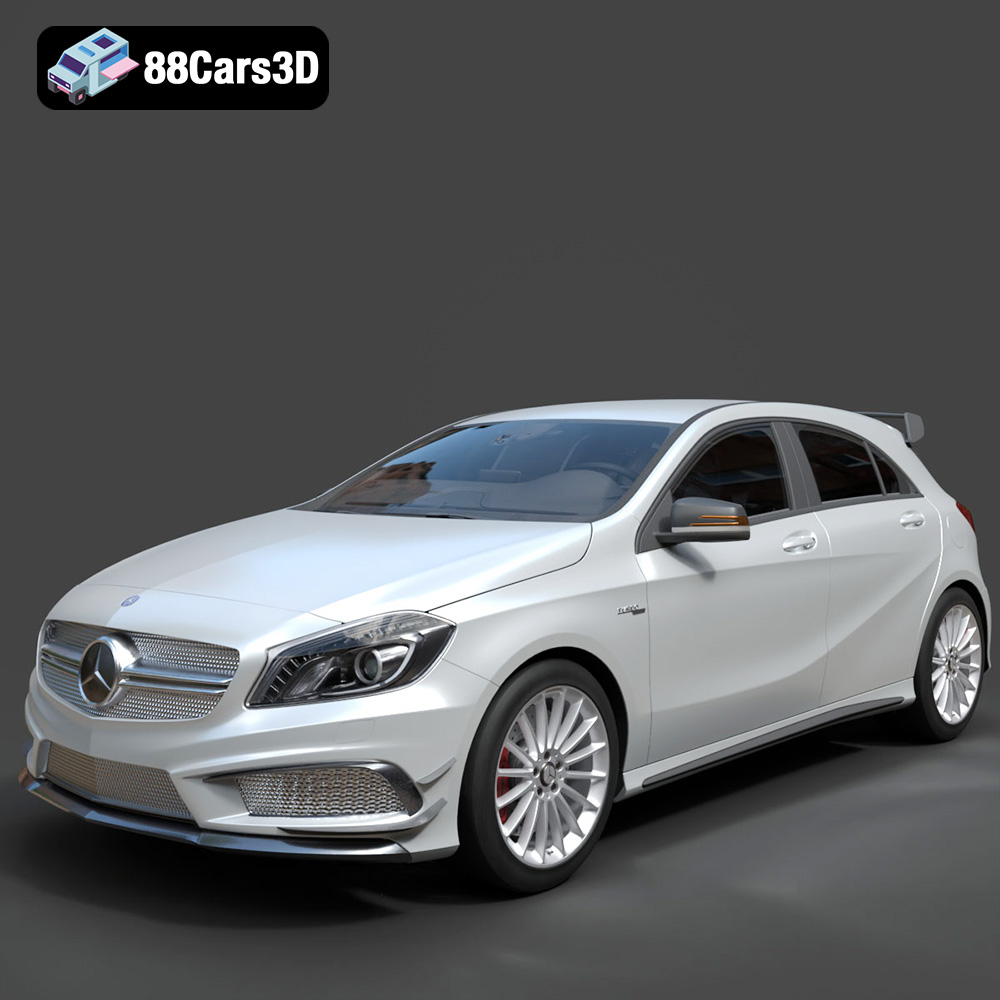
Mercedes-Benz A 45 AMG 3D Model
Texture: Yes
Material: Yes
Download the Benza MERS-007 3D Model featuring clean geometry, realistic detailing, and a fully modeled interior. Includes .blend, .fbx, .obj, .glb, .stl, .ply, .unreal, and .max formats for rendering, simulation, and game development.
Price: $4.99
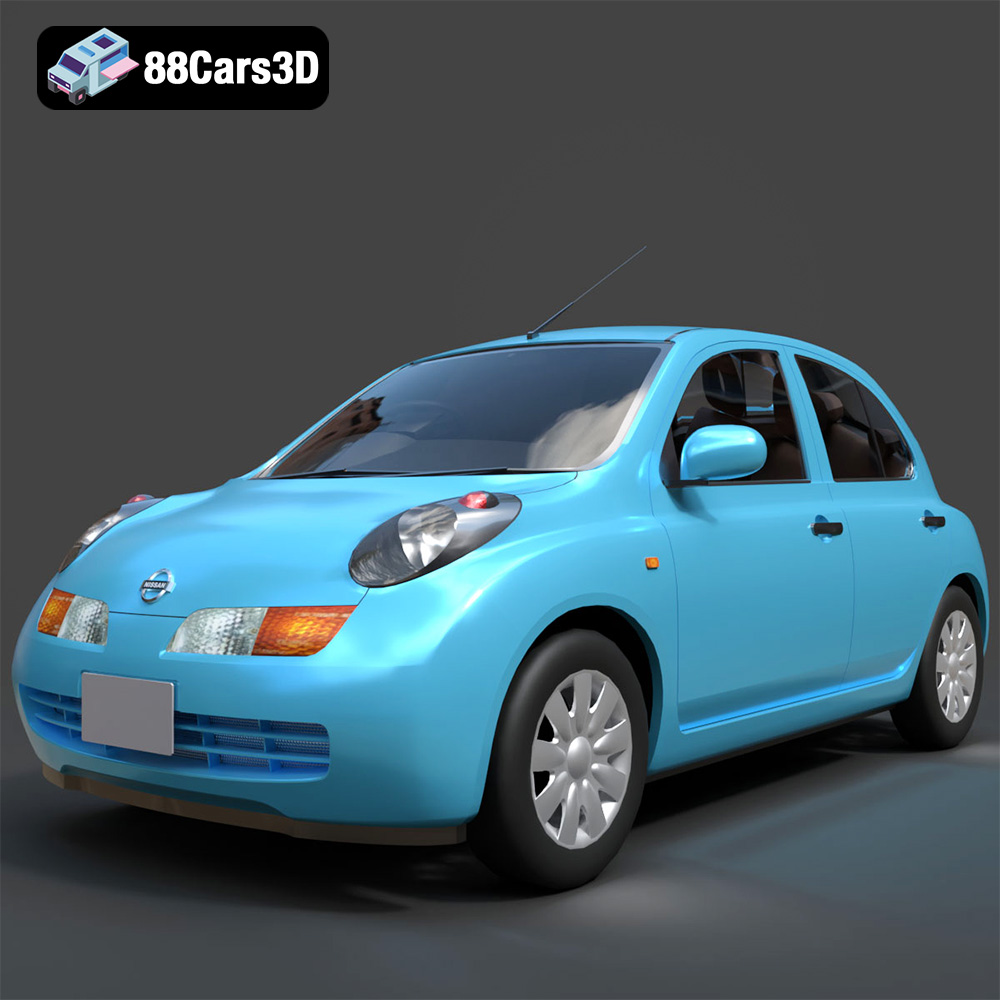
Nissan March 2025 3D Model
Texture: Yes
Material: Yes
Download the Nissan March 2025 3D Model featuring clean geometry, realistic detailing, and a fully modeled interior. Includes .blend, .fbx, .obj, .glb, .stl, .ply, .unreal, and .max formats for rendering, simulation, and game development.
Price: $4.99
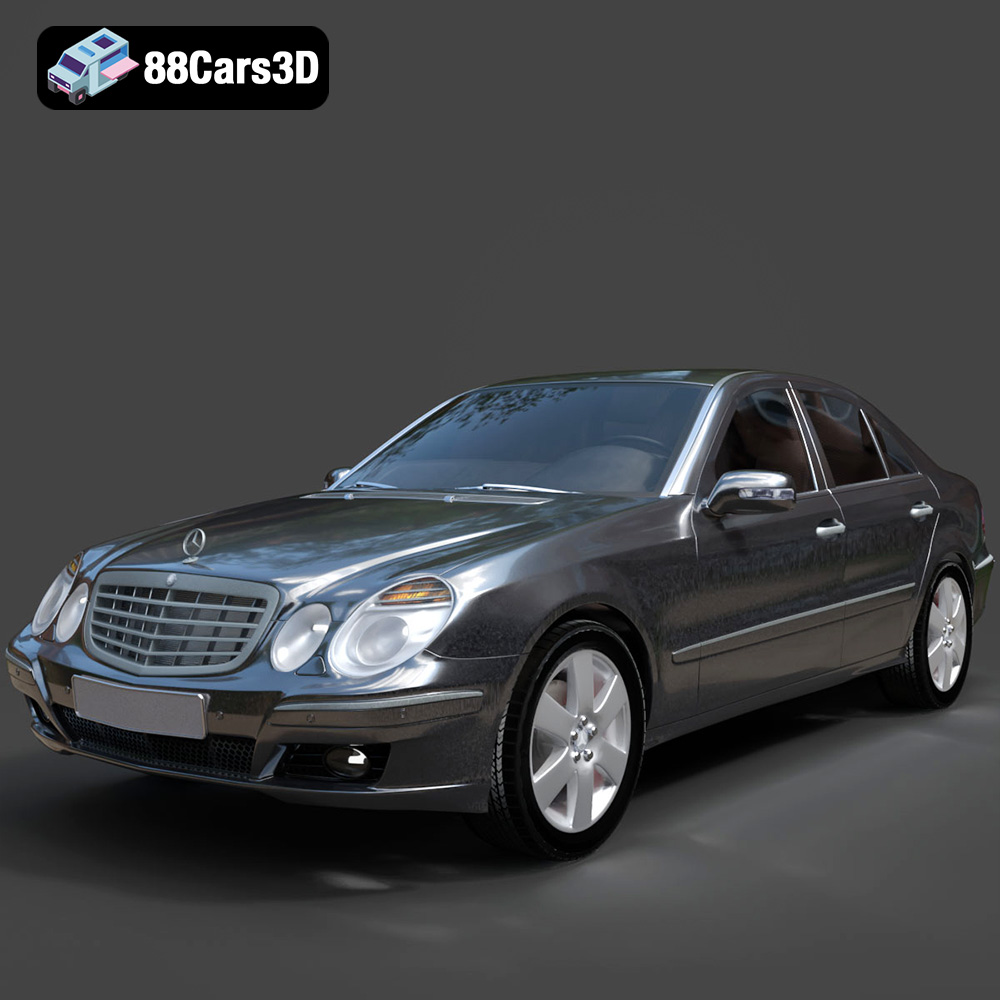
Mercedes E-Class 2007 3D Model
Texture: Yes
Material: Yes
Download the Mercedes E-Class 2007 3D Model featuring clean geometry, realistic detailing, and a fully modeled interior. Includes .blend, .fbx, .obj, .glb, .stl, .ply, .unreal, and .max formats for rendering, simulation, and game development.
Price: $4.99
