The Ultimate Guide to Creating and Optimizing 3D Car Models for Any Application
“`html
The Ultimate Guide to Creating and Optimizing 3D Car Models for Any Application
The sleek curves of a supercar, the rugged utility of an off-road truck, the timeless elegance of a vintage classic—automobiles are masterpieces of design and engineering. Translating that beauty and complexity into the digital realm is one of the most challenging and rewarding tasks for a 3D artist. A high-quality 3D car model is more than just a digital replica; it’s a versatile asset with applications spanning from hyper-realistic automotive rendering and blockbuster video games to immersive AR/VR experiences and even physical 3D printing. But what separates a good model from a truly exceptional, production-ready one? The answer lies in a deep understanding of topology, UV mapping, material creation, and platform-specific optimization. This comprehensive guide will take you under the hood, exploring the professional workflows and technical secrets behind creating versatile 3D car models. We will break down everything from foundational modeling principles to advanced optimization strategies for game engines, ensuring your digital vehicles perform flawlessly and look stunning in any context.
Section 1: The Foundation – Perfecting Automotive Topology and Edge Flow
The geometry, or topology, of a 3D model is its skeleton. For a subject as complex as a car, with its blend of large, flowing surfaces and sharp, precise details, a clean and efficient topology is non-negotiable. It dictates how the model will catch light, how it deforms, how smoothly it can be subdivided, and how easily it can be textured. Rushing this fundamental stage will inevitably lead to problems in every subsequent step of the production pipeline. Professionals focus on creating an all-quad mesh that follows the form of the vehicle, ensuring a robust and flexible foundation for any application.
Why Quad-Based Modeling is King
While triangles (tris) are the base unit of rendering in game engines, modeling should almost exclusively be done with quadrilaterals (quads). There are several critical reasons for this:
- Predictable Subdivision: Subdivision surface modifiers (like TurboSmooth in 3ds Max or Multiresolution in Blender) work predictably with quads, creating smooth, clean curves. Triangles and N-gons (polygons with more than four sides) can cause pinching, artifacts, and unpredictable smoothing.
- Clean Edge Loops: Quads allow for the creation of continuous edge loops and rings, which are essential for defining the shape and adding detail. Selecting an edge loop to sharpen a body panel crease or add a control loop is a fundamental workflow that is difficult or impossible with a triangulated mesh.
- Deformation and Rigging: For models that need to be animated (e.g., opening doors, turning wheels), a quad-based topology deforms cleanly and naturally. Triangles can create shading and deformation issues during animation.
While the final model might be triangulated upon export to a game engine, the source modeling file should always be maintained with clean, quad-based geometry. This is a hallmark of professional assets found on marketplaces like 88cars3d.com, which provide artists with a production-ready starting point.
Mastering Edge Flow for Curves and Creases
Edge flow is the art of directing the topology to follow the contours and defining features of the car. Good edge flow is crucial for creating the illusion of sharp, manufactured panel gaps and smooth, aerodynamic surfaces. The key is to run edge loops parallel to important creases and curves. For instance, the character line running down the side of a car should be defined by a clean, uninterrupted edge loop. The wheel arches should be defined by concentric edge loops that radiate outwards. This not only defines the shape accurately but also prevents shading artifacts. When light hits a surface with poor edge flow, it can appear wavy or bumpy, an effect known as “surface swimming,” which instantly breaks the realism.
Balancing Detail and Polygon Count
The required level of detail is dictated by the model’s intended use. A “hero” car for a cinematic shot might have a polygon count of 500,000 to 1,000,000+ polygons, including a fully modeled interior, engine bay, and undercarriage. In contrast, a car intended for a real-time mobile game might be restricted to 15,000-30,000 polygons. The professional approach is to model a high-resolution version first and then create optimized versions from it. Use polygons where they matter most: maintaining the silhouette, defining circular shapes like wheels and headlights, and capturing key design lines. Flatter areas, like the roof or hood, can use larger, more economical polygons without sacrificing visual quality.
Section 2: Unwrapping the Beast – Advanced UV Mapping Strategies
If topology is the skeleton, UV mapping is the canvas on which the model’s skin, or textures, will be painted. The process involves “unwrapping” the 3D mesh into a 2D space, known as UV space. For a complex object like a car, this is a meticulous process that can make or break the final look. Poor UVs can lead to stretched textures, visible seams, and inefficient use of texture memory, all of which are detrimental to professional-grade automotive visualization.
Seam Placement for Invisible Transitions
The goal of UV unwrapping is to create logical 2D islands (or shells) from the 3D mesh with the least amount of distortion. The cuts you make to create these islands are called seams. The art of seam placement is hiding them where they are least likely to be seen. Good places for seams on a 3D car model include:
- Along hard edges and panel gaps: The natural gaps between the door and the fender are perfect places to hide a UV seam.
- On the underside of the model: Areas that are rarely visible are ideal for placing seams.
- Behind other geometry: For example, where the side mirror housing connects to the door.
Avoid placing seams on large, smooth, highly visible surfaces like the middle of the hood or the side of a door, as any slight mismatch in the texture or normal map will be immediately obvious.
UDIMs for Hyper-Realistic Texturing
For high-end cinematic and rendering projects, a single texture map (e.g., 4096×4096 pixels) may not provide enough resolution to capture fine details like carbon fiber weave, paint flakes, or tiny warning labels. This is where the UDIM (U-Dimension) workflow comes in. UDIMs allow you to use multiple texture maps on a single object, with each map occupying a different tile in UV space. For a car, you could assign one UDIM tile for the main body, another for the interior, one for the wheels, and another for the chassis. This allows you to assign a massive 8K or even 16K texture resolution to critical parts without needing a single, impossibly large texture file, dramatically increasing the potential for photorealistic detail.
Packing Shells for Optimal Texel Density
Texel density refers to the number of texture pixels per unit of 3D surface area. For a consistent look, the texel density should be uniform across the entire model. This means that a side mirror and a door panel should have a similar level of texture detail relative to their size. Most 3D software includes tools to visualize and normalize texel density. When packing your UV shells into the 0-1 UV space (or across multiple UDIM tiles), the goal is to maximize the use of the texture area while maintaining this consistency. Pack shells tightly, but leave a small amount of padding (around 8-16 pixels) between them to prevent texture bleeding, where pixels from one shell spill over onto an adjacent one during mipmapping.
Section 3: Realism Through Materials – PBR Shading Workflows
Physically Based Rendering (PBR) is the industry standard for creating materials that react to light in a physically plausible way. A PBR workflow typically uses a set of texture maps—such as Base Color, Metallic, Roughness, and Normal—to define a surface’s properties. For 3D car models, creating convincing PBR materials is the key to achieving photorealism, from the deep gloss of the paint to the subtle grain of the leather interior.
Creating a Multi-Layered Car Paint Shader
A realistic car paint is not a single, simple material; it’s a complex shader network that simulates multiple layers. A typical professional car paint material includes:
- Base Coat: This defines the main color of the car. For metallic paints, this layer also includes tiny metallic flakes, often simulated with a noise texture plugged into the metallic or reflection color channel.
- Clear Coat Layer: This is a crucial secondary reflective layer that sits on top of the base coat. It simulates the glossy, protective varnish on real cars. Most modern render engines like Corona, V-Ray, and Arnold have a dedicated “Clear Coat” parameter in their standard materials. This layer has its own roughness value, allowing you to create a smooth reflection on top of a rougher metallic base.
- Subtle Imperfections: For ultimate realism, add subtle details like a faint “orange peel” effect to the clear coat’s normal map and micro-scratches or smudges to the roughness map.
This multi-layered approach is what creates the deep, rich reflections that make automotive rendering so appealing.
Texturing Glass, Chrome, and Rubber
Beyond the paint, other materials require careful attention. For chrome and polished metals, the key is a Base Color of near-black, a Metallic value of 1 (or 100%), and a very low Roughness value (e.g., 0.05-0.1). For rubber tires, use a dark grey Base Color, a Metallic value of 0, and a higher Roughness value (e.g., 0.8-0.9). A detailed normal map is essential for rendering the tire treads and sidewall lettering. For glass, use a shader with high transparency/transmission, a refractive index (IOR) of around 1.52, and a very low roughness. Tinted glass can be achieved by adding a subtle color to the transmission or fog color property of the shader.
Section 4: The Photoshoot – Rendering for Photorealism
With a perfectly modeled and textured car, the final step in creating a stunning image is the rendering stage. This is where lighting, camera work, and environment come together to create a cohesive and believable scene. The choice of render engine and the quality of the lighting setup are paramount to achieving a photorealistic result that could be mistaken for a real photograph.
Choosing Your Render Engine: Corona vs. V-Ray vs. Cycles
While many render engines can produce great results, some are favored in the automotive visualization industry. V-Ray and Corona (both popular with 3ds Max and Cinema 4D users) are industry giants known for their speed, power, and vast libraries of pre-made materials. They excel at producing clean, physically accurate results. Blender’s Cycles is an incredibly powerful and free alternative that has made massive strides in recent years, offering stunning path-traced results. Arnold, often used with Maya, is another top contender, famous for its use in VFX and animation. The choice often comes down to artist preference, workflow integration, and specific feature sets, but all are capable of producing world-class automotive renders.
HDRI Lighting and Studio Setups
The easiest way to achieve realistic lighting and reflections is to use an Image-Based Lighting (IBL) setup with a High Dynamic Range Image (HDRI). An HDRI is a 360-degree panoramic image that contains a vast range of lighting information. When used to light a scene, it realistically simulates the lighting and reflections of that environment. For automotive rendering, common choices include:
- Studio HDRIs: These simulate professional photography studios with softboxes and controlled light sources, perfect for creating clean, defined reflections that highlight the car’s form.
- Outdoor HDRIs: Images of cityscapes, country roads, or parking lots provide realistic environmental context and natural lighting for more dynamic shots.
For more control, you can build a virtual studio setup using 3D area lights to create a classic three-point lighting system (Key, Fill, and Rim lights) to sculpt the car’s shape precisely.
Post-Processing and Compositing for the Final Polish
Raw renders are rarely the final product. Professional artists render out multiple passes (such as reflections, ambient occlusion, lighting, and masks) to composite them in software like Adobe Photoshop or Foundry Nuke. This provides maximum control over the final image. Common post-processing steps include:
- Color Grading: Adjusting the mood and tone of the image.
- Adding Effects: Introducing lens flare, depth of field, and motion blur to enhance realism.
- Contrast Adjustments: Using the ambient occlusion pass to enhance contact shadows and add depth.
- Retouching: Cleaning up any minor rendering artifacts or imperfections.
Section 5: Game Ready – Optimizing for Real-Time Performance
Creating a 3D car model for a game engine like Unreal Engine or Unity is a completely different challenge than creating one for offline rendering. The primary goal is to maintain the highest possible visual quality while adhering to strict performance budgets. Every polygon, texture, and material must be ruthlessly optimized to ensure the game runs at a smooth framerate.
The Art of LODs (Levels of Detail)
A game doesn’t need to render a 500,000-polygon car when it’s just a tiny speck in the distance. This is where Levels of Detail (LODs) come in. A single car asset will have multiple versions of its mesh, each with a progressively lower polygon count.
- LOD0: The highest quality version (e.g., 150,000-250,000 polys) used for close-up camera shots.
- LOD1: A mid-range version (e.g., 70,000 polys) seen from a medium distance.
- LOD2: A low-poly version (e.g., 25,000 polys) for distant views.
- LOD3/Impostor: An extremely low-poly “impostor” (e.g., <5,000 polys or even a 2D billboard) for when the car is very far away.
The game engine automatically swaps these models based on the car’s distance from the camera, dramatically saving performance. Creating these LODs is a skillful process of simplifying geometry while preserving the all-important silhouette.
Texture Atlasing and Draw Call Reduction
In a game engine, a “draw call” is a command sent from the CPU to the GPU to draw an object. Each object with a unique material generates at least one draw call. Too many draw calls can create a CPU bottleneck and cripple performance. To optimize this, artists use texture atlasing. Instead of having separate materials and textures for the wheels, body, and interior, textures for multiple parts are combined into a single, larger texture map (an atlas). This allows many parts of the car to be rendered with a single material, drastically reducing the number of draw calls. For example, all the small interior components (dials, buttons, vents) can be combined into one material and texture set.
Section 6: Beyond the Screen – Preparing for AR/VR and 3D Printing
The utility of a well-made 3D car model extends beyond traditional screens. The burgeoning fields of Augmented Reality (AR), Virtual Reality (VR), and 3D printing present new opportunities and technical challenges for 3D assets.
AR/VR File Formats: GLB and USDZ
For AR/VR applications, performance is absolutely critical. Models must be incredibly lightweight to run smoothly on mobile devices and headsets. The two dominant real-time 3D file formats are GLB (the binary version of glTF) and USDZ (developed by Apple and Pixar). These formats are designed for efficient delivery and rendering, bundling geometry, materials, and textures into a single compact file. A key optimization goal for AR is file size; a target of under 10MB is common for web-based AR experiences. This requires aggressive polygon reduction and texture compression (using formats like KTX2 with Basis Universal compression).
Watertight Meshes for 3D Printing
To turn a digital model into a physical object via 3D printing, the mesh must be “watertight” or “manifold.” This means it must be a single, continuous, closed surface with no holes. Any gaps or intersecting geometry will confuse the slicing software that prepares the model for printing. Car models designed for rendering often use separate, floating pieces for details like logos or grills. For 3D printing, these must be properly merged (using Boolean operations) into the main body to create a single solid mesh. Tools like Meshmixer or the 3D-Print Toolbox in Blender are invaluable for checking and repairing meshes to ensure they are manifold and ready for printing.
Conclusion: The Versatile Digital Automobile
From a single, meticulously crafted high-polygon source model, a myriad of assets can be derived to suit any purpose imaginable. The journey from a blank viewport to a stunning, versatile 3D car model is a testament to the artist’s skill across multiple disciplines: the precision of a polygonal modeler, the creativity of a texture artist, the technical knowledge of a rendering specialist, and the efficiency of an optimization expert. By mastering the core principles of clean topology, strategic UV mapping, physically-based materials, and platform-specific optimization, you can ensure your 3D car models are not just beautiful but also functional, performant, and ready for any pipeline. Whether you are building your own models from scratch or sourcing high-quality, pre-made assets from professional marketplaces like 88cars3d.com to accelerate your workflow, a deep understanding of these technical foundations is the key to creating truly breathtaking automotive visuals.
“`
Featured 3D Car Models
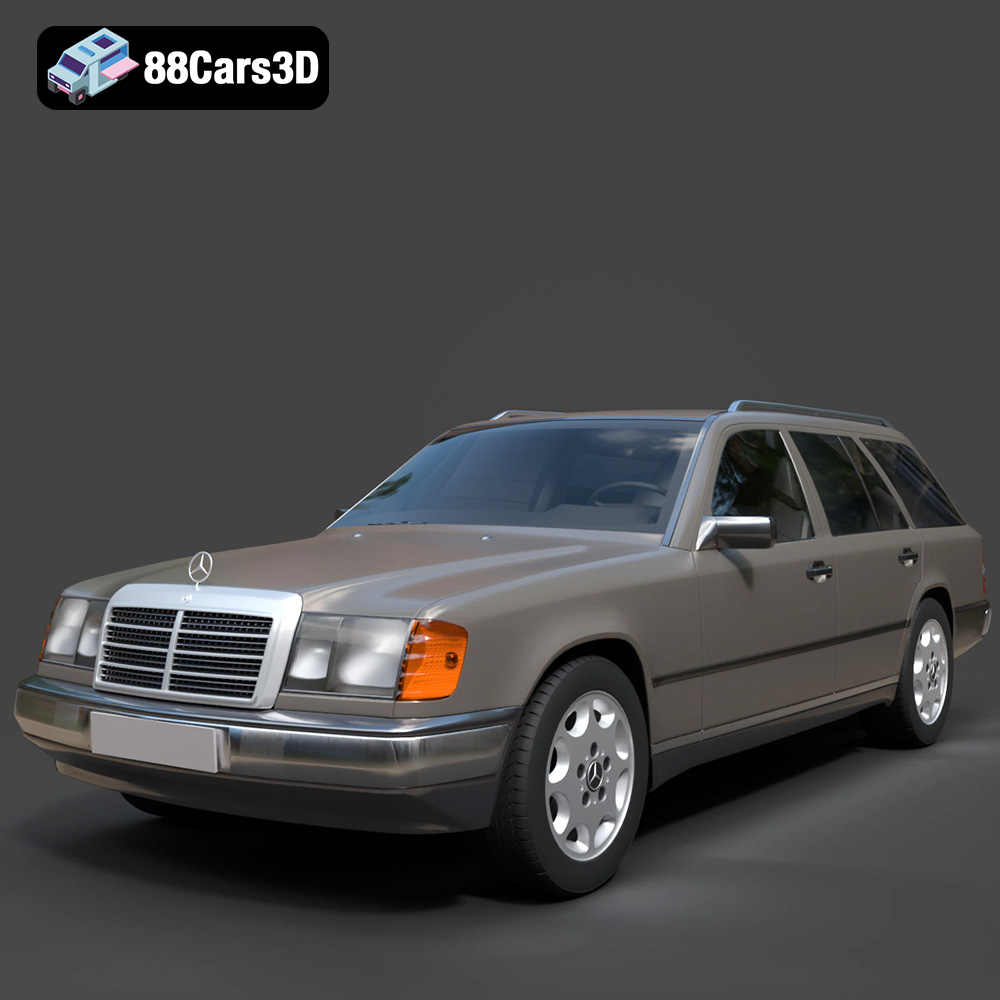
Mercedes E-Class w124 Kombi 3D Model
Texture: Yes
Material: Yes
Download the Mercedes E-Class w124 Kombi 3D Model featuring clean geometry, realistic detailing, and a fully modeled interior. Includes .blend, .fbx, .obj, .glb, .stl, .ply, .unreal, and .max formats for rendering, simulation, and game development.
Price: $4.99
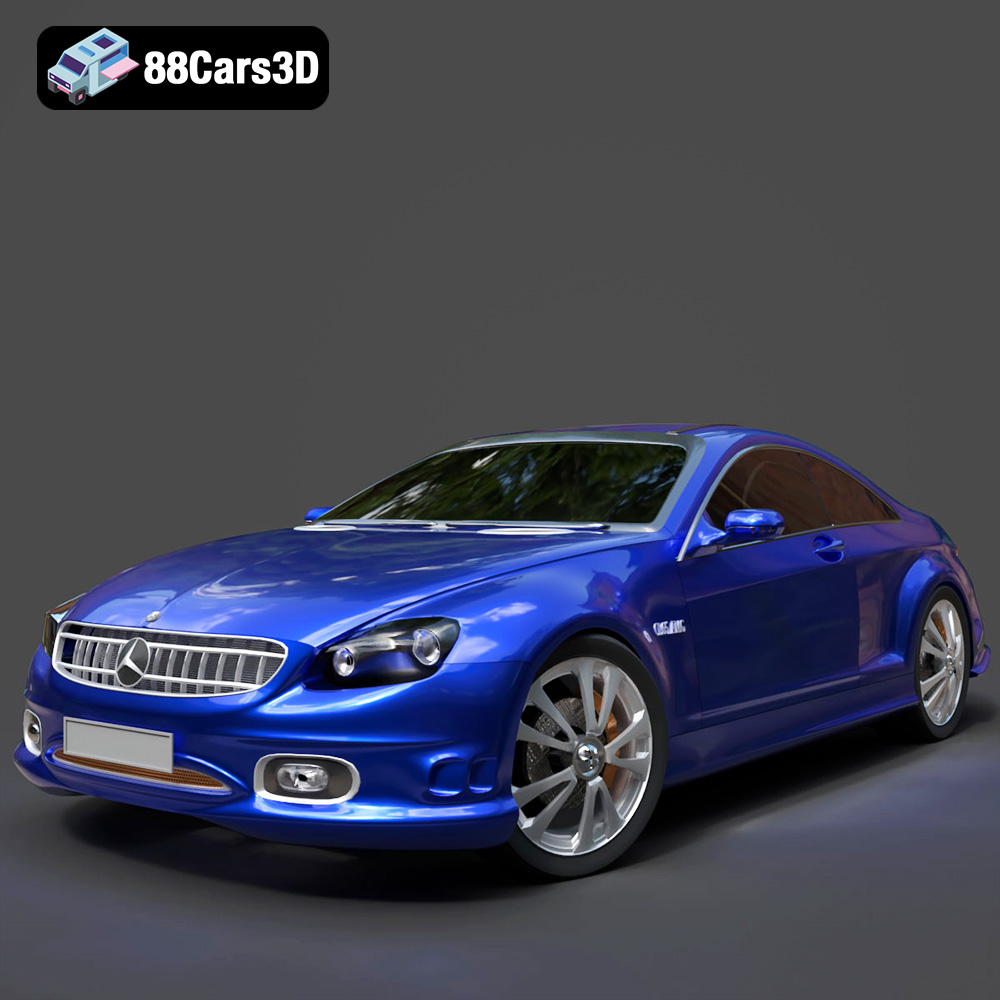
Mercedes-Benz CL6540-005 3D Model
Texture: Yes
Material: Yes
Download the Mercedes-Benz CL6540-005 3D Model featuring clean geometry, realistic detailing, and a fully modeled interior. Includes .blend, .fbx, .obj, .glb, .stl, .ply, .unreal, and .max formats for rendering, simulation, and game development.
Price: $4.99
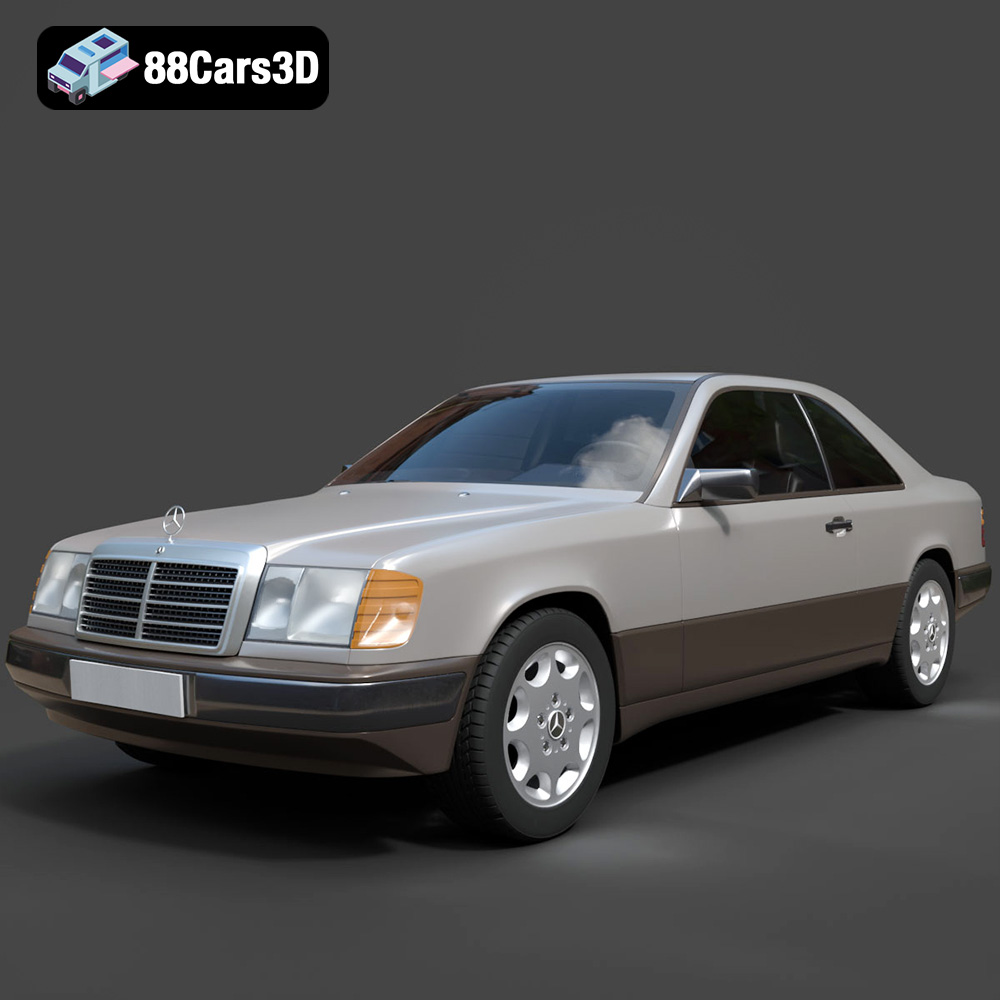
Mercedes E-Class w124 Coupe 3D Model
Texture: Yes
Material: Yes
Download the Mercedes E-Class w124 Coupe 3D Model featuring clean geometry, realistic detailing, and a fully modeled interior. Includes .blend, .fbx, .obj, .glb, .stl, .ply, .unreal, and .max formats for rendering, simulation, and game development.
Price: $4.99
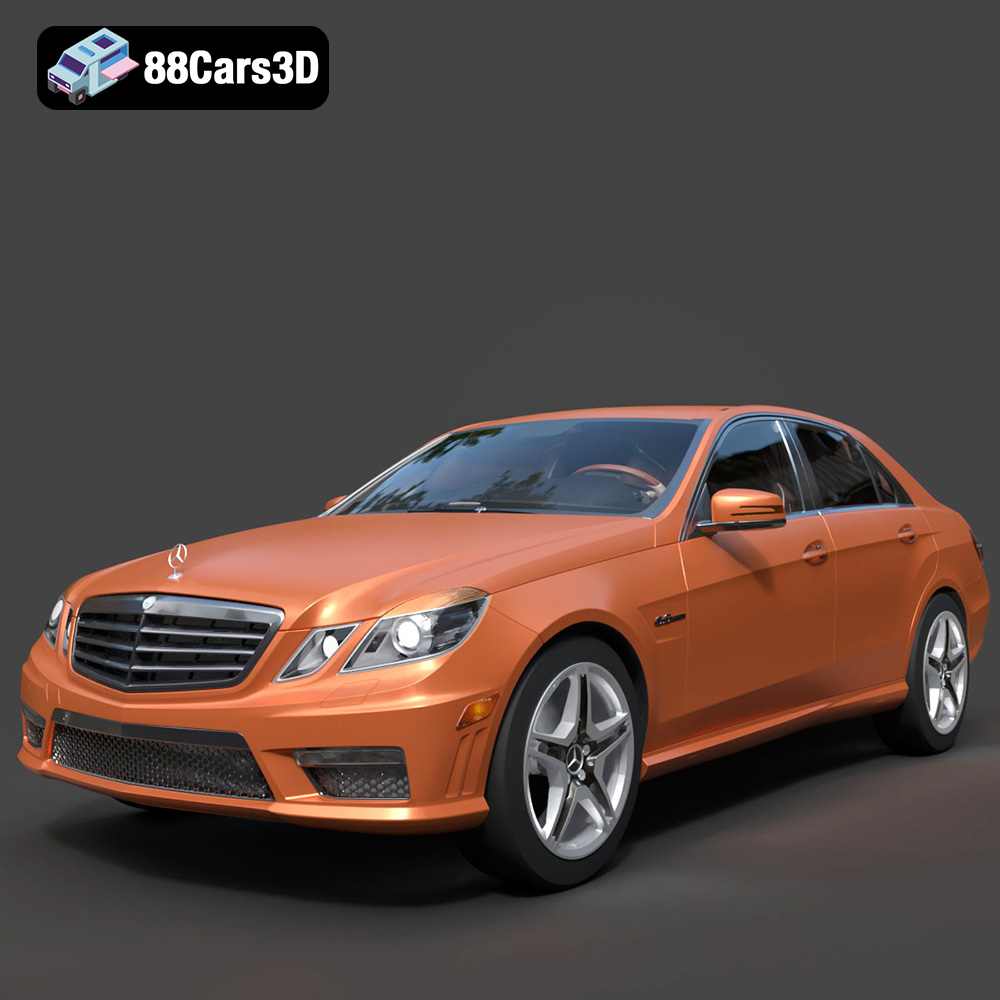
Mercedes-Benz E-Klasse 63 AMG 3D Model
Texture: Yes
Material: Yes
Download the Mercedes-Benz E-Klasse 63 AMG 3D Model featuring clean geometry, realistic detailing, and a fully modeled interior. Includes .blend, .fbx, .obj, .glb, .stl, .ply, .unreal, and .max formats for rendering, simulation, and game development.
Price: $4.99
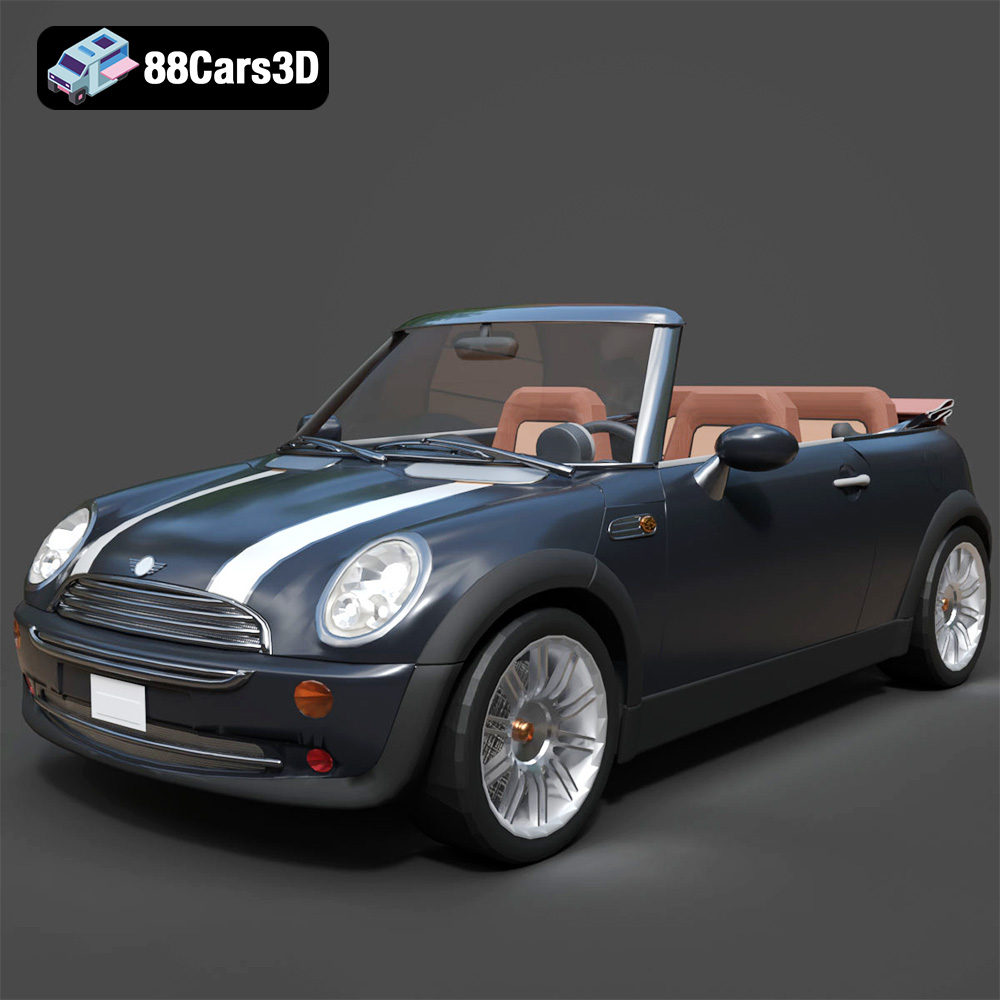
Mini Cabrio 2025 3D Model
Texture: Yes
Material: Yes
Download the Mini Cabrio 2025 3D Model featuring clean geometry, realistic detailing, and a fully modeled interior. Includes .blend, .fbx, .obj, .glb, .stl, .ply, .unreal, and .max formats for rendering, simulation, and game development.
Price: $4.99
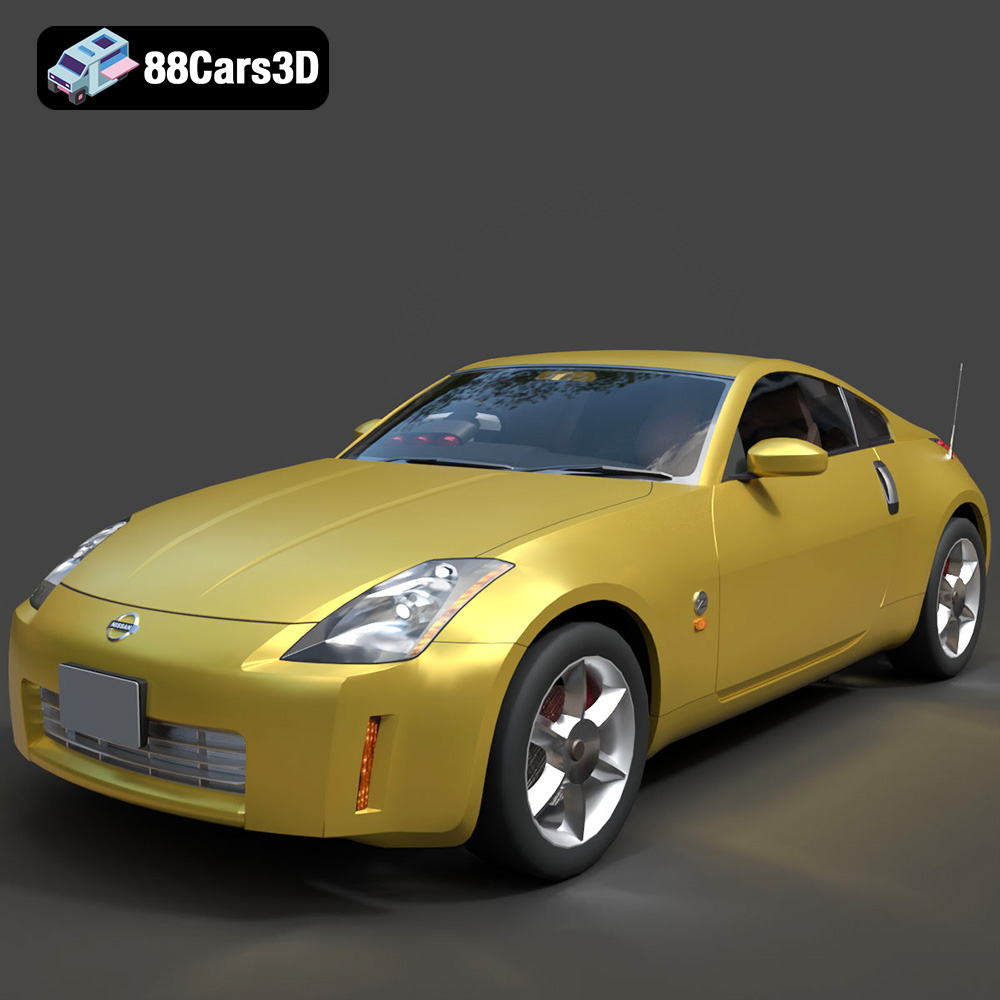
Nissan 350Z 3D Model
Texture: Yes
Material: Yes
Download the Nissan 350Z 3D Model featuring clean geometry, realistic detailing, and a fully modeled interior. Includes .blend, .fbx, .obj, .glb, .stl, .ply, .unreal, and .max formats for rendering, simulation, and game development.
Price: $4.99
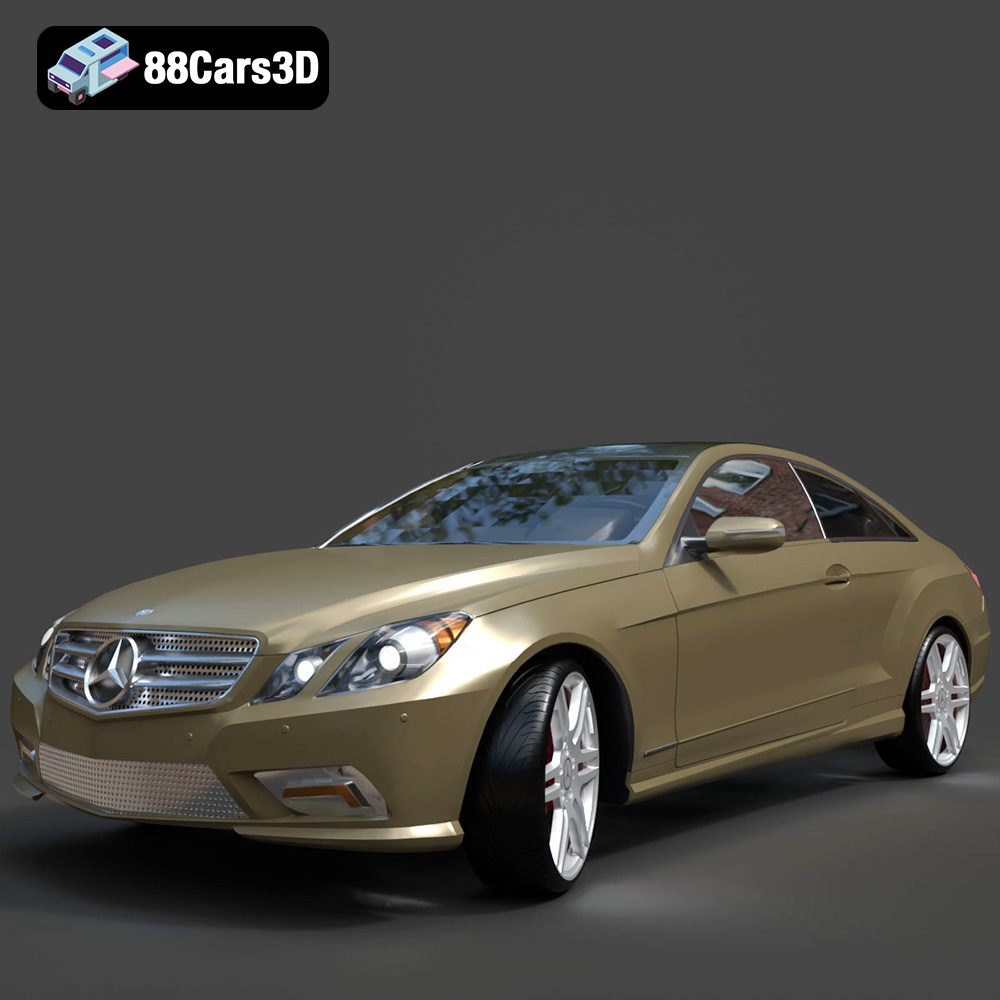
Mercedes-Benz E-Klasse Coupe 2010 3D Model
Texture: Yes
Material: Yes
Download the Mercedes-Benz E-Klasse Coupe 3D Model featuring clean geometry, realistic detailing, and a fully modeled interior. Includes .blend, .fbx, .obj, .glb, .stl, .ply, .unreal, and .max formats for rendering, simulation, and game development.
Price: $4.99
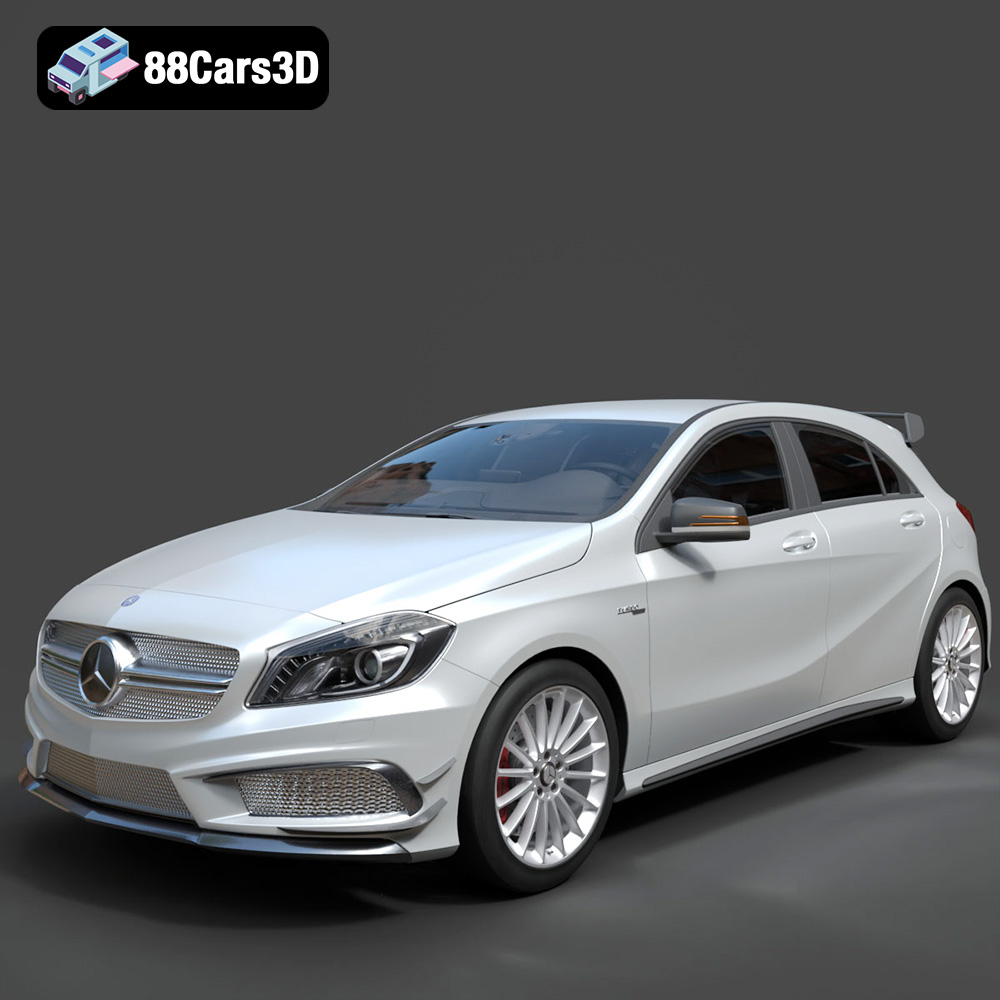
Mercedes-Benz A 45 AMG 3D Model
Texture: Yes
Material: Yes
Download the Benza MERS-007 3D Model featuring clean geometry, realistic detailing, and a fully modeled interior. Includes .blend, .fbx, .obj, .glb, .stl, .ply, .unreal, and .max formats for rendering, simulation, and game development.
Price: $4.99
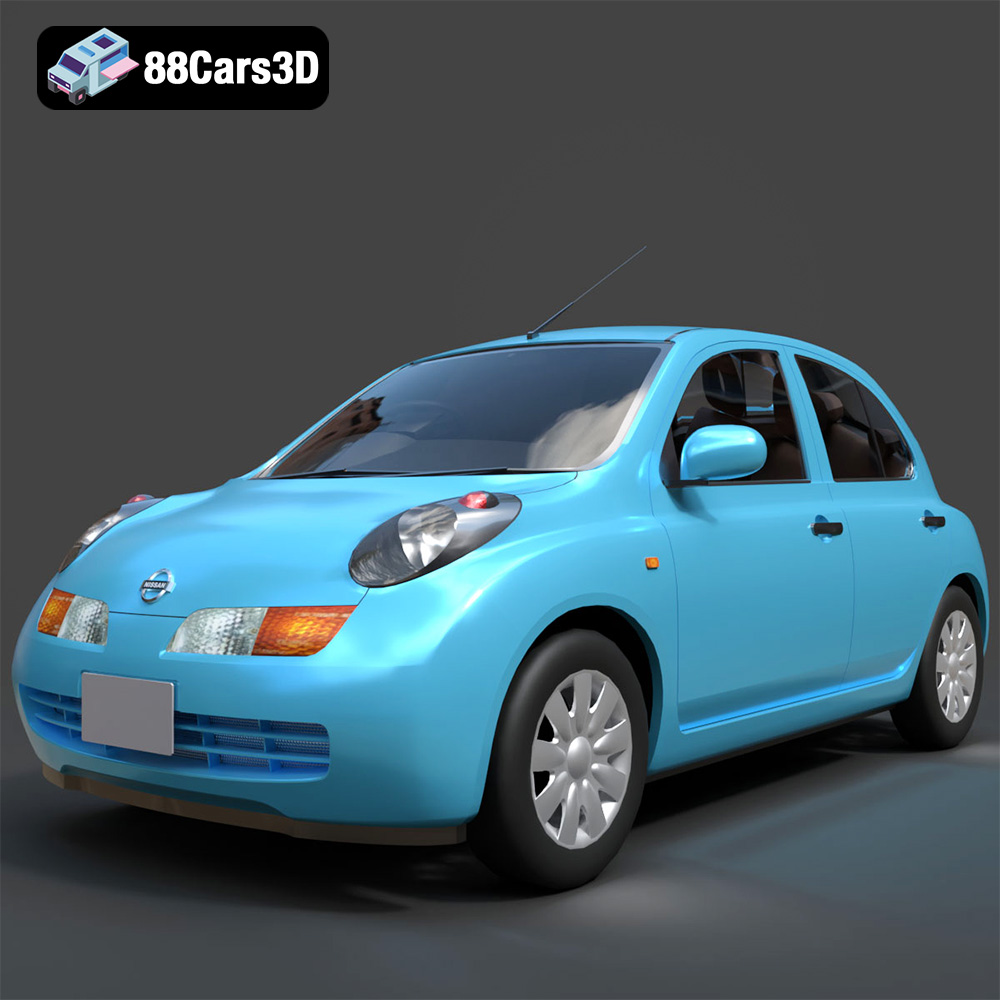
Nissan March 2025 3D Model
Texture: Yes
Material: Yes
Download the Nissan March 2025 3D Model featuring clean geometry, realistic detailing, and a fully modeled interior. Includes .blend, .fbx, .obj, .glb, .stl, .ply, .unreal, and .max formats for rendering, simulation, and game development.
Price: $4.99
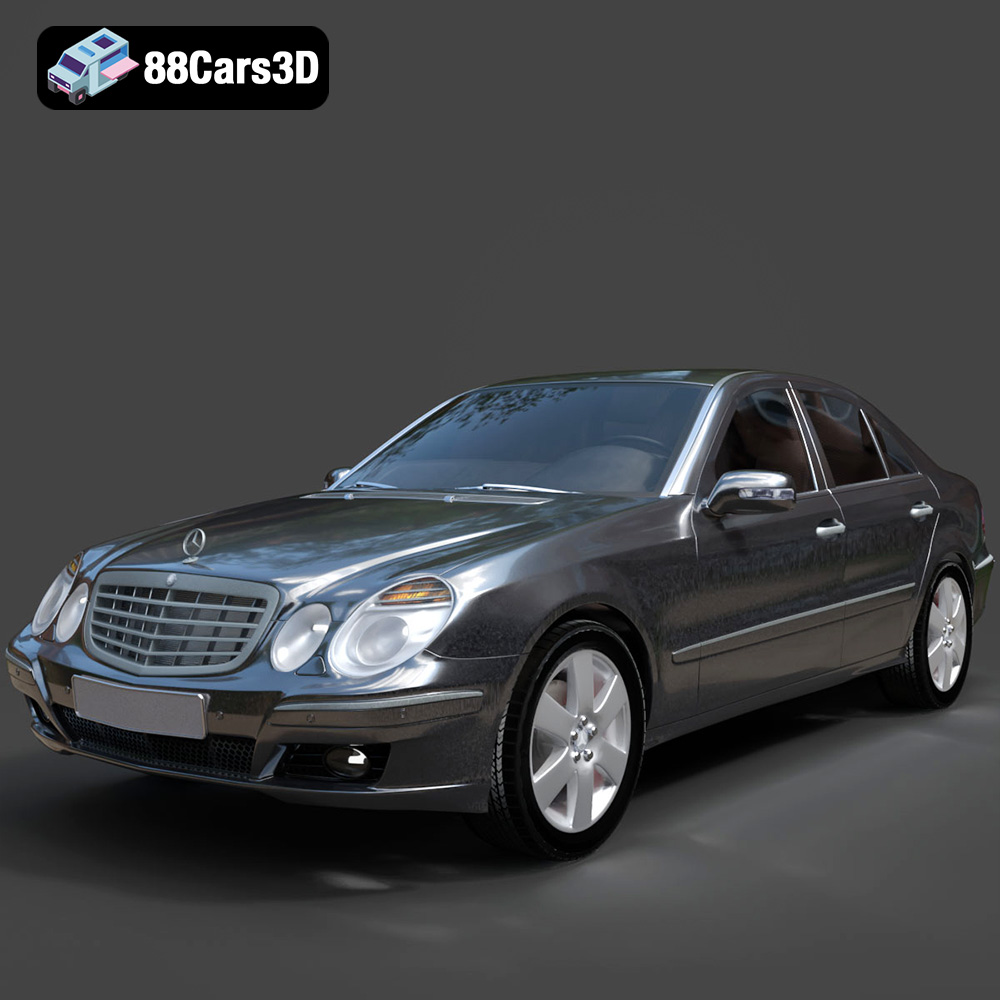
Mercedes E-Class 2007 3D Model
Texture: Yes
Material: Yes
Download the Mercedes E-Class 2007 3D Model featuring clean geometry, realistic detailing, and a fully modeled interior. Includes .blend, .fbx, .obj, .glb, .stl, .ply, .unreal, and .max formats for rendering, simulation, and game development.
Price: $4.99
