The Ultimate Guide to High-Fidelity 3D Car Models: From Polygon to Photorealism
“`html
The Ultimate Guide to High-Fidelity 3D Car Models: From Polygon to Photorealism
The creation of a convincing, photorealistic 3D car model is often seen as a benchmark of skill in the world of computer graphics. It’s a complex marriage of technical precision and artistic vision, demanding mastery over intricate curved surfaces, complex material properties, and the subtle interplay of light and shadow. Whether you’re an automotive designer visualizing a new concept, a game developer building an immersive racing experience, or a VFX artist integrating a vehicle into a live-action shot, the quality of your 3D car model is paramount. This guide will serve as your comprehensive roadmap, navigating the entire production pipeline. We will deconstruct the essential techniques for creating flawless models, from establishing perfect surface topology and strategic UV mapping to crafting advanced PBR materials. We’ll dive deep into rendering workflows for breathtaking realism and explore critical optimization strategies for real-time applications like games, AR, and VR. By the end, you’ll have a profound understanding of what separates a good 3D car model from a truly exceptional one.
The Foundation: Flawless Topology and Modeling
The journey to a stunning 3D car begins not with flashy materials or dramatic lighting, but with the fundamental structure of the model itself: its topology. Topology refers to the arrangement of polygons (quads, triangles, and n-gons) and the flow of edges that define the 3D shape. For a subject as complex as an automobile, with its blend of large, flowing surfaces and sharp, manufactured details, clean topology is non-negotiable. It directly impacts shading quality, the ability to add fine details, and how the model behaves under subdivision or in different lighting conditions.
The Importance of Clean Edge Flow
The first rule of automotive modeling is to maintain a quad-based workflow wherever possible. Quads (four-sided polygons) subdivide cleanly and predictably, which is essential when using workflows like Subdivision Surface (Sub-D) modeling. The “edge flow” must follow the natural curvature and contours of the car’s body. For instance, edges should wrap smoothly around a wheel arch or flow cleanly along a sharp character line on the side of the vehicle. Poor edge flow results in visible pinching, shading artifacts, and unpredictable reflections, which immediately shatter the illusion of realism. Professionals aim for G2 surface continuity, ensuring that the rate of curvature change is smooth across polygon patches, leading to the seamless, “liquid” reflections seen on real-world car paint.
High-Poly vs. Low-Poly Modeling Workflows
The intended use case for the 3D car model dictates the modeling approach. For high-end marketing renders, film, or automotive visualization, a high-poly model is the standard. These models are typically created using Sub-D modeling in software like 3ds Max, Blender, or Maya. The base cage might only be a few hundred thousand polygons, but when subdivided at render time, it can easily reach several million polygons, capturing every subtle curve with perfect smoothness. Conversely, for real-time applications like video games or AR/VR, a low-poly model is required. These models are performance-focused and must adhere to a strict polygon budget, often ranging from 50,000 to 200,000 triangles for a hero vehicle. The goal here is to preserve the silhouette and key features while minimizing geometric complexity, relying on baked normal maps from a high-poly version to simulate fine details.
Capturing Detail: From Body Panels to Interior Stitching
Authenticity lies in the details. Modeling panel gaps is a critical step; instead of just creating an indentation, the proper technique is to model the actual separated panels with thickness. This allows for realistic shadows and reflections along the seams. Headlights and taillights are complex models within the main model, often composed of multiple parts: the outer glass casing, the chrome reflector bowl, the LED or bulb element, and any internal lenses. For interiors, a balance must be struck. High-priority elements like the dashboard, steering wheel, and seats are modeled with significant detail, while smaller details like stitching can often be achieved more efficiently using a normal map texture, saving countless polygons.
Unwrapping the Beast: Strategic UV Mapping
Once the model’s geometry is finalized, the next technical hurdle is UV mapping. This is the process of “unwrapping” the 3D mesh into a 2D space so that textures can be applied correctly. For a complex object like a car, with its many curved and distinct parts, a strategic and clean UV layout is just as important as the model’s topology. Poor UV mapping leads to stretched, blurry textures and visible seams, instantly undermining the model’s quality.
Planning Your UV Layout and Texel Density
Before you begin unwrapping, you must plan your layout. A key concept here is Texel Density, which refers to the number of texture pixels per unit of 3D space. To maintain consistent detail across the entire car, all UV shells should have a similar texel density. This means a small part, like a side mirror, should have a proportionally smaller area on the UV map than a large part, like the car door. Using tools in your 3D software to visualize and equalize texel density is crucial. This ensures that the carbon fiber texture on your mirror looks just as sharp as the carbon fiber on the hood, without any one part appearing blurry or pixelated in comparison to another.
Seam Placement and Distortion Management
The art of UV mapping lies in hiding the seams. Seams are inevitable, but they should be placed where they are least visible. For cars, ideal locations include:
- Along hard edges or panel gaps.
- On the underside of the chassis.
- Inside wheel wells or door jambs.
On large, curved surfaces like the hood or roof, seams are more difficult to hide. In these cases, projection mapping techniques (like planar or cylindrical mapping) followed by careful relaxation of the UVs can minimize distortion. Most UV editing tools have “checker map” overlays that make it easy to spot areas of stretching or compression, allowing you to adjust the UVs until the squares on the map appear uniform across the surface.
UDIMs for Ultimate Detail
For cinematic-quality assets, a single 4K texture map is often insufficient to cover the entire car with the required detail. This is where the UDIM (U-Dimension) workflow comes in. UDIMs allow you to use multiple texture maps (each corresponding to a tile in UV space) on a single object. A common UDIM layout for a car might be:
- UDIM 1001: Main car body panels.
- UDIM 1002: Interior components (dashboard, seats).
- UDIM 1003: Wheels, tires, and brake calipers.
- UDIM 1004: Undercarriage and mechanical parts.
This approach allows you to assign a full 4K or 8K texture set to each section, resulting in incredibly sharp and detailed automotive rendering results without compromising on texture resolution.
Achieving Realism: PBR Materials and Shading
With a solid model and clean UVs, the next step is breathing life into the asset with realistic materials. The modern standard for this is the Physically Based Rendering (PBR) workflow, which aims to simulate how light interacts with surfaces in the real world. This approach is fundamental to creating convincing metals, plastics, glass, and especially the famously complex car paint.
Understanding the PBR Workflow (Metallic/Roughness)
The most common PBR workflow is Metallic/Roughness. It relies on a set of core texture maps that control different surface attributes:
- Albedo (Base Color): This defines the raw color of the surface, devoid of any lighting or shadow information. For a red car, this map would be a flat red.
- Metallic: A grayscale map that tells the shader if a surface is a metal (white) or a non-metal/dielectric (black). There are rarely in-between values. Car paint is non-metal, while chrome trim is full metal.
- Roughness: Arguably the most important map for realism. This grayscale map controls how rough or smooth a surface is, which dictates how sharp or blurry reflections are. A polished clear coat would be near-black (smooth), while a rubber tire would be near-white (rough).
- Normal: This map fakes fine surface detail without adding extra polygons. It’s used for things like leather grain, tire treads, or the texture of cast metal on an engine block.
Crafting the Perfect Car Paint Shader
A simple PBR material isn’t enough for car paint. Realistic car paint is a multi-layered material. In render engines like V-Ray, Corona, or Arnold, and even in game engines like Unreal, you can build a layered shader. A typical setup includes:
- Base Layer: This is the paint color itself. You can add a subtle noise or “flake” map to the Normal or Roughness channel here to simulate the metallic flakes embedded in the paint.
- Clear Coat Layer: A separate, highly reflective layer is added on top. This layer has its own roughness and IOR (Index of Refraction) settings, perfectly simulating the glossy, protective varnish on a real car. The ability to add subtle imperfections like micro-scratches or an “orange peel” effect to the clear coat’s normal map is what truly sells the realism.
This layered approach is the secret to achieving deep, rich reflections that appear to sit beneath a glossy surface.
Texturing Beyond the Paint
A car is a symphony of different materials. For chrome parts, the material is set to full metallic with a very low roughness value. For glass, you’ll need to control transparency, IOR (typically around 1.52 for glass), and color. Tire rubber requires a high roughness value and a detailed normal map for the sidewall lettering and tread pattern. Interior plastics often have a base roughness with a subtle noise map layered on top to break up the uniformity. Sourcing or creating high-resolution, tileable textures for these elements is essential for close-up shots.
The Final Image: Rendering for Photorealism
The rendering stage is where all your hard work in modeling and texturing comes together. This is the process of generating the final 2D image from your 3D scene. The quality of your render is determined by three main factors: lighting, render engine settings, and post-processing. A great model can look mediocre with poor lighting, while a simple scene can look stunning with a masterful lighting setup.
Lighting is Everything: HDRI and Studio Setups
The fastest way to achieve realistic lighting and reflections is by using an Image-Based Lighting (IBL) setup with a High Dynamic Range Image (HDRI). An HDRI is a 360-degree panoramic photo that contains a vast range of lighting information. When used to illuminate a 3D scene, it provides not only the main light source (the sun) but also all the subtle bounced light and detailed reflections from the environment. For automotive rendering, an HDRI of an outdoor road, a professional photo studio, or a cityscape can produce incredible results instantly. For more artistic control, a manual studio setup using 3D lights (key, fill, and rim lights) can be used to sculpt the light and highlight the car’s form in a more deliberate, dramatic way.
Render Engine Deep Dive (V-Ray/Corona vs. Cycles)
Different render engines offer different toolsets. V-Ray and Corona Renderer are industry giants, particularly in architectural and automotive visualization. They are renowned for their speed, stability, and production-proven features like advanced material shaders (including dedicated car paint materials), efficient render pass systems (AOVs), and powerful denoising capabilities. Blender’s built-in Cycles engine is an incredibly capable path-tracer that can produce equally stunning results. Its node-based shading system is flexible and powerful, and its integration within Blender makes for a seamless workflow. Regardless of the engine, key settings to manage include sampling (the number of rays cast to resolve noise), depth of field for a photographic effect, and motion blur for shots of a moving car.
Post-Processing and Compositing
The raw render out of the 3D application is rarely the final image. Professionals render their images as 32-bit EXR files, which preserve the high dynamic range of lighting information. They also render out separate passes, such as reflections, specular, ambient occlusion, and a clown pass (object ID map). These passes are then imported into compositing software like Adobe Photoshop, After Effects, or Blackmagic Fusion. In post-production, you can non-destructively:
- Adjust color balance, contrast, and saturation.
- Add lens effects like glare, bloom, and chromatic aberration.
- Enhance shadows using the ambient occlusion pass.
- Isolate specific parts of the car for targeted adjustments using the clown pass.
This final stage is where the image is polished to perfection and given its final cinematic look.
Performance is Paramount: Optimizing for Real-Time and Games
While photorealistic renders prioritize visual fidelity above all else, creating 3D car models for game engines like Unreal Engine or Unity requires a completely different mindset. Here, performance is king. Every polygon, texture, and material must be ruthlessly optimized to ensure the application runs at a smooth, consistent frame rate, typically 60 frames per second or higher.
The Art of Retopology and Baking
The core of game asset optimization is the high-poly to low-poly baking workflow. The process is as follows:
- Create a stunning, million-polygon high-poly model as described earlier.
- Build a new, clean, low-poly mesh over the top of it. This process, called retopology, focuses on creating an efficient mesh that perfectly matches the silhouette of the high-poly model.
- “Bake” the surface details from the high-poly model into texture maps that are then applied to the low-poly model. The most important baked map is the Normal Map, which tricks the game engine’s lighting into thinking the low-poly surface has all the dents, seams, and curves of the high-poly version. Other useful maps to bake are Ambient Occlusion, Curvature, and Thickness.
LODs and Draw Call Management
Even an optimized low-poly model can be too heavy to render hundreds of times in a scene. This is solved using Levels of Detail (LODs). An LOD system uses multiple versions of the same model at decreasing levels of complexity. For example:
- LOD0: 100,000 triangles. Used when the car is close to the camera.
- LOD1: 50,000 triangles. Swapped in when the car is at a medium distance.
- LOD2: 15,000 triangles. Used when the car is far away.
- LOD3: A 2,000-triangle “impostor” for when the car is a speck in the distance.
Another critical optimization is managing draw calls. A draw call is a command from the CPU to the GPU to draw an object. Too many draw calls create a CPU bottleneck. To reduce them, artists combine multiple separate meshes into one and consolidate materials. High-quality game assets from marketplaces like 88cars3d.com often come pre-configured with multiple LODs, saving developers significant time.
Texture Optimization: Atlasing and Compression
Just as geometry must be optimized, so too must textures. VRAM (video memory) is a finite resource. To manage it, artists employ texture atlasing—the technique of combining textures from multiple different parts (e.g., dashboard bits, interior trim, small exterior parts) onto a single, larger texture sheet. This dramatically reduces the number of materials needed and, by extension, the number of draw calls. Furthermore, game engines use specialized texture compression formats (like DXT or BCn) that significantly reduce the file size of textures in memory, with a minimal loss in visual quality.
Beyond the Screen: Preparing Models for AR/VR and 3D Printing
The utility of 3D car models extends beyond traditional screens. Emerging fields like Augmented Reality (AR), Virtual Reality (VR), and 3D Printing present unique technical challenges and requirements that demand specialized preparation of the 3D assets.
Optimization for AR/VR: The File Format Challenge
AR and VR applications, especially those running on mobile devices or standalone headsets like the Meta Quest, operate under even stricter performance constraints than PC or console games. Poly counts must be extremely low, and texture sizes must be kept to a minimum (e.g., 2K or even 1K). The choice of file format is also critical. The two industry standards for AR are GLB (for Android/web) and USDZ (for Apple iOS). These are container formats that package the 3D model, its textures, and animation data into a single, highly compressed file optimized for real-time rendering on low-power devices. For quick deployment in AR applications, sourcing models from platforms like 88cars3d.com that already provide optimized GLB and USDZ formats can be a massive timesaver.
Preparing for 3D Printing: Watertight Meshes
Preparing a model for 3D printing is a completely different discipline. Unlike rendering, where visual tricks can hide imperfections, a 3D printer needs a perfect, physically plausible mesh. The model must be “watertight” or “manifold.” This means it must be a completely enclosed volume with no holes. Common problems that must be fixed include:
- Non-manifold edges: Edges shared by more than two faces.
- Inverted normals: Faces pointing inward instead of outward.
- Intersecting geometry: Separate parts crashing through each other.
Specialized software like Meshmixer or built-in tools like Blender’s 3D-Print Toolbox are used to analyze and repair these issues, ensuring the model can be successfully interpreted by the printer’s slicing software.
Slicing and Material Considerations
Once the mesh is repaired, it’s imported into a “slicer” program (like Cura or PrusaSlicer). This software slices the 3D model into hundreds or thousands of thin horizontal layers and generates the G-code instructions for the 3D printer. When preparing the model, artists must also consider the scale and limitations of the printer. Very fine details, like thin radio antennas or intricate grille patterns, may need to be thickened or exaggerated to ensure they print successfully without breaking. The model might also need to be broken down into smaller, separate parts that can be printed individually and assembled later, especially for complex models or multi-material prints.
Conclusion: The Synthesis of Art and Engineering
Creating a high-fidelity 3D car model is an endeavor that sits at the nexus of technical expertise and artistic sensibility. As we’ve explored, the journey from a simple polygon to a photorealistic render or a performance-optimized game asset is paved with meticulous steps. It begins with a foundation of clean topology, followed by the strategic precision of UV mapping. It finds its soul in the nuanced layers of PBR materials and is brought to life through the careful application of light and shadow in the rendering stage. For real-time applications, this artistic creation must then be skillfully re-engineered for maximum performance without sacrificing its visual essence. Each stage is a craft in itself, requiring both a deep understanding of the software and an eye for the details that define realism. The next time you see a stunning automotive render or race a hyper-detailed car in a video game, you’ll have a greater appreciation for the immense skill involved. To further your own journey, apply these principles to your next project, or take the time to deconstruct professionally made assets, like those available on 88cars3d.com, to see how these techniques are masterfully executed in a production environment.
“`
Featured 3D Car Models

Mercedes-Benz Citan 2025 3D Model
Texture: Yes
Material: Yes
Download the Mercedes-Benz Citan 2025 3D Model featuring clean geometry, realistic detailing, and a fully modeled interior. Includes .blend, .fbx, .obj, .glb, .stl, .ply, .unreal, and .max formats for rendering, simulation, and game development.
Price: $14.99

Mercedes-Benz C63 AMG 2012 3D Model
Texture: Yes
Material: Yes
Download the Mercedes-Benz C63 AMG 2012 3D Model featuring clean geometry, realistic detailing, and a fully modeled interior. Includes .blend, .fbx, .obj, .glb, .stl, .ply, .unreal, and .max formats for rendering, simulation, and game development.
Price: $14.99

Mercedes-Benz E-Class S211 3D Model
Texture: Yes
Material: Yes
Download the Mercedes-Benz E-Class S211 3D Model featuring clean geometry, realistic detailing, and a fully modeled interior. Includes .blend, .fbx, .obj, .glb, .stl, .ply, .unreal, and .max formats for rendering, simulation, and game development.
Price: $14.99

Mercedes-Benz CLS63 AMG (C218) 2014 3D Model
Texture: Yes
Material: Yes
Download the Mercedes-Benz CLS63 AMG (C218) 2014 3D Model featuring clean geometry, realistic detailing, and a fully modeled interior. Includes .blend, .fbx, .obj, .glb, .stl, .ply, .unreal, and .max formats for rendering, simulation, and game development.
Price: $14.99

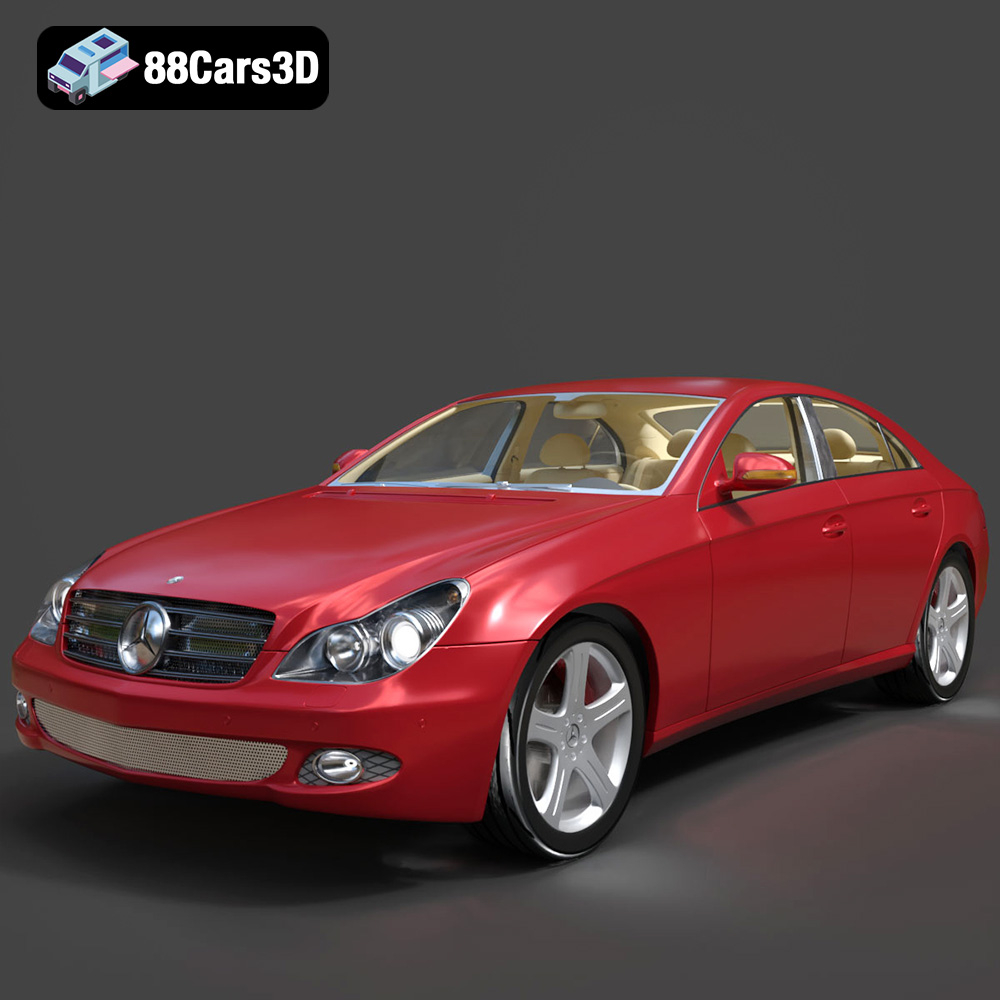
Mercedes-Benz CLS-Klasse 3D Model
Texture: Yes
Material: Yes
Download the Mercedes-Benz CLS-Klasse 3D Model featuring clean geometry, realistic detailing, and a fully modeled interior. Includes .blend, .fbx, .obj, .glb, .stl, .ply, .unreal, and .max formats for rendering, simulation, and game development.
Price: $14.99

Mercedes-Benz CLS 500 3D Model
Texture: Yes
Material: Yes
Download the Mercedes-Benz CLS 500 3D Model featuring clean geometry, realistic detailing, and a fully modeled interior. Includes .blend, .fbx, .obj, .glb, .stl, .ply, .unreal, and .max formats for rendering, simulation, and game development.
Price: $14.99

Mercedes-Benz CL-Klasse 2001 3D Model
Texture: Yes
Material: Yes
Download the Mercedes-Benz CL-Klasse 2001 3D Model featuring clean geometry, realistic detailing, and a fully modeled interior. Includes .blend, .fbx, .obj, .glb, .stl, .ply, .unreal, and .max formats for rendering, simulation, and game development.
Price: $14.99

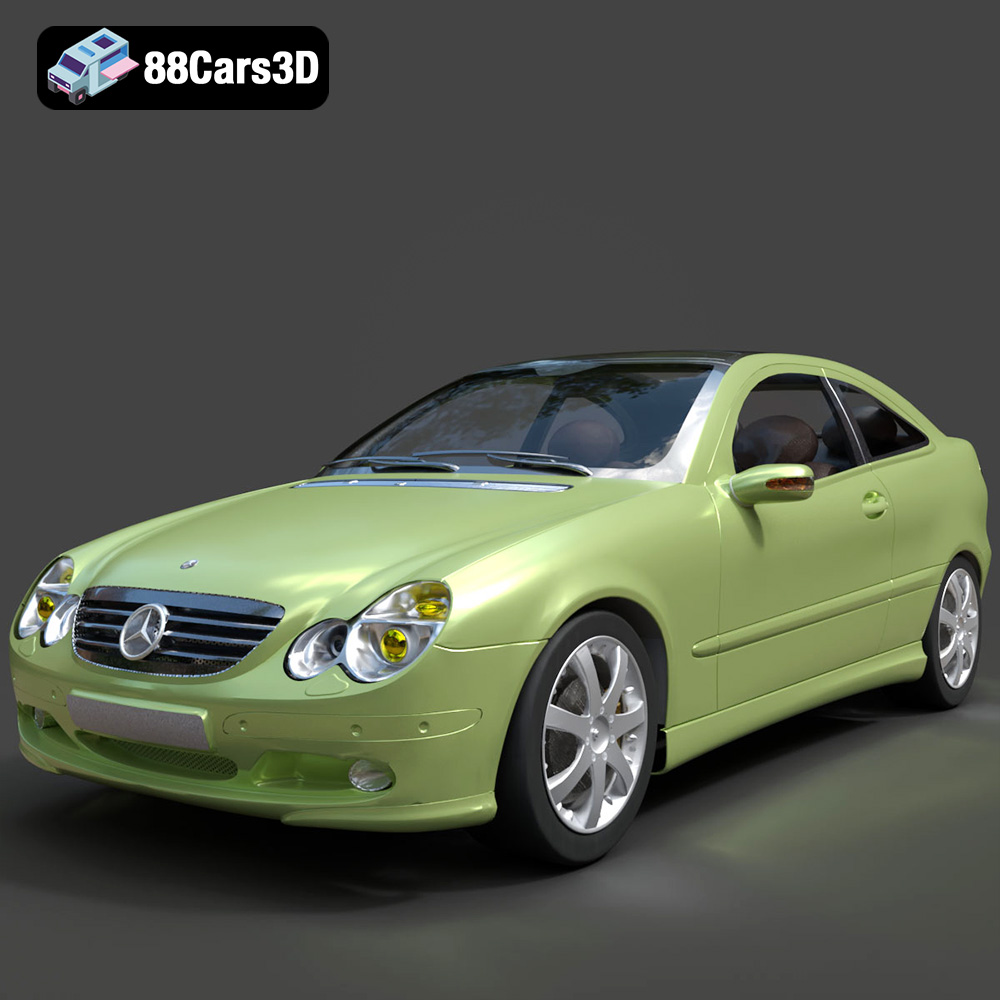
Mercedes-Benz C-Klasse Sportcoupe 2000 3D Model
Texture: Yes
Material: Yes
Download the Mercedes-Benz C-Klasse Sportcoupe 2000 3D Model featuring clean geometry, realistic detailing, and a fully modeled interior. Includes .blend, .fbx, .obj, .glb, .stl, .ply, .unreal, and .max formats for rendering, simulation, and game development.
Price: $14.99

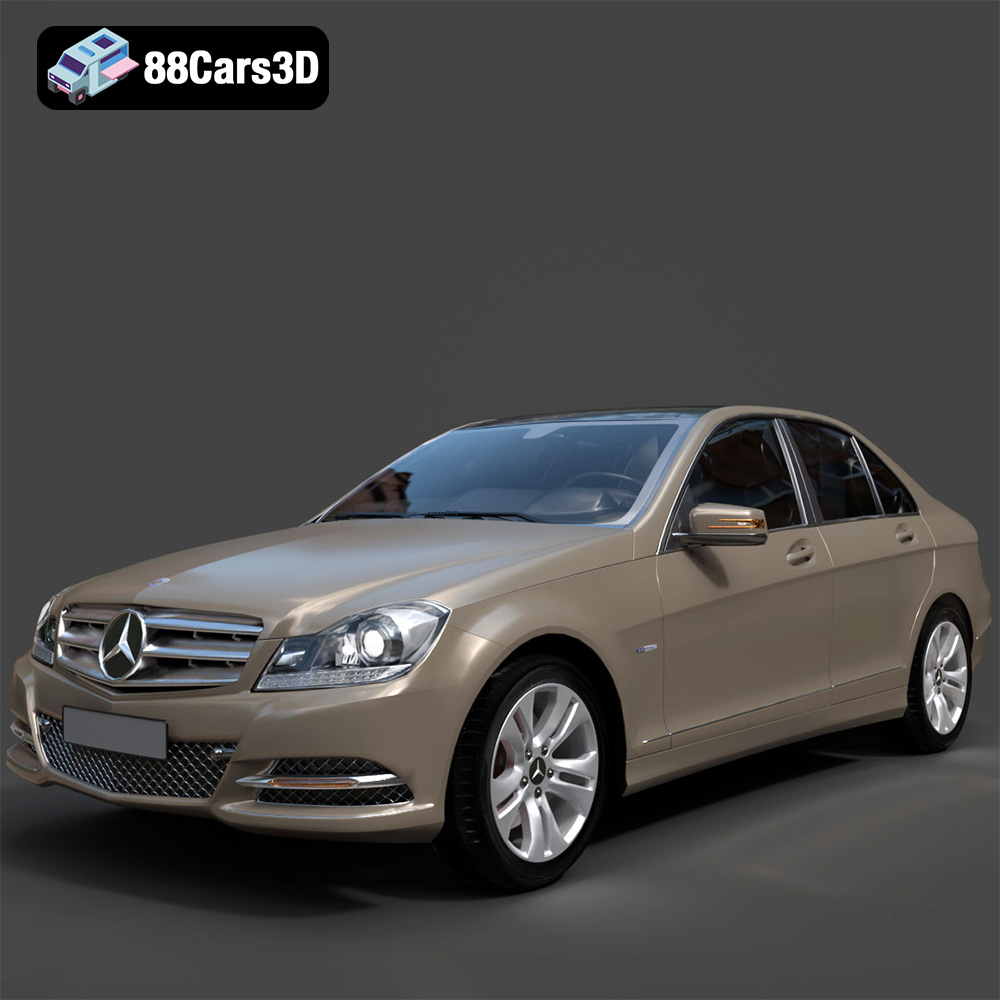
Mercedes-Benz C-Klasse 204 2011 3D Model
Texture: Yes
Material: Yes
Download the Mercedes-Benz C-Klasse 204 2011 3D Model featuring clean geometry, realistic detailing, and a fully modeled interior. Includes .blend, .fbx, .obj, .glb, .stl, .ply, .unreal, and .max formats for rendering, simulation, and game development.
Price: $14.99

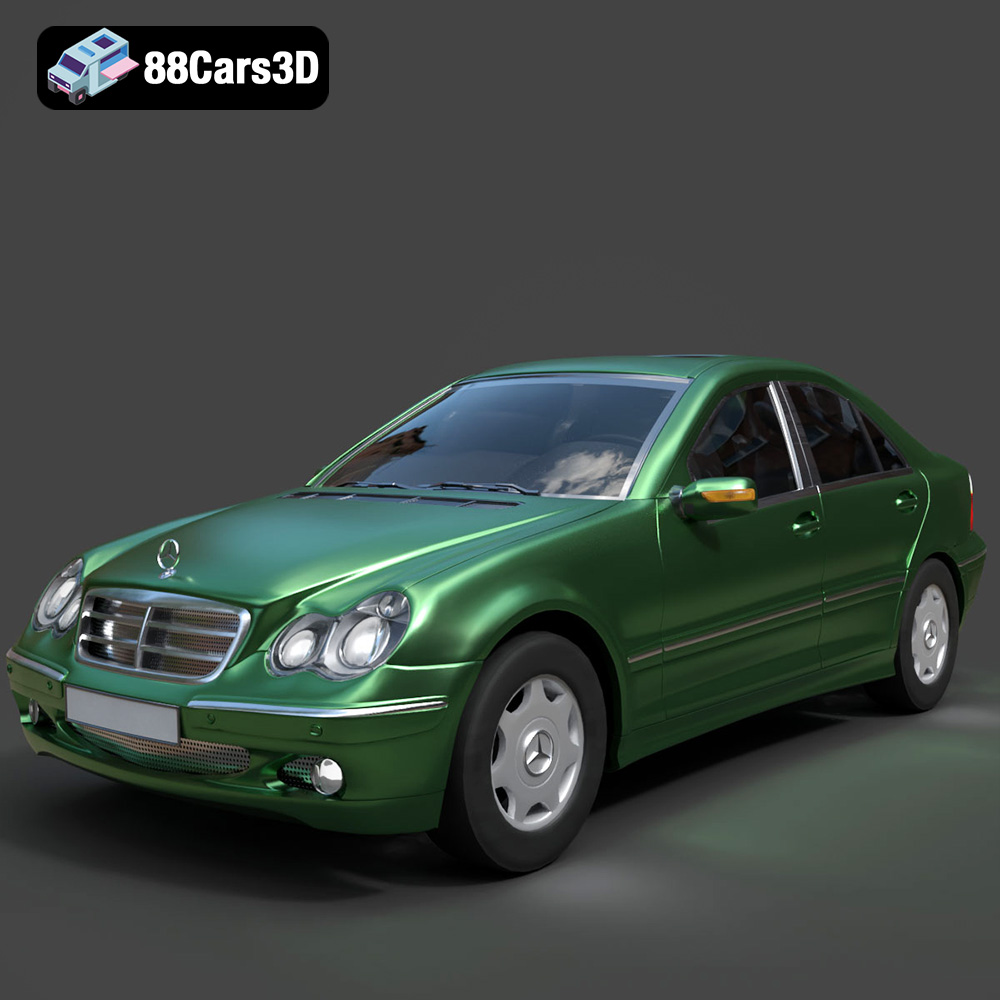
Mercedes-Benz C-Class Sedan 2000 3D Model
Texture: Yes
Material: Yes
Download the Mercedes-Benz C-Class Sedan 3D Model featuring clean geometry, realistic detailing, and a fully modeled interior. Includes .blend, .fbx, .obj, .glb, .stl, .ply, .unreal, and .max formats for rendering, simulation, and game development.
Price: $4.99
