The Ultimate Guide to Optimizing High-Poly 3D Car Models for Real-Time Rendering and Visualization
“`html
The Ultimate Guide to Optimizing High-Poly 3D Car Models for Real-Time Rendering and Visualization
In the world of digital art, few things are as captivating as a photorealistic 3D car. From the gleaming clear coat of a supercar in a blockbuster video game to the precise reflections in an architectural visualization, these complex assets represent a pinnacle of 3D modeling and rendering. However, the million-polygon model used for a cinematic shot in V-Ray or Corona is a performance nightmare in a real-time environment like Unreal Engine or Unity. The secret to bridging this gap lies in a meticulous, technical process of optimization. This isn’t about simply reducing polygons; it’s a multi-stage workflow that transforms a dense, detailed model into a lean, performant, and visually stunning asset ready for any interactive application.
This comprehensive guide will walk you through the entire professional pipeline. We will deconstruct the process of converting a high-poly 3D car model into a game-ready or real-time asset. You will learn the critical steps of analyzing and preparing the source mesh, the art of manual and procedural retopology, strategic UV unwrapping for maximum detail, baking and PBR texturing workflows, and finally, engine-specific implementation, including LOD creation and collision setup. Whether you’re a game developer, an automotive designer, or a visualization artist, mastering these techniques will empower you to deliver breathtaking quality without sacrificing performance.
The Foundation: Preparing Your High-Poly Source Model
Before you decimate a single polygon, the success of your entire optimization workflow depends on the quality and preparation of your source model. Starting with a clean, well-structured high-poly asset, like the professional models available on marketplaces such as 88cars3d.com, can save you countless hours of cleanup and frustration. The initial preparation phase is about analysis, organization, and strategic separation of components to create a logical foundation for the complex steps that follow.
Evaluating the Source Mesh
A high-quality source model is your best starting point. When you first open the file, perform a thorough technical audit. Look for clean, quad-based topology, even if it’s extremely dense. Quads deform and subdivide more predictably than triangles (ngons are an absolute no-go). Check for common mesh errors like non-manifold geometry, open edges, or intersecting faces. Most 3D software has built-in analysis tools, such as the “STL Check” modifier in 3ds Max or Blender’s “Mesh Analysis” overlay, which can highlight these issues. A clean source model ensures that your retopology and baking processes will be smooth and artifact-free. The model should also have its scale correctly set to real-world units (e.g., centimeters) and its transforms frozen.
Organizing the Scene and Naming Conventions
A disorganized scene is a recipe for disaster. Establish a strict and logical naming convention and hierarchy from the very beginning. This is arguably one of the most crucial steps for a complex asset like a car. Group objects logically, for example, by material type or by functional part. A typical structure might look like this:
- Chassis_Group (body panels, doors, bumpers)
- Wheels_Group (tires, rims, brake calipers, lug nuts)
- Interior_Group (seats, dashboard, steering wheel)
- Glass_Group (windshield, windows, light covers)
Within these groups, name every single object descriptively: Lamborghini_Aventador_Chassis_GEO, Lamborghini_Aventador_Wheel_FL_GEO. This meticulous organization is not just for tidiness; it’s essential for automating baking processes (using “match by mesh name” features), streamlining material assignments, and setting up rigs or animations in the game engine.
Separating Components for Optimization
Ensure that all distinct components of the car are separate geometric objects. The doors, hood, trunk, wheels, steering wheel, and brake calipers should all be individual meshes. This separation is vital for several reasons. First, it allows you to optimize different parts to different degrees. The interior, which is often less visible, can have a much lower polygon count than the exterior shell. Second, it’s necessary for interactivity. If you want the doors to open or the wheels to spin in your application, they must be separate objects with correctly placed pivots. Finally, it simplifies the baking process by allowing you to “explode” the mesh, moving parts away from each other to prevent projection errors when baking ambient occlusion and normal maps.
Retopology: Crafting a Performance-First, Game-Ready Mesh
Retopology is the heart of the optimization process. It is the art of building a new, clean, and efficient low-polygon mesh over the top of your high-polygon source. This new mesh must be incredibly efficient, using the absolute minimum number of polygons required to perfectly capture the silhouette and curvature of the original model. Good retopology is the difference between a real-time asset that looks sharp and smooth versus one that appears faceted and suffers from shading artifacts. It is a technical skill that blends artistry with a deep understanding of how 3D models are rendered.
Key Principles of Automotive Topology
When creating the low-poly mesh for a vehicle, several principles are non-negotiable for achieving a professional result. The primary goal is to maintain the silhouette. From every angle, the low-poly model’s outline must match the high-poly’s perfectly. Beyond the silhouette, edge flow is paramount. Your polygon edges should follow the car’s natural curves and character lines. This ensures that when a smoothing algorithm is applied, reflections flow cleanly and naturally across the surface. Avoid long, thin triangles, as they often lead to shading and lighting artifacts. You should concentrate polygon density in areas of high curvature, like wheel arches and fender flares, while using larger polygons on flat surfaces like the roof or door panels. For target polygon counts, a hero game asset might be 80,000-150,000 triangles, while a background vehicle could be as low as 15,000-30,000 triangles.
Manual vs. Automated Retopology
There are two main approaches to retopology: manual and automated. Manual retopology, using tools like Quad Draw in Maya, Retopoflow in Blender, or the Graphite Modeling Tools in 3ds Max, provides the ultimate control. It allows you to meticulously place every vertex and define every edge loop, ensuring perfect edge flow for pristine reflections. This is the preferred method for the main body of the car. Automated tools like ZRemesher in ZBrush or the instant retopology functions in other software can be incredibly fast and are excellent for more organic or less critical components, like seats or complex engine parts. A hybrid approach is often the most efficient workflow: use automated tools for a quick first pass on complex mechanical parts, then perform a manual cleanup pass to optimize the edge flow.
Handling Fine Details: Grilles, Vents, and Decals
A common mistake for beginners is trying to model every single detail in the low-poly mesh. Complex features like honeycomb grilles, fine mesh vents, panel gaps, and small bolts should not be part of the low-poly geometry. Modeling these features would result in an astronomical polygon count with no discernible benefit in a real-time scenario. Instead, these details are perfectly preserved by “baking” them from the high-poly model into a normal map. This texture map creates the illusion of complex surface detail on the simple, flat, low-poly surface, saving thousands of polygons while retaining visual fidelity.
UV Unwrapping and Baking: Projecting Detail onto the Low-Poly Model
Once your optimized, low-poly model is complete, the next critical stage is creating its UV map. A UV map is a 2D representation of your 3D mesh’s surface, acting as a blueprint that tells the rendering engine how to apply 2D textures to the 3D object. A well-executed UV map is essential for high-quality texturing, efficient memory usage, and artifact-free baking. This is the canvas onto which we will project all the rich surface detail from our high-poly source model through a process called baking.
Strategic UV Unwrapping
The goal of UV unwrapping is to flatten your 3D model with minimal stretching and distortion. This requires strategically placing “seams” to cut the model apart. For automotive models, seams should be hidden in areas that are naturally occluded or less visible: on the underside of the car, along sharp panel edges, inside door jambs, or behind trim pieces. A key concept here is texel density—the amount of texture resolution (pixels) per unit of 3D space. You should strive for a consistent texel density across the entire car body to ensure uniform detail. You can use a checkerboard pattern texture to visualize this; if the squares are stretched or vary wildly in size across the model, your UVs need adjustment. Finally, UV packing is crucial. All your unwrapped UV shells must be efficiently arranged within the 0-to-1 UV space to maximize texture usage and minimize wasted memory.
The Art of Baking High-Quality Maps
Baking is the process of transferring mesh details from the high-poly model to a texture map that can be used by the low-poly model. This is performed using specialized software like Marmoset Toolbag, Adobe Substance 3D Painter, or the built-in baking tools in Blender and 3ds Max. The most important maps to bake are:
- Normal Map: This is the most critical map. It captures all the fine surface details like panel lines, vents, bolts, and curves, creating the illusion of high-poly geometry on your low-poly mesh.
- Ambient Occlusion (AO): This map simulates soft contact shadows in areas where geometry is close together (e.g., where a door panel meets the chassis), adding depth and realism.
- Curvature Map: This map highlights the convex and concave edges of your model, which is invaluable for procedural texturing later on (e.g., adding edge wear or dirt accumulation).
To ensure a clean bake without errors, you’ll need to use a “cage” or “explosion” technique. A cage is a slightly inflated version of your low-poly mesh that acts as the projection volume, while an exploded bake involves moving the individual parts of the car away from each other to prevent them from incorrectly projecting shadows onto one another.
Texture Atlasing for Performance
For peak performance, especially in game development and AR/VR, reducing the number of materials on your model is vital. Each separate material often results in an additional “draw call” for the GPU, and minimizing draw calls is a key optimization strategy. Texture atlasing is the technique used to achieve this. It involves combining the UVs of multiple, separate objects (e.g., the car body, doors, and bumpers) into a single, shared UV layout. This allows them all to use one material and one set of textures (one albedo map, one normal map, etc.), drastically reducing the asset’s performance cost.
Creating Believable Surfaces with PBR Texturing
With a perfectly optimized model and a clean set of baked texture maps, you’re ready to create the materials that will bring your car to life. The industry standard for creating realistic, dynamic surfaces is the Physically Based Rendering (PBR) workflow. PBR aims to simulate the properties of real-world materials by adhering to physical principles of how light interacts with a surface. This approach ensures that your 3D car model will look correct and believable in any lighting condition, a crucial requirement for real-time visualization.
Understanding PBR Workflows: Metal/Roughness
The most common PBR workflow used in real-time engines is Metal/Roughness. It relies on a set of core texture maps to define a material’s properties:
- Albedo (or Base Color): This map defines the pure color of a surface, completely devoid of any lighting or shadow information. For a red car, this would be a flat red color.
- Metallic: This is a simple black-and-white map. White values (1) indicate that a surface is a raw metal, while black values (0) indicate it is a non-metal (a “dielectric”), such as plastic, rubber, or glass. There are rarely in-between gray values.
- Roughness: This is one of the most important maps for realism. It’s a grayscale map that controls the microsurface detail. Black values (0) create a perfectly smooth, mirror-like surface (like chrome), while white values (1) create a very rough, diffuse surface (like a tire).
- Normal & AO: These are the maps we baked earlier, used to add surface detail and subtle shadowing.
By combining these maps in a PBR shader, you can accurately recreate almost any material found on a vehicle.
Texturing the Complex Car Paint Shader
Automotive paint is notoriously one of the most complex materials to replicate digitally. A high-quality car paint shader often simulates multiple layers. In modern game engines like Unreal Engine and Unity’s HDRP, these are often built-in features. The shader typically consists of:
- Base Layer: This contains the primary color (Albedo) and metallic properties. For metallic paints, this layer will have a high metallic value and a corresponding roughness map.
- Flake Layer: To simulate the small metallic flakes in the paint, a secondary, high-frequency normal map is often used. This map scatters light in multiple directions, creating that characteristic sparkle.
- Clear Coat Layer: This is a crucial final layer that simulates the glossy varnish on top of the paint. It’s a non-metallic layer with a very low roughness value (making it highly reflective). The shader’s clear coat parameter allows light to penetrate this layer, interact with the base layer, and then reflect off the top, creating a deep, wet look.
Engine Implementation: LODs, Collisions, and Final Setup
The 3D asset is modeled, unwrapped, and textured. The final, critical stage is preparing and importing it correctly into your chosen real-time engine, be it Unreal Engine, Unity, or another platform. This involves creating Levels of Detail (LODs) to manage performance, setting up accurate physics collisions, and configuring materials and lighting for the best possible visual output. This is where your optimized asset truly becomes an interactive part of a larger world.
Creating and Implementing Levels of Detail (LODs)
Levels of Detail (LODs) are absolutely essential for any real-time application with an open world or large environment. The concept is simple: you create multiple versions of your car model at decreasing levels of complexity. The engine automatically displays the highest quality version (LOD0) when the camera is close, and seamlessly swaps to lower quality, lower-polygon versions (LOD1, LOD2, LOD3) as the camera moves further away. This drastically reduces the rendering load on the GPU.
- LOD0: The full-quality game-ready mesh (e.g., 100,000 triangles). All details are present.
- LOD1: A 50-60% reduction (e.g., 45,000 triangles). Smaller details are removed, interior simplified, wheel roundness reduced.
- LOD2: A further 70-80% reduction (e.g., 10,000 triangles). The interior might be a simple blockout, windows are opaque, and complex shapes are simplified.
- LOD3/Impostor: An extremely low-poly mesh (<1,500 triangles) for very distant viewing, sometimes replaced entirely by a 2D billboard image.
You can create these LODs manually or by using automated tools like Simplygon, InstaLOD, or the built-in auto-LOD systems in Unreal Engine and Unity.
Setting Up in Unreal Engine vs. Unity
Each engine has its own specific import process and material system. When importing your FBX file, both engines have dialogues for setting up LODs, generating lightmap UVs (for static lighting), and handling materials.
In Unreal Engine, you’ll want to leverage the powerful material editor. For car paint, the “Clear Coat” shading model is ideal. You can also use the Automotive Materials pack from the marketplace as a great starting point. Naming your LOD meshes correctly in your 3D application (e.g., CAR_LOD0, CAR_LOD1) will allow Unreal to automatically create the LOD group on import.
In Unity, using the High Definition Render Pipeline (HDRP) is recommended for high-fidelity automotive rendering. The HDRP Lit shader has built-in support for clear coats, anisotropy, and other advanced material features. You will need to create a “LOD Group” component and manually assign your different LOD meshes to it, defining the screen percentage at which each one should switch.
Collision Meshes for Physics
Never use your high-poly visual mesh for physics calculations. It’s computationally far too expensive. Instead, you create one or several simple, low-poly, convex meshes that roughly encapsulate the shape of the car. These are called collision meshes. In your 3D software, you would create these simple shapes and, for Unreal Engine, name them with a `UCX_` prefix (e.g., `UCX_CAR_Body`, `UCX_CAR_Wheel`). When you import the FBX, Unreal will automatically recognize these meshes and build a compound physics asset from them. This ensures efficient and stable physics interactions within the game world.
Special Considerations: Optimizing for AR/VR and Mobile
While the core principles of optimization remain the same, designing assets for Augmented Reality (AR), Virtual Reality (VR), and mobile platforms requires a far more aggressive approach. These platforms operate under extremely tight performance and memory budgets, where every polygon, every draw call, and every kilobyte of texture memory counts. The balancing act between quality and performance is tilted heavily towards performance.
Aggressive Polycount and Draw Call Reduction
The target polycounts for these platforms are an order of magnitude lower. A “hero” vehicle in a high-end VR experience might be limited to 30,000-50,000 triangles, while a typical mobile game asset might need to be under 15,000 triangles. Draw calls are even more critical. Here, texture atlasing becomes mandatory. The goal is often to get the entire vehicle down to a single material, and therefore a single draw call, for maximum efficiency. This means the exterior, interior, wheels, and glass might all share one texture set. If the user cannot enter the vehicle, the interior should be deleted entirely or replaced with a heavily simplified blockout mesh with a baked texture.
File Formats and Texture Constraints
For web and mobile AR, specific file formats are standard. The glTF/GLB format is the modern standard for web-based 3D, and USDZ is the native format for Apple’s ARKit. These formats are designed to be compact and efficient, packaging the mesh, materials, and textures into a single file. When developing for these platforms, sourcing pre-optimized 3D car models in these formats, which are offered by platforms like 88cars3d.com, can significantly accelerate the development pipeline. Texture resolutions must also be drastically reduced. A single 2048×2048 (2K) texture atlas is often the maximum budget for an entire vehicle. Furthermore, using platform-specific texture compression formats (like ASTC for modern mobile GPUs) is crucial for reducing memory footprint and improving loading times.
Conclusion: From Heavy Mesh to Performant Masterpiece
Transforming a dense, high-polygon 3D car model into a performant, real-time asset is a journey that travels through the core disciplines of a technical artist. We’ve seen that the process begins not with destruction, but with careful preparation and analysis of a quality source model. It then moves into the meticulous craft of retopology, where edge flow and silhouette are king. Through strategic UV mapping and the technical magic of baking, we project immense detail onto an efficient low-poly canvas. This foundation allows us to build stunning, physically-based materials that react believably to light. Finally, by implementing LODs and engine-specific features, we ensure our creation performs flawlessly in any interactive environment, from a high-end PC game to a mobile AR application.
The overarching principle is a calculated balance between visual fidelity and real-time performance. Each step, from choosing where to place a UV seam to deciding on the polygon budget for LOD2, is a decision that impacts this balance. By applying these professional techniques to your next project, you can confidently tackle the challenge of optimization. And to get a head start, consider beginning your workflow with a professionally crafted, well-structured model from a trusted marketplace. Mastering this pipeline will not only elevate the quality of your work but will also solidify your skills as a versatile artist capable of delivering top-tier assets for the demanding worlds of automotive rendering and game development.
“`
Featured 3D Car Models

Mercedes-Benz Citan 2025 3D Model
Texture: Yes
Material: Yes
Download the Mercedes-Benz Citan 2025 3D Model featuring clean geometry, realistic detailing, and a fully modeled interior. Includes .blend, .fbx, .obj, .glb, .stl, .ply, .unreal, and .max formats for rendering, simulation, and game development.
Price: $14.99

Mercedes-Benz C63 AMG 2012 3D Model
Texture: Yes
Material: Yes
Download the Mercedes-Benz C63 AMG 2012 3D Model featuring clean geometry, realistic detailing, and a fully modeled interior. Includes .blend, .fbx, .obj, .glb, .stl, .ply, .unreal, and .max formats for rendering, simulation, and game development.
Price: $14.99

Mercedes-Benz E-Class S211 3D Model
Texture: Yes
Material: Yes
Download the Mercedes-Benz E-Class S211 3D Model featuring clean geometry, realistic detailing, and a fully modeled interior. Includes .blend, .fbx, .obj, .glb, .stl, .ply, .unreal, and .max formats for rendering, simulation, and game development.
Price: $14.99

Mercedes-Benz CLS63 AMG (C218) 2014 3D Model
Texture: Yes
Material: Yes
Download the Mercedes-Benz CLS63 AMG (C218) 2014 3D Model featuring clean geometry, realistic detailing, and a fully modeled interior. Includes .blend, .fbx, .obj, .glb, .stl, .ply, .unreal, and .max formats for rendering, simulation, and game development.
Price: $14.99

Mercedes-Benz CLS-Klasse 3D Model
Texture: Yes
Material: Yes
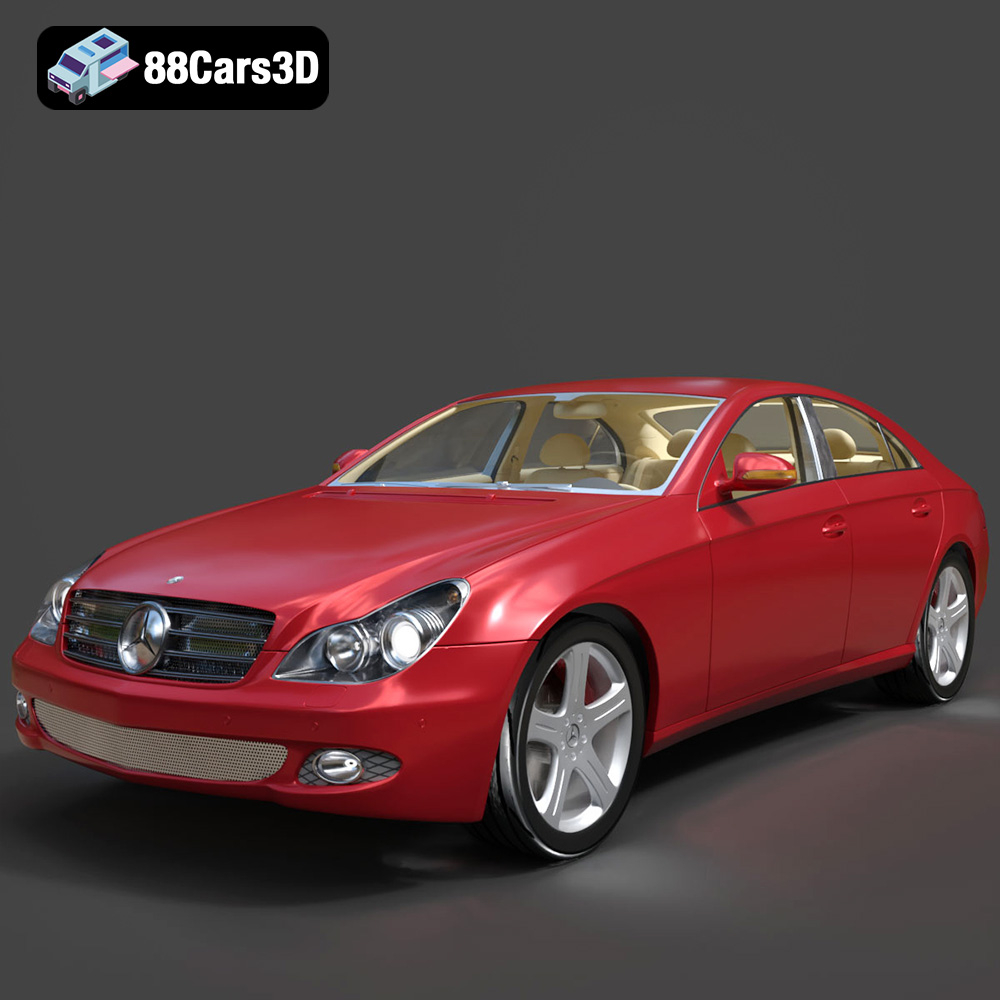
Download the Mercedes-Benz CLS-Klasse 3D Model featuring clean geometry, realistic detailing, and a fully modeled interior. Includes .blend, .fbx, .obj, .glb, .stl, .ply, .unreal, and .max formats for rendering, simulation, and game development.
Price: $14.99

Mercedes-Benz CLS 500 3D Model
Texture: Yes
Material: Yes
Download the Mercedes-Benz CLS 500 3D Model featuring clean geometry, realistic detailing, and a fully modeled interior. Includes .blend, .fbx, .obj, .glb, .stl, .ply, .unreal, and .max formats for rendering, simulation, and game development.
Price: $14.99

Mercedes-Benz CL-Klasse 2001 3D Model
Texture: Yes
Material: Yes
Download the Mercedes-Benz CL-Klasse 2001 3D Model featuring clean geometry, realistic detailing, and a fully modeled interior. Includes .blend, .fbx, .obj, .glb, .stl, .ply, .unreal, and .max formats for rendering, simulation, and game development.
Price: $14.99

Mercedes-Benz C-Klasse Sportcoupe 2000 3D Model
Texture: Yes
Material: Yes
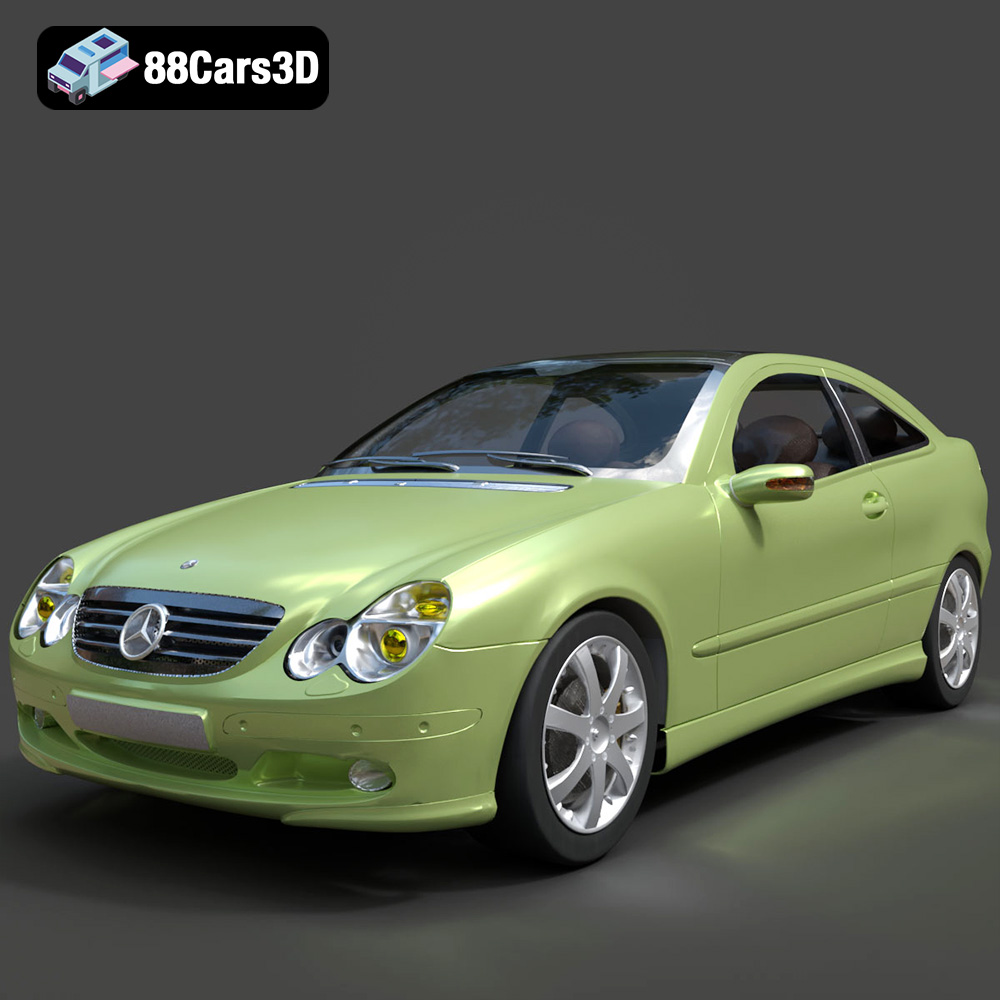
Download the Mercedes-Benz C-Klasse Sportcoupe 2000 3D Model featuring clean geometry, realistic detailing, and a fully modeled interior. Includes .blend, .fbx, .obj, .glb, .stl, .ply, .unreal, and .max formats for rendering, simulation, and game development.
Price: $14.99

Mercedes-Benz C-Klasse 204 2011 3D Model
Texture: Yes
Material: Yes
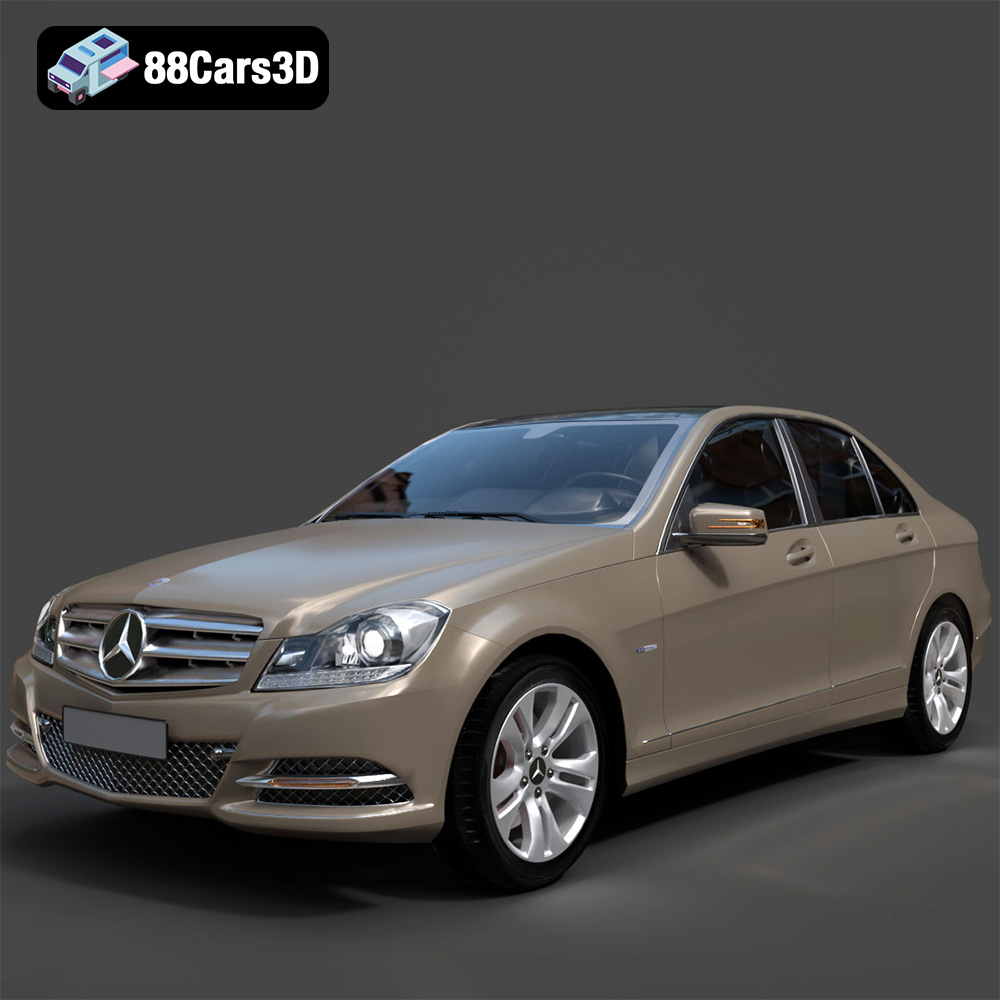
Download the Mercedes-Benz C-Klasse 204 2011 3D Model featuring clean geometry, realistic detailing, and a fully modeled interior. Includes .blend, .fbx, .obj, .glb, .stl, .ply, .unreal, and .max formats for rendering, simulation, and game development.
Price: $14.99

Mercedes-Benz C-Class Sedan 2000 3D Model
Texture: Yes
Material: Yes
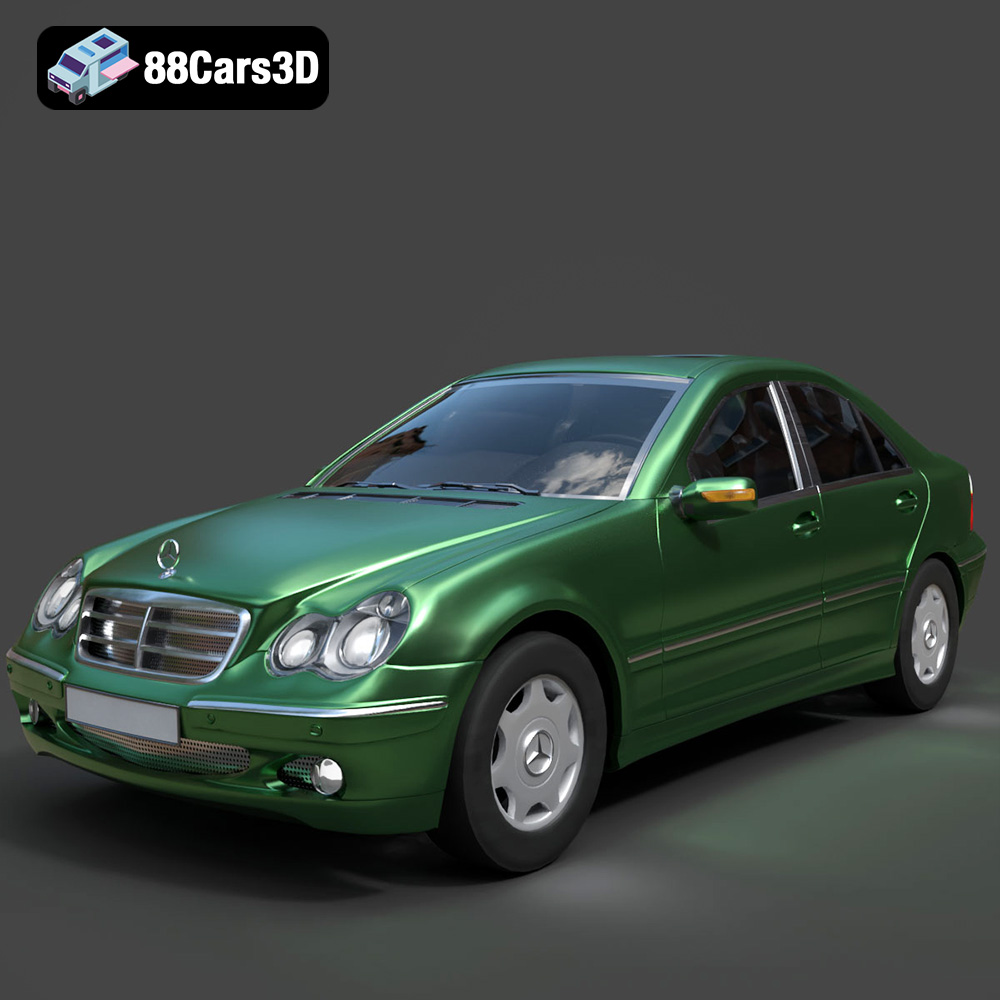
Download the Mercedes-Benz C-Class Sedan 3D Model featuring clean geometry, realistic detailing, and a fully modeled interior. Includes .blend, .fbx, .obj, .glb, .stl, .ply, .unreal, and .max formats for rendering, simulation, and game development.
Price: $14.99
