The Ultimate Guide to Preparing 3D Car Models for Any Application
“`html
The Ultimate Guide to Preparing 3D Car Models for Any Application
A high-quality 3D car model is a masterpiece of digital craftsmanship, a symphony of polygons, textures, and shaders. But its true potential is only unlocked when it’s correctly prepared for its final destination. A model destined for a hyper-realistic automotive render has vastly different requirements than one built for a high-performance racing game or an interactive AR experience. This versatility is both a strength and a significant challenge for 3D artists. Simply purchasing a detailed model isn’t the final step; it’s the starting point of a specialized workflow.
This comprehensive guide will serve as your technical roadmap for transforming a pristine 3D car model into a perfectly optimized asset for any pipeline. We will dive deep into the essential preparation stages, from foundational topology and UV mapping to advanced material creation and platform-specific optimization. Whether you’re an automotive visualization artist aiming for photorealism, a game developer balancing quality with performance, or an engineer preparing a model for 3D printing, you’ll find actionable techniques and industry best practices here. We’ll explore the nuances of preparing models for stunning renders in Corona and V-Ray, optimizing them for real-time engines like Unity and Unreal, and even making them physically real through 3D printing.
The Foundation: Flawless Topology for Automotive Surfaces
Topology, the flow and structure of polygons on a model’s surface, is the bedrock upon which all other processes are built. For automotive models, with their blend of sweeping organic curves and razor-sharp edges, pristine topology isn’t just an aesthetic choice—it’s a technical necessity. It dictates how the model subdivides, how it catches light and reflections, and how easily it can be UV mapped and textured. A model with poor topology will exhibit shading artifacts, deform unpredictably, and be a nightmare to optimize for real-time use.
Quad-Based Modeling for Clean Subdivisions
The golden rule of automotive modeling is to work with quadrilaterals (quads) whenever possible. Quads create clean, predictable edge loops that flow along the car’s contours. This is critical for several reasons:
- Smooth Subdivision: Subdivision surface modifiers (like TurboSmooth in 3ds Max or the Subdivision Surface modifier in Blender) work best with quads, producing smooth, artifact-free results. Triangles and especially n-gons (polygons with more than four sides) can cause pinching, creasing, and shading errors when subdivided.
- Defining Form: Strategic edge loops are used to define the character lines and hard edges of the car. By adding “support loops” or “control edges” close to a sharp crease (like around a headlight housing or along a fender flare), you can control the tightness of the edge when the model is smoothed.
- Predictable Deformation: While cars are rigid bodies, clean topology is still vital for processes like rigging doors or suspension components, ensuring they pivot correctly without unwanted mesh distortion.
When you encounter a complex area where a triangle is unavoidable, the goal is to hide it in a flat, non-visible area where it won’t disrupt the surface curvature or shading.
Understanding Polygon Density and Detail
The required polygon count is entirely context-dependent. There is no single “correct” number. A high-quality source model, like those found on marketplaces such as 88cars3d.com, is often created as a “high-poly” or “mid-poly” asset, providing a perfect base for multiple applications.
- Hero Render Models: For close-up marketing shots or cinematic renders, polygon counts can range from 500,000 to over 2 million triangles. Here, detail is paramount. The mesh needs to be dense enough to hold its shape without subdivision, or it’s designed to be smoothed 1-2 levels at render time.
- Game-Ready “High-Poly”: This is the source model used to bake details onto a low-poly mesh. It typically ranges from 150,000 to 500,000 triangles. It needs enough detail to create clean normal maps but doesn’t require the extreme density of a render-only model.
- Real-Time Models: These are the final, optimized assets used in a game engine. Polygon counts can vary dramatically from 20,000 triangles for a background car to 150,000+ for a hero player vehicle.
Panel Gaps and Interior Detailing
Realistic panel gaps are crucial for selling the realism of a 3D car model. The best practice is to model them as actual geometry, not just a texture. This is typically done by creating a slight “inward” extrusion along the panel edges, creating a physical gap that catches shadows and ambient occlusion correctly. Avoid using boolean operations for this, as they create messy topology. Instead, rely on clean edge modeling tools. For the interior, a balance must be struck. For rendering, a fully detailed interior is expected. For game assets, the interior is often a lower-poly shell, sometimes with details baked into textures, especially if the camera will never get close to it.
Mastering UV Unwrapping for Complex Car Bodies
If topology is the skeleton, UV mapping is the skin. A UV map is the 2D representation of your 3D model’s surface, acting as a blueprint that tells the software exactly how to apply textures. For a complex object like a car, a well-planned UV layout is essential for high-quality PBR materials, custom liveries, and efficient texturing.
Strategic Seam Placement
The first step in unwrapping is defining the “seams”—the edges where the 3D mesh will be cut and flattened into 2D islands. The goal is to make these seams as invisible as possible. For cars, the best places to hide seams are:
- Along natural panel gaps: The grooves between the door and the fender are perfect places for seams.
– On hard edges or crevices: Under the chassis, inside the wheel wells, or along the bottom edge of a bumper.
– Behind other objects: Such as behind the headlights or taillights.
The key is to plan your unwrap to minimize distortion and keep large, visible, curved panels (like the hood or roof) as a single, contiguous UV island if possible.
Texel Density and UDIMs
Texel density refers to the resolution of your texture map relative to the size of the model’s surface area. For a realistic result, the texel density should be consistent across the entire model. You don’t want a blurry door next to a razor-sharp fender. Most 3D software has tools to visualize and equalize texel density across UV islands.
For ultra-high-fidelity automotive rendering, a single 4K or 8K texture map may not be enough to cover the entire car without losing detail. This is where UDIMs (U-Dimension) come in. The UDIM workflow allows you to use multiple texture maps on a single object, with each map corresponding to a different tile in UV space. For example:
- UDIM 1001: Main car body panels
- UDIM 1002: Bumpers and trim
- UDIM 1003: Interior dashboard and seats
- UDIM 1004: Wheels and brakes
This approach allows for incredible texture resolution where it matters most, and is standard practice in VFX and high-end visualization.
Unwrapping Specific Components
Different parts of a car require different unwrapping strategies. The main body should be unwrapped to minimize distortion. Wheels are often best unwrapped with a planar projection for the face and a cylindrical or straightened unwrap for the barrel. Tire treads can be tricky; a common method is to unwrap a single tread segment and have it tile perfectly, then use that texture on a mesh that follows the tire’s circumference. For text and logos on the sidewall, planar projections are ideal to avoid stretching.
Creating Hyper-Realistic PBR Materials and Shaders
Physically Based Rendering (PBR) is the industry standard for creating materials that react to light in a realistic way. A proper PBR workflow is non-negotiable for achieving convincing automotive renders. It revolves around a set of texture maps that describe the physical properties of a surface.
The Core PBR Maps
The primary maps used in a standard PBR metallic/roughness workflow are:
- Albedo (or Base Color): This defines the pure color of the surface, devoid of any lighting or shadow information. For a red car, this would be a flat red color.
- Metallic: A grayscale map that tells the engine which parts are metal (white) and which are not (black). For a car, the body paint is non-metallic (black), while chrome trim would be pure white.
- Roughness: Perhaps the most important map for realism. This grayscale map controls how rough or smooth a surface is, which dictates how sharp or blurry the reflections are. A polished clear coat would be very dark (smooth), while a rubber tire would be very light (rough).
- Normal: This map adds fine surface detail (like leather grain, orange peel on paint, or casting marks on metal) without adding extra polygons. It simulates how light interacts with these tiny bumps and grooves.
- Ambient Occlusion (AO): This map simulates contact shadows in crevices and corners, adding depth and realism. It’s often multiplied over the Albedo map.
Building a Multi-Layered Car Paint Shader
Simple PBR maps aren’t enough for a convincing car paint material. Real car paint is multi-layered, and your shader should replicate this. In renderers like Corona, V-Ray, or Blender’s Cycles, this is achieved by layering shaders:
- Base Layer: A material for the colored paint and metallic flakes. The flakes can be simulated with a procedural noise map plugged into the metallic or roughness channel.
- Clear Coat Layer: A transparent, highly reflective layer placed on top. This is the most crucial part. It should have a low roughness value and use a Fresnel effect (or IOR – Index of Refraction) to control its reflectivity. This makes reflections stronger at grazing angles, just like a real clear coat. A subtle noise or “orange peel” texture should be plugged into the clear coat’s normal map input to break up the perfectly smooth reflections.
In 3ds Max with Corona Renderer, you would use the Corona Physical Material and enable the dedicated Clearcoat layer, controlling its amount, roughness, and IOR directly. This streamlined approach is incredibly powerful.
Optimization for Real-Time Applications (Games & VR/AR)
Preparing a 3D car model for a game engine like Unity or Unreal Engine is a discipline of its own. The goal is to maintain the highest possible visual fidelity while adhering to a strict performance budget. Every polygon, draw call, and texture kilobyte counts.
The Art of Retopology and LODs
You cannot simply place a 2-million-polygon render model into a game. The first step is retopology: creating a new, clean, low-polygon mesh that matches the shape of the high-poly original. This “low-poly” model is what players will actually see. The fine details from the high-poly model (panel lines, bolts, vents) are then “baked” into texture maps, primarily the Normal map and Ambient Occlusion map. This creates the illusion of high detail on a low-polygon object.
Furthermore, you need to create Levels of Detail (LODs). These are progressively lower-polygon versions of the model that the engine swaps in as the car gets further from the camera.
- LOD0: The highest quality version, seen up close. (e.g., 80,000 triangles)
- LOD1: A reduced version, details like interior stitches might be removed. (e.g., 40,000 triangles)
- LOD2: A heavily simplified version, wheels become simple cylinders. (e.g., 15,000 triangles)
- LOD3: A very basic silhouette, often just a few hundred triangles.
Proper LODs are one of the most important optimizations for any game with vehicles.
Draw Call Reduction and Texture Atlasing
A “draw call” is a command the CPU sends to the GPU to draw an object. Too many draw calls can cripple performance. A car made of 100 separate objects with 100 different materials will generate far more draw calls than a car made of a few combined objects using a few materials. The key techniques are:
- Mesh Combining: Combine all non-moving parts of the car body into a single mesh. Wheels should be separate objects so they can rotate.
- Texture Atlasing: This is the process of combining multiple smaller textures into one larger texture sheet (an “atlas”). For example, textures for the dashboard, seats, and door panels can be laid out in different regions of a single “Interior” texture set. This allows the entire interior to be rendered in a single draw call.
Mobile and AR/VR Constraints
For mobile and AR/VR, performance budgets are even tighter. Polygon counts for hero vehicles should be in the 20,000-50,000 triangle range. The standard file formats are GLB (for web and Android AR) and USDZ (for Apple AR). These formats are containers that bundle the model, textures, and animation data into a single, highly compressed file. Optimizations like Draco mesh compression and texture compression (like KTX2 with Basis Universal) are critical for keeping file sizes small and load times fast, which is paramount for a good user experience.
Preparing Models for High-Fidelity Rendering
When performance is not a concern, the focus shifts entirely to achieving maximum realism. This involves setting up the model in a carefully crafted scene with realistic lighting and camera settings, followed by a robust post-processing workflow.
Lighting and Environment Setup
Lighting is everything in automotive rendering. Reflections define the shape of a car, so what the car is reflecting is just as important as the car itself.
- HDRI Lighting: The fastest way to achieve realistic lighting and reflections is to use a High Dynamic Range Image (HDRI) as an environment map. An HDRI of a photo studio, a desert road, or a cityscape will wrap around your scene and provide complex, believable lighting and reflections from all angles.
– 3-Point Lighting: For classic studio shots, a manual 3-point light setup (Key, Fill, and Rim lights) can be used in addition to an HDRI to sculpt the light and create dramatic highlights on the car’s body lines.
– Backplates and Ground Planes: Don’t render your car in a void. Place it on a ground plane with a material that can receive shadows. For final compositions, rendering with a transparent background and compositing it over a high-resolution photo (a “backplate”) is standard practice. The lighting in your 3D scene must be matched carefully to the lighting in the backplate photograph.
Post-Processing and Compositing
A raw render is rarely the final image. The magic happens in post-processing using software like Adobe Photoshop or Foundry Nuke. To have maximum control, you should export your render with multiple “render passes” or “Render Elements.” Essential passes for automotive rendering include:
- Reflection Pass: Allows you to isolate and enhance the reflections on the car’s surface.
- Specular Pass: Controls the highlights.
- Ambient Occlusion (AO): Can be multiplied over the final image to add depth and contact shadows.
- Z-Depth Pass: A grayscale image that can be used to create atmospheric effects like fog or depth of field.
- Object ID / Cryptomatte: These passes assign a unique color to each object or material, making it incredibly easy to select specific parts (like the wheels or windows) in post-production for color correction.
In post, you can add effects like lens flare, bloom on highlights, motion blur, and perform final color grading to achieve the desired mood and cinematic quality.
Beyond the Screen: Prepping for 3D Printing
Taking a digital 3D car model and making it a physical object is an exciting process, but it requires a very specific type of mesh preparation. The rules of rendering and game design do not apply here; physics does.
Watertight Meshes and Manifold Geometry
The single most important rule of 3D printing is that the mesh must be watertight (or manifold). This means it must be a completely sealed volume with no holes. Think of it like a balloon: if there’s a hole, the air leaks out. A 3D printer’s slicer software needs a sealed volume to understand what is “inside” and what is “outside” the model.
Common issues to fix include:
- Holes: Gaps between polygons.
- Non-manifold Edges: An edge shared by more than two faces (like an internal wall).
- Flipped Normals: Faces that are pointing “inside” the model, confusing the slicer.
Software like Blender (with its 3D-Print Toolbox addon), Autodesk Meshmixer, or Windows 3D Builder have excellent tools for automatically detecting and repairing these issues.
Wall Thickness and Component Separation
In the digital world, a car’s body panel can be an infinitely thin plane. In the physical world, it needs thickness to be printed. Parts like wing mirrors, spoilers, and antennas must have a minimum wall thickness (typically 1-2mm depending on the printing technology) or they will be too fragile and break. It’s often necessary to separate the model into multiple parts for easier printing. Printing the wheels separately from the body allows them to be printed flat on the print bed without extensive support structures.
Before printing, you also need to ensure the model is properly scaled. You must convert the 3D software’s generic units into real-world measurements (mm or inches) and scale the model to fit your printer’s build volume.
Conclusion: From Digital Asset to Final Product
As we’ve seen, a 3D car model is not a one-size-fits-all asset. It is a versatile digital foundation that must be expertly tailored to its intended application. The journey from a high-polygon source file to a game-ready asset, a photorealistic render, or a physical print is a process of technical problem-solving and artistic refinement. Understanding the core principles of topology, UV mapping, PBR texturing, and platform-specific optimization is what separates a novice from a professional 3D artist.
Starting with a meticulously crafted model is the most critical first step, saving you countless hours of fixing fundamental issues. Platforms like 88cars3d.com provide this essential high-quality foundation, featuring clean topology and detailed accuracy that allow you to focus on these specialized preparation workflows. Whether you are creating a stunning automotive visualization, developing the next great racing game, or exploring the frontiers of AR and 3D printing, apply these techniques to elevate your projects and unlock the full potential of your 3D car models.
“`
Featured 3D Car Models

Mercedes-Benz Citan 2025 3D Model
Texture: Yes
Material: Yes
Download the Mercedes-Benz Citan 2025 3D Model featuring clean geometry, realistic detailing, and a fully modeled interior. Includes .blend, .fbx, .obj, .glb, .stl, .ply, .unreal, and .max formats for rendering, simulation, and game development.
Price: $4.99

Mercedes-Benz C63 AMG 2012 3D Model
Texture: Yes
Material: Yes
Download the Mercedes-Benz C63 AMG 2012 3D Model featuring clean geometry, realistic detailing, and a fully modeled interior. Includes .blend, .fbx, .obj, .glb, .stl, .ply, .unreal, and .max formats for rendering, simulation, and game development.
Price: $4.99

Mercedes-Benz E-Class S211 3D Model
Texture: Yes
Material: Yes
Download the Mercedes-Benz E-Class S211 3D Model featuring clean geometry, realistic detailing, and a fully modeled interior. Includes .blend, .fbx, .obj, .glb, .stl, .ply, .unreal, and .max formats for rendering, simulation, and game development.
Price: $4.99

Mercedes-Benz CLS63 AMG (C218) 2014 3D Model
Texture: Yes
Material: Yes
Download the Mercedes-Benz CLS63 AMG (C218) 2014 3D Model featuring clean geometry, realistic detailing, and a fully modeled interior. Includes .blend, .fbx, .obj, .glb, .stl, .ply, .unreal, and .max formats for rendering, simulation, and game development.
Price: $4.99

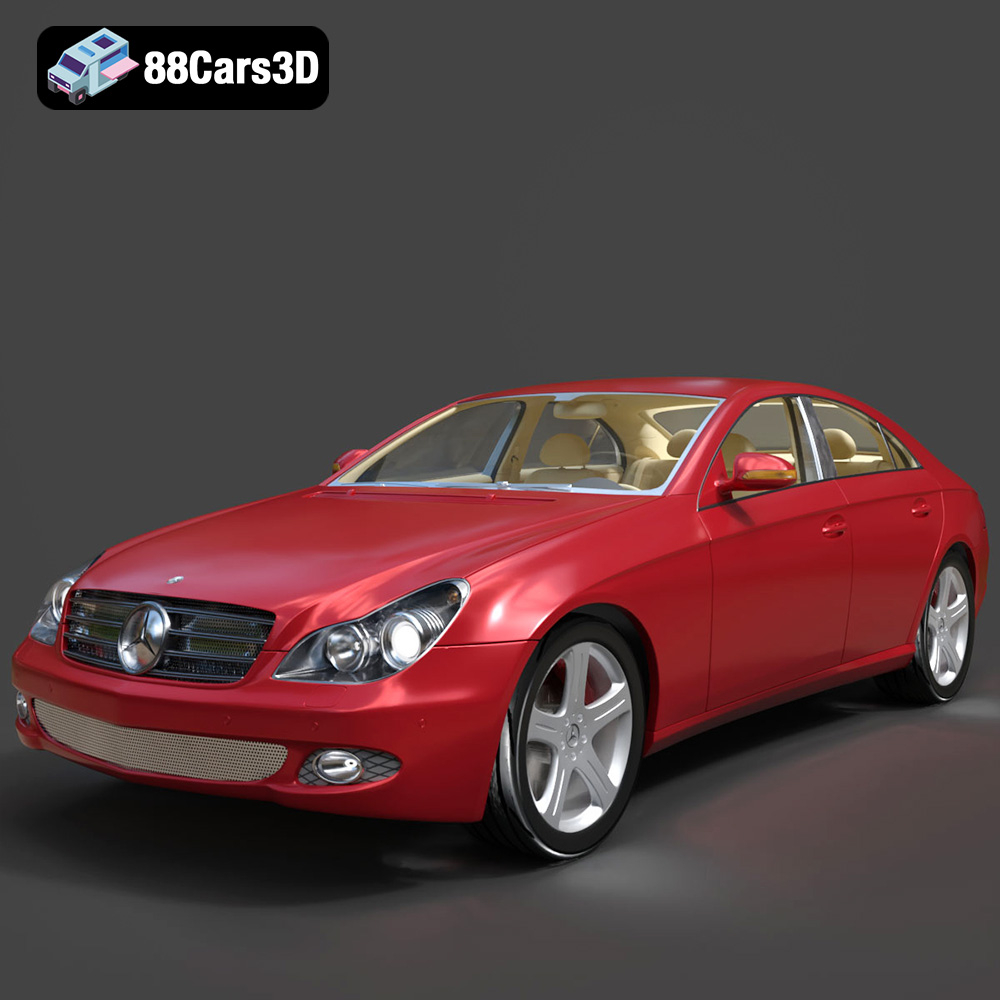
Mercedes-Benz CLS-Klasse 3D Model
Texture: Yes
Material: Yes
Download the Mercedes-Benz CLS-Klasse 3D Model featuring clean geometry, realistic detailing, and a fully modeled interior. Includes .blend, .fbx, .obj, .glb, .stl, .ply, .unreal, and .max formats for rendering, simulation, and game development.
Price: $4.99

Mercedes-Benz CLS 500 3D Model
Texture: Yes
Material: Yes
Download the Mercedes-Benz CLS 500 3D Model featuring clean geometry, realistic detailing, and a fully modeled interior. Includes .blend, .fbx, .obj, .glb, .stl, .ply, .unreal, and .max formats for rendering, simulation, and game development.
Price: $4.99

Mercedes-Benz CL-Klasse 2001 3D Model
Texture: Yes
Material: Yes
Download the Mercedes-Benz CL-Klasse 2001 3D Model featuring clean geometry, realistic detailing, and a fully modeled interior. Includes .blend, .fbx, .obj, .glb, .stl, .ply, .unreal, and .max formats for rendering, simulation, and game development.
Price: $4.99

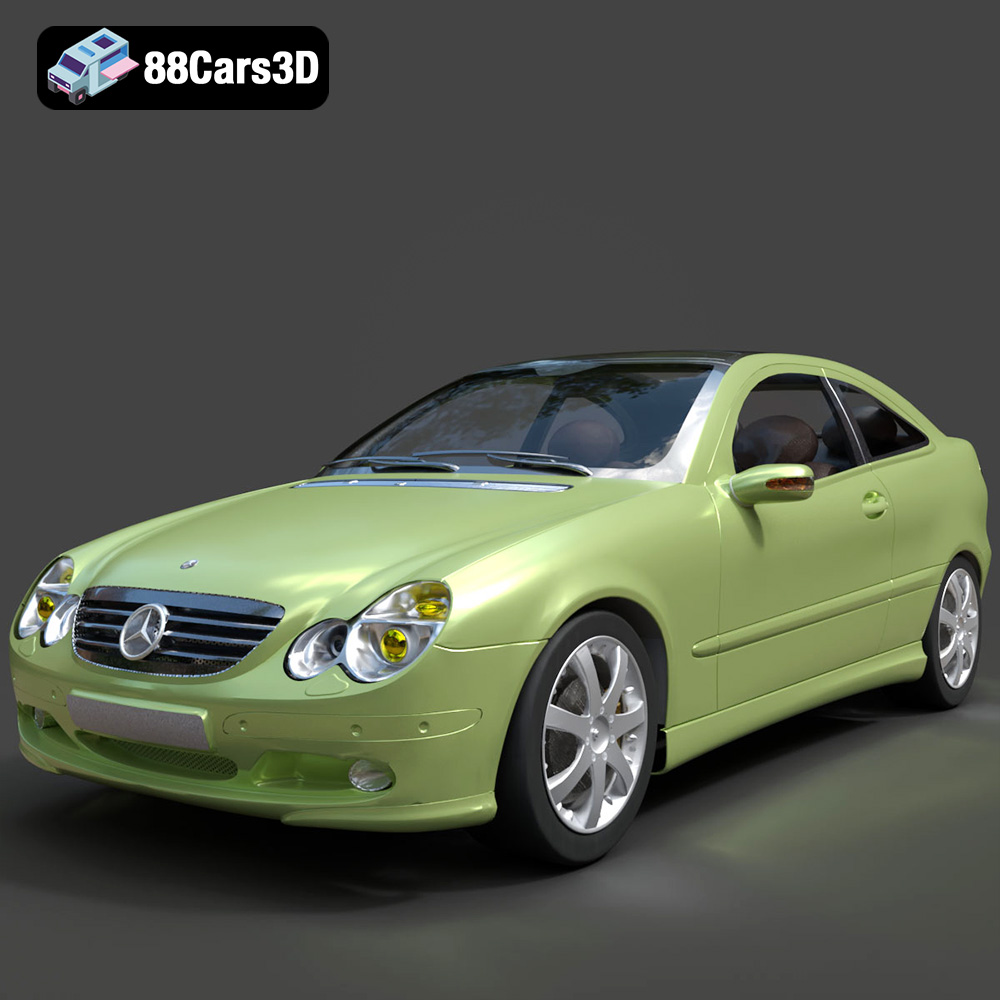
Mercedes-Benz C-Klasse Sportcoupe 2000 3D Model
Texture: Yes
Material: Yes
Download the Mercedes-Benz C-Klasse Sportcoupe 2000 3D Model featuring clean geometry, realistic detailing, and a fully modeled interior. Includes .blend, .fbx, .obj, .glb, .stl, .ply, .unreal, and .max formats for rendering, simulation, and game development.
Price: $4.99

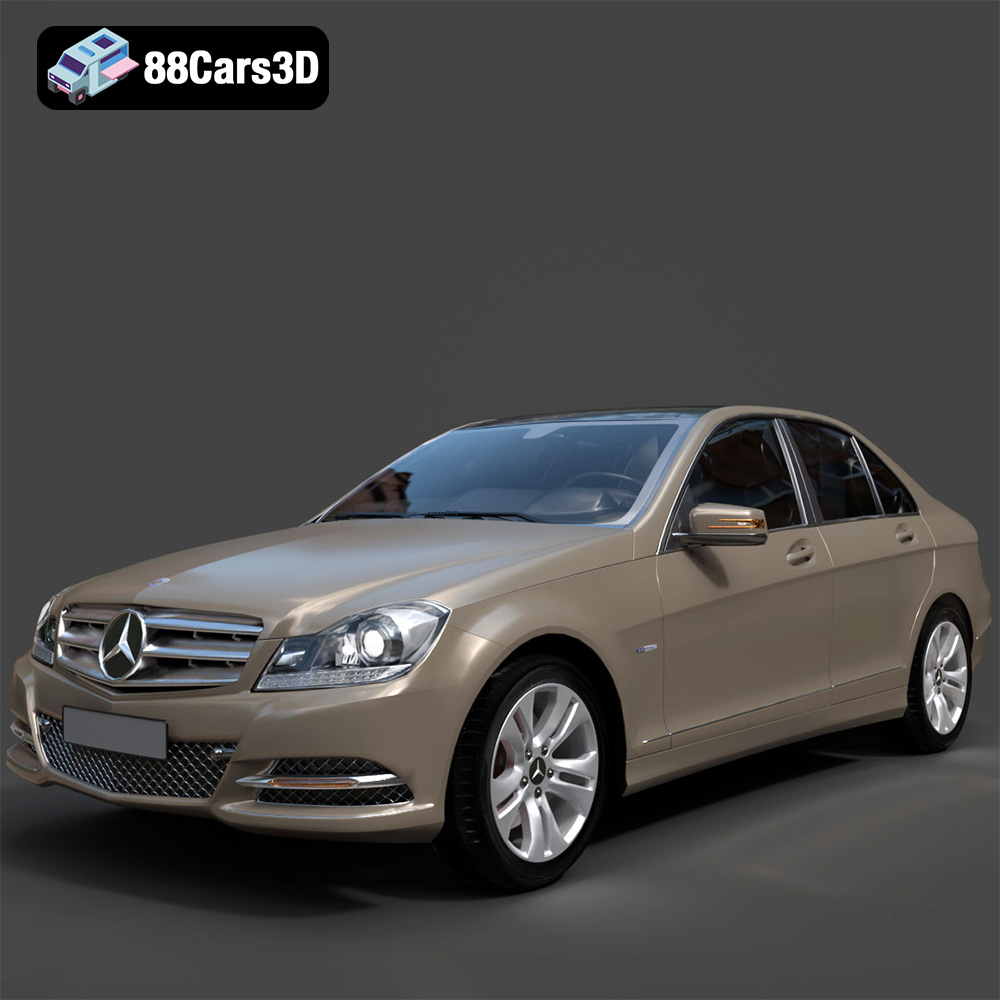
Mercedes-Benz C-Klasse 204 2011 3D Model
Texture: Yes
Material: Yes
Download the Mercedes-Benz C-Klasse 204 2011 3D Model featuring clean geometry, realistic detailing, and a fully modeled interior. Includes .blend, .fbx, .obj, .glb, .stl, .ply, .unreal, and .max formats for rendering, simulation, and game development.
Price: $4.99

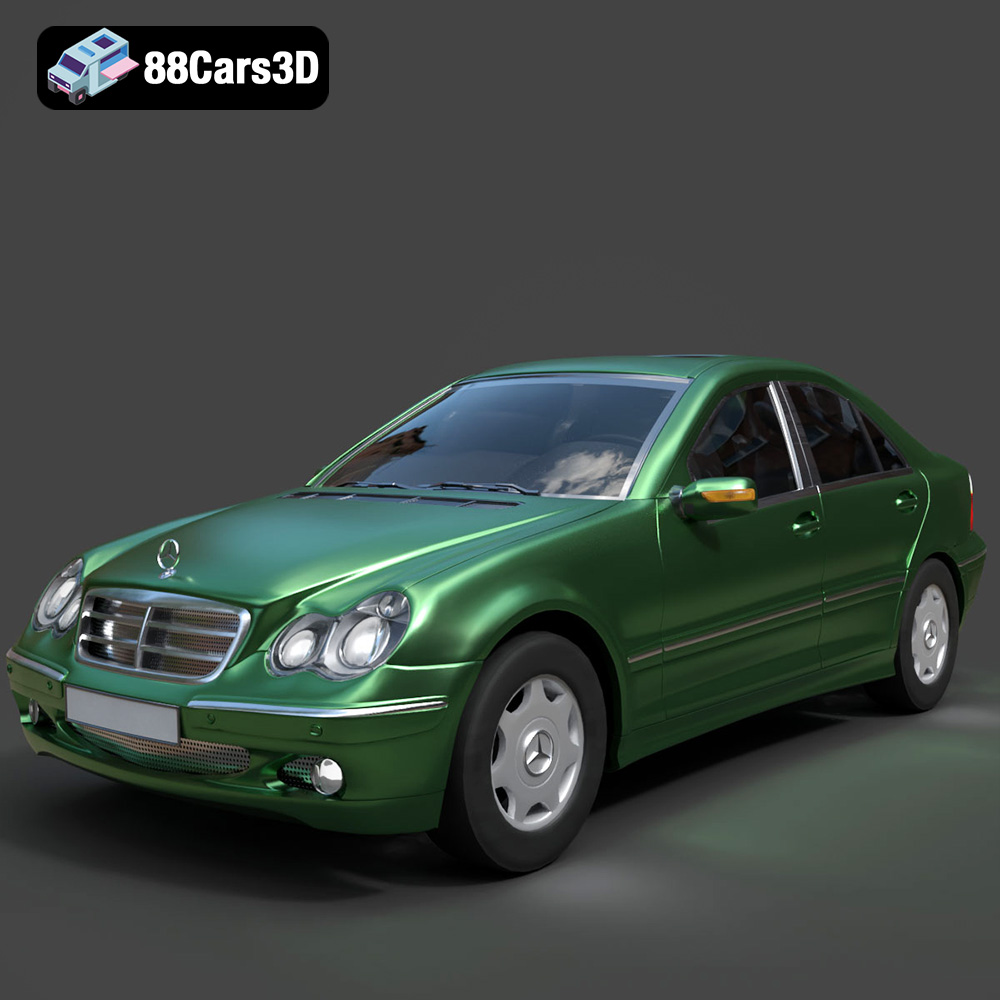
Mercedes-Benz C-Class Sedan 2000 3D Model
Texture: Yes
Material: Yes
Download the Mercedes-Benz C-Class Sedan 3D Model featuring clean geometry, realistic detailing, and a fully modeled interior. Includes .blend, .fbx, .obj, .glb, .stl, .ply, .unreal, and .max formats for rendering, simulation, and game development.
Price: $4.99
