The Ultimate Guide to Preparing 3D Car Models for Any Pipeline: From Rendering to Real-Time
“`html
The Ultimate Guide to Preparing 3D Car Models for Any Pipeline: From Rendering to Real-Time
The journey of a 3D car model is a fascinating one. It begins as a collection of vertices, edges, and polygons, but its final destination can be anything from a hyper-realistic automotive rendering in a marketing campaign to an interactive vehicle in a blockbuster video game, a virtual showroom in AR, or even a physical prototype via 3D printing. The magic, however, doesn’t just happen. A single, high-quality 3D car model must be meticulously prepared and optimized for its intended use, as each pipeline—cinematic rendering, real-time gaming, augmented reality—has its own unique and demanding set of technical requirements. Simply buying a model and dropping it into your scene is rarely the end of the story.
This comprehensive guide will walk you through the entire process of transforming a high-poly 3D car model into a production-ready asset for any pipeline. We will deconstruct the fundamental principles of automotive topology, explore advanced UV mapping and PBR material creation, and dive deep into the specific workflows required for photorealistic rendering, game engine optimization, AR/VR experiences, and 3D printing. Whether you are a 3D artist aiming for cinematic quality, a game developer focused on performance, or a designer exploring new visualization technologies, this article will provide the technical knowledge and actionable steps you need to succeed.
The Foundation: Flawless Topology and Edge Flow
Before any texturing, lighting, or rendering can begin, the structural integrity of the 3D model itself must be perfect. For automotive models, this comes down to topology—the arrangement of polygons that form the mesh’s surface. Clean, deliberate topology is not just an aesthetic preference; it is the technical foundation that dictates how well the model will subdivide, reflect light, and be optimized for other applications. Skipping this crucial stage will lead to rendering artifacts, texturing nightmares, and poor performance down the line.
Why Quad-Based Topology is King for Automotive Models
In 3D modeling, you’ll encounter three types of polygons: triangles (3-sided), quads (4-sided), and N-gons (5+ sides). While triangles are the fundamental building block for real-time graphics, quad-based topology is the undisputed standard for professional modeling and subdivision workflows. For cars, this is non-negotiable. Quads subdivide cleanly and predictably, allowing you to add detail smoothly with modifiers like TurboSmooth (3ds Max) or a Subdivision Surface (Blender). This process is essential for creating the smooth, flowing curves of a car body. N-gons, on the other hand, can cause pinching, shading errors, and unpredictable results when subdivided, while a mesh made purely of triangles is difficult to edit and doesn’t support clean edge loops for defining shape.
Mastering Edge Flow for Crisp Body Lines
Edge flow refers to the direction and arrangement of edge loops across the model’s surface. In automotive design, this is critical for defining the vehicle’s character. Well-planned edge flow follows the natural curvature and contours of the car, allowing for sharp, crisp panel gaps, fender flares, and character lines. Support loops—parallel edge loops placed close to a hard edge—are used to control the tightness of a subdivision. For a sharp door seam, you would place support loops on either side of the gap. For a softer, curved wheel arch, the loops would be spaced further apart. Mastering this technique is what separates amateur models from professional, production-quality assets.
Polygon Count Considerations: High-Poly vs. Mid-Poly
The term “high-poly” can be subjective, but in the context of hero automotive models intended for close-up renders, it typically means a mesh with anywhere from 500,000 to over 2 million polygons after subdivision. This level of density is necessary to capture every subtle curve and detail without visible faceting. Mid-poly models (around 100k-300k polygons) are often used for background vehicles or in situations where extreme close-ups aren’t required. When sourcing assets from marketplaces such as 88cars3d.com, you’ll often receive an incredibly detailed high-poly source mesh. This gives you the maximum flexibility to use it directly for rendering or as the perfect starting point for creating optimized, lower-polygon versions for other pipelines.
UV Mapping: The Blueprint for Realistic Textures
If a 3D model is a sculpture, then UV mapping is the process of carefully flattening its skin so you can paint on it. A UV map is a 2D representation of your 3D mesh, where every polygon is laid out flat. This map tells your 3D software exactly how to apply 2D texture images (like decals, dirt maps, or carbon fiber patterns) onto the complex 3D surface. For a complex object like a car, poor UV mapping can result in stretched textures, visible seams, and a loss of realism.
Strategic Seam Placement
The first step in unwrapping a model is defining its “seams”—the edges where the mesh will be cut apart to lay flat. The goal is to place these seams where they are least visible. For a 3D car model, ideal locations include:
- Along natural panel gaps: The edges of doors, the hood, and the trunk are perfect places to hide seams.
- On hard edges or corners: The underside of the chassis or the inside of a door jamb are excellent hiding spots.
- In areas of low visibility: Under the bumpers, behind the wheels, or on the roof where it meets the windshield trim.
Avoid placing seams across large, flat, highly visible areas like the middle of a hood or a door panel, as this can cause noticeable breaks in reflections and textures.
Texel Density and UDIMs for Hyper-Realism
Texel density is a critical concept that refers to the resolution of your textures relative to the size of the model. It’s often measured in pixels per meter. For a hero car that will be seen in close-up 4K renders, you need a high texel density to ensure details like brake caliper text or dashboard labels remain sharp. To achieve this without using impossibly large single texture files (e.g., a 16K texture), the industry uses a workflow called UDIMs (U-Dimension). A UDIM workflow allows you to break the model’s UVs into multiple UV tiles, each with its own texture map. For example, you could have:
- UDIM 1001: Main car body (4K or 8K texture)
- UDIM 1002: Interior components (4K texture)
- UDIM 1003: Wheels and brakes (4K texture)
- UDIM 1004: Undercarriage and smaller details (2K texture)
This approach maximizes texture resolution where it matters most while maintaining a manageable workflow.
Unwrapping Complex Geometries
Different parts of a car require different unwrapping techniques. Flat surfaces like a license plate can be unwrapped using a simple planar projection. Cylindrical parts like a drive shaft or exhaust pipe use a cylindrical mapping projection. For the complex, organic curves of the car body, a combination of techniques is needed, often involving manually relaxing the UVs to relieve stretching and distortion. Tools like Blender’s Smart UV Project or 3ds Max’s Peel tools can provide a good starting point, but manual refinement is almost always necessary for professional results.
Creating Photorealistic PBR Materials and Shaders
Physically Based Rendering (PBR) is a methodology for shading and rendering that provides a more accurate representation of how light interacts with surfaces in the real world. For automotive visualization, PBR is essential for creating believable materials like metallic paint, brushed aluminum, rubber, and glass. A PBR workflow relies on a set of specific texture maps that control different physical properties of a surface.
The Core PBR Maps Explained
While different workflows exist (Metallic/Roughness vs. Specular/Glossiness), the Metallic/Roughness model is the most common today. The primary maps are:
- Base Color (Albedo): Defines the raw color of a surface. For a metal, it defines its reflectance color; for a non-metal (dielectric), it’s the diffuse color.
- Metallic: A grayscale map that tells the shader if a surface is a metal (white/1) or a non-metal (black/0). There are rarely in-between values.
- Roughness: Perhaps the most important map for realism. This grayscale map controls how rough or smooth a surface is, which dictates whether light reflections are sharp and mirror-like (black/low roughness) or diffuse and scattered (white/high roughness).
- Normal: An RGB map that fakes fine surface detail without adding more polygons. It’s used for things like leather grain, tire sidewall lettering, or the metallic flakes in car paint.
- Ambient Occlusion (AO): A grayscale map that simulates contact shadows in crevices and corners, adding depth and realism.
Building a Multi-Layered Car Paint Shader
A realistic car paint is not a single material; it’s a layered shader. In render engines like Corona or V-Ray, you can build this using a layered material. The typical structure is:
- Base Layer: This is the paint itself. The Base Color map defines the paint color, and the Metallic map is set to 1 if it’s a metallic paint.
- Flake Layer (Optional): For metallic paints, a second layer is added on top. A procedural noise texture or a dedicated flake normal map is used to simulate the small metallic flakes that give the paint its sparkle. This layer is often set to be highly metallic with a slightly different roughness.
- Clearcoat Layer: This is the top-most layer, simulating the protective varnish. It’s a non-metallic (dielectric) layer with a very low roughness value (e.g., 0.01-0.05) to create sharp, clear reflections. The Index of Refraction (IOR) is typically set to around 1.5-1.6.
This layered approach is what gives modern car paint its incredible depth and complexity.
The Rendering Pipeline: Achieving Cinematic Quality
With a pristine model and realistic materials, the final step for creating a stunning image is the rendering pipeline. This involves setting up lighting, cameras, and render settings to produce a final image that is either photorealistic or artistically stylized. Every choice made here directly impacts the mood, quality, and realism of the final output.
Lighting Setups: Studio vs. HDRI Environments
There are two primary methods for lighting a 3D car model for rendering. A studio lighting setup uses a series of virtual lights (planes, spotlights, etc.) to precisely control reflections and highlights, much like a real-world automotive photographer. A classic 3-point setup (Key, Fill, and Rim light) is a great starting point for sculpting the car’s form. This method offers maximum artistic control. On the other hand, Image-Based Lighting (IBL) uses a High Dynamic Range Image (HDRI) to illuminate the entire scene. The HDRI provides both realistic lighting and detailed reflections from a real-world environment, making it the fastest way to achieve photorealism and ground the car in a believable context.
Camera Settings and Composition
Your virtual camera should mimic a real-world DSLR. Pay close attention to the focal length. A wide-angle lens (e.g., 24mm) can create dramatic, aggressive shots but will introduce distortion. A standard lens (35mm-85mm) produces a more natural, realistic look, while a telephoto lens (100mm+) compresses the perspective and is excellent for capturing profile shots and details. Enabling Depth of Field (DoF), even subtly, helps to draw the viewer’s eye to a specific part of the vehicle and adds a significant layer of realism. Finally, use classic composition principles like the rule of thirds to frame your shots for maximum visual impact.
Render Engine Deep Dive (Corona, V-Ray, Cycles)
Modern render engines are all incredibly capable, but they have different strengths.
- Corona Renderer: Known for its ease of use and photorealistic results with minimal tweaking. Its interactive light mixing and material library make it a favorite in architectural and automotive visualization.
- V-Ray: A production-proven powerhouse that offers immense control and flexibility. It’s an industry standard in visual effects and is capable of handling extremely complex scenes.
- Blender Cycles: A powerful, physically-based path tracer that is free and integrated directly into Blender. It has become a formidable tool for professional-grade rendering.
Regardless of the engine, you’ll want to render to a 32-bit EXR file format. This preserves the full dynamic range of the image, giving you maximum flexibility for post-processing and compositing in software like Photoshop or After Effects.
Real-Time Optimization for Game Engines (Unity & Unreal)
The requirements for a game engine are fundamentally different from a cinematic render. Performance is paramount. A 2-million-polygon model that renders in 10 minutes is useless in a game that needs to render at 60 frames per second. The process involves creating a highly optimized, low-polygon version of the car that looks nearly identical to the high-poly original.
The Art of Retopology and Baking
The first step is retopology: creating a brand-new, clean, low-polygon mesh that sits on top of the high-poly source model. A typical “hero” game car might have a polygon budget of 50,000 to 150,000 triangles. This low-poly mesh is then UV unwrapped. The magic happens in the baking process. Specialized software projects the surface details from the high-poly model onto the low-poly model’s UV map, creating textures like a Normal map (for fine details), an Ambient Occlusion map (for soft shadows), and others. This “fakes” the detail of the high-poly model on the efficient low-poly mesh.
LODs (Levels of Detail) for Peak Performance
Even a 100k polygon car is too heavy to render hundreds of times in a busy scene. This is solved using Levels of Detail (LODs). A single car asset will actually contain multiple versions of the mesh:
- LOD0: The full-quality game mesh (e.g., 100k triangles), used when the player is close.
- LOD1: A reduced version (e.g., 50k triangles), used at a medium distance.
- LOD2: A heavily optimized version (e.g., 15k triangles), used at a far distance.
- LOD3: A very simple “impostor” mesh (e.g., <2k triangles), often with simplified materials.
The game engine automatically swaps these versions based on the car’s distance from the camera, dramatically improving performance.
Managing Draw Calls and Texture Atlasing
A draw call is a command from the CPU to the GPU to draw an object. Every object with a unique material generates at least one draw call. A car with 30 different materials (glass, chrome, rubber, body, etc.) can be very expensive. To solve this, we use texture atlasing. This involves combining the textures for multiple materials into a single, larger texture sheet (an atlas). For example, the textures for the dashboard, seats, and steering wheel can all be combined onto one map. This allows the entire interior to be rendered with a single material and one draw call, providing a massive performance boost. Starting with clean, well-organized 3D car models where parts are logically separated makes this atlasing process much more efficient.
Prepping Models for AR/VR and 3D Printing
The emerging fields of Augmented/Virtual Reality and 3D printing present yet another unique set of challenges. AR/VR shares the performance constraints of game engines but on a much stricter budget, while 3D printing is concerned only with the physical viability of the mesh geometry.
AR/VR Performance Constraints (GLB/USDZ)
Augmented reality applications run on mobile devices with very limited processing power. Performance budgets are incredibly tight. A typical AR car model should be under 50,000 polygons and use textures no larger than 2048×2048. PBR materials are still used, but complex shaders are avoided. The standard delivery formats are GLB for Android/Web and USDZ for iOS. These formats are powerful because they package the model, its textures, and animation data into a single, compact file, making them easy to share and load. Lighting is often “baked” into an Ambient Occlusion map to provide depth without the cost of real-time lighting calculations.
From Digital to Physical: 3D Printing Preparation
For a 3D model to be printable, it must be a single, solid, “watertight” object. This means the mesh must be manifold—it cannot have any holes, flipped normals, or non-manifold edges (where more than two faces share a single edge). In a model made for rendering, parts like glass are often single planes, and panels might not be perfectly connected. For 3D printing, these issues must be fixed. Tools like Autodesk Meshmixer or Windows 3D Builder are excellent for automatically detecting and repairing these geometric errors to ensure the model is a closed volume.
Wall Thickness and Detailing for a Successful Print
Digital models often have surfaces with zero thickness, like a car window or a body panel. 3D printers cannot print these. You must go through the model and add thickness to every part to give it physical volume. For example, a body panel might be given a thickness of 2-3mm. Additionally, very fine details like side mirrors, antennas, or thin spoilers are fragile and may break off during printing or cleaning. These parts often need to be manually thickened or even detached from the main model to be printed separately and assembled later. This preparation ensures a strong, successful physical print.
Conclusion: The Versatile Digital Asset
As we’ve seen, a high-quality 3D car model is far more than a static digital file; it’s a versatile foundation that can be adapted for a stunning array of applications. The true artistry and technical skill lie not just in creating the initial model, but in understanding the specific demands of each pipeline and meticulously preparing the asset to meet them. From the quad-based precision required for cinematic renders to the aggressive optimization needed for real-time performance, each destination requires a unique path of preparation.
The key takeaways are clear: a foundation of clean topology is non-negotiable, optimization is a game of smart trade-offs between visual fidelity and performance, and a deep understanding of your target platform’s limitations is essential for success. By mastering these diverse workflows, you can unlock the full potential of any 3D automotive model. To accelerate your projects, consider starting with a professionally crafted asset. Platforms like 88cars3d.com offer meticulously modeled vehicles with clean topology and detailed materials, providing the perfect, high-quality starting point for any of the demanding pipelines we’ve explored today.
“`
Featured 3D Car Models

Mercedes-Benz Citan 2025 3D Model
Texture: Yes
Material: Yes
Download the Mercedes-Benz Citan 2025 3D Model featuring clean geometry, realistic detailing, and a fully modeled interior. Includes .blend, .fbx, .obj, .glb, .stl, .ply, .unreal, and .max formats for rendering, simulation, and game development.
Price: $4.99

Mercedes-Benz C63 AMG 2012 3D Model
Texture: Yes
Material: Yes
Download the Mercedes-Benz C63 AMG 2012 3D Model featuring clean geometry, realistic detailing, and a fully modeled interior. Includes .blend, .fbx, .obj, .glb, .stl, .ply, .unreal, and .max formats for rendering, simulation, and game development.
Price: $4.99

Mercedes-Benz E-Class S211 3D Model
Texture: Yes
Material: Yes
Download the Mercedes-Benz E-Class S211 3D Model featuring clean geometry, realistic detailing, and a fully modeled interior. Includes .blend, .fbx, .obj, .glb, .stl, .ply, .unreal, and .max formats for rendering, simulation, and game development.
Price: $4.99

Mercedes-Benz CLS63 AMG (C218) 2014 3D Model
Texture: Yes
Material: Yes
Download the Mercedes-Benz CLS63 AMG (C218) 2014 3D Model featuring clean geometry, realistic detailing, and a fully modeled interior. Includes .blend, .fbx, .obj, .glb, .stl, .ply, .unreal, and .max formats for rendering, simulation, and game development.
Price: $4.99

Mercedes-Benz CLS-Klasse 3D Model
Texture: Yes
Material: Yes
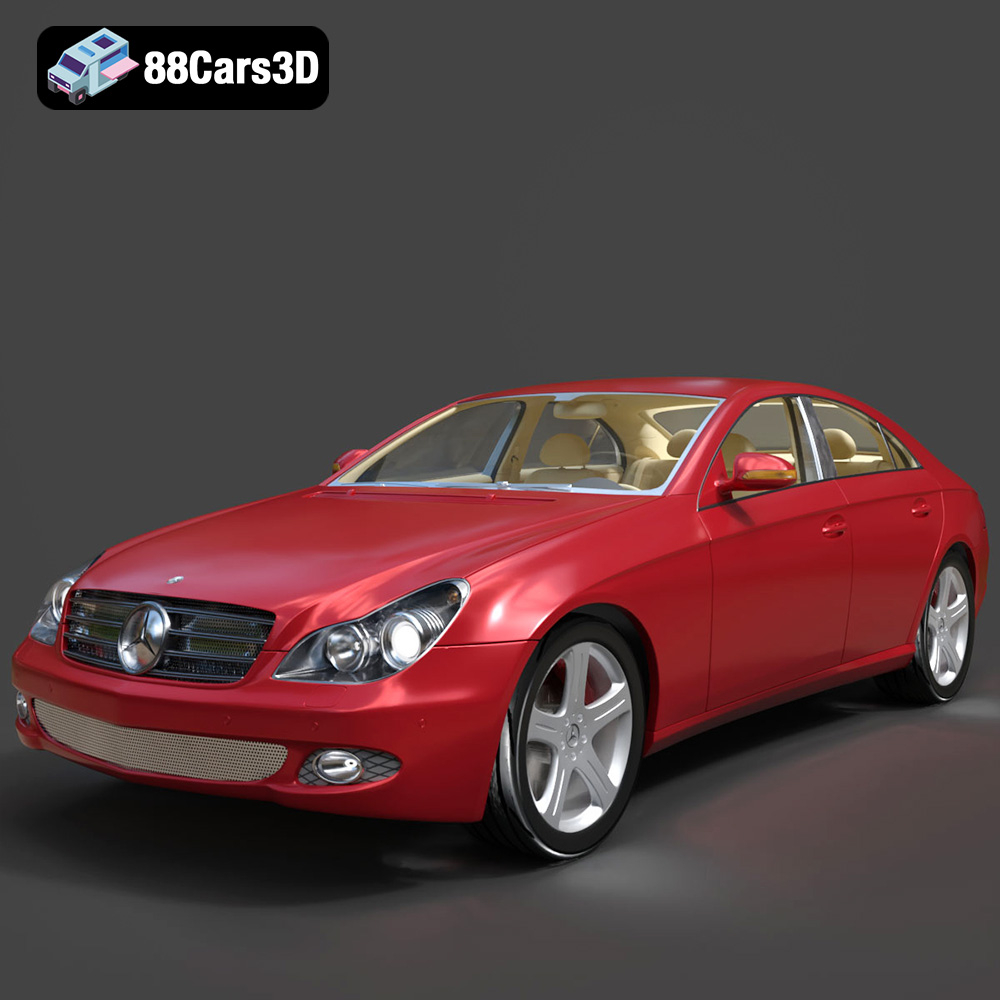
Download the Mercedes-Benz CLS-Klasse 3D Model featuring clean geometry, realistic detailing, and a fully modeled interior. Includes .blend, .fbx, .obj, .glb, .stl, .ply, .unreal, and .max formats for rendering, simulation, and game development.
Price: $4.99

Mercedes-Benz CLS 500 3D Model
Texture: Yes
Material: Yes
Download the Mercedes-Benz CLS 500 3D Model featuring clean geometry, realistic detailing, and a fully modeled interior. Includes .blend, .fbx, .obj, .glb, .stl, .ply, .unreal, and .max formats for rendering, simulation, and game development.
Price: $4.99

Mercedes-Benz CL-Klasse 2001 3D Model
Texture: Yes
Material: Yes
Download the Mercedes-Benz CL-Klasse 2001 3D Model featuring clean geometry, realistic detailing, and a fully modeled interior. Includes .blend, .fbx, .obj, .glb, .stl, .ply, .unreal, and .max formats for rendering, simulation, and game development.
Price: $4.99

Mercedes-Benz C-Klasse Sportcoupe 2000 3D Model
Texture: Yes
Material: Yes
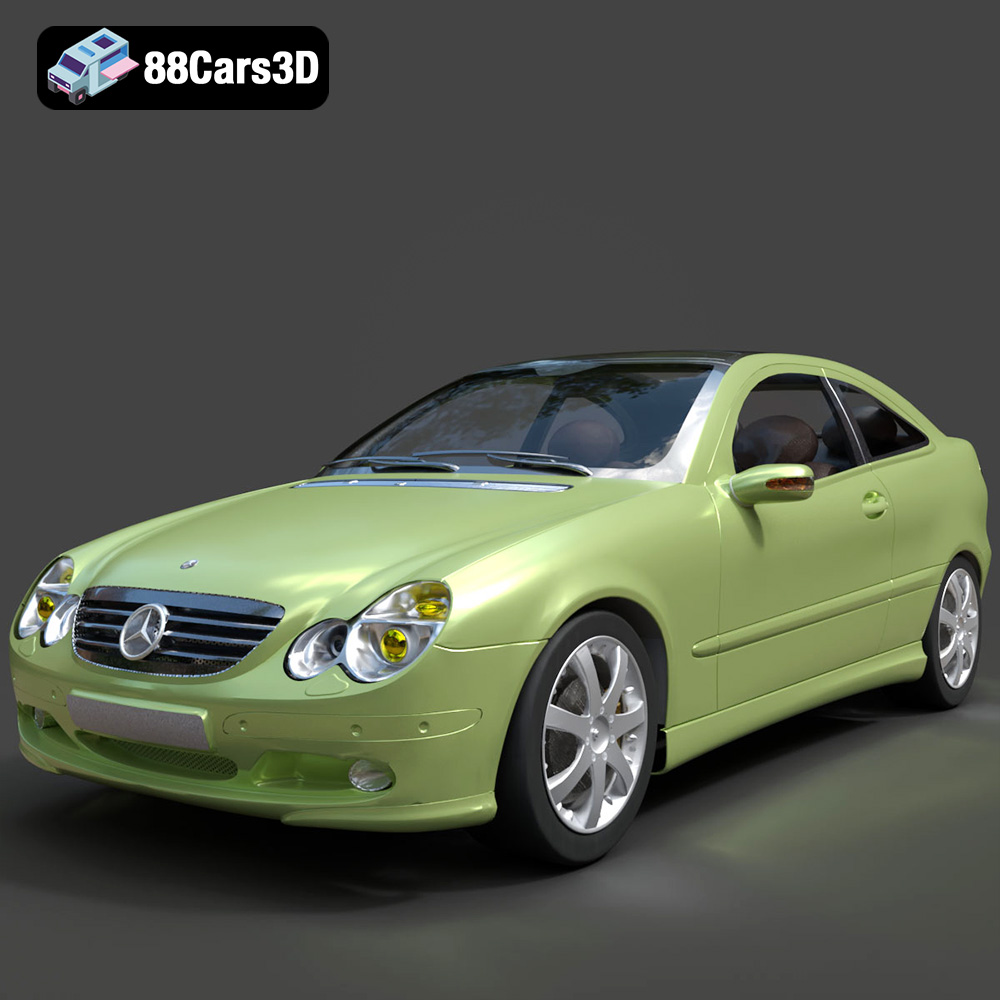
Download the Mercedes-Benz C-Klasse Sportcoupe 2000 3D Model featuring clean geometry, realistic detailing, and a fully modeled interior. Includes .blend, .fbx, .obj, .glb, .stl, .ply, .unreal, and .max formats for rendering, simulation, and game development.
Price: $4.99

Mercedes-Benz C-Klasse 204 2011 3D Model
Texture: Yes
Material: Yes
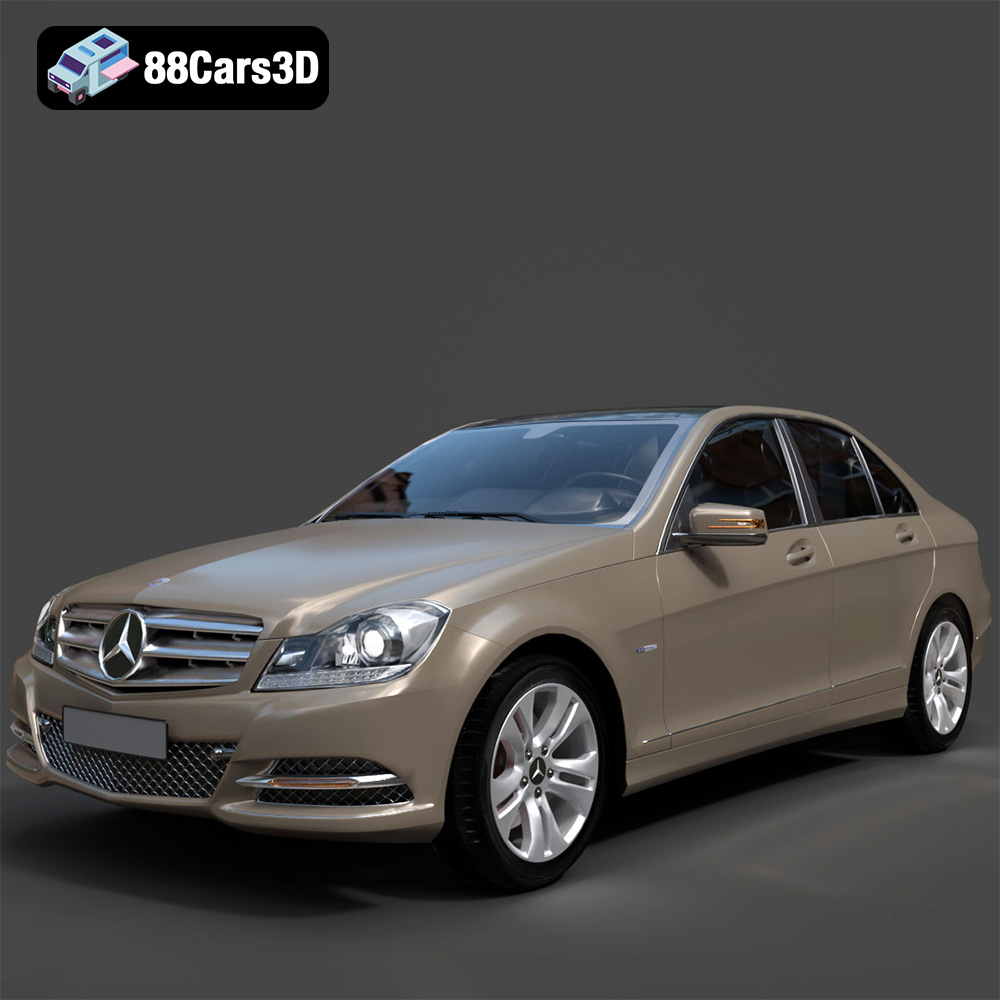
Download the Mercedes-Benz C-Klasse 204 2011 3D Model featuring clean geometry, realistic detailing, and a fully modeled interior. Includes .blend, .fbx, .obj, .glb, .stl, .ply, .unreal, and .max formats for rendering, simulation, and game development.
Price: $4.99

Mercedes-Benz C-Class Sedan 2000 3D Model
Texture: Yes
Material: Yes
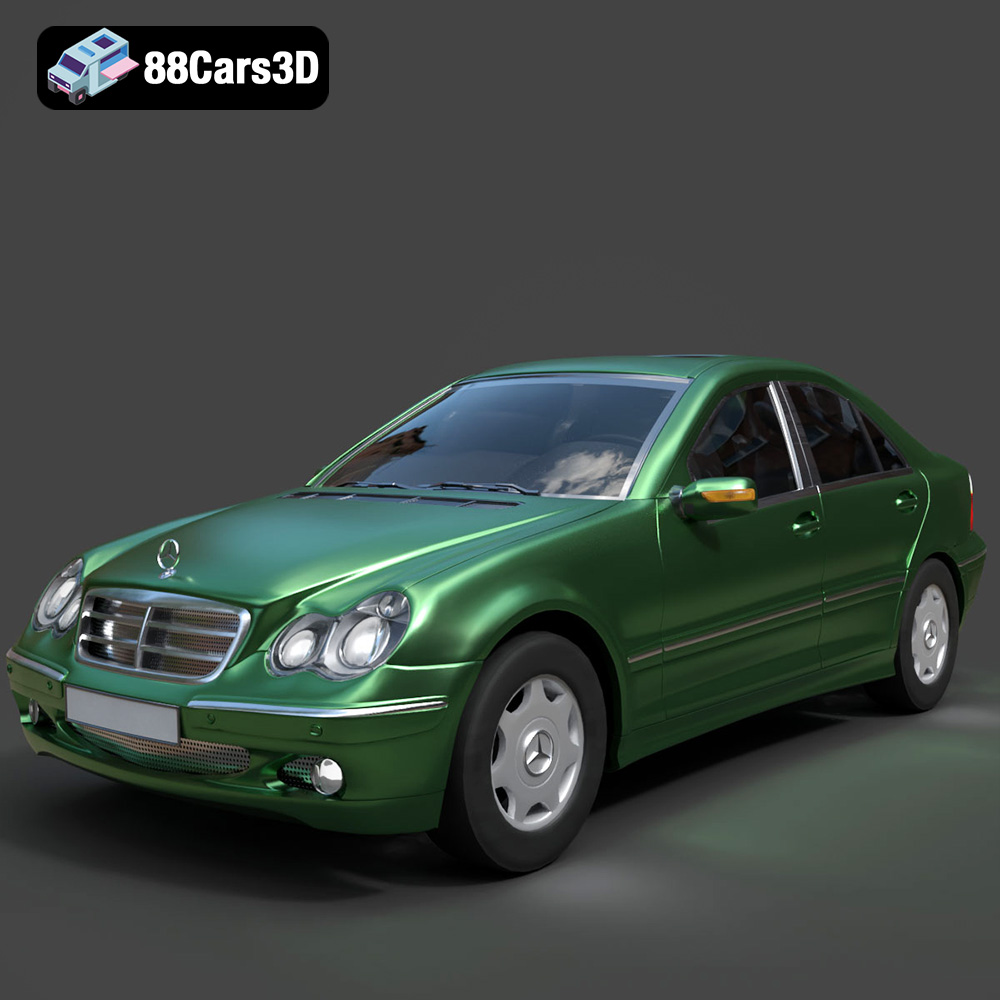
Download the Mercedes-Benz C-Class Sedan 3D Model featuring clean geometry, realistic detailing, and a fully modeled interior. Includes .blend, .fbx, .obj, .glb, .stl, .ply, .unreal, and .max formats for rendering, simulation, and game development.
Price: $4.99
