The Ultimate Technical Guide to Creating and Using 3D Car Models
The Ultimate Technical Guide to Creating and Using 3D Car Models
The allure of a perfectly rendered automobile is undeniable. From the gleaming reflections on a curved fender to the intricate details of a brake caliper, 3D car models represent a pinnacle of digital craftsmanship. They are essential assets in a vast range of industries, powering everything from blockbuster video games and cinematic visual effects to architectural visualizations and cutting-edge AR/VR experiences. But what truly separates a good 3D car model from a breathtakingly realistic one? The answer lies in a deep understanding of the technical workflows that govern its creation, from the foundational polygon mesh to the final rendered pixel. This guide will take you under the hood, exploring the essential techniques and professional best practices for modeling, texturing, rendering, and optimizing high-quality 3D car models. Whether you’re a 3D artist aiming for photorealism, a game developer obsessed with performance, or an automotive designer visualizing the future, you’ll gain actionable insights to elevate your projects to the next level.
The Foundation: Flawless Topology and Edge Flow
Before any stunning materials or lighting can be applied, a 3D car model must be built upon a foundation of clean, purposeful geometry. This is known as topology, and for automotive models, its quality is non-negotiable. Unlike organic models, cars are defined by their pristine, manufactured surfaces. Any pinching, warping, or imperfections in the underlying mesh will be immediately obvious in the final render, especially on reflective surfaces like car paint and glass. The goal is to create a mesh that is both efficient and capable of describing complex curvature with absolute precision. For professional work, starting with a production-ready model from a source like 88cars3d.com can save countless hours, as they are built with these principles in mind from the ground up.
Quad-Based Modeling for Ultimate Control
The industry standard for hard-surface modeling, particularly for cars, is to work almost exclusively with four-sided polygons, or “quads.” Quads are predictable, subdivide cleanly, and are ideal for creating smooth, flowing surfaces. Triangles can cause pinching and unpredictable shading when subdivided, while polygons with more than four sides (N-gons) are a major source of rendering artifacts and texturing problems. A clean, all-quad mesh ensures that edge loops can flow uninterrupted along the character lines of the vehicle. For example, the sharp crease running down the side of a car should be defined by a single, continuous edge loop. This gives you precise control over the sharpness of the edge when applying subdivision modifiers (like TurboSmooth in 3ds Max or a Subdivision Surface modifier in Blender).
Controlling Reflections with Edge Loops
The true test of automotive topology is how it handles reflections. The flow of light and reflections across a car’s bodywork is what gives it shape and form. To control this, artists use “support edges” or “control loops.” These are edge loops placed parallel to a hard edge or character line. The closer these support loops are to the main edge, the tighter and sharper the crease will be in the subdivided model. The further away they are, the softer and more rounded the transition becomes. Mastering this technique is crucial for accurately recreating the subtle bevels and panel gaps of a real-world vehicle, ensuring reflections behave realistically without any visible wobbles or distortions.
Polygon Count: High-Poly vs. Real-Time
The required polygon density depends entirely on the model’s intended use. For high-end automotive rendering and cinematic close-ups, models can have millions of polygons. Here, detail is paramount, and performance is secondary to visual fidelity. A “high-poly” model will use subdivision surfaces to create perfectly smooth curves. In contrast, a game asset for an engine like Unreal or Unity must be highly optimized. A hero car in a PC game might range from 100,000 to 250,000 triangles, while a model for a mobile game might need to be under 30,000 triangles. This optimization is achieved by “baking” the details from a high-poly model onto the normal map of a low-poly, game-ready model—a process that preserves visual detail while keeping the geometric complexity low.
Mastering UV Unwrapping for Complex Automotive Surfaces
UV mapping is the critical process of translating the 3D surface of your model into a 2D space, allowing textures to be applied correctly. For a complex object like a car, this is a meticulous and challenging task. Poorly planned UVs can result in stretched textures, visible seams in unwanted places, and inefficient use of texture space, all of which compromise the final quality. A professional approach to UV unwrapping automotive models involves strategic seam placement and an understanding of different mapping techniques for various parts of the vehicle.
Strategic Seam Placement and Projection
The first step is to decide where to place the “seams” that will allow the 3D mesh to be flattened. The golden rule is to hide seams where they are least likely to be seen—along hard edges, panel gaps, or on the underside of the car. For large, relatively flat panels like a car roof or hood, a simple planar projection works well. For more complex curved areas like a fender or bumper, you need to be more strategic. Cylindrical or spline-based mapping techniques are often used. The key is to minimize texture stretching. Most 3D software provides a “checker map” overlay that helps you visualize distortion. If the squares of the checker map appear stretched or skewed on your model, your UVs need adjustment.
Utilizing UDIMs for Extreme Detail
For hero assets in film and high-end rendering, a single texture map may not provide enough resolution to capture fine details like small text, brake caliper logos, or carbon fiber weave. This is where the UDIM (U-Dimension) workflow comes in. UDIM allows you to spread a model’s UVs across multiple texture sets, or “tiles.” For example, the main car body could be on one UDIM tile with an 8K texture map, while the wheels, interior, and chassis each get their own 4K or 8K tiles. This approach grants an incredible amount of texture detail without being limited by a single map’s resolution. While powerful, this technique is typically reserved for offline rendering, as most real-time game engines have historically had limited support for it, though this is changing with modern engines like Unreal Engine 5.
Creating Hyper-Realistic PBR Materials and Shaders
With a perfectly modeled and unwrapped car, the next stage is to create the materials that bring it to life. The modern standard for this is the Physically Based Rendering (PBR) workflow. PBR aims to simulate the way light behaves in the real world, resulting in materials that look convincing under any lighting condition. This is achieved by using a set of interconnected texture maps—such as Albedo, Roughness, Metallic, and Normal—to describe the physical properties of a surface.
The Anatomy of a Car Paint Shader
Car paint is one of the most complex materials to replicate digitally. It’s not just a single color; it’s a multi-layered material. A realistic car paint shader typically consists of:
- Base Coat: This is the primary color of the paint, defined in the Albedo or Base Color map.
- Metallic Flakes: For metallic or pearlescent paints, a procedural noise map or a flake texture is used to simulate the tiny metallic particles suspended in the paint. These flakes have their own metallic and roughness properties, which catch the light at different angles.
- Clear Coat: This is a crucial top layer that simulates the glossy, protective varnish on a real car. In renderers like Corona, V-Ray, and Cycles, dedicated “Clearcoat” parameters allow you to add this reflective layer on top of the base layers. You can control its thickness, color (for tinted coats), and roughness independently, often using a subtle grunge or smudge map to add realism.
This layered approach is essential for achieving the deep, rich look of professional automotive rendering.
Texturing Other Key Materials
Beyond the paint, a car features a wide array of materials that require careful attention.
- Rubber/Tires: Tire materials should have a high roughness value and a detailed normal map for the sidewall lettering and tread pattern. Adding a subtle dirt or wear map can break up the uniformity.
- Glass/Plastics: Glass requires properties like transparency and an Index of Refraction (IOR) of around 1.52. Headlight and taillight plastics often have complex normal maps to simulate the internal reflectors and lenses.
- Metals: Chrome, aluminum, and steel are defined by setting their “Metallic” value to 1 (or pure white) and controlling the reflection’s sharpness with the “Roughness” map. A brushed aluminum texture would use an anisotropic roughness map to create stretched reflections.
Creating these materials from scratch is time-consuming, which is why sourcing high-quality 3D car models that come with pre-built, realistic PBR materials is a massive advantage for any production pipeline.
Rendering Workflows for Photorealistic Automotive Visuals
The final rendering stage is where all the previous steps—modeling, UVing, and texturing—converge to create a final image. A great model can be let down by poor lighting and rendering settings. Achieving photorealism is a blend of technical knowledge and artistic vision, focusing on how light and shadow interact with the car’s surfaces to create mood and highlight its design.
Lighting: Studio vs. HDRI Environments
There are two primary approaches to lighting a 3D car:
- Studio Lighting: This method mimics a real-world photography studio. You use a combination of large area lights, spotlights, and reflector planes to manually sculpt the light and reflections on the car. This gives you complete artistic control and is perfect for creating clean, commercial-style shots that emphasize the car’s form.
- Image-Based Lighting (IBL): This technique uses a High Dynamic Range Image (HDRI) to illuminate the entire scene. The HDRI captures the light information from a real-world location (like a race track, a mountain road, or a modern city). This is the fastest way to achieve realistic lighting and reflections, as the car will naturally look like it belongs in that environment. For best results, a high-resolution HDRI (16K or higher) is recommended.
Often, a hybrid approach is used, where an HDRI provides the base ambient light and reflections, and additional area lights are added to create key highlights or fill in shadows.
Camera Settings and Composition
Your virtual camera settings are just as important as your lighting. The focal length of the lens dramatically affects the perception of the car. A wide-angle lens (e.g., 24-35mm) can create dynamic, aggressive shots but may introduce distortion. A longer lens (e.g., 85-135mm) will compress the perspective, which is often more flattering for capturing the car’s true proportions and is a common choice in real automotive photography. Additionally, using a shallow Depth of Field (DoF) by setting a low f-stop value on your camera can help draw the viewer’s eye to a specific part of the car and create a beautiful, cinematic background blur (bokeh).
Post-Processing and Compositing
Rarely is a raw render the final image. Post-processing is the final 10% of the work that adds polish and impact. This is typically done in software like Adobe Photoshop or DaVinci Resolve Fusion. By rendering out different “passes” from your 3D software (e.g., reflections, ambient occlusion, lighting, Z-depth), you gain immense control. You can non-destructively adjust the intensity of reflections, deepen contact shadows with the ambient occlusion pass, add lens flares, perform color grading to set the mood, and add a subtle vignette to frame the subject. This final compositing stage is what separates a good render from a professional, portfolio-quality image.
Optimizing 3D Car Models for Real-Time Applications
Using 3D car models in game engines or for AR/VR applications presents a completely different set of challenges compared to offline rendering. Here, performance is king. Every polygon, texture, and material must be ruthlessly optimized to ensure a smooth, high-frame-rate experience. The goal is to maintain the highest possible visual quality while staying within the strict performance budgets of the target platform, whether it’s a high-end PC, a game console, or a mobile device.
LODs (Level of Detail)
Level of Detail (LOD) systems are the most important optimization technique for real-time vehicles. An LOD system uses multiple versions of the same model, each with a progressively lower polygon count.
- LOD0: The highest quality model, seen only when the player is very close. (e.g., 150,000 triangles)
- LOD1: A slightly reduced version, visible from a medium distance. (e.g., 75,000 triangles)
- LOD2: A heavily optimized version for long distances, where fine details are removed. (e.g., 25,000 triangles)
- LOD3: A very simple “impostor” or extremely low-poly mesh for cars that are far away on the horizon. (e.g., <5,000 triangles)
The game engine automatically switches between these LODs based on the car’s distance from the camera, dramatically reducing the number of polygons that need to be rendered at any given time.
Draw Calls and Texture Atlasing
A “draw call” is a command from the CPU to the GPU to draw an object on the screen. Each separate object with a unique material creates a new draw call. Too many draw calls can create a CPU bottleneck and lower the frame rate. To optimize this, artists try to combine multiple parts of the car into a single object and use a single material. This is often achieved through “texture atlasing,” where the UVs for multiple different parts (e.g., headlights, grille, badges) are laid out onto a single, shared texture sheet. This allows the GPU to render many parts of the car in a single draw call, significantly improving performance.
File Formats for AR/VR and Web
For augmented reality and web-based 3D viewers, specific file formats are required that are optimized for fast loading and efficient rendering. The two dominant formats are:
- GLB/gLTF: Developed by the Khronos Group, gLTF (GL Transmission Format) is often called the “JPEG of 3D.” The .glb format is a binary version that packages the model, textures, and other data into a single, compact file. It’s the standard for WebGL, Android, and many other real-time applications.
- USDZ: Developed by Apple in collaboration with Pixar, USDZ is the standard format for AR experiences on iOS devices (AR Quick Look). It is also a single-file package optimized for performance and sharing.
Converting a detailed model for these formats requires careful optimization of polygon counts and texture sizes (typically 2K or lower) to keep file sizes small and ensure a smooth user experience.
Conclusion: The Blueprint for Excellence
The journey of a 3D car model from a simple polygon to a final, polished asset is a testament to the blend of technical skill and artistic sensibility required in the world of computer graphics. We’ve seen that a successful model is not defined by a single feature, but by the synergy of all its components. It begins with a meticulously crafted topology that respects the flow and form of the vehicle. It’s brought to life with precise UV mapping and layered, physically-based PBR materials that react convincingly to light. Whether its final destination is a breathtaking piece of automotive rendering, an optimized game asset for a high-octane racing title, or an interactive AR/VR experience, the core principles remain the same: quality, precision, and a deep understanding of the intended application.
Applying these advanced techniques requires time, patience, and expertise. For professionals working under tight deadlines, a significant productivity boost can be gained by leveraging pre-existing, high-quality assets. Marketplaces specializing in this field, such as 88cars3d.com, provide production-ready models that already incorporate these best practices, allowing you to focus on the creative aspects of your project. By understanding the intricate processes detailed in this guide, you are now better equipped to create, evaluate, and implement 3D car models at the highest professional standard.
Featured 3D Car Models

Mercedes-Benz Citan 2025 3D Model
Texture: Yes
Material: Yes
Download the Mercedes-Benz Citan 2025 3D Model featuring clean geometry, realistic detailing, and a fully modeled interior. Includes .blend, .fbx, .obj, .glb, .stl, .ply, .unreal, and .max formats for rendering, simulation, and game development.
Price: $4.99

Mercedes-Benz C63 AMG 2012 3D Model
Texture: Yes
Material: Yes
Download the Mercedes-Benz C63 AMG 2012 3D Model featuring clean geometry, realistic detailing, and a fully modeled interior. Includes .blend, .fbx, .obj, .glb, .stl, .ply, .unreal, and .max formats for rendering, simulation, and game development.
Price: $4.99

Mercedes-Benz E-Class S211 3D Model
Texture: Yes
Material: Yes
Download the Mercedes-Benz E-Class S211 3D Model featuring clean geometry, realistic detailing, and a fully modeled interior. Includes .blend, .fbx, .obj, .glb, .stl, .ply, .unreal, and .max formats for rendering, simulation, and game development.
Price: $4.99

Mercedes-Benz CLS63 AMG (C218) 2014 3D Model
Texture: Yes
Material: Yes
Download the Mercedes-Benz CLS63 AMG (C218) 2014 3D Model featuring clean geometry, realistic detailing, and a fully modeled interior. Includes .blend, .fbx, .obj, .glb, .stl, .ply, .unreal, and .max formats for rendering, simulation, and game development.
Price: $4.99

Mercedes-Benz CLS-Klasse 3D Model
Texture: Yes
Material: Yes
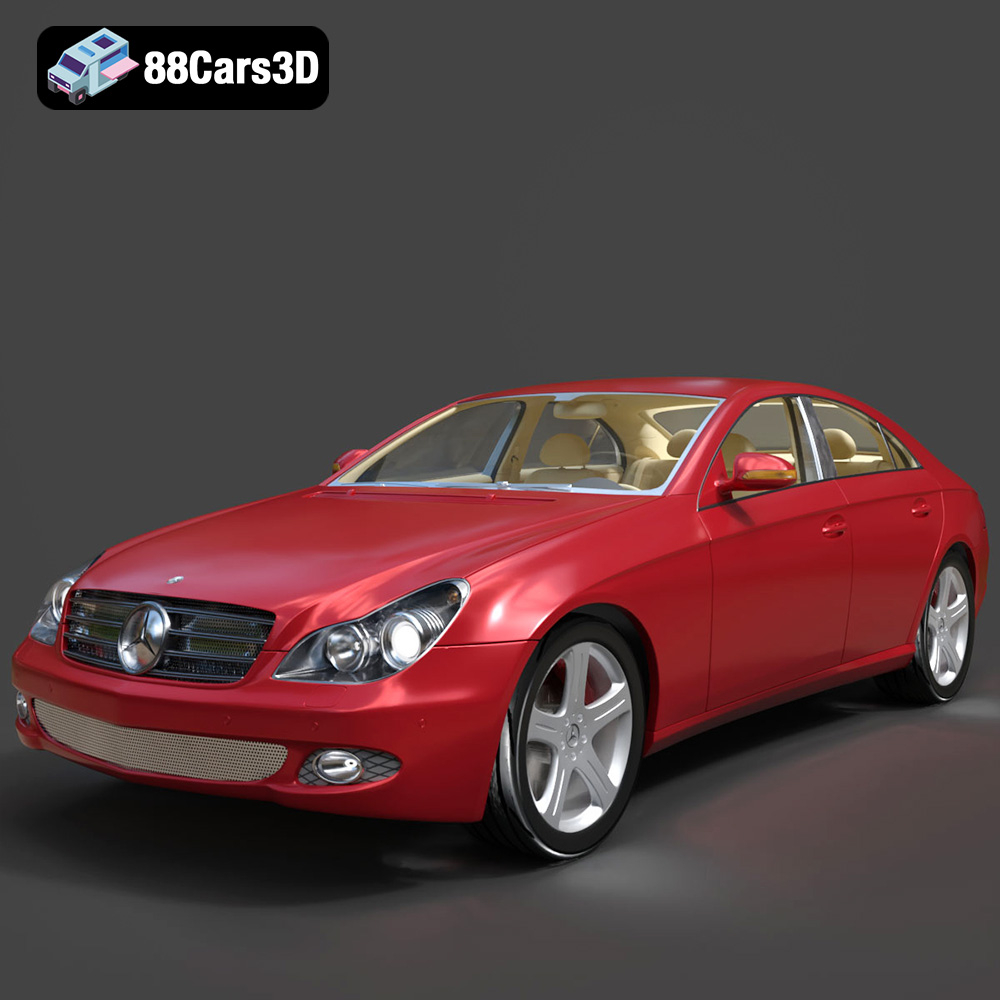
Download the Mercedes-Benz CLS-Klasse 3D Model featuring clean geometry, realistic detailing, and a fully modeled interior. Includes .blend, .fbx, .obj, .glb, .stl, .ply, .unreal, and .max formats for rendering, simulation, and game development.
Price: $4.99

Mercedes-Benz CLS 500 3D Model
Texture: Yes
Material: Yes
Download the Mercedes-Benz CLS 500 3D Model featuring clean geometry, realistic detailing, and a fully modeled interior. Includes .blend, .fbx, .obj, .glb, .stl, .ply, .unreal, and .max formats for rendering, simulation, and game development.
Price: $4.99

Mercedes-Benz CL-Klasse 2001 3D Model
Texture: Yes
Material: Yes
Download the Mercedes-Benz CL-Klasse 2001 3D Model featuring clean geometry, realistic detailing, and a fully modeled interior. Includes .blend, .fbx, .obj, .glb, .stl, .ply, .unreal, and .max formats for rendering, simulation, and game development.
Price: $4.99

Mercedes-Benz C-Klasse Sportcoupe 2000 3D Model
Texture: Yes
Material: Yes
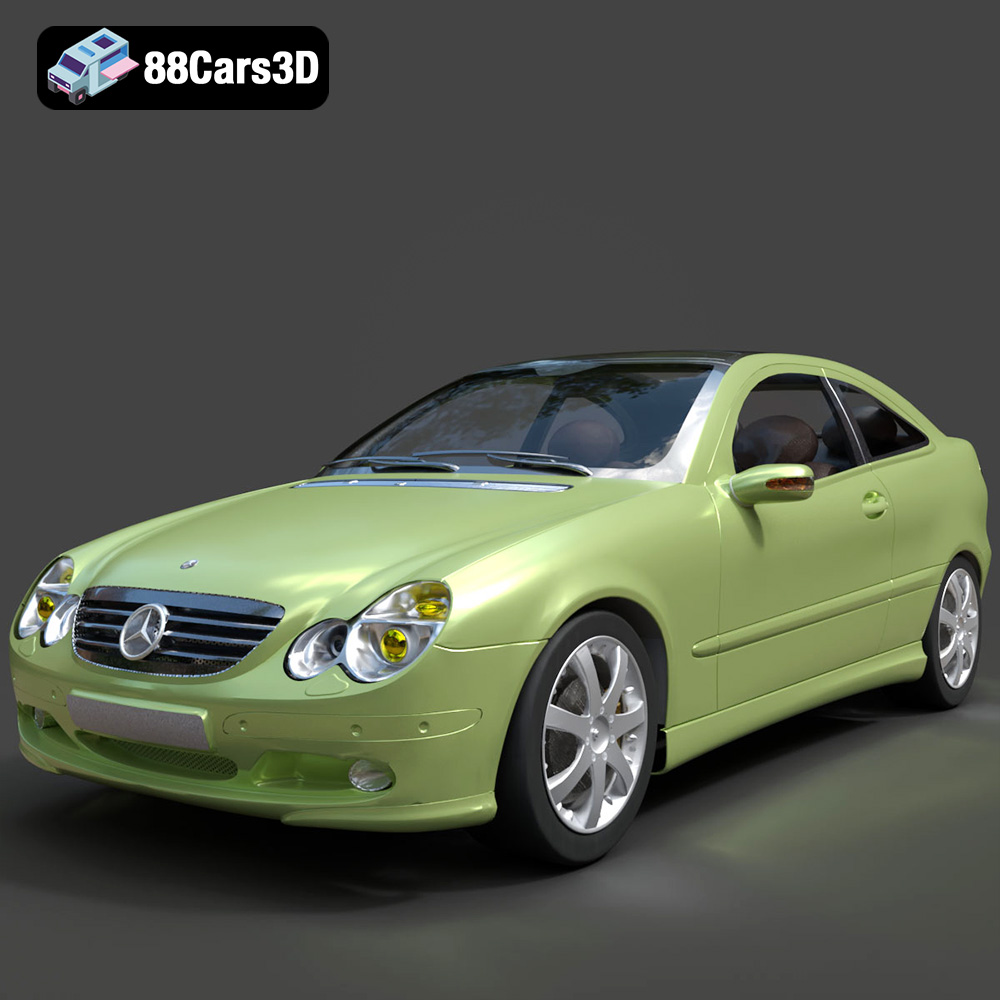
Download the Mercedes-Benz C-Klasse Sportcoupe 2000 3D Model featuring clean geometry, realistic detailing, and a fully modeled interior. Includes .blend, .fbx, .obj, .glb, .stl, .ply, .unreal, and .max formats for rendering, simulation, and game development.
Price: $4.99

Mercedes-Benz C-Klasse 204 2011 3D Model
Texture: Yes
Material: Yes
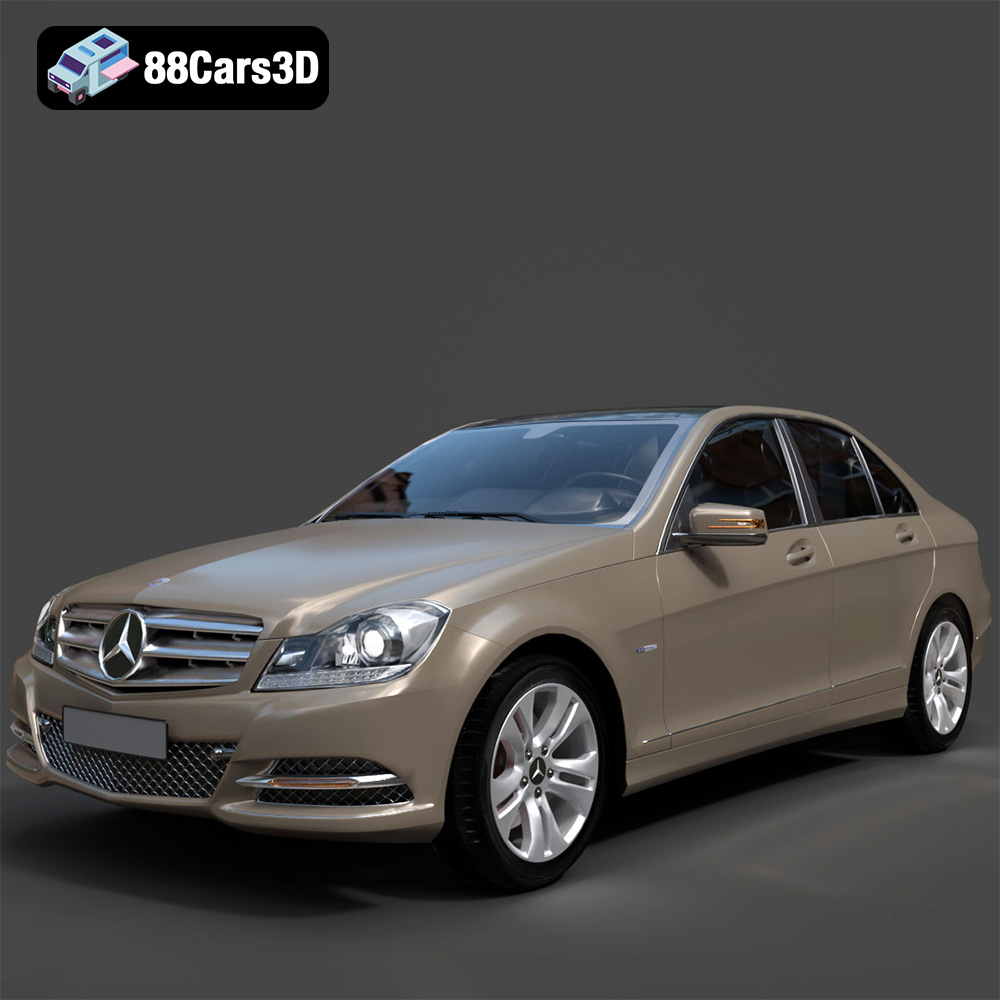
Download the Mercedes-Benz C-Klasse 204 2011 3D Model featuring clean geometry, realistic detailing, and a fully modeled interior. Includes .blend, .fbx, .obj, .glb, .stl, .ply, .unreal, and .max formats for rendering, simulation, and game development.
Price: $4.99

Mercedes-Benz C-Class Sedan 2000 3D Model
Texture: Yes
Material: Yes
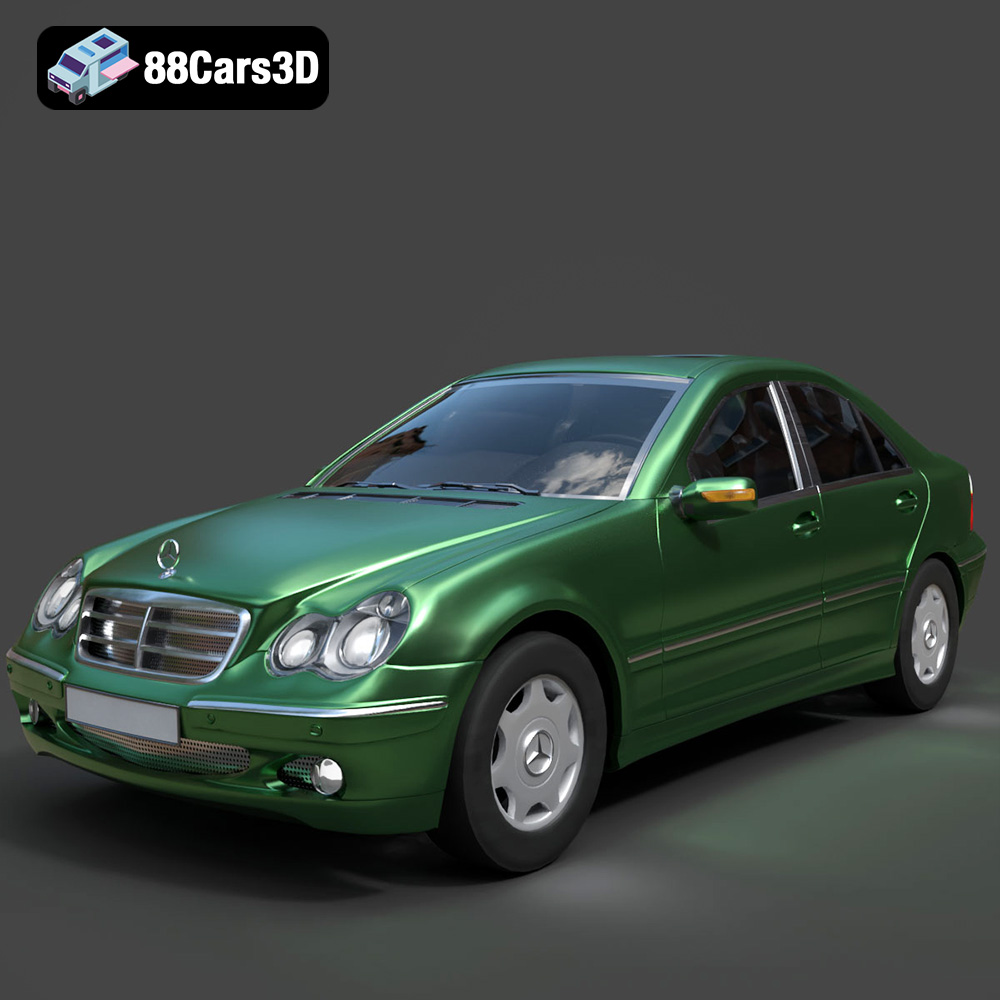
Download the Mercedes-Benz C-Class Sedan 3D Model featuring clean geometry, realistic detailing, and a fully modeled interior. Includes .blend, .fbx, .obj, .glb, .stl, .ply, .unreal, and .max formats for rendering, simulation, and game development.
Price: $4.99
