Deconstructing Automotive Paint Physics for PBR Accuracy
Achieving photorealistic car paint in real-time environments is one of the ultimate tests for any 3D artist or game developer. The unique interplay of reflective surfaces, intricate flake patterns, and the deep, glossy clear coat presents a formidable challenge. While many engines offer basic PBR setups, truly mastering the nuanced appearance of automotive finishes, from a solid race livery to a dazzling metallic or pearlescent coat, demands a deep dive into advanced shader techniques.
Unreal Engine 5, with its powerful Material Editor and physically based rendering (PBR) capabilities, provides an exceptional platform for this pursuit. However, simply plugging in a few textures won’t cut it. To truly elevate your automotive renders and game assets, you need to understand the underlying physics and translate that into a sophisticated Unreal Engine car material. This comprehensive guide will deconstruct the complexities of car paint, walk you through building a high-fidelity shader, explore advanced techniques for realism, and discuss critical optimization strategies.
Deconstructing Automotive Paint Physics for PBR Accuracy
Before we even open Unreal Engine, it’s crucial to understand what makes car paint look the way it does. Automotive paint is not a single, monolithic layer; it’s a carefully engineered system of multiple coats, each contributing to its final appearance and durability. Understanding these layers is fundamental to creating a convincing PBR car paint shader.
The Layered Structure: Basecoat, Flakes, and Clear Coat
At its core, automotive paint typically consists of several distinct layers:
- Primer: Applied directly to the metal, providing adhesion and corrosion resistance. While vital in the real world, it’s usually not a primary visual component in rendering unless the paint is damaged.
- Basecoat (Color Coat): This layer provides the primary color of the vehicle. It can be solid, metallic, or pearlescent. For metallic and pearlescent paints, this layer contains tiny flakes that reflect light, giving the paint its characteristic sparkle or color shift.
- Clear Coat: A transparent, glossy layer applied over the basecoat. It provides depth, protection against UV rays and scratches, and the characteristic mirror-like reflection. This is arguably the most visually impactful layer from a rendering perspective, as it dictates the specular highlights and reflections.
Light interacts differently with each of these layers. The clear coat acts as a dielectric, reflecting some light off its surface while allowing most to pass through to interact with the basecoat. The basecoat then reflects or absorbs the light depending on its color and whether it contains metallic flakes. This multi-layered reflection is key to realistic car paint.
PBR Fundamentals: Albedo, Metallic, Roughness, and Normals
Physically Based Rendering (PBR) workflows are designed to mimic how light interacts with materials in the real world. For car paint, here’s how the core PBR channels translate:
- Base Color (Albedo): For the clear coat, this is usually a very dark gray or black (as it’s transparent and merely reflects light). For the basecoat, it’s the actual color of the paint, whether solid, metallic, or pearlescent.
- Metallic: The clear coat is dielectric, so its metallic value is 0. The basecoat, however, will have a metallic value between 0 (for solid paints) and 1 (for highly metallic paints). This is where the metallic flakes truly come into play.
- Roughness: This channel determines the sharpness of reflections. A perfectly clean, polished clear coat will have a very low roughness value, producing sharp, mirror-like reflections. As dirt and micro-scratches accumulate, the roughness increases, diffusing reflections.
- Normal: Normal maps define surface details, from the subtle undulations of a paint finish to macro-scratches and swirls. Using a combination of base normals and detail normals is crucial for adding realism to the clear coat.
Understanding these PBR principles allows us to accurately translate the physical properties of car paint into a shader within Unreal Engine.
Building the Foundation: Base Color and Metallic Flake Shader in UE5
Our journey into creating a high-fidelity Unreal Engine car material begins by constructing the core elements: the base color and the distinct metallic flake effect. This requires careful consideration in the Material Editor.
Setting Up the Base Color
For solid, non-metallic paints, the base color is straightforward. You would typically use a simple ‘Vector Parameter’ (for easy color adjustment in Material Instances) connected to the Base Color input of your main material node. However, for metallic and pearlescent paints, the base color interacts with the metallic properties and the flake layer, becoming more complex.
The clear coat itself is a dielectric material. Its Base Color input should generally be a dark color, typically around 0.04 to 0.06 sRGB (linear 0.02) to represent its inherent reflectivity when set to non-metallic. The magic truly happens when we layer the clear coat over a metallic or pearlescent base.
Crafting the Metallic Flake Effect
The metallic flakes are the heart of many car paints, giving them their unique sparkle and depth. Recreating this requires a custom setup within the material graph setup UE5.
- Understanding Flakes: Real-world metallic flakes are tiny, often hexagonal, reflective particles embedded within the basecoat. Their orientation is mostly random, causing them to catch and reflect light at different angles, leading to the characteristic “sparkle.”
- Generating Flake Normals: We can simulate this effect by generating a custom normal map that mimics the random orientation of these flakes. A common technique involves using a highly tiled noise texture (e.g., a Perlin noise or Voronoi noise) as input to a ‘NormalFromHeightmap’ node.
- Flake Parameters:
- Flake Scale/Tiling: Controls the apparent size and density of the flakes. A ‘TextureCoordinate’ node multiplied by a ‘Scalar Parameter’ allows easy adjustment.
- Flake Intensity/Color: The flakes typically take on a metallic property. Their color often matches the base color of the paint or is slightly desaturated/lighter. You can blend this flake normal with the original surface normal using ‘BlendAngleCorrectedNormals’ or a simple ‘Lerp’ based on a Fresnel effect.
- Anisotropy (Advanced): For truly advanced effects, you might introduce a custom anisotropic reflection model for the flakes, as they are not perfectly isotropic. However, UE5’s clear coat shader handles a lot of the visual complexity without needing this for the flakes directly.
- Connecting the metallic flake shader: The output of your flake normal map generation should be fed into the ‘Normal’ input of your material, often blended with other normal maps (like surface imperfections) before reaching the final output. The metallic value for the base layer would be driven by a parameter or texture, allowing you to control the “metalness” of the flakes.
This setup allows for a highly customizable metallic flake shader, letting artists fine-tune the sparkle to match various automotive finishes.
The Pristine Sheen: Crafting an Advanced Clear Coat Shader
The clear coat is arguably the most critical component for achieving that signature automotive gloss and depth. Unreal Engine 5 provides robust tools for creating a convincing clear coat shader, but precision is key.
Understanding the Clear Coat Layer
The clear coat is a separate dielectric layer on top of our basecoat. It refracts light slightly, but its primary visual role is to provide a highly reflective, glossy surface. This layer is responsible for the sharp specular highlights, environmental reflections, and the deep, wet look of polished paint. It also protects the underlying basecoat, which means any imperfections (scratches, dust, smudges) will appear on this top layer.
Implementing Clear Coat in UE5
Unreal Engine 5’s standard material allows for a dedicated clear coat input, simplifying the process considerably.
- Enabling Clear Coat: In your Material Details panel, change the ‘Shading Model’ to ‘Clear Coat’. This exposes new inputs: Clear Coat, Clear Coat Roughness, and Clear Coat Normal.
- Clear Coat Value: The ‘Clear Coat’ input is a scalar that controls the intensity of the clear coat effect, typically left at 1 for full effect.
- Clear Coat Roughness: This is critical. A perfectly clean, factory-fresh clear coat will have an extremely low roughness value (e.g., 0.01-0.05). As the roughness increases, reflections become blurrier. Use a ‘Scalar Parameter’ to control this, allowing for variations in cleanliness and polish. You might even use a texture map to drive this for localized wear.
- Clear Coat Normal: This input is where we introduce subtle surface imperfections. Instead of affecting the underlying car body’s normal, this normal map exclusively distorts the clear coat’s reflections. This is perfect for simulating micro-scratches, swirl marks, or orange peel texture. Blend a general normal map with a detail normal map for these effects.
A sophisticated clear coat shader often involves blending multiple normal maps. For example, a global subtle normal map for the factory finish can be blended with a highly detailed normal map specifically for micro-scratches or dust using ‘BlendAngleCorrectedNormals’ or a similar node, ensuring they only affect the clear coat’s reflections.
Layering for Realism: Integrating Imperfections, Dirt, and Decals
While a clean, pristine car looks good, true photorealism comes from the subtle imperfections that tell a story. Integrating these elements into your Unreal Engine car material shader is where the true artistry lies.
Surface Imperfections: Scratches and Swirls
No car, not even a new one, is perfectly flawless. Micro-scratches, swirl marks from washing, and subtle paint defects are ubiquitous. These are best introduced through normal maps and roughness variations.
- Detail Normal Maps: Create high-resolution normal maps specifically for these imperfections. These maps should be tiled over the surface, often at a much smaller scale than the main body normal map.
- Blending Normals: Use the ‘BlendAngleCorrectedNormals’ node to combine your base body normal, your metallic flake normal (if applicable), and your detail imperfection normal maps. This node is superior to a simple ‘Lerp’ for normal blending as it correctly combines vectors from different directions. For clear coat specific scratches, blend these into the ‘Clear Coat Normal’ input.
- Roughness Variation: Areas with scratches or dust will appear rougher. Use a grayscale texture mask to drive roughness values, increasing roughness where imperfections are present. This adds another layer of visual realism.
Realistic Dirt and Dust Accumulation
Dirt, dust, and grime are powerful indicators of usage and environment. Integrating them realistically can significantly enhance a vehicle’s believability.
- Masking Techniques:
- Vertex Colors: Paint vertex colors directly onto your 3D model in your DCC application (e.g., Maya, Blender). These can then be used in UE5 to mask where dirt should appear.
- Ambient Occlusion (AO): Use the Ambient Occlusion texture of your car model to drive dirt accumulation in crevices and protected areas.
- Custom Procedural Masks: In the material graph, you can generate procedural masks based on object space normals (e.g., only apply dirt to upward-facing surfaces) or curvature.
- Blending Dirt Material: Create a separate ‘dirt’ material, typically characterized by higher roughness, a dark, earthy base color, and possibly a slightly bumpy normal map. Blend this dirt material with your clean car paint using your chosen mask. A ‘Lerp’ node is perfect for this, using the mask as the alpha.
For artists seeking to quickly prototype or populate scenes with diverse, high-quality vehicles, resources like 88cars3d.com offer an excellent selection of models that are prepped for these advanced layering techniques, often including suitable UV layouts for dirt masks and decals.
Optimized Decal Projection
Decals – such as racing stripes, logos, or warning labels – are an essential part of automotive design. Integrating them efficiently into your layered materials Unreal Engine setup is crucial for both visual quality and performance.
- Material-Based Decals: The most integrated approach is to bake decals directly into your material pipeline. This involves projecting a decal texture onto the car’s UVs and blending it with the base paint layers.
- Use the ‘TextureCoordinate’ node and apply transformations (scaling, rotation, translation) to position your decal.
- Use a ‘Lerp’ node to blend the decal’s color and metallic/roughness values with the underlying paint, using the decal’s alpha channel as the lerp factor.
- Ensure the decal normal map is also blended correctly with the main normal map, using ‘BlendAngleCorrectedNormals’.
- Performance Considerations: While powerful, adding too many material-based decals can increase instruction count. Optimize by combining multiple small decals into a single texture atlas where possible.
Putting It All Together: A Modular UE5 Car Material Pipeline
To manage the complexity of all these layers and parameters, a modular approach using Material Functions and Material Instances is indispensable. This ensures reusability, easy customization, and improved workflow for your Unreal Engine car material.
Structuring Your Master Material
A ‘Master Material’ serves as the blueprint for all your car paints. It should contain all the core logic for the basecoat, metallic flakes, clear coat, and imperfection blending. Instead of one giant graph, break down functionality into ‘Material Functions’.
- Material Functions: These are reusable snippets of material logic. You might have Material Functions for:
MF_MetallicFlakes: Encapsulates all the noise generation, normal map creation, and parameter exposure for flakes.MF_ClearCoatImperfections: Handles blending various detail normal maps and roughness variations for the clear coat.MF_DirtLayer: Manages the blending of dirt masks and the dirt material itself.MF_DecalProjection: For projecting and blending a single decal.
- Benefits: Material Functions keep your master material clean, organized, and easier to debug. Changes made in a function propagate to all instances that use it.
This organized material graph setup UE5 is key for efficient production.
Exposing Parameters for Customization
Once your master material is built, expose relevant parameters (e.g., base color, flake size, clear coat roughness, dirt intensity, decal texture) as ‘Scalar Parameters’, ‘Vector Parameters’, or ‘Texture Sample Parameters’ within your Material Functions or Master Material. This allows you to create ‘Material Instances’.
- Material Instances: These are child materials that inherit all the logic from the master material but allow you to override exposed parameters. This is how you create hundreds of unique car paint variations (different colors, metallic levels, levels of wear) from a single master shader, without recompiling the shader for each one.
Implementing Pearlescent and Chromaflair Effects
Beyond standard metallic, many premium automotive finishes feature pearlescent or “flip-flop” effects, where the color shifts based on the viewing angle. This can be achieved with more advanced shader logic:
- Fresnel-Driven Color Shift: Use a ‘Fresnel’ node (which outputs a value based on the angle between the surface normal and the camera vector) to drive a ‘Lerp’ between two or more colors. The colors will shift from the central viewing angle to glancing angles.
- Normal-Based Color Variation: Similar to flakes, you can use a noise pattern or procedural texture to create subtle variations in hue or saturation, further enhancing the pearlescent look.
Combining these techniques within your modular layered materials Unreal Engine setup allows for a vast array of photorealistic car paint styles.
Shader Optimization and Automotive Rendering Best Practices in Real-Time
Achieving stunning visual fidelity is only half the battle; maintaining playable frame rates is equally important, especially for game development and interactive experiences. Mastering shader optimization real-time techniques is crucial for robust automotive rendering best practices.
Minimizing Instruction Count
Every node in your material graph contributes to the shader’s instruction count, directly impacting performance.
- Consolidate Logic: Look for opportunities to combine nodes or reuse calculations. For example, if you need a specific value in multiple places, calculate it once and branch off the result.
- Avoid Unnecessary Operations: Don’t perform calculations that aren’t visible or don’t significantly contribute to the final look.
- Static Switches: Use ‘Static Switch Parameter’ nodes to entirely remove parts of the shader graph at compile time for specific Material Instances. For example, if some cars don’t need dirt, a static switch can disable the entire dirt layer.
The Material Editor’s statistics panel (‘Window’ -> ‘Material Stats’) is your best friend here, providing real-time feedback on instruction counts.
Texture Resolution and UV Layouts
- Appropriate Resolution: Use texture resolutions that are appropriate for the asset’s size and importance. A car’s main body texture will need higher resolution than a subtle detail map for an interior button. Always enable mip-mapping for textures to ensure efficient streaming at different distances.
- Efficient UVs: Ensure your UV layouts are clean, non-overlapping (for lightmaps), and efficiently packed. Good UVs are essential for consistent texture mapping and reducing texture fetch costs.
LODs and Scalability
For complex car models, Level of Detail (LODs) are essential. As a vehicle moves further from the camera, it should swap to simpler meshes and potentially simpler materials.
- Material Quality Switches: Use ‘Quality Switch’ nodes within your material to simplify complex parts of the shader for lower LODs. For instance, you might disable the metallic flake effect or reduce the complexity of the clear coat normal mapping when the car is far away.
Instancing and Performance
As discussed, ‘Material Instances’ are not just for workflow; they are a significant performance optimization. When you create a Material Instance, Unreal Engine doesn’t recompile the shader. It simply overrides the exposed parameters, saving valuable compile time and reducing memory footprint.
By carefully following these automotive rendering best practices, you can ensure your photorealistic car paint looks incredible without compromising real-time performance. For artists looking for a head start with optimized, production-ready assets, platforms like 88cars3d.com offer a range of high-quality, pre-optimized 3D car models that serve as an excellent foundation for these advanced shading techniques.
Conclusion
Mastering photorealistic car paint in Unreal Engine 5 is a journey that blends technical understanding with artistic finesse. From deconstructing the real-world physics of metallic flakes and clear coats to meticulously building a modular shader in the Material Editor, every step contributes to the final illusion of reality. We’ve explored the creation of a stunning PBR car paint, a dynamic metallic flake shader, and an intricate clear coat shader, all while emphasizing efficient material graph setup UE5 and leveraging layered materials Unreal Engine for deep realism.
By integrating subtle imperfections, dirt layers, and optimized decals, and by always keeping shader optimization real-time and automotive rendering best practices in mind, you can craft vehicle materials that truly stand out. The power of Unreal Engine 5 lies in its flexibility, allowing artists and developers to push the boundaries of visual fidelity in real-time. Don’t be afraid to experiment, iterate, and refine your shaders. The quest for perfect car paint is ongoing, but with the techniques outlined here, you’re well-equipped to achieve breathtaking results.
Ready to apply these advanced shader techniques to your next project? Explore the extensive library of high-quality 3D car models available at 88cars3d.com, perfect for showcasing your newly mastered photorealistic paint shaders.
Featured 3D Car Models

Suzuki SX4-002 3D Model
Texture: Yes
Material: Yes
Download the Suzuki SX4-002 3D Model featuring clean geometry, realistic detailing, and a fully modeled interior. Includes .blend, .fbx, .obj, .glb, .stl, .ply, .unreal, and .max formats for rendering, simulation, and game development.
Price: $10

Tesla Model S 2024 3D Model
Texture: Yes
Material: Yes
Download the Tesla Model S 2024 3D Model featuring clean geometry, realistic detailing, and a fully modeled interior. Includes .blend, .fbx, .obj, .glb, .stl, .ply, .unreal, and .max formats for rendering, simulation, and game development.
Price: $10

Subaru Impreza WRX STi-002 3D Model
Texture: Yes
Material: Yes
Download the Subaru Impreza WRX STi-002 3D Model featuring clean geometry, realistic detailing, and a fully modeled interior. Includes .blend, .fbx, .obj, .glb, .stl, .ply, .unreal, and .max formats for rendering, simulation, and game development.
Price: $10

Toyota Mark II (X100) 1998 3D Model
Texture: Yes
Material: Yes
Download the Toyota Mark II (X100) 3D Model featuring clean geometry, realistic detailing, and a fully modeled interior. Includes .blend, .fbx, .obj, .glb, .stl, .ply, .unreal, and .max formats for rendering, simulation, and game development.
Price: $10

Toyota Corona 1985 3D Model
Texture: Yes
Material: Yes
Download the Toyota Corona 1985 3D Model featuring clean geometry, realistic detailing, and a fully modeled interior. Includes .blend, .fbx, .obj, .glb, .stl, .ply, .unreal, and .max formats for rendering, simulation, and game development.
Price: $10

Toyota Mark II X81 1990 3D Model
Texture: Yes
Material: Yes
Download the Toyota Mark II X81 1990 3D Model featuring clean geometry, realistic detailing, and a fully modeled interior. Includes .blend, .fbx, .obj, .glb, .stl, .ply, .unreal, and .max formats for rendering, simulation, and game development.
Price: $10

Toyota iQ EV 2012 3D Model
Texture: Yes
Material: Yes
Download the Toyota iQ EV 2012 3D Model featuring clean geometry, realistic detailing, and a fully modeled interior. Includes .blend, .fbx, .obj, .glb, .stl, .ply, .unreal, and .max formats for rendering, simulation, and game development.
Price: $10

Toyota Aygo 2013 3D Model
Texture: Yes
Material: Yes
Download the Toyota Aygo 2013 3D Model featuring clean geometry, realistic detailing, and a fully modeled interior. Includes .blend, .fbx, .obj, .glb, .stl, .ply, .unreal, and .max formats for rendering, simulation, and game development.
Price: $10

Toyota Crown S180 2005 3D Model
Texture: Yes
Material: Yes
Download the Toyota Crown S180 2005 3D Model featuring clean geometry, realistic detailing, and a fully modeled interior. Includes .blend, .fbx, .obj, .glb, .stl, .ply, .unreal, and .max formats for rendering, simulation, and game development.
Price: $10

Toyota Celica 2004 3D Model
Texture: Yes
Material: Yes
Download the Toyota Celica 2004 3D Model featuring clean geometry, realistic detailing, and a fully modeled interior. Includes .blend, .fbx, .obj, .glb, .stl, .ply, .unreal, and .max formats for rendering, simulation, and game development.
Price: $10

Toyota Corolla AE100 1992 3D Model
Texture: Yes
Material: Yes
Download the Toyota Corolla AE100 1992 3D Model featuring clean geometry, realistic detailing, and a fully modeled interior. Includes .blend, .fbx, .obj, .glb, .stl, .ply, .unreal, and .max formats for rendering, simulation, and game development.
Price: $10

Toyota Mark II X110 2000 3D Model
Texture: Yes
Material: Yes
Download the Toyota Mark II X110 2000 3D Model featuring clean geometry, realistic detailing, and a fully modeled interior. Includes .blend, .fbx, .obj, .glb, .stl, .ply, .unreal, and .max formats for rendering, simulation, and game development.
Price: $10

Toyota Corolla 2020 3D Model
Texture: Yes
Material: Yes
Download the Toyota Corolla 2020 3D Model featuring clean geometry, realistic detailing, and a fully modeled interior. Includes .blend, .fbx, .obj, .glb, .stl, .ply, .unreal, and .max formats for rendering, simulation, and game development.
Price: $10

Toyota Yaris 2020 3D Model
Texture: Yes
Material: Yes
Download the Toyota Yaris 2020 3D Model featuring clean geometry, realistic detailing, and a fully modeled interior. Includes .blend, .fbx, .obj, .glb, .stl, .ply, .unreal, and .max formats for rendering, simulation, and game development.
Price: $9.9

Volkswagen Beetle 2012 3D Model
Texture: Yes
Material: Yes
Download the Volkswagen Beetle 2012 3D Model featuring clean geometry, realistic detailing, and a fully modeled interior. Includes .blend, .fbx, .obj, .glb, .stl, .ply, .unreal, and .max formats for rendering, simulation, and game development.
Price: $9.9

Toyota Matrix 2005 3D Model
Texture: Yes
Material: Yes
Download the Toyota Matrix 2005 3D Model featuring clean geometry, realistic detailing, and a fully modeled interior. Includes .blend, .fbx, .obj, .glb, .stl, .ply, .unreal, and .max formats for rendering, simulation, and game development.
Price: $9.9

Toyota Yaris Sedan 3D Model
Texture: Yes
Material: Yes
Download the Toyota Yaris Sedan 3D Model featuring clean geometry, realistic detailing, and a fully modeled interior. Includes .blend, .fbx, .obj, .glb, .stl, .ply, .unreal, and .max formats for rendering, simulation, and game development.
Price: $9.9

Volkswagen Golf R-004 2024 3D Model
Texture: Yes
Material: Yes
Download the Volkswagen Golf R-004 2024 3D Model featuring clean geometry, realistic detailing, and a fully modeled interior. Includes .blend, .fbx, .obj, .glb, .stl, .ply, .unreal, and .max formats for rendering, simulation, and game development.
Price: $9.9

Volkswagen Golf 5 Door 2010 3D Model
Texture: Yes
Material: Yes
Download the Volkswagen Golf 5 Door 2010 3D Model featuring clean geometry, realistic detailing, and a fully modeled interior. Includes .blend, .fbx, .obj, .glb, .stl, .ply, .unreal, and .max formats for rendering, simulation, and game development.
Price: $9.9

Toyota Premio 2010 3D Model
Texture: Yes
Material: Yes
Download the Toyota Premio 2010 3D Model featuring clean geometry, realistic detailing, and a fully modeled interior. Includes .blend, .fbx, .obj, .glb, .stl, .ply, .unreal, and .max formats for rendering, simulation, and game development.
Price: $9.9

Toyota Opa 2000 3D Model
Texture: Yes
Material: Yes
Download the Toyota Opa 2000 3D Model featuring clean geometry, realistic detailing, and a fully modeled interior. Includes .blend, .fbx, .obj, .glb, .stl, .ply, .unreal, and .max formats for rendering, simulation, and game development.
Price: $9.9

Volkswagen Polo 5 Door 2010 3D Model
Texture: Yes
Material: Yes
Download the Volkswagen Polo 5 Door 2010 3D Model featuring clean geometry, realistic detailing, and a fully modeled interior. Includes .blend, .fbx, .obj, .glb, .stl, .ply, .unreal, and .max formats for rendering, simulation, and game development.
Price: $9.9

Toyota Prius 2024 3D Model
Texture: Yes
Material: Yes
Download the Toyota Prius 2024 3D Model featuring clean geometry, realistic detailing, and a fully modeled interior. Includes .blend, .fbx, .obj, .glb, .stl, .ply, .unreal, and .max formats for rendering, simulation, and game development.
Price: $9.9

Toyota Yaris 1999 3D Model
Texture: Yes
Material: Yes
Download the Toyota Yaris 1999 3D Model featuring clean geometry, realistic detailing, and a fully modeled interior. Includes .blend, .fbx, .obj, .glb, .stl, .ply, .unreal, and .max formats for rendering, simulation, and game development.
Price: $9.9

Toyota Supra 2020 3D Model
Texture: Yes
Material: Yes
Download the Toyota Supra 2020 3D Model featuring clean geometry, realistic detailing, and a fully modeled interior. Includes .blend, .fbx, .obj, .glb, .stl, .ply, .unreal, and .max formats for rendering, simulation, and game development.
Price: $9.9

Volkswagen New Beetle 2000 3D Model
Texture: Yes
Material: Yes
Download the Volkswagen New Beetle 2000 3D Model featuring clean geometry, realistic detailing, and a fully modeled interior. Includes .blend, .fbx, .obj, .glb, .stl, .ply, .unreal, and .max formats for rendering, simulation, and game development.
Price: $14.99

Volkswagen Jetta 2005 3D Model
Texture: Yes
Material: Yes
Download the Volkswagen Jetta 2005 3D Model featuring clean geometry, realistic detailing, and a fully modeled interior. Includes .blend, .fbx, .obj, .glb, .stl, .ply, .unreal, and .max formats for rendering, simulation, and game development.
Price: $18.99

Volkswagen Golf 3-Door 3D Model
Texture: Yes
Material: Yes
Download the Volkswagen Golf 3-Door 3D Model featuring clean geometry, realistic detailing, and a fully modeled interior. Includes .blend, .fbx, .obj, .glb, .stl, .ply, .unreal, and .max formats for rendering, simulation, and game development.
Price: $14.99

Volvo V70 2005 3D Model
Texture: Yes
Material: Yes
Download the Volvo V70 2005 3D Model featuring clean geometry, realistic detailing, and a fully modeled interior. Includes .blend, .fbx, .obj, .glb, .stl, .ply, .unreal, and .max formats for rendering, simulation, and game development.
Price: $14.99

Volkswagen Bora 2004 3D Model
Texture: Yes
Material: Yes
Download the Volkswagen Bora 2004 3D Model featuring clean geometry, realistic detailing, and a fully modeled interior. Includes .blend, .fbx, .obj, .glb, .stl, .ply, .unreal, and .max formats for rendering, simulation, and game development.
Price: $14.99

Volkswagen Lupo 3D Model
Texture: Yes
Material: Yes
Download the Volkswagen Lupo 3D Model featuring clean geometry, realistic detailing, and a fully modeled interior. Includes .blend, .fbx, .obj, .glb, .stl, .ply, .unreal, and .max formats for rendering, simulation, and game development.
Price: $19.99

Volkswagen Passat B5 2000 3D Model
Texture: Yes
Material: Yes
Download the Volkswagen Passat B5 2000 3D Model featuring clean geometry, realistic detailing, and a fully modeled interior. Includes .blend, .fbx, .obj, .glb, .stl, .ply, .unreal, and .max formats for rendering, simulation, and game development.
Price: $19.99

Volkswagen Passat CC 3D Model
Texture: Yes
Material: Yes
Download the Volkswagen Passat CC 3D Model featuring clean geometry, realistic detailing, and a fully modeled interior. Includes .blend, .fbx, .obj, .glb, .stl, .ply, .unreal, and .max formats for rendering, simulation, and game development.
Price: $19.99

Volkswagen Golf V 2006 3D Model
Texture: Yes
Material: Yes
Download the Volkswagen Golf V 2006 3D Model featuring clean geometry, realistic detailing, and a fully modeled interior. Includes .blend, .fbx, .obj, .glb, .stl, .ply, .unreal, and .max formats for rendering, simulation, and game development.
Price: $19.99

Volvo S60 R-Design 2024 3D Model
Texture: Yes
Material: Yes
Download the Volvo S60 R-Design 3D Model featuring clean geometry, realistic detailing, and a fully modeled interior. Includes .blend, .fbx, .obj, .glb, .stl, .ply, .unreal, and .max formats for rendering, simulation, and game development.
Price: $19.99

Volkswagen Passat 2025 3D Model
Texture: Yes
Material: Yes
Download the Volkswagen Passat 2025 3D Model featuring clean geometry, realistic detailing, and a fully modeled interior. Includes .blend, .fbx, .obj, .glb, .stl, .ply, .unreal, and .max formats for rendering, simulation, and game development.
Price: $25.99

Volkswagen Passat Variant B6 2005 3D Model
Texture: Yes
Material: Yes
Download the Volkswagen Passat Variant B6 2005 3D Model featuring clean geometry, realistic detailing, and a fully modeled interior. Includes .blend, .fbx, .obj, .glb, .stl, .ply, .unreal, and .max formats for rendering, simulation, and game development.
Price: $25.99

Volkswagen Phaeton W12 2004 3D Model
Texture: Yes
Material: Yes
Download the Volkswagen Phaeton W12 2004 3D Model featuring clean geometry, realistic detailing, and a fully modeled interior. Includes .blend, .fbx, .obj, .glb, .stl, .ply, .unreal, and .max formats for rendering, simulation, and game development.
Price: $25.99

Volkswagen Scirocco 2015 3D Model
Texture: Yes
Material: Yes
Download the Volkswagen Scirocco 2015 3D Model featuring clean geometry, realistic detailing, and a fully modeled interior. Includes .blend, .fbx, .obj, .glb, .stl, .ply, .unreal, and .max formats for rendering, simulation, and game development.
Price: $25.99

Volvo S60 2024 3D Model
Texture: Yes
Material: Yes
Download the Volvo S60 2024 3D Model featuring clean geometry, realistic detailing, and a fully modeled interior. Includes .blend, .fbx, .obj, .glb, .stl, .ply, .unreal, and .max formats for rendering, simulation, and game development.
Price: $25.99

Volkswagen Polo 3D Model
Texture: Yes
Material: Yes
Download the Volkswagen Polo 3D Model featuring clean geometry, realistic detailing, and a fully modeled interior. Includes .blend, .fbx, .obj, .glb, .stl, .ply, .unreal, and .max formats for rendering, simulation, and game development.
Price: $25.99

Volkswagen Golf 5-Doors 2018 3D Model
Texture: Yes
Material: Yes
Download the Volkswagen Golf 5-Doors 3D Model featuring clean geometry, realistic detailing, and a fully modeled interior. Includes .blend, .fbx, .obj, .glb, .stl, .ply, .unreal, and .max formats for rendering, simulation, and game development.
Price: $25.99

Volvo C70 T5 2000 3D Model
Texture: Yes
Material: Yes
Download the Volvo C70 T5 2000 3D Model featuring clean geometry, realistic detailing, and a fully modeled interior. Includes .blend, .fbx, .obj, .glb, .stl, .ply, .unreal, and .max formats for rendering, simulation, and game development.
Price: $23.99

Volvo S40 Sedan 2004 3D Model
Texture: Yes
Material: Yes
Download the Volvo S40 Sedan 2004 3D Model featuring clean geometry, realistic detailing, and a fully modeled interior. Includes .blend, .fbx, .obj, .glb, .stl, .ply, .unreal, and .max formats for rendering, simulation, and game development.
Price: $23.99

Volvo C30 BEV 2012 3D Model
Texture: Yes
Material: Yes
Download the Volvo C30 BEV 2012 3D Model featuring clean geometry, realistic detailing, and a fully modeled interior. Includes .blend, .fbx, .obj, .glb, .stl, .ply, .unreal, and .max formats for rendering, simulation, and game development.
Price: $23.99

Volvo C70 1998 3D Model
Texture: Yes
Material: Yes
Download the Volvo C70 1998 3D Model featuring clean geometry, realistic detailing, and a fully modeled interior. Includes .blend, .fbx, .obj, .glb, .stl, .ply, .unreal, and .max formats for rendering, simulation, and game development.
Price: $23.99

Mazda B-Series 3D Model
Texture: Yes
Material: Yes
Download the Mazda B-Series 3D Model featuring clean geometry, realistic detailing, and a fully modeled interior. Includes .blend, .fbx, .obj, .glb, .stl, .ply, .unreal, and .max formats for rendering, simulation, and game development.
Price: $23.99

Mercsedes Benz Z3-006 3D Model
Texture: Yes
Material: Yes
Download the Mercsedes Benz Z3-006 3D Model featuring clean geometry, realistic detailing, and a fully modeled interior. Includes .blend, .fbx, .obj, .glb, .stl, .ply, .unreal, and .max formats for rendering, simulation, and game development.
Price: $23.99

Mazda RX-7 3D Model
Texture: Yes
Material: Yes
Download the Mazda RX-7 3D Model featuring clean geometry, realistic detailing, and a fully modeled interior. Includes .blend, .fbx, .obj, .glb, .stl, .ply, .unreal, and .max formats for rendering, simulation, and game development.
Price: $23.99

Volvo VCC-003 3D Model
Texture: Yes
Material: Yes
Download the Volvo VCC-003 3D Model featuring clean geometry, realistic detailing, and a fully modeled interior. Includes .blend, .fbx, .obj, .glb, .stl, .ply, .unreal, and .max formats for rendering, simulation, and game development.
Price: $23.99

Mercedes-Benz SLR McLaren 2005 3D Model
Texture: Yes
Material: Yes
Download the Mercedes-Benz SLR McLaren 2005 3D Model featuring clean geometry, realistic detailing, and a fully modeled interior. Includes .blend, .fbx, .obj, .glb, .stl, .ply, .unreal, and .max formats for rendering, simulation, and game development.
Price: $23.99

GAZ 3110 Pickup 2000 3D Model
Texture: Yes
Material: Yes
Download the GAZ 3110 Pickup 3D Model featuring clean geometry, realistic detailing, and a fully modeled interior. Includes .blend, .fbx, .obj, .glb, .stl, .ply, .unreal, and .max formats for rendering, simulation, and game development.
Price: $23.99

Mazda 626 GF 1997 3D Model
Texture: Yes
Material: Yes
Download the Mazda 626 GF 1997 3D Model featuring clean geometry, realistic detailing, and a fully modeled interior. Includes .blend, .fbx, .obj, .glb, .stl, .ply, .unreal, and .max formats for rendering, simulation, and game development.
Price: $23.99

Volvo S80 2011 3D Model
Texture: Yes
Material: Yes
Download the Volvo S80 2011 3D Model featuring clean geometry, realistic detailing, and a fully modeled interior. Includes .blend, .fbx, .obj, .glb, .stl, .ply, .unreal, and .max formats for rendering, simulation, and game development.
Price: $23.99

Volkswagen Touran restyle-006 3D Model
Texture: Yes
Material: Yes
Download the Volkswagen Touran restyle-006 3D Model featuring clean geometry, realistic detailing, and a fully modeled interior. Includes .blend, .fbx, .obj, .glb, .stl, .ply, .unreal, and .max formats for rendering, simulation, and game development.
Price: $23.99

Skoda Octavia Scout 3D Model
Texture: Yes
Material: Yes
Download the Skoda Octavia Scout 3D Model featuring clean geometry, realistic detailing, and a fully modeled interior. Includes .blend, .fbx, .obj, .glb, .stl, .ply, .unreal, and .max formats for rendering, simulation, and game development.
Price: $23.99

Volkswagen Golf V 2006 3D Model
Texture: Yes
Material: Yes
Download the Volkswagen Golf V 2006 3D Model featuring clean geometry, realistic detailing, and a fully modeled interior. Includes .blend, .fbx, .obj, .glb, .stl, .ply, .unreal, and .max formats for rendering, simulation, and game development.
Price: $23.99

Mazda CX-7 3D Model
Texture: Yes
Material: Yes
Download the Mazda CX-7 3D Model featuring clean geometry, realistic detailing, and a fully modeled interior. Includes .blend, .fbx, .obj, .glb, .stl, .ply, .unreal, and .max formats for rendering, simulation, and game development.
Price: $23.99

Mazda Familia 3D Model
Texture: Yes
Material: Yes
Download the Mazda Familia 3D Model featuring clean geometry, realistic detailing, and a fully modeled interior. Includes .blend, .fbx, .obj, .glb, .stl, .ply, .unreal, and .max formats for rendering, simulation, and game development.
Price: $23.99

GAS 21 3D Model
Texture: Yes
Material: Yes
Download the GAS 21 3D Model featuring clean geometry, realistic detailing, and a fully modeled interior. Includes .blend, .fbx, .obj, .glb, .stl, .ply, .unreal, and .max formats for rendering, simulation, and game development.
Price: $23.99

Mercedes-Benz SL500 AMG (R129) 3D Model
Texture: Yes
Material: Yes
Download the Mercedes-Benz SL500 AMG (R129) 3D Model featuring clean geometry, realistic detailing, and a fully modeled interior. Includes .blend, .fbx, .obj, .glb, .stl, .ply, .unreal, and .max formats for rendering, simulation, and game development.
Price: $23.99

Mercedes-Benz S-Class W221 2005 3D Model
Texture: Yes
Material: Yes
Download the Mercedes-Benz S-Class W221 2005 3D Model featuring clean geometry, realistic detailing, and a fully modeled interior. Includes .blend, .fbx, .obj, .glb, .stl, .ply, .unreal, and .max formats for rendering, simulation, and game development.
Price: $23.99

Mercedes-Benz E-Class W212 2009 3D Model
Texture: Yes
Material: Yes
Download the Mercedes-Benz E-Class W212 2009 3D Model featuring clean geometry, realistic detailing, and a fully modeled interior. Includes .blend, .fbx, .obj, .glb, .stl, .ply, .unreal, and .max formats for rendering, simulation, and game development.
Price: $23.99

Mercedes-Benz E-class Estate S212 2009 3D Model
Texture: Yes
Material: Yes
Download the Mercedes-Benz E-class Estate S212 2009 3D Model featuring clean geometry, realistic detailing, and a fully modeled interior. Includes .blend, .fbx, .obj, .glb, .stl, .ply, .unreal, and .max formats for rendering, simulation, and game development.
Price: $23.99

Mercedes-Benz 190 W201 3D Model
Texture: Yes
Material: Yes
Download the Mercedes-Benz 190 W201 3D Model featuring clean geometry, realistic detailing, and a fully modeled interior. Includes .blend, .fbx, .obj, .glb, .stl, .ply, .unreal, and .max formats for rendering, simulation, and game development.
Price: $23.99

Mercedes-Benz C230 SportCoupé 2005 3D Model
Texture: Yes
Material: Yes
Download the Mercedes-Benz C230 SportCoupé 2005 3D Model featuring clean geometry, realistic detailing, and a fully modeled interior. Includes .blend, .fbx, .obj, .glb, .stl, .ply, .unreal, and .max formats for rendering, simulation, and game development.
Price: $23.99

Mercedes-Benz SLK 3D Model
Texture: Yes
Material: Yes
Download the Mercedes-Benz SLK 3D Model featuring clean geometry, realistic detailing, and a fully modeled interior. Includes .blend, .fbx, .obj, .glb, .stl, .ply, .unreal, and .max formats for rendering, simulation, and game development.
Price: $23.99

Mercedes 600 SEC W140 1992 3D Model
Texture: Yes
Material: Yes
Download the Mercedes 600 SEC W140 1992 3D Model featuring clean geometry, realistic detailing, and a fully modeled interior. Includes .blend, .fbx, .obj, .glb, .stl, .ply, .unreal, and .max formats for rendering, simulation, and game development.
Price: $23.99

Mercedes S-Class 2010 3D Model
Texture: Yes
Material: Yes
Download the Mercedes S-Class 2010 3D Model featuring clean geometry, realistic detailing, and a fully modeled interior. Includes .blend, .fbx, .obj, .glb, .stl, .ply, .unreal, and .max formats for rendering, simulation, and game development.
Price: $23.99

McLaren MP4-12C-001 3D Model
Texture: Yes
Material: Yes
Download the McLaren MP4-12C-001 3D Model featuring clean geometry, realistic detailing, and a fully modeled interior. Includes .blend, .fbx, .obj, .glb, .stl, .ply, .unreal, and .max formats for rendering, simulation, and game development.
Price: $23.99

Mercedes-Benz SLK 350 2005 3D Model
Texture: Yes
Material: Yes
Download the Mercedes-Benz SLK 350 2005 3D Model featuring clean geometry, realistic detailing, and a fully modeled interior. Includes .blend, .fbx, .obj, .glb, .stl, .ply, .unreal, and .max formats for rendering, simulation, and game development.
Price: $23.99

Mercedes-Benz SL 65 AMG 3D Model
Texture: Yes
Material: Yes
Download the Mercedes-Benz SL 65 AMG 3D Model featuring clean geometry, realistic detailing, and a fully modeled interior. Includes .blend, .fbx, .obj, .glb, .stl, .ply, .unreal, and .max formats for rendering, simulation, and game development.
Price: $23.99

Mercedes-Benz S500 3D Model
Texture: Yes
Material: Yes
Download the Mercedes-Benz S500 3D Model featuring clean geometry, realistic detailing, and a fully modeled interior. Includes .blend, .fbx, .obj, .glb, .stl, .ply, .unreal, and .max formats for rendering, simulation, and game development.
Price: $23.99

Mercedes-Benz S55 W220 AMG 1999 3D Model
Texture: Yes
Material: Yes
Download the Mercedes-Benz S55 W220 AMG 1999 3D Model featuring clean geometry, realistic detailing, and a fully modeled interior. Includes .blend, .fbx, .obj, .glb, .stl, .ply, .unreal, and .max formats for rendering, simulation, and game development.
Price: $23.99

Mercedes-Benz CLA45 AMG 2017 3D Model
Texture: Yes
Material: Yes
Download the Mercedes-Benz CLA45 AMG 2017 3D Model featuring clean geometry, realistic detailing, and a fully modeled interior. Includes .blend, .fbx, .obj, .glb, .stl, .ply, .unreal, and .max formats for rendering, simulation, and game development.
Price: $38.99

Mercedes-Benz CL65 C215 AMG 3D Model
Texture: Yes
Material: Yes
Download the Mercedes-Benz CL65 C215 AMG 3D Model featuring clean geometry, realistic detailing, and a fully modeled interior. Includes .blend, .fbx, .obj, .glb, .stl, .ply, .unreal, and .max formats for rendering, simulation, and game development.
Price: $23.99

Mercedes-Benz A45 2021 3D Model
Texture: Yes
Material: Yes
Download the Mercedes-Benz A45 2021 3D Model featuring clean geometry, realistic detailing, and a fully modeled interior. Includes .blend, .fbx, .obj, .glb, .stl, .ply, .unreal, and .max formats for rendering, simulation, and game development.
Price: $23.99

Mercedes-Benz 300SL 1955 3D Model
Texture: Yes
Material: Yes
Download the Mercedes-Benz 300SL 1955 3D Model featuring clean geometry, realistic detailing, and a fully modeled interior. Includes .blend, .fbx, .obj, .glb, .stl, .ply, .unreal, and .max formats for rendering, simulation, and game development.
Price: $23.99

Mercedes-Benz 190SL 1955 3D Model
Texture: Yes
Material: Yes
Download the Mercedes-Benz 190SL 1955 3D Model featuring clean geometry, realistic detailing, and a fully modeled interior. Includes .blend, .fbx, .obj, .glb, .stl, .ply, .unreal, and .max formats for rendering, simulation, and game development.
Price: $23.99

Mercedes-Benz W124 Brabus V12 3D Model
Texture: Yes
Material: Yes
Download the Mercedes-Benz W124 Brabus V12 3D Model featuring clean geometry, realistic detailing, and a fully modeled interior. Includes .blend, .fbx, .obj, .glb, .stl, .ply, .unreal, and .max formats for rendering, simulation, and game development.
Price: $23.99

Mercedes-Benz SLS AMG GT3-002 3D Model
Texture: Yes
Material: Yes
Download the Mercedes-Benz SLS AMG GT3-002 3D Model featuring clean geometry, realistic detailing, and a fully modeled interior. Includes .blend, .fbx, .obj, .glb, .stl, .ply, .unreal, and .max formats for rendering, simulation, and game development.
Price: $38.99

Mercedes-Benz C-Class-001 3D Model
Texture: Yes
Material: Yes
Download the Mercedes-Benz C-Class-001 3D Model featuring clean geometry, realistic detailing, and a fully modeled interior. Includes .blend, .fbx, .obj, .glb, .stl, .ply, .unreal, and .max formats for rendering, simulation, and game development.
Price: $38.99

Mercedes-Benz B-Klasse 2023 3D Model
Texture: Yes
Material: Yes
Download the Mercedes-Benz B-Klasse 2023 3D Model featuring clean geometry, realistic detailing, and a fully modeled interior. Includes .blend, .fbx, .obj, .glb, .stl, .ply, .unreal, and .max formats for rendering, simulation, and game development.
Price: $38.99

Mercedes-Benz A-Klasse W168 3D Model
Texture: Yes
Material: Yes
Download the Mercedes-Benz A-Klasse W168 3D Model featuring clean geometry, realistic detailing, and a fully modeled interior. Includes .blend, .fbx, .obj, .glb, .stl, .ply, .unreal, and .max formats for rendering, simulation, and game development.
Price: $38.99

Mercedes-Benz 500SL 2000 3D Model
Texture: Yes
Material: Yes
Download the Mercedes-Benz 500SL 2000 3D Model featuring clean geometry, realistic detailing, and a fully modeled interior. Includes .blend, .fbx, .obj, .glb, .stl, .ply, .unreal, and .max formats for rendering, simulation, and game development.
Price: $38.99

Mercedes-Benz 500SEC 3D Model
Texture: Yes
Material: Yes
Download the Mercedes-Benz 500SEC 3D Model featuring clean geometry, realistic detailing, and a fully modeled interior. Includes .blend, .fbx, .obj, .glb, .stl, .ply, .unreal, and .max formats for rendering, simulation, and game development.
Price: $38.99

Mercedes-Benz Citan 2025 3D Model
Texture: Yes
Material: Yes
Download the Mercedes-Benz Citan 2025 3D Model featuring clean geometry, realistic detailing, and a fully modeled interior. Includes .blend, .fbx, .obj, .glb, .stl, .ply, .unreal, and .max formats for rendering, simulation, and game development.
Price: $38.99

Mercedes-Benz C63 AMG 2012 3D Model
Texture: Yes
Material: Yes
Download the Mercedes-Benz C63 AMG 2012 3D Model featuring clean geometry, realistic detailing, and a fully modeled interior. Includes .blend, .fbx, .obj, .glb, .stl, .ply, .unreal, and .max formats for rendering, simulation, and game development.
Price: $38.99

Mercedes-Benz E-Class S211 3D Model
Texture: Yes
Material: Yes
Download the Mercedes-Benz E-Class S211 3D Model featuring clean geometry, realistic detailing, and a fully modeled interior. Includes .blend, .fbx, .obj, .glb, .stl, .ply, .unreal, and .max formats for rendering, simulation, and game development.
Price: $38.99

Mercedes-Benz CLS63 AMG (C218) 2014 3D Model
Texture: Yes
Material: Yes
Download the Mercedes-Benz CLS63 AMG (C218) 2014 3D Model featuring clean geometry, realistic detailing, and a fully modeled interior. Includes .blend, .fbx, .obj, .glb, .stl, .ply, .unreal, and .max formats for rendering, simulation, and game development.
Price: $38.99

Mercedes-Benz CLS-Klasse 3D Model
Texture: Yes
Material: Yes
Download the Mercedes-Benz CLS-Klasse 3D Model featuring clean geometry, realistic detailing, and a fully modeled interior. Includes .blend, .fbx, .obj, .glb, .stl, .ply, .unreal, and .max formats for rendering, simulation, and game development.
Price: $38.99
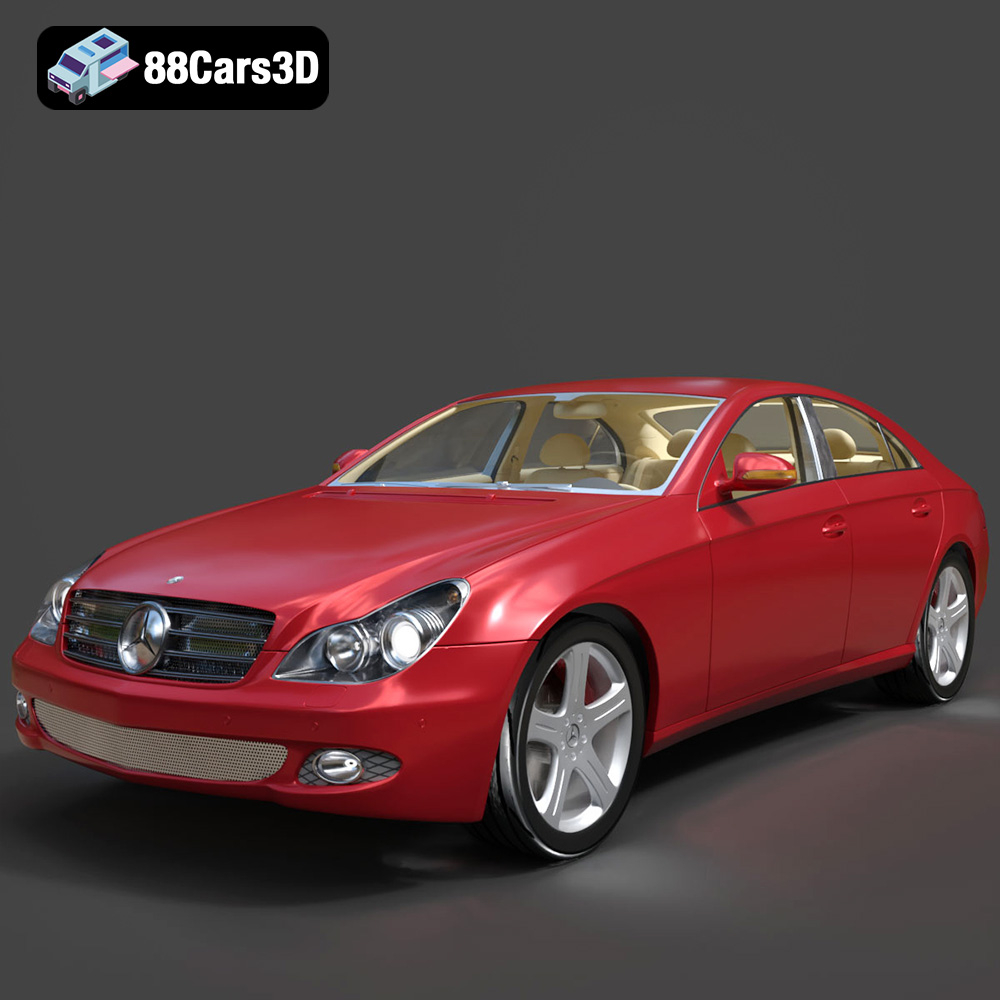
Mercedes-Benz CLS 500 3D Model
Texture: Yes
Material: Yes
Download the Mercedes-Benz CLS 500 3D Model featuring clean geometry, realistic detailing, and a fully modeled interior. Includes .blend, .fbx, .obj, .glb, .stl, .ply, .unreal, and .max formats for rendering, simulation, and game development.
Price: $38.99

Mercedes-Benz CL-Klasse 2001 3D Model
Texture: Yes
Material: Yes
Download the Mercedes-Benz CL-Klasse 2001 3D Model featuring clean geometry, realistic detailing, and a fully modeled interior. Includes .blend, .fbx, .obj, .glb, .stl, .ply, .unreal, and .max formats for rendering, simulation, and game development.
Price: $38.99
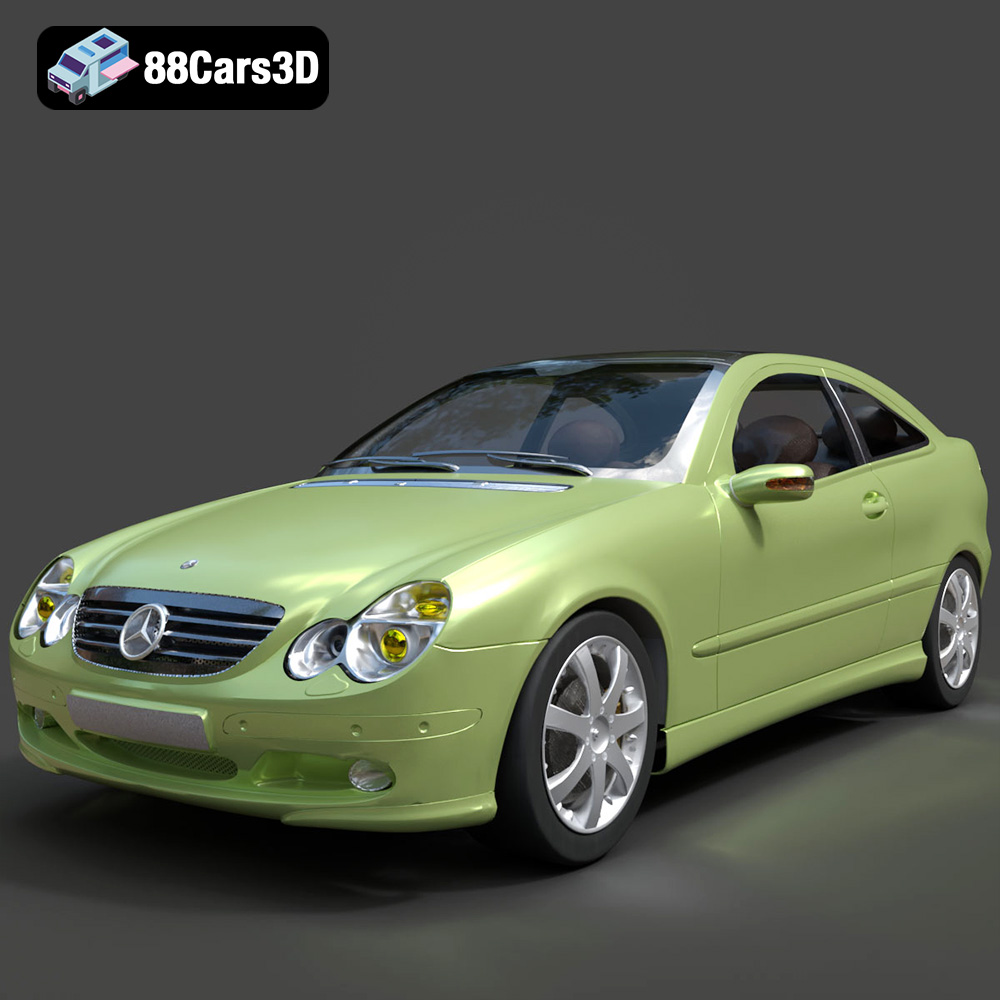
Mercedes-Benz C-Klasse Sportcoupe 2000 3D Model
Texture: Yes
Material: Yes
Download the Mercedes-Benz C-Klasse Sportcoupe 2000 3D Model featuring clean geometry, realistic detailing, and a fully modeled interior. Includes .blend, .fbx, .obj, .glb, .stl, .ply, .unreal, and .max formats for rendering, simulation, and game development.
Price: $38.99
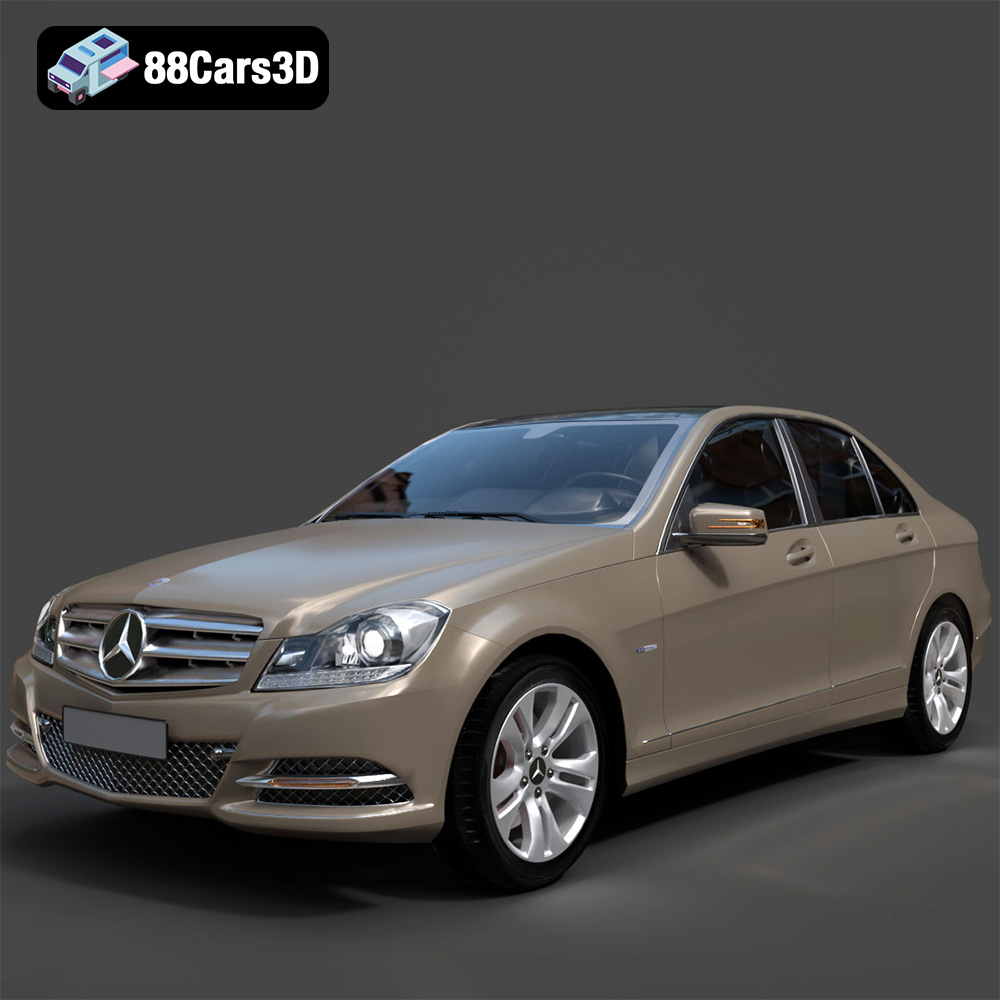
Mercedes-Benz C-Klasse 204 2011 3D Model
Texture: Yes
Material: Yes
Download the Mercedes-Benz C-Klasse 204 2011 3D Model featuring clean geometry, realistic detailing, and a fully modeled interior. Includes .blend, .fbx, .obj, .glb, .stl, .ply, .unreal, and .max formats for rendering, simulation, and game development.
Price: $38.99
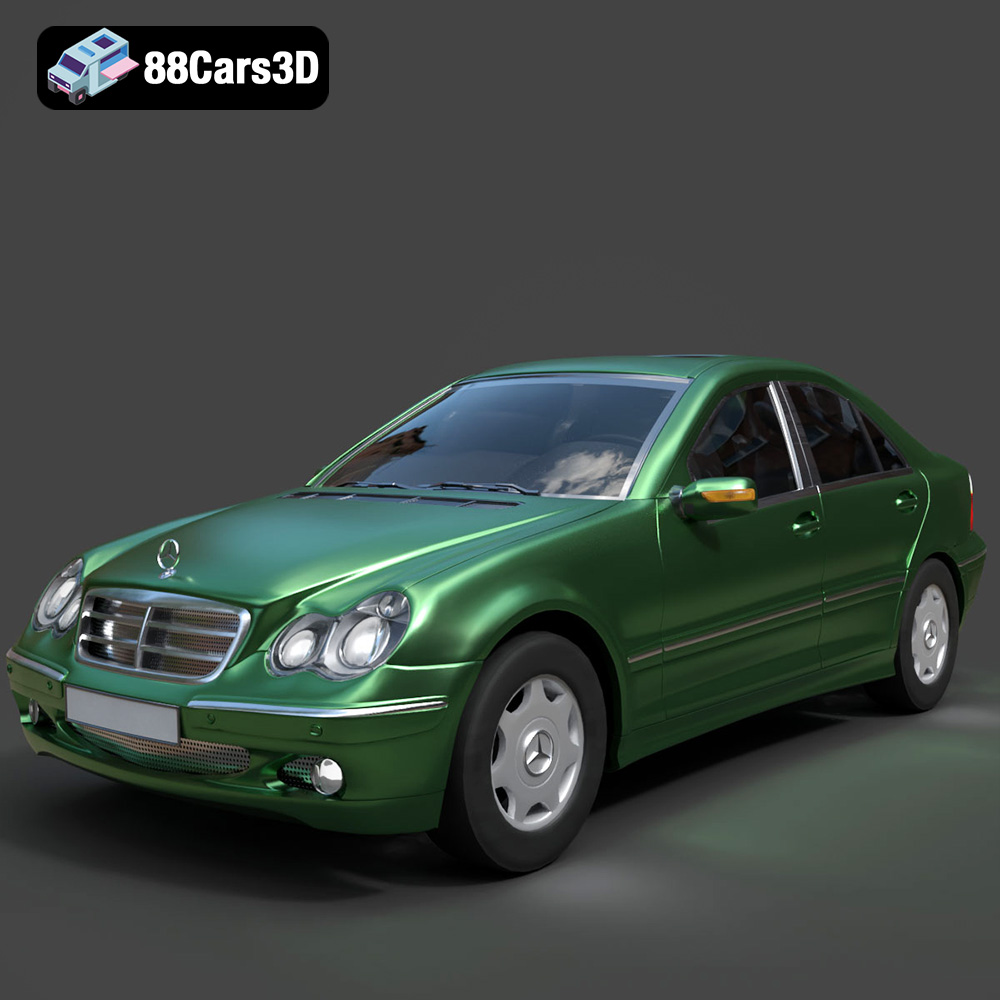
Mercedes-Benz C-Class Sedan 2000 3D Model
Texture: Yes
Material: Yes
Download the Mercedes-Benz C-Class Sedan 3D Model featuring clean geometry, realistic detailing, and a fully modeled interior. Includes .blend, .fbx, .obj, .glb, .stl, .ply, .unreal, and .max formats for rendering, simulation, and game development.
Price: $38.99
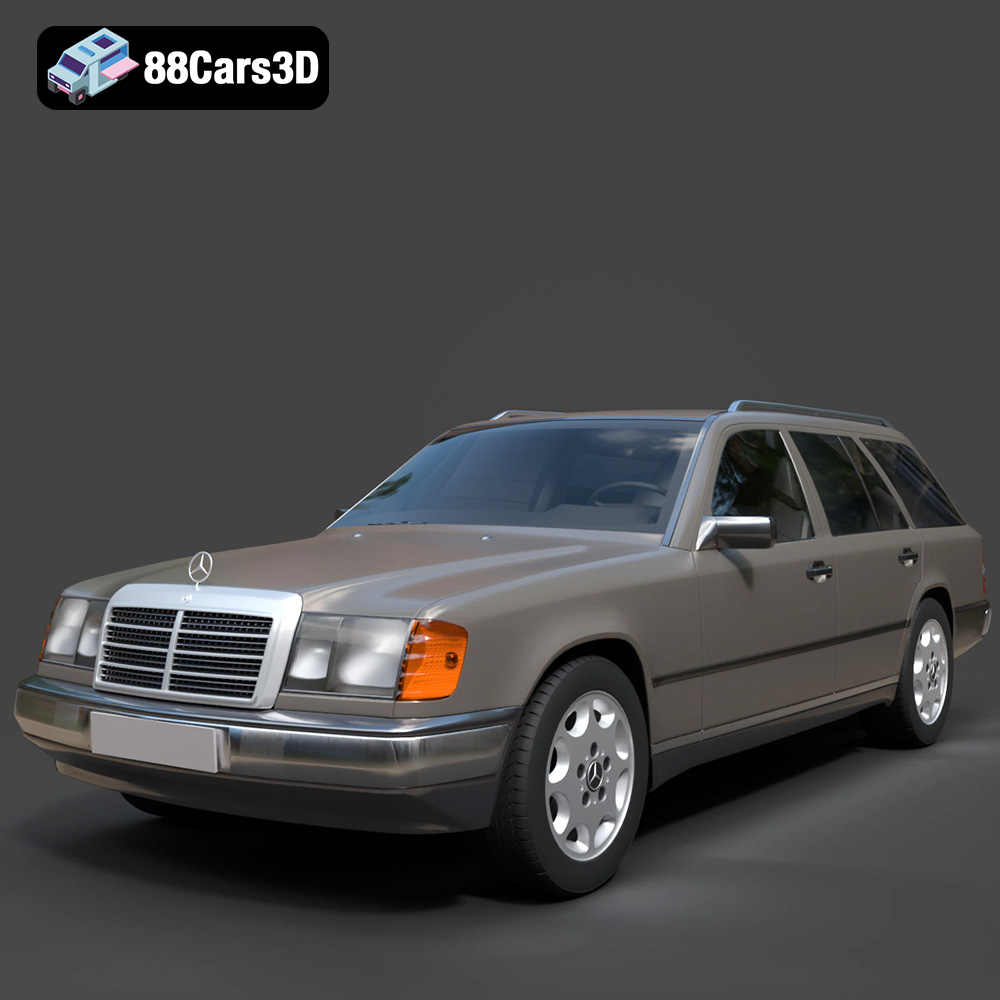
Mercedes E-Class w124 Kombi 3D Model
Texture: Yes
Material: Yes
Download the Mercedes E-Class w124 Kombi 3D Model featuring clean geometry, realistic detailing, and a fully modeled interior. Includes .blend, .fbx, .obj, .glb, .stl, .ply, .unreal, and .max formats for rendering, simulation, and game development.
Price: $38.99
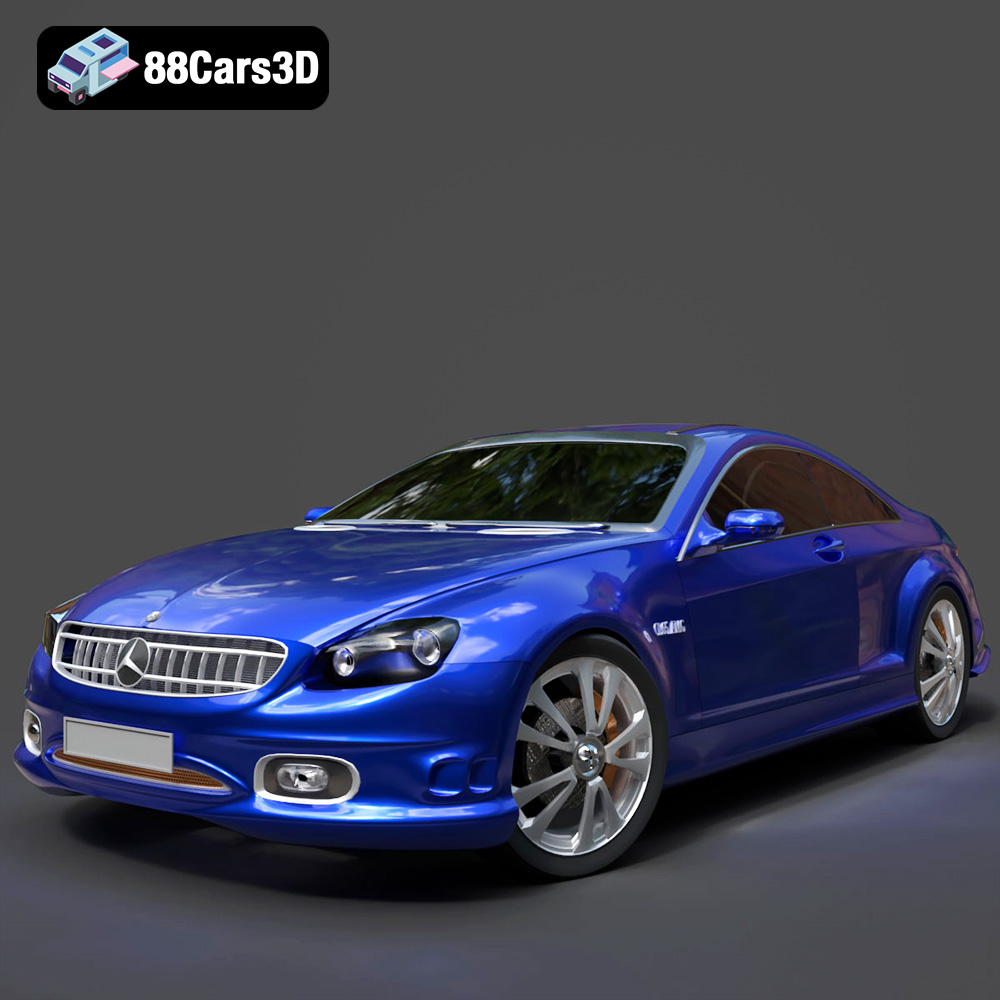
Mercedes-Benz CL6540-005 3D Model
Texture: Yes
Material: Yes
Download the Mercedes-Benz CL6540-005 3D Model featuring clean geometry, realistic detailing, and a fully modeled interior. Includes .blend, .fbx, .obj, .glb, .stl, .ply, .unreal, and .max formats for rendering, simulation, and game development.
Price: $38.99
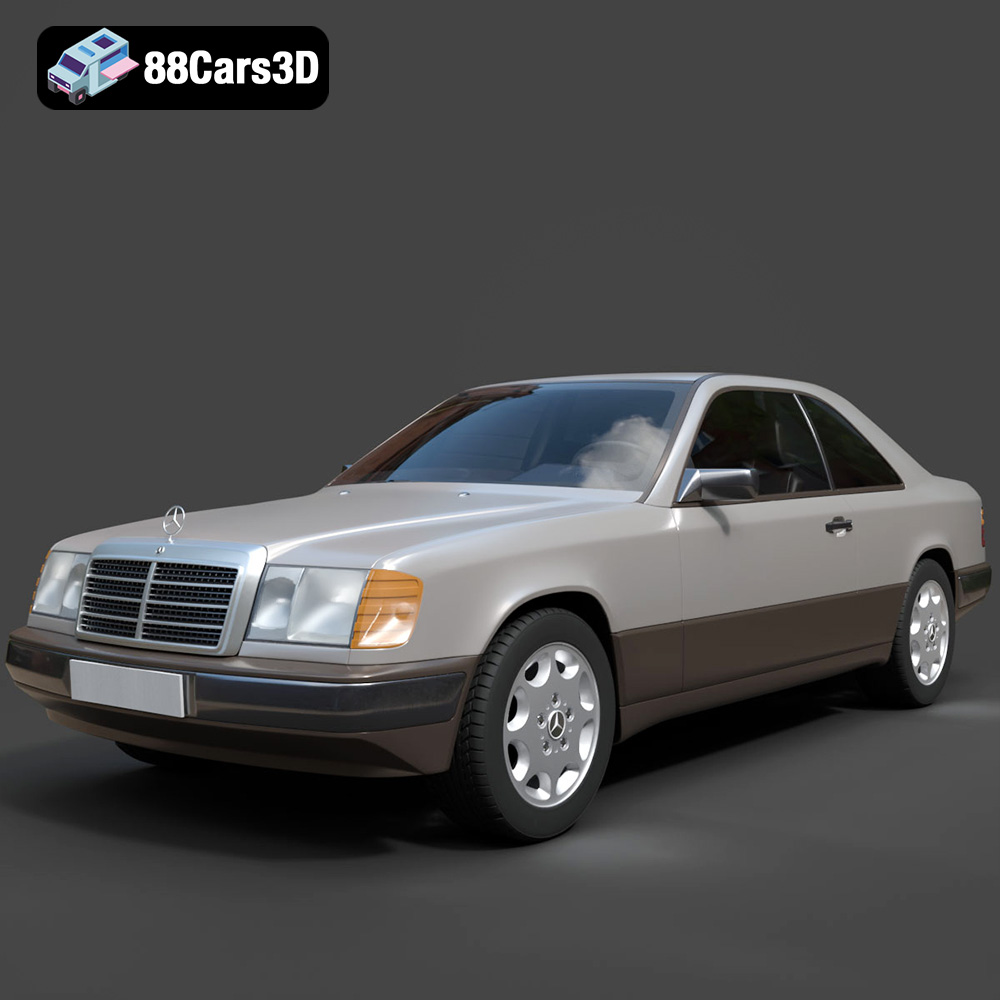
Mercedes E-Class w124 Coupe 3D Model
Texture: Yes
Material: Yes
Download the Mercedes E-Class w124 Coupe 3D Model featuring clean geometry, realistic detailing, and a fully modeled interior. Includes .blend, .fbx, .obj, .glb, .stl, .ply, .unreal, and .max formats for rendering, simulation, and game development.
Price: $38.99
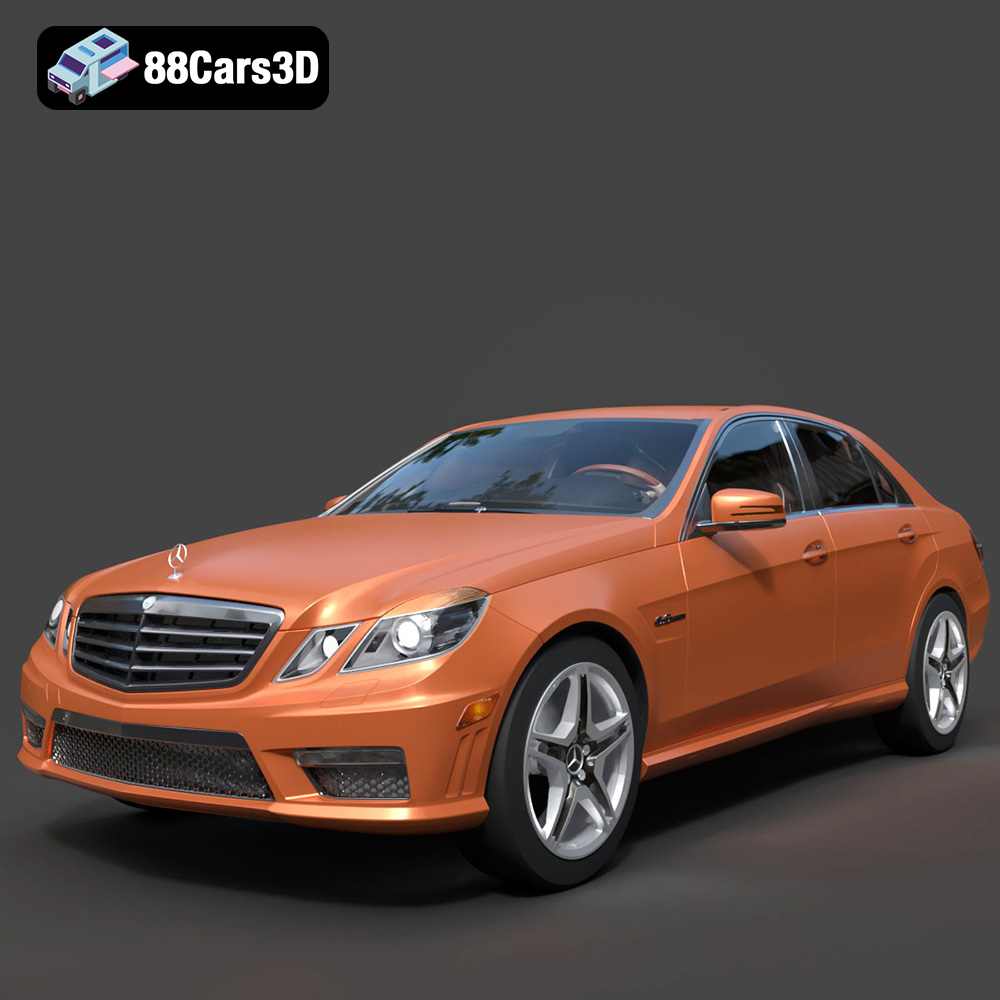
Mercedes-Benz E-Klasse 63 AMG 3D Model
Texture: Yes
Material: Yes
Download the Mercedes-Benz E-Klasse 63 AMG 3D Model featuring clean geometry, realistic detailing, and a fully modeled interior. Includes .blend, .fbx, .obj, .glb, .stl, .ply, .unreal, and .max formats for rendering, simulation, and game development.
Price: $38.99
