⚡ FLASH SALE: Get 60% OFF All Premium 3D & STL Models! ⚡
The gleam of a perfectly rendered automotive finish isn’t just an aesthetic detail; it’s a statement. For anyone involved in 88cars3d.com, 3D artists, game developers, or automotive designers, achieving this level of visual fidelity is paramount. While Unreal Engine 5 offers incredible rendering capabilities, a basic material often falls short of capturing the intricate beauty and complex interactions of real-world car paint.
Default shaders might provide a pleasing metallic sheen, but they rarely replicate the multi-layered depth, the subtle metallic flakes, or the dynamic reflections of a premium automotive finish. This article delves deep into crafting a hyper-realistic Unreal Engine 5 car paint shader, moving beyond simple bling to create truly believable automotive PBR materials that stand up to the closest inspection. We’ll explore advanced techniques to simulate every nuance, from the base color to the shimmering clear coat, ensuring your vehicles look stunning in any real-time automotive visualization project.
Before we even touch a single node in Unreal Engine 5, it’s crucial to understand what makes real-world car paint so complex and visually appealing. It’s not a monolithic layer but a sophisticated stack of materials, each contributing to the final look. Grasping these physical properties is the foundation for accurate physically based rendering (PBR).
Real car paint typically consists of several distinct layers, each with its own PBR characteristics:
Understanding this layered structure allows us to break down the complex visual effects into manageable PBR components within our Unreal Engine 5 car paint shader. Each layer will correspond to specific nodes and parameters in our material graph.
Achieving realism in Unreal Engine 5 car paint shader relies heavily on adherence to physically based rendering (PBR) principles. PBR ensures that materials react to light in a predictable and consistent manner, just as they would in the real world. This is especially vital for real-time automotive visualization where subtle shifts in lighting can dramatically alter a car’s appearance.
Every material in Unreal Engine 5 utilizes a set of core PBR parameters. For automotive PBR materials, correctly defining these is the first step:
By accurately defining these parameters for each layer of our car paint, we lay the groundwork for a truly convincing and dynamic Unreal Engine 5 car paint shader.
To manage the complexity of multiple paint layers, a modular, master material approach is essential. This allows for creating a single, robust shader that can then be easily customized through Material Instances for different car colors and finishes, optimizing workflow for game assets and virtual production automotive scenarios.
Start by creating a new Material in Unreal Engine 5. Name it something descriptive, like `M_CarPaint_Master`. In the Material Details panel, adjust the following:
Next, expose parameters that will allow artists to control various aspects of the paint without diving into the node graph. Convert constant values or texture samples into `Parameter` nodes (e.g., `VectorParameter` for colors, `ScalarParameter` for roughness values, `TextureParameter` for normal maps).
The base coat is the foundational color. We’ll connect our primary color parameter and a base roughness parameter here.
The metallic flakes effect is where car paint truly begins to shine. This requires a more complex setup, often involving custom normal maps or procedural generation.
This layered material system ensures that the metallic flakes properly interact with the base color and contribute to the overall reflection and shine.
To truly push your Unreal Engine 5 car paint shader beyond simple metallic, we need sophisticated techniques for flakes and iridescence. These effects add depth, realism, and visual interest that captivate the viewer.
Relying solely on texture maps for flakes can be limiting. Procedural generation offers incredible flexibility and allows for infinite variations without increasing texture memory. This is crucial for a believable metallic flakes effect.
Iridescence, or the phenomenon where a surface appears to change color depending on the viewing angle, is a hallmark of high-quality car paint. It adds a dynamic, almost living quality to the material.
These advanced techniques transform a good shader into a truly exceptional one, perfect for demanding virtual production automotive projects.
The clear coat is arguably the most critical layer for achieving hyper-realistic car paint. It’s responsible for the deep, mirror-like reflections, the subtle distortions, and the overall impression of a wet, polished surface. Unreal Engine 5’s dedicated clear coat rendering UE5 shading model is a powerful tool for this.
As mentioned, setting the `Shading Model` of your master material to `Clear Coat` unlocks specific inputs for this top layer:
Remember that the base attributes (Base Color, Metallic, Roughness, Normal) will now represent the combined effect of the base coat and metallic flakes *underneath* the clear coat.
High-quality reflections are paramount for real-time automotive visualization. The clear coat’s interaction with the environment is what sells the realism.
While the clear coat is a thin layer, it gives the illusion of depth. This isn’t true refraction in the sense of light bending through a thick medium, but rather an accurate representation of how light passes through and reflects off the top surface, revealing the layers beneath.
Mastering these clear coat techniques is the final polish needed for a truly stunning Unreal Engine 5 car paint shader.
Achieving hyper-realism shouldn’t come at the cost of crippling performance, especially for game assets or demanding virtual production automotive pipelines. Striking a balance between visual fidelity and real-time performance is crucial.
The master material approach is a powerful optimization strategy. Instead of creating a new material for every paint variation, you create `Material Instances` from your master shader:
Textures are often the biggest culprits for performance issues if not managed correctly:
The number of instructions in your shader graph directly impacts performance. Unreal Engine 5 provides tools to monitor this:
By diligently applying these optimization strategies, you can maintain the photorealistic quality of your automotive PBR materials while ensuring smooth real-time performance, making your assets ideal for both game assets and high-end virtual production automotive workflows.
A hyper-realistic paint shader is a fantastic achievement, but it’s only one component of a stunning final render. How your vehicle is lit, the environment it sits in, and the post-processing applied all play equally critical roles in achieving a truly breathtaking real-time automotive visualization.
Lighting is the most powerful tool for showcasing your Unreal Engine 5 car paint shader. The way light hits the multi-layered paint surface, highlights the flakes, and reflects off the clear coat will define the visual impact.
The Post-Process Volume is where you add the final layer of polish, enhancing mood, realism, and visual appeal.
By carefully integrating your expertly crafted Unreal Engine 5 car paint shader with a thoughtful lighting setup and sophisticated post-processing, you transform a mere 3D model into a captivating piece of real-time automotive visualization. For those seeking high-quality base models to apply these advanced techniques, remember that 88cars3d.com offers a vast selection of premium automotive 3D models, ready for your artistic touch.
Crafting a hyper-realistic automotive paint shader in Unreal Engine 5 is a journey that blends technical understanding with artistic vision. We’ve moved beyond basic materials, meticulously dissecting the physical layers of car paint – from the foundational base coat and intricate metallic flakes effect to the shimmering depth of the clear coat rendering UE5 provides. By leveraging a robust layered material system and adhering to physically based rendering (PBR) principles, you can achieve a level of fidelity that truly elevates your real-time automotive visualization projects.
The power of Unreal Engine 5, combined with these advanced techniques, empowers artists to create stunning automotive PBR materials suitable for everything from cinematic virtual production automotive scenes to high-performance game assets. The difference lies in the details: the subtle glint of a metallic flake, the angle-dependent color shift of iridescence, and the deep, wet reflections of a perfectly rendered clear coat.
Now armed with this knowledge, we encourage you to dive into Unreal Engine 5’s Material Editor, experiment with these advanced techniques, and push the boundaries of realism in your own automotive projects. For a head start on your next stunning visualization, remember to explore the extensive collection of meticulously crafted 3D models available at 88cars3d.com – the perfect canvas for your hyper-realistic paint shaders. The road to visual perfection is an exciting one, and it starts with your next shader.

Texture: Yes
Material: Yes
Download the Suzuki SX4-002 3D Model featuring clean geometry, realistic detailing, and a fully modeled interior. Includes .blend, .fbx, .obj, .glb, .stl, .ply, .unreal, and .max formats for rendering, simulation, and game development.
Price: $10

Texture: Yes
Material: Yes
Download the Tesla Model S 2024 3D Model featuring clean geometry, realistic detailing, and a fully modeled interior. Includes .blend, .fbx, .obj, .glb, .stl, .ply, .unreal, and .max formats for rendering, simulation, and game development.
Price: $10

Texture: Yes
Material: Yes
Download the Subaru Impreza WRX STi-002 3D Model featuring clean geometry, realistic detailing, and a fully modeled interior. Includes .blend, .fbx, .obj, .glb, .stl, .ply, .unreal, and .max formats for rendering, simulation, and game development.
Price: $10

Texture: Yes
Material: Yes
Download the Subaru Impreza WRX STi Sedan 3D Model featuring clean geometry, realistic detailing, and a fully modeled interior. Includes .blend, .fbx, .obj, .glb, .stl, .ply, .unreal, and .max formats for rendering, simulation, and game development.
Price: $10

Texture: Yes
Material: Yes
Download the Subaru Legacy 2009 3D Model featuring clean geometry, realistic detailing, and a fully modeled interior. Includes .blend, .fbx, .obj, .glb, .stl, .ply, .unreal, and .max formats for rendering, simulation, and game development.
Price: $10

Texture: Yes
Material: Yes
Download the Toyota Mark II (X100) 3D Model featuring clean geometry, realistic detailing, and a fully modeled interior. Includes .blend, .fbx, .obj, .glb, .stl, .ply, .unreal, and .max formats for rendering, simulation, and game development.
Price: $10

Texture: Yes
Material: Yes
Download the Toyota Corona 1985 3D Model featuring clean geometry, realistic detailing, and a fully modeled interior. Includes .blend, .fbx, .obj, .glb, .stl, .ply, .unreal, and .max formats for rendering, simulation, and game development.
Price: $10

Texture: Yes
Material: Yes
Download the Toyota Mark II X81 1990 3D Model featuring clean geometry, realistic detailing, and a fully modeled interior. Includes .blend, .fbx, .obj, .glb, .stl, .ply, .unreal, and .max formats for rendering, simulation, and game development.
Price: $10

Texture: Yes
Material: Yes
Download the Toyota iQ EV 2012 3D Model featuring clean geometry, realistic detailing, and a fully modeled interior. Includes .blend, .fbx, .obj, .glb, .stl, .ply, .unreal, and .max formats for rendering, simulation, and game development.
Price: $10

Texture: Yes
Material: Yes
Download the Toyota Aygo 2013 3D Model featuring clean geometry, realistic detailing, and a fully modeled interior. Includes .blend, .fbx, .obj, .glb, .stl, .ply, .unreal, and .max formats for rendering, simulation, and game development.
Price: $10

Texture: Yes
Material: Yes
Download the Toyota Crown S180 2005 3D Model featuring clean geometry, realistic detailing, and a fully modeled interior. Includes .blend, .fbx, .obj, .glb, .stl, .ply, .unreal, and .max formats for rendering, simulation, and game development.
Price: $10

Texture: Yes
Material: Yes
Download the Toyota Celica 2004 3D Model featuring clean geometry, realistic detailing, and a fully modeled interior. Includes .blend, .fbx, .obj, .glb, .stl, .ply, .unreal, and .max formats for rendering, simulation, and game development.
Price: $10

Texture: Yes
Material: Yes
Download the Toyota Corolla AE100 1992 3D Model featuring clean geometry, realistic detailing, and a fully modeled interior. Includes .blend, .fbx, .obj, .glb, .stl, .ply, .unreal, and .max formats for rendering, simulation, and game development.
Price: $10

Texture: Yes
Material: Yes
Download the Toyota Mark II X110 2000 3D Model featuring clean geometry, realistic detailing, and a fully modeled interior. Includes .blend, .fbx, .obj, .glb, .stl, .ply, .unreal, and .max formats for rendering, simulation, and game development.
Price: $10

Texture: Yes
Material: Yes
Download the Toyota Corolla 2020 3D Model featuring clean geometry, realistic detailing, and a fully modeled interior. Includes .blend, .fbx, .obj, .glb, .stl, .ply, .unreal, and .max formats for rendering, simulation, and game development.
Price: $10

Texture: Yes
Material: Yes
Download the Toyota Yaris 2020 3D Model featuring clean geometry, realistic detailing, and a fully modeled interior. Includes .blend, .fbx, .obj, .glb, .stl, .ply, .unreal, and .max formats for rendering, simulation, and game development.
Price: $9.9

Texture: Yes
Material: Yes
Download the Volkswagen Beetle 2012 3D Model featuring clean geometry, realistic detailing, and a fully modeled interior. Includes .blend, .fbx, .obj, .glb, .stl, .ply, .unreal, and .max formats for rendering, simulation, and game development.
Price: $9.9

Texture: Yes
Material: Yes
Download the Toyota Matrix 2005 3D Model featuring clean geometry, realistic detailing, and a fully modeled interior. Includes .blend, .fbx, .obj, .glb, .stl, .ply, .unreal, and .max formats for rendering, simulation, and game development.
Price: $9.9

Texture: Yes
Material: Yes
Download the Toyota Yaris Sedan 3D Model featuring clean geometry, realistic detailing, and a fully modeled interior. Includes .blend, .fbx, .obj, .glb, .stl, .ply, .unreal, and .max formats for rendering, simulation, and game development.
Price: $9.9

Texture: Yes
Material: Yes
Download the Volkswagen Golf R-004 2024 3D Model featuring clean geometry, realistic detailing, and a fully modeled interior. Includes .blend, .fbx, .obj, .glb, .stl, .ply, .unreal, and .max formats for rendering, simulation, and game development.
Price: $9.9

Texture: Yes
Material: Yes
Download the Volkswagen Golf 5 Door 2010 3D Model featuring clean geometry, realistic detailing, and a fully modeled interior. Includes .blend, .fbx, .obj, .glb, .stl, .ply, .unreal, and .max formats for rendering, simulation, and game development.
Price: $9.9

Texture: Yes
Material: Yes
Download the Toyota Premio 2010 3D Model featuring clean geometry, realistic detailing, and a fully modeled interior. Includes .blend, .fbx, .obj, .glb, .stl, .ply, .unreal, and .max formats for rendering, simulation, and game development.
Price: $9.9

Texture: Yes
Material: Yes
Download the Toyota Opa 2000 3D Model featuring clean geometry, realistic detailing, and a fully modeled interior. Includes .blend, .fbx, .obj, .glb, .stl, .ply, .unreal, and .max formats for rendering, simulation, and game development.
Price: $9.9

Texture: Yes
Material: Yes
Download the Volkswagen Polo 5 Door 2010 3D Model featuring clean geometry, realistic detailing, and a fully modeled interior. Includes .blend, .fbx, .obj, .glb, .stl, .ply, .unreal, and .max formats for rendering, simulation, and game development.
Price: $9.9

Texture: Yes
Material: Yes
Download the Toyota Prius 2024 3D Model featuring clean geometry, realistic detailing, and a fully modeled interior. Includes .blend, .fbx, .obj, .glb, .stl, .ply, .unreal, and .max formats for rendering, simulation, and game development.
Price: $9.9

Texture: Yes
Material: Yes
Download the Toyota Yaris 1999 3D Model featuring clean geometry, realistic detailing, and a fully modeled interior. Includes .blend, .fbx, .obj, .glb, .stl, .ply, .unreal, and .max formats for rendering, simulation, and game development.
Price: $9.9

Texture: Yes
Material: Yes
Download the Toyota Supra 2020 3D Model featuring clean geometry, realistic detailing, and a fully modeled interior. Includes .blend, .fbx, .obj, .glb, .stl, .ply, .unreal, and .max formats for rendering, simulation, and game development.
Price: $9.9

Texture: Yes
Material: Yes
Download the Volkswagen New Beetle 2000 3D Model featuring clean geometry, realistic detailing, and a fully modeled interior. Includes .blend, .fbx, .obj, .glb, .stl, .ply, .unreal, and .max formats for rendering, simulation, and game development.
Price: $14.99

Texture: Yes
Material: Yes
Download the Volkswagen Jetta 2005 3D Model featuring clean geometry, realistic detailing, and a fully modeled interior. Includes .blend, .fbx, .obj, .glb, .stl, .ply, .unreal, and .max formats for rendering, simulation, and game development.
Price: $18.99

Texture: Yes
Material: Yes
Download the Volkswagen Golf 3-Door 3D Model featuring clean geometry, realistic detailing, and a fully modeled interior. Includes .blend, .fbx, .obj, .glb, .stl, .ply, .unreal, and .max formats for rendering, simulation, and game development.
Price: $14.99

Texture: Yes
Material: Yes
Download the Volvo V70 2005 3D Model featuring clean geometry, realistic detailing, and a fully modeled interior. Includes .blend, .fbx, .obj, .glb, .stl, .ply, .unreal, and .max formats for rendering, simulation, and game development.
Price: $14.99

Texture: Yes
Material: Yes
Download the Volkswagen Bora 2004 3D Model featuring clean geometry, realistic detailing, and a fully modeled interior. Includes .blend, .fbx, .obj, .glb, .stl, .ply, .unreal, and .max formats for rendering, simulation, and game development.
Price: $14.99

Texture: Yes
Material: Yes
Download the Volkswagen Lupo 3D Model featuring clean geometry, realistic detailing, and a fully modeled interior. Includes .blend, .fbx, .obj, .glb, .stl, .ply, .unreal, and .max formats for rendering, simulation, and game development.
Price: $19.99

Texture: Yes
Material: Yes
Download the Volkswagen Passat B5 2000 3D Model featuring clean geometry, realistic detailing, and a fully modeled interior. Includes .blend, .fbx, .obj, .glb, .stl, .ply, .unreal, and .max formats for rendering, simulation, and game development.
Price: $19.99

Texture: Yes
Material: Yes
Download the Volkswagen Passat CC 3D Model featuring clean geometry, realistic detailing, and a fully modeled interior. Includes .blend, .fbx, .obj, .glb, .stl, .ply, .unreal, and .max formats for rendering, simulation, and game development.
Price: $19.99

Texture: Yes
Material: Yes
Download the Volkswagen Golf V 2006 3D Model featuring clean geometry, realistic detailing, and a fully modeled interior. Includes .blend, .fbx, .obj, .glb, .stl, .ply, .unreal, and .max formats for rendering, simulation, and game development.
Price: $19.99

Texture: Yes
Material: Yes
Download the Volvo S60 R-Design 3D Model featuring clean geometry, realistic detailing, and a fully modeled interior. Includes .blend, .fbx, .obj, .glb, .stl, .ply, .unreal, and .max formats for rendering, simulation, and game development.
Price: $19.99

Texture: Yes
Material: Yes
Download the Volkswagen Passat 2025 3D Model featuring clean geometry, realistic detailing, and a fully modeled interior. Includes .blend, .fbx, .obj, .glb, .stl, .ply, .unreal, and .max formats for rendering, simulation, and game development.
Price: $25.99

Texture: Yes
Material: Yes
Download the Volkswagen Passat Variant B6 2005 3D Model featuring clean geometry, realistic detailing, and a fully modeled interior. Includes .blend, .fbx, .obj, .glb, .stl, .ply, .unreal, and .max formats for rendering, simulation, and game development.
Price: $25.99

Texture: Yes
Material: Yes
Download the Volkswagen Phaeton W12 2004 3D Model featuring clean geometry, realistic detailing, and a fully modeled interior. Includes .blend, .fbx, .obj, .glb, .stl, .ply, .unreal, and .max formats for rendering, simulation, and game development.
Price: $25.99

Texture: Yes
Material: Yes
Download the Volkswagen Scirocco 2015 3D Model featuring clean geometry, realistic detailing, and a fully modeled interior. Includes .blend, .fbx, .obj, .glb, .stl, .ply, .unreal, and .max formats for rendering, simulation, and game development.
Price: $25.99

Texture: Yes
Material: Yes
Download the Volvo S60 2024 3D Model featuring clean geometry, realistic detailing, and a fully modeled interior. Includes .blend, .fbx, .obj, .glb, .stl, .ply, .unreal, and .max formats for rendering, simulation, and game development.
Price: $25.99

Texture: Yes
Material: Yes
Download the Volkswagen Polo 3D Model featuring clean geometry, realistic detailing, and a fully modeled interior. Includes .blend, .fbx, .obj, .glb, .stl, .ply, .unreal, and .max formats for rendering, simulation, and game development.
Price: $25.99

Texture: Yes
Material: Yes
Download the Volkswagen Golf 5-Doors 3D Model featuring clean geometry, realistic detailing, and a fully modeled interior. Includes .blend, .fbx, .obj, .glb, .stl, .ply, .unreal, and .max formats for rendering, simulation, and game development.
Price: $25.99

Texture: Yes
Material: Yes
Download the Volvo C70 T5 2000 3D Model featuring clean geometry, realistic detailing, and a fully modeled interior. Includes .blend, .fbx, .obj, .glb, .stl, .ply, .unreal, and .max formats for rendering, simulation, and game development.
Price: $23.99

Texture: Yes
Material: Yes
Download the Volvo S40 Sedan 2004 3D Model featuring clean geometry, realistic detailing, and a fully modeled interior. Includes .blend, .fbx, .obj, .glb, .stl, .ply, .unreal, and .max formats for rendering, simulation, and game development.
Price: $23.99

Texture: Yes
Material: Yes
Download the Volvo C30 BEV 2012 3D Model featuring clean geometry, realistic detailing, and a fully modeled interior. Includes .blend, .fbx, .obj, .glb, .stl, .ply, .unreal, and .max formats for rendering, simulation, and game development.
Price: $23.99

Texture: Yes
Material: Yes
Download the Volvo C70 1998 3D Model featuring clean geometry, realistic detailing, and a fully modeled interior. Includes .blend, .fbx, .obj, .glb, .stl, .ply, .unreal, and .max formats for rendering, simulation, and game development.
Price: $23.99

Texture: Yes
Material: Yes
Download the Mazda B-Series 3D Model featuring clean geometry, realistic detailing, and a fully modeled interior. Includes .blend, .fbx, .obj, .glb, .stl, .ply, .unreal, and .max formats for rendering, simulation, and game development.
Price: $23.99

Texture: Yes
Material: Yes
Download the Mercsedes Benz Z3-006 3D Model featuring clean geometry, realistic detailing, and a fully modeled interior. Includes .blend, .fbx, .obj, .glb, .stl, .ply, .unreal, and .max formats for rendering, simulation, and game development.
Price: $23.99

Texture: Yes
Material: Yes
Download the Mazda RX-7 3D Model featuring clean geometry, realistic detailing, and a fully modeled interior. Includes .blend, .fbx, .obj, .glb, .stl, .ply, .unreal, and .max formats for rendering, simulation, and game development.
Price: $23.99

Texture: Yes
Material: Yes
Download the Volvo VCC-003 3D Model featuring clean geometry, realistic detailing, and a fully modeled interior. Includes .blend, .fbx, .obj, .glb, .stl, .ply, .unreal, and .max formats for rendering, simulation, and game development.
Price: $23.99

Texture: Yes
Material: Yes
Download the Mercedes-Benz SLR McLaren 2005 3D Model featuring clean geometry, realistic detailing, and a fully modeled interior. Includes .blend, .fbx, .obj, .glb, .stl, .ply, .unreal, and .max formats for rendering, simulation, and game development.
Price: $23.99

Texture: Yes
Material: Yes
Download the GAZ 3110 Pickup 3D Model featuring clean geometry, realistic detailing, and a fully modeled interior. Includes .blend, .fbx, .obj, .glb, .stl, .ply, .unreal, and .max formats for rendering, simulation, and game development.
Price: $23.99

Texture: Yes
Material: Yes
Download the Mazda 626 GF 1997 3D Model featuring clean geometry, realistic detailing, and a fully modeled interior. Includes .blend, .fbx, .obj, .glb, .stl, .ply, .unreal, and .max formats for rendering, simulation, and game development.
Price: $23.99

Texture: Yes
Material: Yes
Download the Volvo S80 2011 3D Model featuring clean geometry, realistic detailing, and a fully modeled interior. Includes .blend, .fbx, .obj, .glb, .stl, .ply, .unreal, and .max formats for rendering, simulation, and game development.
Price: $23.99

Texture: Yes
Material: Yes
Download the Volkswagen Touran restyle-006 3D Model featuring clean geometry, realistic detailing, and a fully modeled interior. Includes .blend, .fbx, .obj, .glb, .stl, .ply, .unreal, and .max formats for rendering, simulation, and game development.
Price: $23.99

Texture: Yes
Material: Yes
Download the Skoda Octavia Scout 3D Model featuring clean geometry, realistic detailing, and a fully modeled interior. Includes .blend, .fbx, .obj, .glb, .stl, .ply, .unreal, and .max formats for rendering, simulation, and game development.
Price: $23.99

Texture: Yes
Material: Yes
Download the Volkswagen Golf V 2006 3D Model featuring clean geometry, realistic detailing, and a fully modeled interior. Includes .blend, .fbx, .obj, .glb, .stl, .ply, .unreal, and .max formats for rendering, simulation, and game development.
Price: $23.99

Texture: Yes
Material: Yes
Download the Mazda CX-7 3D Model featuring clean geometry, realistic detailing, and a fully modeled interior. Includes .blend, .fbx, .obj, .glb, .stl, .ply, .unreal, and .max formats for rendering, simulation, and game development.
Price: $23.99

Texture: Yes
Material: Yes
Download the Mazda Familia 3D Model featuring clean geometry, realistic detailing, and a fully modeled interior. Includes .blend, .fbx, .obj, .glb, .stl, .ply, .unreal, and .max formats for rendering, simulation, and game development.
Price: $23.99

Texture: Yes
Material: Yes
Download the GAS 21 3D Model featuring clean geometry, realistic detailing, and a fully modeled interior. Includes .blend, .fbx, .obj, .glb, .stl, .ply, .unreal, and .max formats for rendering, simulation, and game development.
Price: $23.99

Texture: Yes
Material: Yes
Download the Mercedes-Benz SL500 AMG (R129) 3D Model featuring clean geometry, realistic detailing, and a fully modeled interior. Includes .blend, .fbx, .obj, .glb, .stl, .ply, .unreal, and .max formats for rendering, simulation, and game development.
Price: $23.99

Texture: Yes
Material: Yes
Download the Mercedes-Benz S-Class W221 2005 3D Model featuring clean geometry, realistic detailing, and a fully modeled interior. Includes .blend, .fbx, .obj, .glb, .stl, .ply, .unreal, and .max formats for rendering, simulation, and game development.
Price: $23.99

Texture: Yes
Material: Yes
Download the Mercedes-Benz E-Class W212 2009 3D Model featuring clean geometry, realistic detailing, and a fully modeled interior. Includes .blend, .fbx, .obj, .glb, .stl, .ply, .unreal, and .max formats for rendering, simulation, and game development.
Price: $23.99

Texture: Yes
Material: Yes
Download the Mercedes-Benz E-class Estate S212 2009 3D Model featuring clean geometry, realistic detailing, and a fully modeled interior. Includes .blend, .fbx, .obj, .glb, .stl, .ply, .unreal, and .max formats for rendering, simulation, and game development.
Price: $23.99

Texture: Yes
Material: Yes
Download the Mercedes-Benz 190 W201 3D Model featuring clean geometry, realistic detailing, and a fully modeled interior. Includes .blend, .fbx, .obj, .glb, .stl, .ply, .unreal, and .max formats for rendering, simulation, and game development.
Price: $23.99

Texture: Yes
Material: Yes
Download the Mercedes-Benz C230 SportCoupé 2005 3D Model featuring clean geometry, realistic detailing, and a fully modeled interior. Includes .blend, .fbx, .obj, .glb, .stl, .ply, .unreal, and .max formats for rendering, simulation, and game development.
Price: $23.99

Texture: Yes
Material: Yes
Download the Mercedes-Benz SLK 3D Model featuring clean geometry, realistic detailing, and a fully modeled interior. Includes .blend, .fbx, .obj, .glb, .stl, .ply, .unreal, and .max formats for rendering, simulation, and game development.
Price: $23.99

Texture: Yes
Material: Yes
Download the Mercedes 600 SEC W140 1992 3D Model featuring clean geometry, realistic detailing, and a fully modeled interior. Includes .blend, .fbx, .obj, .glb, .stl, .ply, .unreal, and .max formats for rendering, simulation, and game development.
Price: $23.99

Texture: Yes
Material: Yes
Download the Mercedes S-Class 2010 3D Model featuring clean geometry, realistic detailing, and a fully modeled interior. Includes .blend, .fbx, .obj, .glb, .stl, .ply, .unreal, and .max formats for rendering, simulation, and game development.
Price: $23.99

Texture: Yes
Material: Yes
Download the McLaren MP4-12C-001 3D Model featuring clean geometry, realistic detailing, and a fully modeled interior. Includes .blend, .fbx, .obj, .glb, .stl, .ply, .unreal, and .max formats for rendering, simulation, and game development.
Price: $23.99

Texture: Yes
Material: Yes
Download the Mercedes-Benz SLK 350 2005 3D Model featuring clean geometry, realistic detailing, and a fully modeled interior. Includes .blend, .fbx, .obj, .glb, .stl, .ply, .unreal, and .max formats for rendering, simulation, and game development.
Price: $23.99

Texture: Yes
Material: Yes
Download the Mercedes-Benz SL 65 AMG 3D Model featuring clean geometry, realistic detailing, and a fully modeled interior. Includes .blend, .fbx, .obj, .glb, .stl, .ply, .unreal, and .max formats for rendering, simulation, and game development.
Price: $23.99

Texture: Yes
Material: Yes
Download the Mercedes-Benz S500 3D Model featuring clean geometry, realistic detailing, and a fully modeled interior. Includes .blend, .fbx, .obj, .glb, .stl, .ply, .unreal, and .max formats for rendering, simulation, and game development.
Price: $23.99

Texture: Yes
Material: Yes
Download the Mercedes-Benz S55 W220 AMG 1999 3D Model featuring clean geometry, realistic detailing, and a fully modeled interior. Includes .blend, .fbx, .obj, .glb, .stl, .ply, .unreal, and .max formats for rendering, simulation, and game development.
Price: $23.99

Texture: Yes
Material: Yes
Download the Mercedes-Benz CLA45 AMG 2017 3D Model featuring clean geometry, realistic detailing, and a fully modeled interior. Includes .blend, .fbx, .obj, .glb, .stl, .ply, .unreal, and .max formats for rendering, simulation, and game development.
Price: $38.99

Texture: Yes
Material: Yes
Download the Mercedes-Benz CL65 C215 AMG 3D Model featuring clean geometry, realistic detailing, and a fully modeled interior. Includes .blend, .fbx, .obj, .glb, .stl, .ply, .unreal, and .max formats for rendering, simulation, and game development.
Price: $23.99

Texture: Yes
Material: Yes
Download the Mercedes-Benz A45 2021 3D Model featuring clean geometry, realistic detailing, and a fully modeled interior. Includes .blend, .fbx, .obj, .glb, .stl, .ply, .unreal, and .max formats for rendering, simulation, and game development.
Price: $23.99

Texture: Yes
Material: Yes
Download the Mercedes-Benz 300SL 1955 3D Model featuring clean geometry, realistic detailing, and a fully modeled interior. Includes .blend, .fbx, .obj, .glb, .stl, .ply, .unreal, and .max formats for rendering, simulation, and game development.
Price: $23.99

Texture: Yes
Material: Yes
Download the Mercedes-Benz 190SL 1955 3D Model featuring clean geometry, realistic detailing, and a fully modeled interior. Includes .blend, .fbx, .obj, .glb, .stl, .ply, .unreal, and .max formats for rendering, simulation, and game development.
Price: $23.99

Texture: Yes
Material: Yes
Download the Mercedes-Benz W124 Brabus V12 3D Model featuring clean geometry, realistic detailing, and a fully modeled interior. Includes .blend, .fbx, .obj, .glb, .stl, .ply, .unreal, and .max formats for rendering, simulation, and game development.
Price: $23.99

Texture: Yes
Material: Yes
Download the Mercedes-Benz SLS AMG GT3-002 3D Model featuring clean geometry, realistic detailing, and a fully modeled interior. Includes .blend, .fbx, .obj, .glb, .stl, .ply, .unreal, and .max formats for rendering, simulation, and game development.
Price: $38.99

Texture: Yes
Material: Yes
Download the Mercedes-Benz C-Class-001 3D Model featuring clean geometry, realistic detailing, and a fully modeled interior. Includes .blend, .fbx, .obj, .glb, .stl, .ply, .unreal, and .max formats for rendering, simulation, and game development.
Price: $38.99

Texture: Yes
Material: Yes
Download the Mercedes-Benz B-Klasse 2023 3D Model featuring clean geometry, realistic detailing, and a fully modeled interior. Includes .blend, .fbx, .obj, .glb, .stl, .ply, .unreal, and .max formats for rendering, simulation, and game development.
Price: $38.99

Texture: Yes
Material: Yes
Download the Mercedes-Benz A-Klasse W168 3D Model featuring clean geometry, realistic detailing, and a fully modeled interior. Includes .blend, .fbx, .obj, .glb, .stl, .ply, .unreal, and .max formats for rendering, simulation, and game development.
Price: $38.99

Texture: Yes
Material: Yes
Download the Mercedes-Benz 500SL 2000 3D Model featuring clean geometry, realistic detailing, and a fully modeled interior. Includes .blend, .fbx, .obj, .glb, .stl, .ply, .unreal, and .max formats for rendering, simulation, and game development.
Price: $38.99

Texture: Yes
Material: Yes
Download the Mercedes-Benz 500SEC 3D Model featuring clean geometry, realistic detailing, and a fully modeled interior. Includes .blend, .fbx, .obj, .glb, .stl, .ply, .unreal, and .max formats for rendering, simulation, and game development.
Price: $38.99

Texture: Yes
Material: Yes
Download the Mercedes-Benz Citan 2025 3D Model featuring clean geometry, realistic detailing, and a fully modeled interior. Includes .blend, .fbx, .obj, .glb, .stl, .ply, .unreal, and .max formats for rendering, simulation, and game development.
Price: $38.99

Texture: Yes
Material: Yes
Download the Mercedes-Benz C63 AMG 2012 3D Model featuring clean geometry, realistic detailing, and a fully modeled interior. Includes .blend, .fbx, .obj, .glb, .stl, .ply, .unreal, and .max formats for rendering, simulation, and game development.
Price: $38.99

Texture: Yes
Material: Yes
Download the Mercedes-Benz E-Class S211 3D Model featuring clean geometry, realistic detailing, and a fully modeled interior. Includes .blend, .fbx, .obj, .glb, .stl, .ply, .unreal, and .max formats for rendering, simulation, and game development.
Price: $38.99

Texture: Yes
Material: Yes
Download the Mercedes-Benz CLS63 AMG (C218) 2014 3D Model featuring clean geometry, realistic detailing, and a fully modeled interior. Includes .blend, .fbx, .obj, .glb, .stl, .ply, .unreal, and .max formats for rendering, simulation, and game development.
Price: $38.99

Texture: Yes
Material: Yes
Download the Mercedes-Benz CLS-Klasse 3D Model featuring clean geometry, realistic detailing, and a fully modeled interior. Includes .blend, .fbx, .obj, .glb, .stl, .ply, .unreal, and .max formats for rendering, simulation, and game development.
Price: $38.99
Texture: Yes
Material: Yes
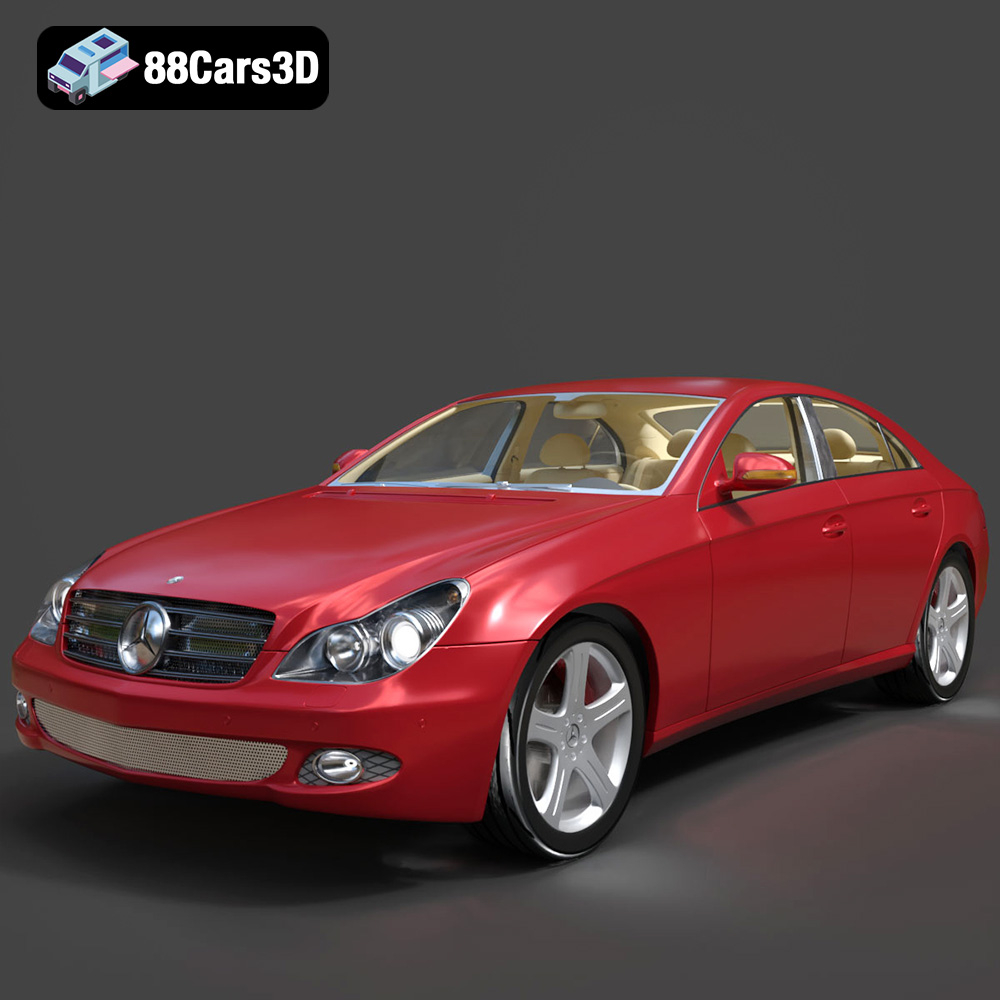
Download the Mercedes-Benz CLS 500 3D Model featuring clean geometry, realistic detailing, and a fully modeled interior. Includes .blend, .fbx, .obj, .glb, .stl, .ply, .unreal, and .max formats for rendering, simulation, and game development.
Price: $38.99

Texture: Yes
Material: Yes
Download the Mercedes-Benz CL-Klasse 2001 3D Model featuring clean geometry, realistic detailing, and a fully modeled interior. Includes .blend, .fbx, .obj, .glb, .stl, .ply, .unreal, and .max formats for rendering, simulation, and game development.
Price: $38.99
Texture: Yes
Material: Yes
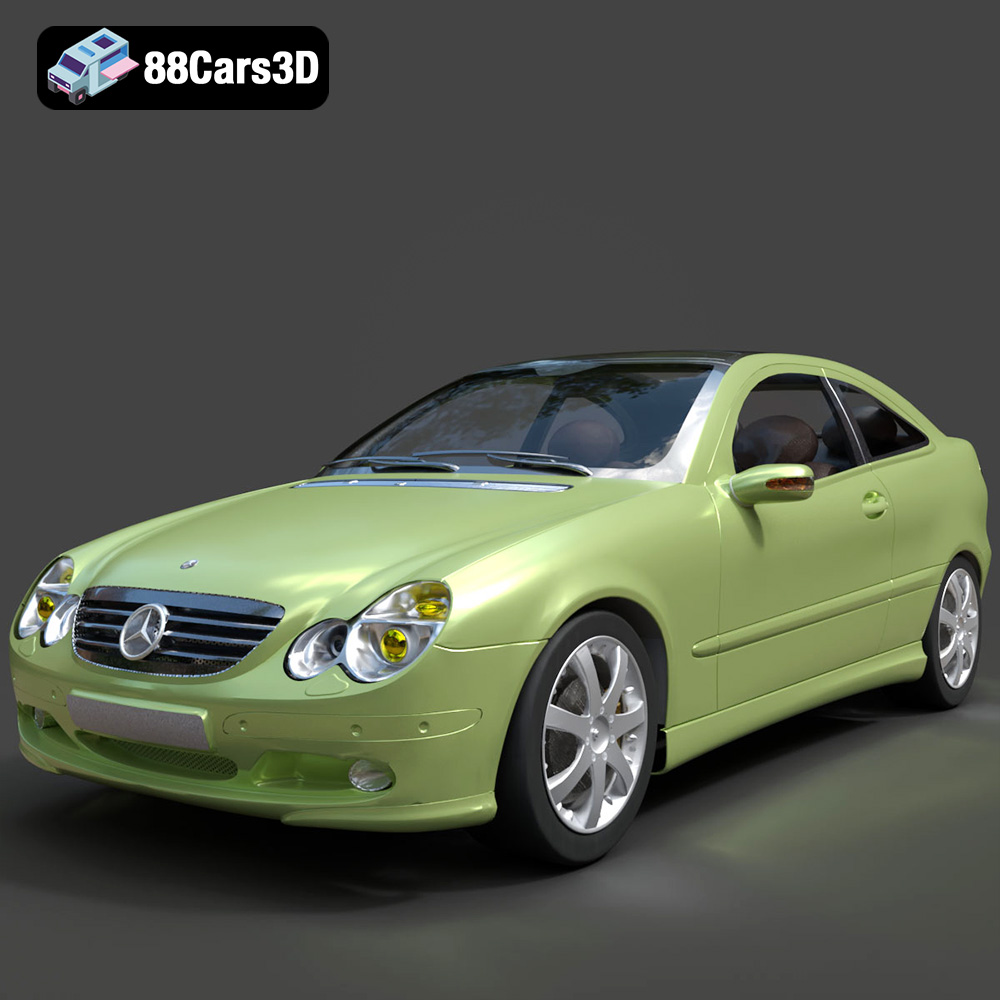
Download the Mercedes-Benz C-Klasse Sportcoupe 2000 3D Model featuring clean geometry, realistic detailing, and a fully modeled interior. Includes .blend, .fbx, .obj, .glb, .stl, .ply, .unreal, and .max formats for rendering, simulation, and game development.
Price: $38.99
Texture: Yes
Material: Yes
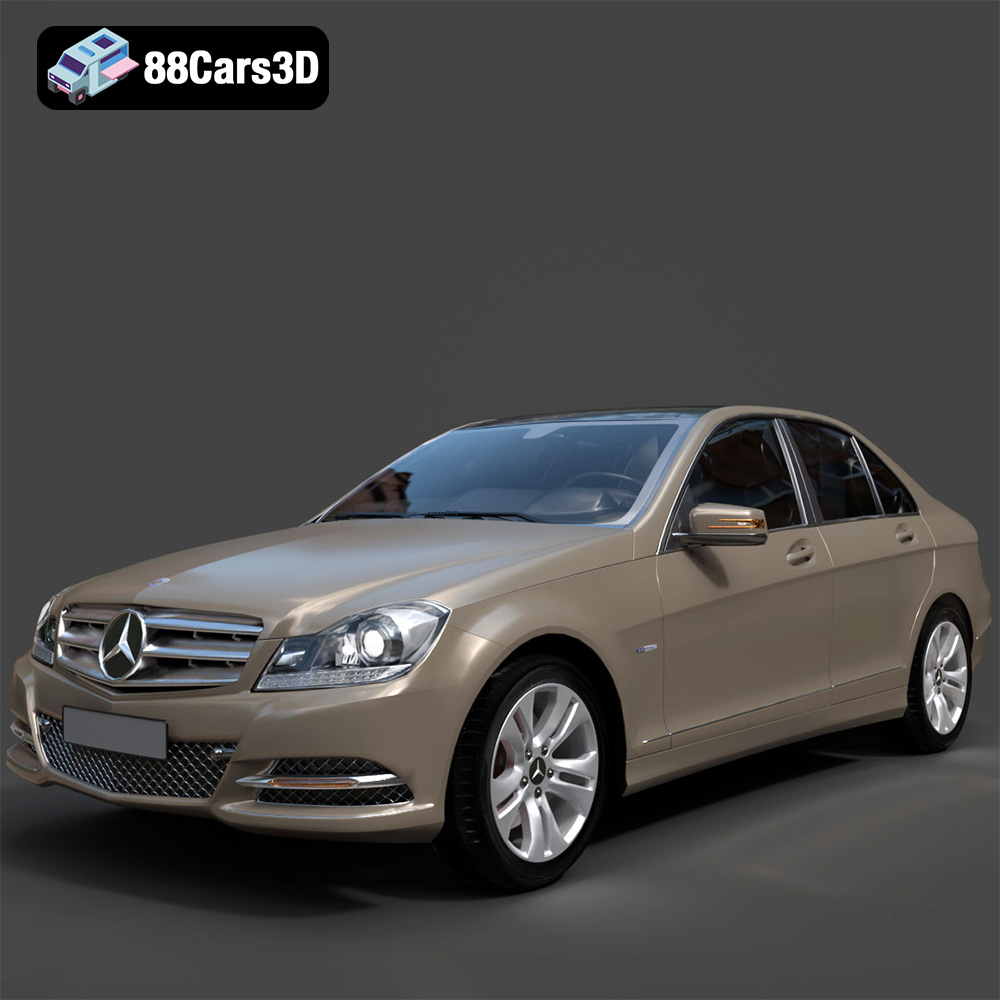
Download the Mercedes-Benz C-Klasse 204 2011 3D Model featuring clean geometry, realistic detailing, and a fully modeled interior. Includes .blend, .fbx, .obj, .glb, .stl, .ply, .unreal, and .max formats for rendering, simulation, and game development.
Price: $38.99
Texture: Yes
Material: Yes
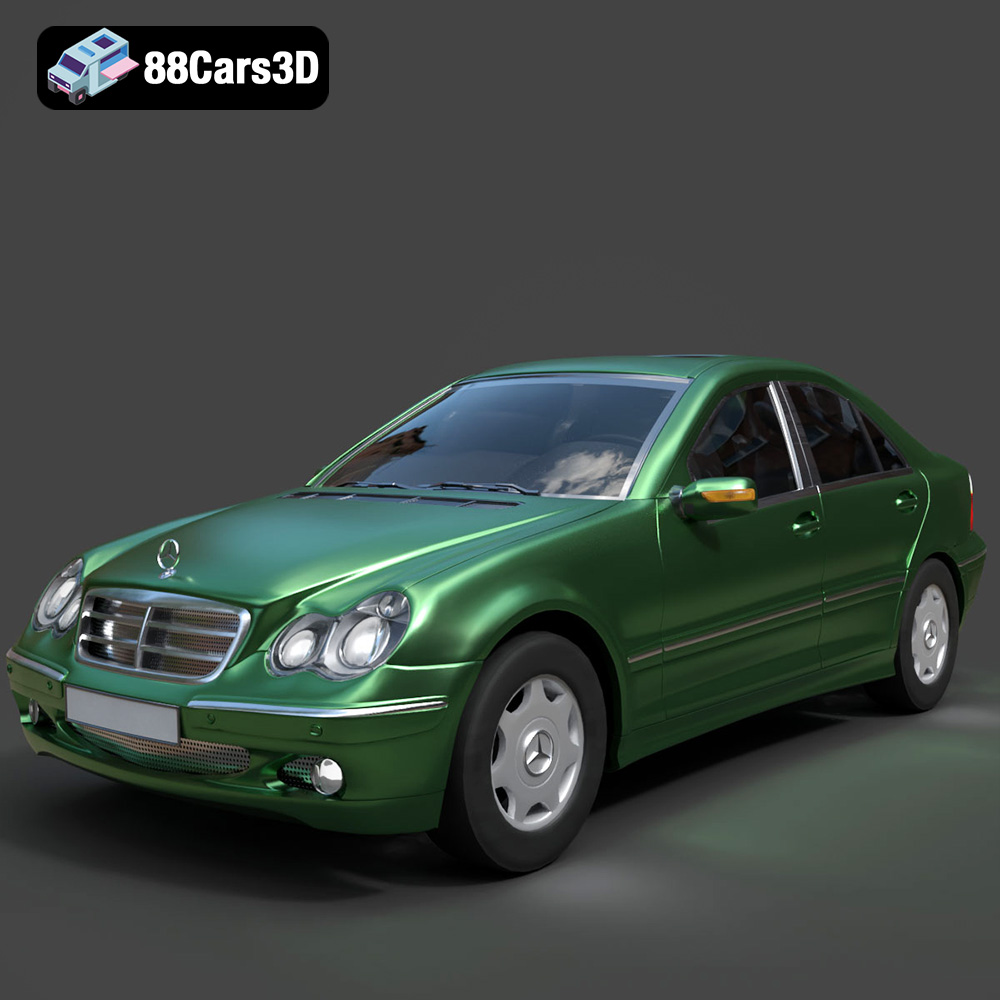
Download the Mercedes-Benz C-Class Sedan 3D Model featuring clean geometry, realistic detailing, and a fully modeled interior. Includes .blend, .fbx, .obj, .glb, .stl, .ply, .unreal, and .max formats for rendering, simulation, and game development.
Price: $38.99
Texture: Yes
Material: Yes
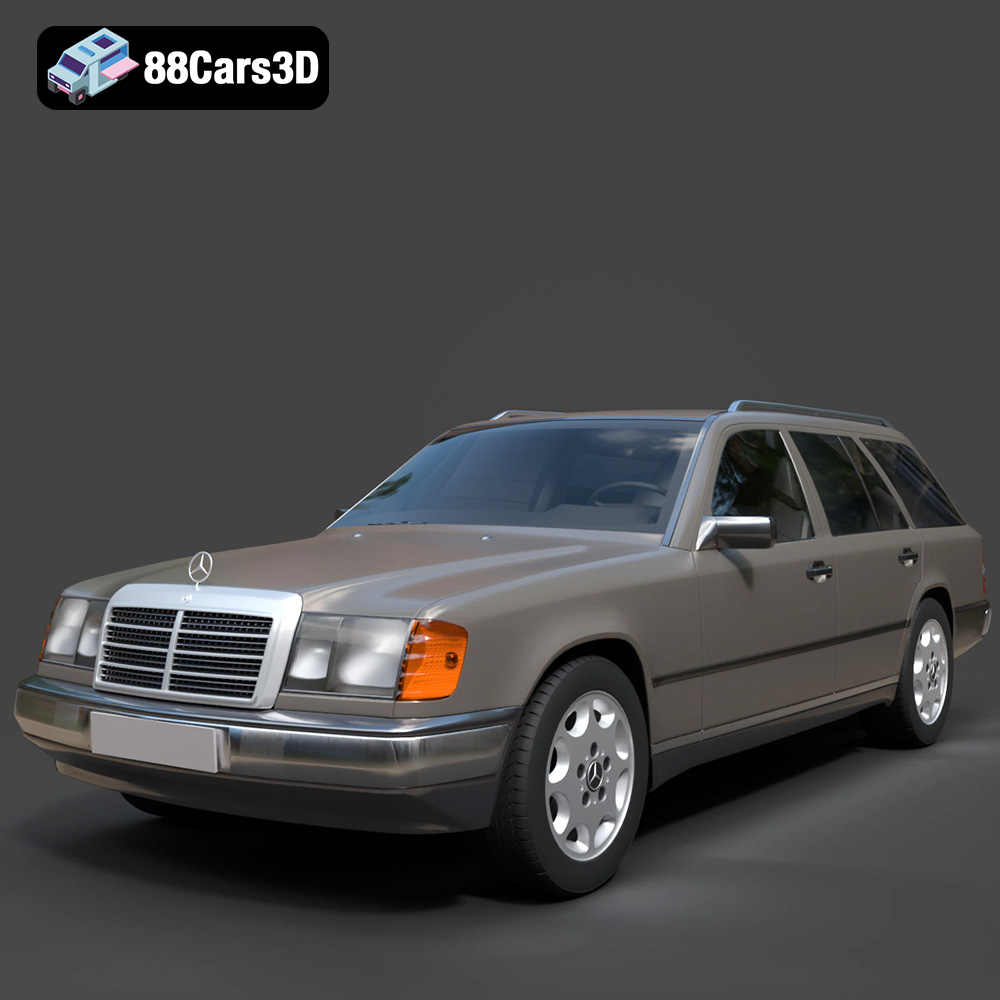
Download the Mercedes E-Class w124 Kombi 3D Model featuring clean geometry, realistic detailing, and a fully modeled interior. Includes .blend, .fbx, .obj, .glb, .stl, .ply, .unreal, and .max formats for rendering, simulation, and game development.
Price: $38.99
Texture: Yes
Material: Yes
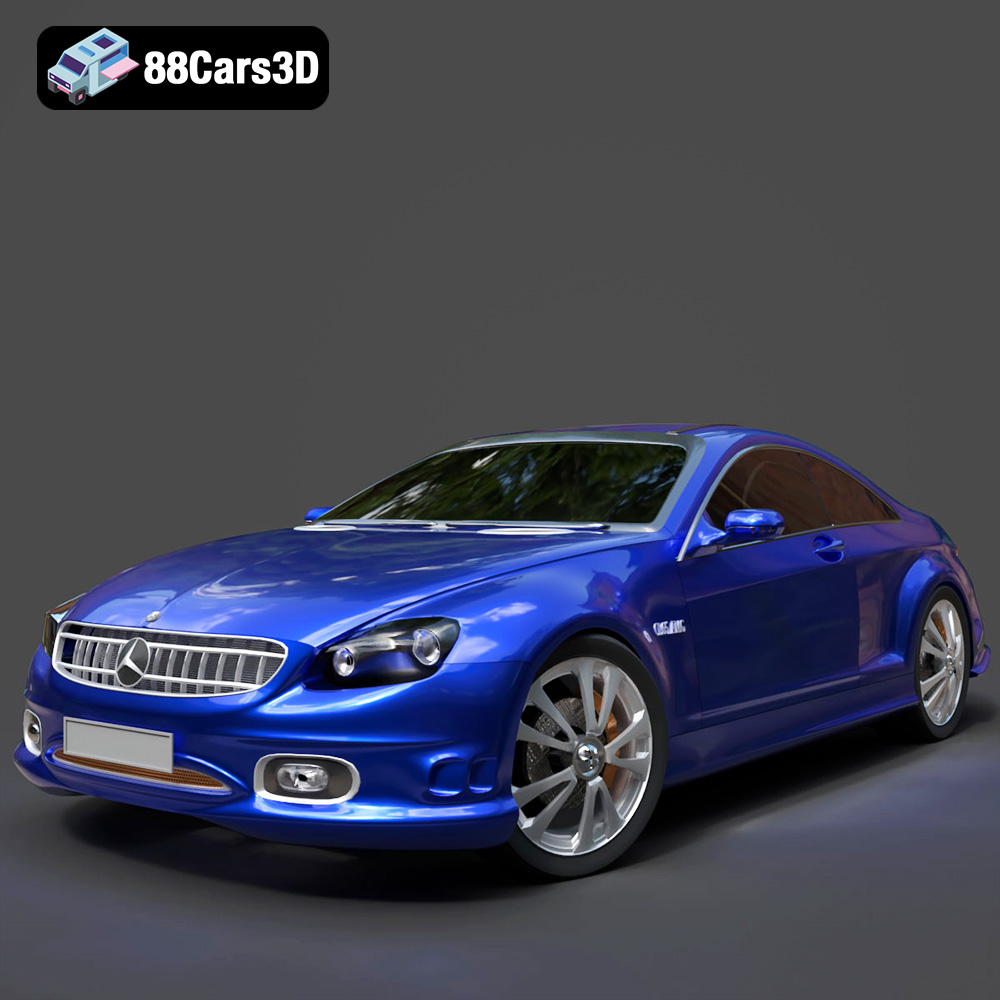
Download the Mercedes-Benz CL6540-005 3D Model featuring clean geometry, realistic detailing, and a fully modeled interior. Includes .blend, .fbx, .obj, .glb, .stl, .ply, .unreal, and .max formats for rendering, simulation, and game development.
Price: $38.99