Unlocking Photorealism: Mastering Automotive Paint Shaders in Unreal Engine 5
Unlocking Photorealism: Mastering Automotive Paint Shaders in Unreal Engine 5
In the world of 3D visualization, few challenges are as satisfying to conquer as achieving truly photorealistic automotive paint. From the subtle glint of metallic flakes under direct light to the deep, wet reflections of a pristine clear coat, replicating the complex interplay of light and material is crucial for believable vehicle renders. Unreal Engine 5, with its advanced rendering capabilities like Lumen and Nanite, provides an unparalleled platform for pushing these visual boundaries.
However, simply applying a basic material won’t cut it. Automotive paint is a multi-layered marvel, and understanding its physics is the first step towards creating a compelling Unreal Engine 5 car paint material. This guide will walk you through the essential techniques and advanced strategies to craft a stunning automotive paint shader, ensuring your vehicles pop with lifelike realism, whether for game development, cinematic sequences, or high-fidelity design reviews. We’ll delve into the core principles of PBR, explore the intricacies of various paint layers, and show you how to optimize your shaders for peak performance in real-time vehicle rendering.
The Science Behind Automotive Paint: Layers and Light Interaction
Before we even open Unreal Engine, it’s vital to deconstruct what makes real-world automotive paint so captivating. It’s not a single, homogeneous surface but a sophisticated stack of layers, each contributing to the final visual effect. A deep understanding of these physical properties is the cornerstone of a successful PBR car paint workflow.
Understanding the Core Layers
- Primer Coat: Applied directly to the vehicle’s body, the primer creates a uniform surface for subsequent layers and provides corrosion resistance. Visually, it’s mostly hidden, but its underlying color can subtly influence the base coat.
- Base Coat (Color Coat): This layer defines the primary color of the paint. It can be solid, metallic, or pearlescent. The base coat’s properties – its diffuse color, roughness, and the presence of metallic particles or mica flakes – are fundamental to the paint’s identity.
- Clear Coat: This is arguably the most critical layer for photorealism. A thick, highly reflective, and transparent layer of lacquer, the clear coat protects the underlying base coat. It’s responsible for the deep, glossy reflections, the “wet look,” and the primary specular highlights that define a vehicle’s shine.
Physical Properties Crucial for Photorealism
Each layer interacts with light differently. For our custom shader development UE5, we need to account for:
- Diffuse Reflection: The base coat’s color primarily comes from diffuse reflection, where light scatters off its surface.
- Specular Reflection: The clear coat, being a dielectric material, exhibits strong specular reflection. This means light reflects directly off its surface, preserving its color (white specular). The angle of incidence significantly impacts the intensity of this reflection (Fresnel effect).
- Roughness: Controls the sharpness of reflections. A very low roughness value on the clear coat is essential for that mirror-like finish. The base coat might have slightly higher roughness, affecting how its color appears under the clear coat.
- Metallic Property: If the base coat contains metallic flakes, it will exhibit some metallic properties. However, because it’s underneath a dielectric clear coat, the overall metallic value for the final material typically remains low or zero, with the metallic effect simulated differently for the flakes themselves.
- Anisotropy: While not always required, anisotropic reflections can appear on brushed metal or certain types of very fine metallic paint, where reflections stretch in one direction.
- Refraction: Although paint layers are thin, the clear coat does slightly refract light, which can contribute to the perception of depth, especially with darker colors.
Building the Foundation: A PBR Car Paint Material in Unreal Engine 5
Now, let’s translate this understanding into a modular, PBR car paint workflow within Unreal Engine 5. We’ll start with the base structure of our master material, ensuring it’s flexible and efficient.
Setting Up Your Master Material
Begin by creating a new Material in Unreal Engine. Name it something descriptive, like `M_AutomotivePaint_Master`. This will be the backbone of all your car paint variations.
The core of our shader will involve careful manipulation of the Base Color, Roughness, Metallic, Specular, and Normal inputs. We will treat the clear coat as a separate, reflective layer on top of a “dull” base color.
Base Color and Roughness for the Underlayer
- Base Color: Start with a `VectorParameter` node for your `PaintColor`. This allows easy color changes via Material Instance Unreal Engine later. Connect this to the Base Color input.
- Base Roughness: Add a `ScalarParameter` for `BaseRoughness`. This controls how diffuse the underlying paint appears before the clear coat is applied. A value around 0.5-0.7 is a good starting point for a matte base.
Implementing the Clear Coat Effect
The clear coat is key to the overall look. We simulate it by blending two different material properties: the base paint and a highly reflective, transparent layer. While Unreal Engine 5 doesn’t have a direct “clear coat” input like some other renderers, we can achieve it using a combination of techniques.
- Clear Coat Roughness: Create another `ScalarParameter` for `ClearCoatRoughness`. This should be very low (e.g., 0.01-0.05) to achieve mirror-like reflections.
- Blending Roughness: We can use a `Lerp` node to blend between the `BaseRoughness` and `ClearCoatRoughness` based on the Fresnel effect. This simulates the clear coat becoming more reflective at grazing angles.
- Create a `Fresnel` node.
- Set its `ExponentIn` to a high value (e.g., 5.0-10.0) and `BaseReflectivity` to 0.04 (standard for dielectrics).
- Connect the `Fresnel` output to the Alpha of a `Lerp` node.
- Connect `ClearCoatRoughness` to A and `BaseRoughness` to B of the `Lerp` node.
- Connect the output of the `Lerp` to the main `Roughness` input of the Material.
- Specular: For dielectric materials like a clear coat, the Specular value is typically a fixed 0.5. You can use a `ScalarParameter` named `ClearCoatSpecular` and set its default to 0.5, then connect it directly to the Material’s `Specular` input.
- Metallic: For automotive paint, the overall `Metallic` input should generally be 0, as the base color is underneath a dielectric clear coat. The metallic flakes are handled separately.
This setup creates a believable `automotive clear coat shader` that responds to light angles, giving a sense of depth and realism to your vehicle models from 88cars3d.com.
Leveraging Material Instances for Efficiency
One of the most powerful features for `custom shader development UE5` is the use of Material Instances. After setting up your `M_AutomotivePaint_Master` material with all its parameters, create a `Material Instance` from it for each distinct paint color or finish.
Right-click on your master material and select “Create Material Instance.” Now, for each Material Instance, you can easily tweak parameters like `PaintColor`, `BaseRoughness`, `ClearCoatRoughness`, and other properties without recompiling the shader. This significantly reduces `shader complexity automotive` for artists and improves workflow efficiency, making iteration incredibly fast.
Adding Depth and Sparkle: Mastering Clear Coat and Metallic Flakes
With the basic PBR structure in place, it’s time to elevate the realism with advanced features like realistic metallic flakes and potential pearlescent effects. These elements are what truly distinguish a good paint shader from a great one.
Simulating Realistic Metallic Flake Effect UE5
Metallic flakes are tiny, reflective particles suspended within the base coat. Their distinctive sparkle comes from individual flakes reflecting light at specific angles. Recreating this `metallic flake effect UE5` requires a nuanced approach.
Procedural Flake Generation
- Noise Texture: Use a `Perlin Noise` or a `Voronoi` texture node. This will serve as the basis for the random distribution of flakes. Adjust its tiling/scale to control flake density.
- Masking and Thresholding: Apply a `Ceil` or `Round` node to the noise, or use a `Power` node with a high exponent and then a `Saturate` to create sharp, isolated “dots” representing individual flakes.
- Normal Perturbation: This is crucial. The flakes don’t simply change color; they reflect light differently.
- Create a `NormalFromHeightmap` node.
- Connect your flake mask (from step 2) to its `Height` input.
- Multiply this generated normal by a small scalar parameter (e.g., `FlakeNormalStrength`) to control how much the flakes perturb the surface normal.
- Use a `BlendAngleCorrectedNormals` node to combine this flake normal with your main clear coat normal (if you have one, otherwise just a flat normal). This ensures the flakes correctly affect reflections without breaking overall surface smoothness.
- Flake Color/Reflection: The flakes typically reflect the light source color. You can multiply your flake mask by a color parameter (`FlakeColor`) to give them a tint, or simply use the calculated normal directly for reflections.
- You might use the flake mask to drive a `Lerp` between the base color and a reflective color (or even just an emissive color for direct sparkle) based on the flake normal’s dot product with the light vector.
Connecting the output of your blended normals to the main `Normal` input of the Material will give a convincing flake appearance. Adjusting the `FlakeNormalStrength` and the noise parameters in your Material Instance will allow for diverse metallic finishes.
Achieving Pearlescent and Iridescent Effects
Pearlescent paints shift color depending on the viewing angle, often displaying a subtle rainbow effect. This is usually achieved by layering thin, semi-transparent reflective particles.
- Fresnel-driven Color Shift: Use a `Fresnel` node again. This time, instead of driving roughness, use it to blend between two or more `VectorParameter` nodes (`PearlColor1`, `PearlColor2`).
- Dot Product with View Vector: Another common technique is to take the dot product of the surface normal and the camera’s view vector. This gives a gradient from facing directly at the camera to facing away. You can then use this value as an alpha for a `Lerp` node, blending between different colors.
- Texture-based Approach: For more complex iridescent patterns, a `Lookup Texture` (a gradient texture) can be sampled based on the view angle or fresnel effect, providing a rich spectrum of colors.
These techniques allow for incredibly dynamic and visually engaging paint finishes, adding another layer of realism to your automotive designs. Models sourced from 88cars3d.com can be immediately enhanced with these advanced shaders.
Accurate Reflections and Environment Mapping
The perceived realism of any vehicle paint relies heavily on its reflections. Unreal Engine 5’s Lumen global illumination and reflections system is excellent, but proper setup is still essential.
- Screen Space Reflections (SSR): Enable and fine-tune SSR in your Post Process Volume. While good for immediate reflections, they are limited by what’s on screen.
- Reflection Captures: Place `Sphere Reflection Captures` or `Box Reflection Captures` strategically around your vehicle. These bake static environment reflections and contribute significantly to realism, especially for off-screen reflections.
- Real-time Ray Tracing (if applicable): For the highest fidelity, enable hardware ray tracing. This will provide physically accurate reflections and refractions, although at a higher performance cost. Ensure your material’s settings support ray tracing (e.g., appropriate metallic/roughness values).
- HDRI Skyboxes: A high-quality HDRI (High Dynamic Range Image) used in your Sky Light is paramount. It provides realistic environmental lighting and, critically, realistic reflections across your vehicle’s surface, making the clear coat truly shine.
Optimizing for Performance: Real-Time Rendering Considerations
Creating beautiful shaders is one thing; ensuring they run efficiently for `real-time vehicle rendering` is another. Unoptimized shaders can quickly cripple performance, especially with complex automotive models.
Understanding Shader Complexity
Unreal Engine provides powerful tools to visualize `shader complexity automotive`. Press `Alt+8` or navigate to `View Modes > Shader Complexity` in the viewport. Areas rendered in bright red or white indicate high complexity and potential bottlenecks. Your goal is to keep complexity as low as possible without sacrificing visual quality.
Key Optimization Strategies
- Material Instances are Your Friends: As mentioned, Material Instances compile once and allow parameter adjustments without recompiling the base shader. This dramatically reduces iteration time and improves performance by centralizing shader logic.
- Avoid Unnecessary Calculations: Every node in your material graph contributes to complexity. Remove any nodes or calculations that don’t visibly contribute to the final look. For instance, if you’re not using anisotropy, don’t include its calculations.
- Texture Resolution vs. Detail: Use appropriate texture resolutions. A 4K normal map might be overkill for an object that’s rarely seen up close. Consider using packed textures (e.g., combining Roughness, Metallic, AO into a single texture’s RGB channels) to reduce texture sampling costs.
- Static Switches for Features: If you have optional features (like pearlescent effects or specific types of metallic flakes), use `Static Switch Parameters` in your master material. These compile different shader variations based on the switch, removing unused code paths entirely from the final shader. This makes your master material more versatile without incurring runtime cost for disabled features.
- Vertex Colors for Masking/Blending: Leverage vertex colors on your mesh to blend different material effects or mask areas for specific paint treatments. This can be more efficient than using additional mask textures.
- Shader Caching: Unreal Engine caches compiled shaders. Ensure you build all necessary shaders before packaging your project or during development to avoid runtime hitches.
- Instancing and LODs: For multiple vehicles or complex scenes, use instanced static meshes where possible. Implement robust Level of Detail (LOD) systems for your vehicle models. At lower LODs, simplify the material, perhaps by removing subtle flake effects or reducing normal map intensity, to further improve `shader complexity automotive`.
Fine-tuning for Diverse Lighting Conditions
A truly robust `Unreal Engine 5 car paint material` should look good under a variety of lighting conditions – from bright sunny days to overcast skies or dramatic nighttime scenarios. This requires continuous testing and iteration.
- Testing Environments: Create several lighting scenarios in your level (e.g., a bright outdoor scene, a dim garage, a studio setup).
- Reflection Quality: Pay close attention to how reflections behave. Are they too strong or too weak? Is the environment visible in the clear coat as expected? Adjust clear coat roughness and Fresnel parameters.
- Color Accuracy: Ensure your `PaintColor` parameter accurately represents the desired hue under different lights. Sometimes, a color that looks good in one environment might appear oversaturated or dull in another.
- Flake Visibility: The `metallic flake effect UE5` should be subtle in indirect light but sparkle vibrantly under direct light sources. Adjust `FlakeNormalStrength` and flake mask thresholds to achieve this balance.
This iterative process of testing and adjustment is key to unlocking the full potential of your automotive paint shader.
Conclusion: Drive Towards Photorealism
Mastering automotive paint shaders in Unreal Engine 5 is a journey that combines artistic vision with a solid understanding of material physics. By deconstructing real-world paint into its core layers – the base coat, the critical `automotive clear coat shader`, and the sparkling `metallic flake effect UE5` – we can build a robust and photorealistic material.
We’ve explored how to construct a modular, PBR-compliant shader using Unreal Engine’s powerful material editor, leveraging parameters and Material Instance Unreal Engine for an efficient PBR car paint workflow. Furthermore, we delved into advanced techniques for simulating intricate surface details and discussed crucial optimization strategies to ensure your creations perform flawlessly in real-time vehicle rendering while keeping shader complexity automotive in check.
The journey to photorealism is ongoing, but with these techniques for custom shader development UE5, you’re well-equipped to create stunning vehicles that captivate your audience. Remember that quality models are just as important as quality shaders. For a head start on your projects, explore the vast collection of meticulously crafted 3D car models available at 88cars3d.com, ready to be adorned with your masterpiece shaders. Start experimenting, iterate frequently, and watch your automotive designs come to life with unprecedented fidelity!
Featured 3D Car Models

Suzuki SX4-002 3D Model
Texture: Yes
Material: Yes
Download the Suzuki SX4-002 3D Model featuring clean geometry, realistic detailing, and a fully modeled interior. Includes .blend, .fbx, .obj, .glb, .stl, .ply, .unreal, and .max formats for rendering, simulation, and game development.
Price: $10

Tesla Model S 2024 3D Model
Texture: Yes
Material: Yes
Download the Tesla Model S 2024 3D Model featuring clean geometry, realistic detailing, and a fully modeled interior. Includes .blend, .fbx, .obj, .glb, .stl, .ply, .unreal, and .max formats for rendering, simulation, and game development.
Price: $10

Subaru Impreza WRX STi-002 3D Model
Texture: Yes
Material: Yes
Download the Subaru Impreza WRX STi-002 3D Model featuring clean geometry, realistic detailing, and a fully modeled interior. Includes .blend, .fbx, .obj, .glb, .stl, .ply, .unreal, and .max formats for rendering, simulation, and game development.
Price: $10

Toyota Mark II (X100) 1998 3D Model
Texture: Yes
Material: Yes
Download the Toyota Mark II (X100) 3D Model featuring clean geometry, realistic detailing, and a fully modeled interior. Includes .blend, .fbx, .obj, .glb, .stl, .ply, .unreal, and .max formats for rendering, simulation, and game development.
Price: $10

Toyota Corona 1985 3D Model
Texture: Yes
Material: Yes
Download the Toyota Corona 1985 3D Model featuring clean geometry, realistic detailing, and a fully modeled interior. Includes .blend, .fbx, .obj, .glb, .stl, .ply, .unreal, and .max formats for rendering, simulation, and game development.
Price: $10

Toyota Mark II X81 1990 3D Model
Texture: Yes
Material: Yes
Download the Toyota Mark II X81 1990 3D Model featuring clean geometry, realistic detailing, and a fully modeled interior. Includes .blend, .fbx, .obj, .glb, .stl, .ply, .unreal, and .max formats for rendering, simulation, and game development.
Price: $10

Toyota iQ EV 2012 3D Model
Texture: Yes
Material: Yes
Download the Toyota iQ EV 2012 3D Model featuring clean geometry, realistic detailing, and a fully modeled interior. Includes .blend, .fbx, .obj, .glb, .stl, .ply, .unreal, and .max formats for rendering, simulation, and game development.
Price: $10

Toyota Aygo 2013 3D Model
Texture: Yes
Material: Yes
Download the Toyota Aygo 2013 3D Model featuring clean geometry, realistic detailing, and a fully modeled interior. Includes .blend, .fbx, .obj, .glb, .stl, .ply, .unreal, and .max formats for rendering, simulation, and game development.
Price: $10

Toyota Crown S180 2005 3D Model
Texture: Yes
Material: Yes
Download the Toyota Crown S180 2005 3D Model featuring clean geometry, realistic detailing, and a fully modeled interior. Includes .blend, .fbx, .obj, .glb, .stl, .ply, .unreal, and .max formats for rendering, simulation, and game development.
Price: $10

Toyota Celica 2004 3D Model
Texture: Yes
Material: Yes
Download the Toyota Celica 2004 3D Model featuring clean geometry, realistic detailing, and a fully modeled interior. Includes .blend, .fbx, .obj, .glb, .stl, .ply, .unreal, and .max formats for rendering, simulation, and game development.
Price: $10

Toyota Corolla AE100 1992 3D Model
Texture: Yes
Material: Yes
Download the Toyota Corolla AE100 1992 3D Model featuring clean geometry, realistic detailing, and a fully modeled interior. Includes .blend, .fbx, .obj, .glb, .stl, .ply, .unreal, and .max formats for rendering, simulation, and game development.
Price: $10

Toyota Mark II X110 2000 3D Model
Texture: Yes
Material: Yes
Download the Toyota Mark II X110 2000 3D Model featuring clean geometry, realistic detailing, and a fully modeled interior. Includes .blend, .fbx, .obj, .glb, .stl, .ply, .unreal, and .max formats for rendering, simulation, and game development.
Price: $10

Toyota Corolla 2020 3D Model
Texture: Yes
Material: Yes
Download the Toyota Corolla 2020 3D Model featuring clean geometry, realistic detailing, and a fully modeled interior. Includes .blend, .fbx, .obj, .glb, .stl, .ply, .unreal, and .max formats for rendering, simulation, and game development.
Price: $10

Toyota Yaris 2020 3D Model
Texture: Yes
Material: Yes
Download the Toyota Yaris 2020 3D Model featuring clean geometry, realistic detailing, and a fully modeled interior. Includes .blend, .fbx, .obj, .glb, .stl, .ply, .unreal, and .max formats for rendering, simulation, and game development.
Price: $9.9

Volkswagen Beetle 2012 3D Model
Texture: Yes
Material: Yes
Download the Volkswagen Beetle 2012 3D Model featuring clean geometry, realistic detailing, and a fully modeled interior. Includes .blend, .fbx, .obj, .glb, .stl, .ply, .unreal, and .max formats for rendering, simulation, and game development.
Price: $9.9

Toyota Matrix 2005 3D Model
Texture: Yes
Material: Yes
Download the Toyota Matrix 2005 3D Model featuring clean geometry, realistic detailing, and a fully modeled interior. Includes .blend, .fbx, .obj, .glb, .stl, .ply, .unreal, and .max formats for rendering, simulation, and game development.
Price: $9.9

Toyota Yaris Sedan 3D Model
Texture: Yes
Material: Yes
Download the Toyota Yaris Sedan 3D Model featuring clean geometry, realistic detailing, and a fully modeled interior. Includes .blend, .fbx, .obj, .glb, .stl, .ply, .unreal, and .max formats for rendering, simulation, and game development.
Price: $9.9

Volkswagen Golf R-004 2024 3D Model
Texture: Yes
Material: Yes
Download the Volkswagen Golf R-004 2024 3D Model featuring clean geometry, realistic detailing, and a fully modeled interior. Includes .blend, .fbx, .obj, .glb, .stl, .ply, .unreal, and .max formats for rendering, simulation, and game development.
Price: $9.9

Volkswagen Golf 5 Door 2010 3D Model
Texture: Yes
Material: Yes
Download the Volkswagen Golf 5 Door 2010 3D Model featuring clean geometry, realistic detailing, and a fully modeled interior. Includes .blend, .fbx, .obj, .glb, .stl, .ply, .unreal, and .max formats for rendering, simulation, and game development.
Price: $9.9

Toyota Premio 2010 3D Model
Texture: Yes
Material: Yes
Download the Toyota Premio 2010 3D Model featuring clean geometry, realistic detailing, and a fully modeled interior. Includes .blend, .fbx, .obj, .glb, .stl, .ply, .unreal, and .max formats for rendering, simulation, and game development.
Price: $9.9

Toyota Opa 2000 3D Model
Texture: Yes
Material: Yes
Download the Toyota Opa 2000 3D Model featuring clean geometry, realistic detailing, and a fully modeled interior. Includes .blend, .fbx, .obj, .glb, .stl, .ply, .unreal, and .max formats for rendering, simulation, and game development.
Price: $9.9

Volkswagen Polo 5 Door 2010 3D Model
Texture: Yes
Material: Yes
Download the Volkswagen Polo 5 Door 2010 3D Model featuring clean geometry, realistic detailing, and a fully modeled interior. Includes .blend, .fbx, .obj, .glb, .stl, .ply, .unreal, and .max formats for rendering, simulation, and game development.
Price: $9.9

Toyota Prius 2024 3D Model
Texture: Yes
Material: Yes
Download the Toyota Prius 2024 3D Model featuring clean geometry, realistic detailing, and a fully modeled interior. Includes .blend, .fbx, .obj, .glb, .stl, .ply, .unreal, and .max formats for rendering, simulation, and game development.
Price: $9.9

Toyota Yaris 1999 3D Model
Texture: Yes
Material: Yes
Download the Toyota Yaris 1999 3D Model featuring clean geometry, realistic detailing, and a fully modeled interior. Includes .blend, .fbx, .obj, .glb, .stl, .ply, .unreal, and .max formats for rendering, simulation, and game development.
Price: $9.9

Toyota Supra 2020 3D Model
Texture: Yes
Material: Yes
Download the Toyota Supra 2020 3D Model featuring clean geometry, realistic detailing, and a fully modeled interior. Includes .blend, .fbx, .obj, .glb, .stl, .ply, .unreal, and .max formats for rendering, simulation, and game development.
Price: $9.9

Volkswagen New Beetle 2000 3D Model
Texture: Yes
Material: Yes
Download the Volkswagen New Beetle 2000 3D Model featuring clean geometry, realistic detailing, and a fully modeled interior. Includes .blend, .fbx, .obj, .glb, .stl, .ply, .unreal, and .max formats for rendering, simulation, and game development.
Price: $14.99

Volkswagen Jetta 2005 3D Model
Texture: Yes
Material: Yes
Download the Volkswagen Jetta 2005 3D Model featuring clean geometry, realistic detailing, and a fully modeled interior. Includes .blend, .fbx, .obj, .glb, .stl, .ply, .unreal, and .max formats for rendering, simulation, and game development.
Price: $18.99

Volkswagen Golf 3-Door 3D Model
Texture: Yes
Material: Yes
Download the Volkswagen Golf 3-Door 3D Model featuring clean geometry, realistic detailing, and a fully modeled interior. Includes .blend, .fbx, .obj, .glb, .stl, .ply, .unreal, and .max formats for rendering, simulation, and game development.
Price: $14.99

Volvo V70 2005 3D Model
Texture: Yes
Material: Yes
Download the Volvo V70 2005 3D Model featuring clean geometry, realistic detailing, and a fully modeled interior. Includes .blend, .fbx, .obj, .glb, .stl, .ply, .unreal, and .max formats for rendering, simulation, and game development.
Price: $14.99

Volkswagen Bora 2004 3D Model
Texture: Yes
Material: Yes
Download the Volkswagen Bora 2004 3D Model featuring clean geometry, realistic detailing, and a fully modeled interior. Includes .blend, .fbx, .obj, .glb, .stl, .ply, .unreal, and .max formats for rendering, simulation, and game development.
Price: $14.99

Volkswagen Lupo 3D Model
Texture: Yes
Material: Yes
Download the Volkswagen Lupo 3D Model featuring clean geometry, realistic detailing, and a fully modeled interior. Includes .blend, .fbx, .obj, .glb, .stl, .ply, .unreal, and .max formats for rendering, simulation, and game development.
Price: $19.99

Volkswagen Passat B5 2000 3D Model
Texture: Yes
Material: Yes
Download the Volkswagen Passat B5 2000 3D Model featuring clean geometry, realistic detailing, and a fully modeled interior. Includes .blend, .fbx, .obj, .glb, .stl, .ply, .unreal, and .max formats for rendering, simulation, and game development.
Price: $19.99

Volkswagen Passat CC 3D Model
Texture: Yes
Material: Yes
Download the Volkswagen Passat CC 3D Model featuring clean geometry, realistic detailing, and a fully modeled interior. Includes .blend, .fbx, .obj, .glb, .stl, .ply, .unreal, and .max formats for rendering, simulation, and game development.
Price: $19.99

Volkswagen Golf V 2006 3D Model
Texture: Yes
Material: Yes
Download the Volkswagen Golf V 2006 3D Model featuring clean geometry, realistic detailing, and a fully modeled interior. Includes .blend, .fbx, .obj, .glb, .stl, .ply, .unreal, and .max formats for rendering, simulation, and game development.
Price: $19.99

Volvo S60 R-Design 2024 3D Model
Texture: Yes
Material: Yes
Download the Volvo S60 R-Design 3D Model featuring clean geometry, realistic detailing, and a fully modeled interior. Includes .blend, .fbx, .obj, .glb, .stl, .ply, .unreal, and .max formats for rendering, simulation, and game development.
Price: $19.99

Volkswagen Passat 2025 3D Model
Texture: Yes
Material: Yes
Download the Volkswagen Passat 2025 3D Model featuring clean geometry, realistic detailing, and a fully modeled interior. Includes .blend, .fbx, .obj, .glb, .stl, .ply, .unreal, and .max formats for rendering, simulation, and game development.
Price: $25.99

Volkswagen Passat Variant B6 2005 3D Model
Texture: Yes
Material: Yes
Download the Volkswagen Passat Variant B6 2005 3D Model featuring clean geometry, realistic detailing, and a fully modeled interior. Includes .blend, .fbx, .obj, .glb, .stl, .ply, .unreal, and .max formats for rendering, simulation, and game development.
Price: $25.99

Volkswagen Phaeton W12 2004 3D Model
Texture: Yes
Material: Yes
Download the Volkswagen Phaeton W12 2004 3D Model featuring clean geometry, realistic detailing, and a fully modeled interior. Includes .blend, .fbx, .obj, .glb, .stl, .ply, .unreal, and .max formats for rendering, simulation, and game development.
Price: $25.99

Volkswagen Scirocco 2015 3D Model
Texture: Yes
Material: Yes
Download the Volkswagen Scirocco 2015 3D Model featuring clean geometry, realistic detailing, and a fully modeled interior. Includes .blend, .fbx, .obj, .glb, .stl, .ply, .unreal, and .max formats for rendering, simulation, and game development.
Price: $25.99

Volvo S60 2024 3D Model
Texture: Yes
Material: Yes
Download the Volvo S60 2024 3D Model featuring clean geometry, realistic detailing, and a fully modeled interior. Includes .blend, .fbx, .obj, .glb, .stl, .ply, .unreal, and .max formats for rendering, simulation, and game development.
Price: $25.99

Volkswagen Polo 3D Model
Texture: Yes
Material: Yes
Download the Volkswagen Polo 3D Model featuring clean geometry, realistic detailing, and a fully modeled interior. Includes .blend, .fbx, .obj, .glb, .stl, .ply, .unreal, and .max formats for rendering, simulation, and game development.
Price: $25.99

Volkswagen Golf 5-Doors 2018 3D Model
Texture: Yes
Material: Yes
Download the Volkswagen Golf 5-Doors 3D Model featuring clean geometry, realistic detailing, and a fully modeled interior. Includes .blend, .fbx, .obj, .glb, .stl, .ply, .unreal, and .max formats for rendering, simulation, and game development.
Price: $25.99

Volvo C70 T5 2000 3D Model
Texture: Yes
Material: Yes
Download the Volvo C70 T5 2000 3D Model featuring clean geometry, realistic detailing, and a fully modeled interior. Includes .blend, .fbx, .obj, .glb, .stl, .ply, .unreal, and .max formats for rendering, simulation, and game development.
Price: $23.99

Volvo S40 Sedan 2004 3D Model
Texture: Yes
Material: Yes
Download the Volvo S40 Sedan 2004 3D Model featuring clean geometry, realistic detailing, and a fully modeled interior. Includes .blend, .fbx, .obj, .glb, .stl, .ply, .unreal, and .max formats for rendering, simulation, and game development.
Price: $23.99

Volvo C30 BEV 2012 3D Model
Texture: Yes
Material: Yes
Download the Volvo C30 BEV 2012 3D Model featuring clean geometry, realistic detailing, and a fully modeled interior. Includes .blend, .fbx, .obj, .glb, .stl, .ply, .unreal, and .max formats for rendering, simulation, and game development.
Price: $23.99

Volvo C70 1998 3D Model
Texture: Yes
Material: Yes
Download the Volvo C70 1998 3D Model featuring clean geometry, realistic detailing, and a fully modeled interior. Includes .blend, .fbx, .obj, .glb, .stl, .ply, .unreal, and .max formats for rendering, simulation, and game development.
Price: $23.99

Mazda B-Series 3D Model
Texture: Yes
Material: Yes
Download the Mazda B-Series 3D Model featuring clean geometry, realistic detailing, and a fully modeled interior. Includes .blend, .fbx, .obj, .glb, .stl, .ply, .unreal, and .max formats for rendering, simulation, and game development.
Price: $23.99

Mercsedes Benz Z3-006 3D Model
Texture: Yes
Material: Yes
Download the Mercsedes Benz Z3-006 3D Model featuring clean geometry, realistic detailing, and a fully modeled interior. Includes .blend, .fbx, .obj, .glb, .stl, .ply, .unreal, and .max formats for rendering, simulation, and game development.
Price: $23.99

Mazda RX-7 3D Model
Texture: Yes
Material: Yes
Download the Mazda RX-7 3D Model featuring clean geometry, realistic detailing, and a fully modeled interior. Includes .blend, .fbx, .obj, .glb, .stl, .ply, .unreal, and .max formats for rendering, simulation, and game development.
Price: $23.99

Volvo VCC-003 3D Model
Texture: Yes
Material: Yes
Download the Volvo VCC-003 3D Model featuring clean geometry, realistic detailing, and a fully modeled interior. Includes .blend, .fbx, .obj, .glb, .stl, .ply, .unreal, and .max formats for rendering, simulation, and game development.
Price: $23.99

Mercedes-Benz SLR McLaren 2005 3D Model
Texture: Yes
Material: Yes
Download the Mercedes-Benz SLR McLaren 2005 3D Model featuring clean geometry, realistic detailing, and a fully modeled interior. Includes .blend, .fbx, .obj, .glb, .stl, .ply, .unreal, and .max formats for rendering, simulation, and game development.
Price: $23.99

GAZ 3110 Pickup 2000 3D Model
Texture: Yes
Material: Yes
Download the GAZ 3110 Pickup 3D Model featuring clean geometry, realistic detailing, and a fully modeled interior. Includes .blend, .fbx, .obj, .glb, .stl, .ply, .unreal, and .max formats for rendering, simulation, and game development.
Price: $23.99

Mazda 626 GF 1997 3D Model
Texture: Yes
Material: Yes
Download the Mazda 626 GF 1997 3D Model featuring clean geometry, realistic detailing, and a fully modeled interior. Includes .blend, .fbx, .obj, .glb, .stl, .ply, .unreal, and .max formats for rendering, simulation, and game development.
Price: $23.99

Volvo S80 2011 3D Model
Texture: Yes
Material: Yes
Download the Volvo S80 2011 3D Model featuring clean geometry, realistic detailing, and a fully modeled interior. Includes .blend, .fbx, .obj, .glb, .stl, .ply, .unreal, and .max formats for rendering, simulation, and game development.
Price: $23.99

Volkswagen Touran restyle-006 3D Model
Texture: Yes
Material: Yes
Download the Volkswagen Touran restyle-006 3D Model featuring clean geometry, realistic detailing, and a fully modeled interior. Includes .blend, .fbx, .obj, .glb, .stl, .ply, .unreal, and .max formats for rendering, simulation, and game development.
Price: $23.99

Skoda Octavia Scout 3D Model
Texture: Yes
Material: Yes
Download the Skoda Octavia Scout 3D Model featuring clean geometry, realistic detailing, and a fully modeled interior. Includes .blend, .fbx, .obj, .glb, .stl, .ply, .unreal, and .max formats for rendering, simulation, and game development.
Price: $23.99

Volkswagen Golf V 2006 3D Model
Texture: Yes
Material: Yes
Download the Volkswagen Golf V 2006 3D Model featuring clean geometry, realistic detailing, and a fully modeled interior. Includes .blend, .fbx, .obj, .glb, .stl, .ply, .unreal, and .max formats for rendering, simulation, and game development.
Price: $23.99

Mazda CX-7 3D Model
Texture: Yes
Material: Yes
Download the Mazda CX-7 3D Model featuring clean geometry, realistic detailing, and a fully modeled interior. Includes .blend, .fbx, .obj, .glb, .stl, .ply, .unreal, and .max formats for rendering, simulation, and game development.
Price: $23.99

Mazda Familia 3D Model
Texture: Yes
Material: Yes
Download the Mazda Familia 3D Model featuring clean geometry, realistic detailing, and a fully modeled interior. Includes .blend, .fbx, .obj, .glb, .stl, .ply, .unreal, and .max formats for rendering, simulation, and game development.
Price: $23.99

GAS 21 3D Model
Texture: Yes
Material: Yes
Download the GAS 21 3D Model featuring clean geometry, realistic detailing, and a fully modeled interior. Includes .blend, .fbx, .obj, .glb, .stl, .ply, .unreal, and .max formats for rendering, simulation, and game development.
Price: $23.99

Mercedes-Benz SL500 AMG (R129) 3D Model
Texture: Yes
Material: Yes
Download the Mercedes-Benz SL500 AMG (R129) 3D Model featuring clean geometry, realistic detailing, and a fully modeled interior. Includes .blend, .fbx, .obj, .glb, .stl, .ply, .unreal, and .max formats for rendering, simulation, and game development.
Price: $23.99

Mercedes-Benz S-Class W221 2005 3D Model
Texture: Yes
Material: Yes
Download the Mercedes-Benz S-Class W221 2005 3D Model featuring clean geometry, realistic detailing, and a fully modeled interior. Includes .blend, .fbx, .obj, .glb, .stl, .ply, .unreal, and .max formats for rendering, simulation, and game development.
Price: $23.99

Mercedes-Benz E-Class W212 2009 3D Model
Texture: Yes
Material: Yes
Download the Mercedes-Benz E-Class W212 2009 3D Model featuring clean geometry, realistic detailing, and a fully modeled interior. Includes .blend, .fbx, .obj, .glb, .stl, .ply, .unreal, and .max formats for rendering, simulation, and game development.
Price: $23.99

Mercedes-Benz E-class Estate S212 2009 3D Model
Texture: Yes
Material: Yes
Download the Mercedes-Benz E-class Estate S212 2009 3D Model featuring clean geometry, realistic detailing, and a fully modeled interior. Includes .blend, .fbx, .obj, .glb, .stl, .ply, .unreal, and .max formats for rendering, simulation, and game development.
Price: $23.99

Mercedes-Benz 190 W201 3D Model
Texture: Yes
Material: Yes
Download the Mercedes-Benz 190 W201 3D Model featuring clean geometry, realistic detailing, and a fully modeled interior. Includes .blend, .fbx, .obj, .glb, .stl, .ply, .unreal, and .max formats for rendering, simulation, and game development.
Price: $23.99

Mercedes-Benz C230 SportCoupé 2005 3D Model
Texture: Yes
Material: Yes
Download the Mercedes-Benz C230 SportCoupé 2005 3D Model featuring clean geometry, realistic detailing, and a fully modeled interior. Includes .blend, .fbx, .obj, .glb, .stl, .ply, .unreal, and .max formats for rendering, simulation, and game development.
Price: $23.99

Mercedes-Benz SLK 3D Model
Texture: Yes
Material: Yes
Download the Mercedes-Benz SLK 3D Model featuring clean geometry, realistic detailing, and a fully modeled interior. Includes .blend, .fbx, .obj, .glb, .stl, .ply, .unreal, and .max formats for rendering, simulation, and game development.
Price: $23.99

Mercedes 600 SEC W140 1992 3D Model
Texture: Yes
Material: Yes
Download the Mercedes 600 SEC W140 1992 3D Model featuring clean geometry, realistic detailing, and a fully modeled interior. Includes .blend, .fbx, .obj, .glb, .stl, .ply, .unreal, and .max formats for rendering, simulation, and game development.
Price: $23.99

Mercedes S-Class 2010 3D Model
Texture: Yes
Material: Yes
Download the Mercedes S-Class 2010 3D Model featuring clean geometry, realistic detailing, and a fully modeled interior. Includes .blend, .fbx, .obj, .glb, .stl, .ply, .unreal, and .max formats for rendering, simulation, and game development.
Price: $23.99

McLaren MP4-12C-001 3D Model
Texture: Yes
Material: Yes
Download the McLaren MP4-12C-001 3D Model featuring clean geometry, realistic detailing, and a fully modeled interior. Includes .blend, .fbx, .obj, .glb, .stl, .ply, .unreal, and .max formats for rendering, simulation, and game development.
Price: $23.99

Mercedes-Benz SLK 350 2005 3D Model
Texture: Yes
Material: Yes
Download the Mercedes-Benz SLK 350 2005 3D Model featuring clean geometry, realistic detailing, and a fully modeled interior. Includes .blend, .fbx, .obj, .glb, .stl, .ply, .unreal, and .max formats for rendering, simulation, and game development.
Price: $23.99

Mercedes-Benz SL 65 AMG 3D Model
Texture: Yes
Material: Yes
Download the Mercedes-Benz SL 65 AMG 3D Model featuring clean geometry, realistic detailing, and a fully modeled interior. Includes .blend, .fbx, .obj, .glb, .stl, .ply, .unreal, and .max formats for rendering, simulation, and game development.
Price: $23.99

Mercedes-Benz S500 3D Model
Texture: Yes
Material: Yes
Download the Mercedes-Benz S500 3D Model featuring clean geometry, realistic detailing, and a fully modeled interior. Includes .blend, .fbx, .obj, .glb, .stl, .ply, .unreal, and .max formats for rendering, simulation, and game development.
Price: $23.99

Mercedes-Benz S55 W220 AMG 1999 3D Model
Texture: Yes
Material: Yes
Download the Mercedes-Benz S55 W220 AMG 1999 3D Model featuring clean geometry, realistic detailing, and a fully modeled interior. Includes .blend, .fbx, .obj, .glb, .stl, .ply, .unreal, and .max formats for rendering, simulation, and game development.
Price: $23.99

Mercedes-Benz CLA45 AMG 2017 3D Model
Texture: Yes
Material: Yes
Download the Mercedes-Benz CLA45 AMG 2017 3D Model featuring clean geometry, realistic detailing, and a fully modeled interior. Includes .blend, .fbx, .obj, .glb, .stl, .ply, .unreal, and .max formats for rendering, simulation, and game development.
Price: $38.99

Mercedes-Benz CL65 C215 AMG 3D Model
Texture: Yes
Material: Yes
Download the Mercedes-Benz CL65 C215 AMG 3D Model featuring clean geometry, realistic detailing, and a fully modeled interior. Includes .blend, .fbx, .obj, .glb, .stl, .ply, .unreal, and .max formats for rendering, simulation, and game development.
Price: $23.99

Mercedes-Benz A45 2021 3D Model
Texture: Yes
Material: Yes
Download the Mercedes-Benz A45 2021 3D Model featuring clean geometry, realistic detailing, and a fully modeled interior. Includes .blend, .fbx, .obj, .glb, .stl, .ply, .unreal, and .max formats for rendering, simulation, and game development.
Price: $23.99

Mercedes-Benz 300SL 1955 3D Model
Texture: Yes
Material: Yes
Download the Mercedes-Benz 300SL 1955 3D Model featuring clean geometry, realistic detailing, and a fully modeled interior. Includes .blend, .fbx, .obj, .glb, .stl, .ply, .unreal, and .max formats for rendering, simulation, and game development.
Price: $23.99

Mercedes-Benz 190SL 1955 3D Model
Texture: Yes
Material: Yes
Download the Mercedes-Benz 190SL 1955 3D Model featuring clean geometry, realistic detailing, and a fully modeled interior. Includes .blend, .fbx, .obj, .glb, .stl, .ply, .unreal, and .max formats for rendering, simulation, and game development.
Price: $23.99

Mercedes-Benz W124 Brabus V12 3D Model
Texture: Yes
Material: Yes
Download the Mercedes-Benz W124 Brabus V12 3D Model featuring clean geometry, realistic detailing, and a fully modeled interior. Includes .blend, .fbx, .obj, .glb, .stl, .ply, .unreal, and .max formats for rendering, simulation, and game development.
Price: $23.99

Mercedes-Benz SLS AMG GT3-002 3D Model
Texture: Yes
Material: Yes
Download the Mercedes-Benz SLS AMG GT3-002 3D Model featuring clean geometry, realistic detailing, and a fully modeled interior. Includes .blend, .fbx, .obj, .glb, .stl, .ply, .unreal, and .max formats for rendering, simulation, and game development.
Price: $38.99

Mercedes-Benz C-Class-001 3D Model
Texture: Yes
Material: Yes
Download the Mercedes-Benz C-Class-001 3D Model featuring clean geometry, realistic detailing, and a fully modeled interior. Includes .blend, .fbx, .obj, .glb, .stl, .ply, .unreal, and .max formats for rendering, simulation, and game development.
Price: $38.99

Mercedes-Benz B-Klasse 2023 3D Model
Texture: Yes
Material: Yes
Download the Mercedes-Benz B-Klasse 2023 3D Model featuring clean geometry, realistic detailing, and a fully modeled interior. Includes .blend, .fbx, .obj, .glb, .stl, .ply, .unreal, and .max formats for rendering, simulation, and game development.
Price: $38.99

Mercedes-Benz A-Klasse W168 3D Model
Texture: Yes
Material: Yes
Download the Mercedes-Benz A-Klasse W168 3D Model featuring clean geometry, realistic detailing, and a fully modeled interior. Includes .blend, .fbx, .obj, .glb, .stl, .ply, .unreal, and .max formats for rendering, simulation, and game development.
Price: $38.99

Mercedes-Benz 500SL 2000 3D Model
Texture: Yes
Material: Yes
Download the Mercedes-Benz 500SL 2000 3D Model featuring clean geometry, realistic detailing, and a fully modeled interior. Includes .blend, .fbx, .obj, .glb, .stl, .ply, .unreal, and .max formats for rendering, simulation, and game development.
Price: $38.99

Mercedes-Benz 500SEC 3D Model
Texture: Yes
Material: Yes
Download the Mercedes-Benz 500SEC 3D Model featuring clean geometry, realistic detailing, and a fully modeled interior. Includes .blend, .fbx, .obj, .glb, .stl, .ply, .unreal, and .max formats for rendering, simulation, and game development.
Price: $38.99

Mercedes-Benz Citan 2025 3D Model
Texture: Yes
Material: Yes
Download the Mercedes-Benz Citan 2025 3D Model featuring clean geometry, realistic detailing, and a fully modeled interior. Includes .blend, .fbx, .obj, .glb, .stl, .ply, .unreal, and .max formats for rendering, simulation, and game development.
Price: $38.99

Mercedes-Benz C63 AMG 2012 3D Model
Texture: Yes
Material: Yes
Download the Mercedes-Benz C63 AMG 2012 3D Model featuring clean geometry, realistic detailing, and a fully modeled interior. Includes .blend, .fbx, .obj, .glb, .stl, .ply, .unreal, and .max formats for rendering, simulation, and game development.
Price: $38.99

Mercedes-Benz E-Class S211 3D Model
Texture: Yes
Material: Yes
Download the Mercedes-Benz E-Class S211 3D Model featuring clean geometry, realistic detailing, and a fully modeled interior. Includes .blend, .fbx, .obj, .glb, .stl, .ply, .unreal, and .max formats for rendering, simulation, and game development.
Price: $38.99

Mercedes-Benz CLS63 AMG (C218) 2014 3D Model
Texture: Yes
Material: Yes
Download the Mercedes-Benz CLS63 AMG (C218) 2014 3D Model featuring clean geometry, realistic detailing, and a fully modeled interior. Includes .blend, .fbx, .obj, .glb, .stl, .ply, .unreal, and .max formats for rendering, simulation, and game development.
Price: $38.99

Mercedes-Benz CLS-Klasse 3D Model
Texture: Yes
Material: Yes
Download the Mercedes-Benz CLS-Klasse 3D Model featuring clean geometry, realistic detailing, and a fully modeled interior. Includes .blend, .fbx, .obj, .glb, .stl, .ply, .unreal, and .max formats for rendering, simulation, and game development.
Price: $38.99
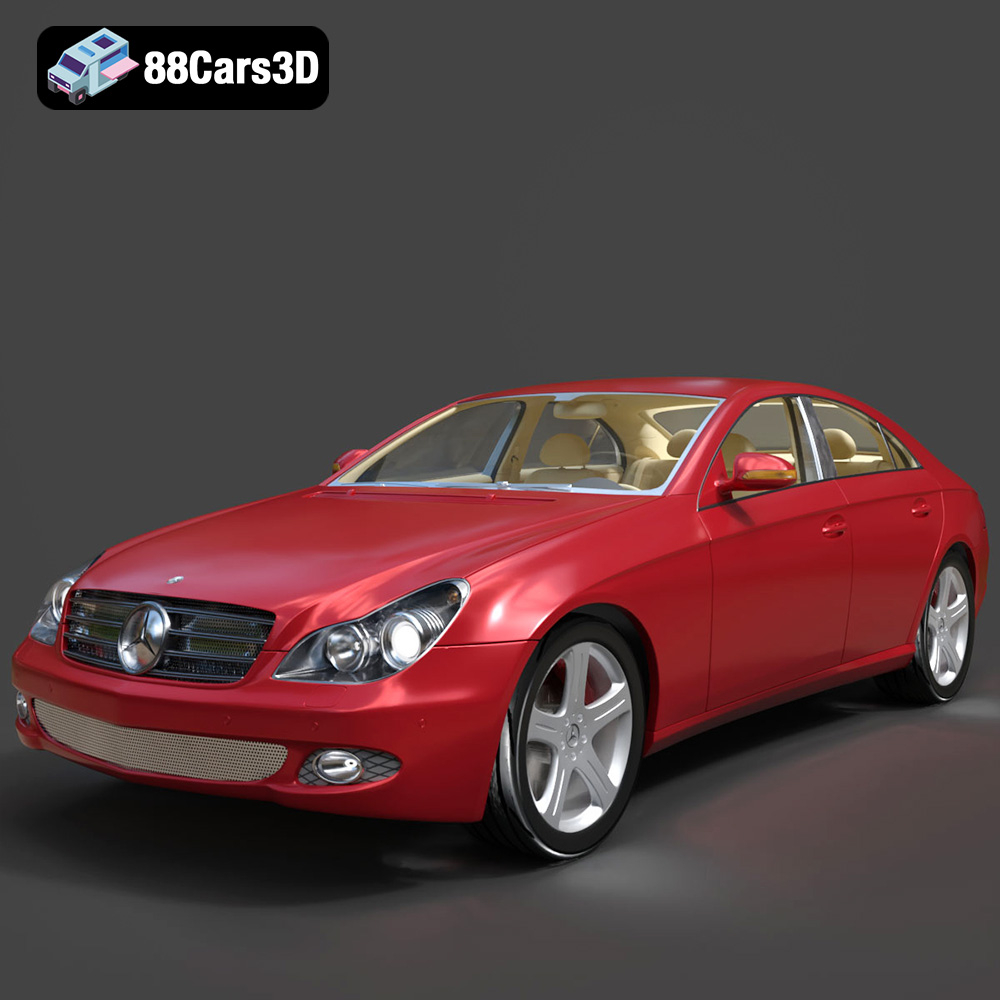
Mercedes-Benz CLS 500 3D Model
Texture: Yes
Material: Yes
Download the Mercedes-Benz CLS 500 3D Model featuring clean geometry, realistic detailing, and a fully modeled interior. Includes .blend, .fbx, .obj, .glb, .stl, .ply, .unreal, and .max formats for rendering, simulation, and game development.
Price: $38.99

Mercedes-Benz CL-Klasse 2001 3D Model
Texture: Yes
Material: Yes
Download the Mercedes-Benz CL-Klasse 2001 3D Model featuring clean geometry, realistic detailing, and a fully modeled interior. Includes .blend, .fbx, .obj, .glb, .stl, .ply, .unreal, and .max formats for rendering, simulation, and game development.
Price: $38.99
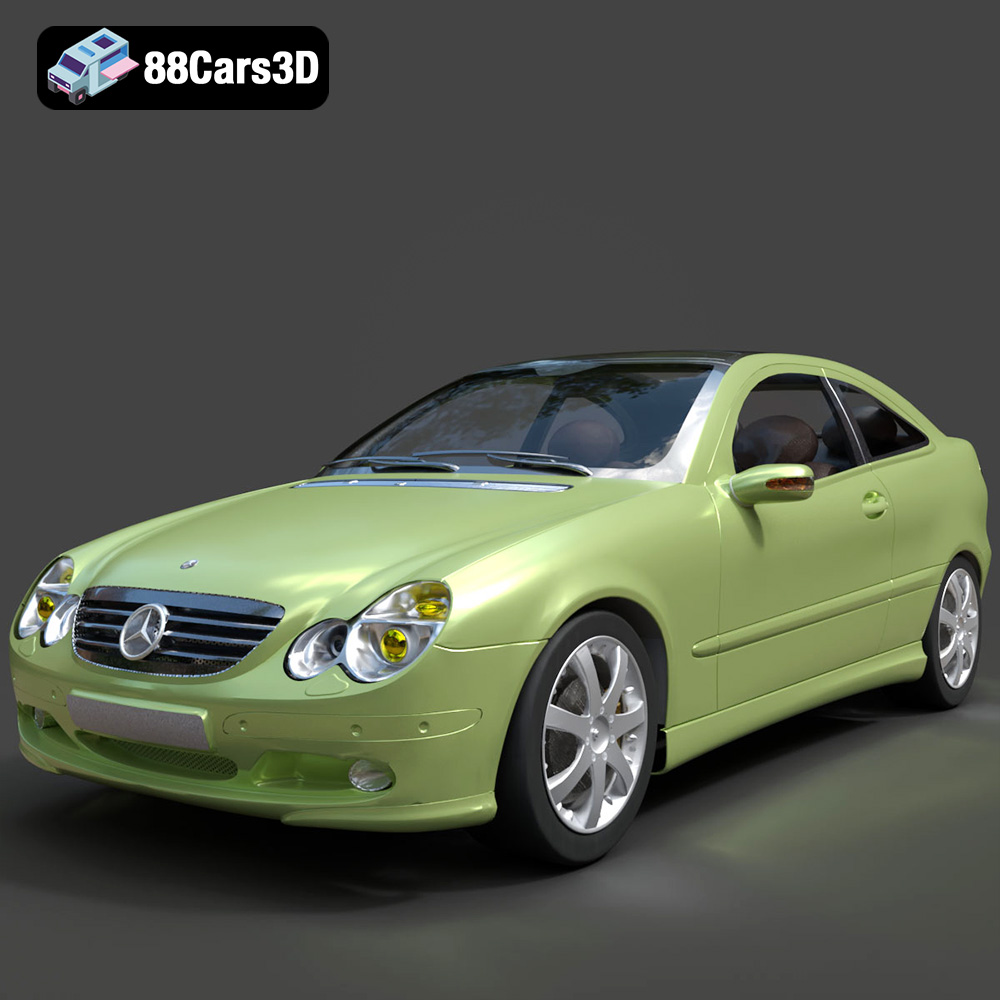
Mercedes-Benz C-Klasse Sportcoupe 2000 3D Model
Texture: Yes
Material: Yes
Download the Mercedes-Benz C-Klasse Sportcoupe 2000 3D Model featuring clean geometry, realistic detailing, and a fully modeled interior. Includes .blend, .fbx, .obj, .glb, .stl, .ply, .unreal, and .max formats for rendering, simulation, and game development.
Price: $38.99
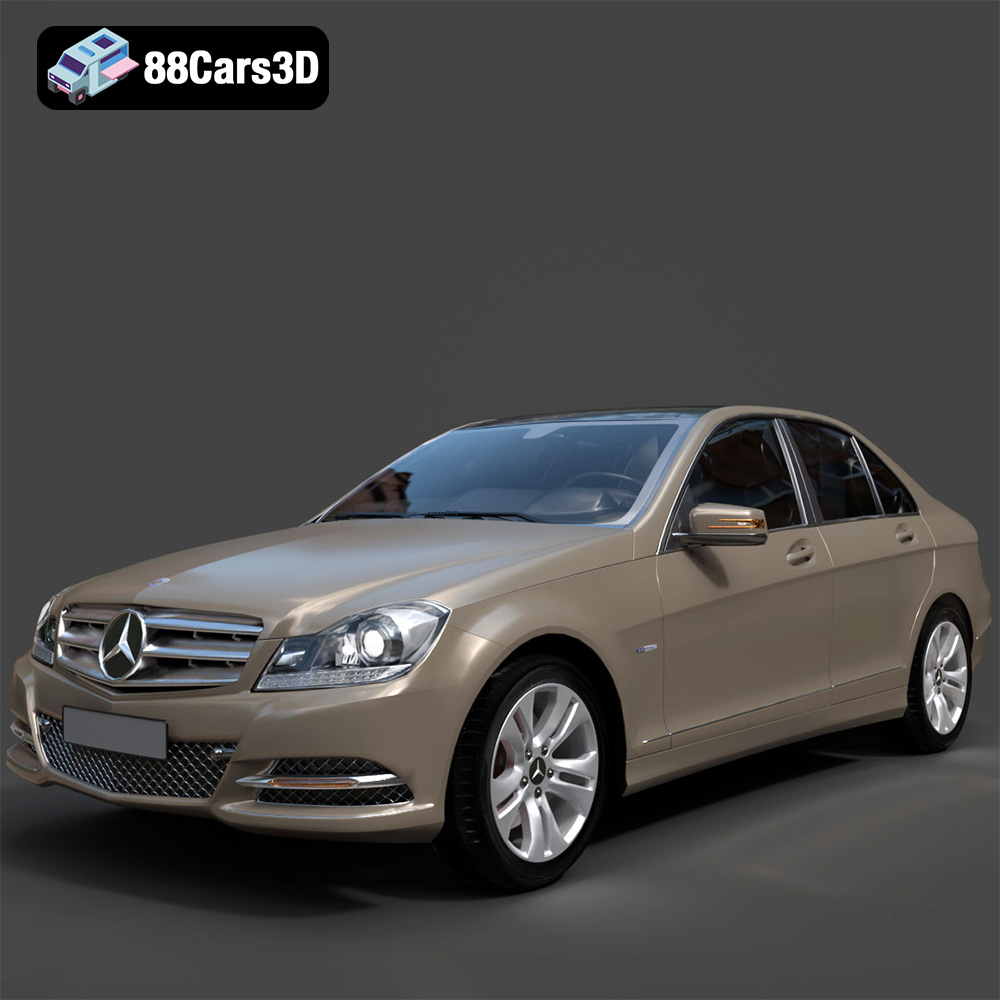
Mercedes-Benz C-Klasse 204 2011 3D Model
Texture: Yes
Material: Yes
Download the Mercedes-Benz C-Klasse 204 2011 3D Model featuring clean geometry, realistic detailing, and a fully modeled interior. Includes .blend, .fbx, .obj, .glb, .stl, .ply, .unreal, and .max formats for rendering, simulation, and game development.
Price: $38.99
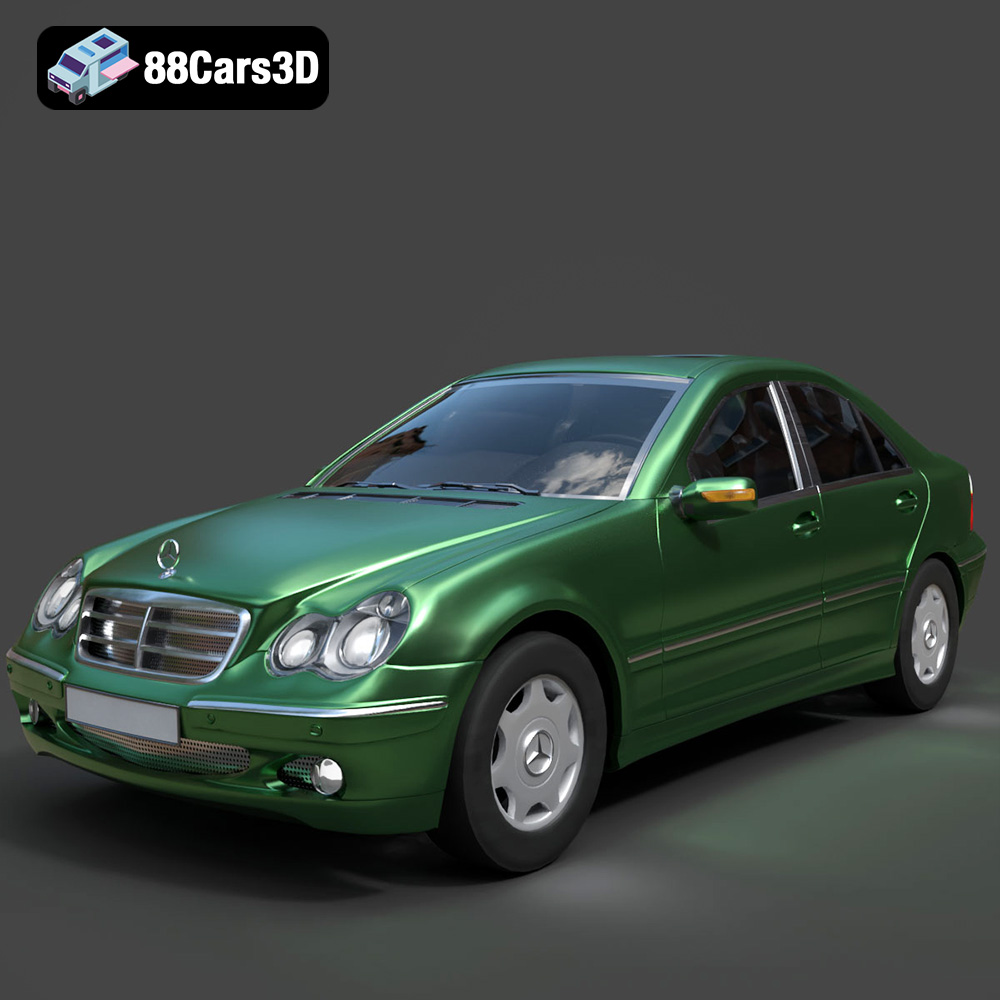
Mercedes-Benz C-Class Sedan 2000 3D Model
Texture: Yes
Material: Yes
Download the Mercedes-Benz C-Class Sedan 3D Model featuring clean geometry, realistic detailing, and a fully modeled interior. Includes .blend, .fbx, .obj, .glb, .stl, .ply, .unreal, and .max formats for rendering, simulation, and game development.
Price: $38.99
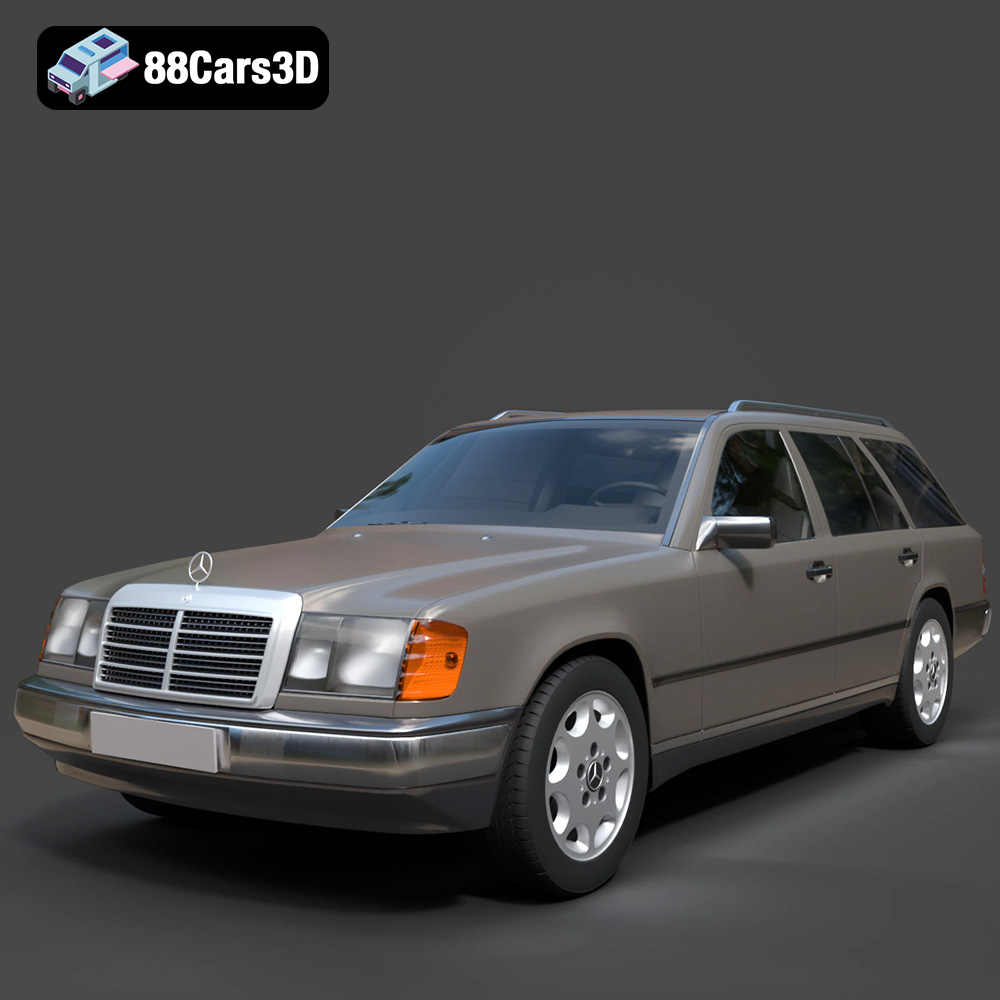
Mercedes E-Class w124 Kombi 3D Model
Texture: Yes
Material: Yes
Download the Mercedes E-Class w124 Kombi 3D Model featuring clean geometry, realistic detailing, and a fully modeled interior. Includes .blend, .fbx, .obj, .glb, .stl, .ply, .unreal, and .max formats for rendering, simulation, and game development.
Price: $38.99
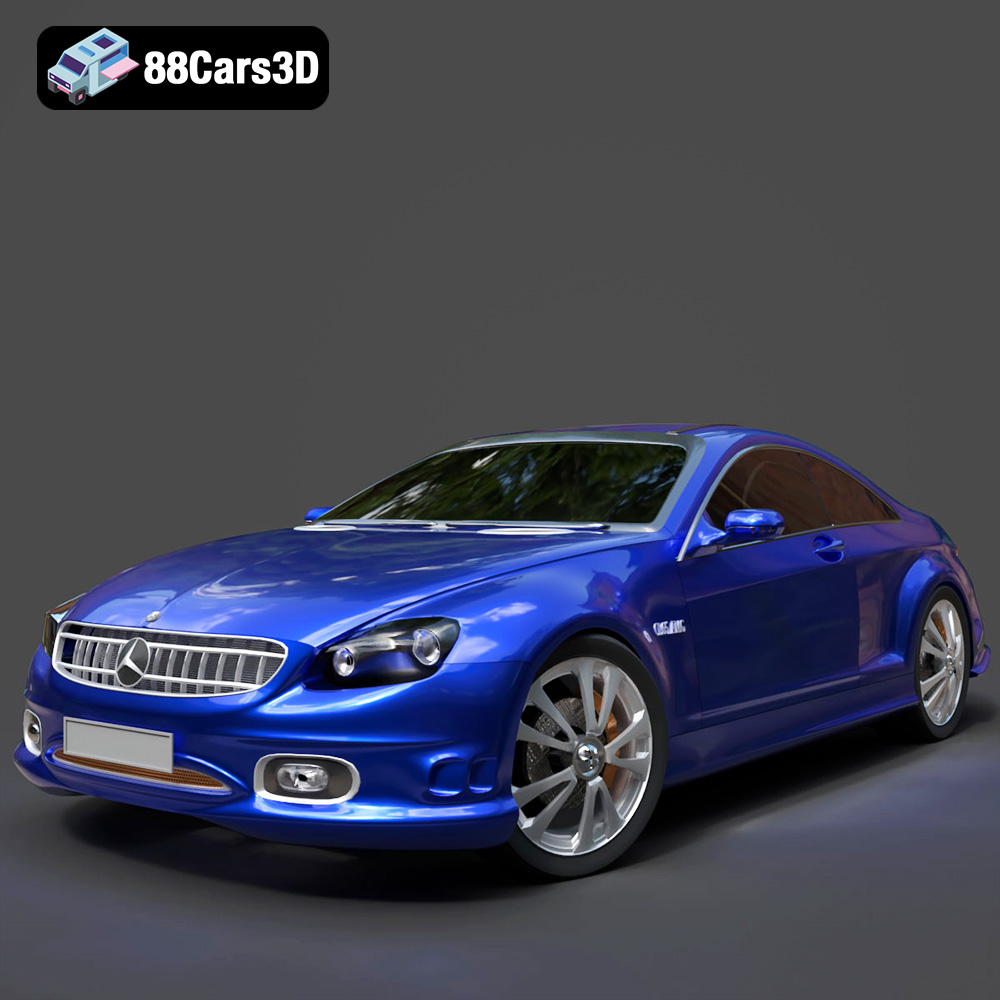
Mercedes-Benz CL6540-005 3D Model
Texture: Yes
Material: Yes
Download the Mercedes-Benz CL6540-005 3D Model featuring clean geometry, realistic detailing, and a fully modeled interior. Includes .blend, .fbx, .obj, .glb, .stl, .ply, .unreal, and .max formats for rendering, simulation, and game development.
Price: $38.99
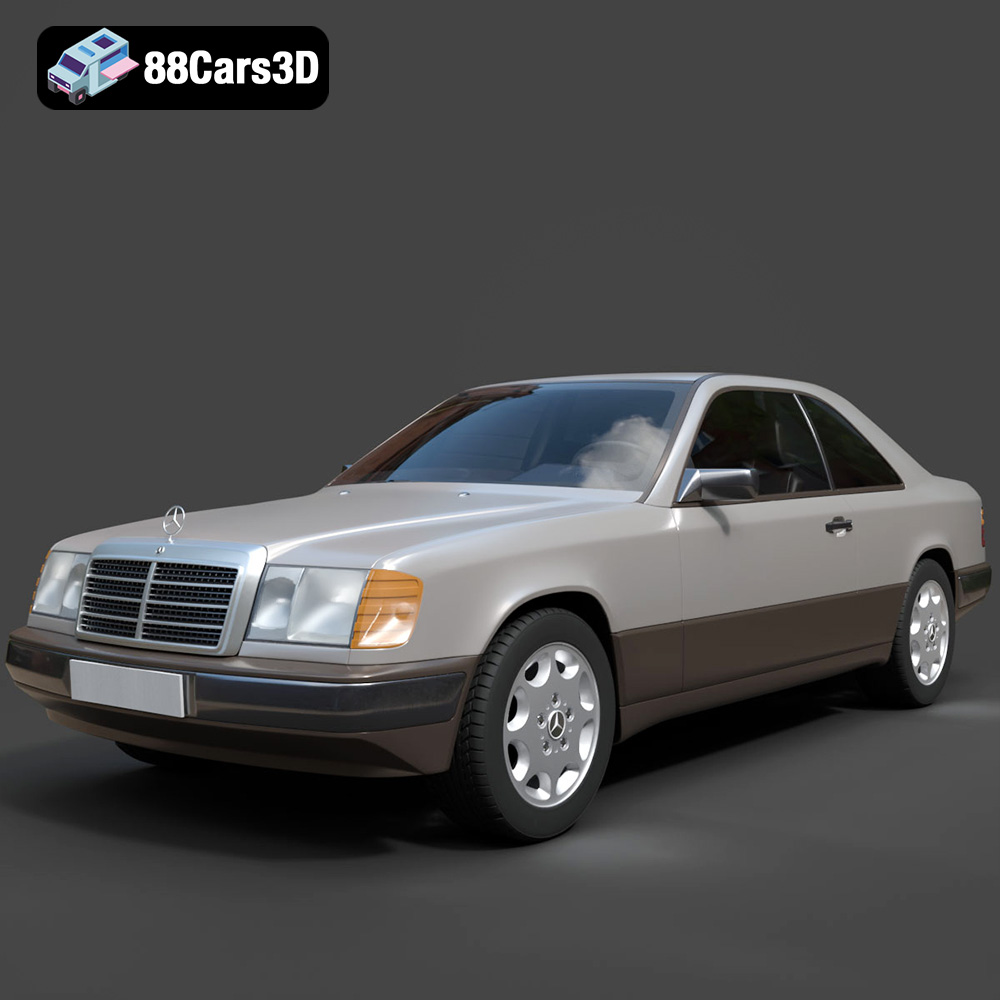
Mercedes E-Class w124 Coupe 3D Model
Texture: Yes
Material: Yes
Download the Mercedes E-Class w124 Coupe 3D Model featuring clean geometry, realistic detailing, and a fully modeled interior. Includes .blend, .fbx, .obj, .glb, .stl, .ply, .unreal, and .max formats for rendering, simulation, and game development.
Price: $38.99
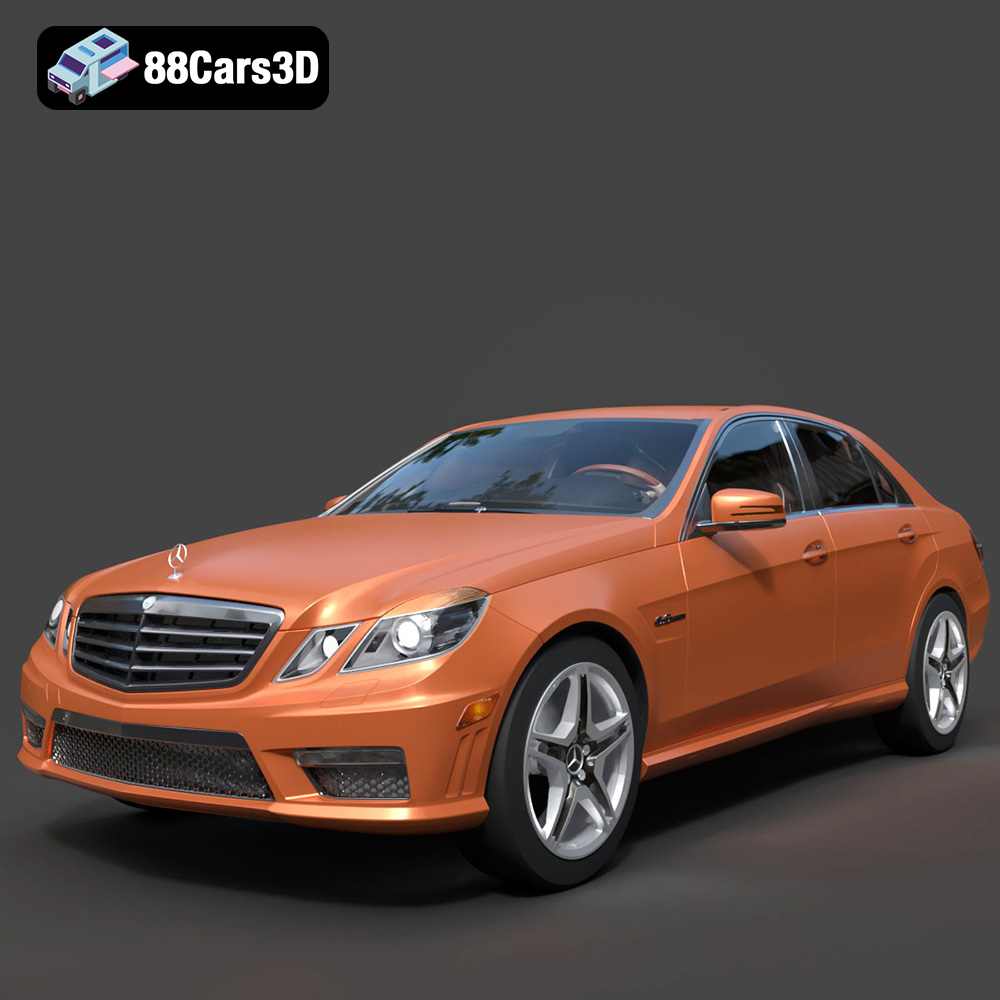
Mercedes-Benz E-Klasse 63 AMG 3D Model
Texture: Yes
Material: Yes
Download the Mercedes-Benz E-Klasse 63 AMG 3D Model featuring clean geometry, realistic detailing, and a fully modeled interior. Includes .blend, .fbx, .obj, .glb, .stl, .ply, .unreal, and .max formats for rendering, simulation, and game development.
Price: $38.99
