⚡ FLASH SALE: Get 60% OFF All Premium 3D & STL Models! ⚡
“`html
The gleaming reflections on a perfectly polished hood, the aggressive stance of a supercar in a racing game, the intricate details of a classic car in a cinematic close-up—photorealistic 3D car models are at the heart of modern media. They captivate audiences in blockbuster films, drive engagement in automotive advertising, and provide immersive experiences in cutting-edge video games. But creating a digital vehicle that is indistinguishable from reality is a complex art form, blending technical precision with artistic vision. It demands a deep understanding of form, light, materials, and the specific workflows required for different applications.
This comprehensive guide will take you on a journey through the entire production pipeline, from initial concept to final render and beyond. We will deconstruct the complex process into manageable, in-depth stages, providing the technical knowledge needed to elevate your automotive 3D work. We’ll explore the critical importance of clean topology and edge flow in the modeling phase, demystify the art of strategic UV mapping for complex curved surfaces, and dive deep into creating hyper-realistic PBR materials. Finally, we’ll cover professional rendering techniques and the crucial optimization steps required for real-time game engines, AR/VR applications, and even 3D printing. Whether you are an aspiring 3D artist or a seasoned professional looking to refine your workflow, this guide will equip you with the skills to transform digital blueprints into breathtakingly realistic 3D car models.
The journey to a photorealistic 3D car model begins not with polygons, but with planning and precision. The modeling stage is the foundation upon which all subsequent steps—texturing, lighting, and rendering—are built. A flawed foundation will inevitably lead to problems down the line, such as rendering artifacts, texturing distortions, and animation issues. Therefore, investing time in creating a meticulously crafted, topologically sound model is non-negotiable for achieving professional results. This involves more than just matching the shape; it’s about understanding the underlying structure and flow of the vehicle’s surfaces.
Before placing a single vertex, the first step is to gather an extensive library of high-quality references. This is arguably the most critical step in the entire process. Start with accurate blueprints—four-view orthographics (top, front, side, rear) are essential. Ensure they are high-resolution and, most importantly, that they align perfectly. Mismatched blueprints are a common source of frustration and inaccuracy. Supplement these with a vast collection of high-resolution photographs covering every conceivable angle of the car. Pay close attention to:
In your 3D software (like 3ds Max or Blender), set up the blueprints on image planes, carefully aligning them to form a 3D reference cage. Using camera matching techniques to align your 3D camera with reference photos can also be invaluable for verifying proportions and complex curves.
Topology refers to the structure and flow of polygons (quads, tris, and n-gons) that form the surface of your 3D model. For automotive models, clean, quad-based topology is the industry standard. Clean topology is characterized by an even distribution of polygons that follow the natural curvature and contours of the car. This is crucial for several reasons:
Not all 3D car models are created equal. The required polygon count is dictated entirely by the model’s final application.
Once your model is built with pristine topology, the next technical hurdle is UV mapping. This process involves translating the 3D surface of your car into a 2D representation, much like disassembling a cardboard box to lay it flat. This flat “map” dictates how 2D textures are applied to the 3D object. For a complex object like a car, with its compound curves and separate parts, a strategic and clean UV unwrap is essential for high-quality texturing and optimal performance, especially in real-time applications.
The core of UV mapping is defining seams and creating UV shells. Seams are edges on the 3D model that you designate as “cuts,” allowing the mesh to be unfolded into flat islands or “shells.” The placement of these seams is a strategic art. Best practices include:
Once seams are placed, the mesh is unwrapped. The primary goal is to minimize texture distortion (stretching and compression). This is typically visualized by applying a checkerboard pattern to the model. If the squares on the checker pattern appear uniform in size and shape across the entire model, your unwrap is successful. Most 3D software provides tools to relax and optimize UV shells to reduce this distortion automatically.
For a single asset, there are two primary industry-standard approaches to laying out UV shells, each serving a different purpose.
UDIMs (U-Dimension): This workflow is the standard for film, VFX, and high-end rendering. Instead of cramming all UV shells into the standard 0-to-1 UV space, the UDIM workflow allows you to organize shells across multiple UV tiles. For example, the main car body could be on tile 1001, the wheels on 1002, the interior on 1003, and so on. The key benefit is that each tile can have its own high-resolution texture set (e.g., 4K or 8K). This allows for an incredible level of texture detail across the entire vehicle without being limited by a single texture map. When sourcing high-quality models from marketplaces like 88cars3d.com for rendering projects, you will often find they are set up to use a UDIM workflow.
Texture Atlasing: This is the go-to method for game development and real-time applications. The goal here is performance. A texture atlas involves taking the UV shells from multiple, separate objects (e.g., the car body, wheels, windows, and trim) and packing them all together into a single 0-to-1 UV space. This means all these parts can be textured using a single material and texture set. This dramatically reduces the number of draw calls—a request from the CPU to the GPU to draw an object. Fewer draw calls mean better performance, which is critical for maintaining a smooth frame rate in games.
With a perfectly modeled and unwrapped car, the next stage is to breathe life into it with realistic materials. The modern standard for this is Physically Based Rendering (PBR), a methodology for shading and rendering that provides a more accurate representation of how light interacts with surfaces. A PBR workflow ensures that your materials will look correct and consistent across different lighting conditions, which is the key to photorealism.
PBR aims to simulate the physical properties of materials using a set of straightforward parameters. The most common workflow used in game engines and renderers like Blender’s Cycles is the Metallic/Roughness workflow. The primary texture maps involved are:
A convincing car paint material is often a multi-layered shader. In renderers like Corona or V-Ray, and achievable in Blender’s node editor, a typical car paint shader consists of three distinct layers:
Beyond the paint, a car is a collection of diverse materials that must be accurately replicated.
The rendering stage is where all your hard work in modeling and texturing culminates in a final image. A perfectly crafted model can look flat and unconvincing with poor lighting, while a great lighting setup can elevate even a simpler model to new heights of realism. The choice of lighting and render engine settings is crucial for creating stunning, photorealistic automotive imagery. It’s the virtual equivalent of a professional photo shoot, where every light and reflection is meticulously controlled.
There are two primary approaches to lighting a 3D car, each suited for different artistic goals.
Studio Lighting: This method mimics a real-world photography studio. You use a combination of light sources, such as large Area Lights (to simulate softboxes), spotlights, and reflector planes, to precisely shape the light and reflections on the car’s body. The goal is to accentuate the vehicle’s design lines and curves. A common setup is the “three-point lighting” system (key, fill, and rim lights), adapted for a large object like a car. This approach gives you complete artistic control and is perfect for clean, commercial-style renders often seen in automotive advertising.
Environment Lighting (HDRI): For the ultimate in realistic global illumination and reflections, nothing beats lighting with a High Dynamic Range Image (HDRI). An HDRI is a 360-degree panoramic photograph that contains a vast range of light intensity data. When used as an environment map in a 3D scene, it projects this light from all directions, creating incredibly nuanced and physically accurate lighting and reflections. An HDRI of a sunny desert will produce harsh, direct shadows and a warm color cast, while an HDRI of an overcast forest will result in soft, diffused lighting. This method is the fastest way to place your car in a believable real-world setting.
The choice of render engine significantly impacts the final look and workflow.
Blender Cycles: Cycles is a powerful, physically-based path tracing engine integrated directly into Blender. It excels at producing photorealistic results by simulating the actual physical behavior of light. To get the best results for automotive rendering, you need to pay attention to a few key settings. You can find detailed explanations of these features in the official documentation, which is an invaluable resource available at https://docs.blender.org/manual/en/4.4/. Key parameters include:
3ds Max with Corona/V-Ray: For many professionals in automotive visualization, Corona and V-Ray are the renderers of choice. They are renowned for their speed, quality, and artist-friendly workflows. Features like the Corona Physical Material make creating complex layered materials like car paint intuitive. One of their most powerful features is LightMix, which allows you to adjust the intensity and color of every light in your scene *after* the render has finished, offering incredible flexibility without the need to re-render.
For maximum control in post-production, professionals rarely use the “beauty” render straight out of the engine. Instead, they render out multiple layers, known as Render Passes or Arbitrary Output Variables (AOVs). Common passes for automotive renders include:
These passes are then layered and blended in compositing software like Adobe Photoshop, After Effects, or Blackmagic Fusion. This is where final color grading, contrast adjustments, lens effects (like glow or vignetting), and background integration are performed to create the final, polished image.
Creating a 3D car for a real-time game engine like Unity or Unreal Engine is a completely different challenge than creating one for a cinematic render. While the goal is still to achieve the highest visual quality possible, it must be done within a strict performance budget. Every polygon, texture, and material must be ruthlessly optimized to ensure the game runs at a smooth and stable frame rate, typically 60 frames per second (FPS).
Game performance is a constant balancing act between three key resources:
Optimizing a game-ready car model involves minimizing the impact on all three of these areas.
The industry-standard method for creating detailed yet performant game assets is the bake-down workflow.
Beyond the bake-down process, several other techniques are essential for real-time performance:
The utility of a high-quality 3D car model doesn’t end with renders and games. Emerging technologies like Augmented Reality (AR), Virtual Reality (VR), and 3D printing have opened up new frontiers for digital assets. However, each of these applications comes with its own unique set of technical requirements and optimization challenges that are distinct from traditional rendering or game development pipelines.
For AR and VR applications, performance is even more critical than in traditional games. These platforms need to render a scene twice (once for each eye) at a very high frame rate (typically 90 FPS or more) to avoid causing motion sickness. This demands extreme optimization.
File Formats: The de-facto standards for distributing 3D models for AR are GLB (for web-based and Android applications) and USDZ (for Apple’s ARKit). Both formats are designed to be compact and self-contained, bundling the model, textures, and material information into a single file for efficient loading.
Technical Specifications:
Taking a model from the digital screen to a physical object via 3D printing requires a shift in thinking from visual appearance to physical structure.
Watertight (Manifold) Meshes: The most important requirement for a 3D printable model is that it must be “watertight” or “manifold.” This means the mesh must be a completely enclosed volume with no holes. Any holes, internal faces, or non-manifold geometry will confuse the slicing software that prepares the model for the printer. Tools within Blender (like the 3D-Print Toolbox add-on) and external software like Meshmixer are used to analyze and repair these issues, ensuring the mesh is solid.
Wall Thickness and Detail Exaggeration: A 3D model can have surfaces with zero thickness (like a simple plane), but a physical object cannot. Every part of the model intended for printing must have a minimum wall thickness to be structurally sound. This varies depending on the printing technology and material, but a minimum of 1-2mm is a common guideline. This often means you need to modify the model, for example by thickening up parts like wing mirrors, spoilers, and antennas so they don’t break off. Similarly, very fine, engraved details like emblems or panel lines might need to be exaggerated (made deeper and wider) to ensure they are visible on the final printed object.
The creation of a photorealistic 3D car model is a true multidisciplinary skill, an intricate dance between technical execution and artistic sensibility. We’ve journeyed through the entire pipeline, from the foundational importance of high-quality references and the disciplined art of clean, quad-based topology, to the strategic puzzle of UV mapping for both cinematic detail and real-time efficiency. We’ve seen how PBR materials and layered shaders bring surfaces to life, and how carefully controlled lighting and rendering can transform a great model into a breathtaking image. Finally, we explored the critical optimization workflows that adapt these complex assets for the demanding worlds of gaming, AR/VR, and the physical reality of 3D printing.
The key takeaway is that every stage builds upon the last; a commitment to quality and precision at each step is what ultimately separates a good model from a truly great one. Your next step is to put this knowledge into practice. Start by focusing on one area—perhaps mastering edge flow on a simple curved surface or diving deep into the node editor to build a multi-layered material. For those looking to study professionally crafted assets or find a production-ready model for their next project, exploring marketplaces such as 88cars3d.com can provide invaluable insight and high-quality resources. The road to mastery is long, but by understanding and applying these core principles, you are well on your way to creating stunning digital vehicles that are truly indistinguishable from reality.
“`
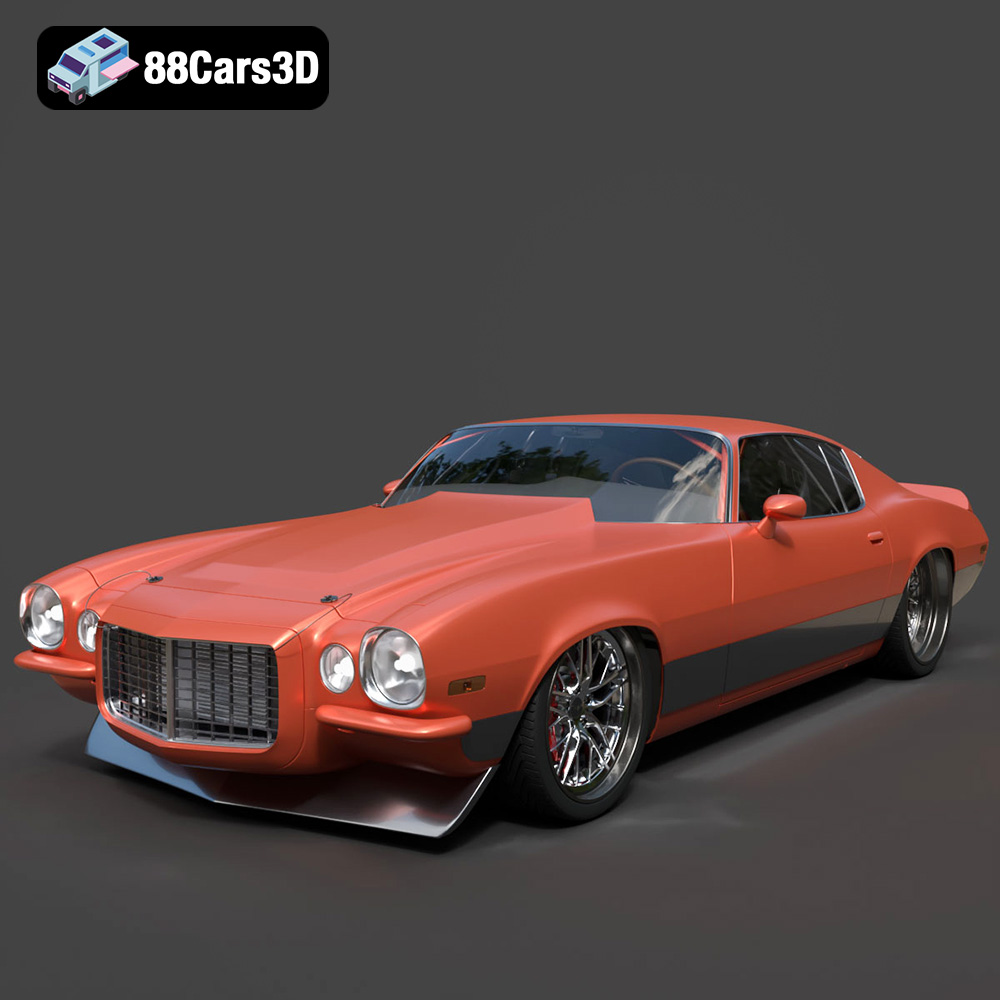
Texture: Yes
Material: Yes
Download the Chevrolet Camaro 1970 3D Model featuring clean geometry, realistic detailing, and a fully modeled interior. Includes .blend, .fbx, .obj, .glb, .stl, .ply, .unreal, and .max formats for rendering, simulation, and game development.
Price: $10
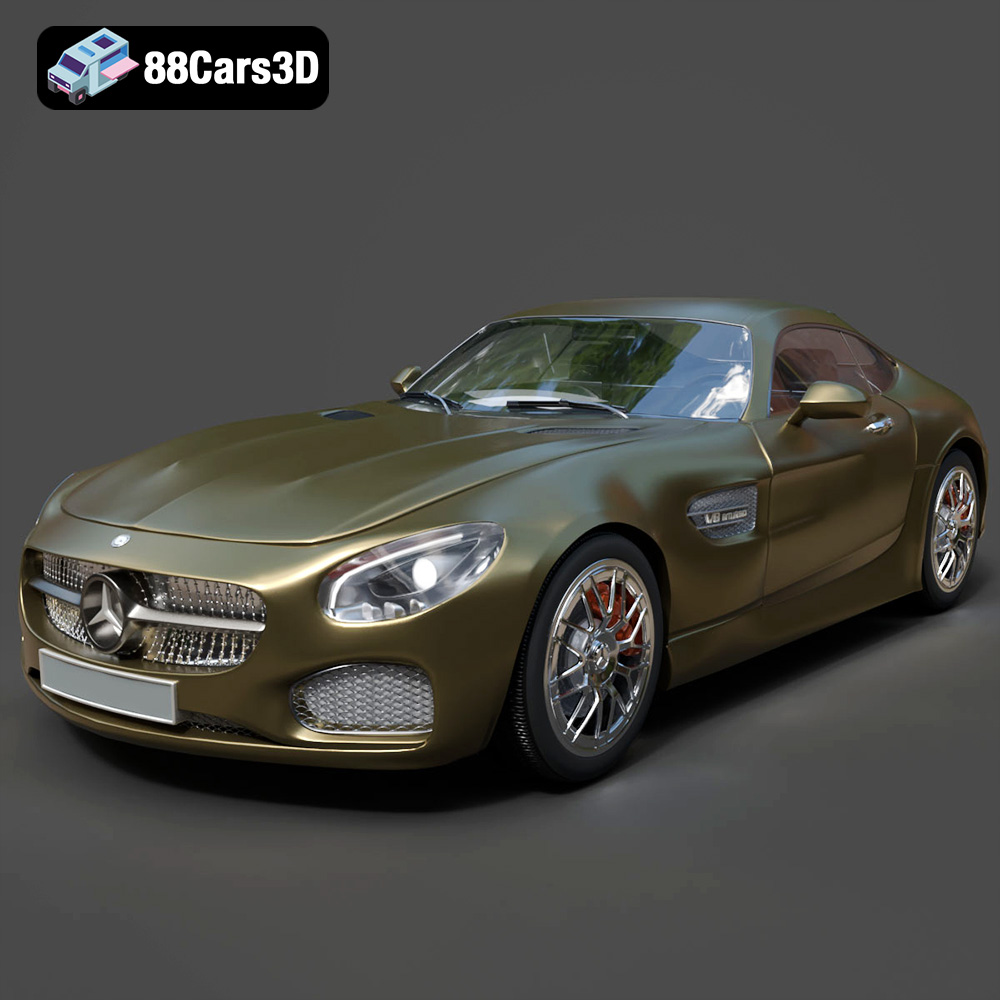
Texture: Yes
Material: Yes
Download the Mercedes-AMG GT 2015 3D Model featuring clean geometry, realistic detailing, and a fully modeled interior. Includes .blend, .fbx, .obj, .glb, .stl, .ply, .unreal, and .max formats for rendering, simulation, and game development.
Price: $88.99
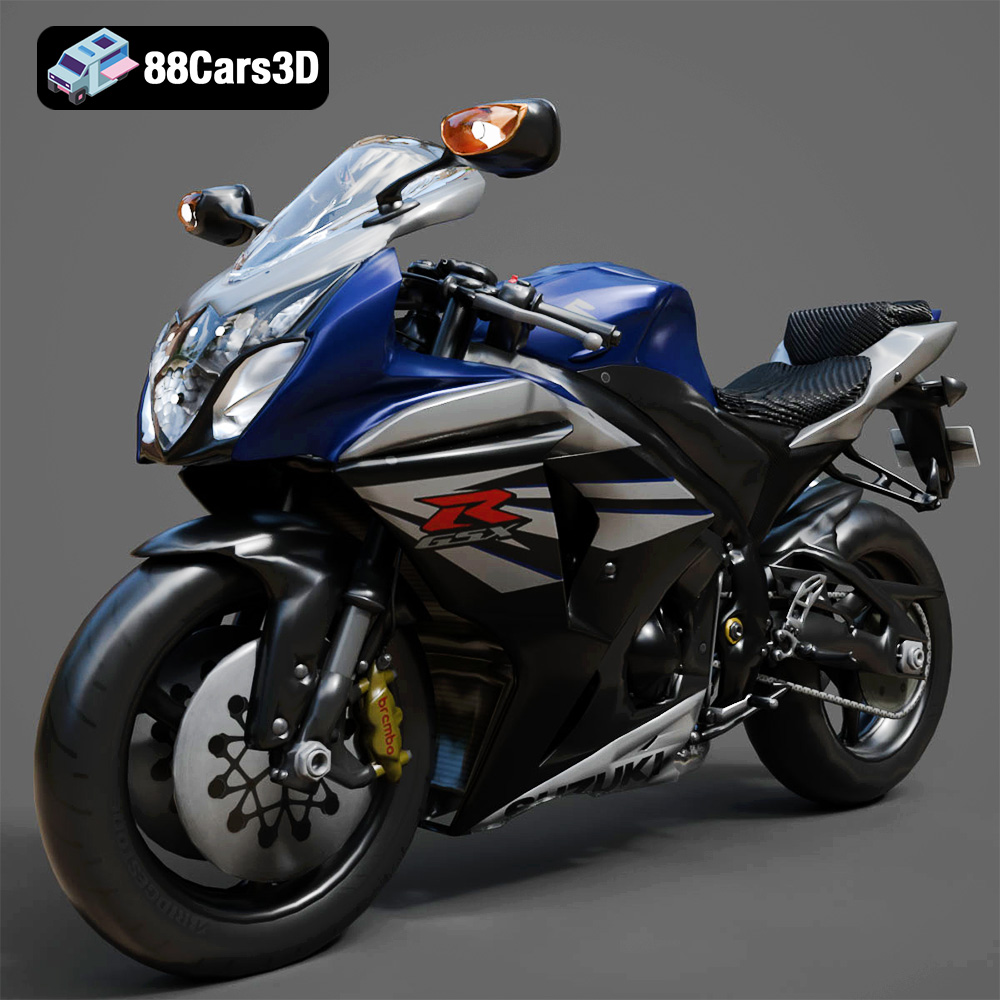
Texture: Yes
Material: Yes
Download the Suzuki GSX-R 1000 3D Model featuring clean geometry, realistic detailing, and a fully modeled interior. Includes .blend, .fbx, .obj, .glb, .stl, .ply, .unreal, and .max formats for rendering, simulation, and game development.
Price: $10
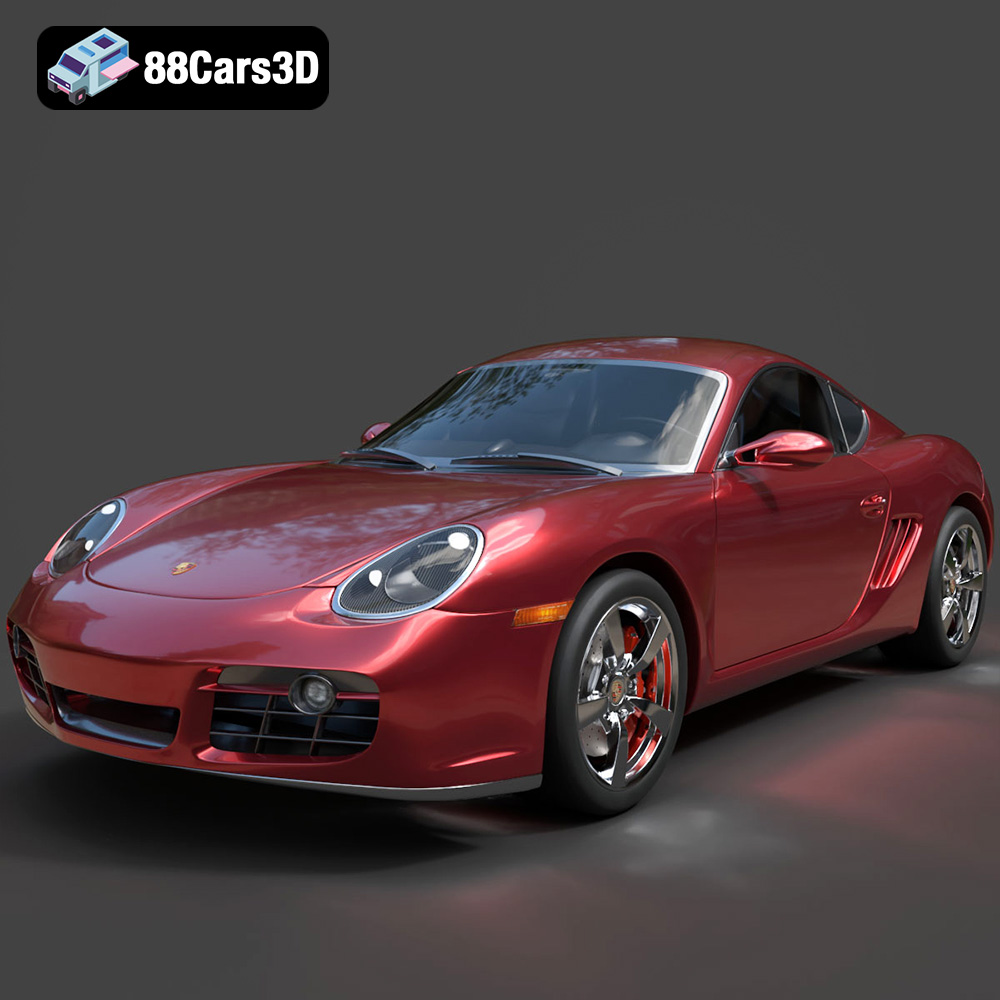
Texture: Yes
Material: Yes
Download the Porsche Cayman S 2024 3D Model featuring clean geometry, realistic detailing, and a fully modeled interior. Includes .blend, .fbx, .obj, .glb, .stl, .ply, .unreal, and .max formats for rendering, simulation, and game development.
Price: $10
Texture: Yes
Material: Yes
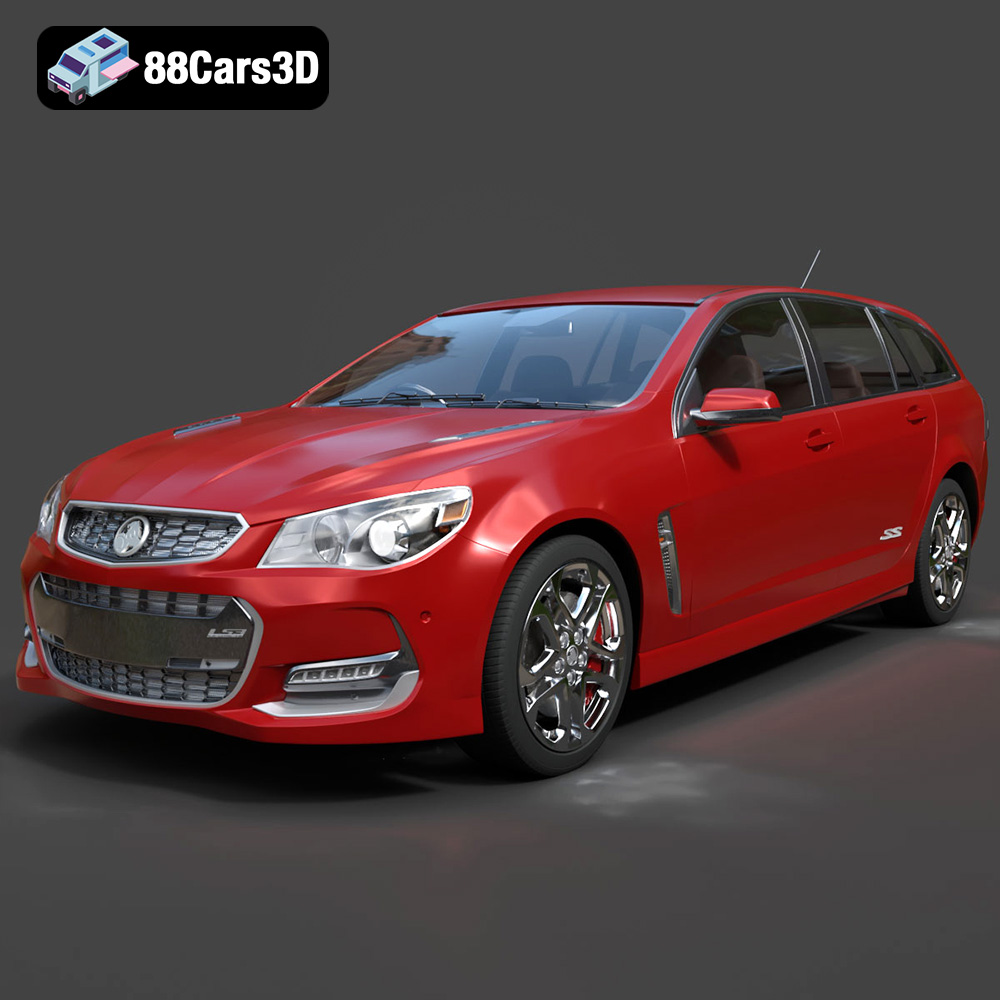
Download the Holden Commodore Sportwagon 2017 3D Model featuring clean geometry, realistic detailing, and a fully modeled interior. Includes .blend, .fbx, .obj, .glb, .stl, .ply, .unreal, and .max formats for rendering, simulation, and game development.
Price: $10

**Meta Description:**
Texture: Yes
Material: Yes
Download the Toyota Crown Majesta 2009 3D Model with luxury detailing, clean topology, and a fully modeled interior. Available in .blend, .fbx, .obj, .glb, .stl, .ply, .unreal, and .max formats for rendering, simulation, and game development.
Price: $4.99

**Meta Description:**
Texture: Yes
Material: Yes
Download the Toyota AE86 Levin 1983 1987 3D Model featuring realistic exterior and interior detailing. Includes .blend, .fbx, .obj, .glb, .stl, .ply, .unreal, and .max formats for rendering, simulation, and game development.
Price: $9.99

Texture: Yes
Material: Yes
Download the Toyota Mark 2 2001 3D Model featuring clean geometry, realistic detailing, and a fully modeled interior. Includes .blend, .fbx, .obj, .glb, .stl, .ply, .unreal, and .max formats for rendering, simulation, and game development.
Price: $4.99

Texture: Yes
Material: Yes
Download the Toyota Celica 2000 3D Model featuring clean geometry, realistic detailing, and a fully modeled interior. Includes .blend, .fbx, .obj, .glb, .stl, .ply, .unreal, and .max formats for rendering, simulation, and game development.
Price: $4.99

Download the Toyota Camry US 2012 3D Model featuring clean geometry, realistic detailing, and a fully modeled interior. Includes .blend, .fbx, .obj, .glb, .stl, .ply, .unreal, and .max formats for rendering, simulation, and game development.
Price: $4.99