⚡ FLASH SALE: Get 60% OFF All Premium 3D & STL Models! ⚡
“`html
The demand for high-quality, photorealistic 3D car models has never been higher. From blockbuster films and AAA video games to cutting-edge automotive advertising and immersive AR/VR experiences, digital vehicles are everywhere. Creating a 3D car that looks indistinguishable from reality, however, is one of the most challenging yet rewarding tasks a 3D artist can undertake. It requires a unique blend of technical precision, artistic observation, and a deep understanding of complex material properties and light interaction. This process is far more than just tracing blueprints; it’s about capturing the soul of the machine, from the subtle curvature of its body panels to the intricate reflections in its clear coat.
This comprehensive guide will take you through the entire production pipeline, transforming a blank viewport into a stunning digital automobile ready for any application. We will deconstruct the professional workflow, covering the foundational principles of precision modeling and the critical importance of clean topology. We’ll dive deep into the often-overlooked art of strategic UV mapping, explore the creation of complex, multi-layered PBR materials for that perfect showroom shine, and set up professional lighting for breathtaking automotive rendering. Finally, we’ll shift gears to performance, breaking down the essential optimization techniques required to turn a high-polygon masterpiece into a lightweight, real-time game asset or an interactive model for AR/VR and 3D printing. Whether you’re a seasoned professional or an aspiring artist, this guide provides the technical knowledge and actionable steps to elevate your automotive 3D work.
The journey to a photorealistic car model begins not with polygons, but with planning and precision. The quality of your final model is directly proportional to the quality of your foundational work. This stage is about building an accurate and robust mesh that serves as the perfect canvas for detailing, texturing, and shading. Rushing this step will inevitably lead to problems with reflections, texturing, and deformations down the line. A strong foundation ensures that every subsequent step, from UV unwrapping to final rendering, is built upon a solid, predictable, and professional-grade asset. It’s here that the model’s fundamental shape, proportions, and character are defined.
Accuracy starts with your reference material. High-resolution blueprints (showing top, front, side, and rear views) are essential for establishing the correct scale and proportions. However, blueprints can sometimes contain inaccuracies or lens distortions. To counteract this, supplement them with a vast collection of high-resolution photographs of the real vehicle from every conceivable angle. Pay close attention to detail shots of headlights, grilles, wheels, and interior elements. When setting up in your 3D software (like 3ds Max or Blender), create planes for each blueprint view, ensuring they are perfectly aligned and centered. A common professional workflow is to model one half of the car and use a symmetry modifier, so it’s critical that your blueprints are perfectly centered on the world origin.
Topology refers to the layout of vertices, edges, and polygons that make up your 3D mesh. For automotive models, good topology—specifically, clean edge flow—is non-negotiable. Edge flow is the directional path of edge loops that defines the surface of the model. For a car, these edges should follow the main contours and curves of the body panels. This ensures two things: first, it allows for smooth, predictable subdivision when creating a high-poly version. Second, and most importantly, it controls how light reflects off the surface. A model with clean, flowing, all-quad topology will have crisp, realistic reflections and highlights that glide seamlessly across its body. In contrast, messy topology with random triangles and n-gons will produce visual artifacts, pinching, and distorted reflections that immediately break the illusion of realism.
A crucial consideration during modeling is the intended use case, which dictates the target polygon count. There is no one-size-fits-all solution.
Starting with a clean, quad-based mid-poly model provides the flexibility to create both a high-poly version for rendering and a low-poly version for game development.
If modeling is the skeleton of your 3D car, then UV unwrapping is its central nervous system. It’s a critical, often tedious, process that connects your 3D surface to a 2D texture map. A proper UV layout is the difference between a seamless, realistic paint job and a distorted, amateur-looking mess. UV unwrapping involves “unfolding” your 3D mesh into a flat, 2D representation called a UV map. Each polygon on your model corresponds to a polygon on this map, allowing your texturing software to know exactly how to apply an image to the surface. For complex objects like cars, a strategic and clean unwrap is fundamental for achieving photorealism.
The first step in unwrapping is defining seams, which tell the software where to “cut” the mesh so it can lay flat. The key to professional UV mapping is placing these seams where they are least visible on the final model. For vehicles, ideal locations for seams include:
The goal is to minimize texture stretching and distortion. Tools like Blender’s Live Unwrap feature can provide real-time feedback, helping you place seams and see the resulting unwrap instantly. For an exhaustive breakdown of all UV editing tools, the official Blender 4.4 documentation at https://docs.blender.org/manual/en/4.4/ is an invaluable resource.
Texel density is a measure of texture resolution relative to the size of the geometry. To maintain a consistent level of detail across your entire car, all UV islands should have a similar texel density. This means a small object like a side mirror shouldn’t have a higher resolution texture than a large door panel. Most 3D software has tools to visualize and equalize texel density. For ultra-high-resolution assets used in film and photorealistic rendering, a single texture map is often not enough. This is where the UDIM (U-Dimension) workflow comes in. UDIMs allow you to use multiple texture maps on a single model by laying out UV islands across multiple UV tiles outside the standard 0-1 space. This means you can assign a dedicated 4K or 8K texture map just for the wheels, another for the main body, and another for small decals, achieving incredible detail without being limited by a single texture’s resolution.
Once all your UV islands are created, they must be efficiently packed into the UV space to maximize texture usage. Wasted space in your UV map is wasted memory and performance. While most software offers automatic packing tools, the best results often come from a combination of automated packing followed by manual adjustments. Arrange islands logically—grouping similar parts together can make texturing easier. Orient islands to align with the texture’s pixel grid where possible to avoid aliasing. For game assets, where texture memory is a strict budget, efficient packing is absolutely critical for performance.
With a perfectly modeled and unwrapped car, the next stage is to breathe life into it with realistic materials. The industry standard for this is the Physically Based Rendering (PBR) workflow, which aims to simulate how light behaves in the real world. PBR eliminates guesswork by using texture maps that correspond to real physical properties, ensuring your materials look correct in any lighting condition. This methodical approach is the key to creating everything from the deep, reflective finish of car paint to the gritty, worn rubber of the tires. When sourcing models from marketplaces such as 88cars3d.com, you will find they are almost always built with a PBR workflow in mind, ensuring compatibility with modern render engines and game engines.
The most common PBR workflow is Metallic/Roughness. It relies on a set of core texture maps:
Automotive paint is one of the most complex materials to replicate digitally because it’s multi-layered. A convincing car paint shader is not a single texture but a network of nodes. A typical setup in a renderer like Corona, V-Ray, or Blender’s Cycles involves:
Nothing in the real world is perfectly clean or flawless. The final step to achieving photorealism is adding subtle imperfections. This is what separates a good render from a great one. Consider adding:
These details tell a story and ground the vehicle in reality, making it feel tangible and real.
Creating a perfect model with flawless materials is only half the battle. The final render is where your creation truly comes to life, and this is entirely dependent on lighting, camera work, and post-processing. Automotive visualization is heavily inspired by real-world automotive photography, and adopting its principles is key to producing stunning, professional-grade images. A great render not only showcases the model but also evokes a mood, highlights the car’s design language, and creates a compelling visual narrative. Whether aiming for a clean studio shot or a dynamic environmental scene, the right rendering workflow will make all the difference.
There are two primary methods for lighting a 3D car for automotive rendering:
Many professional renders use a hybrid approach, leveraging an HDRI for global illumination and reflections while adding specific studio lights to further shape the car and create desired highlights.
Treat your virtual camera like a real DSLR. The right settings are crucial for a professional look:
For the final output, technical settings are key. Render at a high resolution—4K (3840×2160) or higher is standard for professional work. In your render engine (like Corona, V-Ray, or Blender’s Cycles), use enough samples to eliminate noise, or rely on built-in denoiser tools for a clean final image. It’s also crucial to render out different passes, such as reflections, shadows, and an ambient occlusion pass. These passes give you immense control in post-processing. In software like Photoshop or Fusion, you can non-destructively tweak the intensity of reflections, deepen shadows, and add effects like lens flares, chromatic aberration, and a subtle vignette to draw focus to the center of the image. A final color grade will unify the image and establish the desired mood.
Creating a 3D car for a game engine like Unreal Engine or Unity is a completely different challenge than creating one for a cinematic render. In real-time applications, performance is king. Every polygon, every texture, and every material carries a performance cost that must be carefully managed to ensure the game runs at a smooth frame rate. The goal of optimization is to create a model that looks nearly as good as its high-resolution counterpart but at a fraction of the computational cost. This process involves a series of clever techniques to fake detail and manage resources efficiently, a craft as technical and artistic as the initial modeling itself.
The core of game asset creation is the high-poly to low-poly workflow. You start with your highly detailed, multi-million-polygon model (the “high-poly”). Then, you create a brand new, clean, and extremely efficient mesh over the top of it (the “low-poly”). This process, called retopology, is focused on creating a mesh with the absolute minimum number of polygons needed to define the car’s silhouette. Once the low-poly is complete, you “bake” the details from the high-poly model onto the low-poly model’s texture maps. The most important of these is the Normal Map, which stores the surface detail information from the high-poly and uses it to fake the appearance of complex geometry on the simple low-poly surface. Other maps, like Ambient Occlusion and Curvature, are also baked to aid in texturing.
Even a highly optimized low-poly model can be too heavy to render hundreds of times in a busy scene. This is where Levels of Detail (LODs) come in. An LOD system involves creating multiple versions of the car model, each with a progressively lower polygon count:
The game engine automatically switches between these LODs based on the car’s distance from the camera, drastically reducing the total number of polygons that need to be rendered per frame.
A “draw call” is a command the CPU sends to the GPU to draw an object on the screen. Each object with a unique material generates at least one draw call. Too many draw calls can create a CPU bottleneck and severely impact performance. To optimize this, it’s crucial to minimize the number of materials on your car. Instead of having separate materials for the body, trim, windows, and lights, you consolidate them. This is achieved through texture atlasing, a technique where you combine the textures for multiple parts onto a single, larger texture sheet (the atlas). For example, the textures for all the dashboard buttons, gauges, and vents can be combined into one atlas. This allows the entire dashboard to be rendered with a single material, and thus a single draw call, dramatically improving performance. Professional game assets always make heavy use of this technique.
The utility of a high-quality 3D car model extends far beyond traditional renders and games. Emerging platforms like Augmented Reality (AR), Virtual Reality (VR), and the ever-growing world of 3D printing present new and exciting use cases. However, each of these applications comes with its own unique set of technical requirements and optimization challenges. Preparing a model for these platforms requires a specific workflow that prioritizes real-time performance, file size, and physical world constraints. It’s a process of adapting your digital asset to interact seamlessly with either a virtual environment or the physical world itself.
AR and VR applications demand the highest level of performance optimization because they need to render a scene twice (once for each eye) at a very high frame rate (typically 90 FPS or more) to avoid motion sickness. This means the performance budget is extremely strict.
Preparing a model for 3D printing shifts the focus from visual appearance to physical viability. The digital mesh must be converted into a set of instructions a 3D printer can follow. The key requirements are:
The most common file formats for 3D printing are STL (Stereolithography) and OBJ. These formats store the raw mesh geometry. Once your model is exported, you bring it into a “slicer” program (like Cura, PrusaSlicer, or ChiTuBox). The slicer’s job is to convert the 3D model into hundreds or thousands of thin horizontal layers and generate the G-code—a set of coordinate-based instructions—that the 3D printer’s hardware will execute to build the object layer by layer.
Creating a truly exceptional 3D car model is a journey that spans a wide spectrum of digital artistry and technical problem-solving. As we’ve explored, the pipeline is a meticulous process where each stage builds upon the last. It begins with the unyielding precision of foundational modeling and the logical flow of clean topology, which sets the stage for a seamless and distortion-free UV mapping process. From there, the magic of realism is woven through the creation of sophisticated, multi-layered PBR materials that react convincingly to light. The final image is captured through the lens of virtual photography, where thoughtful lighting and camera work in automotive rendering can evoke emotion and highlight stunning design.
Yet, the journey doesn’t end there. The ability to adapt these complex assets for real-time applications by mastering optimization for game assets, AR/VR, and the physical constraints of 3D printing is what defines a versatile and modern 3D artist. The balance between breathtaking detail and interactive performance is the ultimate challenge. As a next step, we encourage you to apply these techniques to your own projects. For inspiration and to study how professionals structure their models for various uses, explore the high-quality assets available on marketplaces like 88cars3d.com. The path to mastery is paved with practice, and the satisfaction of seeing your digital vehicle roll off the virtual assembly line—whether in a render, a game, or a physical print—is one of the most rewarding experiences in the world of 3D.
“`
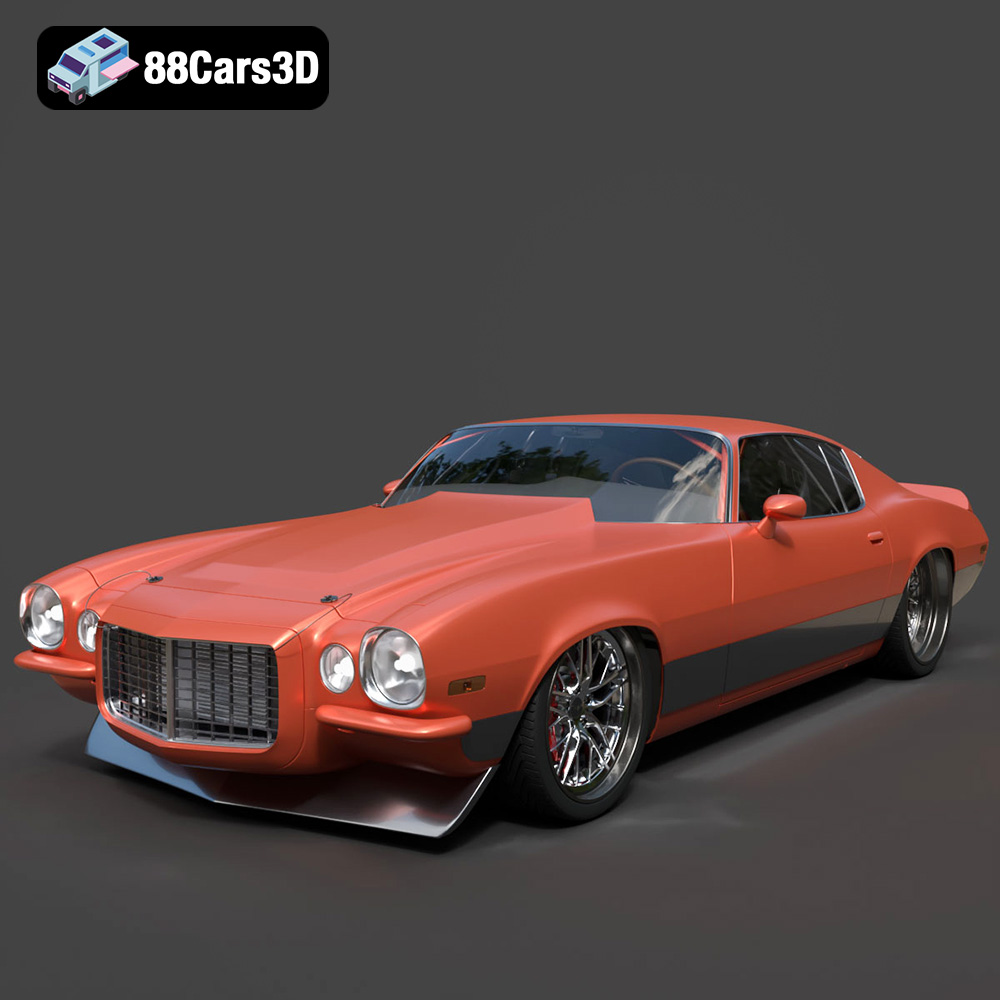
Texture: Yes
Material: Yes
Download the Chevrolet Camaro 1970 3D Model featuring clean geometry, realistic detailing, and a fully modeled interior. Includes .blend, .fbx, .obj, .glb, .stl, .ply, .unreal, and .max formats for rendering, simulation, and game development.
Price: $10
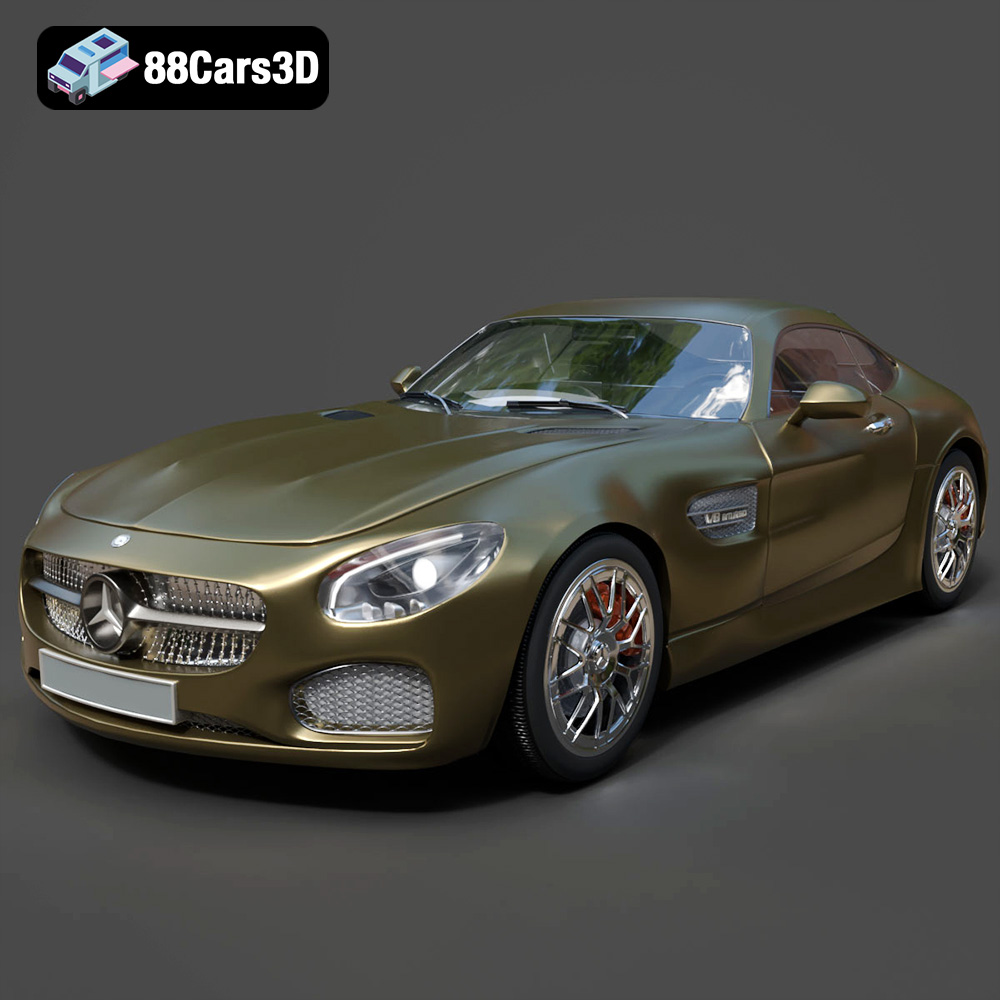
Texture: Yes
Material: Yes
Download the Mercedes-AMG GT 2015 3D Model featuring clean geometry, realistic detailing, and a fully modeled interior. Includes .blend, .fbx, .obj, .glb, .stl, .ply, .unreal, and .max formats for rendering, simulation, and game development.
Price: $88.99
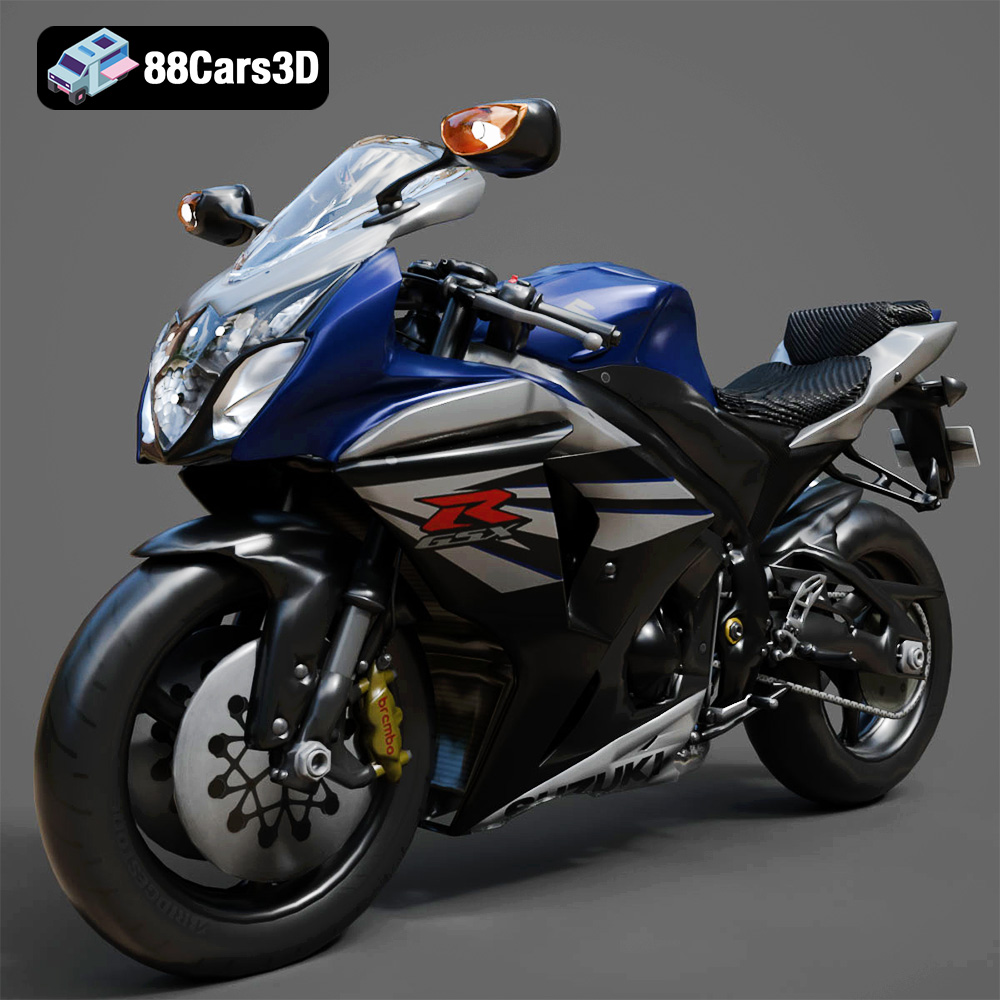
Texture: Yes
Material: Yes
Download the Suzuki GSX-R 1000 3D Model featuring clean geometry, realistic detailing, and a fully modeled interior. Includes .blend, .fbx, .obj, .glb, .stl, .ply, .unreal, and .max formats for rendering, simulation, and game development.
Price: $10
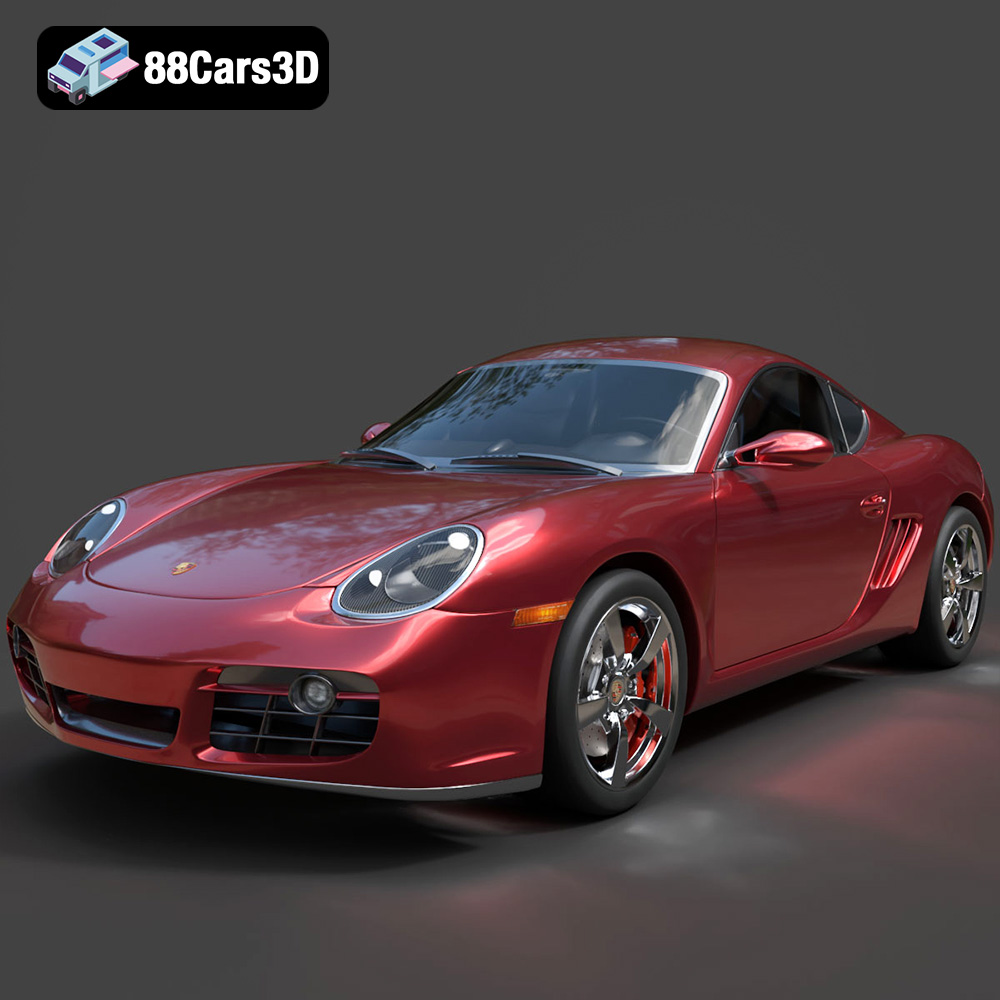
Texture: Yes
Material: Yes
Download the Porsche Cayman S 2024 3D Model featuring clean geometry, realistic detailing, and a fully modeled interior. Includes .blend, .fbx, .obj, .glb, .stl, .ply, .unreal, and .max formats for rendering, simulation, and game development.
Price: $10
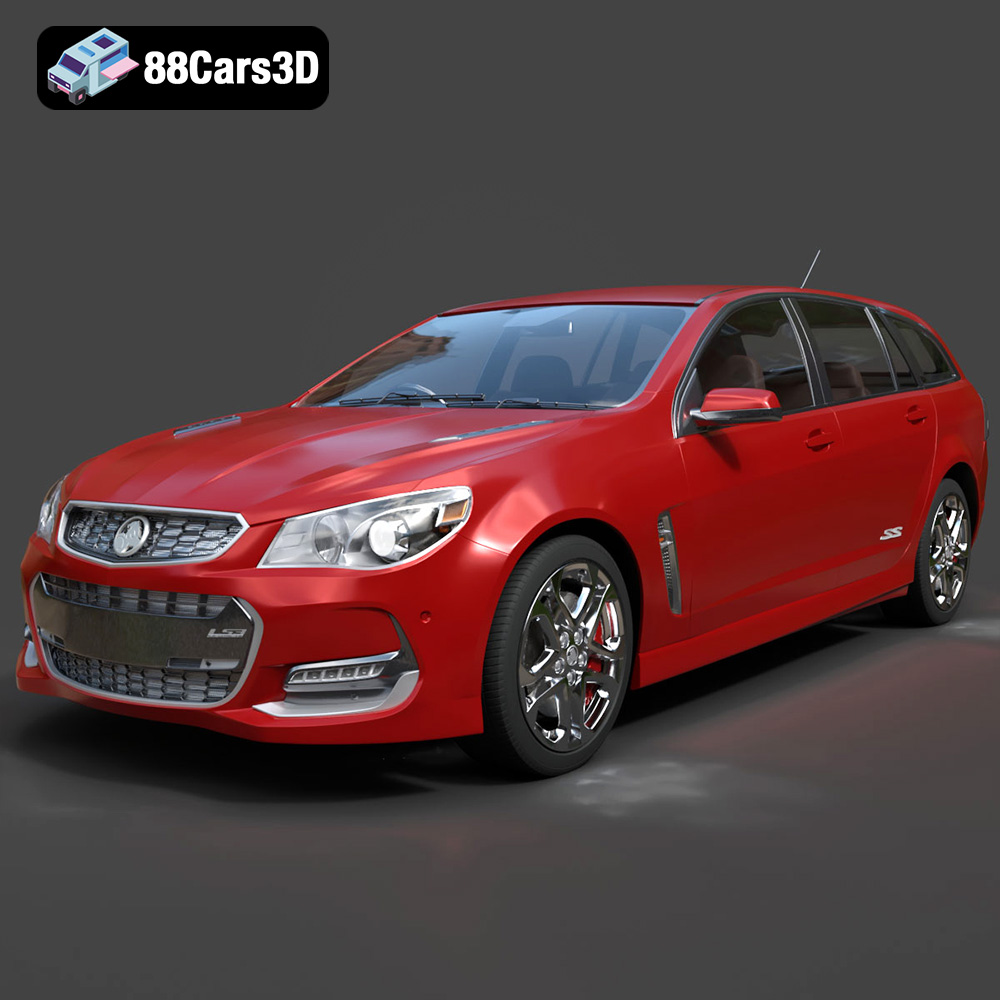
Texture: Yes
Material: Yes
Download the Holden Commodore Sportwagon 2017 3D Model featuring clean geometry, realistic detailing, and a fully modeled interior. Includes .blend, .fbx, .obj, .glb, .stl, .ply, .unreal, and .max formats for rendering, simulation, and game development.
Price: $10

**Meta Description:**
Texture: Yes
Material: Yes
Download the Toyota Crown Majesta 2009 3D Model with luxury detailing, clean topology, and a fully modeled interior. Available in .blend, .fbx, .obj, .glb, .stl, .ply, .unreal, and .max formats for rendering, simulation, and game development.
Price: $4.99

**Meta Description:**
Texture: Yes
Material: Yes
Download the Toyota AE86 Levin 1983 1987 3D Model featuring realistic exterior and interior detailing. Includes .blend, .fbx, .obj, .glb, .stl, .ply, .unreal, and .max formats for rendering, simulation, and game development.
Price: $9.99

Texture: Yes
Material: Yes
Download the Toyota Mark 2 2001 3D Model featuring clean geometry, realistic detailing, and a fully modeled interior. Includes .blend, .fbx, .obj, .glb, .stl, .ply, .unreal, and .max formats for rendering, simulation, and game development.
Price: $4.99

Texture: Yes
Material: Yes
Download the Toyota Celica 2000 3D Model featuring clean geometry, realistic detailing, and a fully modeled interior. Includes .blend, .fbx, .obj, .glb, .stl, .ply, .unreal, and .max formats for rendering, simulation, and game development.
Price: $4.99

Download the Toyota Camry US 2012 3D Model featuring clean geometry, realistic detailing, and a fully modeled interior. Includes .blend, .fbx, .obj, .glb, .stl, .ply, .unreal, and .max formats for rendering, simulation, and game development.
Price: $4.99