⚡ FLASH SALE: Get 60% OFF All Premium 3D & STL Models! ⚡
“`html
High-quality 3D car models are the engine of modern digital creation, powering everything from blockbuster films and hyper-realistic video games to cutting-edge automotive design and immersive AR/VR experiences. Yet, transforming a raw 3D model into a stunning final product requires a unique blend of artistic skill and deep technical knowledge. The journey from a clean mesh to a flawless render or an optimized game asset is filled with critical decisions about topology, texturing, lighting, and performance. Whether you’re an automotive designer visualizing the next supercar, a game developer building an immersive racing world, or a 3D artist crafting the perfect portfolio piece, mastering this workflow is essential. This comprehensive guide will take you under the hood of professional 3D car model utilization. We will deconstruct the entire pipeline, from the fundamental principles of automotive topology and advanced UV mapping strategies to the intricate details of photorealistic rendering in software like Blender and 3ds Max, and finally, the crucial optimization techniques for real-time game engines and AR/VR applications.
Before any texture is applied or a single render is cast, the success of a 3D car model lies in its foundation: the topology. Topology refers to the structure and flow of polygons (quads and triangles) that form the model’s surface. For automotive models, with their blend of long, flowing curves and sharp, precise details, clean topology is not just a recommendation—it’s an absolute requirement. A well-constructed mesh ensures that surfaces are perfectly smooth, reflections are crisp and unbroken, and details can be added or modified without causing shading errors. Without it, you risk facing issues like pinching, artifacts during subdivision, and distorted reflections that immediately break the illusion of realism. This is why sourcing assets from professional marketplaces such as 88cars3d.com is crucial, as their models are built with production-quality topology from the ground up.
The gold standard for automotive modeling is a quad-based workflow. Quads (four-sided polygons) subdivide cleanly and predictably, which is essential when using modifiers like subdivision surfaces (e.g., TurboSmooth in 3ds Max or Subdivision Surface in Blender) to create a high-resolution mesh from a lower-resolution base. Triangles and especially n-gons (polygons with more than four sides) can introduce pinching, bumps, and other shading artifacts on curved surfaces. Good topology ensures that light reflects evenly across the car’s body panels. Any inconsistency in the polygon flow will manifest as a visible wobble or distortion in the reflections, a dead giveaway of a low-quality model. Furthermore, clean topology makes the model easier to edit, rig for animation (e.g., opening doors or turning wheels), and UV unwrap.
Edge flow is the directional logic of how edges are arranged across the mesh. For vehicles, this is paramount. The primary rule is that edge loops must follow the natural curvature and character lines of the car’s design. This includes the sharp creases that define the body’s shape, the precise cuts for panel gaps, and the rounded edges of wheel arches. By aligning edge loops with these features, you create “support edges” that hold the shape firm during subdivision, allowing for sharp, defined lines without needing an excessively high polygon count. A common technique is to place three parallel edge loops to define a hard edge: one on the edge itself and one on either side to control the tightness of the bevel or fillet. This meticulous approach ensures that highlights flow realistically along the body lines, accentuating the car’s form as intended by its designers.
The ideal polygon count is entirely dependent on the final application. For a “hero” car in a cinematic render or an automotive configurator, a polygon count of 500,000 to 2 million triangles (after subdivision) is common to capture every subtle detail. In contrast, a real-time game asset must be far more economical. A player-drivable car in a modern AAA racing game might have a base mesh (LOD0) of around 80,000 to 150,000 triangles. For mobile games or AR/VR applications, this number can drop to 20,000 to 50,000 triangles. The key is to achieve the desired silhouette and detail with the lowest possible polygon count, a process known as optimization. A professional model will often be provided in a mid-poly state, allowing the artist to subdivide it for renders or optimize it down for real-time use.
If topology is the skeleton of a 3D car model, UV mapping is its skin. The UV mapping process involves “unwrapping” the 3D mesh into a 2D space so that textures can be applied accurately. For complex objects like cars, this is a challenging but essential step for achieving realistic results, especially when applying decals, dirt maps, carbon fiber patterns, or custom paint jobs. A sloppy UV map will result in stretched, distorted, or misaligned textures, instantly ruining the photorealism. Professional UV mapping requires strategic thinking about where to place seams, how to maximize texture space, and how to maintain consistent resolution across the entire vehicle.
The first step in unwrapping is defining seams, which are edges on the 3D model where the mesh will be “cut” to lay it flat. For automotive models, the best practice is to hide seams along natural divisions, such as panel gaps, hard edges, or areas that are typically out of sight (like the underside of the car). This prevents visible texture discontinuities on smooth surfaces. Once seams are placed, the mesh is unwrapped into several 2D pieces called UV islands. The next critical concept is texel density—the amount of texture resolution (pixels) per unit of 3D space. Maintaining a consistent texel density across all UV islands is vital. If the density on the door is much higher than on the hood, the textures will look noticeably sharper on one part than the other. A common target for a high-quality game asset might be 1024 pixels per meter (10.24px/cm).
For projects requiring exceptionally high detail, such as cinematic renders or close-up shots, a single texture map may not provide enough resolution. This is where the UDIM (U-Dimension) workflow comes in. UDIMs allow you to use multiple texture maps for a single model, with each map occupying a different tile in the UV space. For a car, you could dedicate one 4K or 8K texture map (a UDIM tile) exclusively to the main body, another to the wheels, and another to the interior. This approach enables incredible detail without being limited by a single texture’s resolution. In contrast, real-time game assets often use a more traditional layout, where all UV islands are packed efficiently into a single 0-1 UV space. This is often combined with texture atlasing, where textures for different parts (e.g., body, trim, glass) are combined into one map to reduce draw calls and improve performance.
Unwrapping a car presents several common hurdles. Texture stretching and distortion often occur on highly curved surfaces. This can be minimized by adding more seams or using UV relaxation tools, which average the spacing between vertices in the UV editor. Overlapping UVs are another major issue, especially when baking ambient occlusion or light maps, as they cause rendering artifacts. Most 3D software has tools to highlight and fix overlaps. Finally, efficiently packing all the UV islands into the 0-1 space without wasting texture real estate is an art form. Use automated packing tools as a starting point, but always manually refine the layout, scaling up islands for important areas (like logos) and scaling down those for less visible parts.
Creating a truly photorealistic automotive render is the ultimate goal for many 3D artists. It’s a delicate dance between accurate materials, convincing lighting, and precise render settings. Modern render engines like Blender’s Cycles, V-Ray, and Corona Renderer have made this goal more accessible than ever, but achieving professional-level results still requires a deep understanding of the underlying principles of light and material interaction. A high-quality asset is the starting point, but it’s the artist’s execution of shading, lighting, and rendering that brings the digital vehicle to life.
Physically Based Rendering (PBR) is the standard for creating realistic materials. The core of PBR is to simulate how light interacts with surfaces based on their physical properties. For cars, the most complex material is the car paint. A realistic car paint shader is not a single layer but a multi-layered material consisting of:
Other materials like glass, rubber, chrome, and leather all require their own PBR setups. For example, tire rubber should have a high roughness value and a detailed normal map to show tread and sidewall details, while chrome should be fully metallic with very low roughness.
Lighting can make or break an automotive render. The most effective method for achieving realistic lighting and reflections is Image-Based Lighting (IBL) using a High Dynamic Range Image (HDRI). An HDRI is a 360-degree panoramic image that contains a vast range of lighting information. When used as an environment map, it casts realistic light, shadows, and reflections onto the model, instantly grounding it in a believable space. For studio shots, artists often supplement the HDRI with manual lights. A classic three-point lighting setup is a great starting point, but for cars, it’s often expanded to include large area lights positioned to create long, elegant highlight reflections that accentuate the car’s body lines and curves.
To get a clean, final image, you need to dial in your render settings.
In Blender Cycles, achieving photorealism involves a few key parameters. Under the `Render Properties`, navigate to the `Sampling` panel. For final renders, the `Render Max Samples` should be set sufficiently high, typically between 1024 and 4096, to eliminate noise. Enable a denoiser like OptiX (for NVIDIA GPUs) or OpenImageDenoise for the final render to clean up any remaining noise without sacrificing detail. Additionally, check the `Light Paths` panel. Increasing the `Total`, `Glossy`, and `Transmission` bounces (e.g., to 12 or higher) allows light to bounce more realistically around the scene, which is essential for rendering convincing glass and reflective materials. For more detailed guidance, the official Blender 4.4 documentation provides an exhaustive breakdown of every Cycles setting.
In 3ds Max with Corona Renderer, the process is streamlined. Instead of setting a sample count, you typically use the Noise Level Limit, setting it to a target of 2-3% for a very clean image. Corona’s interactive LightMix feature is a game-changer, allowing you to adjust the intensity and color of every light in your scene *after* the render is complete, offering incredible creative flexibility.
Bringing a 3D car model into a real-time game engine like Unity or Unreal Engine presents a completely different set of challenges compared to offline rendering. In gaming, performance is king. Every polygon, texture, and material must be ruthlessly optimized to ensure the game runs at a smooth and stable frame rate, typically 60 frames per second (FPS) or higher. This optimization process is a delicate balance, preserving as much visual quality as possible while adhering to strict performance budgets. It involves creating efficient geometry, smart texturing workflows, and engine-specific material setups.
A high-poly model used for cinematic renders is far too dense for a game engine. The first step is to create a low-polygon, game-ready mesh through a process called retopology. This involves building a new, clean mesh over the high-poly source, capturing its shape and silhouette with a fraction of the polygons. The details from the high-poly model (like panel lines, vents, and bolts) are then “baked” into texture maps, primarily a Normal Map, which creates the illusion of high-resolution detail on the low-poly surface. Furthermore, games use Levels of Detail (LODs). This system swaps out the model for progressively lower-polygon versions as it moves further from the camera. A typical setup includes:
One of the biggest performance bottlenecks in game engines is the number of draw calls. A draw call is a command from the CPU to the GPU to draw an object. Each object with a unique material generates at least one draw call. A car model with 10 different materials (one for paint, one for glass, one for chrome, etc.) would generate 10 draw calls. To optimize this, artists use texture atlasing. This involves combining the textures for multiple parts onto a single, larger texture sheet. For example, the textures for the trim, lights, and grille could all be packed into one texture atlas. By doing this, those parts can share a single material, reducing multiple draw calls to just one. This is a fundamental technique for optimizing complex assets like vehicles.
Both Unity and Unreal Engine offer powerful material editors for creating complex real-time shaders. In Unreal Engine, the Material Editor is a node-based system. To create a realistic car paint material, you would use the Clear Coat shading model, which provides dedicated inputs for the base layer and the top clear coat layer, allowing for independent control over their color, roughness, and normals. In Unity, the High Definition Render Pipeline (HDRP) includes a built-in, highly realistic car paint shader that simplifies the process, offering parameters for the base coat, metallic flakes, and a dual-layer clear coat. Understanding how to leverage these engine-specific features is key to achieving stunning visuals while maintaining optimal performance.
The utility of 3D car models extends far beyond traditional screens. The rise of Augmented Reality (AR), Virtual Reality (VR), and accessible 3D printing has opened up new frontiers for visualization and prototyping. However, each of these platforms comes with its own unique set of technical requirements and constraints. Preparing a model for an immersive AR experience on a mobile phone is vastly different from preparing it for a physical, 3D-printed prototype. Success in these mediums requires a targeted approach to optimization, file formatting, and mesh preparation.
AR and VR applications demand extreme performance optimization, especially on mobile and standalone devices like the Meta Quest. Because the scene must be rendered twice (once for each eye) at a very high frame rate (typically 72-90 FPS) to avoid motion sickness, the performance budget is incredibly tight. Polygon counts must be kept low—often under 50,000 triangles for a detailed object. Draw calls are even more critical, making texture atlasing a necessity. For these applications, specific file formats are standard. GLB (the binary version of glTF) has become the universal format for web and Android-based AR. For Apple’s ecosystem (iOS and visionOS), the USDZ format is required. When sourcing models, look for marketplaces like 88cars3d.com that provide assets in these ready-to-use formats for seamless integration into AR/VR projects.
Preparing a digital model for physical 3D printing is a process of ensuring the mesh is a valid, solid object. The most important requirement is that the mesh must be “watertight” or manifold. This means it must have no holes and no non-manifold geometry (e.g., edges shared by more than two faces). You must also consider the wall thickness of the model; if parts are too thin, they will be too fragile to print or may not print at all. Software like Blender includes a 3D-Print Toolbox add-on that can analyze a mesh for these issues and help repair them. Depending on the printing technology (e.g., FDM vs. SLA) and the desired size, you may need to split the car model into smaller, more manageable parts (like separating the wheels and body) to be printed individually and assembled later.
In the world of 3D graphics, file formats are the universal language that allows different software and platforms to communicate. Choosing the right format for your 3D car model is a critical decision that impacts compatibility, features, and file size. A format that is perfect for a high-fidelity render may be completely unsuitable for a real-time web application. Understanding the strengths and weaknesses of the most common formats is essential for creating an efficient and successful production pipeline, ensuring your model retains its integrity as it moves between different stages of development.
For decades, OBJ (.obj) has been a staple. Its strength lies in its simplicity and near-universal support. It reliably stores mesh geometry (vertices, normals, UVs) and basic material definitions. However, its simplicity is also its weakness; it does not support complex PBR materials, animations, or scene hierarchies, often requiring significant rework when imported into a new application. FBX (.fbx), developed by Autodesk, is a much more robust and modern alternative. It is the industry standard for transferring assets between 3D modeling packages (like 3ds Max, Maya, and Blender) and game engines. FBX can contain not only mesh data but also complex material information, textures, lighting, cameras, and full animation rigs, making it the preferred choice for most production workflows.
The new generation of 3D formats is built for the internet age. glTF (.gltf, .glb) is often called the “JPEG of 3D.” It’s an open standard designed to be a compact, efficient, and easy-to-load format for real-time applications. The binary version, GLB (.glb), is particularly useful as it packages the entire asset—mesh, materials, and textures—into a single file, making it perfect for web viewers, e-commerce, and AR applications on Android. USDZ (.usdz) is Apple’s equivalent, based on Pixar’s Universal Scene Description technology. It is the required format for displaying 3D content in AR on iPhones and iPads. These modern formats are the key to unlocking interactive 3D experiences on a massive scale.
It’s important to distinguish between the two primary types of 3D data: CAD and polygonal. CAD formats (like STEP, IGES) are used in engineering and manufacturing. They represent surfaces with mathematically perfect curves (NURBS). While incredibly precise, they are not suitable for real-time rendering or artistic workflows. Polygonal formats (like FBX, OBJ, glTF) approximate surfaces with a mesh of polygons. This is the standard for all entertainment and visualization industries, including film, games, and architectural visualization. While you can convert CAD data to a polygonal mesh, the resulting topology is often messy and requires significant cleanup (retopology) before it can be used effectively for rendering or game development.
Working with 3D car models is a multifaceted discipline that spans the entire spectrum of digital content creation. We’ve journeyed from the foundational importance of clean topology and strategic UV mapping to the advanced techniques of photorealistic rendering and the critical demands of real-time optimization. Each stage of the pipeline—modeling, texturing, rendering, and deployment—is interconnected, with decisions made early on having a significant impact on the final result. The key takeaway is that excellence begins with a high-quality asset. A model with flawed topology or messy UVs will fight you every step of the way, making it nearly impossible to achieve a professional outcome.
Your path forward is one of continuous learning and practice. Start by dissecting a well-made model; analyze its edge flow and UV layout. Experiment with different HDRI maps to see how they transform the mood of a render. Challenge yourself to optimize a high-poly model for a game engine, focusing on creating clean LODs and efficient texture atlases. The bridge between a good artist and a great one is the mastery of both the creative and technical aspects of the craft. By starting with a professionally crafted asset, such as those available on marketplaces like 88cars3d.com, you can bypass initial modeling hurdles and focus directly on honing these crucial skills in texturing, lighting, and optimization, accelerating your projects and elevating the quality of your work.
“`
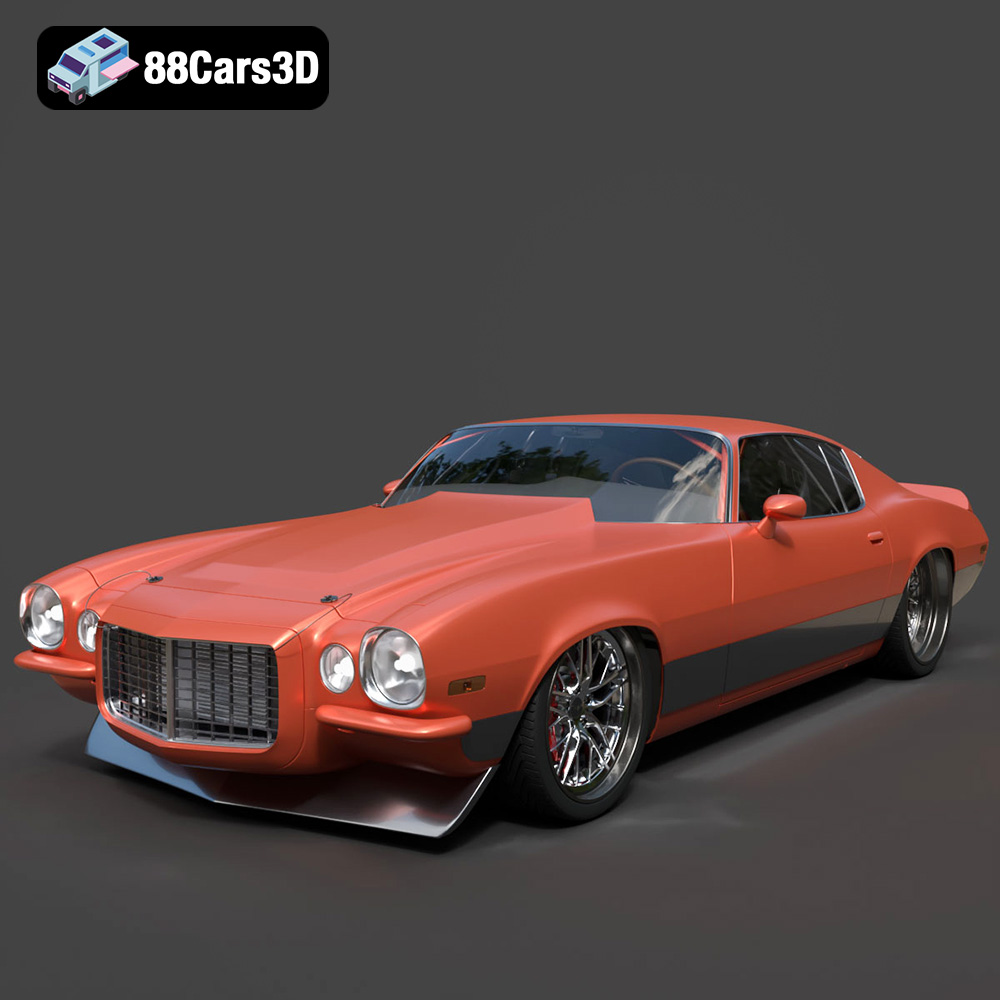
Texture: Yes
Material: Yes
Download the Chevrolet Camaro 1970 3D Model featuring clean geometry, realistic detailing, and a fully modeled interior. Includes .blend, .fbx, .obj, .glb, .stl, .ply, .unreal, and .max formats for rendering, simulation, and game development.
Price: $10
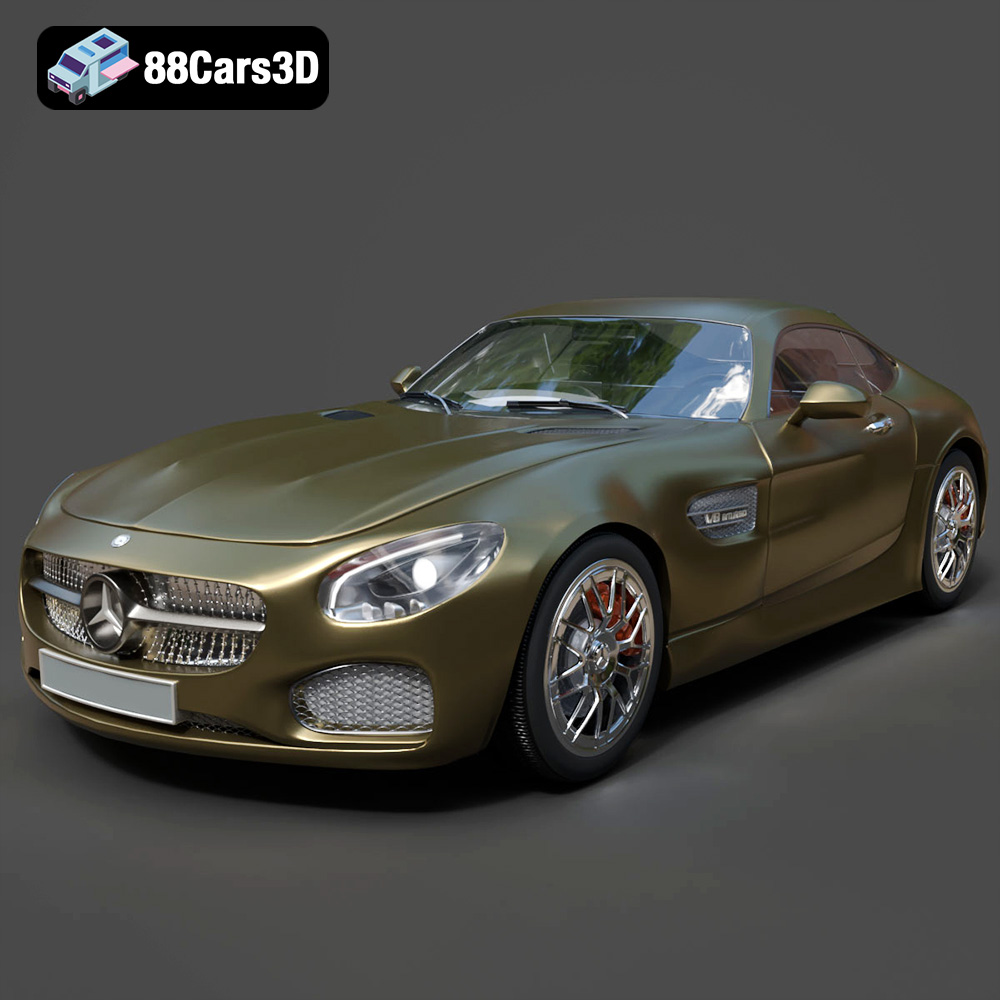
Texture: Yes
Material: Yes
Download the Mercedes-AMG GT 2015 3D Model featuring clean geometry, realistic detailing, and a fully modeled interior. Includes .blend, .fbx, .obj, .glb, .stl, .ply, .unreal, and .max formats for rendering, simulation, and game development.
Price: $88.99
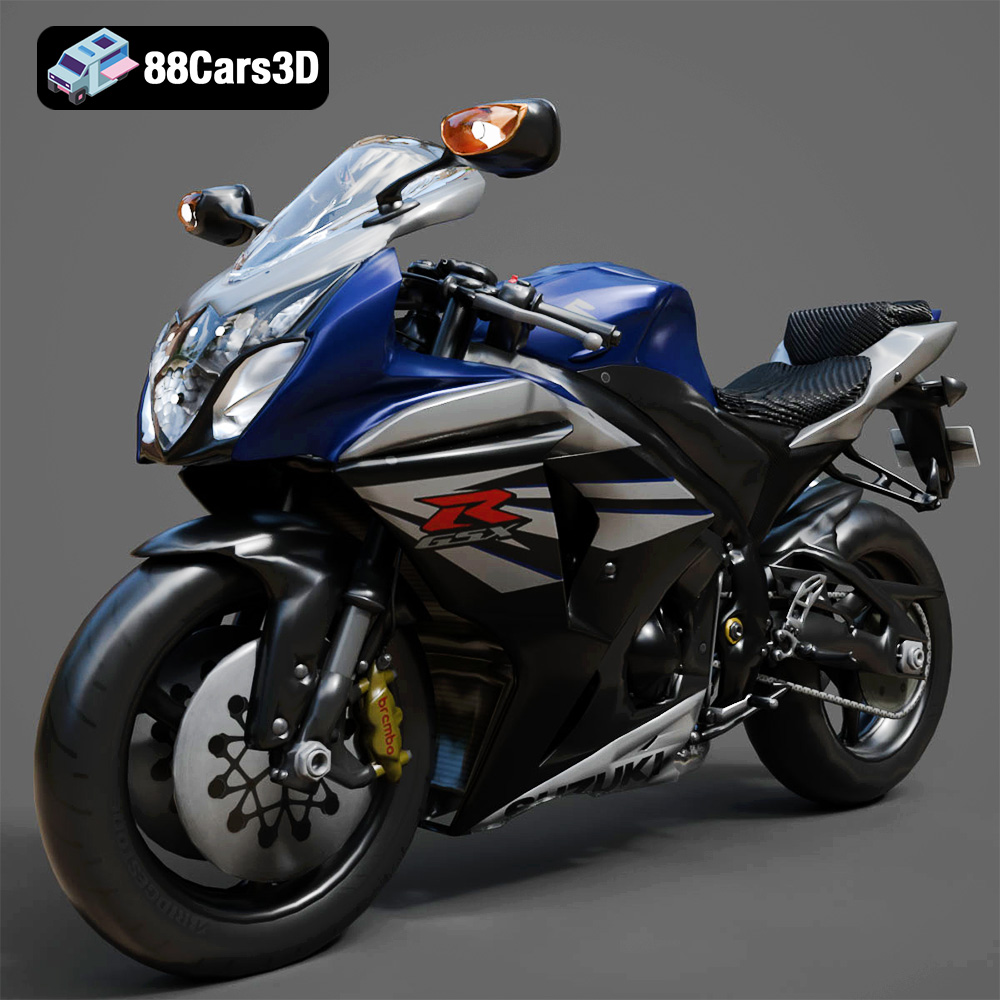
Texture: Yes
Material: Yes
Download the Suzuki GSX-R 1000 3D Model featuring clean geometry, realistic detailing, and a fully modeled interior. Includes .blend, .fbx, .obj, .glb, .stl, .ply, .unreal, and .max formats for rendering, simulation, and game development.
Price: $10
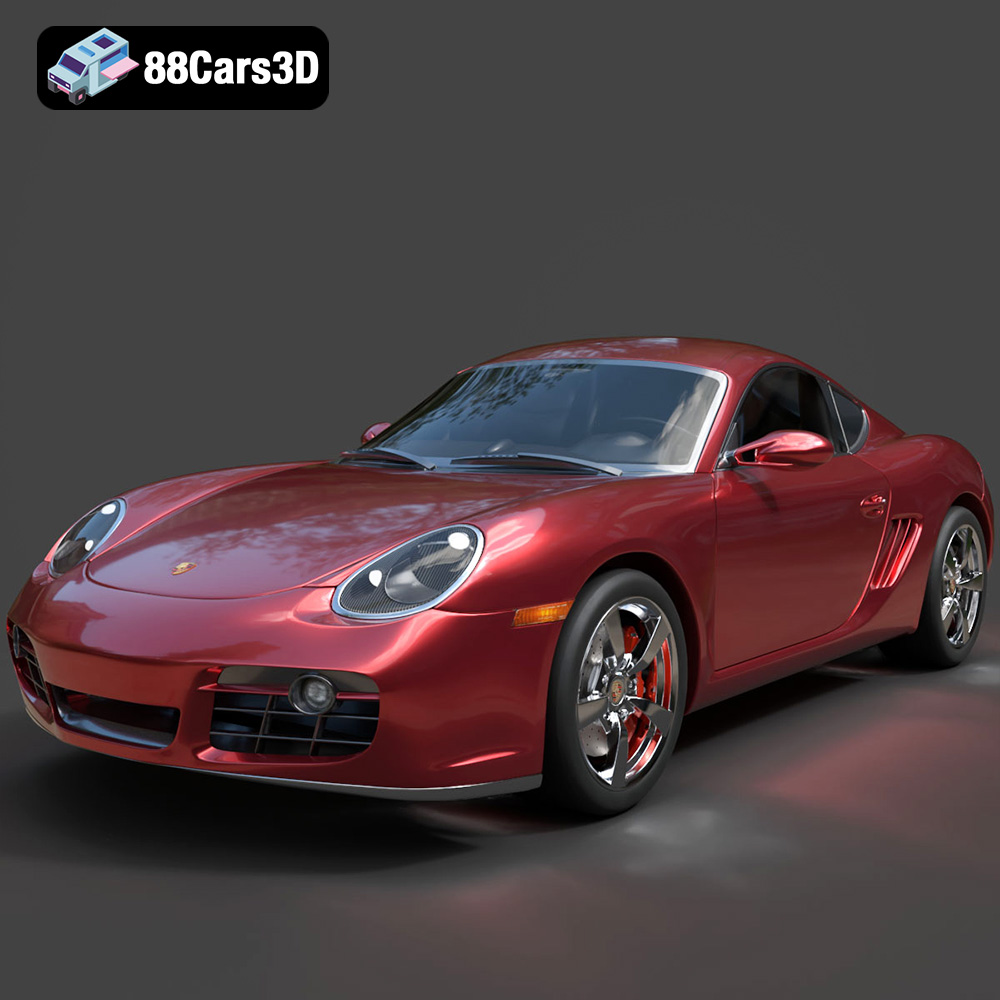
Texture: Yes
Material: Yes
Download the Porsche Cayman S 2024 3D Model featuring clean geometry, realistic detailing, and a fully modeled interior. Includes .blend, .fbx, .obj, .glb, .stl, .ply, .unreal, and .max formats for rendering, simulation, and game development.
Price: $10
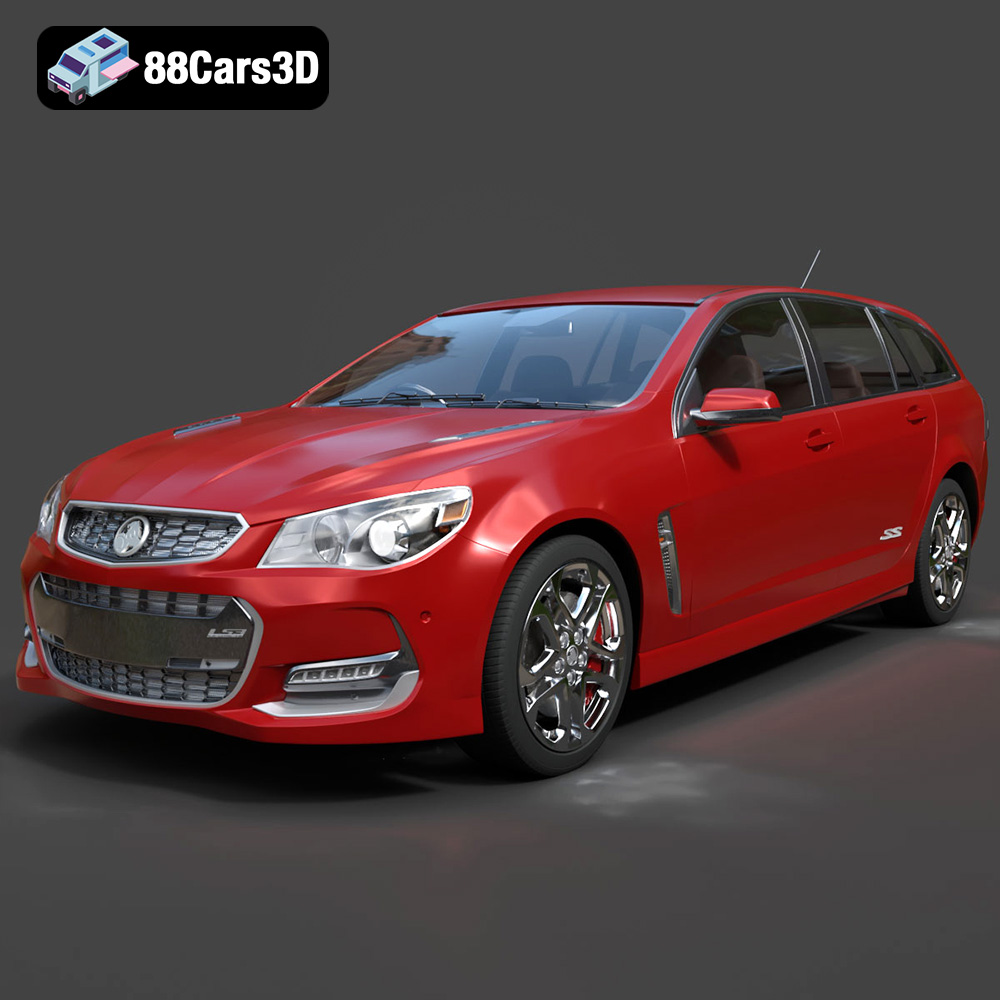
Texture: Yes
Material: Yes
Download the Holden Commodore Sportwagon 2017 3D Model featuring clean geometry, realistic detailing, and a fully modeled interior. Includes .blend, .fbx, .obj, .glb, .stl, .ply, .unreal, and .max formats for rendering, simulation, and game development.
Price: $10

**Meta Description:**
Texture: Yes
Material: Yes
Download the Toyota Crown Majesta 2009 3D Model with luxury detailing, clean topology, and a fully modeled interior. Available in .blend, .fbx, .obj, .glb, .stl, .ply, .unreal, and .max formats for rendering, simulation, and game development.
Price: $4.99

**Meta Description:**
Texture: Yes
Material: Yes
Download the Toyota AE86 Levin 1983 1987 3D Model featuring realistic exterior and interior detailing. Includes .blend, .fbx, .obj, .glb, .stl, .ply, .unreal, and .max formats for rendering, simulation, and game development.
Price: $9.99

Texture: Yes
Material: Yes
Download the Toyota Mark 2 2001 3D Model featuring clean geometry, realistic detailing, and a fully modeled interior. Includes .blend, .fbx, .obj, .glb, .stl, .ply, .unreal, and .max formats for rendering, simulation, and game development.
Price: $4.99

Texture: Yes
Material: Yes
Download the Toyota Celica 2000 3D Model featuring clean geometry, realistic detailing, and a fully modeled interior. Includes .blend, .fbx, .obj, .glb, .stl, .ply, .unreal, and .max formats for rendering, simulation, and game development.
Price: $4.99

Download the Toyota Camry US 2012 3D Model featuring clean geometry, realistic detailing, and a fully modeled interior. Includes .blend, .fbx, .obj, .glb, .stl, .ply, .unreal, and .max formats for rendering, simulation, and game development.
Price: $4.99