The Art and Engineering of Automotive 3D Modeling: Crafting Flawless Car Bodies
The automotive world has always been a beacon of innovation, driven by engineering marvels and breathtaking design. In the digital age, the convergence of these elements with advanced 3D technology has unlocked unprecedented possibilities, transforming everything from conceptual design to manufacturing and marketing. At the heart of this revolution lies the power of 3D car models – digital blueprints that serve as the foundation for stunning visualizations, immersive interactive experiences, and even tangible, custom-fabricated parts.
This comprehensive guide delves deep into the technical intricacies of creating, optimizing, and utilizing high-quality automotive 3D designs. Whether you’re a seasoned 3D artist, a game developer, an automotive engineer, or simply an enthusiast looking to understand the craft, we’ll navigate the complex workflows from meticulous topology and photorealistic PBR materials to advanced rendering techniques, game engine optimization, and the exciting frontier of 3D printing custom car parts. Get ready to accelerate your understanding of digital automotive creation and discover how platforms like 88cars3d.com empower creators with access to industry-leading assets.
The Art and Engineering of Automotive 3D Modeling: Crafting Flawless Car Bodies
Creating a 3D car model is a delicate balance between artistic vision and engineering precision. Every curve, panel gap, and ventilation grille must be meticulously crafted to reflect the real-world counterpart, or to bring a concept design to life with unparalleled accuracy. The foundation of any high-quality automotive model lies in its topology – the arrangement of polygons that form the mesh. For vehicles, which are characterized by smooth, reflective surfaces, clean and efficient topology is paramount. It dictates how light reflects off the surface, how materials are applied, and how easily the model can be edited or deformed.
Industry best practices mandate the use of quads (four-sided polygons) over triangles, especially for areas that will be subdivided or deformed. This ensures predictable smoothing and fewer artifacts. Edge flow, the direction in which edges run across the surface, is critical for maintaining the fluidity of car body lines. Proper edge flow ensures that creases and sharp edges can be defined without introducing pinching or unwanted bumps when subdivision surface modifiers are applied (e.g., TurboSmooth in 3ds Max, Subdivision Surface in Blender/Maya). Common polygon counts for high-fidelity rendering models can range from 250,000 to several million polygons, allowing for incredible detail in intricate areas like headlights, grilles, and interiors.
Precision Topology for Smooth Surfaces and Efficient Workflows
Achieving perfect topology for automotive surfaces involves strategic planning. When starting with blueprints or CAD data, artists often trace the primary forms, building up the mesh panel by panel. Key areas to focus on include fenders, doors, hoods, and roofs, where reflections are most prominent. The goal is to distribute polygons evenly, with denser mesh in areas of high curvature or intricate detail, and sparser mesh on flatter surfaces. For example, a crisp body line around a fender requires a tight loop of edges running along it, while a broad, flat panel might need fewer divisions. Managing poles (vertices where more or less than four edges meet) is also crucial; strategic placement in less visible areas helps maintain clean surface flow and avoids shading issues.
Furthermore, maintaining a consistent mesh density across the model is vital for uniform texture application and efficient UV mapping later on. Avoiding T-junctions (where an edge ends abruptly into another edge’s middle) and n-gons (polygons with more than four sides) prevents unexpected shading artifacts and simplifies the texturing process. This meticulous attention to detail at the modeling stage ensures that the 3D car model is not only visually stunning but also technically robust for all downstream applications, from rendering to interactive experiences and even 3D printing.
Blueprint to Digital Reality: Leveraging Reference and CAD Data
The journey from a two-dimensional blueprint or technical drawing to a three-dimensional digital model often begins with meticulous referencing. 3D artists typically import orthogonal views (front, back, top, side) of the vehicle into their 3D software (e.g., 3ds Max, Blender, Maya) and use them as guides. Scaling these references accurately to real-world dimensions is essential for maintaining proportionality and ensuring that the final model is true to life. For existing vehicles, high-resolution photographs can also provide invaluable detail for surface imperfections and material nuances.
For professional automotive design and engineering, starting with Computer-Aided Design (CAD) data is a common practice. CAD software like SolidWorks or CATIA produces highly precise, mathematically defined surfaces (NURBS or parametric models). While these are ideal for manufacturing, converting them into polygonal meshes suitable for rendering or game engines requires careful triangulation or retopology. Specialized tools can convert NURBS surfaces into quads, or artists might perform manual retopology to create an optimized, clean mesh, ensuring that even complex geometries like engine components or interior dashboards are accurately represented. This ensures the digital model maintains the integrity of the original design while being adaptable for various applications.
Unlocking Photorealism: Advanced UV Mapping and PBR Materials for Automotive Models
Once the geometric form of your 3D car model is perfected, the next crucial step is to give it a realistic surface appearance. This involves two core processes: UV mapping and PBR material creation. UV mapping is essentially the process of flattening the 3D surface of your model into a 2D space, allowing textures and material properties to be accurately painted or applied. Without proper UVs, textures would stretch, distort, or appear misaligned, severely undermining the realism of the model. For complex objects like cars with numerous distinct panels and intricate details, strategic UV mapping is indispensable.
PBR (Physically Based Rendering) materials are the cornerstone of modern photorealistic rendering. They emulate how light interacts with real-world surfaces, based on physical properties like roughness, metallicness, and color (albedo). Instead of simply guessing how a surface should look, PBR shaders rely on a set of texture maps that describe these physical characteristics, ensuring consistent and believable results across different lighting environments. This makes a significant difference for reflective car paint, chrome accents, glass, and rubber tires, bringing an unprecedented level of visual fidelity to your automotive rendering projects.
Strategic UV Mapping for Complex Car Surfaces
Effective UV mapping for a 3D car model requires a thoughtful approach to minimize seams and optimize texture resolution. The general strategy involves logically cutting the model into discrete pieces, much like dissecting a papercraft model. For a car, this often means separating major panels (hood, doors, roof, fenders), wheels, interior components, and smaller details. Each piece is then unwrapped into a 2D UV island. Key considerations include ensuring that UV islands are scaled proportionally to their 3D surface area to maintain uniform texel density, which prevents some textures from appearing blurry while others are sharp.
Non-overlapping UVs are crucial for baking lighting information, ambient occlusion, or normal maps from a high-resolution mesh onto a lower-resolution one. Using tools like 3ds Max’s Unwrap UVW, Blender’s UV Editor, or Maya’s UV Toolkit, artists meticulously arrange these islands within the 0-1 UV space, leaving sufficient padding between them to avoid texture bleeding. For parts like tires, cylindrical mapping often works best, while flat surfaces like window panes can use planar mapping. Mastering UV mapping is fundamental for producing models that look professional and perform well in any environment, from a static render to a dynamic game scene.
PBR Material Creation and Shader Networks for Ultimate Realism
Creating compelling PBR materials for an automotive model involves understanding the different maps that drive the shader network. The most common workflow uses an Albedo (or Base Color) map for the diffuse color, a Metallic map (0 for dielectric, 1 for metallic), and a Roughness map (0 for perfectly smooth/glossy, 1 for completely rough/matte). Additionally, a Normal map adds fine surface detail without increasing polygon count, and an Ambient Occlusion (AO) map simulates soft shadowing in crevices. Displacement maps can add actual geometric detail, though they are more computationally intensive and often reserved for high-detail renders.
For car paint, a complex PBR setup often involves multiple layers: a metallic base coat, a clear coat with specific roughness and index of refraction (IOR) values, and perhaps flake normal maps to simulate metallic flecks within the paint. Chrome utilizes high metallic and very low roughness values, while glass requires transparency, refraction, and careful IOR settings. Utilizing software-specific node-based shader editors (e.g., Blender’s Shader Editor, Arnold’s Hypershade, Corona’s Material Editor) allows artists to blend these properties seamlessly, creating intricate materials that react realistically to light. This granular control over material properties is what distinguishes a truly photorealistic 3D car model, especially models sourced from marketplaces like 88cars3d.com, which prioritize these details.
Bringing Automotive 3D Models to Life: High-Fidelity Rendering and Visualization
The culmination of meticulous modeling and precise material application is the rendering stage, where your 3D car model transforms from a static mesh into a captivating, photorealistic image or animation. Automotive rendering is a specialized field that demands an understanding of sophisticated lighting, camera angles, and rendering engine capabilities. The goal is not just to display the model, but to evoke emotion, highlight design features, and convince the viewer of its tangibility. High-quality renders are indispensable for marketing, design review, and virtual showcases, providing an experience that often rivals professional photography.
Modern rendering engines like Corona Renderer, V-Ray, Cycles (Blender), and Arnold (Maya/3ds Max) utilize physically based lighting algorithms to simulate real-world light behavior with incredible accuracy. This means that factors such as the intensity, color temperature, and bounce of light are calculated, resulting in realistic shadows, reflections, and global illumination. Mastering these tools and techniques is what separates a good render from an exceptional one, making your 3D car models truly shine.
Mastering Lighting and Environment Setup for Impactful Renders
Lighting is the single most critical element in automotive rendering. It defines the mood, highlights contours, and reveals the quality of your materials. A common starting point is using High Dynamic Range Images (HDRIs) of real-world environments (e.g., studio, industrial background, open road). HDRIs provide a complete spherical light source with varying intensities, generating incredibly realistic reflections and ambient illumination. For more controlled setups, a classic three-point lighting system (key, fill, back light) can be used, often augmented with additional physical lights to emphasize specific design elements or create dramatic effects.
For showroom-quality renders, studio lighting setups often involve large softboxes and area lights to create smooth, even reflections across the car’s body. The environment itself plays a significant role; a reflective floor or a subtle backdrop can enhance the sense of depth and scale. Strategically placing reflective planes or light blockers can manipulate reflections to accentuate certain lines. Achieving realistic reflections on curved car surfaces requires a deep understanding of light falloff and specular highlights. Experimenting with different HDRI environments and light positions is essential to discover how light interacts with the car’s paint, chrome, and glass, bringing out the nuances of its design.
Advanced Rendering Workflows and Techniques
Beyond basic lighting, advanced rendering workflows incorporate techniques to optimize quality and efficiency. Render passes (or AOVs – Arbitrary Output Variables) are a professional standard, allowing artists to export separate layers of information from the renderer, such as diffuse color, reflections, refractions, direct/indirect lighting, and depth. These passes can then be composited in post-production software like Adobe Photoshop or After Effects, providing immense control over the final image without re-rendering the entire scene. This is invaluable for fine-tuning color, adding lens effects, or adjusting specific elements without affecting others.
Render engines offer a plethora of settings to balance quality and render time. For instance, increasing sample rates reduces noise but extends render duration, while optimizing ray depth can prevent unnecessary calculations. Techniques like path tracing and bidirectional path tracing provide highly accurate light simulation, though they can be resource-intensive. Denoising algorithms, often integrated directly into modern renderers (e.g., OptiX Denoiser in Blender Cycles, Corona’s denoiser), can significantly reduce render times by intelligently cleaning up noisy images. Understanding these advanced features allows artists to push the boundaries of realism, delivering breathtaking automotive renders for any project.
Optimizing 3D Car Models for Interactive Games, AR, and VR Experiences
While high-fidelity renders prioritize visual realism at the expense of performance, interactive applications like video games, augmented reality (AR), and virtual reality (VR) demand a different approach. Here, the challenge is to maintain visual quality while ensuring smooth, real-time performance. This involves rigorous game engine optimization, strategic asset management, and adapting models for specific hardware constraints. A beautifully detailed 3D car model designed for an offline render might have millions of polygons and dozens of 8K textures, which would bring a real-time application to a crawl. Therefore, a specialized workflow is required to prepare these assets for interactive environments.
The goal is to strike a balance: provide enough visual information to be convincing and immersive, but strip away any unnecessary data that would impede frame rates. This is where techniques like Level of Detail (LODs), texture atlasing, and careful material setup become crucial. Game developers, AR/VR creators, and even automotive configurator designers rely on these optimization strategies to deliver fluid and engaging user experiences. When sourcing assets from marketplaces like 88cars3d.com, it’s vital to check if models are already optimized or if they provide different versions suitable for real-time applications.
Game Engine Optimization Strategies: LODs, Draw Calls, and Texture Atlasing
One of the most effective optimization techniques is implementing Level of Detail (LOD). This involves creating multiple versions of the same 3D car model, each with progressively lower polygon counts and simpler materials. For instance, LOD0 might be the full-detail model (e.g., 100,000-200,000 polygons) visible up close. LOD1 could be a simplified version (30,000-50,000 polygons) for mid-range viewing, and LOD2 (5,000-10,000 polygons) for distant objects. Game engines (Unity, Unreal Engine) automatically switch between these LODs based on the camera’s distance to the object, drastically reducing the number of polygons rendered at any given time without noticeable visual degradation.
Minimizing draw calls is another critical optimization. Each time the engine has to prepare and send data for a distinct material or mesh to the GPU, it incurs a draw call. Reducing the number of materials by combining textures into a single texture atlas can significantly lower draw calls. For example, consolidating textures for the car’s body, interior, and wheels onto one or two large texture sheets allows the engine to render more of the car in fewer passes. Furthermore, static batching for non-moving parts and instancing for repetitive objects (like crowds of identical cars in a background scene) can further improve performance. File formats like FBX are preferred for game engines due to their robust support for meshes, materials, and animations, while GLB is gaining traction for web-based AR/VR experiences due to its compact nature.
Tailoring Models for AR/VR Immersion: Specific Performance Considerations
AR (Augmented Reality) and VR (Virtual Reality) impose even stricter performance requirements, particularly for mobile AR (e.g., Apple ARKit, Google ARCore) where processing power is limited. For AR/VR, maintaining a consistent frame rate (typically 60-90 FPS) is paramount to prevent motion sickness and ensure a comfortable experience. This often means more aggressive polygon reduction than for traditional games, often targeting total scene polygon counts that are significantly lower. High-resolution textures must be carefully managed, often downscaled to 1K or 2K, and PBR material networks simplified to reduce computational load.
Specific optimization techniques for AR/VR include culling (not rendering objects outside the camera’s view frustum), reducing overdraw (pixels rendered multiple times), and optimizing shader complexity. For mobile AR, file formats like USDZ (Universal Scene Description Zip) are specifically designed for efficient loading and display of 3D content on Apple devices, including PBR materials and animations. For immersive VR, careful management of stereo rendering and optimizing asset streaming are also vital. Ensuring your 3D car models are robust and performant across these diverse platforms requires deep knowledge of optimization techniques, turning a visually rich model into an interactively fluid asset.
The Future is Tangible: 3D Printing Custom Automotive Parts and Models
Beyond digital visualization, 3D printing has emerged as a revolutionary technology in the automotive industry. It bridges the gap between digital design and physical reality, enabling rapid prototyping, creating custom replacement parts, manufacturing complex tools, and even producing bespoke components for concept vehicles. From small aesthetic details to functional engine components, the ability to create tangible objects directly from a 3D car model has profound implications for design iteration, personalization, and efficiency. This process, also known as additive manufacturing, empowers engineers and enthusiasts alike to bring their automotive 3D designs to life with unprecedented freedom.
However, preparing a 3D car model for 3D printing is a distinct discipline from preparing it for rendering or games. The model must meet specific geometric requirements to be successfully fabricated layer by layer. This involves ensuring mesh integrity, considering physical properties like wall thickness and material strength, and understanding the limitations and capabilities of different 3D printing technologies and materials. Whether you’re printing a scale model of a classic car or a custom bracket for a performance build, proper preparation is key.
Preparing 3D Models for Additive Manufacturing
The fundamental requirement for a 3D printable model is that it must be “watertight” or “manifold.” This means the mesh must form a completely closed volume with no gaps, holes, or inverted normals. Every edge must be shared by exactly two faces, ensuring that the printer can accurately interpret the object’s boundaries. Common issues that prevent a model from being printable include non-manifold edges, open edges, intersecting geometry, and zero-thickness surfaces. Software tools like Blender’s 3D Print Toolbox, Meshmixer, or dedicated CAD programs offer powerful mesh inspection and repair functionalities to identify and fix these problems.
Wall thickness is another critical consideration. Every part of the model must be thick enough to withstand the printing process and the intended use of the final object. Too thin, and the part might break during printing or handling. Overhangs (sections of the model that extend outwards without support) often require automatically generated support structures during printing, which must be carefully designed to be removable without damaging the model. Furthermore, the overall scale of the model must be accurately set to match the desired real-world size, and the file format of choice is typically STL (STereoLithography), though OBJ and some other formats are also widely supported. This meticulous preparation ensures your custom 3D car parts translate flawlessly from screen to physical object.
Material Selection and Post-Processing for 3D Printed Car Parts
The choice of 3D printing technology and material significantly impacts the properties of the final printed part. FDM (Fused Deposition Modeling) printers, common for hobbyists and rapid prototyping, use thermoplastics like PLA (Polylactic Acid) for stiff, biodegradable parts, or ABS (Acrylonitrile Butadiene Styrene) for more durable, impact-resistant components suitable for some automotive applications. SLA (Stereolithography) and DLP (Digital Light Processing) printers use liquid resins cured by UV light, producing incredibly detailed and smooth surfaces ideal for aesthetic models, prototypes, or even high-temperature resistant parts with specialized resins. SLS (Selective Laser Sintering) printers use powdered materials like Nylon, resulting in strong, flexible, and chemically resistant parts that are excellent for functional components, custom brackets, or ducts.
Post-processing is often necessary to achieve the desired finish and functionality. This can involve removing support structures, sanding to smooth layer lines, applying primers and paints for aesthetic enhancement, or treating parts for increased strength or chemical resistance. For functional custom 3D car parts, materials like carbon fiber reinforced nylon or specialty resins offer properties closer to injection-molded plastics or metals. Understanding the strengths and weaknesses of each material and the required post-processing steps is crucial for anyone looking to leverage 3D printing for automotive projects, whether for a miniature collectible or a full-scale functional component.
Refining the Vision: Post-Processing, Iteration, and Emerging Trends in Automotive 3D
The journey of a 3D car model doesn’t necessarily end with the render or the 3D print. For visualizations, the final image often undergoes significant post-processing to elevate it from a raw render to a polished, professional piece of art. This stage is where subtle artistic touches can dramatically enhance realism, mood, and visual impact. Similarly, the entire workflow of automotive 3D design is iterative, constantly evolving with new technologies and methodologies. Staying abreast of these emerging trends is crucial for any professional in the field, ensuring that skills and assets remain cutting-edge and relevant.
The digital automotive landscape is dynamic, with innovations continuously reshaping how we design, visualize, and interact with vehicles. From the integration of real-time ray tracing in game engines to the broader adoption of advanced file formats like USD, the future promises even more seamless and immersive experiences. For designers and artists, understanding these final refinement steps and future directions is key to delivering truly exceptional results and pushing the boundaries of what’s possible with 3D car models.
Elevating Renders with Post-Production and Compositing
Post-production is the digital darkroom for 3D renders, allowing artists to make critical adjustments and enhancements without the need for time-consuming re-renders. Using software like Adobe Photoshop or Affinity Photo, render passes (which we discussed earlier) are composited and refined. Common techniques include color grading to set the mood and atmosphere, adjusting exposure and contrast, and adding subtle lens effects like bloom (soft glow around bright areas), glare, and chromatic aberration to simulate real-world camera optics. Depth of field, often rendered as a separate pass, can be selectively applied to draw the viewer’s eye to specific parts of the vehicle.
Fine-tuning reflections, sharpening details, and adding a subtle vignette can further enhance the realism. Even imperfections, such as dust particles or slight smudges, can be added in post-production to break up the perfect digital sterility and make the image feel more authentic. Compositing backgrounds or integrating the rendered car into a live-action plate also happens at this stage. This meticulous attention to detail in post-production is what gives commercial-grade automotive renders their polished, professional look, transforming a technical output into a captivating visual narrative.
The Evolving Landscape of Automotive 3D: Real-Time Ray Tracing and Beyond
The field of automotive 3D is in constant evolution. One of the most significant advancements is the integration of real-time ray tracing into game engines and design visualization tools. Historically reserved for offline rendering, hardware-accelerated ray tracing (e.g., NVIDIA RTX, AMD RDNA 2) now allows for incredibly accurate reflections, refractions, and global illumination to be calculated in real-time. This elevates the visual fidelity of interactive experiences, configurators, and virtual showrooms to near-photorealistic levels, making it harder to distinguish between a real-time scene and a pre-rendered image.
Another emerging trend is the increasing adoption of universal scene description formats like USD (Universal Scene Description), developed by Pixar. USD aims to provide a robust, scalable framework for interchanging 3D data across various software applications, making collaborative workflows smoother and more efficient. This is particularly relevant for complex automotive 3D designs involving multiple teams and software packages. Furthermore, advancements in procedural modeling, AI-assisted texturing, and photogrammetry continue to streamline asset creation. For anyone working with 3D car models, staying informed about these technological shifts is essential for maintaining a competitive edge and pushing the boundaries of digital automotive creation.
Conclusion
The world of 3D car models is a testament to the powerful synergy between art, engineering, and cutting-edge technology. From the initial meticulous crafting of a vehicle’s topology and the application of sophisticated PBR materials, to the breathtaking realism achieved through advanced automotive rendering, and the exciting possibilities opened by 3D printing custom car parts, every stage of the digital workflow presents its unique challenges and rewards.
We’ve explored how a foundational understanding of clean topology and strategic UV mapping underpins visual fidelity, how rendering engines breathe life into static meshes with physically accurate lighting, and how rigorous optimization transforms high-detail models into fluid, interactive experiences for games, AR, and VR. Crucially, we’ve seen how the digital realm extends into the physical through additive manufacturing, allowing for rapid prototyping and the creation of bespoke components from your automotive 3D designs.
Whether you’re aiming to create stunning marketing visuals, immersive game assets, or functional custom 3D car parts, the principles discussed here form the bedrock of successful 3D automotive projects. Platforms like 88cars3d.com provide a gateway to high-quality, pre-made 3D car models, empowering artists and developers to jumpstart their projects with assets that adhere to professional standards. Embrace these techniques, stay curious about emerging technologies, and continue to push the boundaries of what’s possible in the exhilarating world of 3D automotive design.
Featured 3D Car Models
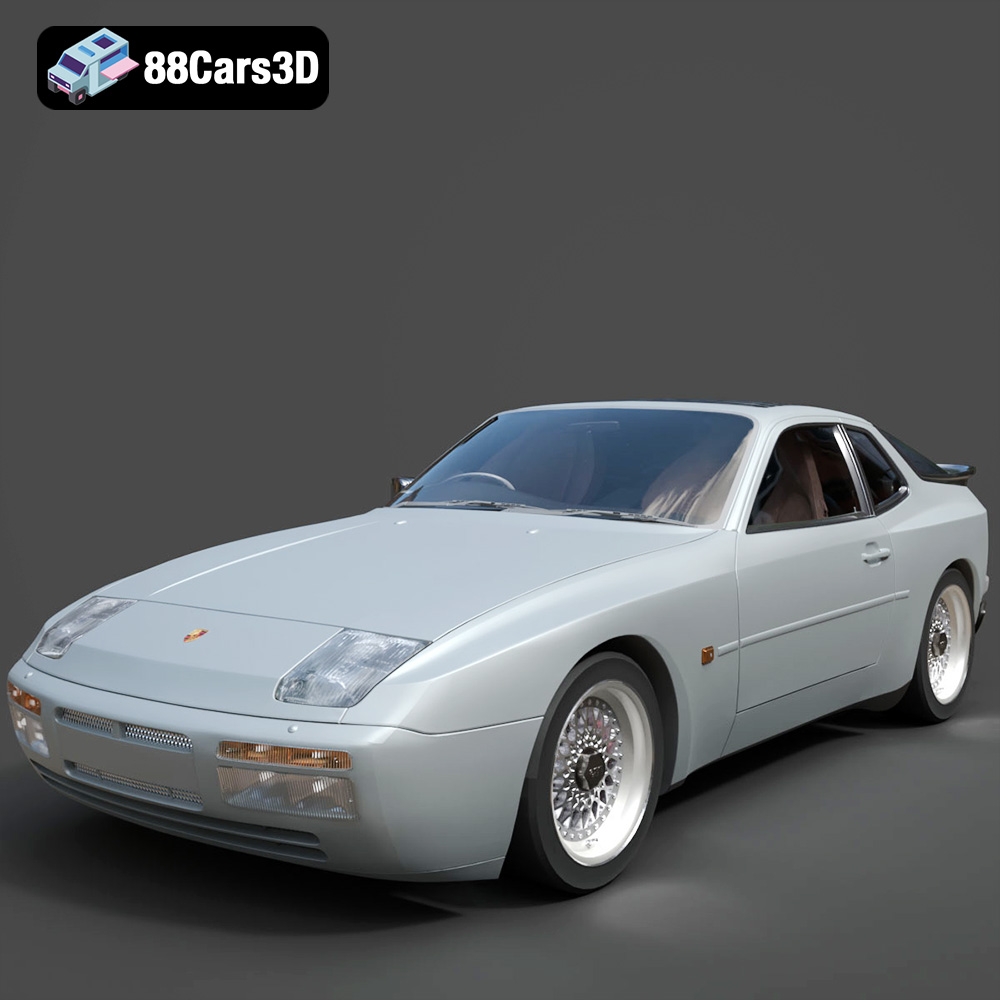
Porsche 944 3D Model
Texture: Yes
Material: Yes
Download the Porsche 944 3D Model featuring clean geometry, realistic detailing, and a fully modeled interior. Includes .blend, .fbx, .obj, .glb, .stl, .ply, .unreal, and .max formats for rendering, simulation, and game development.
Price: $10
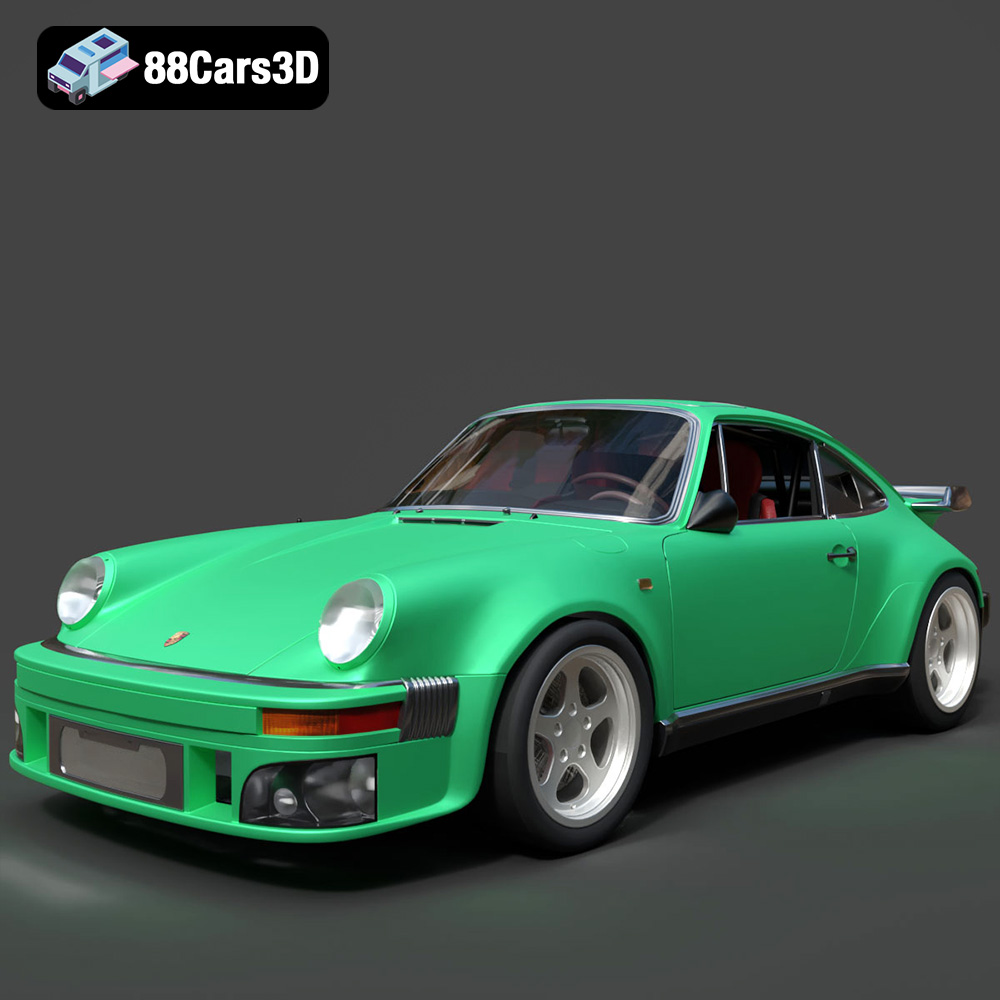
Porsche 964 3D Model
Texture: Yes
Material: Yes
Download the Porsche 964 3D Model featuring clean geometry, realistic detailing, and a fully modeled interior. Includes .blend, .fbx, .obj, .glb, .stl, .ply, .unreal, and .max formats for rendering, simulation, and game development.
Price: $10

Porsche 911 Carrera S 2012 3D Model
Texture: Yes
Material: Yes
Download the Porsche 911 Carrera S 2012 3D Model featuring clean geometry, realistic detailing, and a fully modeled interior. Includes .blend, .fbx, .obj, .glb, .stl, .ply, .unreal, and .max formats for rendering, simulation, and game development.
Price: $10

Porsche 911 Carrera S Cabriolet 2012 3D Model
Texture: Yes
Material: Yes
Download the Porsche 911 Carrera S Cabriolet (991) 3D Model featuring clean geometry, realistic detailing, and a fully modeled interior. Includes .blend, .fbx, .obj, .glb, .stl, .ply, .unreal, and .max formats for rendering, simulation, and game development.
Price: $10
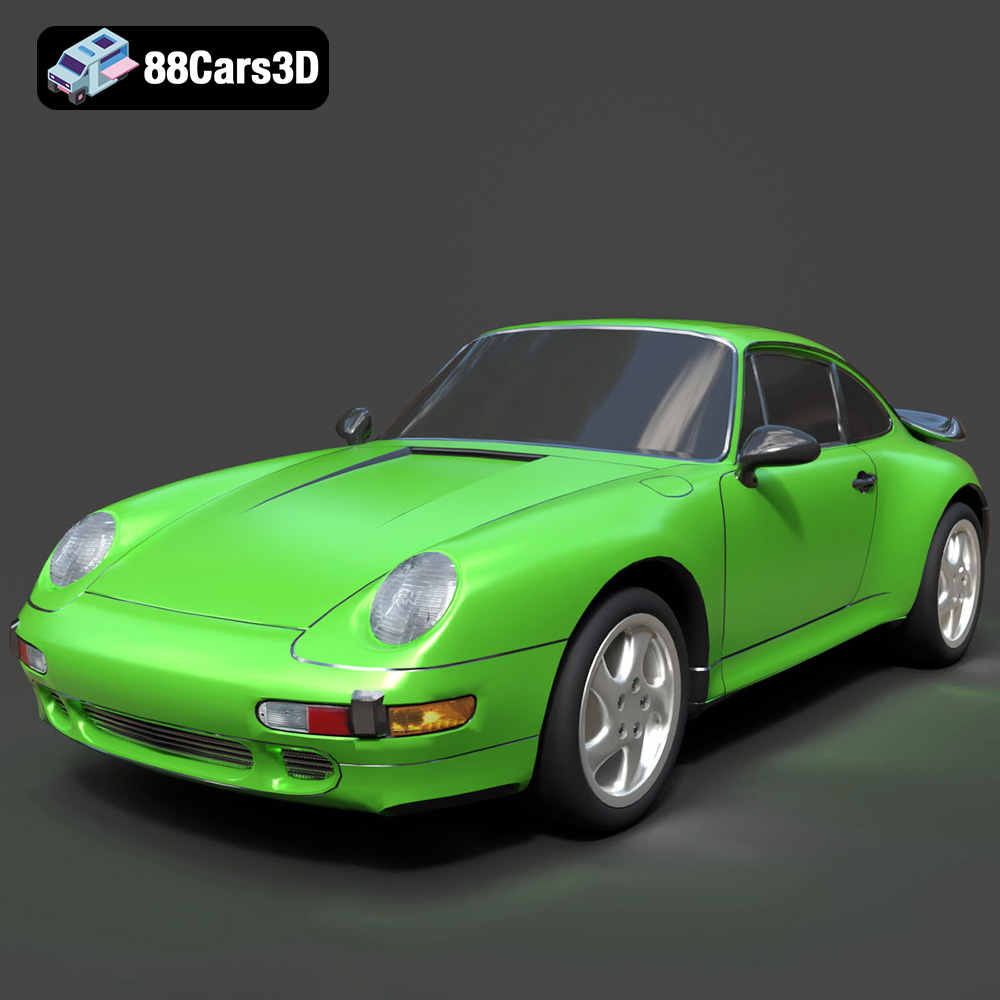
Porsche 911 Turbo (993) 3D Model
Texture: Yes
Material: Yes
Download the Porsche 911 Turbo (993) 3D Model featuring clean geometry, realistic detailing, and a fully modeled interior. Includes .blend, .fbx, .obj, .glb, .stl, .ply, .unreal, and .max formats for rendering, simulation, and game development.
Price: $10
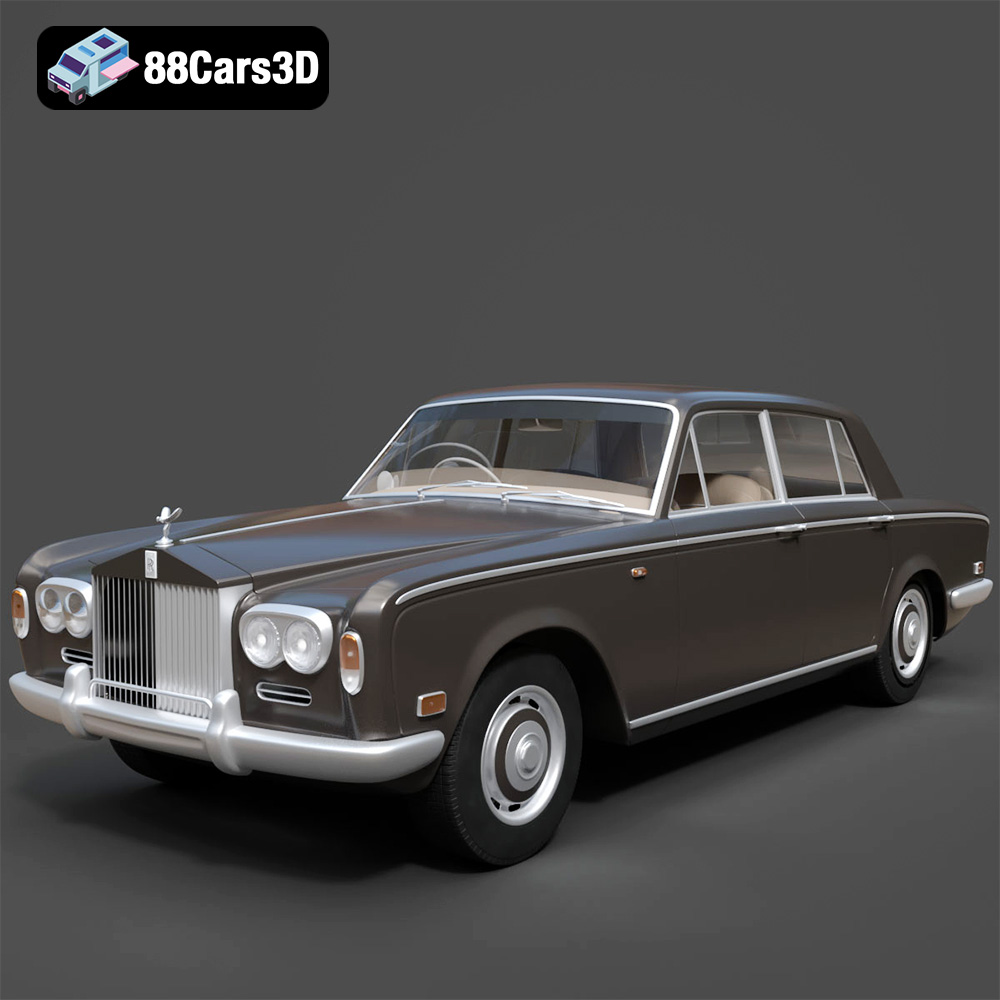
Rolls Royce Silver Shadow 1975 3D Model
Texture: Yes
Material: Yes
Download the Rolls Royce Silver Shadow 1975 3D Model featuring clean geometry, realistic detailing, and a fully modeled interior. Includes .blend, .fbx, .obj, .glb, .stl, .ply, .unreal, and .max formats for rendering, simulation, and game development.
Price: $6.99
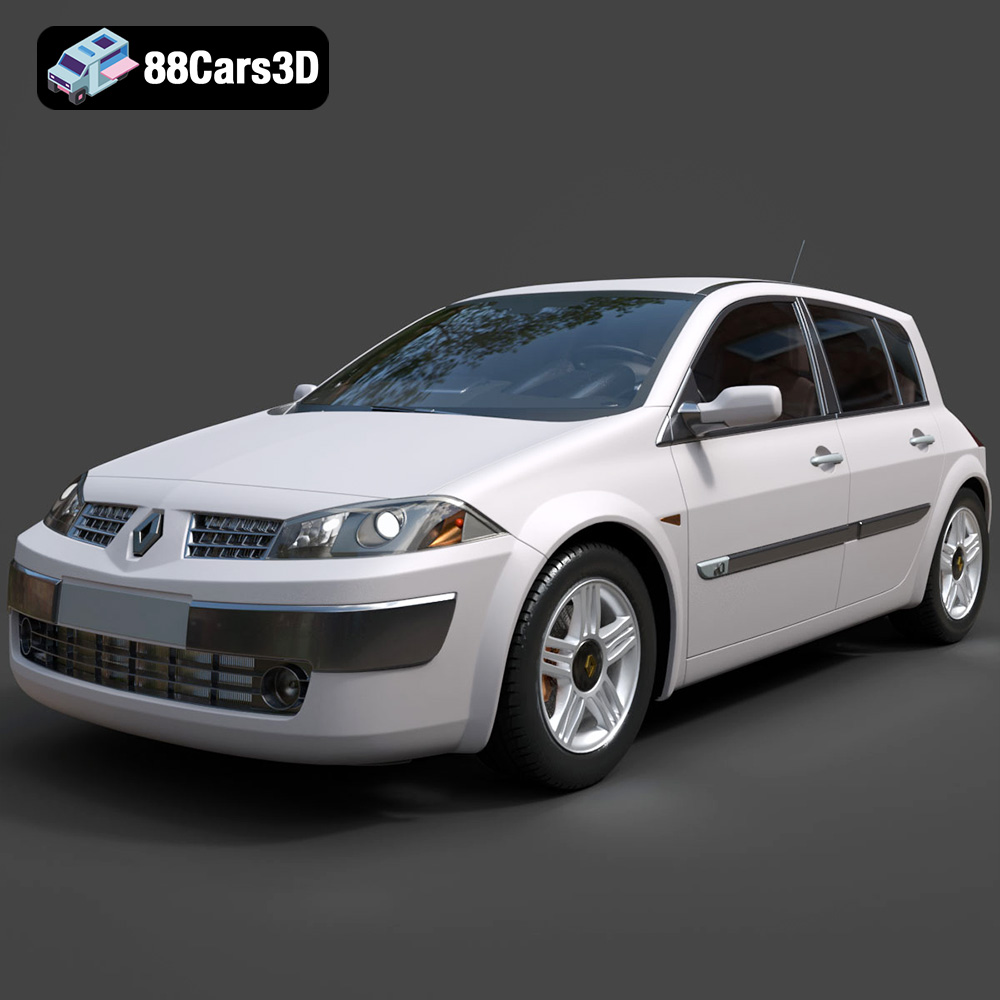
Renault Megane II 2009 3D Model
Texture: Yes
Material: Yes
Download the Renault Megane II 2009 3D Model featuring clean geometry, realistic detailing, and a fully modeled interior. Includes .blend, .fbx, .obj, .glb, .stl, .ply, .unreal, and .max formats for rendering, simulation, and game development.
Price: $6.99
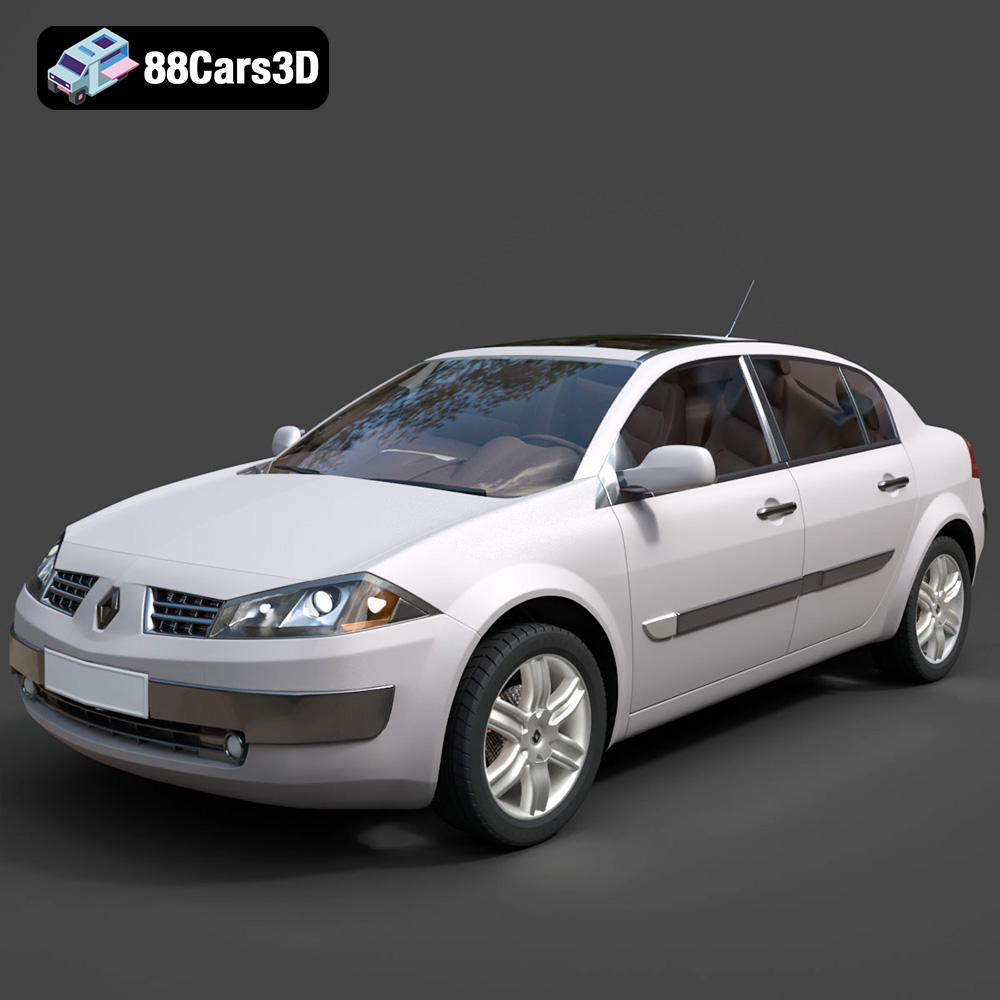
Renault Megane Sedan 3D Model
Texture: Yes
Material: Yes
Download the Renault Megane Sedan 3D Model featuring clean geometry, realistic detailing, and a fully modeled interior. Includes .blend, .fbx, .obj, .glb, .stl, .ply, .unreal, and .max formats for rendering, simulation, and game development.
Price: $6.99

Renault Twingo RS-009 3D Model
Texture: Yes
Material: Yes
Download the Renault Twingo RS-009 3D Model featuring clean geometry, realistic detailing, and a fully modeled interior. Includes .blend, .fbx, .obj, .glb, .stl, .ply, .unreal, and .max formats for rendering, simulation, and game development.
Price: $6.99

Renault Scenic 2010 3D Model
Texture: Yes
Material: Yes
Download the Renault Scenic 2010 3D Model featuring clean geometry, realistic detailing, and a fully modeled interior. Includes .blend, .fbx, .obj, .glb, .stl, .ply, .unreal, and .max formats for rendering, simulation, and game development.
Price: $6.99
