The Foundation: Crafting High-Quality 3D Car Models
The automotive industry has always been at the forefront of innovation, driven by a relentless pursuit of design excellence, performance, and user experience. In the digital age, this pursuit often begins not on the factory floor, but within the virtual confines of 3D modeling software. High-quality 3D car models are no longer just tools for cinematic renders or game environments; they are foundational assets enabling everything from rapid prototyping and custom part manufacturing through 3D printing to immersive AR/VR experiences and hyper-realistic visualizations.
This comprehensive guide delves into the multifaceted world of automotive 3D models, exploring their journey from meticulously crafted digital assets to tangible custom car parts and breathtaking visual presentations. We’ll uncover the intricate technical details of creating, optimizing, and deploying these models across various applications, from the fundamental principles of topology and PBR materials to advanced rendering workflows, game engine integration, and the transformative power of 3D printing for custom automotive designs. Whether you’re a seasoned 3D artist, an aspiring automotive designer, a game developer, or simply fascinated by the intersection of digital and physical design, prepare to unlock the full potential of high-fidelity 3D car models.
The Foundation: Crafting High-Quality 3D Car Models
At the heart of any successful automotive 3D project lies a meticulously crafted model. The quality of the digital asset dictates its versatility and fidelity across all subsequent applications, whether it’s for photorealistic rendering, real-time game environments, or precise 3D printing. Understanding the core principles of 3D modeling topology, UV mapping, and PBR material creation is paramount to achieving professional results.
Topology and Edge Flow for Automotive Precision
Clean topology is the backbone of a high-quality 3D car model. It refers to the arrangement of polygons (primarily quads) that define the mesh surface. For automotive models, ideal topology ensures smooth, subdivision-ready surfaces, accurate reflections, and predictable deformations. Good edge flow follows the natural curvature and creases of a car’s design, creating tight loops around panel gaps, wheel arches, and character lines. This is critical for maintaining sharp details while allowing for smooth sculpting or deformation. For instance, specific edge loops should define the precise cut lines of doors, hoods, and trunks. Without proper edge flow, applying subdivision modifiers (like TurboSmooth in 3ds Max or Subdivision Surface in Blender) can lead to pinching, artifacting, or unnatural bulging, compromising the car’s sleek aesthetic. Professional models typically strive for an all-quad mesh, as triangles can cause unpredictable shading and issues during subdivision or mesh editing.
PBR Materials and Realistic Texturing
Physically Based Rendering (PBR) has revolutionized the way materials are created, ensuring consistent and realistic lighting response across different rendering environments. A PBR material system typically involves several texture maps:
- Albedo (Base Color): Defines the intrinsic color of the surface, free from lighting information.
- Metallic: A grayscale map indicating whether a surface is metallic (white) or dielectric (black).
- Roughness: Controls the microscopic surface irregularities, influencing how light reflects (rougher surfaces scatter light, appearing duller; smoother surfaces reflect sharply).
- Normal Map: Adds high-frequency surface detail without increasing polygon count, simulating bumps and grooves.
- Ambient Occlusion (AO): Simulates soft self-shadowing in crevices and corners, adding depth.
For automotive models, creating realistic car paint, chrome, glass, rubber, and interior fabrics requires a deep understanding of these maps. Car paint, for example, often uses complex shader networks to simulate clear coat, metallic flakes, and subsurface scattering. High-resolution textures (e.g., 4K or 8K for primary body parts, 2K for interiors) are essential for close-up renders, ensuring that fine details like tire tread patterns or dashboard stitching remain sharp and convincing. Sourcing reliable models from marketplaces such as 88cars3d.com provides a strong foundation with pre-configured PBR materials, ready for integration into various rendering pipelines.
UV Mapping Strategies for Complex Surfaces
UV mapping is the process of flattening the 3D surface of a model into a 2D space, allowing 2D textures to be applied accurately. For complex automotive shapes, efficient and seamless UV unwrapping is crucial. Poor UVs result in texture stretching, seams, and difficulties in painting or baking light maps. Strategies include:
- Planar Mapping: Suitable for flat or slightly curved surfaces.
- Cylindrical/Spherical Mapping: Useful for tires or round elements.
- Pelting/Unfolding: The most common method for complex parts, involving cutting seams along natural edges (like panel gaps) to minimize distortion when unfolding the mesh.
For large or highly detailed car models, UDIM (U-Dimension) workflow is often employed. This system allows a single model to use multiple UV tiles, each with its own high-resolution texture set, preventing resolution loss and simplifying texture management for professional texturing software like Mari or Substance Painter. The goal is to maximize UV space utilization without overlapping, providing artists maximum flexibility for detailed texturing.
From Digital Asset to Physical Reality: 3D Printing Automotive Models
The journey of a 3D car model doesn’t always end on screen. 3D printing offers an incredible avenue to transform digital designs into tangible objects, enabling everything from scale models and collectible figurines to functional custom car parts and prototypes. However, preparing a digital model for 3D printing requires specific considerations that differ significantly from rendering or game development.
Preparing 3D Models for Print – Mesh Integrity
The most critical aspect of preparing a 3D model for printing is ensuring its mesh integrity. A model intended for 3D printing must be “watertight” or “manifold.” This means that the mesh must form a completely enclosed volume with no gaps, holes, inverted normals, or self-intersecting geometry. Non-manifold edges (edges shared by more than two faces) or disconnected vertices can cause the slicer software (which prepares the model for the 3D printer) to fail or produce errors. Common issues include:
- Open Edges: Gaps in the mesh where surfaces don’t connect.
- Flipped Normals: Faces pointing inwards instead of outwards, confusing the printer about the model’s interior and exterior.
- Interpenetrating Geometry: Parts of the mesh overlapping or passing through each other.
Software tools like Autodesk Meshmixer, Netfabb, or even built-in mesh analysis tools in Blender or 3ds Max are invaluable for detecting and repairing these issues. Often, a “solidify” modifier can help close thin meshes, and a “remesh” operation can unify disparate parts into a single, printable volume. Exporting to STL (Stereolithography) format is standard for 3D printing, as it’s a simple triangulation of the surface, directly interpretable by slicers.
Scale, Orientation, and Support Structures
Once the mesh is watertight, attention shifts to print-specific parameters.
- Scale: The digital model must be scaled correctly to fit the desired physical dimensions and the build volume of the 3D printer. Converting units (e.g., meters to millimeters) is a common step.
- Orientation: How the model is positioned on the print bed significantly impacts print success. Orienting a car model to minimize overhangs can reduce the need for support structures and improve surface quality. For FDM (Fused Deposition Modeling) printers, this might mean printing a car chassis on its side to reduce sagging.
- Support Structures: Overhangs and bridges in a model require temporary support structures during printing to prevent collapse. While necessary, excessive supports can increase print time, material usage, and post-processing effort. Different printing technologies (FDM, SLA, SLS) have varying support requirements. SLA (Stereolithography) printers, which use resin, generally require finer supports and can achieve higher detail, making them ideal for detailed car models. SLS (Selective Laser Sintering) typically requires no supports as the unfused powder acts as support.
Careful planning in these areas can drastically improve print quality and reduce production costs.
Material Selection and Post-Processing
The choice of 3D printing material depends on the desired properties of the final automotive model or part.
- FDM Materials: PLA (Polylactic Acid) is easy to print and good for general models. ABS (Acrylonitrile Butadiene Styrene) is stronger and more temperature resistant, suitable for functional prototypes. PETG (Polyethylene Terephthalate Glycol) offers a good balance of strength and ease of use.
- SLA Resins: Offer high detail and smooth finishes, perfect for display models or intricate parts. Various resins exist for different purposes: standard, tough, flexible, or high-temp.
Post-processing is crucial for achieving a professional finish. This can involve removing supports, sanding to smooth layer lines, applying primers, painting (often with automotive-grade paints for realism), and clear coating. For complex car models, assembly of multiple printed parts may also be required, ensuring all elements fit together precisely, just as they do in the digital design.
Custom Car Parts and Prototyping with 3D Printing
The ability to rapidly prototype and manufacture custom components is one of the most transformative applications of 3D printing in the automotive sector. It empowers designers and enthusiasts to iterate quickly, create unique modifications, and even reproduce obsolete parts.
Rapid Prototyping in Automotive Design
3D printing has become indispensable for rapid prototyping in automotive design. Instead of costly and time-consuming traditional manufacturing methods, designers can print multiple iterations of a part within hours or days. This allows for quick physical evaluation of ergonomics, fit, form, and aesthetics before committing to mass production. For example, interior design teams can prototype dashboard layouts, console buttons, or intricate vent designs. Exterior designers can print scale models of new body kits or aerodynamic components to test visual appeal and even conduct rudimentary wind tunnel tests on physical models. This iterative design process significantly reduces development cycles and overall costs, accelerating innovation in new vehicle development and aftermarket customization. High-fidelity 3D car models purchased from 88cars3d.com serve as an excellent starting point for this, allowing designers to quickly modify existing components or design new ones that integrate seamlessly with established vehicle architectures.
Creating Functional Custom Parts
Beyond visual prototypes, 3D printing enables the creation of functional custom car parts. This includes everything from bespoke interior trim pieces and dashboard mounts for custom electronics to specialized engine bay brackets, air intake components, or aerodynamic spoilers. The key here is selecting appropriate materials that can withstand the demanding conditions of an automotive environment (temperature fluctuations, vibrations, UV exposure, chemical resistance). Reinforced nylon, carbon fiber-infused plastics, or even printed metals are increasingly used for these applications. When designing functional parts, engineers must consider wall thickness, infill density, and stress points to ensure structural integrity. For instance, a custom bracket for a turbocharger might require higher infill and a stronger material like Ultem or PEEK for heat resistance and rigidity, whereas a glove box organizer might suffice with a standard PLA print.
Small Batch Manufacturing and Restoration
3D printing is also a game-changer for small batch manufacturing and the restoration of classic cars. For vehicles where original parts are no longer available, 3D scanning the broken or missing component can create a precise digital replica, which can then be 3D printed. This breathes new life into vintage cars, allowing owners to replace intricate trim, unique mechanical components, or even complex headlight housings. For customizers, it enables the creation of limited-run components that are tailored to specific vehicle builds, offering unparalleled personalization. Think custom widebody fender flares, unique grille designs, or personalized interior switchgear. This capability democratizes manufacturing, making specialized parts accessible without the need for expensive tooling or high minimum order quantities traditionally associated with conventional production methods.
Advanced Rendering and Visualization with Automotive 3D Models
While 3D printing brings models into the physical realm, advanced rendering techniques push the boundaries of visual realism, creating breathtaking images and animations for marketing, design reviews, and immersive experiences. This requires a deep understanding of lighting, materials, and rendering pipelines.
Lighting and Environment Setup for Realism
Realistic lighting is arguably the most crucial element for convincing automotive renders. The way light interacts with the car’s surfaces dictates its perceived realism.
- HDRIs (High Dynamic Range Images): These are panoramic images that capture real-world light information (intensity, color, and reflections). Used as environment maps, HDRIs provide incredibly realistic and consistent lighting, often mirroring specific real-world locations or studio setups.
- Physical Lights: In addition to HDRIs, physical light sources (area lights, spotlights, directional lights) are used to simulate studio softboxes, sun flares, or practical lights. Careful placement emphasizes car features, creates dramatic shadows, and highlights the body’s curves.
- Reflection and Refraction: Accurate reflections on the car’s paint, chrome, and glass are paramount. The environment and surrounding objects must be rendered realistically to be reflected, adding depth and immersion. Glass materials require precise refraction settings to simulate true optical properties.
A typical studio setup for a car render might involve a large, soft area light overhead, two large softboxes on either side, and a strong key light to highlight specific details, all influenced by an HDRI. For exterior shots, a high-quality outdoor HDRI combined with a simulated sun light provides photorealistic results.
Rendering Engines and Workflows
The choice of rendering engine significantly impacts workflow, render times, and final output quality.
- CPU-based Ray Tracers (e.g., Corona Renderer for 3ds Max, V-Ray for 3ds Max/Maya, Arnold for Maya/3ds Max, Cycles for Blender): Known for their unparalleled realism, these engines simulate light physics accurately. They are excellent for photorealistic stills and animations but can be computationally intensive, leading to longer render times. Workflows typically involve setting up cameras, lights, materials, and then fine-tuning render settings for quality vs. speed.
- GPU-based Renderers (e.g., Octane, Redshift, Blender’s Cycles with GPU acceleration): These leverage the power of graphics cards for faster rendering, often providing interactive real-time feedback in the viewport. They are gaining popularity for their speed and ability to handle complex scenes.
- Real-time Renderers (e.g., Blender’s Eevee, Unreal Engine, Unity’s High Definition Render Pipeline): Designed for interactive experiences, these engines prioritize speed. While not achieving the same level of absolute physical accuracy as offline ray tracers, they can produce stunning results, especially when paired with advanced techniques like screen-space reflections, global illumination, and optimized PBR materials.
Professional workflows often involve rendering in passes (e.g., beauty, reflection, refraction, shadow, AO) to allow for greater control during post-processing and compositing.
Post-Processing and Compositing Techniques
Even the most stunning raw render can be significantly enhanced through post-processing. This step is where renders truly come to life and match professional photography.
- Color Grading: Adjusting hue, saturation, and luminance to establish mood and visual consistency.
- Exposure and Contrast Adjustment: Fine-tuning the overall brightness and dynamic range.
- Depth of Field (DOF): Simulating camera lens blur to draw attention to the car and create a sense of scale.
- Motion Blur: Essential for animated shots to convey speed and realism.
- Lens Effects: Adding subtle lens flares, chromatic aberration, or vignetting to mimic real camera optics.
- Compositing Render Passes: Using software like Photoshop, After Effects, or Nuke to combine separate render passes (e.g., adding a reflection pass on top of a beauty pass with a screen blend mode) for maximum flexibility and control. This allows artists to adjust individual elements of the render without re-rendering the entire scene.
Attention to these details can elevate a good render to an exceptional one, mirroring the high standards seen in automotive advertising and design showcases.
Game Engine Integration and AR/VR Optimization
The interactive demands of game development, virtual reality (VR), and augmented reality (AR) require a different approach to 3D car models. Here, performance optimization is paramount, balancing visual fidelity with real-time responsiveness. High-quality 3D car models, such as those found on 88cars3d.com, often come pre-optimized or with variations suitable for real-time applications.
Optimizing 3D Car Models for Real-time Applications
Game engines and AR/VR platforms have strict performance budgets regarding polygon counts, texture memory, and draw calls. Therefore, significant optimization is required:
- LODs (Level of Detail): Creating multiple versions of the same car model with decreasing polygon counts. LOD0 (high poly) is used when the car is close to the camera, LOD1 (medium poly) for mid-distance, and LOD2 (low poly) for far distances. This dramatically reduces the computational load without noticeable quality loss. A typical car might have LOD0 at 100,000-200,000 polygons, LOD1 at 30,000-50,000, and LOD2 at 5,000-10,000.
- Polygon Reduction: Tools within 3ds Max, Maya, or Blender (e.g., ProOptimizer, Decimate Modifier) are used to intelligently reduce polygon count while preserving key shapes and details.
- Draw Call Optimization: Minimizing the number of times the GPU is told to draw something. This often involves combining multiple meshes into a single mesh and using texture atlases.
- Texture Atlasing: Consolidating multiple smaller textures (e.g., for different interior parts) into a single, larger texture sheet. This reduces texture swapping and improves rendering performance.
These techniques ensure smooth frame rates, which are crucial for a comfortable and immersive user experience.
Importing and Setting up in Unity/Unreal Engine
Once optimized, 3D car models are imported into game engines. The FBX format is widely preferred for its ability to store geometry, UVs, PBR material assignments, and even animations.
- Material Setup: After import, PBR textures (Albedo, Metallic, Roughness, Normal, AO) are assigned to the car’s materials within the engine’s material editor. Modern game engines like Unity and Unreal Engine have robust PBR workflows that closely mimic real-world light interactions.
- Collision Meshes: For physics and interaction, simplified collision meshes are created, often separate from the visual mesh, to define the car’s physical boundaries. This is more efficient than using the high-poly visual mesh for collision detection.
- Rigid Bodies and Physics: Attaching a rigid body component and configuring physics settings allows the car to interact realistically with the environment, essential for driving simulators or racing games.
- Skeletal Mesh (for doors, wheels, etc.): For animated parts like doors, hoods, or independent suspension, the car model may be rigged with a skeletal hierarchy, allowing these elements to move independently.
Careful setup ensures the car looks and behaves correctly within the interactive environment.
AR/VR Specific Considerations
Augmented Reality (AR) and Virtual Reality (VR) applications demand even stricter optimization due to the need for very high frame rates (e.g., 90 FPS for VR to prevent motion sickness) and the limited processing power of mobile AR devices.
- Extreme Polygon Reduction: Models for mobile AR might need to be as low as 10,000-30,000 polygons for an entire car, often achieved through aggressive decimation and normal map baking.
- Optimized Shaders: Using mobile-friendly shaders that have fewer calculations per pixel.
- Texture Streaming: Loading textures dynamically based on proximity to the camera to save memory.
- Dedicated AR/VR Formats: USDZ (Universal Scene Description Zip) for Apple’s ARKit and GLB (GL Transmission Format Binary) for Google’s ARCore and web-based AR are becoming standard, providing a compact, asset-rich format for efficient delivery and rendering on mobile devices. These formats typically embed all necessary geometry, PBR materials, and animations into a single file, making them ideal for quick deployment in AR experiences.
These techniques are vital for creating seamless and performant interactive experiences, allowing users to place a virtual car in their driveway or explore it in a virtual garage with convincing realism.
File Formats, Compatibility, and Professional Workflows
Navigating the diverse landscape of 3D software and applications requires a solid understanding of different 3D file formats and how to manage them effectively. Compatibility and data integrity are key to smooth professional workflows, especially when dealing with complex automotive designs.
Understanding Key 3D File Formats
The 3D industry utilizes numerous file formats, each with its strengths and specific applications:
- FBX (Filmbox): Developed by Autodesk, FBX is one of the most versatile and widely supported formats. It can store not only geometry and UVs but also materials (including PBR properties), textures, animations, rigging, and camera information. It’s the go-to for transferring models between 3D software (e.g., 3ds Max to Maya), and to game engines like Unity and Unreal.
- OBJ (Wavefront Object): A universal, older format that is excellent for transferring geometry and UV coordinates. It’s ASCII-based and human-readable, making it robust for basic mesh transfer. However, it doesn’t support complex material networks, animations, or rigging directly, relying on companion MTL (Material Template Library) files for basic material definitions.
- GLB (GL Transmission Format Binary): The binary version of glTF, specifically designed for web-based 3D, AR/VR, and real-time applications. It packages all assets (geometry, materials, textures, animations) into a single, compact file, making it highly efficient for streaming and quick loading.
- USDZ (Universal Scene Description Zip): Apple’s proprietary format for ARKit, based on Pixar’s USD. Like GLB, it’s an archive format for highly optimized 3D scenes, ideal for augmented reality experiences on iOS devices.
- STEP (Standard for the Exchange of Product model data) / IGES (Initial Graphics Exchange Specification): These are CAD (Computer-Aided Design) neutral formats, primarily used in engineering and manufacturing. They store precise geometric definitions (NURBS surfaces) rather than polygon meshes. While not directly usable for rendering or game engines without conversion, they are crucial for maintaining design integrity in an engineering pipeline.
Knowing which format to use for a specific task is crucial for efficient data exchange and maintaining fidelity.
Conversion Strategies and Data Integrity
Converting between 3D file formats can sometimes be challenging, as different formats support varying levels of data complexity.
- Lossless vs. Lossy Conversion: Converting from a polygon-based format (like FBX) to another (like OBJ) is generally lossless for geometry. However, converting from a CAD format (like STEP with NURBS data) to a polygon mesh (like FBX) is inherently lossy, as NURBS surfaces are approximated by polygons. This requires careful triangulation settings to ensure the resulting mesh is smooth enough for rendering but optimized for performance.
- Unit and Scale Consistency: Always ensure unit consistency during import/export. A model built in centimeters in 3ds Max imported into Unity, which defaults to meters, will appear 100 times too small. Most 3D software offers scaling options during import/export.
- Pivot Points and Transformations: Verify that pivot points (the origin of an object’s transformations) and object transformations (position, rotation, scale) are maintained correctly. Resetting transformations (e.g., “Freeze Transformations” in Maya or “Reset XForm” in 3ds Max) before export can prevent issues.
- Material and Texture Embedding: When exporting to formats like FBX or GLB, ensure that materials and textures are properly embedded or linked, so they appear correctly in the target application.
Tools like Autodesk FBX Converter, Blender’s extensive import/export options, and dedicated asset pipelines facilitate these conversions, but manual checks are always recommended to ensure data integrity.
Collaborative Workflows and Version Control
Professional automotive 3D projects often involve multiple artists and designers collaborating across different software and disciplines. Efficient workflows and version control are essential:
- Asset Management Systems: Platforms like Shotgun, Perforce, or even simpler cloud storage solutions (Google Drive, Dropbox) with versioning capabilities help manage vast libraries of 3D assets, textures, and project files.
- Naming Conventions and Folder Structures: Establishing clear, consistent naming conventions for files, objects, and materials, along with a logical folder structure, is paramount for organization and efficient collaboration. For example, “Car_Sedan_Body_LOD0,” “Tex_Car_Sedan_Albedo_4K.”
- Iterative Saving and Backup: Regularly saving incremental versions of files (e.g., “Car_v001.max,” “Car_v002.max”) and maintaining robust backup strategies prevent data loss and allow easy rollback to previous stages of development.
- Utilizing Marketplaces: Sourcing high-quality base models from professional marketplaces like 88cars3d.com significantly jumpstarts projects. These platforms offer pre-optimized models with clean topology, PBR materials, and multiple file formats, saving artists hundreds of hours in initial modeling and optimization. This allows teams to focus on customization, integration, and final polish rather than recreating foundational assets.
These practices ensure a smooth, efficient, and error-free pipeline from initial concept to final deployment, whether for rendering, game development, 3D printing, or immersive visualization.
Conclusion
The journey of a 3D car model is a testament to the power and versatility of digital design. From the intricate details of its digital creation, with meticulous attention to topology, UV mapping, and PBR materials, to its transformation into a tangible object through 3D printing, and its vibrant display in hyper-realistic renders or interactive game environments, high-quality 3D automotive assets drive innovation across numerous industries.
We’ve explored how a robust digital foundation supports everything from rapid prototyping and custom part manufacturing in the physical world to sophisticated rendering workflows that capture every glint of light and shadow, and the intricate optimizations required for seamless integration into real-time game engines and immersive AR/VR experiences. Understanding the nuances of file formats, conversion strategies, and collaborative workflows empowers artists and designers to navigate this complex landscape with confidence.
Whether you’re crafting the next generation of custom car parts, pushing the boundaries of automotive visualization, or building interactive experiences, the quality of your 3D car models is paramount. By embracing the principles and techniques discussed, you can unlock unparalleled creative potential. For those looking to accelerate their projects with a foundation of expertly crafted 3D models, platforms like 88cars3d.com offer an extensive collection of high-quality assets ready to be integrated into your next groundbreaking design or project. The future of automotive design is here, and it’s built one digital polygon, one 3D print, and one stunning render at a time.
Featured 3D Car Models
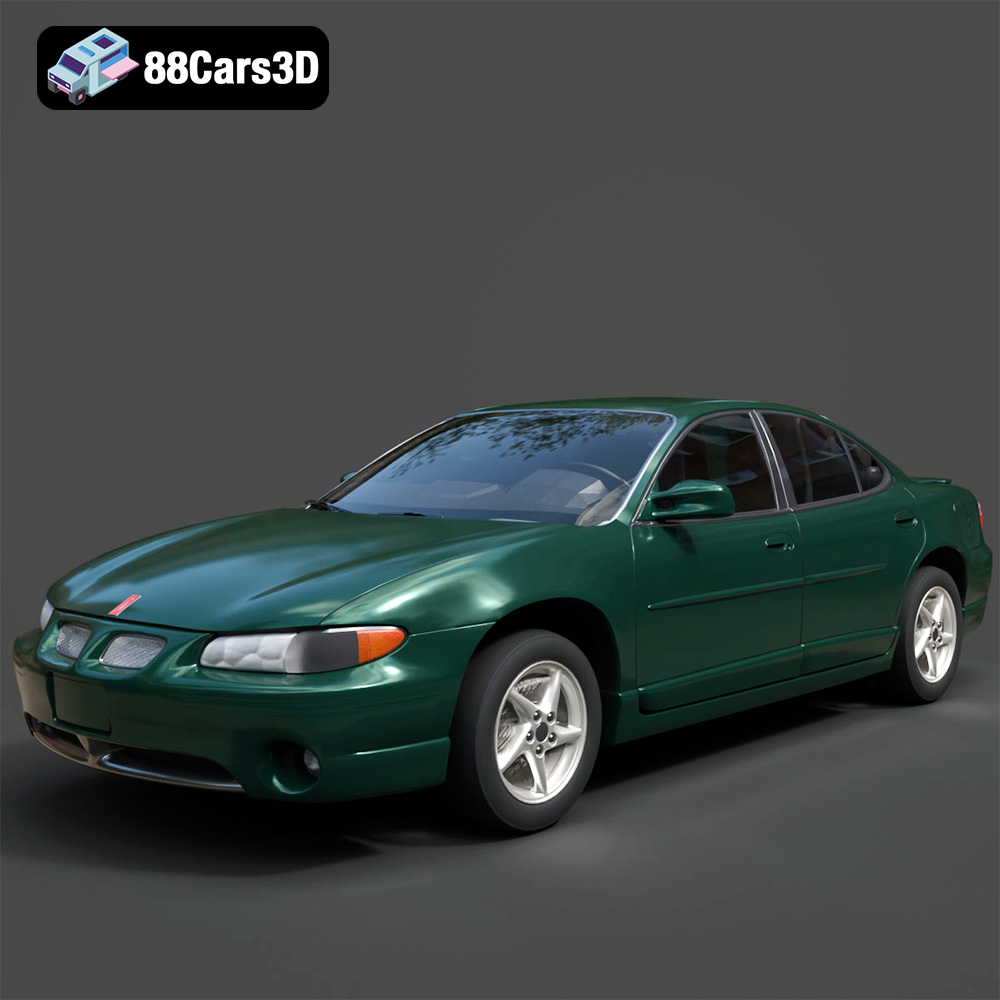
Pontiac Grand Prix GT-001 3D Model
Texture: Yes
Material: Yes
Download the Pontiac Grand Prix GT-001 3D Model featuring clean geometry, realistic detailing, and a fully modeled interior. Includes .blend, .fbx, .obj, .glb, .stl, .ply, .unreal, and .max formats for rendering, simulation, and game development.
Price: $4.99
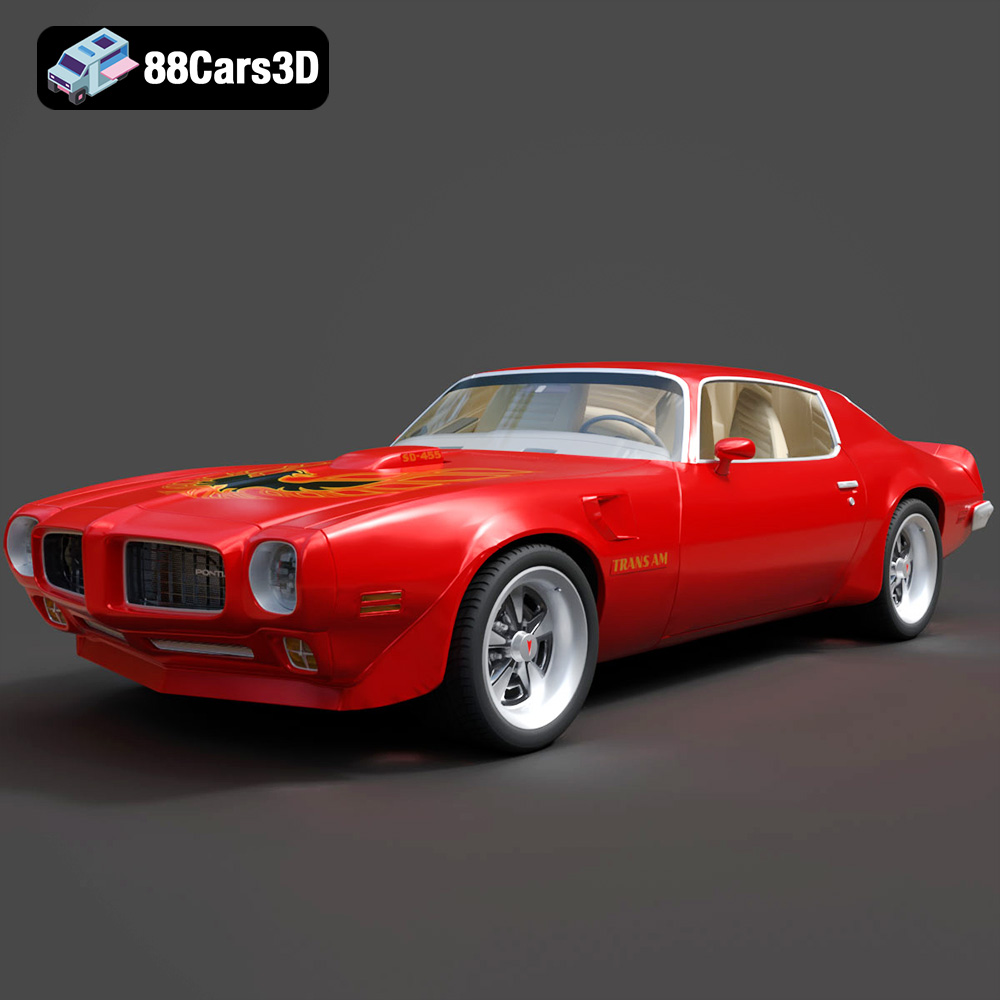
Pontiac Firebird Trans Am SD-455 3D Model
Texture: Yes
Material: Yes
Download the Pontiac Firebird Trans Am SD-455 3D Model featuring clean geometry, realistic detailing, and a fully modeled interior. Includes .blend, .fbx, .obj, .glb, .stl, .ply, .unreal, and .max formats for rendering, simulation, and game development.
Price: $4.99

Plymouth Volare 1976 3D Model
Texture: Yes
Material: Yes
Download the Plymouth Volare 1976 3D Model featuring clean geometry, realistic detailing, and a fully modeled interior. Includes .blend, .fbx, .obj, .glb, .stl, .ply, .unreal, and .max formats for rendering, simulation, and game development.
Price: $4.99

Plymouth Roadrunner 1971 3D Model
Texture: Yes
Material: Yes
Download the Plymouth Roadrunner 1971 3D Model featuring clean geometry, realistic detailing, and a fully modeled interior. Includes .blend, .fbx, .obj, .glb, .stl, .ply, .unreal, and .max formats for rendering, simulation, and game development.
Price: $4.99
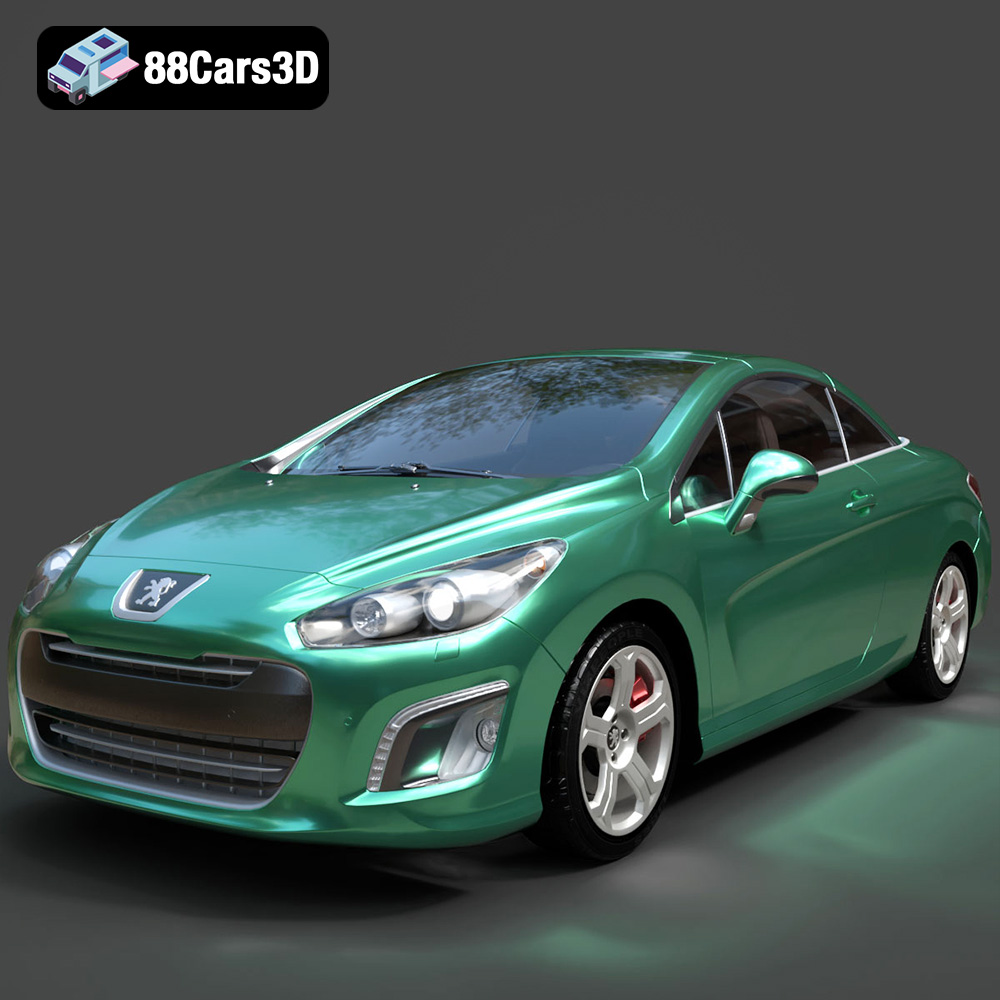
Peugeot 308 CC 2025 3D Model
Texture: Yes
Material: Yes
Download the Peugeot 308 CC 2025 3D Model featuring clean geometry, realistic detailing, and a fully modeled interior. Includes .blend, .fbx, .obj, .glb, .stl, .ply, .unreal, and .max formats for rendering, simulation, and game development.
Price: $4.99
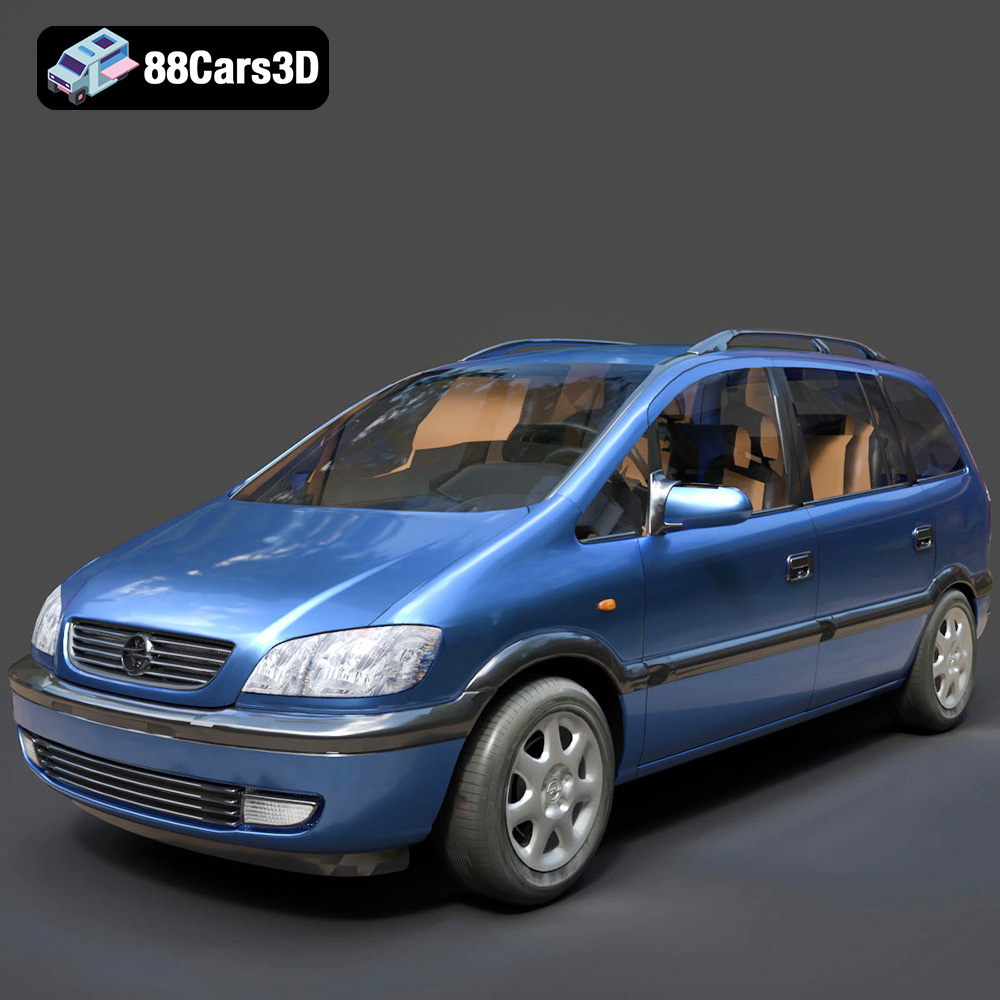
Opel Zafira 2000 3D Model
Texture: Yes
Material: Yes
Download the Opel Zafira 2000 3D Model featuring clean geometry, realistic detailing, and a fully modeled interior. Includes .blend, .fbx, .obj, .glb, .stl, .ply, .unreal, and .max formats for rendering, simulation, and game development.
Price: $4.99
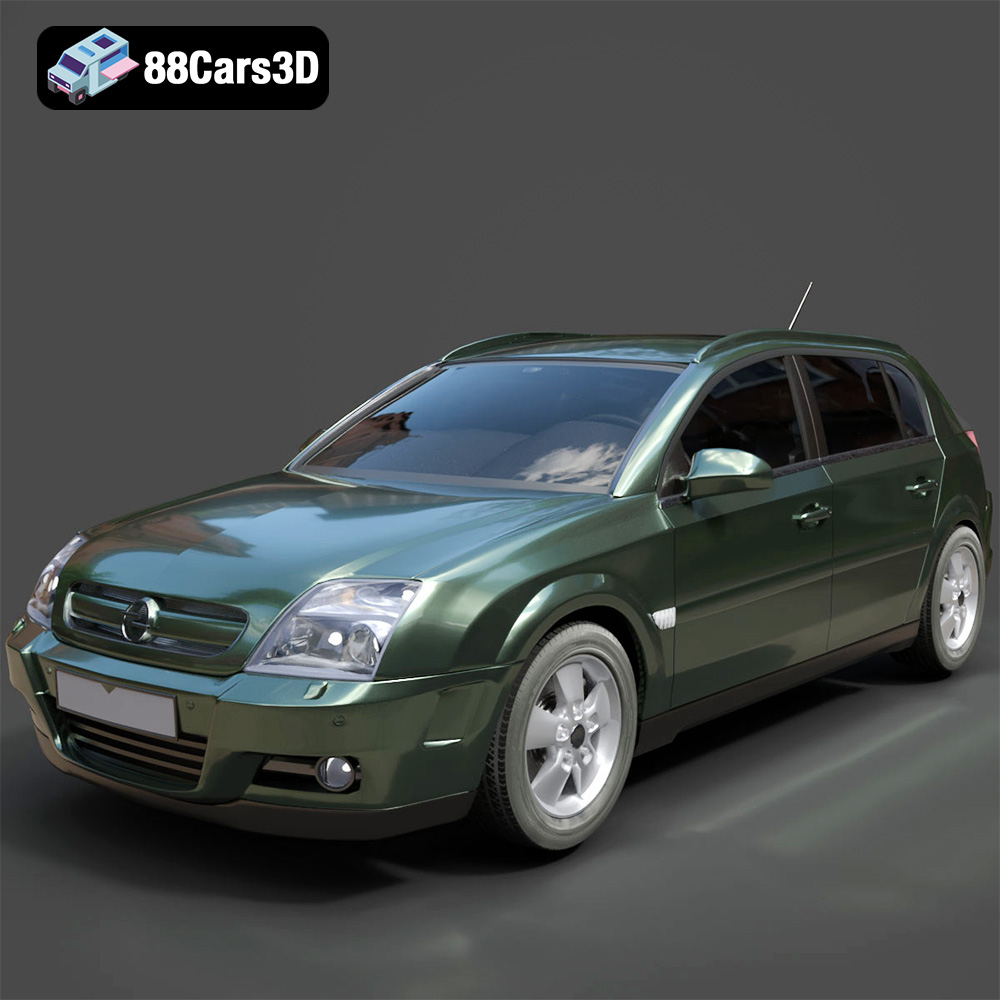
Opel Signum 2003 3D Model
Texture: Yes
Material: Yes
Download the Opel Signum 2003 3D Model featuring clean geometry, realistic detailing, and a fully modeled interior. Includes .blend, .fbx, .obj, .glb, .stl, .ply, .unreal, and .max formats for rendering, simulation, and game development.
Price: $4.99
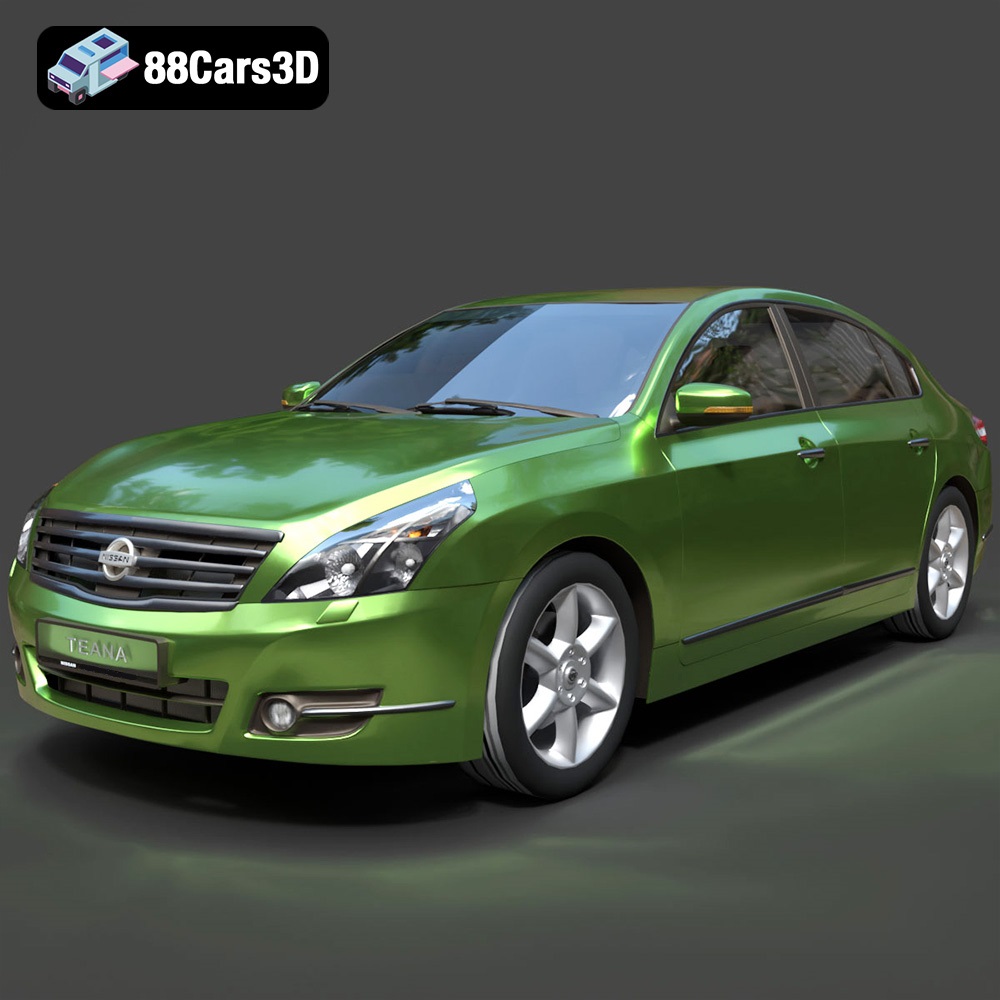
Nissan Teana 2001 3D Model
Texture: Yes
Material: Yes
Download the Nissan Teana 2001 3D Model featuring clean geometry, realistic detailing, and a fully modeled interior. Includes .blend, .fbx, .obj, .glb, .stl, .ply, .unreal, and .max formats for rendering, simulation, and game development.
Price: $4.99
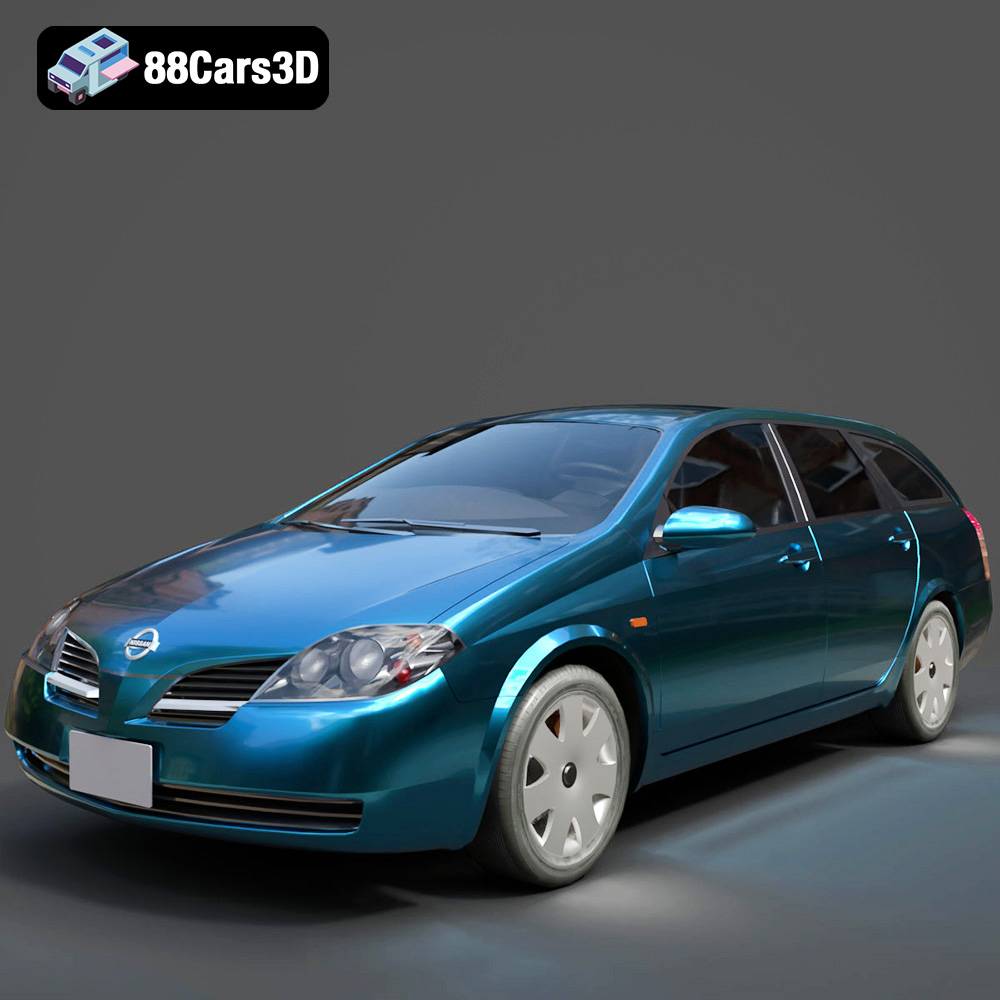
Nissan Primera Wagon 2001 3D Model
Texture: Yes
Material: Yes
Download the Nissan Primera Wagon 2001 3D Model featuring clean geometry, realistic detailing, and a fully modeled interior. Includes .blend, .fbx, .obj, .glb, .stl, .ply, .unreal, and .max formats for rendering, simulation, and game development.
Price: $4.99
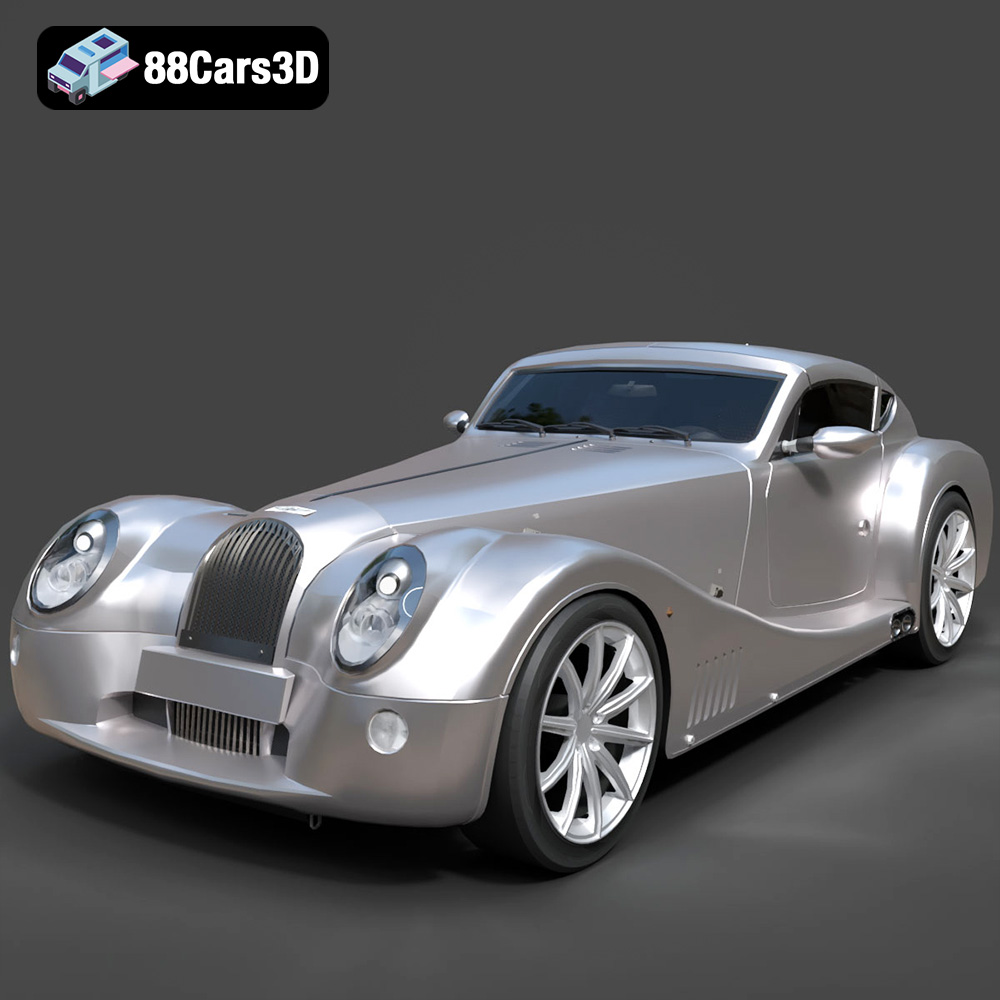
Morgan Aero Super Sports 2025 3D Model
Texture: Yes
Material: Yes
Download the Morgan Aero Super Sports 2025 3D Model featuring clean geometry, realistic detailing, and a fully modeled interior. Includes .blend, .fbx, .obj, .glb, .stl, .ply, .unreal, and .max formats for rendering, simulation, and game development.
Price: $4.99
