⚡ FLASH SALE: Get 60% OFF All Premium 3D & STL Models! ⚡
The allure of a perfectly rendered automobile, gleaming under a virtual spotlight or roaring through a digital landscape, is undeniable. But behind every photorealistic image or smooth in-game experience lies a meticulously crafted 3D model, born from an intricate blend of artistic vision and technical mastery. Creating high-quality 3D car models is a specialized art form, demanding precision at every stage, from the foundational geometry to the final pixel. For professionals in automotive design, game development, architectural visualization, and even AR/VR, understanding the underlying technical principles is paramount.
This comprehensive guide delves deep into the essential workflows and advanced techniques required to produce professional-grade 3D car models. We’ll explore critical aspects like flawless topology, precise UV mapping, realistic PBR material creation, and sophisticated rendering setups. Furthermore, we’ll tackle the nuances of optimizing these complex assets for real-time applications like games and AR/VR, and even prepare them for physical manifestation through 3D printing. Whether you’re a seasoned 3D artist aiming to refine your craft or a newcomer seeking to master the intricacies of automotive 3D, prepare to unlock the secrets to creating truly exceptional digital vehicles.
At the heart of any high-quality 3D car model lies impeccable topology. For automotive designs, where smooth, reflective surfaces are paramount, clean quad-based geometry with precise edge flow is not just a best practice—it’s a fundamental requirement. Flawed topology can lead to visible pinching, unsightly artifacts during subdivision, and difficulties in UV mapping and animation. The goal is to ensure that light reflects smoothly across curved surfaces, accurately mimicking real-world automotive finishes. This means maintaining consistent polygon density, strategically placing edge loops to define creases and contours, and meticulously managing pole vertices to minimize their visual impact.
When modeling a car, you are essentially defining how light will interact with the surface. Each polygon acts as a tiny facet, and their arrangement dictates the visual smoothness and accuracy of reflections. A high-quality car model should almost exclusively consist of quadrilaterals (four-sided polygons), as these deform predictably and allow for smooth subdivision. Triangles (three-sided polygons) can introduce undesirable pinching, especially on curved surfaces, and N-gons (polygons with more than four sides) are generally to be avoided entirely in subdivision surface modeling due to their unpredictable subdivision behavior. Strive for uniform quad distribution, avoiding stretched or overly compressed polygons, which can also lead to rendering issues.
The unwavering rule for high-quality automotive modeling is to maintain a near 100% quad-based mesh. Quads subdivide cleanly, allowing for smooth curves and consistent surface deformation when using modifiers like TurboSmooth in 3ds Max or the Subdivision Surface modifier in Blender and Maya. While occasional triangles might be unavoidable in very flat, non-deforming areas or for specific game engine optimizations, they should be a rare exception. N-gons, however, should be strictly prohibited on any surface that will be subdivided, as they cause unpredictable pinching and shading errors.
Poles are vertices where more or less than four edges meet. A 5-edge pole (an “E-pole”) or a 3-edge pole (an “N-pole”) can often create undesirable creases or pinches if not managed carefully. The key is to strategically place these poles in areas of minimal curvature or where they won’t significantly impact reflections—for instance, along the center line of a flat panel or within hidden recesses. Avoid placing poles directly on highly reflective surfaces or near prominent body lines. Understanding how edge loops flow into and out of these poles is crucial for maintaining clean topology and achieving the desired surface continuity. Always inspect your model with a reflective material and a studio HDRI to spot subtle imperfections in curvature and reflections caused by poor pole placement or inconsistent polygon flow.
Automotive designs are characterized by sharp, well-defined panel gaps and crisp body lines. Translating these critical details into 3D requires careful modeling techniques. Panel gaps are typically achieved by creating two parallel edge loops, separated by a very small distance, which then define the recessed area. The edges flanking this gap should be supported by additional “holding” or “support” edge loops. These holding loops are crucial for maintaining sharpness when subdivision surfaces are applied. For example, a crisp car body line might require a primary edge loop that defines the curve, flanked by two tightly spaced support loops on either side. These support loops prevent the subdivision modifier from rounding off the sharp detail too much, ensuring the line remains distinct and strong.
The distance between these holding loops directly dictates the sharpness of the crease. Tighter spacing results in sharper creases, while wider spacing creates softer transitions. This technique is applied not only to external body panels but also to details like window frames, light housings, and interior components. A good practice is to model your base mesh with a relatively low poly count, focusing on major forms and edge flow, and then use subdivision surface modifiers to achieve the final high-resolution, smooth surface. This non-destructive workflow allows for flexibility and easier adjustments. Always work with blueprints and reference images, constantly comparing your 3D model’s silhouette and surface contours to the real-world vehicle, ensuring every curve and angle is accurately captured.
Once your 3D car model’s topology is meticulously crafted, the next crucial step is UV mapping. UV mapping is the process of flattening the 3D surface of your model into a 2D space, allowing you to apply textures accurately. For complex automotive models with their vast, curved panels and intricate details, effective UV mapping is essential for preventing distorted textures, maintaining consistent texel density, and facilitating efficient material workflows. Poor UVs can ruin even the best-modeled car, making high-resolution textures appear blurry or stretched, especially noticeable on reflective surfaces.
The primary goal of UV mapping for cars is to minimize stretching and overlapping. Stretching occurs when the 3D surface is distorted too much in the 2D layout, making textures appear elongated or squashed. Overlapping occurs when different parts of the 3D model occupy the same UV space, leading to texture conflicts. Achieving clean UVs involves strategically placing seams to separate the model into manageable “UV islands” or “shells,” similar to how a tailor cuts fabric pieces from a pattern. These seams should be placed in less visible areas to prevent them from becoming obvious texture breaks, and the UV islands should be packed efficiently into the 0-1 UV space (or across multiple UDIMs) to maximize texture resolution.
Strategic UV seam placement is critical for minimizing texture distortion and ensuring a clean appearance. For automotive models, seams should ideally be placed along natural breaks or hidden edges, such as panel gaps, the underside of the car, along sharp creases where the geometry naturally splits, or in areas that will be obscured from primary camera views. Tools like Unwrap UVW in 3ds Max, UV Editor in Blender and Maya, offer various projection methods (planar, cylindrical, spherical) and powerful unfolding tools (e.g., Pelt Mapping, LSCM) to relax and straighten UV shells, minimizing distortion. After unwrapping, it’s crucial to use a checkerboard pattern or a distortion visualization tool within your UV editor to identify and correct any stretched areas. The checkerboard squares should appear uniform in size and shape across the entire model, indicating consistent texel density and minimal distortion. If a checkerboard square appears rectangular or skewed, it signifies a problem that needs correction, usually by adjusting seams or using different unfold algorithms.
Another important aspect is maintaining consistent texel density across all UV shells. Texel density refers to the number of texture pixels per unit of 3D space. If different parts of your car model have vastly different texel densities, some areas will appear pixelated while others might be excessively sharp, creating an inconsistent visual quality. Most UV editors offer tools to normalize texel density across selected UV shells, ensuring a balanced distribution of texture resolution. For instance, a 1-meter square on the car body should occupy the same amount of UV space as a 1-meter square on the wheel, assuming they both require similar levels of detail. Prioritize larger, more visible parts of the car (body panels, hood, roof) with higher texel density, while smaller or less visible components (inner wheel wells, engine block details) can have slightly lower density to save texture space.
For high-fidelity 3D car models, especially those destined for cinematic rendering or high-resolution visualization, a single 0-1 UV space is often insufficient to store all the necessary texture detail. This is where UDIM workflows become invaluable. UDIMs (U-Dimension) allow artists to use multiple UV tiles (e.g., U1V1, U2V1, U3V1, U1V2, etc.) to store textures, effectively breaking a large model into multiple texture maps while still treating it as a single material. For a car, you might dedicate one UDIM tile (e.g., 1001) to the main body, another (1002) to the wheels, another (1003) to the interior, and so on. This approach enables incredibly high texture resolutions (e.g., multiple 8K maps) without overwhelming a single texture file, providing granular control over detail and avoiding resolution compromises. This workflow is widely supported in professional texturing software like Substance Painter and rendering engines like V-Ray, Corona, Arnold, and Cycles.
In contrast, for real-time applications like game engines, texture atlasing is often preferred for optimizing performance. Texture atlasing involves combining multiple smaller textures (e.g., textures for individual bolts, emblems, or interior buttons) into one larger texture map. The UVs for these smaller components are then packed into specific regions of this larger atlas. The primary benefit of atlasing is reducing draw calls in a game engine. Each unique material or texture applied to a mesh typically results in a separate draw call, which can be computationally expensive. By consolidating textures into an atlas, multiple objects can share a single material and texture, significantly improving rendering performance. While UDIMs excel in high-fidelity, offline rendering, texture atlasing is a powerhouse for performance optimization in interactive environments. When sourcing models from marketplaces such as 88cars3d.com, pay attention to whether they provide atlased textures for game-ready assets or UDIMs for high-resolution rendering, as both indicate a professional approach tailored to specific use cases.
After perfecting topology and UVs, the next critical phase is bringing your 3D car model to life with realistic materials. Physically Based Rendering (PBR) has become the industry standard for creating materials that behave accurately under various lighting conditions, ensuring consistency and believability whether your car is rendered in a studio setup or an outdoor environment. PBR materials use a set of specific texture maps that simulate the physical properties of surfaces, such as how they reflect light, absorb color, and appear rough or smooth at a microscopic level. For automotive models, this translates to accurately depicting everything from the complex multi-layered car paint to the subtle reflectivity of glass and the texture of tire rubber.
Creating compelling PBR materials for a car involves understanding the interplay of different texture maps and often requires constructing sophisticated shader networks. Car paint, for instance, is one of the most challenging materials to replicate due to its clear coat, metallic flakes, and subsurface scattering properties. Beyond just the base materials, achieving photorealism often means introducing subtle imperfections—micro-scratches, dust, fingerprints, or subtle wear and tear—to break up perfect surfaces and ground the model in reality. This level of detail elevates a model from looking “computer-generated” to truly convincing.
PBR relies on a set of core texture maps, each controlling a specific physical attribute of the surface. Understanding these maps is fundamental:
Each of these maps plays a vital role in creating a believable surface, and their combination allows for an incredible range of material appearances.
Achieving realistic car paint is a prime example of requiring a layered material approach. Professional car paint shaders typically involve several layers: a base color layer (which might include metallic flakes driven by a noise map), topped by a clear coat layer that provides the glossy, reflective finish. The clear coat itself will have its own roughness and perhaps a subtle normal map for micro-scratches. These layers are blended using masks and mathematical operations within the shader network, allowing for highly customizable and physically accurate results. For instance, a blend node might combine a clean car paint layer with a subtle dirt layer, using an ambient occlusion map as a mask to deposit dirt in crevices.
Procedural texturing is another powerful technique for adding realism and variation without relying solely on bitmaps. Instead of using pre-made images, procedural textures are generated mathematically within the shader. This is excellent for creating subtle surface imperfections, random noise, or even complex patterns like fabric weaves for interior materials. For instance, a subtle noise node can drive the roughness map of a car body to create microscopic surface variations, preventing a perfectly uniform and “fake” reflection. Generative software like Substance Designer excels at creating intricate procedural materials, which can then be exported as PBR maps or used directly within your rendering engine’s shader editor (like Blender’s Node Editor or 3ds Max’s Slate Material Editor). Combining layered bitmaps with procedural elements offers maximum flexibility and allows artists to achieve a highly detailed and unique look for every car component, from the worn leather of the seats to the gritty texture of the brake discs.
With a meticulously modeled and textured 3D car, the final step in creating a stunning visual is the rendering process. High-fidelity rendering involves orchestrating lighting, camera angles, and render settings to transform your digital asset into a photorealistic image or animation. The choice of rendering engine (Corona Renderer, V-Ray in 3ds Max, Cycles, Eevee in Blender, Arnold in Maya) will influence the specific workflow, but the underlying principles of good lighting and composition remain universal. The goal is to highlight the car’s design, showcase its materials, and evoke a desired mood or atmosphere, whether it’s a dramatic studio shot or a dynamic outdoor scene.
Automotive rendering is particularly challenging because of the highly reflective and often complex surfaces of a car. These surfaces act like mirrors, picking up every nuance of the lighting environment. Therefore, a successful render hinges on carefully crafted lighting that accentuates the vehicle’s contours, creates appealing highlights, and casts realistic shadows. Beyond lighting, camera settings, depth of field, and post-processing all play a critical role in producing that final, polished image that can be indistinguishable from a real photograph.
Effective lighting is the single most important factor in automotive rendering. It defines the car’s shape, highlights its materials, and sets the mood. Here are common strategies:
Always pay close attention to the reflections on the car body. They should be clean, consistent, and reveal the contours of the vehicle. Experiment with different light positions and intensities, using white or neutral-colored planes as reflectors or blockers to shape the light and reflections precisely. Iteration is key to finding the perfect balance.
Each rendering engine has its own set of unique parameters that, when properly configured, can drastically improve both render quality and speed.
Optimize settings by starting with lower quality previews to quickly test lighting and composition, then progressively increasing settings for the final render. For complex scenes, distributed rendering (using multiple computers) can drastically cut down render times. Platforms like 88cars3d.com often provide pre-configured scene files compatible with popular renderers, making it easier for artists to jump straight into high-quality renders with minimal setup.
While high-fidelity rendering aims for absolute photorealism with fewer constraints on polygon count and texture resolution, real-time applications like video games, interactive configurators, and virtual reality experiences prioritize performance above all else. A beautifully detailed 3D car model with millions of polygons and dozens of 8K textures will bring even the most powerful gaming rig to its knees. Therefore, optimizing 3D car models for real-time environments requires a distinct set of strategies to balance visual fidelity with strict frame rate and memory budgets. This process often involves reducing polygon counts, consolidating materials, and implementing various culling techniques to ensure a smooth and responsive experience.
The goal is to deliver an engaging visual without compromising the interactive nature of the experience. This means being smart about where detail is placed and where it can be simplified or faked. Developers often work with strict polygon budgets for vehicles—a hero car in a racing game might range from 50,000 to 150,000 polygons, while a background vehicle could be as low as 5,000 to 20,000. Texture resolutions also need to be managed, typically ranging from 1K to 4K for critical parts, often using atlases to reduce draw calls. Understanding these limitations and applying the right optimization techniques is crucial for successful integration into game engines like Unity or Unreal Engine.
One of the most effective optimization techniques for real-time environments is the implementation of Level of Detail (LODs). LODs involve creating multiple versions of the same 3D car model, each with a progressively lower polygon count and simplified materials/textures. As the car moves further away from the camera, the game engine automatically switches to a lower LOD version, reducing the computational load without a noticeable drop in visual quality to the player. A common setup might include:
Most game engines (Unity, Unreal Engine) have built-in LOD systems that can automatically switch between these levels based on screen space percentage. Generating LODs can be done manually through retopology, or using automated tools like Simplygon or the built-in decimation tools within engines.
Alongside LODs, culling strategies are vital. Frustum Culling automatically prevents the rendering of any object that is outside the camera’s view frustum. Occlusion Culling goes a step further by not rendering objects that are hidden behind other objects, even if they are within the camera’s view. Implementing these effectively ensures that the GPU only processes what absolutely needs to be seen by the player, significantly boosting performance. For static objects, Distance Culling simply removes objects past a certain range. These strategies, combined with efficient LODs, allow game environments to handle a vast number of complex assets without performance degradation.
Beyond polygon count, draw calls are a significant performance bottleneck in real-time rendering. A draw call is an instruction from the CPU to the GPU to render a batch of objects. Each unique material, unique mesh, or separate lighting interaction can generate its own draw call. Minimizing draw calls is crucial for maintaining a high frame rate. For complex car models, which naturally have many different parts and materials (body, wheels, glass, lights, interior elements), managing draw calls becomes a critical task.
Texture atlasing, as discussed earlier, plays a major role here. By combining multiple smaller textures into one large atlas, you can apply a single material to a group of objects that would otherwise require several materials, thereby reducing the number of draw calls. For example, all the small interior buttons, vents, and dashboard elements could share one atlas texture and one material. Another powerful technique is Material Instancing. Instead of creating a completely new material for every slight variation (e.g., different car paint colors, varying roughness levels on different plastic parts), game engines allow you to create instances of a base material. These instances can have their parameters tweaked (like color, texture assignments, or scalar values) without creating a new draw call or recompiling shaders. This is incredibly efficient for customizing vehicles, offering vast visual variations with minimal performance impact. Engines like Unreal Engine rely heavily on material instances for flexibility and optimization.
Additionally, baking non-dynamic elements like ambient occlusion, static shadows, or even reflections into textures can relieve the real-time lighting system. For static props or less critical parts of the car, pre-baked lighting information stored in lightmaps or vertex colors can significantly reduce real-time computation. Combining all these strategies—LODs, culling, texture atlasing, and material instancing—is essential for creating high-performance 3D car models that look great and run smoothly in any real-time application.
The utility of high-quality 3D car models extends far beyond traditional static renders and game engines. Augmented Reality (AR) and Virtual Reality (VR) platforms offer immersive experiences, while 3D printing brings digital designs into the physical world. Each of these applications presents its own unique set of technical requirements and optimization challenges, demanding specific preparation and adherence to particular file formats. For artists and designers, understanding these diverse applications and their technical nuances unlocks a broader range of opportunities for their 3D automotive assets.
Preparing models for AR/VR often means pushing optimization even further than for traditional games, as target devices (mobile phones, standalone VR headsets) have stricter performance budgets. For 3D printing, the focus shifts entirely from visual fidelity to mesh integrity and physical manufacturability. Furthermore, navigating the landscape of various 3D file formats—FBX, OBJ, GLB, USDZ, STL—is crucial for ensuring compatibility, portability, and successful deployment across different software, engines, and devices. Mastering these aspects ensures your 3D car models are versatile and ready for any emerging technology.
AR and VR experiences, particularly on mobile devices or standalone headsets (like Oculus Quest), require even more aggressive optimization than console or PC games. The goal is to maintain a high frame rate (typically 60-90 FPS per eye in VR) to prevent motion sickness and ensure a comfortable experience. This often means hero car models might need to be in the 20,000-50,000 polygon range, significantly lower than high-end game assets. Draw calls are equally critical, and aggressive texture atlasing and material instancing become paramount.
Specific optimizations for AR/VR include:
When it comes to file formats for AR/VR, GLB (glTF Binary) and USDZ are industry leaders. GLB is the binary version of glTF (Graphics Language Transmission Format), an open-standard, royalty-free format designed for efficient transmission and loading of 3D scenes and models by engines and applications. It’s widely supported across Android AR (ARCore), web viewers, and various game engines. USDZ is Apple’s proprietary format for AR (ARKit), based on Pixar’s Universal Scene Description (USD) framework. USDZ packages geometry, materials, and animations into a single, optimized file, making it ideal for seamlessly integrating 3D models into iOS AR experiences. Platforms like 88cars3d.com often provide models specifically prepared and packaged in these formats for direct deployment in AR/VR applications, offering convenience and ensuring compatibility.
Translating a digital 3D car model into a physical object via 3D printing introduces an entirely different set of technical considerations. Unlike rendering, where visual flaws can be masked, 3D printing demands a perfectly “manifold” mesh—meaning it must be a completely watertight, solid object with no holes, self-intersections, or inverted normals. Any open edges or non-manifold geometry will result in printing errors or a failed print.
Key preparation steps for 3D printing include:
The primary file format for 3D printing is STL (Stereolithography), which stores only the surface geometry of a 3D object as a collection of triangular facets. While OBJ and 3MF are also supported by some printers and software, STL remains the industry standard. For general interchange between different 3D software (e.g., 3ds Max, Blender, Maya, Cinema 4D), FBX (Filmbox) is a widely adopted format that preserves not only geometry but also materials, animations, and scene hierarchy. OBJ (Wavefront Object) is a simpler, universal format excellent for transferring mesh data and basic material information. Understanding these formats and their respective strengths ensures your 3D car models are not only visually stunning but also technically robust for any application. When choosing models, always look for vendors, like 88cars3d.com, who provide models in multiple common formats to ensure broad compatibility with your specific pipeline.
The journey of creating a high-quality 3D car model is a testament to both artistic skill and technical proficiency. From the foundational precision of clean topology and logical edge flow to the intricate art of UV mapping and the science of PBR material creation, every stage demands meticulous attention to detail. We’ve explored how stunning renders are achieved through sophisticated lighting and renderer optimizations, and how performance-critical applications like games and AR/VR necessitate clever strategies such as LODs, texture atlasing, and draw call reduction. Finally, we touched upon the unique demands of 3D printing and the importance of file format mastery for universal compatibility.
Mastering these techniques will empower you to craft 3D automotive assets that not only look breathtaking but also perform flawlessly across a myriad of platforms and applications. The digital automotive landscape is constantly evolving, with new technologies and demands emerging regularly. By understanding these core principles, you lay a solid foundation for continuous learning and adaptation. Whether you’re aiming to produce cinematic visualizations, build immersive game worlds, or bring your designs to life through 3D printing, the commitment to technical excellence will always set your work apart.
We encourage you to experiment, practice, and push the boundaries of what’s possible with 3D car models. Explore various software, refine your workflows, and continually seek out high-quality resources and assets. For those looking to jumpstart their projects with professionally crafted models, consider platforms like 88cars3d.com, where you can find a diverse range of 3D cars designed with many of these best practices in mind, ready for your next rendering, game, or visualization project. Your pursuit of automotive 3D excellence begins now.
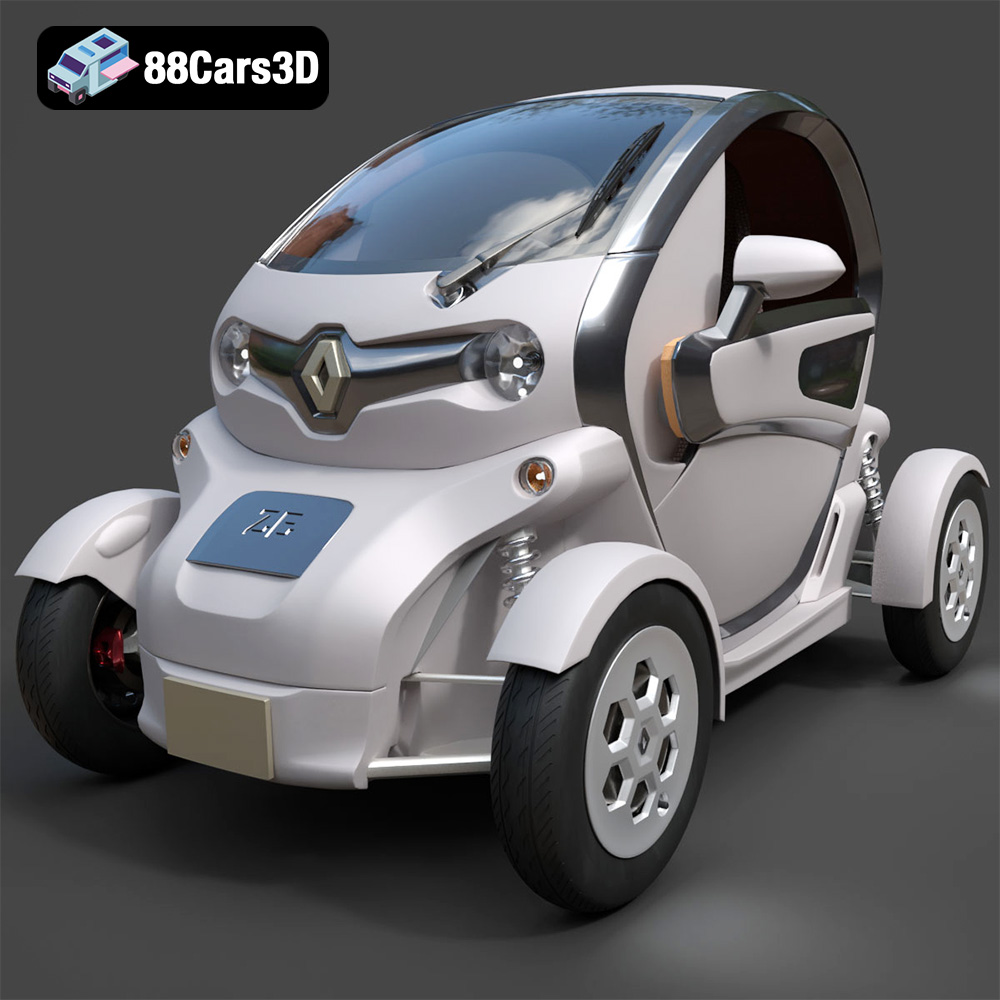
Texture: Yes
Material: Yes
Download the Renault Twizy ZE 3D Model featuring clean geometry, realistic detailing, and a fully modeled interior. Includes .blend, .fbx, .obj, .glb, .stl, .ply, .unreal, and .max formats for rendering, simulation, and game development.
Price: $4.99
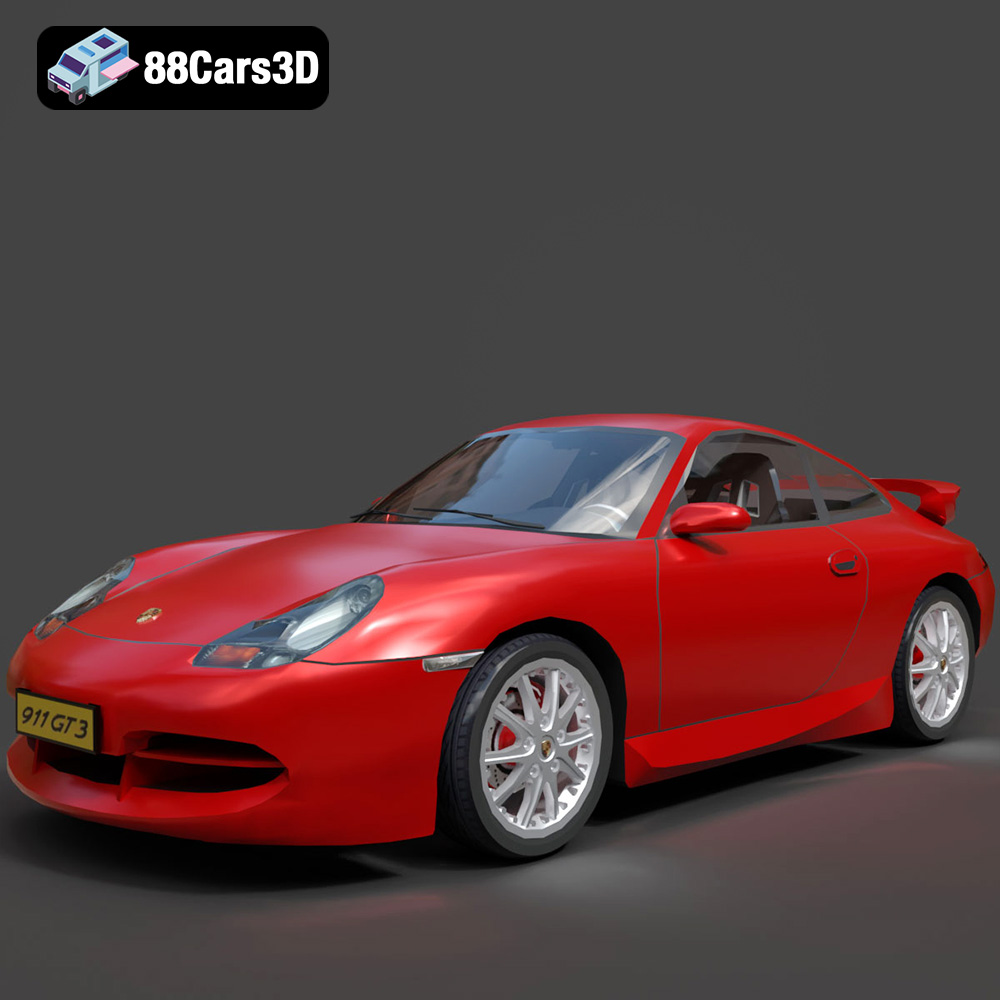
Texture: Yes
Material: Yes
Download the Porsche 911 GT3 3D Model featuring clean geometry, realistic detailing, and a fully modeled interior. Includes .blend, .fbx, .obj, .glb, .stl, .ply, .unreal, and .max formats for rendering, simulation, and game development.
Price: $4.99
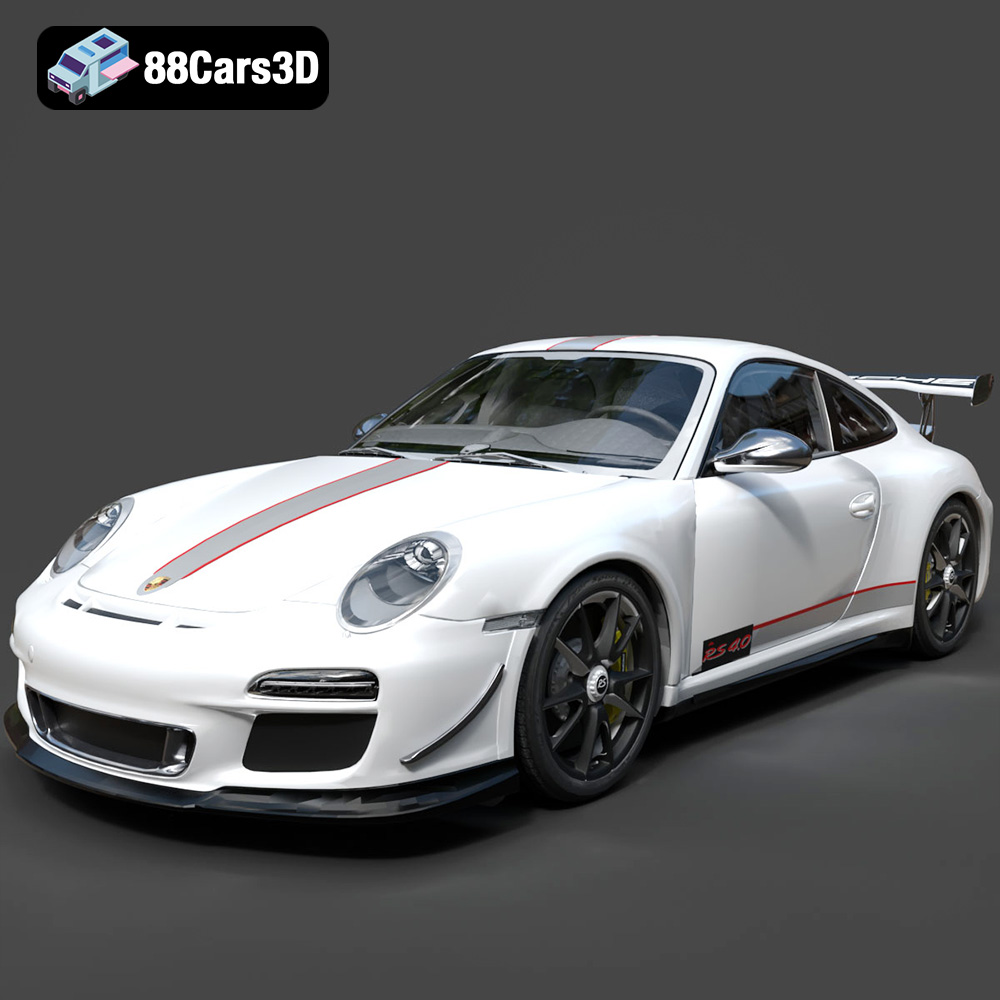
Texture: Yes
Material: Yes
Download the Porsche 911 997 GT3 RS 4.0 2011 3D Model featuring clean geometry, realistic detailing, and a fully modeled interior. Includes .blend, .fbx, .obj, .glb, .stl, .ply, .unreal, and .max formats for rendering, simulation, and game development.
Price: $4.99
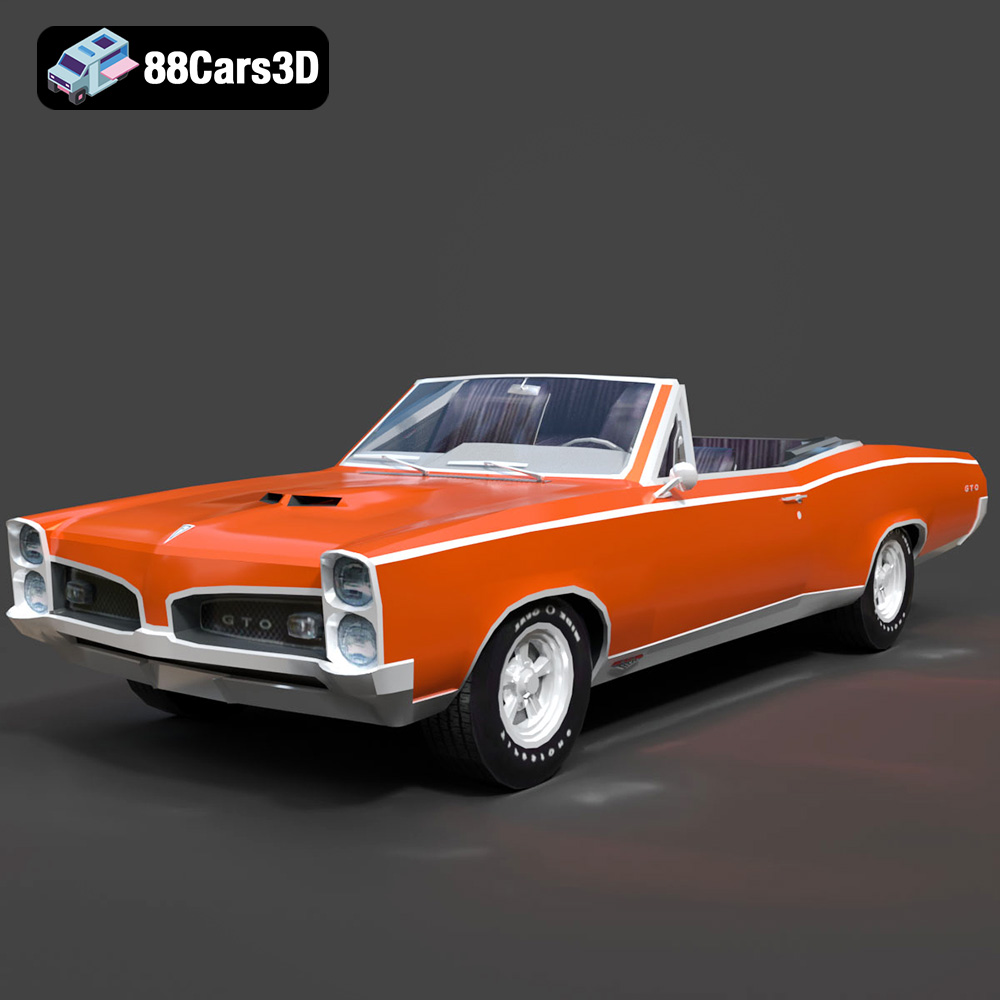
Texture: Yes
Material: Yes
Download the Pontiac GTO Cabrio 1967 3D Model featuring clean geometry, realistic detailing, and a fully modeled interior. Includes .blend, .fbx, .obj, .glb, .stl, .ply, .unreal, and .max formats for rendering, simulation, and game development.
Price: $4.99
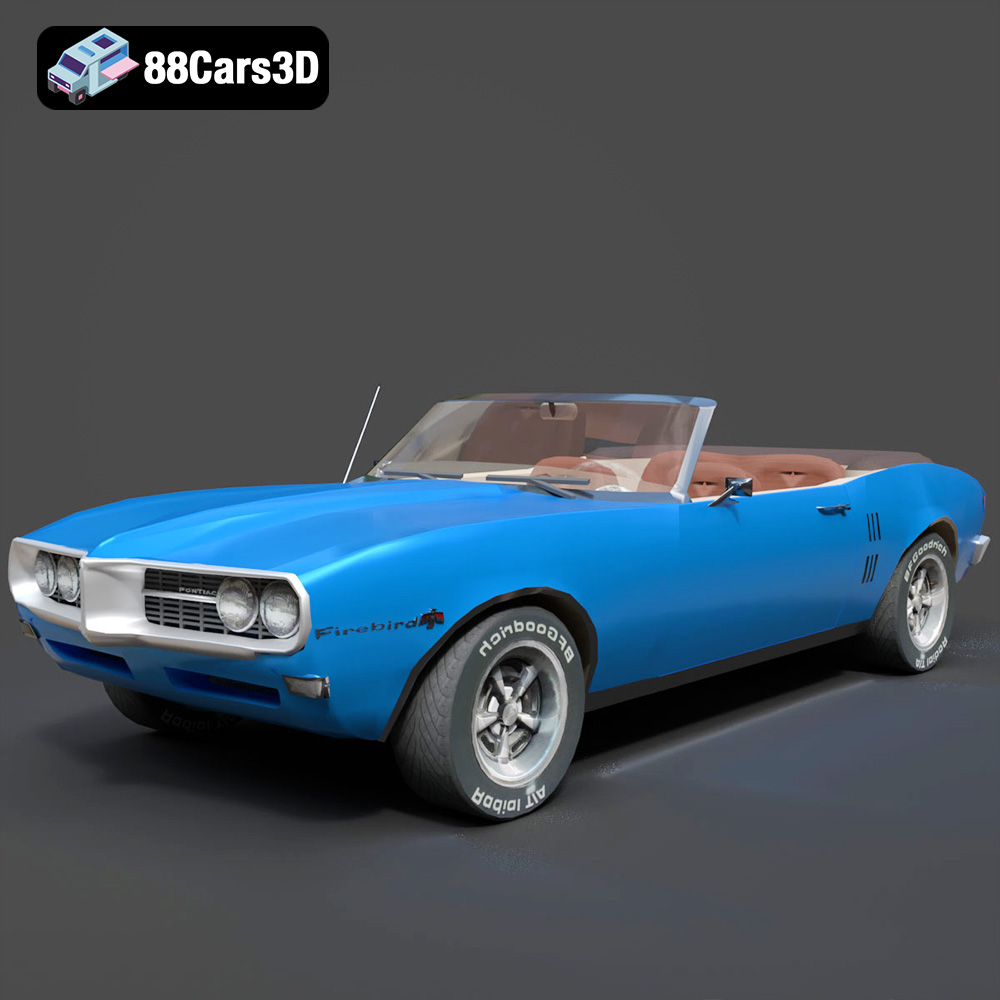
Texture: Yes
Material: Yes
Download the Pontiac Firebird Convertible 1968 3D Model featuring clean geometry, realistic detailing, and a fully modeled interior. Includes .blend, .fbx, .obj, .glb, .stl, .ply, .unreal, and .max formats for rendering, simulation, and game development.
Price: $4.99

Texture: Yes
Material: Yes
Download the Peugeot 508 2011 3D Model featuring clean geometry, realistic detailing, and a fully modeled interior. Includes .blend, .fbx, .obj, .glb, .stl, .ply, .unreal, and .max formats for rendering, simulation, and game development.
Price: $4.99
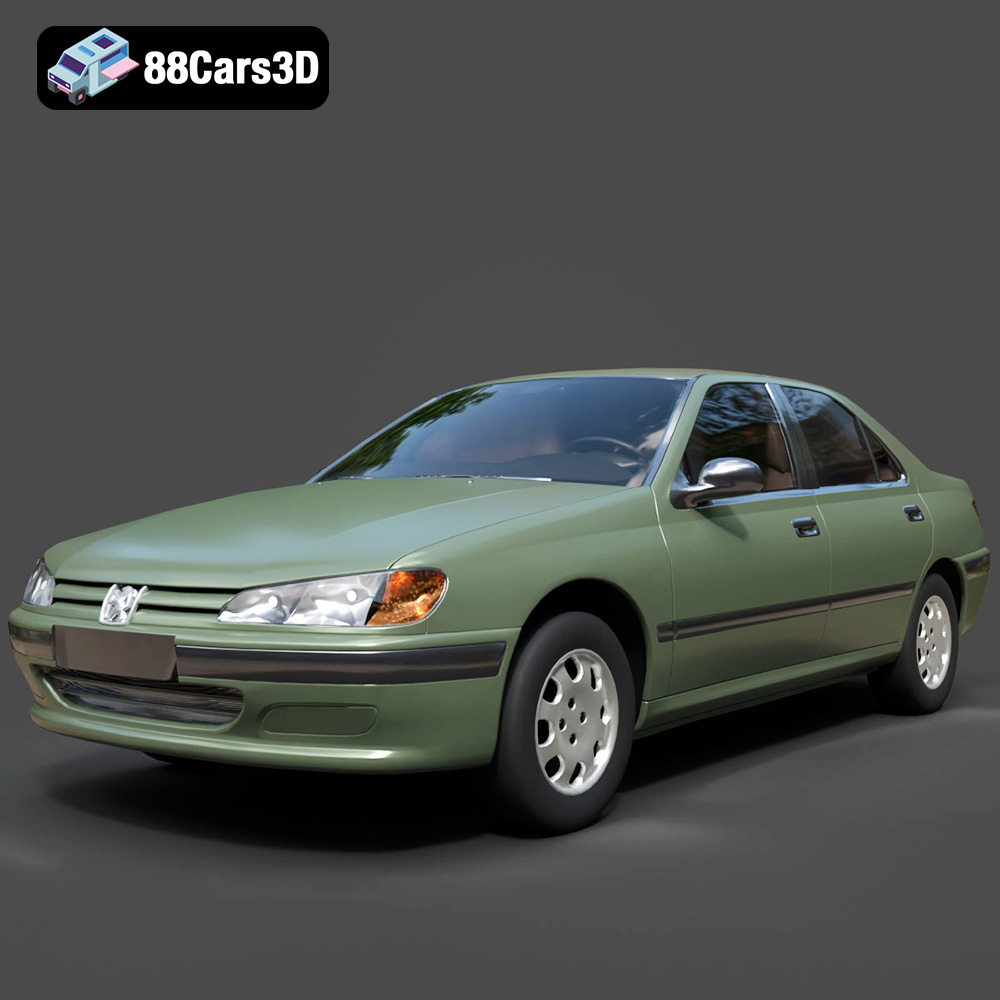
Texture: Yes
Material: Yes
Download the Peugeot 406 1996 3D Model featuring clean geometry, realistic detailing, and a fully modeled interior. Includes .blend, .fbx, .obj, .glb, .stl, .ply, .unreal, and .max formats for rendering, simulation, and game development.
Price: $10
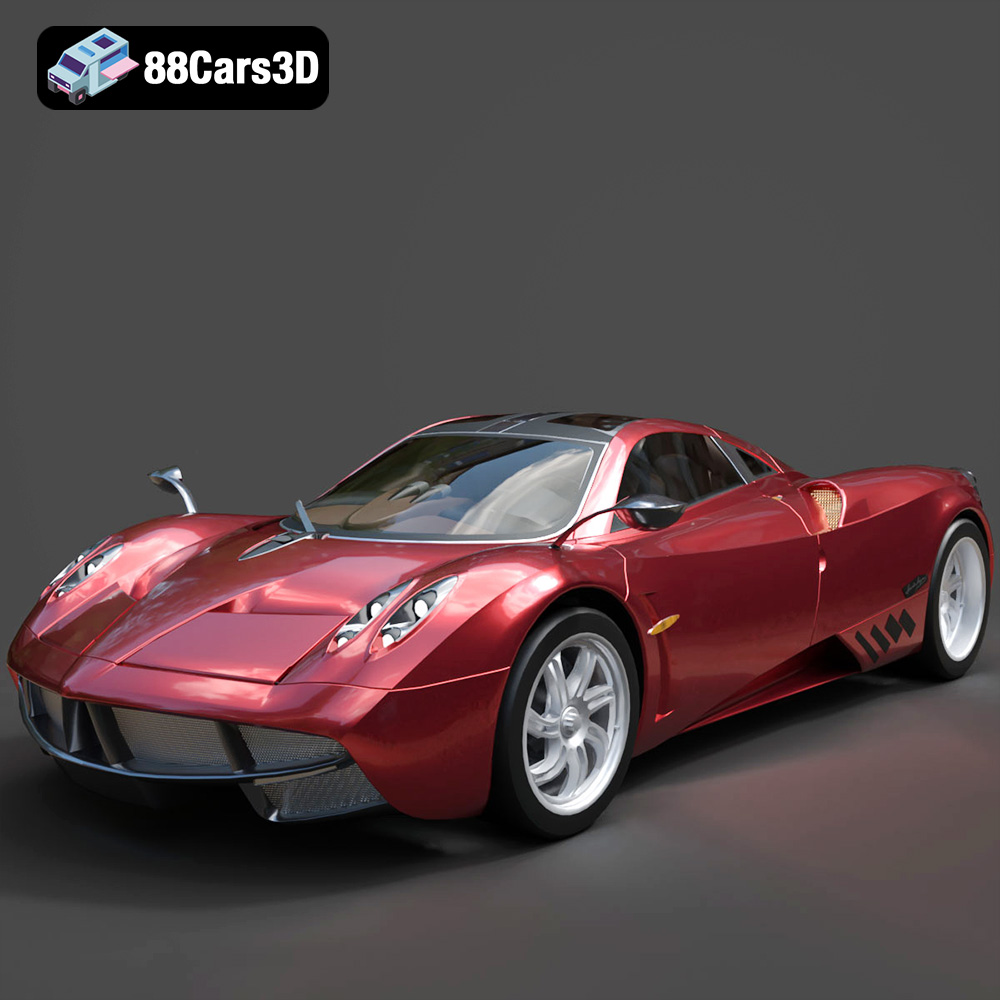
Texture: Yes
Material: Yes
Download the Pagani Huayra 2012 3D Model featuring clean geometry, realistic detailing, and a fully modeled interior. Includes .blend, .fbx, .obj, .glb, .stl, .ply, .unreal, and .max formats for rendering, simulation, and game development.
Price: $10
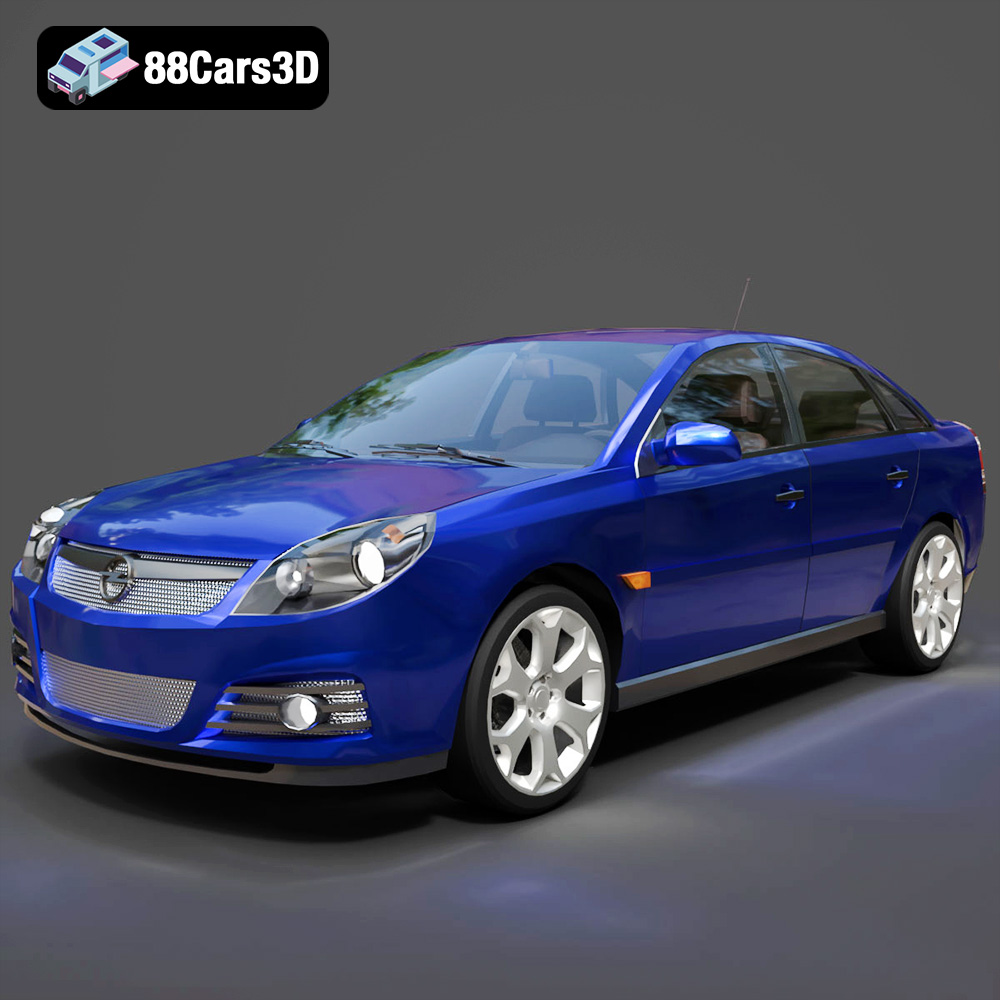
Texture: Yes
Material: Yes
Download the Opel Vectra C 2005 3D Model featuring clean geometry, realistic detailing, and a fully modeled interior. Includes .blend, .fbx, .obj, .glb, .stl, .ply, .unreal, and .max formats for rendering, simulation, and game development.
Price: $10

Texture: Yes
Material: Yes
Download the Opel Insignia OPC 3D Model featuring clean geometry, realistic detailing, and a fully modeled interior. Includes .blend, .fbx, .obj, .glb, .stl, .ply, .unreal, and .max formats for rendering, simulation, and game development.
Price: $10