The Foundation: Flawless Topology and Edge Flow for Automotive Models
The sleek lines, the gleaming paint, the intricate details – 3D car models hold a special allure in the digital realm. Far more than just pretty pictures, these digital assets are the backbone of a multitude of industries, from blockbuster video games and cinematic automotive advertisements to precision engineering visualizations and interactive AR/VR experiences. But what truly defines a high-quality 3D car model? It’s a complex interplay of meticulous craftsmanship, technical precision, and an understanding of diverse industry requirements.
Creating or sourcing truly exceptional 3D car models demands expertise in various disciplines. It starts with a clean, efficient mesh structure, extends through intelligent UV mapping and the creation of physically accurate materials, and culminates in optimized rendering or real-time integration. This comprehensive guide will take you on a deep dive into the technical intricacies of automotive 3D. We’ll explore the essential workflows, best practices, and advanced techniques required to produce stunning, high-performance car models that meet the rigorous demands of modern digital production. Whether you’re a seasoned 3D artist, a game developer, an automotive designer, or simply fascinated by the craft, prepare to unlock the secrets behind world-class 3D automotive assets.
The Foundation: Flawless Topology and Edge Flow for Automotive Models
At the heart of every great 3D car model lies impeccable topology. Topology refers to the arrangement of polygons (typically quads) that define the surface of your model. For automotive assets, which often feature complex curves, sharp edges, and subtle surface transitions, clean topology is paramount. It dictates how well the model deforms, how cleanly it subdivides for higher detail, and ultimately, how realistic it looks when rendered. A model with poor topology will exhibit pinching, unwanted creases, and an overall lumpy appearance, no matter how good the textures or lighting.
The goal is to maintain an even distribution of quad polygons, ensuring that edge loops flow naturally along the contours and major features of the car. This is crucial for capturing the precise engineering and design aesthetics of an automobile. Think about the panel gaps, the subtle curvatures of a fender, or the sharp crease along a door – each requires carefully planned edge flow to be accurately represented. Avoid N-gons (polygons with more than four sides) and excessive triangles in areas that will deform or require smooth subdivision, as these can lead to unpredictable shading and artifacts.
Polycount Considerations and LODs (Level of Detail)
The “right” polygon count for a 3D car model is highly dependent on its intended use. For high-end cinematic rendering or automotive visualization, a model might comfortably push into the millions of polygons (after subdivision), allowing for incredible detail in close-up shots. These hero assets might feature intricate interior components, detailed engine bays, and meticulously modeled tire treads. However, for real-time applications like video games or AR/VR, polygon budgets are much tighter. A game-ready car might range from 50,000 to 200,000 polygons for a main vehicle, depending on the platform and visual fidelity desired.
To manage this disparity, Level of Detail (LOD) systems are essential. LODs are multiple versions of the same model, each with a progressively lower polygon count. As the car moves further from the camera, the game engine automatically switches to a lower-poly LOD, significantly reducing the processing load without a noticeable drop in visual quality. A typical setup might include LOD0 (high-poly for close-ups), LOD1 (medium-poly for mid-range), and LOD2/3 (low-poly for distant views). Manual creation of LODs ensures optimal quality and edge flow at each level, though automated solutions exist for faster iteration.
Addressing Common Topology Challenges
Even experienced artists encounter topology challenges. One common issue is managing poles – vertices where more than five (or fewer than three) edges meet. While poles are sometimes unavoidable, especially on complex curved surfaces, they should be strategically placed in areas of minimal visual impact, such as flat surfaces or corners, to prevent pinching when the mesh is subdivided. Another challenge is maintaining consistent polygon density. Uneven density can lead to stretched textures and shading anomalies. Tools for remeshing and retopology (like ZRemesher in ZBrush or Quad Draw in Maya) can assist in creating clean, even quad flow from sculpts or scanned data.
Mastering UV Mapping for Complex Car Surfaces
Once your car model’s topology is solid, the next crucial step is UV mapping. UVs are the 2D coordinates that tell your 3D software how to project 2D textures onto your 3D model. Think of it like unwrapping a 3D object into a flat pattern, similar to how a paper box is flattened for printing. For the intricate, curved, and often highly reflective surfaces of a car, mastering UV mapping is critical for achieving realistic texture application without distortion or visible seams.
Poor UVs result in stretched, blurry, or misaligned textures, instantly breaking immersion. The goal is to create a seamless, non-overlapping UV layout that utilizes as much of the 0-1 UV space as possible (the square where textures are applied) and maintains a consistent texel density across the model. This is particularly challenging for cars, which feature everything from large, smooth body panels to detailed grilles, intricate wheel designs, and complex interior elements.
Minimizing Seams and Distortion
Strategic seam placement is key to clean UVs. For a car model, seams should be hidden wherever possible, typically along natural breaks in the geometry like panel lines, under trim pieces, or in areas less visible to the camera. For instance, the underside of a car, the inner edges of door frames, or along very sharp creases are ideal locations for seams. While it’s impossible to create perfectly seamless UVs for complex organic shapes without stretching, the aim is to minimize their visual impact. Tools like checker maps are invaluable for visualising distortion and ensuring even stretching across the UV shells. A perfect checker pattern indicates minimal distortion, while stretched or compressed checkers highlight problem areas.
Texel Density and Texture Resolution
Texel density refers to the number of texture pixels per unit of 3D space. Maintaining a consistent texel density across all UV shells of your car model is vital for visual fidelity. If different parts of the car have wildly varying texel densities, some textures will appear crisp while others look blurry or pixelated, even if they use the same resolution texture map. Aim for a uniform texel density so that a small detail on the door has the same clarity as a detail on the hood when viewed from a consistent distance.
Texture resolution choice depends heavily on the model’s purpose. For high-end rendering, 4K (4096×4096 pixels) or even 8K textures are common for major components like the car body. Smaller, less visible parts might use 2K or 1K. For game assets, optimizing texture memory is crucial. This often involves using 2K textures for primary body parts, 1K for wheels and interior elements, and even smaller resolutions for minor details. Texture atlasing, where multiple smaller textures are combined into one larger map, is a common game optimization technique. This reduces draw calls, improving real-time performance by allowing the GPU to render multiple surfaces with a single texture instead of switching between many.
Bringing it to Life: PBR Materials and Advanced Shading Networks
Once the model is properly UV’d, the next step is applying materials that interact realistically with light. Physically Based Rendering (PBR) has become the industry standard for achieving photorealistic results. PBR workflows simulate how light behaves in the real world, producing consistent and accurate results across various lighting conditions and rendering engines. Understanding PBR is fundamental to creating convincing 3D car models.
There are two primary PBR workflows: Metallic-Roughness and Specular-Glossiness. The Metallic-Roughness workflow, widely adopted in game engines like Unity and Unreal and renderers like Substance Painter, uses a Base Color map (albedo), a Metallic map (binary or grayscale representing metallic properties), and a Roughness map (grayscale representing surface smoothness/roughness). Specular-Glossiness, though less common now, uses Diffuse, Specular, and Glossiness maps. Both rely on a suite of additional maps such as Normal maps (for surface detail without added geometry), Ambient Occlusion (AO) for contact shadows, and potentially Emissive maps for lights.
For car models, specific material types require careful attention: realistic paint (often a complex layered shader), clear glass, textured tires, chrome, and various interior fabrics and plastics. Each material needs its own set of PBR textures and finely tuned shader parameters to react correctly to light.
Crafting Realistic Car Paint Shaders
Car paint is notoriously challenging to replicate in 3D due to its complex optical properties. It’s often a layered material, consisting of a base color coat (which might be metallic or non-metallic) covered by a clear coat. The clear coat provides the distinctive high gloss, reflections, and subtle depth. Advanced car paint shaders often incorporate parameters for metallic flakes (controlled by a separate flake map or procedural noise), clear coat roughness, and even subtle orange peel effects (minor surface imperfections) for added realism. Software like 3ds Max with Corona or V-Ray, Blender with Cycles, or Maya with Arnold allow for sophisticated node-based shader graphs to build these complex materials, precisely defining how light interacts with each layer.
Software-Specific Material Creation (e.g., Corona, V-Ray, Blender Cycles, Arnold)
Each major rendering engine offers its own approach to PBR material creation, though the underlying principles remain the same. In 3ds Max, renderers like Corona Renderer and V-Ray provide powerful, intuitive material editors. Corona’s “CoronaMtl” and V-Ray’s “VRayMtl” are universal PBR shaders that allow you to connect your Base Color, Metallic, Roughness, Normal, and other maps. You’ll typically drag and drop texture maps into specific slots within the material’s properties. For advanced effects like car paint, layered materials or specialized shaders (e.g., VRayCarPaintMtl) are used, combining multiple VRayMtl instances with blend layers.
Blender’s Cycles and Eevee engines use a node-based shader editor. The “Principled BSDF” shader node is Blender’s universal PBR shader, where you connect image textures to inputs like Base Color, Metallic, Roughness, and Normal. Artists build complex networks of nodes to achieve desired effects, for example, using a Mix Shader node to blend a metallic base with a glossy clear coat. Similarly, Maya’s Arnold Renderer utilizes the “Standard Surface” shader, which is also a comprehensive PBR shader with extensive parameters for connecting maps and adjusting properties like transmission (for glass), subsurface scattering (for plastics), and sheen (for clear coats).
The Art of Automotive Rendering and Visualization
Once your 3D car model is meticulously modeled, UV’d, and textured with PBR materials, the final step for visualization is rendering. This is where all the technical groundwork translates into breathtaking photorealistic images or animations. Effective automotive rendering isn’t just about hitting the render button; it’s an art form that combines technical prowess with an understanding of photography, lighting, and composition.
Setting up a compelling scene involves more than just placing the car. The environment, lighting, camera angles, and even the choice of backdrop all contribute significantly to the final impact. For photorealism, artists often use High Dynamic Range Imagery (HDRI) environments, which capture real-world lighting information, providing natural reflections and illumination. These are often combined with targeted area lights, spot lights, or even a physically accurate sun and sky system to enhance highlights, shadows, and overall mood.
Camera work is equally critical. Emulating real-world photography techniques, such as proper focal length, depth of field (blurring out backgrounds or foregrounds), and adherence to compositional rules (e.g., rule of thirds), elevates a render from good to outstanding. The goal is to make the viewer feel like they are looking at a real photograph of a car, not a digital creation.
Rendering Engines and Their Strengths (Corona, V-Ray, Cycles, Arnold)
Different rendering engines offer unique strengths and workflows:
- Corona Renderer: Known for its ease of use, speed, and photorealistic output, especially for interior and product visualization. It’s an unbiased CPU renderer, favored for its simplicity in setting up physically accurate lighting and materials.
- V-Ray: A long-standing industry standard, V-Ray is a powerful hybrid CPU/GPU renderer offering immense flexibility and control. It’s widely used in architectural visualization, film, and automotive rendering, providing both speed and advanced features like volumetric effects and complex caustics.
- Blender Cycles: Blender’s integrated path-tracing GPU/CPU renderer, Cycles, has evolved significantly. It delivers high-quality, physically accurate renders and benefits from a thriving community and extensive documentation. Its node-based shading system provides incredible flexibility.
- Arnold: Autodesk’s flagship CPU renderer, Arnold is known for its robustness and use in major film and animation studios. It excels at complex scenes, character rendering, and delivering extremely high-quality, unbiased results, though often with longer render times.
Each engine has its nuances, but all are capable of producing stunning automotive renders when paired with well-prepared 3D models and thoughtful scene setup.
Post-Processing and Compositing for Impact
A raw render straight out of the engine is rarely the final product. Post-processing and compositing in software like Adobe Photoshop, Affinity Photo, or Nuke are essential steps to elevate the image. This involves color grading, adjusting exposure and contrast, adding subtle bloom or glare effects, lens distortion, and sharpening. Render passes (also known as AOV – Arbitrary Output Variables) are invaluable here. These are separate image layers output by the renderer, such as diffuse, reflection, specular, refraction, Z-depth, normal, and ID masks. Compositing these passes gives artists granular control over every aspect of the final image, allowing for precise adjustments without re-rendering the entire scene. For example, you can independently brighten reflections, darken shadows, or change the color of the car’s paint using an ID mask, all within the compositing software.
Optimizing 3D Car Models for Real-Time Game Engines & AR/VR
While high-end rendering prioritizes visual fidelity with fewer constraints on polygon count or texture memory, real-time applications like video games and AR/VR demand a delicate balance between visual quality and performance. The goal is to achieve the best possible look while maintaining a smooth, high frame rate (typically 60 FPS for games, 90+ FPS for VR to prevent motion sickness).
Optimizing 3D car models for game engines and immersive experiences involves several crucial strategies. Every polygon, every texture, and every shader instruction contributes to the processing load. Unoptimized assets can lead to stuttering frame rates, slow loading times, and a generally poor user experience. This requires a different mindset from purely offline rendering, focusing on efficiency and clever compromises.
Game Engine Integration (Unity, Unreal Engine)
Integrating a 3D car model into a game engine like Unity or Unreal Engine involves specific steps. After importing the model (typically via FBX or OBJ), artists must configure materials, ensuring PBR textures are correctly assigned to the engine’s standard shaders. Collision meshes are essential; these are simplified, lower-polygon versions of the car’s geometry used by the physics engine for collision detection, preventing the more complex visual mesh from being used for calculations. This dramatically improves performance. Proper scaling and pivot point setup are also critical for correct interaction within the game world.
Reducing draw calls is another key optimization. A draw call occurs every time the CPU tells the GPU to render an object. A single car with many separate meshes (e.g., individual nuts, bolts, and small details) can generate hundreds of draw calls. Combining meshes where possible, using texture atlases (as discussed earlier), and employing instancing (rendering multiple copies of the same mesh efficiently) can significantly reduce draw calls, boosting performance.
LODs, Occlusion Culling, and Texture Atlasing Revisited
The Level of Detail (LOD) system is perhaps the most fundamental optimization for real-time car models. Properly set up LODs ensure that the engine only renders the necessary amount of detail based on distance. Occlusion Culling works hand-in-hand with LODs: it prevents the rendering of objects that are completely hidden behind other objects (e.g., the engine block when the hood is closed). This saves significant rendering resources. As mentioned, Texture Atlasing bundles multiple smaller textures into one larger image, reducing the number of texture lookups and draw calls, which is crucial for maximizing GPU efficiency in real-time environments.
AR/VR Specific Optimizations
AR (Augmented Reality) and VR (Virtual Reality) present even stricter performance requirements. Maintaining a consistently high frame rate (e.g., 90 FPS or more for VR) is paramount to prevent motion sickness and ensure a comfortable, immersive experience. This often means even tighter polygon budgets (e.g., a few hundred thousand triangles total for an entire scene, not just one car), aggressive LODs, and extremely efficient texture usage. Reducing texture memory consumption, baking complex lighting into textures, and using mobile-friendly shaders are common techniques. Additionally, AR/VR experiences often require careful consideration of stereoscopic rendering, which effectively renders the scene twice (once for each eye), doubling the rendering load. Platforms like 88cars3d.com often provide models specifically optimized for these demanding environments, featuring pre-configured LODs and efficient PBR setups, like GLB and USDZ formats.
Versatility Beyond Visualization: 3D Printing and File Format Compatibility
The utility of high-quality 3D car models extends far beyond screen-based rendering and real-time experiences. They serve as invaluable assets for industrial design, rapid prototyping, and even collectible physical models through 3D printing. However, preparing a digital model for physical fabrication introduces a new set of technical considerations. Furthermore, navigating the landscape of various 3D file formats is crucial for seamless collaboration and multi-platform deployment.
When transitioning a model from a virtual environment to a tangible object via 3D printing, the focus shifts from visual aesthetics to geometric integrity. The model needs to be a “water-tight” manifold mesh, meaning it has no holes, self-intersecting geometry, or inverted normals – issues that are often overlooked in rendering but critical for successful printing.
Mesh Repair and Watertightness for 3D Printing
For a 3D printer to correctly interpret and build a model, the mesh must be fully enclosed without any gaps. This is referred to as being “water-tight” or “manifold.” Common issues that prevent a model from being 3D printable include:
- Open edges/Holes: Any unclosed gaps in the mesh will cause the printer to fail.
- Inverted Normals: Polygons facing the wrong way can confuse the slicer software that prepares the model for printing.
- Non-manifold geometry: Edges connected to more than two faces, or faces that share the same space, create ambiguities for the printer.
- Self-intersections: Where parts of the mesh pass through each other.
Software tools like Blender’s 3D Print Toolbox addon, Meshmixer, Netfabb, or even dedicated CAD software can detect and repair these issues. The process typically involves identifying non-manifold edges, filling holes, recalculating normals, and simplifying overly complex areas. Furthermore, considerations like minimum wall thickness (ensuring parts aren’t too thin to print) and the need for support structures for overhangs become important during the preparation phase.
Navigating File Formats and Conversions
The world of 3D modeling is rich with various file formats, each with its strengths and weaknesses regarding data retention (geometry, UVs, materials, animations, scene data) and compatibility. Understanding these formats is essential when buying or selling 3D car models or moving them between different software packages:
- FBX (.fbx): Autodesk’s FilmBox format is an industry standard, particularly strong for transferring models, animations, and scene data between different 3D applications (like 3ds Max, Maya, Blender, Unity, Unreal Engine). It supports geometry, UVs, basic materials, and skeletal animation.
- OBJ (.obj): A universal exchange format, OBJ files are excellent for transferring basic mesh data (vertices, faces, UVs). They are highly compatible but typically do not store scene information, animations, or advanced material properties beyond basic colors and texture assignments (via an accompanying .mtl file).
- GLB (.glb): The binary version of glTF (Graphics Language Transmission Format), GLB is quickly becoming the standard for web-based 3D, AR/VR, and real-time applications. It’s an efficient, single-file format that bundles geometry, PBR materials, textures, and even animation, making it ideal for sharing optimized assets.
- USDZ (.usdz): Apple’s proprietary format for AR, based on Pixar’s Universal Scene Description (USD). Like GLB, it’s optimized for mobile AR/VR, combining geometry, PBR materials, and animations into a single, compact file. It’s crucial for iOS AR applications.
- C4D (.c4d): Native file format for Maxon Cinema 4D. Excellent for users of that specific software, retaining all scene data and advanced features.
- MAX (.max): Native file format for Autodesk 3ds Max. Similar to C4D, it stores all scene data specific to 3ds Max.
When converting between formats, it’s crucial to check that UVs, PBR material assignments, and any embedded data (like vertex colors or animations) are preserved correctly. Platforms like 88cars3d.com often provide models in multiple common formats to ensure maximum compatibility for their diverse user base.
Conclusion
The journey of creating or utilizing high-quality 3D car models is a multifaceted one, demanding a blend of artistic vision and rigorous technical execution. From the foundational principles of clean topology and precise UV mapping to the advanced techniques of PBR material creation, realistic rendering, and meticulous real-time optimization, every stage plays a critical role in bringing these digital vehicles to life. We’ve explored how different industries, be it cinematic rendering, immersive gaming, or tangible 3D printing, each impose unique requirements and best practices.
Mastering these aspects empowers you to not only produce visually stunning automobiles but also to ensure they perform efficiently across diverse platforms and applications. Whether you’re aiming for photorealistic renders that fool the eye, game-ready assets that push the boundaries of performance, or precise models ready for physical fabrication, the principles discussed here form the bedrock of success. As technology continues to evolve, the demand for well-crafted, versatile 3D automotive assets will only grow. By applying these detailed workflows and professional insights, you’re well-equipped to navigate the complexities and excel in the dynamic world of automotive 3D. When sourcing models, remember that marketplaces like 88cars3d.com specialize in providing these types of meticulously crafted, multi-purpose 3D car models, saving you countless hours and ensuring a professional starting point for your projects.
Featured 3D Car Models
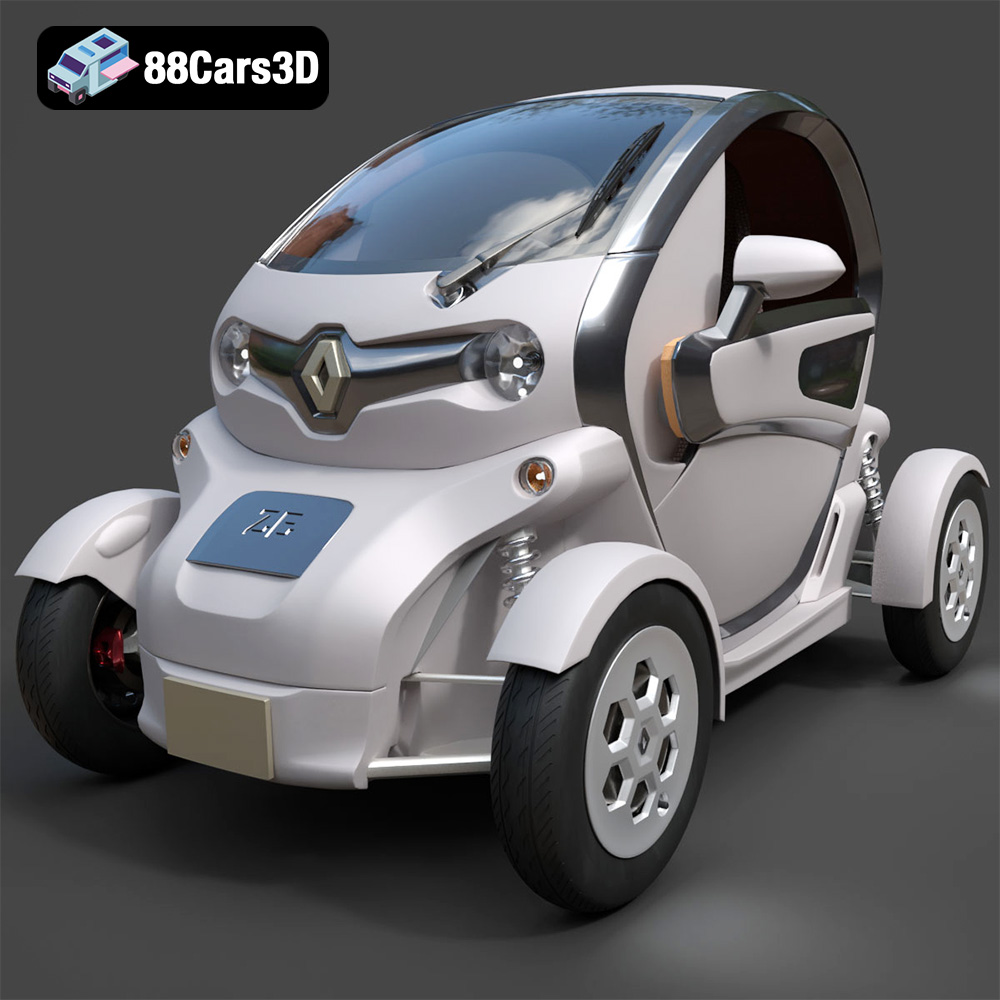
Renault Twizy ZE 3D Model
Texture: Yes
Material: Yes
Download the Renault Twizy ZE 3D Model featuring clean geometry, realistic detailing, and a fully modeled interior. Includes .blend, .fbx, .obj, .glb, .stl, .ply, .unreal, and .max formats for rendering, simulation, and game development.
Price: $4.99
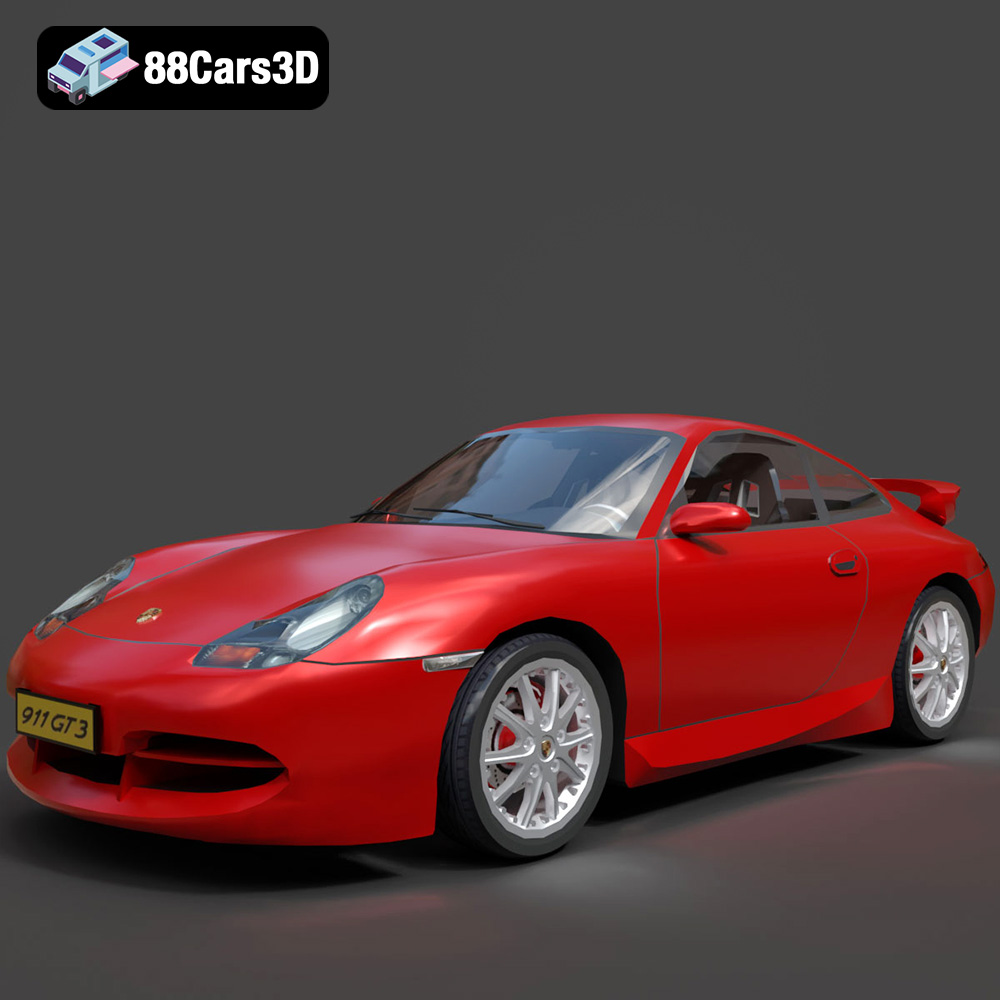
Porsche 911 GT3 3D Model
Texture: Yes
Material: Yes
Download the Porsche 911 GT3 3D Model featuring clean geometry, realistic detailing, and a fully modeled interior. Includes .blend, .fbx, .obj, .glb, .stl, .ply, .unreal, and .max formats for rendering, simulation, and game development.
Price: $4.99
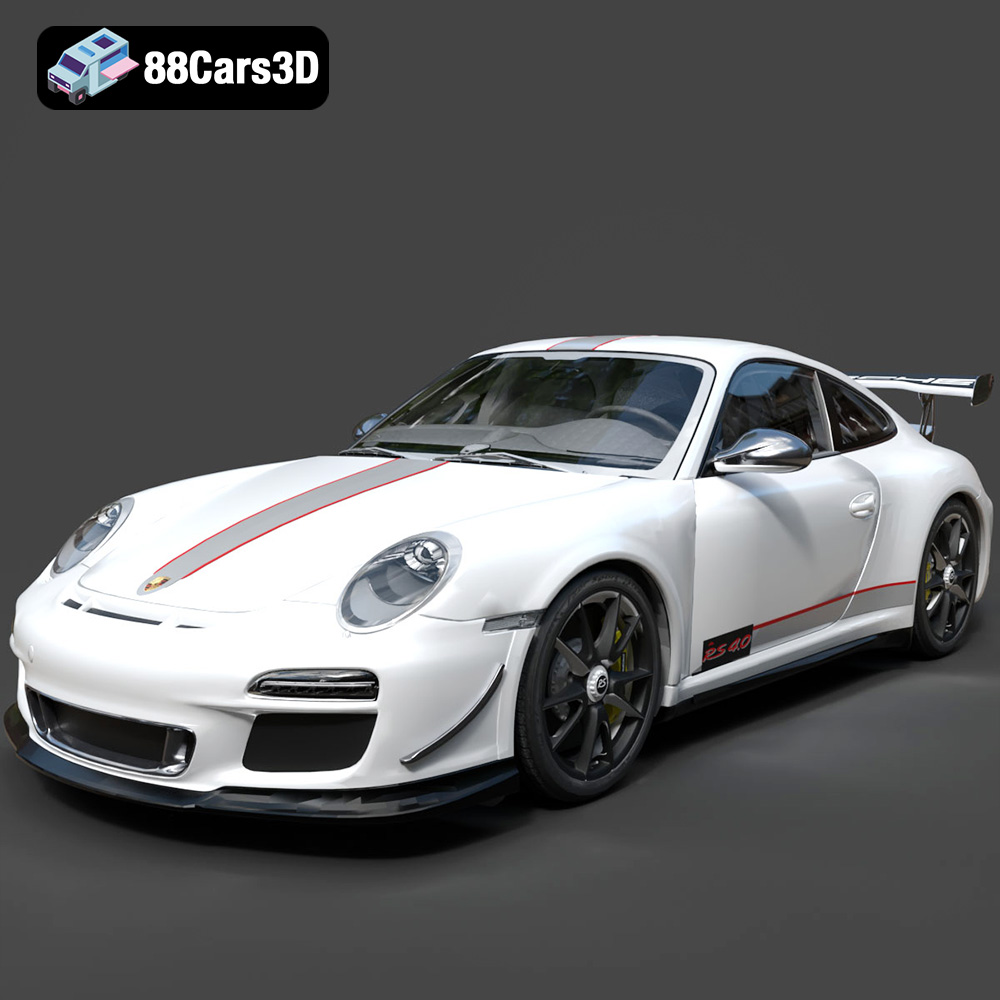
Porsche 911 997 GT3 RS 4.0 2011 3D Model
Texture: Yes
Material: Yes
Download the Porsche 911 997 GT3 RS 4.0 2011 3D Model featuring clean geometry, realistic detailing, and a fully modeled interior. Includes .blend, .fbx, .obj, .glb, .stl, .ply, .unreal, and .max formats for rendering, simulation, and game development.
Price: $4.99
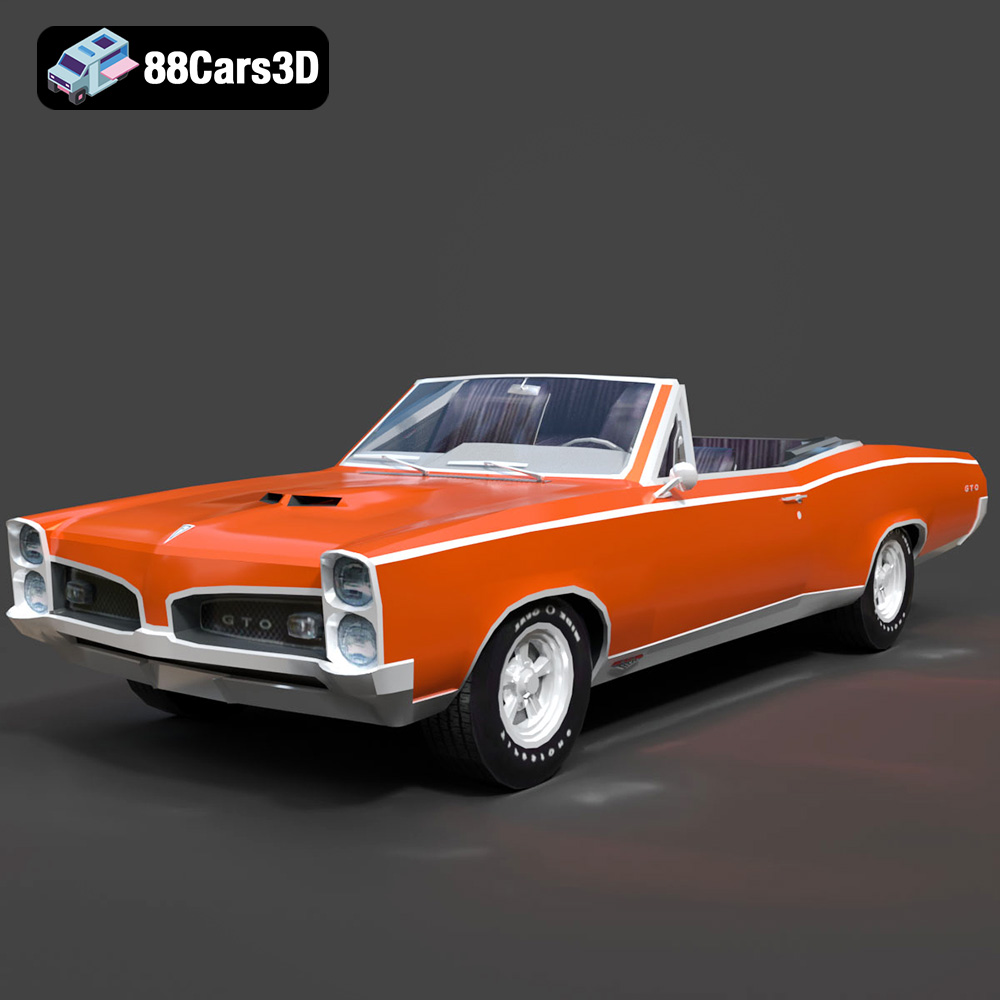
Pontiac GTO Cabrio 1967 3D Model
Texture: Yes
Material: Yes
Download the Pontiac GTO Cabrio 1967 3D Model featuring clean geometry, realistic detailing, and a fully modeled interior. Includes .blend, .fbx, .obj, .glb, .stl, .ply, .unreal, and .max formats for rendering, simulation, and game development.
Price: $4.99
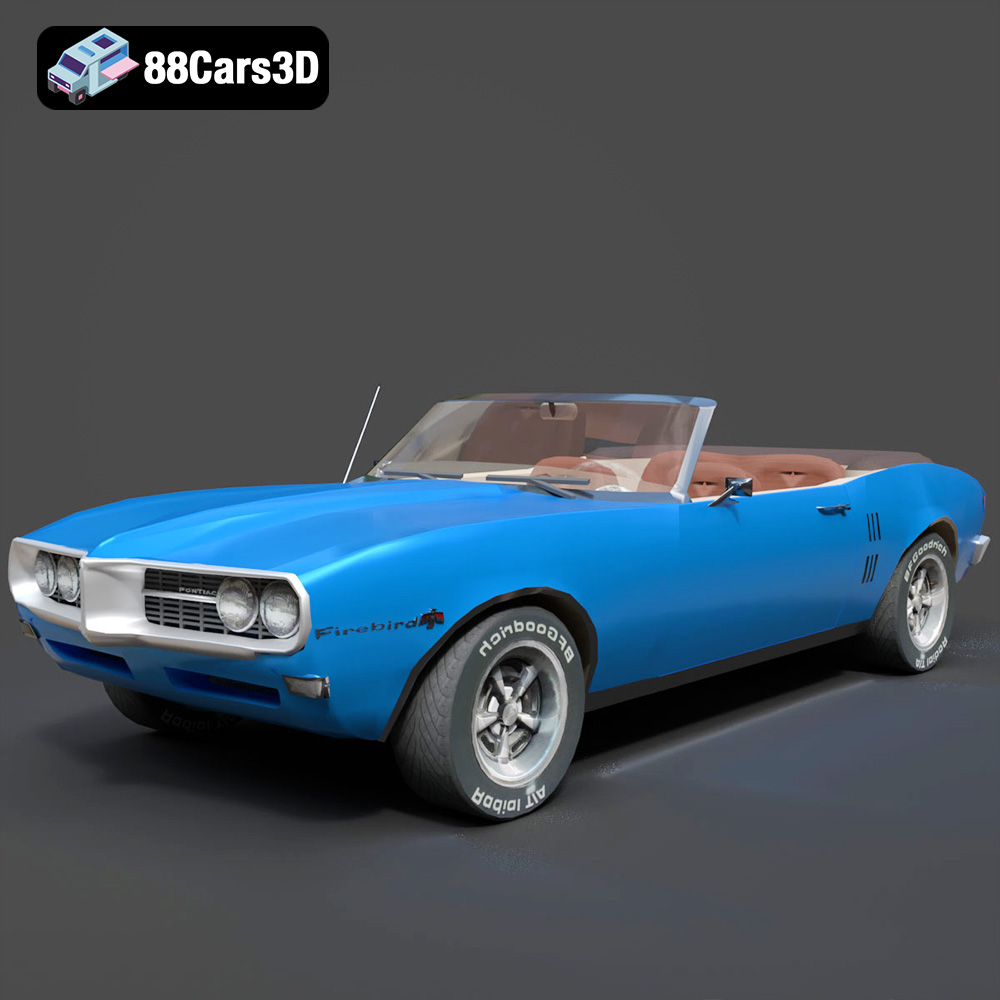
Pontiac Firebird Convertible 1968 3D Model
Texture: Yes
Material: Yes
Download the Pontiac Firebird Convertible 1968 3D Model featuring clean geometry, realistic detailing, and a fully modeled interior. Includes .blend, .fbx, .obj, .glb, .stl, .ply, .unreal, and .max formats for rendering, simulation, and game development.
Price: $4.99

Peugeot 508 2011 3D Model
Texture: Yes
Material: Yes
Download the Peugeot 508 2011 3D Model featuring clean geometry, realistic detailing, and a fully modeled interior. Includes .blend, .fbx, .obj, .glb, .stl, .ply, .unreal, and .max formats for rendering, simulation, and game development.
Price: $4.99
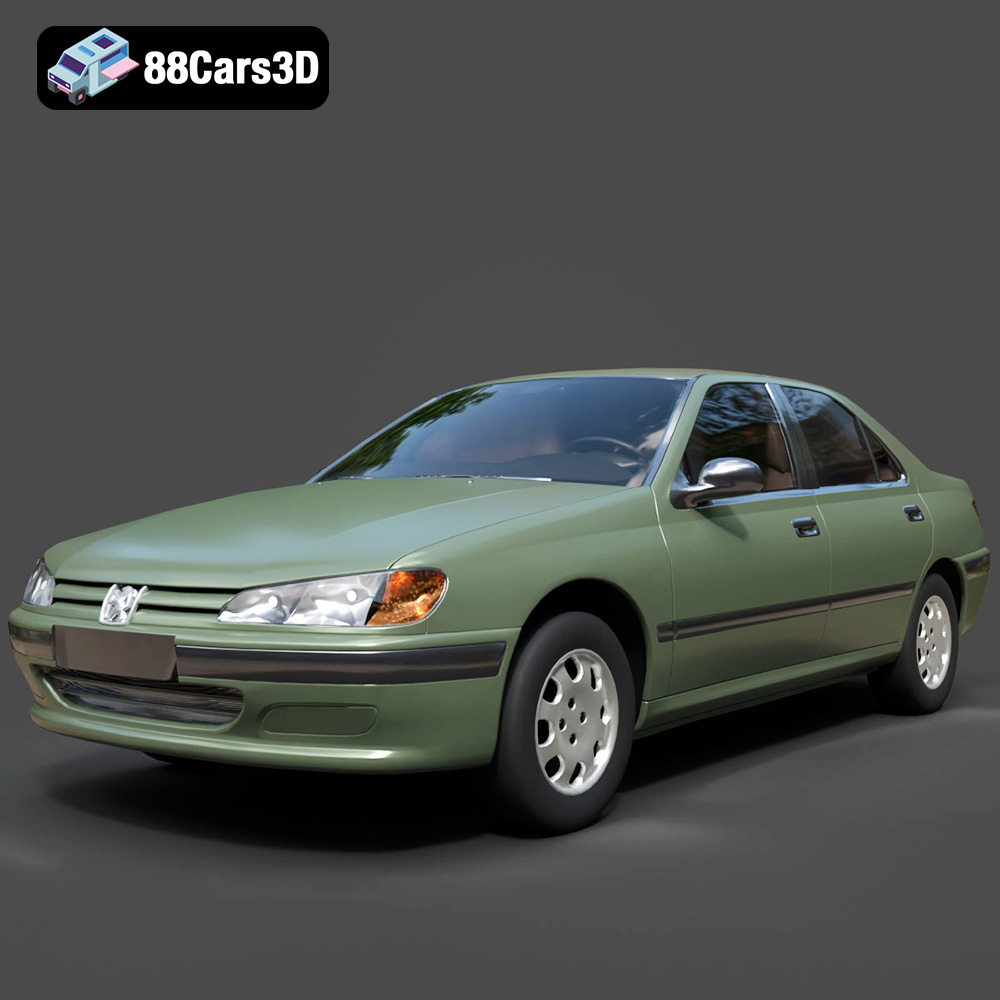
Peugeot 406 1996 3D Model
Texture: Yes
Material: Yes
Download the Peugeot 406 1996 3D Model featuring clean geometry, realistic detailing, and a fully modeled interior. Includes .blend, .fbx, .obj, .glb, .stl, .ply, .unreal, and .max formats for rendering, simulation, and game development.
Price: $10
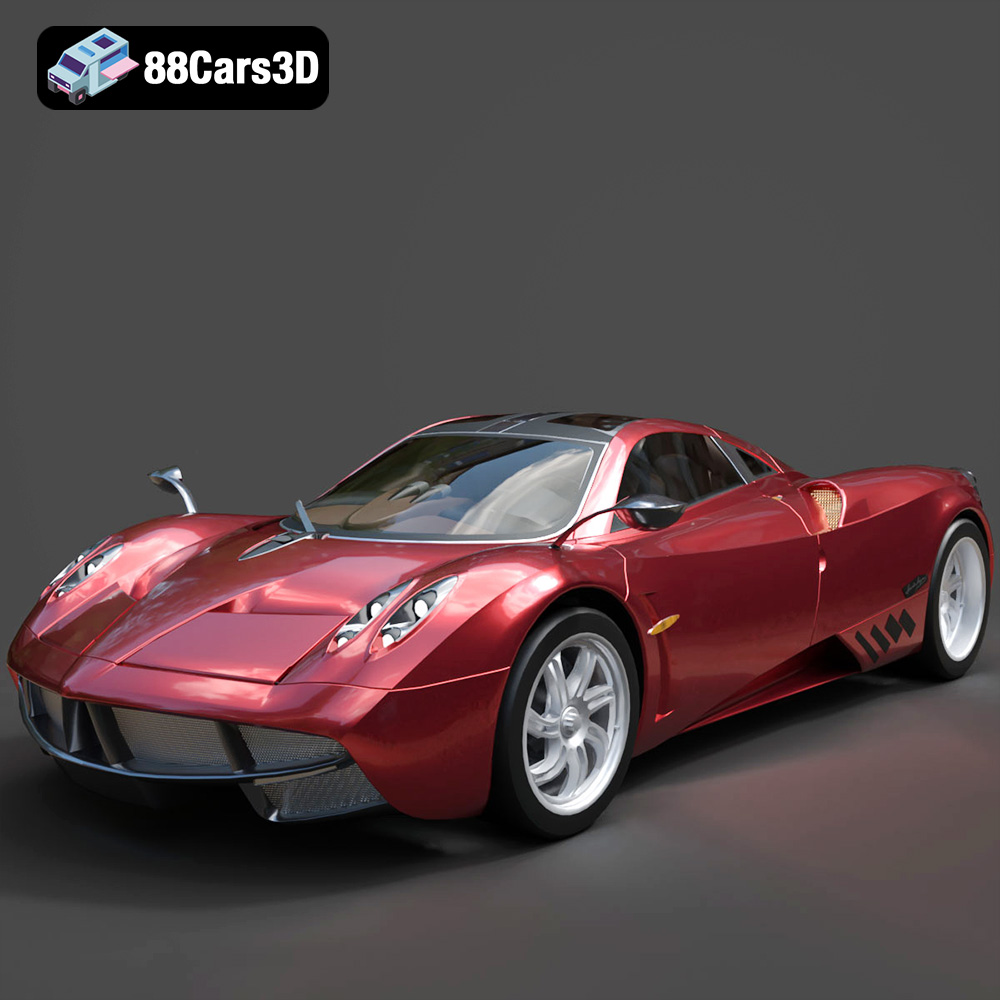
Pagani Huayra 2012 3D Model
Texture: Yes
Material: Yes
Download the Pagani Huayra 2012 3D Model featuring clean geometry, realistic detailing, and a fully modeled interior. Includes .blend, .fbx, .obj, .glb, .stl, .ply, .unreal, and .max formats for rendering, simulation, and game development.
Price: $10
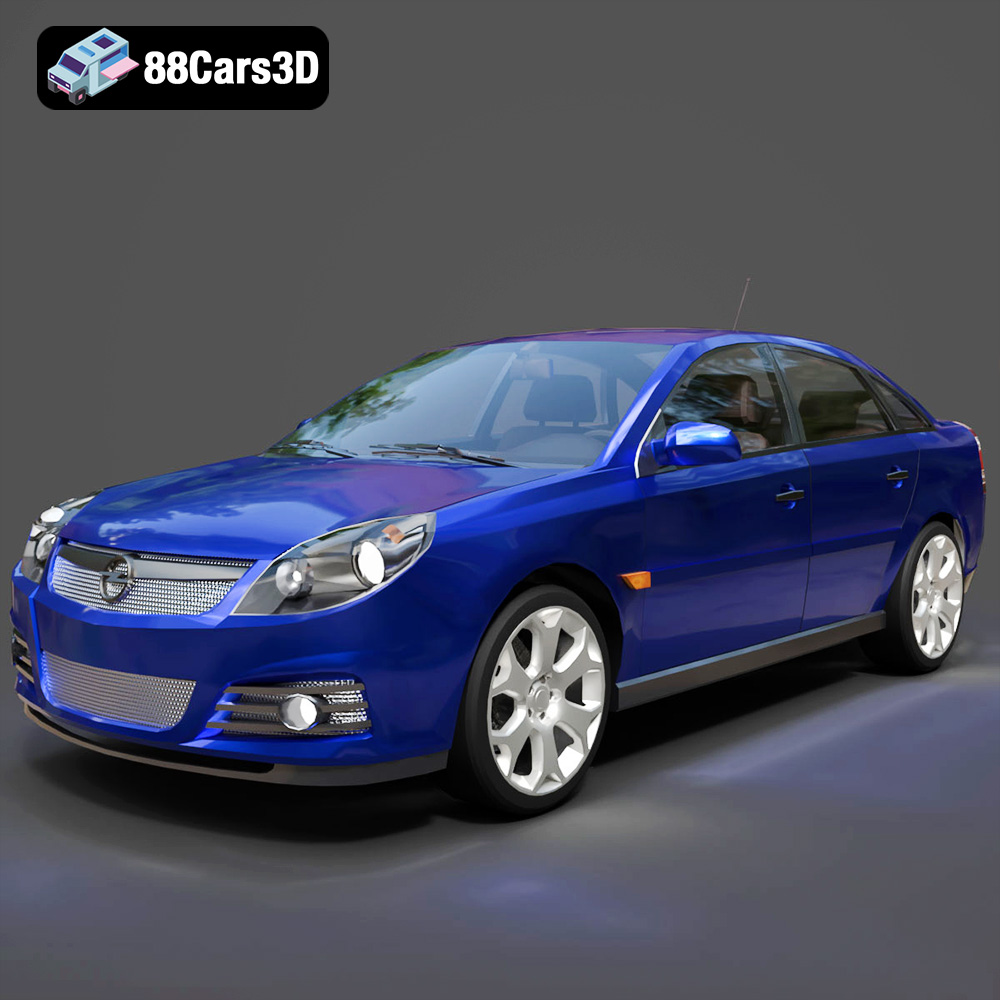
Opel Vectra C 2005 3D Model
Texture: Yes
Material: Yes
Download the Opel Vectra C 2005 3D Model featuring clean geometry, realistic detailing, and a fully modeled interior. Includes .blend, .fbx, .obj, .glb, .stl, .ply, .unreal, and .max formats for rendering, simulation, and game development.
Price: $10

Opel Insignia OPC 3D Model
Texture: Yes
Material: Yes
Download the Opel Insignia OPC 3D Model featuring clean geometry, realistic detailing, and a fully modeled interior. Includes .blend, .fbx, .obj, .glb, .stl, .ply, .unreal, and .max formats for rendering, simulation, and game development.
Price: $10
