Get 20% OFF All Premium 3D & STL Models!

In the vibrant world of 3D visualization, few assets capture the imagination and demand as much technical prowess as 3D car models. From photorealistic renders gracing automotive advertisements to meticulously optimized vehicles driving the latest gaming experiences, and even precise models facilitating AR/VR training simulations, the demand for high-quality, versatile automotive assets is immense. Creating these complex models requires a deep understanding of intricate workflows, from the foundational principles of topology to advanced rendering and game engine optimization techniques.
This comprehensive guide delves into the technical intricacies of developing, optimizing, and deploying 3D car models across various industries. We’ll explore everything from crafting flawless surfaces and realistic materials to ensuring peak performance in real-time environments and preparing models for physical fabrication. Whether you’re a seasoned 3D artist, a game developer, an automotive designer, or a student eager to master the craft, this article will equip you with the knowledge and actionable insights to elevate your automotive rendering and game asset creation to professional standards. Join us as we unlock the secrets behind truly exceptional 3D car models.
The bedrock of any high-quality 3D car model lies in its underlying mesh structure – its topology and edge flow. For complex organic and hard-surface models like cars, clean and efficient topology is not just an aesthetic choice; it’s a fundamental requirement for smooth deformation, realistic shading, and overall project efficiency. Poor topology can lead to artifacts, pinching, or render inconsistencies that detract from the model’s realism. Automotive surfaces are notoriously challenging, characterized by expansive, smooth panels that must reflect light flawlessly, alongside sharp creases and intricate vents that demand precise polygon placement. Therefore, understanding and implementing best practices in this area is paramount for any professional working with 3D car models.
Clean topology means having a mesh composed primarily of quads (four-sided polygons), with a logical flow of edges that follow the contours and critical lines of the object. For a car, this translates to edges running along body panels, around wheel wells, along door seams, and accentuating the curvature of fenders. This quad-dominant structure is crucial for several reasons. Firstly, it ensures predictable subdivision (using modifiers like Turbosmooth or Subdivision Surface), allowing for incredibly smooth surfaces without sacrificing control over the base mesh. Secondly, it prevents shading artifacts, such as unsightly pinches or bumps that often occur with triangles or n-gons (polygons with more than four sides) on curved surfaces. Thirdly, clean topology is essential for proper UV unwrapping and texture mapping, minimizing stretching and making the texturing process far more manageable. When working with intricate automotive designs, especially for high-fidelity visualization or animated sequences, the integrity of the topology directly impacts the final visual quality and the model’s usability in different pipelines.
Edge flow dictates how the edges on your model guide the surface curvature and how they will deform. For cars, this is critical for areas like door gaps, hood lines, and panel transitions. Edges should follow the natural curves and contours of the car, especially at points of significant curvature change. Loop cuts, or edge loops, that run continuously around features like headlights or door frames provide excellent control over shape and allow for easy selection and modification. When modeling a car, focus on creating edge loops that define the silhouette, major panel breaks, and areas that will receive additional detail. This structured approach not only results in a visually appealing and accurate model but also facilitates animation, if the car needs to open doors, turn wheels, or undergo any form of deformation. For instance, creating loops around wheel arches ensures a smooth circular opening, even after multiple subdivision levels, and maintains the integrity of the mesh during rigging.
Often, 3D car models originate from CAD (Computer-Aided Design) data, which, while dimensionally accurate, typically consists of highly dense, triangular meshes that are unsuitable for traditional subdivision surfacing, animation, or real-time game engines. The process of converting this CAD data into a clean, quad-based mesh is known as retopology. This involves projecting a new, optimized mesh onto the high-resolution CAD surface. Tools like 3ds Max’s Graphite Modeling Tools, Blender’s Retopoflow addon, or Maya’s Quad Draw are invaluable for this. The workflow generally involves importing the high-poly CAD model as a reference, then manually or semi-automatically drawing new polygons on its surface, focusing on maintaining crucial edge flow and minimizing polygon count while preserving detail. A typical automotive production model might target a polycount of 50,000-150,000 quads for a high-detail render mesh, while a game-ready asset might start with a low-poly base of 10,000-30,000 polygons, depending on the required Level of Detail (LOD) and the target platform. This meticulous retopology phase ensures that the model is versatile enough for any subsequent pipeline stage.
Once a 3D car model’s geometry is perfected, the next crucial step is to bestow upon it the lifelike appearance that transforms polygons into a convincing representation of a real vehicle. This is achieved through sophisticated material creation and texturing, with Physically Based Rendering (PBR) being the industry standard for achieving photorealistic results. PBR materials accurately simulate how light interacts with surfaces, accounting for properties like reflection, refraction, and absorption, leading to incredibly believable automotive finishes – from glossy paints to textured plastics and intricate metal details. Understanding PBR principles and mastering UV mapping and shader network construction is essential for artists aiming to produce top-tier 3D car models that truly shine.
PBR materials are built upon real-world physics, making them behave consistently under various lighting conditions, unlike older, more artistic material systems. The core concept revolves around several key maps: Albedo (or Base Color), Normal, Roughness, Metallic, and Ambient Occlusion (AO). The **Albedo map** defines the base color of the surface, stripped of any lighting information. The **Normal map** fakes surface detail, allowing low-polygon models to appear highly detailed, crucial for intricate car grilles or engine components without adding heavy geometry. The **Roughness map** determines how rough or smooth a surface is, directly impacting how light reflects – a value of 0 is perfectly smooth (like polished chrome), while 1 is completely rough (like matte plastic). The **Metallic map** specifies which parts of the surface are metallic (usually 1 or 0, though some materials are in-between), influencing how specular reflections are handled. Finally, **Ambient Occlusion (AO) maps** simulate soft shadows caused by ambient light being blocked by nearby surfaces, adding depth and realism to crevices and panel gaps. Mastering the interplay of these maps is critical for achieving diverse and convincing automotive finishes, from the deep reflections of clear coat paint to the subtle sheen of rubber tires.
UV mapping is the process of unwrapping the 3D mesh into a 2D layout, allowing textures to be applied accurately. For complex objects like cars, careful UV unwrapping is paramount to avoid stretching, seams, and wasted texture space. The goal is to create UV islands that are as distortion-free as possible, minimizing cuts while ensuring a logical layout for painting and baking. For large, smooth car panels, strive for minimal seams, often placing them in inconspicuous areas like under the car or along natural panel breaks. Tools like 3ds Max’s Unwrap UVW, Blender’s UV Editor, or Maya’s UV Toolkit offer powerful features for efficient unwrapping. For automotive models, it’s common to use multiple UV sets: one for general PBR materials, another for specific details like decals or license plates, and possibly a third for lightmaps in game engines. Texel density – the number of texture pixels per unit of surface area – should be consistent across the model to prevent resolution discrepancies. High-resolution texture maps, such as 4K (4096×4096) or even 8K, are often used for hero assets in automotive rendering to capture every minute detail, especially when creating close-up shots.
Beyond the basic PBR maps, automotive materials often require sophisticated shader networks to achieve truly realistic results. Car paint, for example, is rarely a simple PBR setup. It typically involves multiple layers: a base metallic layer, a clear coat layer (for glossiness and reflections), and often a flake layer to simulate metallic paint particles. Shaders in rendering engines like Corona Renderer, V-Ray, Cycles, or Arnold allow artists to layer these effects, blend different material properties, and introduce procedural textures for added variation. For instance, a car paint shader might use a Fresnel effect to control reflection intensity based on viewing angle, making surfaces more reflective at glancing angles. Similarly, car glass might incorporate advanced transparency, refraction, and tint properties, along with a slight amount of roughness to simulate dust or imperfections. Building these networks requires a solid understanding of how light interacts with various surfaces and the specific capabilities of your chosen render engine. Platforms like 88cars3d.com often provide models with pre-configured, advanced shader networks, saving artists considerable time and ensuring high visual fidelity right out of the box.
A perfectly modeled and textured 3D car still won’t look realistic without masterful lighting and rendering. The way light interacts with the car’s surfaces, the environment it’s placed in, and the camera’s perspective are all critical factors in creating a compelling visual narrative. Advanced automotive rendering techniques involve a harmonious blend of technical understanding and artistic sensibility, transforming raw 3D data into stunning photorealistic images or animations. This section explores the intricacies of lighting setups, render engine optimization, and the crucial final steps of post-processing and compositing, ensuring your 3D car models achieve their full visual potential.
Lighting is the soul of any render. For cars, which are highly reflective objects, the environment and lighting setup dictate how well the intricate details of the bodywork and paint finish are perceived. High Dynamic Range Images (HDRIs) are a cornerstone of realistic automotive lighting, providing both global illumination and reflections from a real-world environment. A high-quality HDRI can instantly place your car in a believable setting, offering nuanced lighting that physical lights alone often struggle to replicate. Beyond HDRIs, physical light sources (area lights, spot lights, IES profiles) are used to emphasize specific features, create dramatic shadows, or simulate studio lighting setups. For example, a three-point lighting setup (key, fill, back light) is a common starting point, often augmented with additional rim lights to highlight the car’s silhouette. When setting up lights, consider the “story” you want to tell: a bright, sunny outdoor scene requires different lighting considerations than a moody, interior studio shot. Pay close attention to light temperature, intensity, and shadow softness to evoke the desired atmosphere and properly showcase the car’s form and materials.
Modern render engines such as Corona Renderer, V-Ray, Cycles (Blender), and Arnold (Maya, 3ds Max) offer incredible power and flexibility, but harnessing them for optimal automotive rendering requires a deep understanding of their settings. While each engine has its nuances, common optimization strategies apply across the board. Key settings often include: **Ray Samples/Bounces:** Increasing these improves light quality and reduces noise, but at the cost of render time. Finding the sweet spot is essential. **Denoisers:** Most modern renderers include AI-powered denoisers (like NVIDIA OptiX or Intel Open Image Denoise) that can significantly reduce render times by cleaning up noisy images with fewer samples. **Global Illumination (GI) Settings:** Engines use various GI algorithms (e.g., Brute Force, Irradiance Map, Light Cache). Understanding their strengths and weaknesses helps in choosing the right one for specific scenes. For interiors, more sophisticated GI solutions are often needed, while exteriors might benefit from faster, less memory-intensive options. **Render Passes/Elements:** Instead of rendering a single final image, breaking down the render into separate passes (e.g., diffuse, reflection, specular, raw light, Z-depth, object ID) provides immense control in post-processing. This allows for non-destructive adjustments and corrections, speeding up iterations without re-rendering the entire scene.
The image fresh out of the render engine is rarely the final product. Post-processing and compositing in software like Adobe Photoshop, Affinity Photo, or Blackmagic Fusion are where the image truly comes alive. Using the render passes generated, artists can precisely control aspects like reflections, highlights, and shadows. **Color grading** adjusts the overall mood and tone, while **bloom** adds a soft glow to bright areas, enhancing realism. **Depth of Field (DoF)** can draw attention to specific parts of the car and mimic real camera lenses. **Vignetting** gently darkens the edges of the frame to focus the viewer’s eye. Compositing allows for adding elements like background plates, dust, lens flares, or even subtle motion blur in animation sequences. This final stage is crucial for correcting minor imperfections, enhancing visual impact, and achieving the polished look seen in professional automotive photography. By taking a multi-pass rendering approach, artists gain unprecedented flexibility to refine and perfect their 3D car models, pushing them from good to truly exceptional.
While photorealistic renders demand immense detail, deploying 3D car models in real-time environments like game engines (Unity, Unreal Engine) or AR/VR applications requires a drastically different approach focused on performance optimization. Here, every polygon, texture call, and material property contributes to the overall frame rate. A beautifully detailed model that runs smoothly at 60 frames per second (FPS) across various hardware configurations is a testament to meticulous optimization. This section dives deep into the techniques necessary to transform high-fidelity models into efficient game assets, ensuring an immersive and fluid experience for the end-user without sacrificing visual quality.
One of the most critical optimization techniques for game engines is Level of Detail (LOD). LODs are progressively simpler versions of a 3D model that are swapped in and out based on the camera’s distance from the object. When the car is close to the camera, the highest detail LOD (LOD0 or LOD1) is displayed, showing every intricate detail. As the car moves further away, the engine automatically switches to lower polygon versions (LOD2, LOD3, etc.), which have fewer polygons and simpler materials. This significantly reduces the computational load on the GPU. A typical LOD setup for a car might look like this:
Generating effective LODs involves careful decimation and cleanup to maintain visual integrity while drastically reducing polycount. Many 3D software packages (e.g., Blender’s Decimate modifier, 3ds Max’s ProOptimizer, Maya’s Reduce) offer tools for automated LOD creation, which then often require manual refinement.
Beyond polygon count, texture memory and draw calls are significant performance bottlenecks. Each unique material and texture set requires a separate draw call, which can quickly accumulate and degrade performance, especially with many objects on screen. **Texture atlasing** is a technique where multiple smaller textures are combined into one larger texture sheet (an “atlas”). For a car, this means combining textures for the body, wheels, interior, and various small details into a single 4K or 8K atlas. This allows the engine to render the entire car with a single material and draw call, even though it appears to have many different material zones. This is incredibly efficient. Similarly, **material consolidation** involves ensuring that as many parts of the car as possible share the same PBR material and texture atlas. For example, all plastic parts might share one plastic material, even if they have different colors (which can be controlled by color tinting in the engine or within the atlas itself). This dramatically reduces render state changes and improves overall rendering performance.
For game-ready 3D car models, additional considerations are vital. **Collision meshes** are simplified, low-polygon versions of the car’s geometry used purely for physics calculations and collision detection, not for rendering. These are typically created separately and are far simpler than even the lowest render LOD, often just a few hundred polygons, encapsulating the main shape. **Occlusion culling** is an optimization technique where objects that are hidden from the camera’s view (e.g., a car behind a building) are not rendered. Game engines perform checks to determine visibility and dynamically cull invisible objects. Effective **draw call management** extends beyond atlasing; it involves intelligent scene organization, instancing (reusing the same mesh geometry multiple times with different transforms), and ensuring that only visible objects are processed. When sourcing models from marketplaces like 88cars3d.com, professional models often come pre-optimized with LODs, atlased textures, and collision meshes, significantly accelerating game development workflows and ensuring smooth performance across various gaming platforms and interactive applications.
The versatility of high-quality 3D car models extends far beyond traditional rendering and game development. They are increasingly crucial assets in cutting-edge applications like Augmented Reality (AR) and Virtual Reality (VR), providing immersive experiences for training, product showcases, and interactive design reviews. Furthermore, the ability to physically manifest a digital design through 3D printing opens up new avenues for prototyping, scale models, and even functional components. Professional visualization also leverages these models for architectural integration, product configurators, and marketing materials, showcasing their adaptability across a broad spectrum of industries. Each of these applications, however, demands specific preparation and optimization techniques to ensure the model performs optimally and achieves its intended purpose.
AR/VR environments impose some of the strictest performance budgets due to the need for very high, stable frame rates (typically 90 FPS or higher) to prevent motion sickness, especially on standalone devices. When preparing 3D car models for AR/VR, the focus is on extreme optimization. This means even lower polygon counts than typical game LODs, often below 50,000 triangles for an entire car, including wheels and interior, for a truly immersive, real-time experience. PBR materials should be simplified where possible, using fewer texture maps or lower resolutions (e.g., 1K or 2K texture atlases). Batching and instancing are heavily utilized to minimize draw calls. Furthermore, specific file formats optimized for AR/VR, such as GLB (for glTF) and USDZ (Apple’s AR platform), are preferred due to their efficiency in embedding geometry, materials, and animations into a single file. These formats often include built-in optimization features like mesh compression. Ensuring that assets are correctly scaled to real-world dimensions is also critical for believable AR and VR interactions. For example, if you’re using a car model for a virtual showroom, it must appear life-sized and interact with virtual environments accurately.
Converting a digital 3D car model into a physical object via 3D printing requires a distinct set of considerations focused on mesh integrity and printability. Unlike rendering, where open edges or non-manifold geometry might be forgiven, 3D printers demand a “watertight” or “manifold” mesh – meaning every edge must be connected to exactly two faces, forming a continuous, enclosed volume with no gaps, holes, or overlapping geometry.
Proper preparation ensures that the printed car model is robust, accurate, and free from common printing failures, whether it’s for a detailed scale model or a functional prototype.
3D car models are indispensable tools in professional visualization for industries beyond automotive. In architectural visualization, adding a realistic car model to an exterior render instantly breathes life into a scene, providing scale and context for buildings and landscapes. For product visualization, car models can be integrated into dynamic environments to showcase complementary products, such as tires, aftermarket parts, or even consumer electronics within the vehicle interior. These applications demand high-quality, physically accurate models with detailed materials and realistic lighting to seamlessly blend into their respective environments. Often, these scenarios require context-specific modifications, such as adding custom license plates or branded decals. The ability to import and render these models reliably across various software packages (e.g., 3ds Max, Maya, Blender, Cinema 4D) using standard formats (FBX, OBJ, USD) makes them incredibly versatile. Companies rely on platforms offering such robust assets, like 88cars3d.com, to enhance their visual communication and deliver compelling presentations to clients.
The journey of a 3D car model often involves traversing multiple software environments, rendering engines, and deployment platforms. This necessitates a deep understanding of various 3D file formats, their unique strengths and limitations, and efficient strategies for conversion and ensuring compatibility. A model might be created in Maya, textured in Substance Painter, rendered in Corona for an advertisement, and then optimized for Unreal Engine for a game. Each step requires seamless data exchange, making format versatility and proper asset pipeline management critical. Navigating this landscape effectively ensures that the investment in creating or acquiring high-quality 3D car models pays off across all intended applications.
The world of 3D file formats is diverse, each designed with specific purposes in mind:
Understanding which format best suits your immediate need and end-use case is crucial for an efficient workflow.
Converting between 3D file formats isn’t always a straightforward process of “File > Save As.” Data can be lost or misinterpreted, especially with complex PBR materials, rigging, or animations. Best practices for conversion include:
Manual adjustments are often required after conversions, especially when moving between significantly different pipelines or engines. Sourcing 3D car models from reputable marketplaces like 88cars3d.com, which offer models in multiple pre-optimized formats (e.g., FBX, OBJ, GLB, USDZ) with clean topology and PBR materials, significantly streamlines this process and reduces conversion headaches.
The goal of format versatility is ultimate cross-platform compatibility. A well-prepared 3D car model should be able to perform optimally whether it’s rendered in 3ds Max with Corona, integrated into a Unity project, or displayed in an AR app on an iPhone. This requires adherence to general industry standards:
By meticulously preparing and exporting your 3D car models with these considerations in mind, you ensure maximum flexibility and longevity for your assets across any creative or technical pipeline, making them truly invaluable.
The creation and deployment of professional-grade 3D car models is a multifaceted discipline, demanding a blend of artistic skill and rigorous technical understanding. From the foundational integrity of clean topology and efficient edge flow to the nuanced realism of PBR materials and advanced shader networks, every stage plays a critical role in achieving a truly exceptional asset. We’ve explored how mastering illumination and rendering techniques can transform a model into a photorealistic masterpiece, and how strategic optimization is paramount for seamless integration into demanding real-time environments like game engines and AR/VR applications. Furthermore, understanding the specific requirements for 3D printing and leveraging versatile file formats ensures that these sophisticated models are adaptable to virtually any creative or industrial application.
Whether you’re developing the next-gen racing game, crafting stunning automotive advertisements, visualizing architectural projects, or bringing designs to life through 3D printing, the principles outlined in this guide are your roadmap to success. The commitment to detail, optimization, and cross-platform compatibility not only elevates the quality of your work but also enhances its utility and value across various pipelines. For artists and developers seeking to jumpstart their projects with assets built to these exacting standards, platforms like 88cars3d.com offer a curated selection of high-quality 3D car models, meticulously prepared with clean topology, realistic PBR materials, and optimized for diverse applications. Embrace these best practices, continually refine your skills, and drive your 3D automotive projects forward with unparalleled quality and performance.
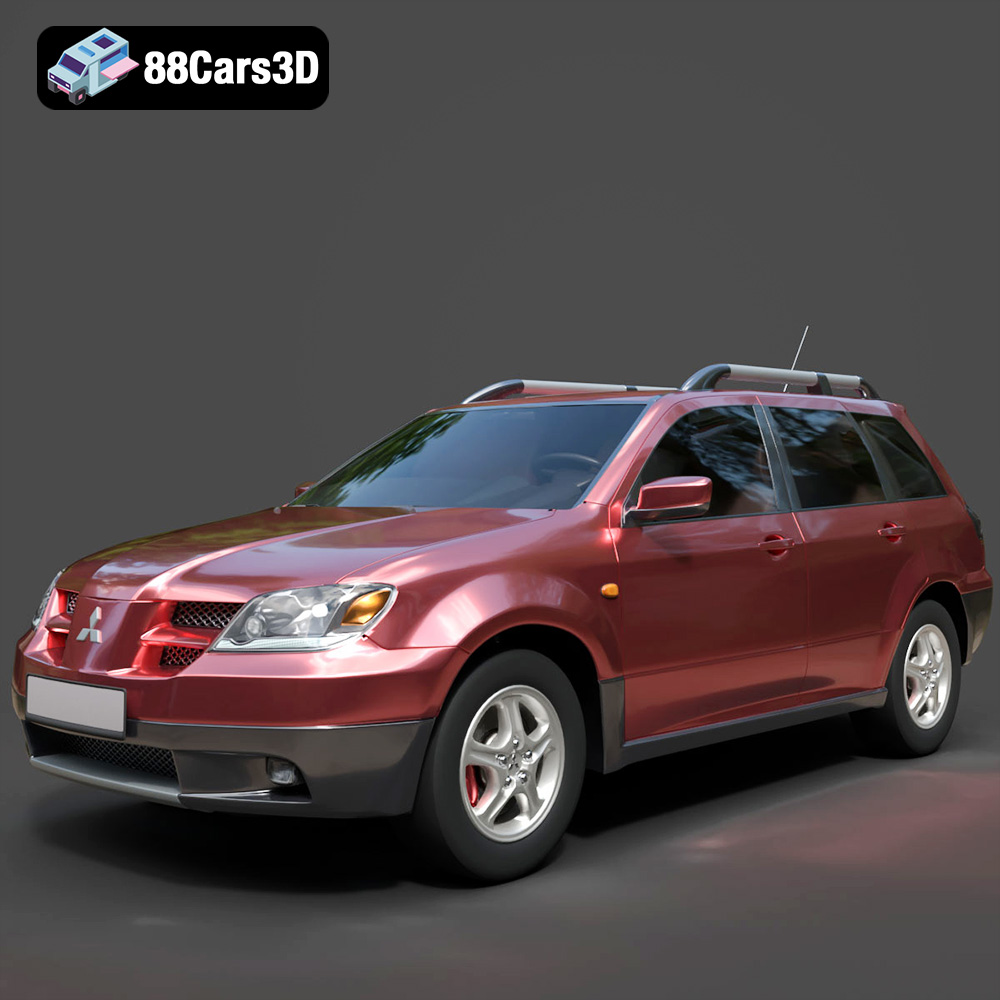
Texture: Yes
Material: Yes
Download the Mitsubishi Outlander 2022 3D Model featuring clean geometry, realistic detailing, and a fully modeled interior. Includes .blend, .fbx, .obj, .glb, .stl, .ply, .unreal, and .max formats for rendering, simulation, and game development.
Price: $4.99
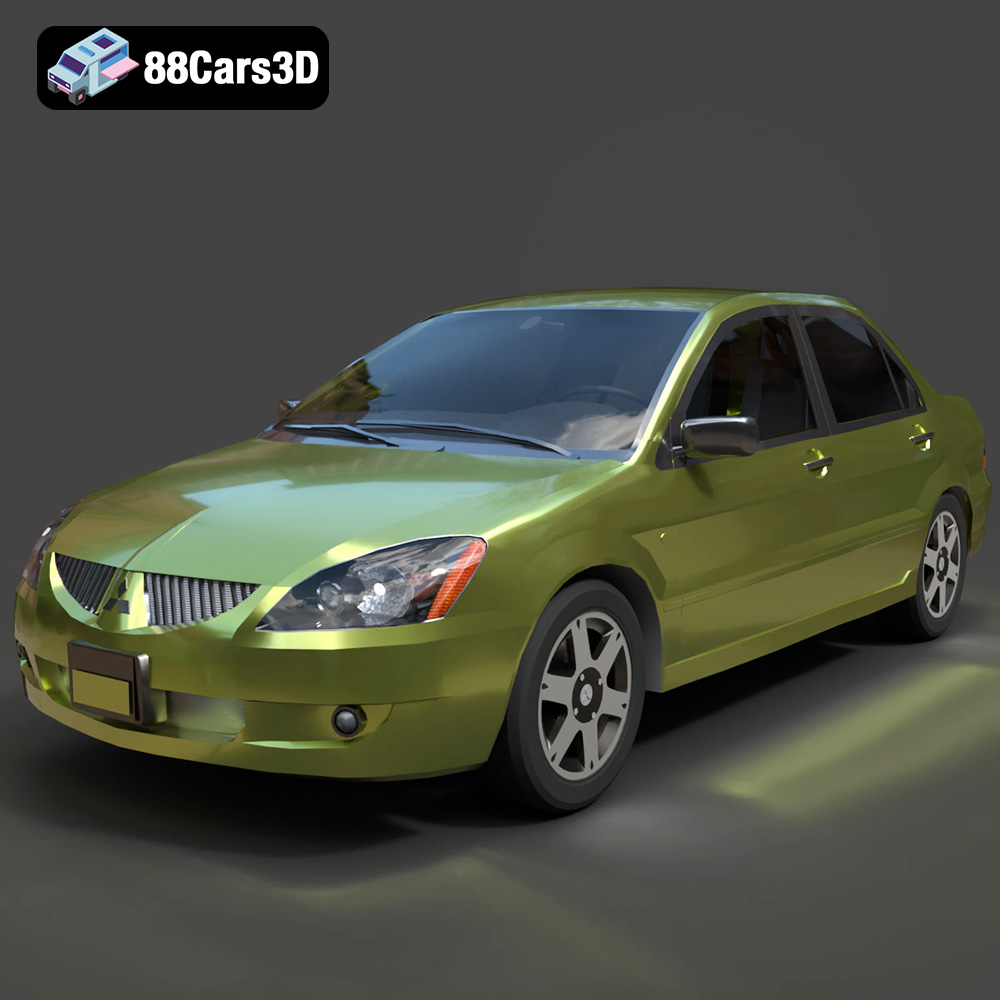
Texture: Yes
Material: Yes
Download the Mitsubishi Lancer IX-001 3D Model featuring clean geometry, realistic detailing, and a fully modeled interior. Includes .blend, .fbx, .obj, .glb, .stl, .ply, .unreal, and .max formats for rendering, simulation, and game development.
Price: $4.99

Texture: Yes
Material: Yes
Download the MINI Cooper S-007 3D Model featuring clean geometry, realistic detailing, and a fully modeled interior. Includes .blend, .fbx, .obj, .glb, .stl, .ply, .unreal, and .max formats for rendering, simulation, and game development.
Price: $4.99
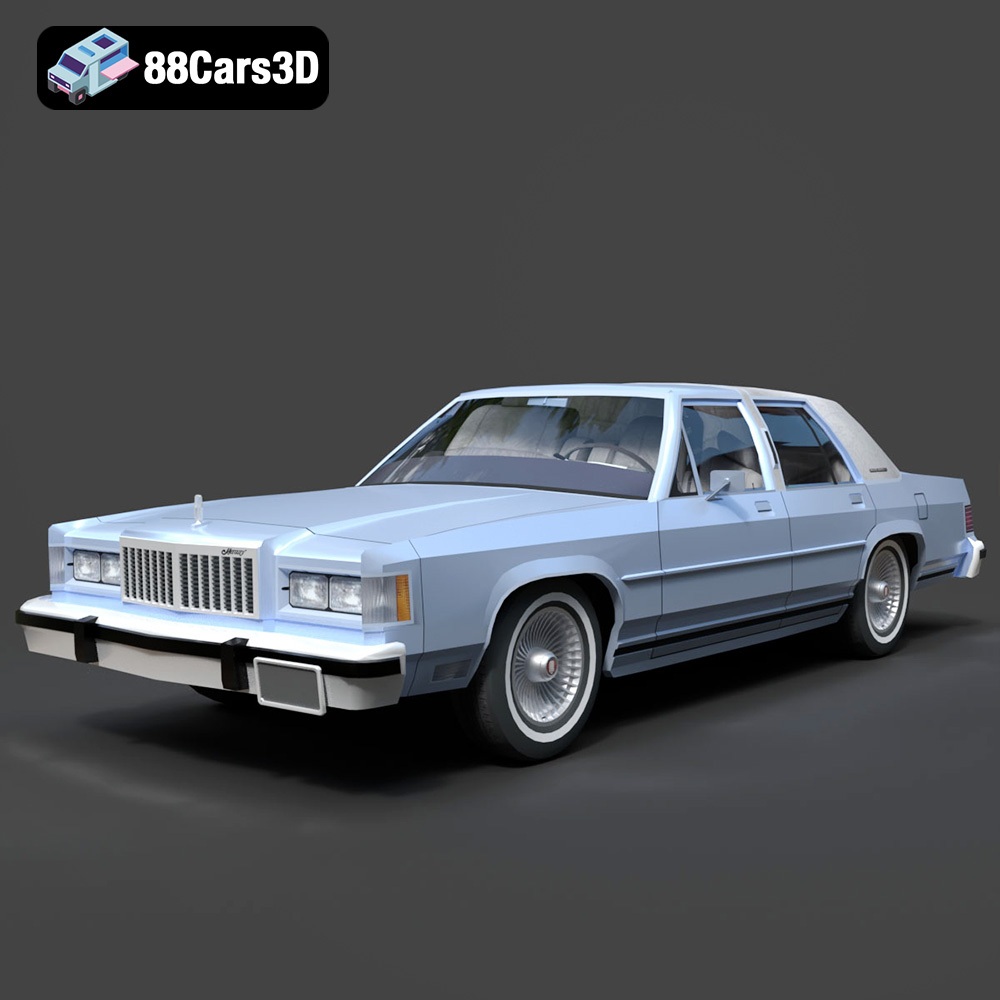
Texture: Yes
Material: Yes
Download the Mercury Grand Marquis LS 1986 3D Model featuring clean geometry, realistic detailing, and a fully modeled interior. Includes .blend, .fbx, .obj, .glb, .stl, .ply, .unreal, and .max formats for rendering, simulation, and game development.
Price: $4.99

Texture: Yes
Material: Yes
Download the Mercedes-Benz SLS AMG 2010 3D Model featuring clean geometry, realistic detailing, and a fully modeled interior. Includes .blend, .fbx, .obj, .glb, .stl, .ply, .unreal, and .max formats for rendering, simulation, and game development.
Price: $4.99
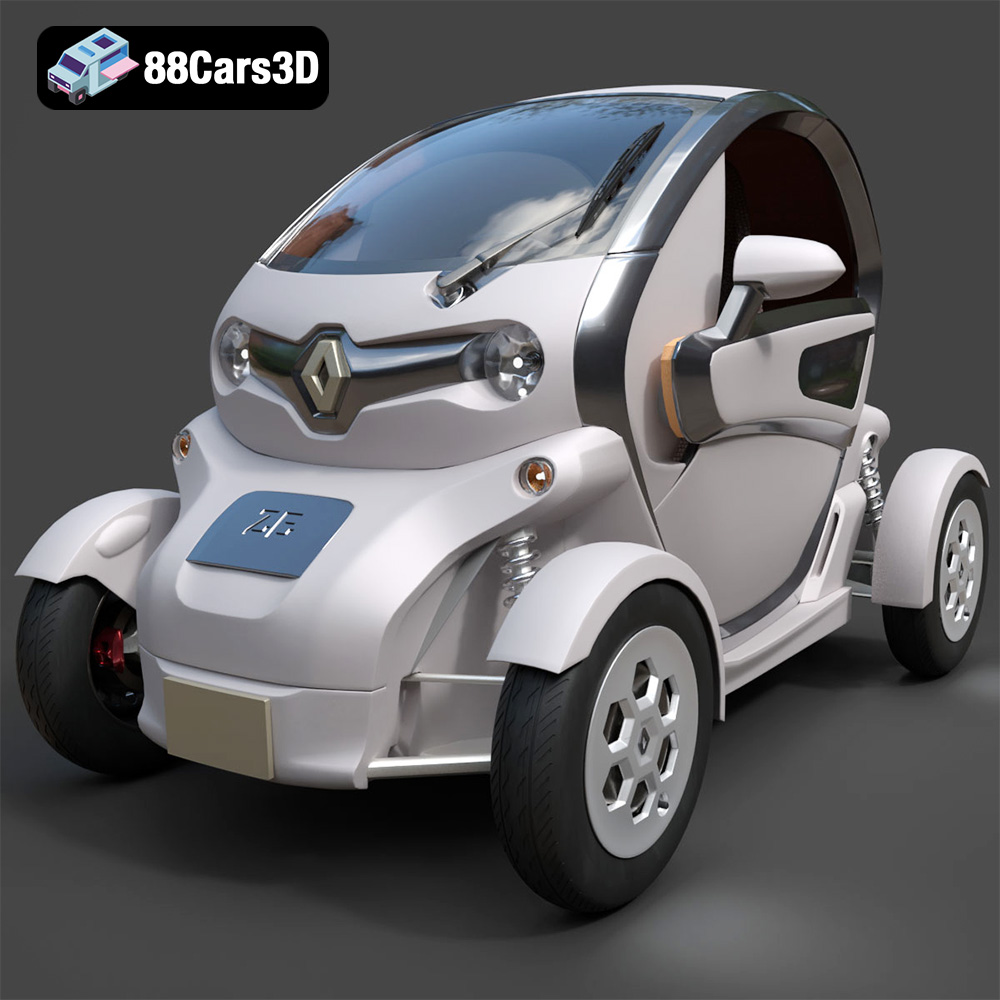
Texture: Yes
Material: Yes
Download the Renault Twizy ZE 3D Model featuring clean geometry, realistic detailing, and a fully modeled interior. Includes .blend, .fbx, .obj, .glb, .stl, .ply, .unreal, and .max formats for rendering, simulation, and game development.
Price: $4.99
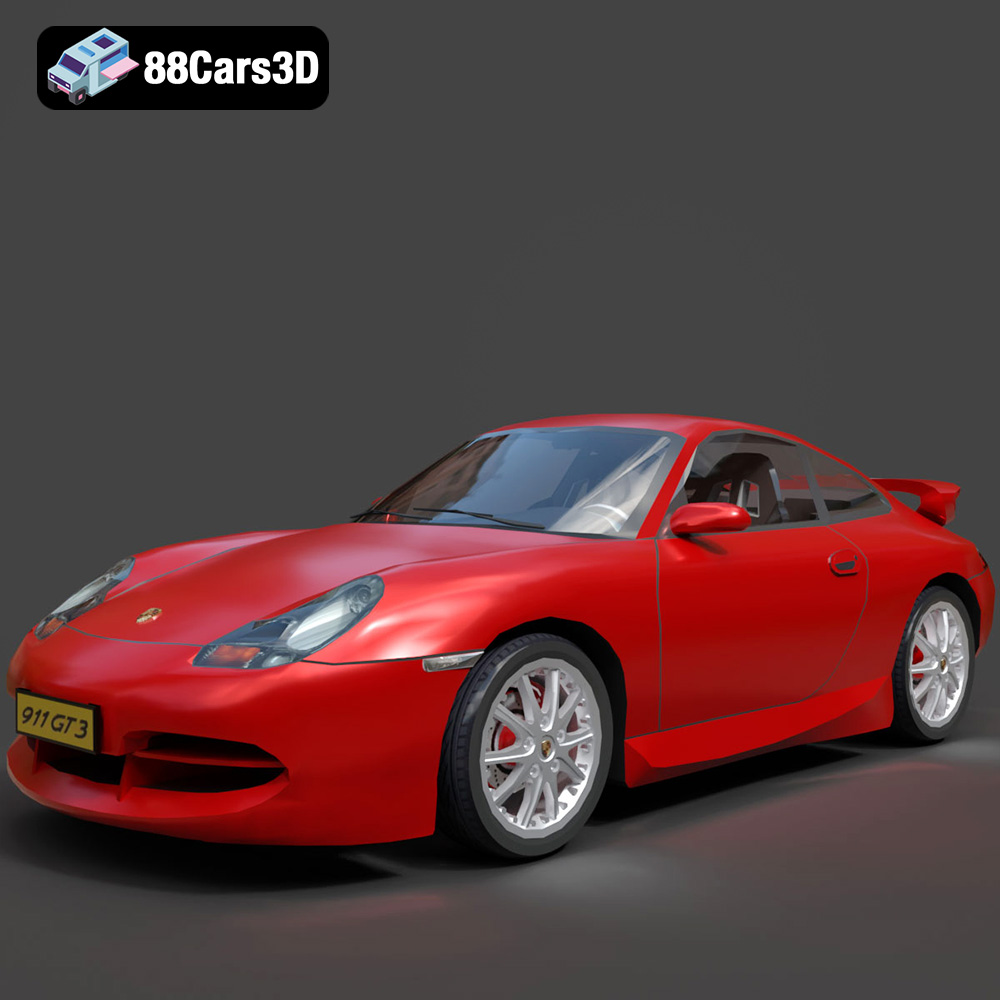
Texture: Yes
Material: Yes
Download the Porsche 911 GT3 3D Model featuring clean geometry, realistic detailing, and a fully modeled interior. Includes .blend, .fbx, .obj, .glb, .stl, .ply, .unreal, and .max formats for rendering, simulation, and game development.
Price: $4.99
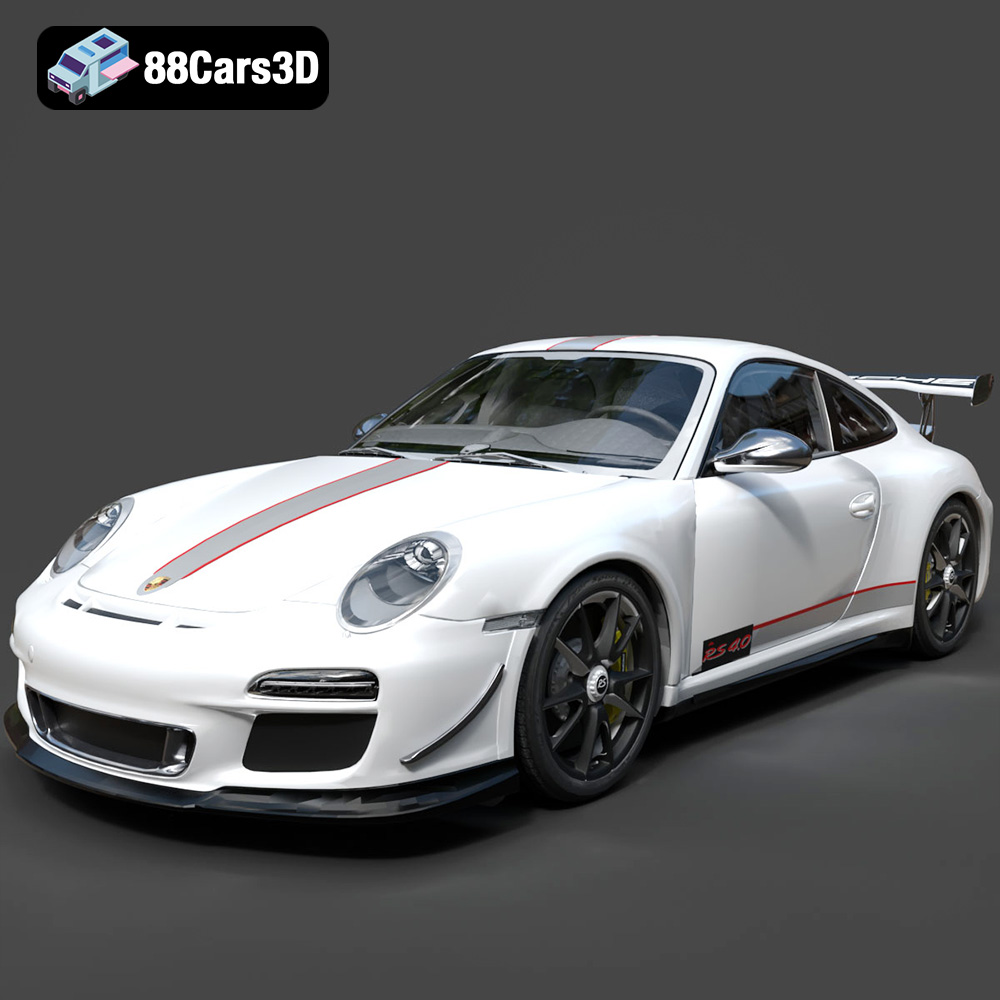
Texture: Yes
Material: Yes
Download the Porsche 911 997 GT3 RS 4.0 2011 3D Model featuring clean geometry, realistic detailing, and a fully modeled interior. Includes .blend, .fbx, .obj, .glb, .stl, .ply, .unreal, and .max formats for rendering, simulation, and game development.
Price: $4.99
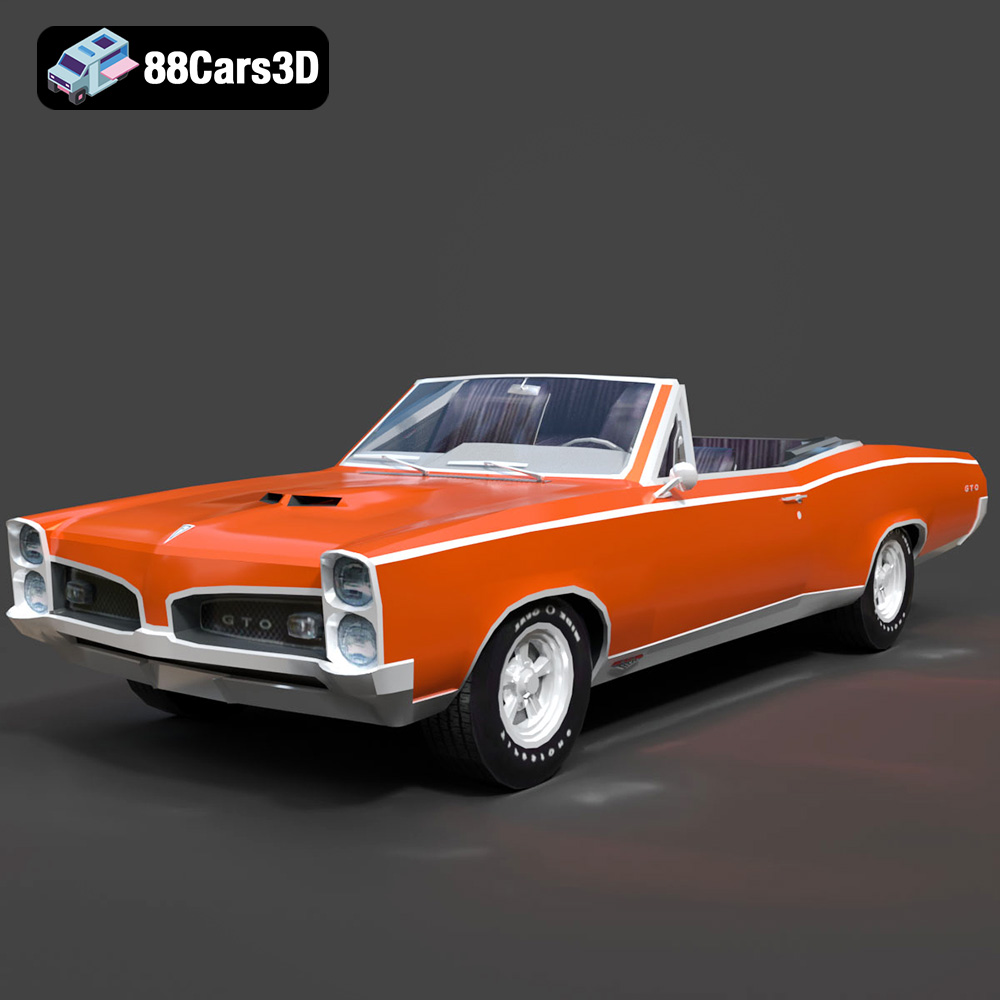
Texture: Yes
Material: Yes
Download the Pontiac GTO Cabrio 1967 3D Model featuring clean geometry, realistic detailing, and a fully modeled interior. Includes .blend, .fbx, .obj, .glb, .stl, .ply, .unreal, and .max formats for rendering, simulation, and game development.
Price: $4.99
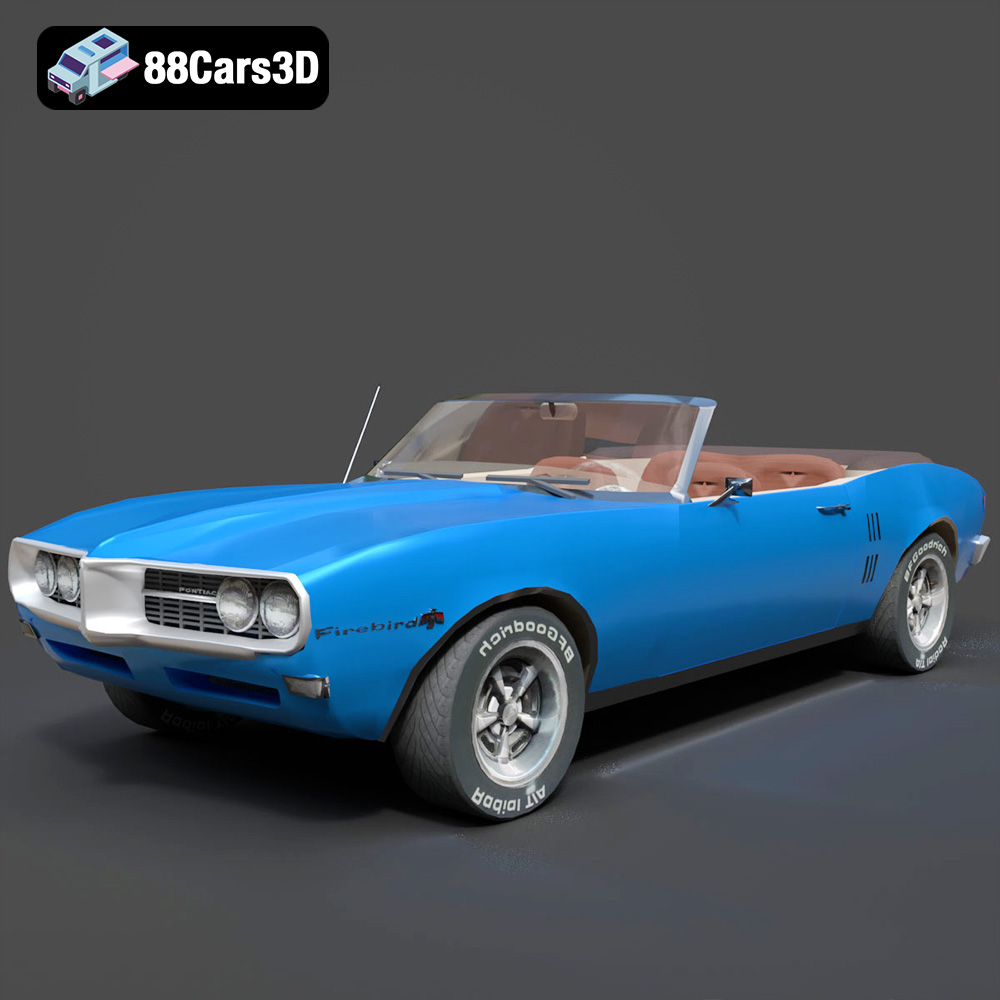
Texture: Yes
Material: Yes
Download the Pontiac Firebird Convertible 1968 3D Model featuring clean geometry, realistic detailing, and a fully modeled interior. Includes .blend, .fbx, .obj, .glb, .stl, .ply, .unreal, and .max formats for rendering, simulation, and game development.
Price: $4.99

