⚡ FLASH SALE: Get 60% OFF All Premium 3D & STL Models! ⚡
The world of 3D visualization is a dynamic landscape, where the demand for highly realistic and optimized digital assets continues to soar. At the heart of this demand lies the automotive industry, where 3D car models are indispensable tools for everything from cutting-edge game development and immersive AR/VR experiences to meticulous product visualization and engineering design. Whether you’re an aspiring 3D artist, a seasoned game developer, or an automotive designer pushing the boundaries of virtual prototyping, understanding the intricacies of creating, optimizing, and deploying high-quality 3D car models is paramount.
This comprehensive guide delves deep into the technical workflows and industry best practices required to achieve digital automotive mastery. We’ll explore the foundational principles of clean topology, demystify advanced UV mapping techniques, and dissect the art of PBR material creation. From achieving photorealistic renders with industry-standard engines like Corona and V-Ray to optimizing assets for real-time applications in Unity and Unreal Engine, and even preparing models for 3D printing, this article provides actionable insights. Prepare to elevate your skills and learn how to navigate the complex yet rewarding journey of bringing automotive visions to life in the digital realm, leveraging the quality and precision that platforms like 88cars3d.com are built upon.
At the core of any high-quality 3D car model lies its topology – the arrangement of vertices, edges, and faces that define the mesh. For automotive models, pristine topology is not just about aesthetics; it’s fundamental for smooth subdivision surfacing, accurate deformations, and efficient UV mapping. A car’s surface is a symphony of subtle curves, sharp creases, and reflective panels, all of which demand an organized and deliberate edge flow. Poor topology can lead to artifacts like pinching, unwanted bumps, and issues with shading, especially under scrutiny from various lighting angles.
The golden rule for automotive modeling is to maintain an all-quad mesh structure. Triangles should be avoided on deformable or highly reflective surfaces as they tend to cause undesirable triangulation artifacts and make edge loops difficult to manage. N-gons (faces with more than four sides) are an absolute no-go. Effective edge flow follows the contours and design lines of the vehicle, anticipating how the surface will react to smoothing and deformation. Think about the flow of light across the body panels; your edge loops should ideally mimic this, defining major creases and transitions with dense, parallel loops, while maintaining sparser, evenly distributed quads on flatter surfaces to conserve polygon count. For a typical high-quality render-ready car model, polygon counts can range from 150,000 to 500,000 polygons (triangles) before subdivision, with final subdivided meshes easily reaching several million polygons for extreme detail.
The most common and robust approach for modeling complex organic and hard-surface shapes like cars is the subdivision surface (Sub-D) modeling workflow, often referred to as “box modeling” or “poly modeling.” This technique involves starting with a low-polygon base mesh constructed entirely from quads, which is then smoothed using a subdivision modifier (e.g., Turbosmooth in 3ds Max, Subdivision Surface in Blender, Smooth Mesh in Maya). The beauty of Sub-D is that you control the complex final shape with a much simpler base mesh, making edits easier and preserving detail at varying subdivision levels.
When modeling, prioritize creating clean, continuous edge loops that define the primary shapes of the car: the wheel arches, door cut lines, hood creases, and window frames. Use edge loops to control the sharpness of corners; closer loops result in tighter, sharper edges, while wider spacing creates softer, more gradual curves. Tools like the Connect Edge and Chamfer Edge in 3ds Max, or Edge Slide and Bevel in Blender, are indispensable for refining edge flow. Always work methodically, building out the major panels first, then adding details, and regularly checking your mesh with a subdivision modifier applied. This iterative process ensures that your low-poly base accurately translates into a smooth, high-resolution surface.
Even experienced artists encounter topology challenges. One common issue is the “star” pole, where five or more edges meet at a single vertex. While not always problematic, star poles can sometimes create pinching, especially on curved surfaces, and should be strategically placed in flatter, less reflective areas. Another challenge is managing polygon density; an overly dense mesh in flat areas is inefficient, while too sparse a mesh on curves will result in faceted surfaces even with subdivision. Balance is key. Regularly inspect your mesh using a reflection shader (e.g., a simple white material with high reflectivity) to spot shading artifacts or wobbles that indicate topological issues. Applying different HDRI environments can further reveal subtle flaws in surface continuity.
Troubleshooting Tips:
Once your 3D car model has impeccable topology, the next crucial step is preparing it for texturing and shading. This involves creating precise UV maps and then crafting sophisticated Physically Based Rendering (PBR) materials. These two processes are intrinsically linked: a well-executed UV map is essential for accurately applying textures, while PBR materials ensure that your vehicle reacts realistically to light, delivering that coveted photorealistic finish.
UV mapping is the process of unfolding your 3D model’s surfaces into a 2D space, much like flattening a cardboard box. This 2D representation, known as a UV map or UV layout, dictates how a 2D texture image will be projected onto the 3D surface. For complex automotive surfaces, proper UV mapping is critical to avoid stretching, seams, and inefficient texture usage. PBR materials, on the other hand, define the surface properties—color, roughness, metallicness, normal detail—based on real-world physics, allowing your car to look correct under any lighting condition.
Effective UV mapping for car models requires strategic planning. The goal is to minimize seams, avoid texture stretching, and maximize texture resolution where it matters most. For large, continuous panels like the hood, roof, and doors, aim for large, unbroken UV islands. Seams should be placed in less visible areas, such as along panel gaps, underneath trim pieces, or where different materials naturally meet. The wheels, tires, and interior components will often have their own dedicated UV layouts. For instance, a tire would typically have a cylindrical map for the sidewall and planar maps for the tread and hub area.
Consider using multiple UV sets for different purposes. A primary UV set (UV Map 1) might be for general color and detail textures, while a secondary set (UV Map 2) could be for lightmaps in game engines or specific decals. When laying out your UV islands in the 0-1 UV space, ensure consistent texel density across all major parts. Texel density refers to the number of texture pixels per unit of surface area. Inconsistent texel density will make some parts appear blurry and others overly sharp. Tools like Unwrap UVW in 3ds Max, UV Editor in Blender, or UV Toolkit in Maya provide powerful tools for unwrapping, packing, and adjusting texel density. For a high-resolution automotive rendering, texture resolutions often range from 2K (2048×2048) for smaller components to 4K or even 8K for major body panels, ensuring crisp detail even in close-up shots.
PBR materials are the backbone of modern photorealistic rendering. They rely on physically accurate properties, ensuring that your car’s paint, glass, rubber, and chrome behave correctly under various lighting conditions. A typical PBR workflow involves several key texture maps:
For car paint, a complex shader network often combines multiple layers: a base color, a clear coat (simulating lacquer), and possibly metallic flakes. Software like Substance Painter, Mari, or even procedural nodes in Blender’s Cycles or 3ds Max’s Slate Material Editor allow for intricate material creation. When sourcing models from marketplaces such as 88cars3d.com, you can expect professionally crafted PBR materials that are ready to drop into your rendering engine of choice. Remember to calibrate your PBR values; for instance, the roughness of clear coat car paint is typically very low, while interior plastics might have higher roughness values. Experiment with different HDRI environments to test how your materials react, ensuring they maintain realism across various lighting scenarios.
After perfecting your 3D car model and its PBR materials, the next step is to transform it into a stunning, photorealistic image or animation. This involves sophisticated rendering workflows, where lighting, environment setup, and render engine choice play pivotal roles. Achieving true photorealism requires a deep understanding of how light interacts with surfaces and how to compose an impactful scene.
Modern render engines, whether CPU-based like Corona and V-Ray or GPU-based like Cycles and Arnold, leverage physically accurate algorithms to simulate light transport. The goal is not just to illuminate the model but to tell a story, highlight design features, and evoke emotion. This section will guide you through establishing compelling lighting, optimizing render settings, and finessing your images with post-processing techniques.
Lighting is arguably the most critical element in any render. For automotive models, studio lighting setups are common for showcasing details, while exterior environments place the car in a real-world context. High Dynamic Range Images (HDRIs) are indispensable for both. An HDRI acts as both a light source and a reflective environment, providing realistic reflections and nuanced global illumination. Supplementing HDRIs with targeted area lights, spot lights, or photometric lights allows you to emphasize specific features, create dramatic highlights, or simulate rim lighting.
Key Lighting Strategies:
Always place your lights strategically to bring out the curves and lines of your 3D car model. Pay attention to reflection maps on the car’s body; these reflections are crucial for conveying surface quality. Render engines like Corona and V-Ray in 3ds Max or Cycles and Arnold in Blender/Maya offer extensive control over light properties, enabling you to fine-tune intensity, color temperature, and shadow sharpness.
Each render engine has its strengths and nuances, though all modern engines are capable of producing stunning results. The choice often comes down to workflow preference, integration with your primary 3D software, and desired render times.
Regardless of the engine, optimizing render settings involves balancing quality and speed. For final renders, typically increase samples or passes, enable advanced global illumination settings (e.g., brute force + light cache in V-Ray, path tracing in Corona), and consider render elements or AOVs (Arbitrary Output Variables) like diffuse, reflection, refractions, and Z-depth for greater control in post-production.
A raw render straight from the engine is rarely the final image. Post-processing and compositing in software like Adobe Photoshop, Affinity Photo, or Blackmagic Fusion are essential steps to elevate your render to a professional standard. This is where you add the final polish, enhancing mood, correcting colors, and integrating render elements.
Key Post-Processing Steps:
By compositing render passes, you gain non-destructive control over individual components, allowing for precise adjustments without re-rendering. This meticulous attention to detail in post-production can transform a good render into an exceptional one, making your automotive visualization truly stand out.
While the previous sections focused on achieving cinematic quality, real-time applications like game engines (Unity, Unreal Engine), AR/VR experiences, and interactive configurators demand a different kind of optimization. Here, the primary goal is not just visual fidelity but maintaining high frame rates and smooth user interactions. A common pitfall is to use high-polygon, render-ready models directly in real-time environments, leading to crippling performance issues. This section focuses on the strategies and techniques for transforming detailed 3D car models into efficient game assets.
Optimization is a balance between visual quality and performance. It requires a strategic reduction of polygon counts, intelligent texture management, and smart use of engine features. The target polygon count for a car in a game can vary wildly, from 50,000-100,000 triangles for a hero vehicle in a modern AAA title to under 10,000 for mobile games or background vehicles. Understanding these constraints and applying appropriate techniques is crucial for successful real-time deployment.
One of the most powerful optimization techniques is the use of Level of Detail (LODs). LODs involve creating multiple versions of the same model, each with progressively fewer polygons and simpler textures. The game engine then automatically switches between these LODs based on the camera’s distance from the object. For a primary vehicle, you might have:
This ensures that the engine only renders the necessary detail, saving significant processing power. Tools for generating LODs are available in most 3D software (e.g., ProOptimizer in 3ds Max, Decimate Modifier in Blender) and directly within game engines like Unity and Unreal. It’s important to manually clean up auto-generated LODs to ensure critical features like door lines or wheel arches remain visually coherent.
Another critical performance metric is draw calls. A draw call is a command sent from the CPU to the GPU to draw a batch of triangles. Each material, mesh, and object typically incurs at least one draw call. Reducing draw calls is paramount for performance. Texture atlasing is an effective way to achieve this. Instead of having separate texture maps for dozens of small parts (e.g., individual bolts, emblems, interior buttons), these textures are packed into one larger texture atlas, and the UVs for those parts are repositioned to reference the correct section of the atlas. This allows multiple parts to share a single material, significantly reducing draw calls. Similarly, combining multiple small meshes into a single, larger mesh (mesh instancing) can also cut down on draw calls. Optimize your texture sizes; while 4K textures are common for hero vehicles, ensure smaller components or less visible parts use 2K or 1K textures.
Augmented Reality (AR) and Virtual Reality (VR) applications pose even stricter performance demands due to the need for high frame rates (typically 90fps or higher to prevent motion sickness) and rendering two separate images (one for each eye). This means AR/VR optimization takes all the game engine principles and pushes them further.
Platforms like 88cars3d.com often provide models specifically prepared for real-time and AR/VR applications, featuring optimized geometry, PBR texture sets, and clean UVs, which greatly accelerates development.
The versatility of 3D car models extends far beyond digital screens. With the rise of additive manufacturing, preparing these models for 3D printing has become a significant application, enabling the creation of physical prototypes, scale models, and custom parts. Simultaneously, managing various file formats and ensuring cross-platform compatibility is crucial for a smooth workflow across different software and pipelines. Understanding these aspects allows artists and engineers to maximize the utility of their digital assets.
3D printing introduces a unique set of requirements for your 3D models. Unlike rendering, which forgives minor mesh imperfections, 3D printers require watertight, manifold geometry without any errors. A model that looks perfect on screen might be unprintable if not properly prepared. The primary goal is to ensure the model is a solid, continuous volume.
Key Steps for 3D Print Preparation:
When working with complex car assemblies, it’s often best to separate the model into printable components (e.g., body, wheels, interior) to facilitate easier printing and painting.
The 3D industry utilizes a wide array of file formats, each with its strengths and limitations. Understanding these formats and how to convert them is vital for seamless collaboration and integration across different software and platforms.
When you acquire a 3D car model from a marketplace, it often comes with multiple file formats to cater to diverse needs. For example, a model from 88cars3d.com might include .MAX (for professional rendering), .FBX (for game engines), and .OBJ (for general use), ensuring maximum compatibility. Always check the integrity of your imported models, especially for UVs and material assignments, as minor discrepancies can occur during format conversions. Understanding these formats empowers you to choose the right tool for the job and ensures your high-quality automotive assets can be utilized across any digital or physical medium.
The journey of creating and deploying high-quality 3D car models is a multifaceted endeavor, blending artistic vision with deep technical understanding. From meticulously crafting clean topology and intelligent UV layouts to developing physically accurate PBR materials, every step contributes to the ultimate realism and versatility of the digital asset. We’ve explored the nuances of achieving photorealistic renders with powerful engines like Corona and V-Ray, alongside the crucial optimization techniques required to bring these stunning vehicles into real-time environments like game engines and AR/VR applications. Furthermore, we’ve touched upon preparing models for physical manifestation through 3D printing and navigating the complex landscape of file formats to ensure broad compatibility.
Mastering these workflows not only elevates your personal projects but also positions you at the forefront of industries demanding the highest fidelity and performance from their automotive rendering and visualization assets. The continuous evolution of technology means that the demand for skilled professionals who can deliver on these complex requirements will only grow. By applying the advanced techniques discussed here, you empower yourself to tackle any challenge, whether it’s a cinematic masterpiece, a thrilling game, or an interactive product configurator.
For those seeking to jumpstart their projects with assets built on these very principles, platforms like 88cars3d.com offer a curated collection of high-quality 3D car models, meticulously crafted with clean topology, realistic PBR materials, and optimized for various applications. Investing in professionally made assets can free up valuable time, allowing you to focus on scene composition, creative direction, and bringing your unique vision to life. Continue to explore, experiment, and refine your skills, and you’ll be well on your way to driving digital excellence in the exciting world of 3D automotive design.
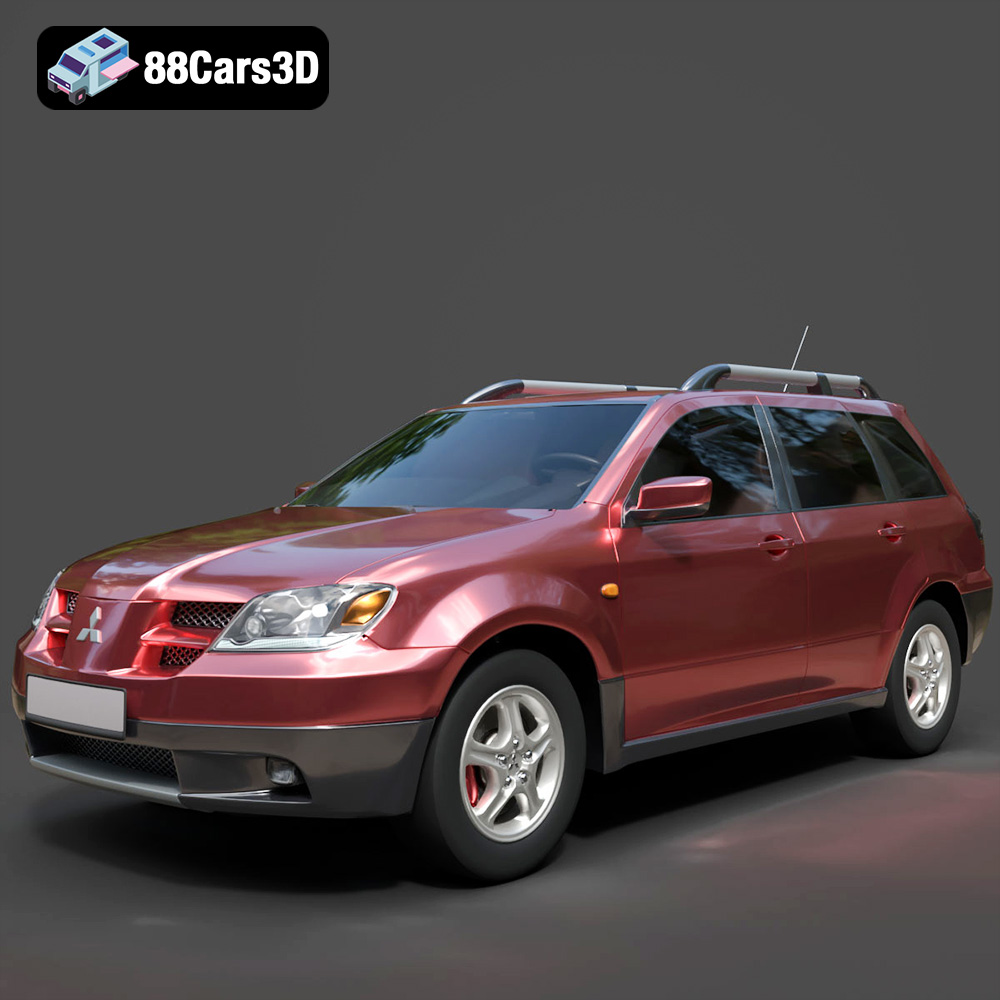
Texture: Yes
Material: Yes
Download the Mitsubishi Outlander 2022 3D Model featuring clean geometry, realistic detailing, and a fully modeled interior. Includes .blend, .fbx, .obj, .glb, .stl, .ply, .unreal, and .max formats for rendering, simulation, and game development.
Price: $4.99
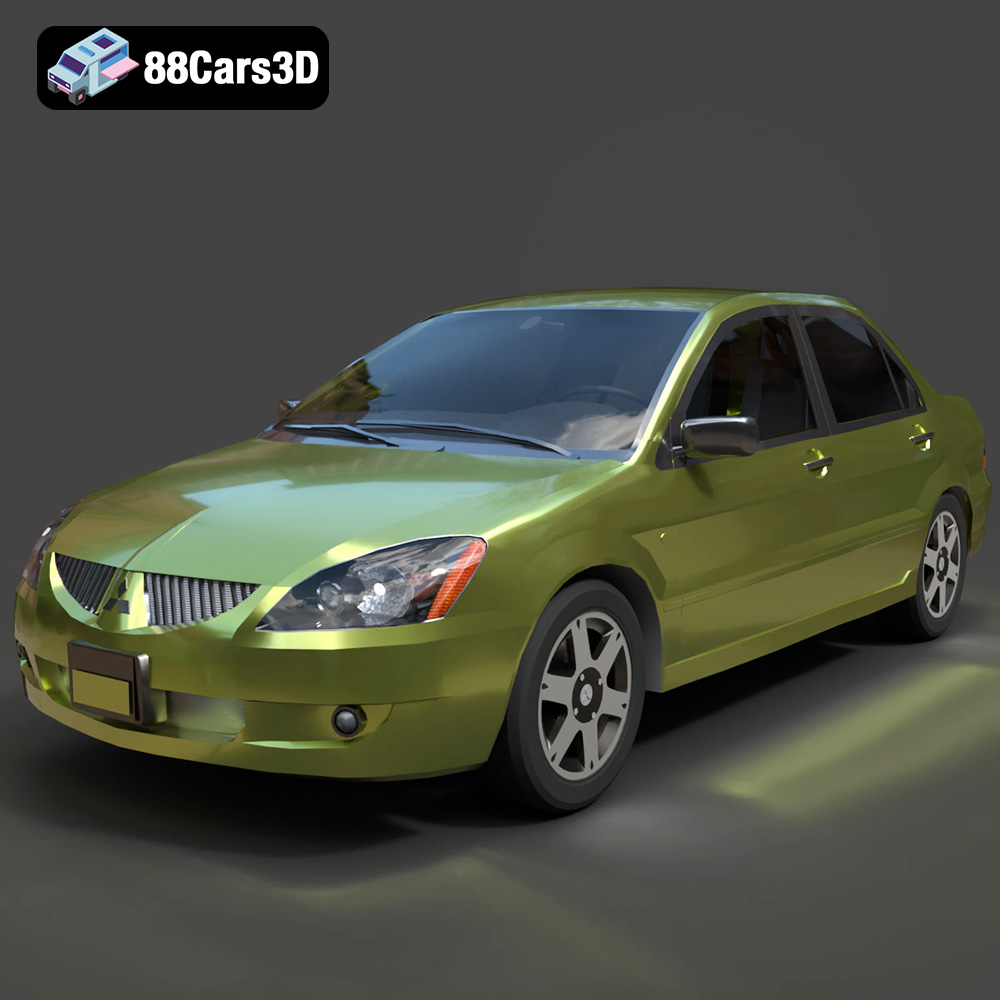
Texture: Yes
Material: Yes
Download the Mitsubishi Lancer IX-001 3D Model featuring clean geometry, realistic detailing, and a fully modeled interior. Includes .blend, .fbx, .obj, .glb, .stl, .ply, .unreal, and .max formats for rendering, simulation, and game development.
Price: $4.99

Texture: Yes
Material: Yes
Download the MINI Cooper S-007 3D Model featuring clean geometry, realistic detailing, and a fully modeled interior. Includes .blend, .fbx, .obj, .glb, .stl, .ply, .unreal, and .max formats for rendering, simulation, and game development.
Price: $4.99
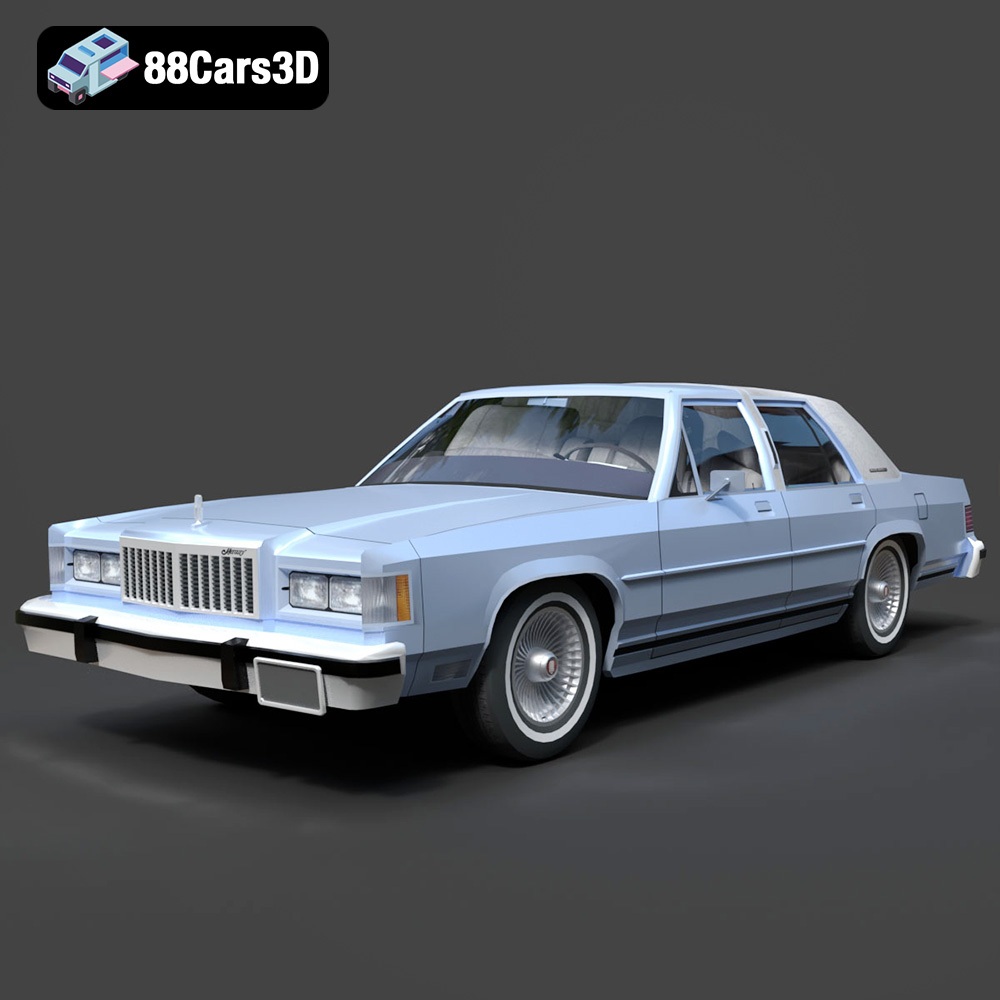
Texture: Yes
Material: Yes
Download the Mercury Grand Marquis LS 1986 3D Model featuring clean geometry, realistic detailing, and a fully modeled interior. Includes .blend, .fbx, .obj, .glb, .stl, .ply, .unreal, and .max formats for rendering, simulation, and game development.
Price: $4.99

Texture: Yes
Material: Yes
Download the Mercedes-Benz SLS AMG 2010 3D Model featuring clean geometry, realistic detailing, and a fully modeled interior. Includes .blend, .fbx, .obj, .glb, .stl, .ply, .unreal, and .max formats for rendering, simulation, and game development.
Price: $4.99
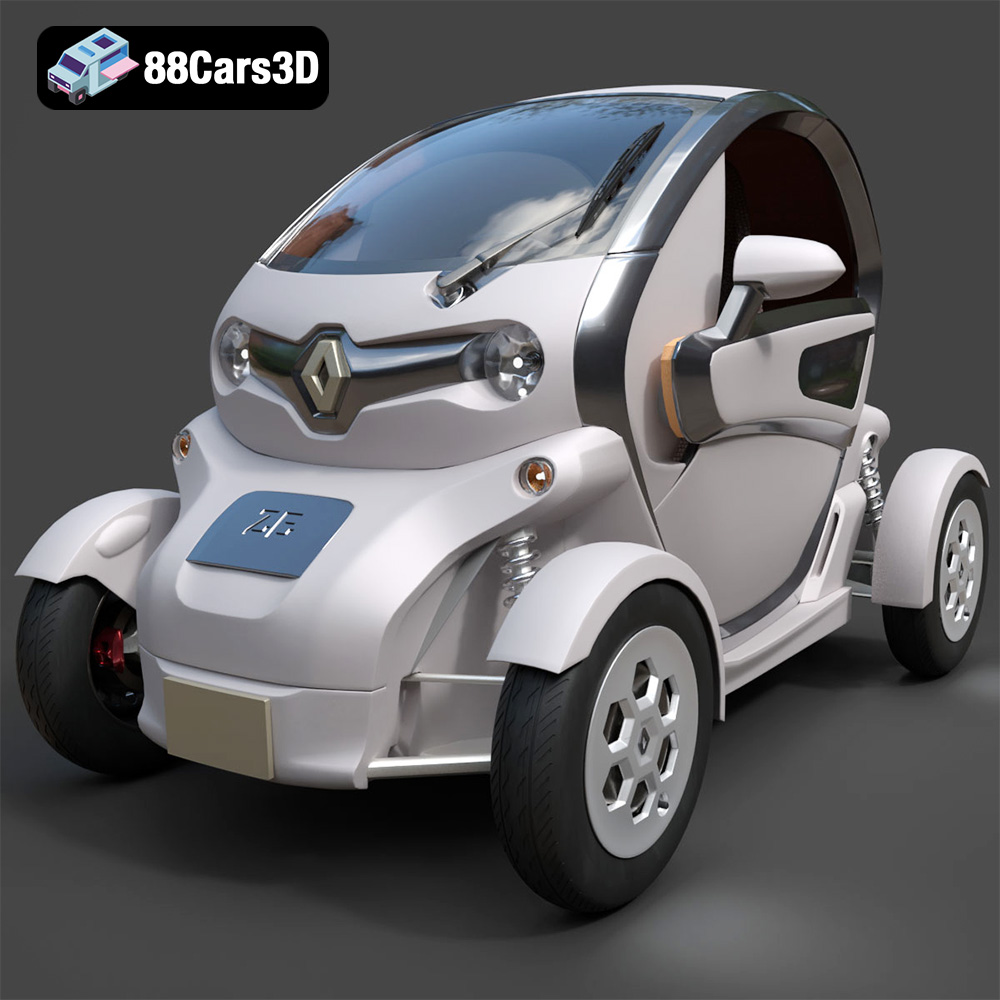
Texture: Yes
Material: Yes
Download the Renault Twizy ZE 3D Model featuring clean geometry, realistic detailing, and a fully modeled interior. Includes .blend, .fbx, .obj, .glb, .stl, .ply, .unreal, and .max formats for rendering, simulation, and game development.
Price: $4.99
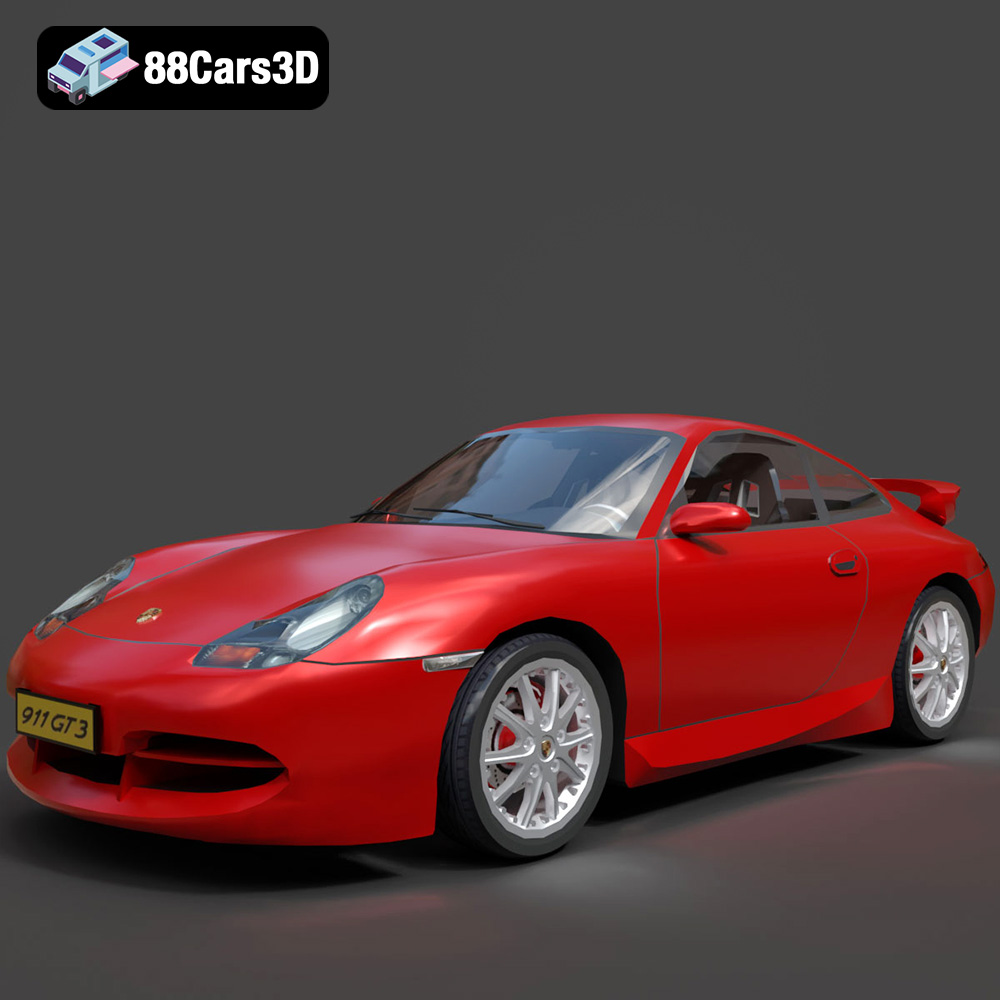
Texture: Yes
Material: Yes
Download the Porsche 911 GT3 3D Model featuring clean geometry, realistic detailing, and a fully modeled interior. Includes .blend, .fbx, .obj, .glb, .stl, .ply, .unreal, and .max formats for rendering, simulation, and game development.
Price: $4.99
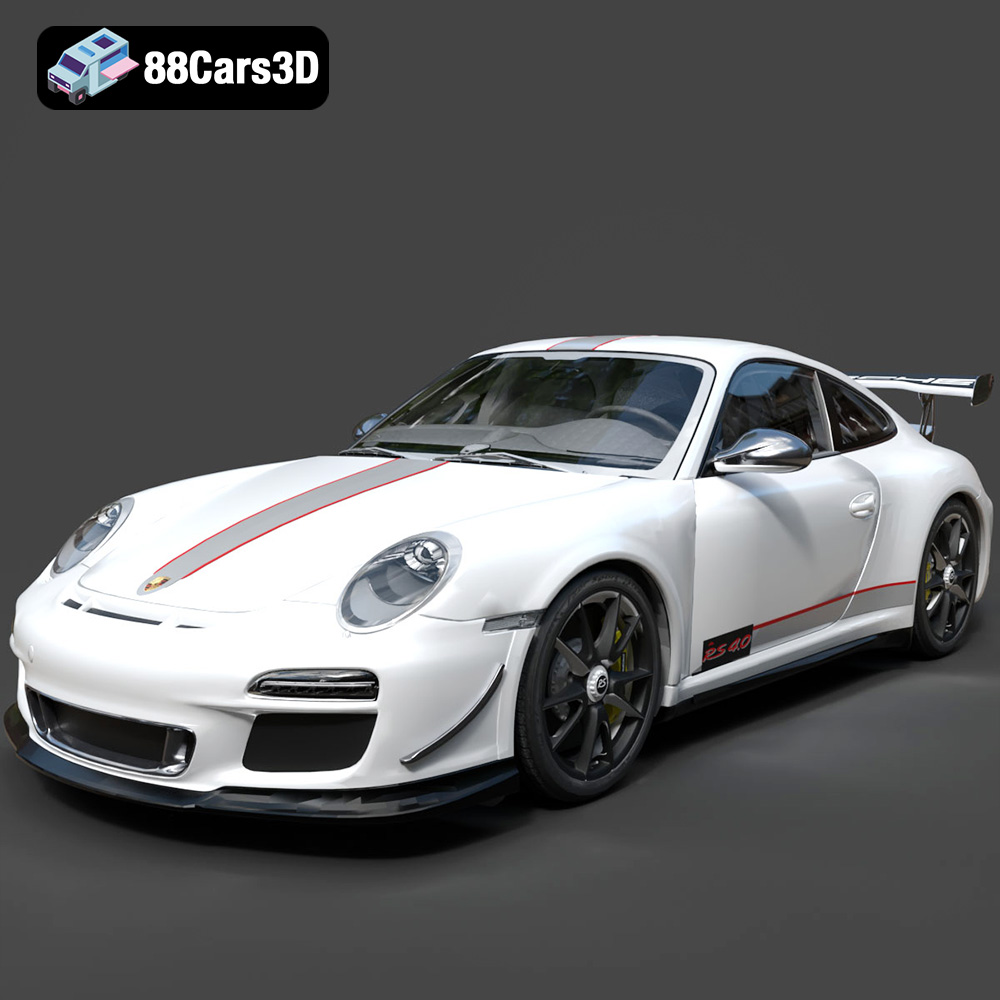
Texture: Yes
Material: Yes
Download the Porsche 911 997 GT3 RS 4.0 2011 3D Model featuring clean geometry, realistic detailing, and a fully modeled interior. Includes .blend, .fbx, .obj, .glb, .stl, .ply, .unreal, and .max formats for rendering, simulation, and game development.
Price: $4.99
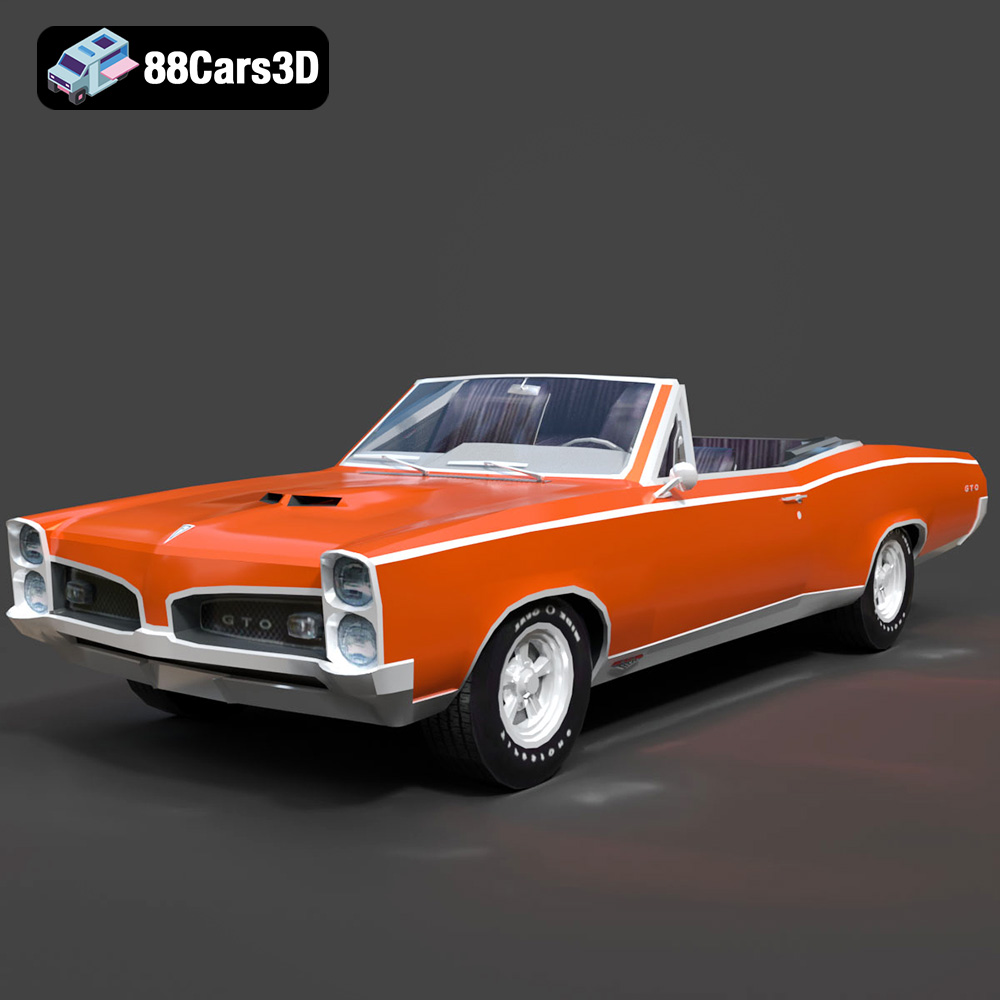
Texture: Yes
Material: Yes
Download the Pontiac GTO Cabrio 1967 3D Model featuring clean geometry, realistic detailing, and a fully modeled interior. Includes .blend, .fbx, .obj, .glb, .stl, .ply, .unreal, and .max formats for rendering, simulation, and game development.
Price: $4.99
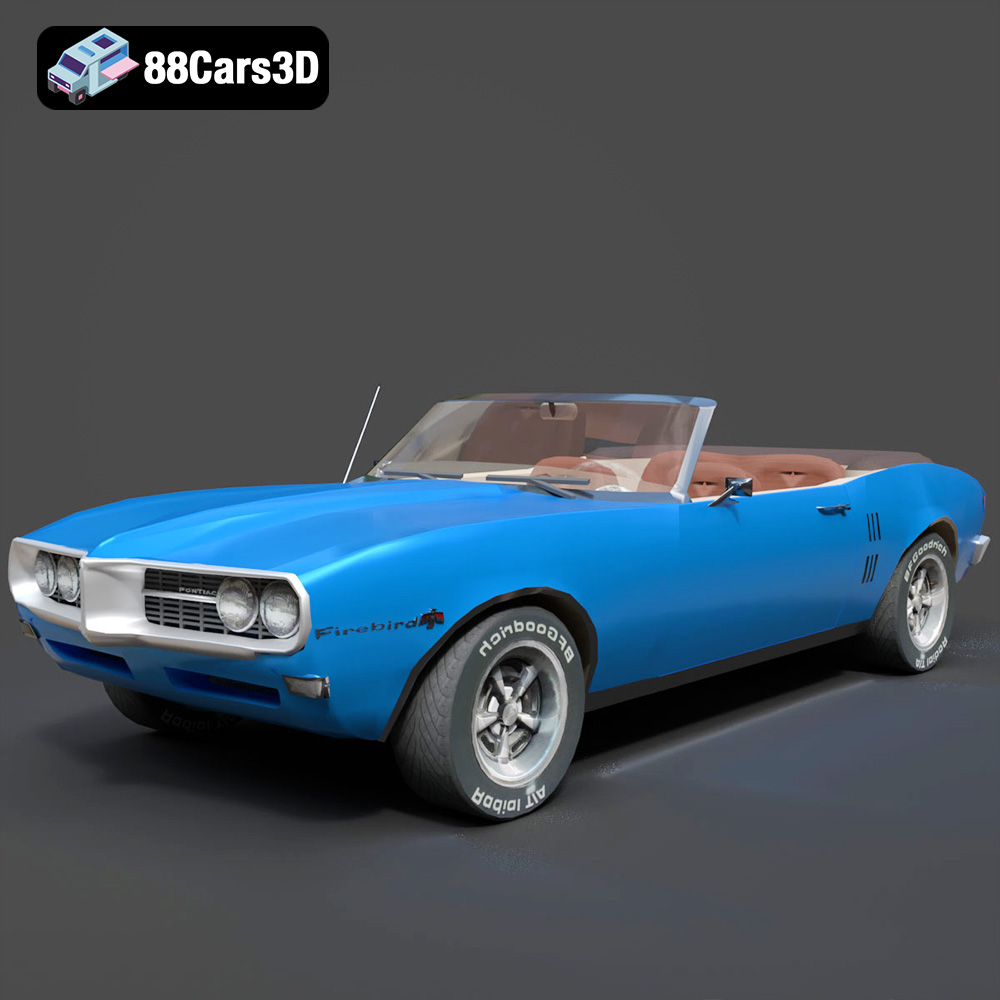
Texture: Yes
Material: Yes
Download the Pontiac Firebird Convertible 1968 3D Model featuring clean geometry, realistic detailing, and a fully modeled interior. Includes .blend, .fbx, .obj, .glb, .stl, .ply, .unreal, and .max formats for rendering, simulation, and game development.
Price: $4.99