⚡ FLASH SALE: Get 60% OFF All Premium 3D & STL Models! ⚡
The allure of automotive design transcends mere functionality; it embodies passion, engineering prowess, and artistic expression. In the digital realm, this passion manifests through stunning 3D car models, forming the backbone of everything from blockbuster movie sequences and immersive video games to cutting-edge product visualizations and architectural renderings. However, transforming a real-world vehicle into a high-quality, versatile digital asset is a complex journey, demanding a deep understanding of intricate workflows, technical specifications, and creative acumen.
This comprehensive guide is your roadmap to mastering the art and science of creating and utilizing premium 3D car models. We’ll delve into the foundational principles of clean topology, demystify advanced UV mapping techniques, explore the nuances of Physically Based Rendering (PBR) materials, and dissect the intricacies of automotive rendering for both cinematic glory and real-time interactive experiences. Whether you’re a seasoned 3D artist, a game developer, an architect leveraging visualization, or an aspiring enthusiast, prepare to elevate your understanding and unlock the full potential of 3D car models in your projects. By the end, you’ll possess the knowledge to identify, create, and optimize assets that meet the highest industry standards, ensuring stunning visuals and seamless performance across diverse applications, from high-fidelity renders to AR/VR experiences and even 3D printing.
At the heart of any exceptional 3D car model lies its topology – the underlying structure of polygons that defines its shape and allows for seamless deformation and shading. For automotive assets, achieving clean, efficient, and appropriate topology is paramount. Unlike organic models, cars feature vast, smooth, and often reflective surfaces that demand precision. Poor topology leads to shading artifacts, difficulty in UV mapping, and complications in animation or game engine integration. A well-constructed mesh, conversely, ensures smooth reflections, accurate surface detail, and flexibility for various workflows.
The goal is to represent complex curvature with the fewest possible polygons while maintaining visual integrity. This is a balancing act between detail and performance, especially when considering models for game assets or AR/VR. For high-end cinematic rendering, polygon counts can easily reach several million per car, allowing for extreme detail. However, for real-time applications, budgets often range from 50,000 to 300,000 polygons, necessitating smart optimization strategies.
The golden rule for professional 3D modeling, particularly for hard-surface objects like cars, is to maintain an all-quad topology. Quads (four-sided polygons) subdivide predictably, produce smooth surfaces, and are easier to manipulate. While triangles are unavoidable in final exported meshes (especially for game engines), starting with quads provides the best foundation. Edge loops, which are continuous rings of edges, are crucial for defining the car’s contours, creases, and panel gaps. These loops should follow the natural flow of the vehicle’s design, outlining areas of high curvature, sharp edges (like door seams or hood lines), and areas where detail will be added (such as vents or grilles).
Good edge flow ensures that when a subdivision surface modifier (like Meshsmooth in 3ds Max or Subdivision Surface in Blender) is applied, the model retains its crisp details without pinching or undesirable wobbles. Think of edge loops as the wireframe sketch guiding the final form; they should define the silhouette and crucial transition points. Avoid “poles” with more than 5 edges converging in a single vertex, as these often lead to pinching and distortion upon subdivision. Instead, strategically route edge flow to distribute polygons evenly and maintain surface continuity.
Many 3D car models achieve their final smooth appearance through subdivision surface modeling. The base mesh (cage) is modeled with relatively low polygon count, and then smoothed out by an algorithm. To prevent rounded edges from becoming too soft or sharp edges from losing their definition, “support loops” or “holding edges” are used. These are additional edge loops placed very close to a sharp edge, effectively telling the subdivider to keep that area tight. For instance, around a wheel arch or a window frame, you would typically have two or three closely spaced edge loops defining the sharpness, followed by wider loops for the smoother curvature.
This technique allows artists to work with a manageable polygon count during the modeling phase, then generate a high-resolution, smooth mesh for rendering. However, it’s important to preview how the subdivision modifier affects the entire mesh, as incorrect edge flow can cause ripples or bumps on large, flat surfaces, which become glaringly obvious on reflective car paint. Regular visual checks, especially with reflection shaders applied, are essential throughout the modeling process.
Even experienced artists encounter topology challenges. Common issues include:
Regular use of mesh clean-up tools and careful manual inspection are crucial for maintaining mesh integrity and ensuring your 3D car models are truly production-ready.
Once the geometric structure of your 3D car model is solid, the next critical step is to apply its “skin” – the textures and materials that define its visual properties. This involves two core processes: UV mapping and the creation of PBR materials. These elements are indispensable for achieving realism, whether for a static render or an interactive experience. A car’s surface is a symphony of diverse materials – polished paint, reflective chrome, transparent glass, textured tires, and detailed interiors – each requiring meticulous attention to detail in its material definition.
UV mapping provides the crucial link between the 3D model’s surface and a 2D image texture. It dictates how pixel data from a texture map is projected onto the mesh. Without proper UVs, textures will appear stretched, distorted, or completely misaligned, obliterating any chance of realism. Similarly, PBR (Physically Based Rendering) materials are the modern standard for rendering, accurately simulating how light interacts with surfaces based on real-world physics, leading to far more convincing results than older, legacy shading models. When sourcing models from marketplaces such as 88cars3d.com, always check for clean, non-overlapping UVs and well-structured PBR texture sets.
Efficient and clean UV unwrapping is an art form in itself. The goal is to minimize distortion, avoid overlapping UV islands, and make the best use of texture space. For complex automotive surfaces, this often means breaking the model into logical sections (e.g., hood, doors, roof, fenders, wheels) and unwrapping each separately. Strategic placement of seams is key: hide them in areas less visible or along natural breaks in the geometry (like panel lines or under trim pieces). For highly visible, large surfaces like the car body, aim for as few seams as possible to prevent visible breaks in reflections or texture continuity.
Key considerations for automotive UVs:
Standard practice often involves multiple UV sets: one for general color/detail, one for lightmaps (in game engines), and potentially others for specific decals or unique effects.
PBR materials are fundamentally defined by a set of texture maps that describe various physical properties of a surface. The most common maps include:
Each map is plugged into its corresponding slot in the PBR shader within your 3D software (3ds Max, Blender, Maya) or game engine (Unity, Unreal Engine). The combination of these maps, along with global material parameters like transmission for glass or subsurface scattering for rubber, allows for incredibly lifelike material reproduction. For car paint, complex multi-layered shaders are often used, combining a base color with metallic flakes, clear coat reflections, and even subtle dust layers.
The choice of texture resolution directly impacts visual fidelity and memory footprint. For high-detail 3D car models, 4K (4096×4096 pixels) or even 8K textures are common for critical components like the main body, while smaller parts might use 2K or 1K. In game development and AR/VR, however, optimizing texture memory is crucial. This is where texture atlasing becomes invaluable.
Texture Atlasing: This technique combines multiple smaller textures for different parts of a model (or even multiple models) into a single, larger texture map. For example, all interior fabric textures, dashboard buttons, and seat stitching could be consolidated into one 4K atlas. This significantly reduces draw calls – the number of times the GPU has to switch between different materials – leading to substantial performance gains in real-time applications. While atlasing can make UV unwrapping and texture creation more complex, the performance benefits, especially for models with many small components like a car interior, are undeniable. Always consider the target platform’s limitations when deciding on texture resolutions and atlas layouts.
After investing countless hours into modeling and texturing your 3D car model, the moment of truth arrives: rendering. This is where all the hard work culminates in stunning, photorealistic images or animations. Modern rendering engines, powered by sophisticated algorithms, can simulate light interactions with incredible accuracy, transforming digital assets into visual masterpieces. Achieving photographic perfection for automotive rendering requires not just a powerful engine but also a nuanced understanding of lighting, camera principles, and post-processing techniques.
The choice of renderer often depends on the software ecosystem and specific project requirements. Popular choices like Corona Renderer, V-Ray, Cycles (Blender), and Arnold (Maya) all employ unbiased or biased ray tracing techniques to achieve their stunning results. Each has its strengths in terms of speed, feature set, and integration, but the core principles of achieving realism remain consistent: accurate light simulation, realistic materials, and a keen eye for composition.
Ray tracing is the cornerstone of modern photorealistic rendering. These engines simulate the path of light rays from the camera back into the scene, calculating interactions with surfaces (reflection, refraction, absorption) based on your PBR materials. The result is physically accurate lighting, shadows, and reflections.
Setting up optimal render settings involves balancing quality (samples, GI bounces) with render time. Start with moderate settings for test renders and progressively increase them for the final output.
Lighting is arguably the most critical component of automotive rendering. Cars, with their highly reflective surfaces, react intensely to their environment’s lighting.
Experiment with different HDRI environments and light setups to find the perfect balance that accentuates the car’s design, paint finish, and intricate details. Pay close attention to how reflections behave on the curved surfaces.
Professional rendering workflows rarely produce a final image in a single pass. Instead, they leverage render passes (or render elements) and compositing. Render passes separate different aspects of the image – diffuse color, raw reflection, raw refraction, lighting, shadows, ambient occlusion, depth (Z-depth), object IDs, etc. – into individual layers.
A typical workflow involves rendering the main Beauty pass and several utility passes, then fine-tuning in a 2D image editor. This iterative approach saves render time and allows for precise artistic control.
The demand for interactive 3D experiences is skyrocketing, from next-generation video games and driving simulators to immersive AR/VR applications and real-time configurators. For 3D car models to perform seamlessly in these environments, raw polygon counts and high-resolution textures from cinematic renders must be meticulously optimized. Performance in real-time engines like Unity and Unreal Engine is measured by frames per second (FPS), and unoptimized assets can quickly bring even powerful hardware to its knees. The key lies in strategic reduction of complexity while preserving visual quality.
Optimizing game assets for cars involves a comprehensive approach, touching upon mesh density, material setup, texture management, and how the engine processes these elements. Platforms like 88cars3d.com often provide game-ready models specifically pre-optimized for these applications, but understanding the underlying principles is crucial for any developer or artist working with interactive content.
One of the most effective optimization techniques is Level of Detail (LOD). This involves creating multiple versions of a single 3D model, each with progressively lower polygon counts and simpler materials. The game engine then automatically switches between these LODs based on the camera’s distance to the object.
Optimizing materials and textures is as vital as mesh optimization.
AR/VR experiences impose even stricter performance budgets than traditional games due to the need to render two distinct views (one for each eye) at very high frame rates (typically 90 FPS or more) to avoid motion sickness.
Thorough profiling within the target engine (Unity Profiler, Unreal Insights) is indispensable to identify and address performance bottlenecks specific to your 3D car models and scene.
The utility of high-quality 3D car models extends far beyond digital screens. From creating physical prototypes and scale models to manufacturing custom components, 3D printing offers a tangible dimension to digital design. However, preparing a model for physical fabrication involves a different set of considerations than preparing for rendering or gaming. Simultaneously, the digital landscape requires seamless interchangeability, making the understanding of various file formats and their compatibility crucial for any 3D artist or developer.
The journey from a beautifully rendered digital car to a perfectly printed miniature involves ensuring mesh integrity, proper scaling, and considering the physical constraints of the printing process. Likewise, knowing which file format to use for specific applications – whether it’s for AR/VR, game engines, or professional CAD software – is essential for smooth workflows and data preservation. When you acquire models from a reputable source like 88cars3d.com, they often provide multiple formats and clean geometry, simplifying these conversion and preparation steps.
3D printing requires models to be “watertight” or “manifold” – meaning they must represent a solid, enclosed volume without any holes, inverted normals, or internal geometry that doesn’t contribute to the outer surface. Think of it like a real-world object that could hold water without leaking.
Finally, export your model in an appropriate format like STL (Stereolithography) or OBJ, which are widely accepted by 3D printing software (slicers). Always double-check the scale before exporting to ensure your printed model is the desired size.
The 3D industry uses a variety of file formats, each with its own strengths and typical applications. Understanding them is crucial for efficient data exchange.
Converting between file formats can sometimes lead to data loss or conversion issues.
By understanding these formats and best practices, you can ensure your 3D car models are versatile and ready for any application, digital or physical.
A brilliantly modeled and textured 3D car model can still fall flat without a compelling environment, expert lighting, and the magic of post-production. These elements elevate a good render to an exceptional one, immersing the viewer and highlighting the vehicle’s design and features. It’s about telling a story with light and composition, guiding the eye, and establishing a mood. Whether you’re aiming for a photo-studio aesthetic, a gritty street scene, or a futuristic showroom, the environment and lighting are just as crucial as the car itself.
Post-production, often overlooked by beginners, is the final layer of polish that pushes an image into photorealism. This stage allows for non-destructive adjustments, color grading, and effects that are difficult or impossible to achieve directly in 3D. It’s where your render transitions from a raw output into a finalized, visually impactful piece of art. Even when acquiring models from platforms that provide stunning assets, such as 88cars3d.com, the environment and lighting are aspects that an artist will always tailor to their specific vision.
An environment can be as simple as a studio backdrop or as complex as a detailed cityscape. The key is believability and how it complements the car.
The environment should support, not detract from, the car model. Maintain a consistent style and level of detail between the car and its surroundings.
Beyond basic HDRI and physical lights, advanced lighting techniques further refine realism:
Experimentation is key. Try different lighting setups, adjust light temperatures (warm/cool), and observe how highlights and shadows define the car’s form and reveal its details.
The final stage in producing a polished image is post-processing and compositing. This is where you bring everything together and apply the ‘finishing touches’ that elevate a raw render to a professional-grade image.
Post-processing should be approached with subtlety; the goal is to enhance, not to overpower. Each adjustment should serve to improve realism, mood, or artistic intent, ensuring your 3D car models truly shine.
From the foundational mesh to the final pixel on the screen, mastering 3D car models is a journey of continuous learning and refinement. We’ve explored the critical importance of clean topology and efficient UV mapping, the transformative power of PBR materials, and the intricate dance of advanced automotive rendering. We’ve also navigated the specialized requirements for game assets, AR/VR, and 3D printing, understanding how file formats bridge diverse applications, and how lighting and post-production complete the artistic vision.
The digital automotive world is dynamic, constantly evolving with new technologies and creative possibilities. Armed with the insights from this guide, you are now better equipped to tackle complex projects, optimize your workflows, and produce stunning results. Remember that quality is key: a well-crafted 3D model, optimized for its intended purpose, provides limitless opportunities. Whether you’re a seasoned professional looking to refine your techniques or an aspiring artist taking your first steps, continue to experiment, learn, and push the boundaries of what’s possible. For those seeking ready-to-use, meticulously crafted assets to kickstart their projects, explore the vast selection of high-quality 3D car models available at 88cars3d.com, designed to meet the rigorous demands of professional visualization, game development, and real-time experiences.
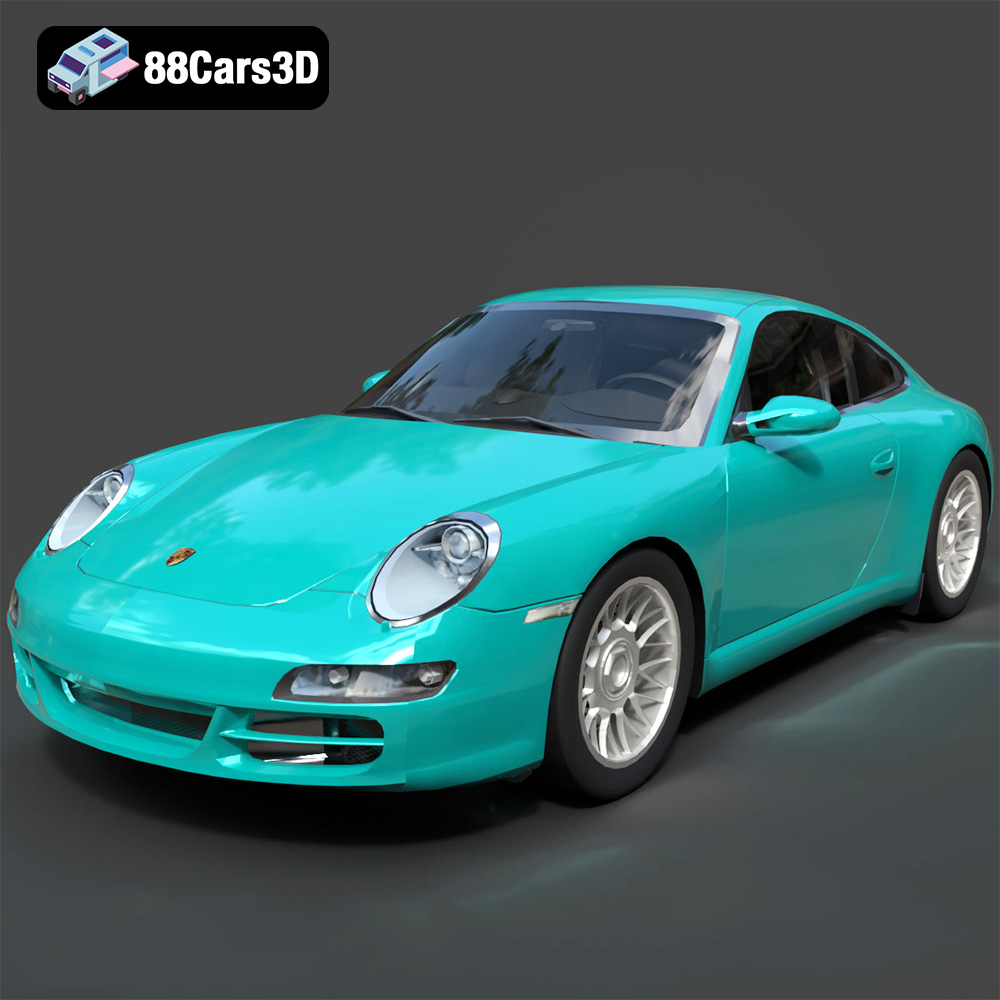
Texture: Yes
Material: Yes
Download the Porsche 911 Carrera S 2005 3D Model featuring clean geometry, realistic detailing, and a fully modeled interior. Includes .blend, .fbx, .obj, .glb, .stl, .ply, .unreal, and .max formats for rendering, simulation, and game development.
Price: $4.99
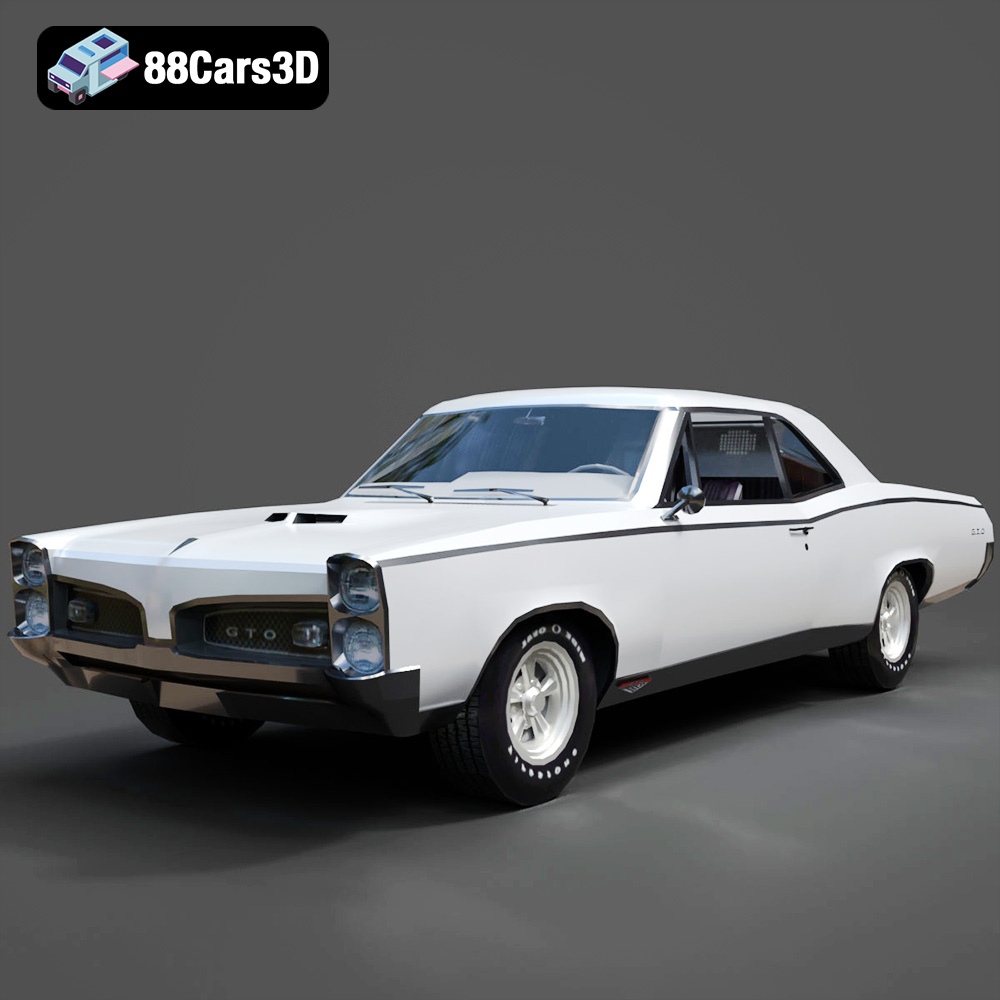
Texture: Yes
Material: Yes
Download the Pontiac GTO 1967 3D Model featuring clean geometry, realistic detailing, and a fully modeled interior. Includes .blend, .fbx, .obj, .glb, .stl, .ply, .unreal, and .max formats for rendering, simulation, and game development.
Price: $4.99
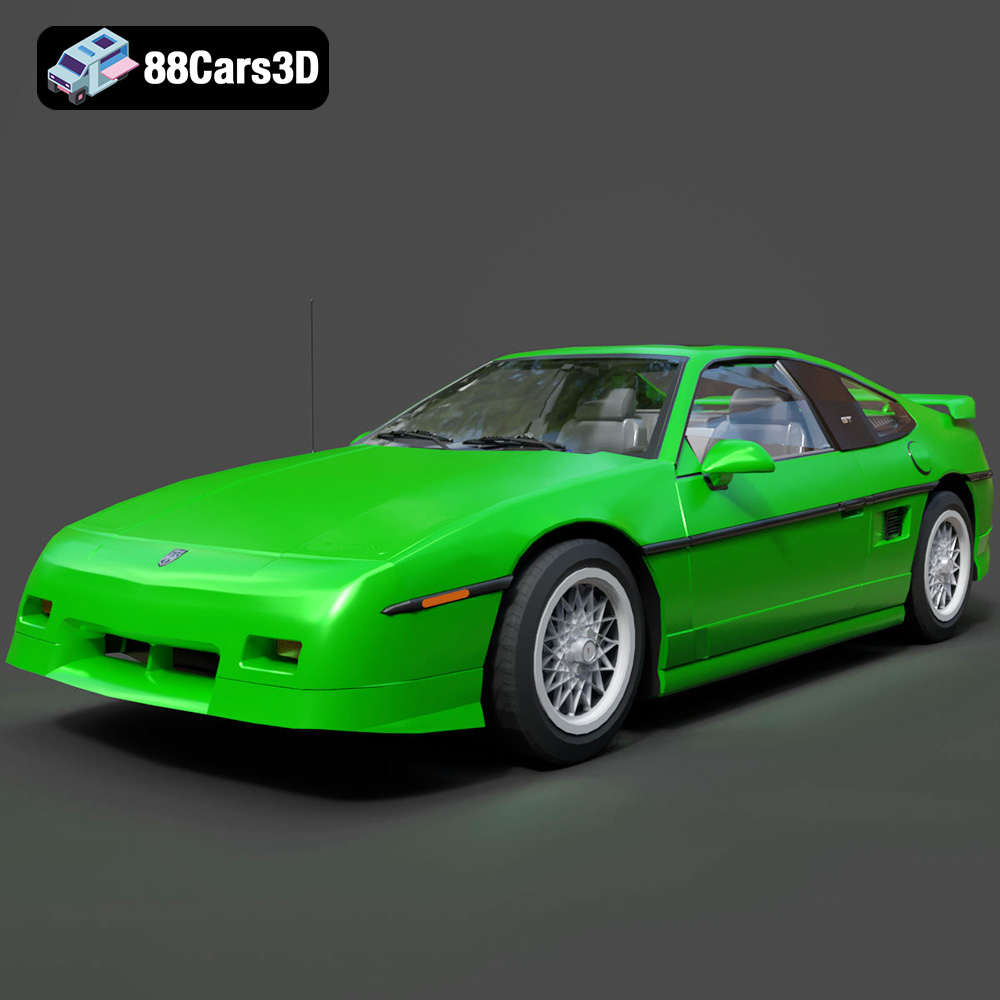
Texture: Yes
Material: Yes
Download the Pontiac Fiero GT 1987 3D Model featuring clean geometry, realistic detailing, and a fully modeled interior. Includes .blend, .fbx, .obj, .glb, .stl, .ply, .unreal, and .max formats for rendering, simulation, and game development.
Price: $4.99
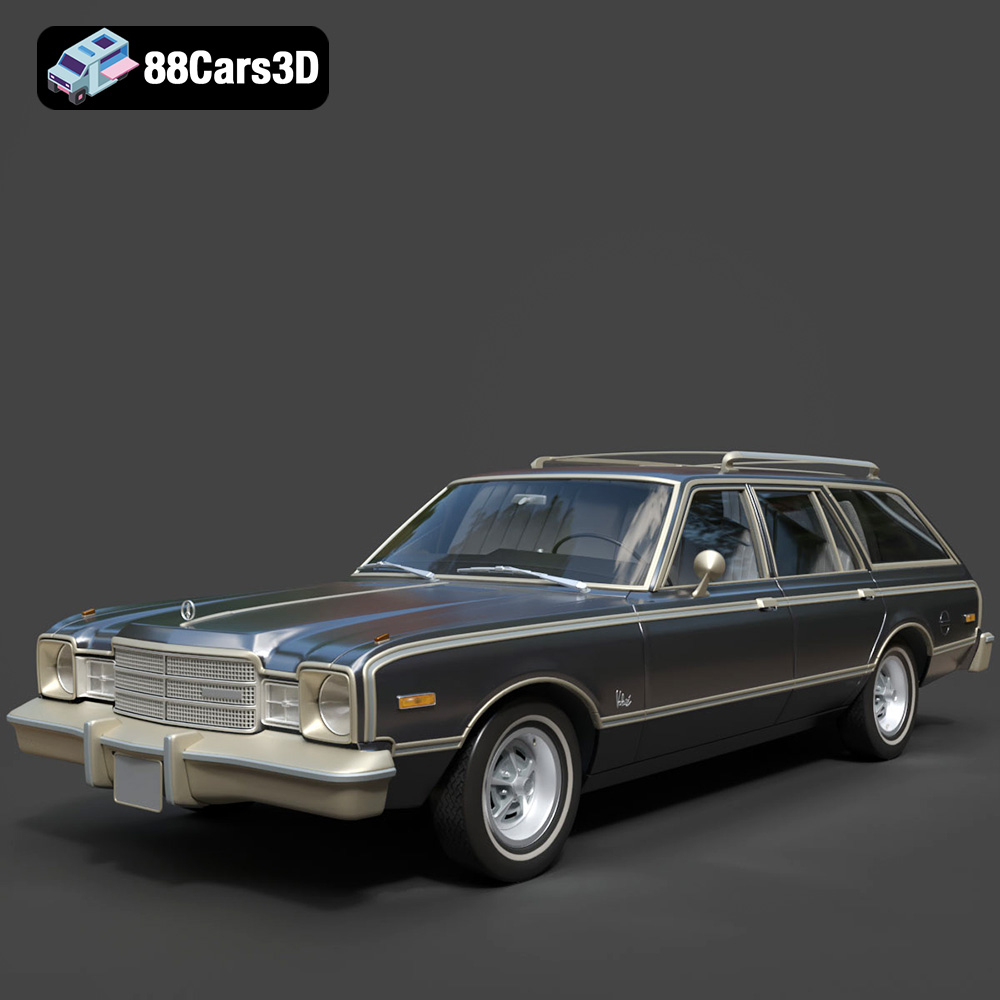
Texture: Yes
Material: Yes
Download the Plymouth Volare Wagon 3D Model featuring clean geometry, realistic detailing, and a fully modeled interior. Includes .blend, .fbx, .obj, .glb, .stl, .ply, .unreal, and .max formats for rendering, simulation, and game development.
Price: $4.99
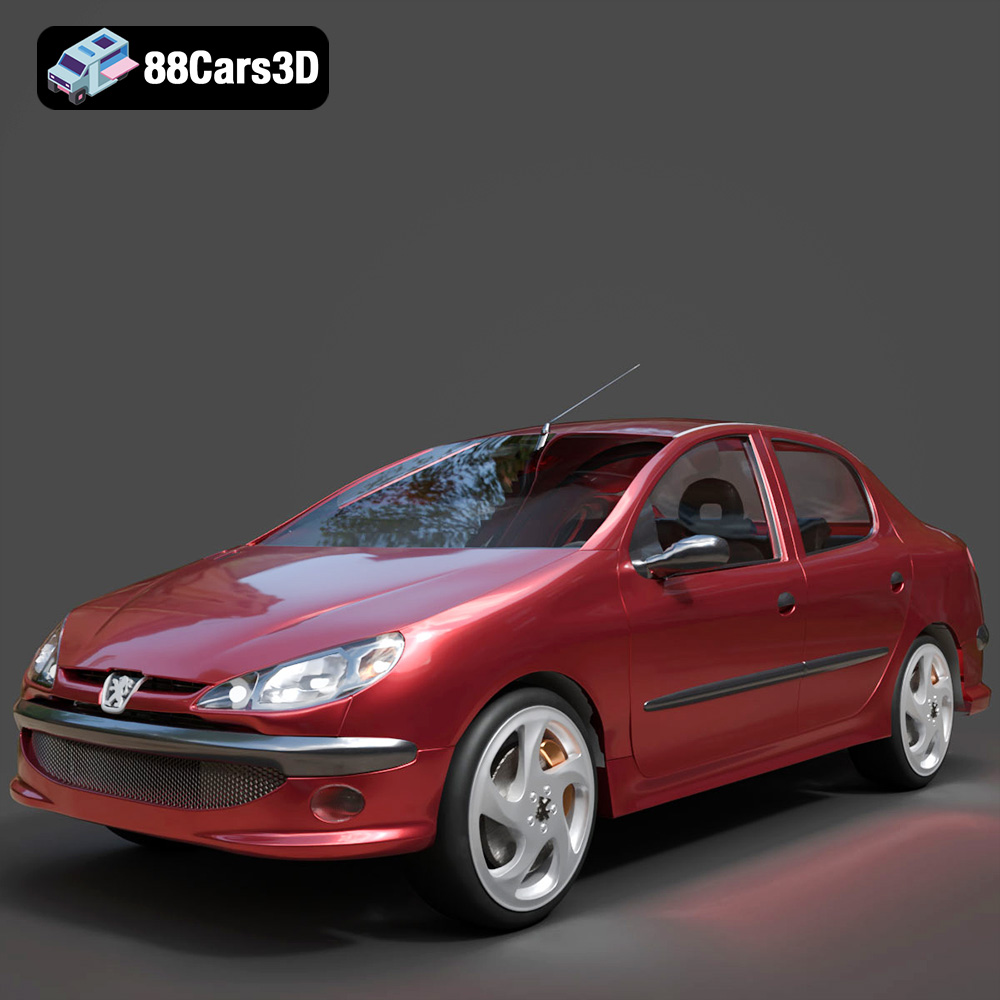
Texture: Yes
Material: Yes
Download the Peugeot 206 Sedan 2002 3D Model featuring clean geometry, realistic detailing, and a fully modeled interior. Includes .blend, .fbx, .obj, .glb, .stl, .ply, .unreal, and .max formats for rendering, simulation, and game development.
Price: $4.99
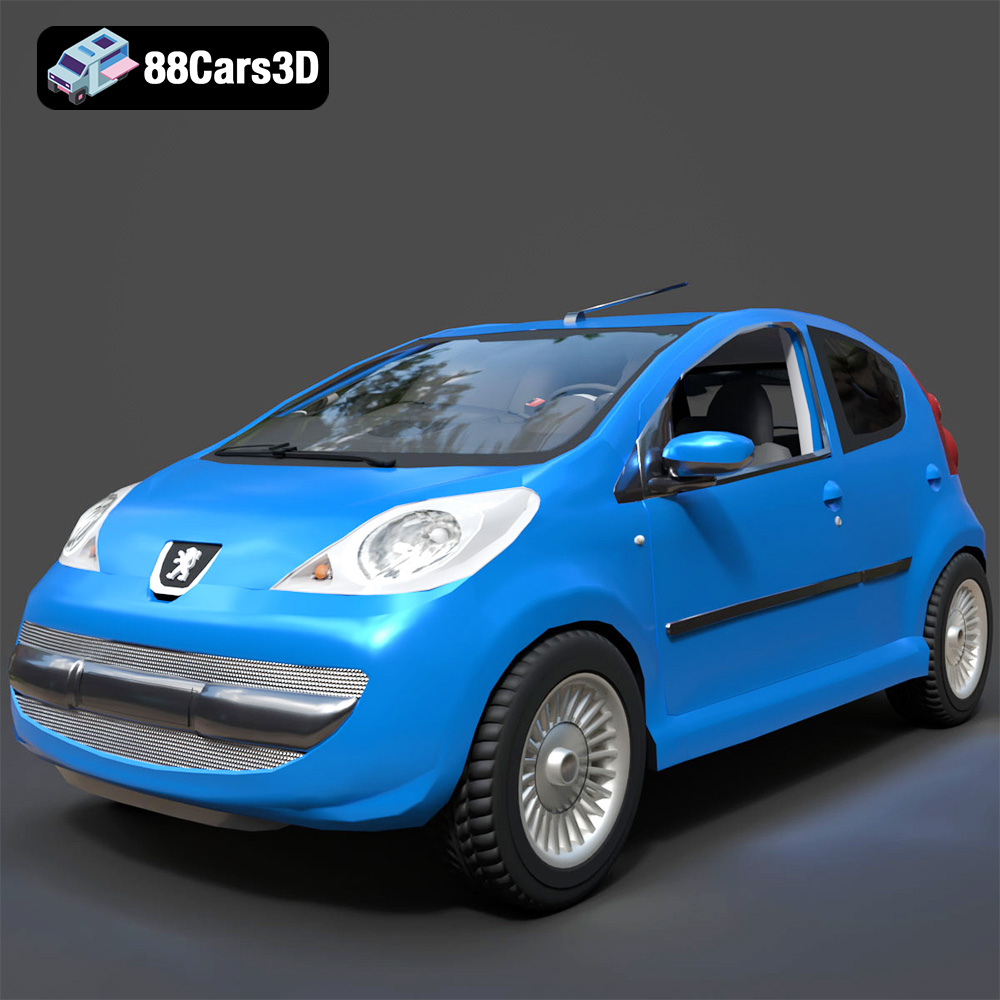
Texture: Yes
Material: Yes
Download the Peugeot 107 2005 3D Model featuring clean geometry, realistic detailing, and a fully modeled interior. Includes .blend, .fbx, .obj, .glb, .stl, .ply, .unreal, and .max formats for rendering, simulation, and game development.
Price: $4.99
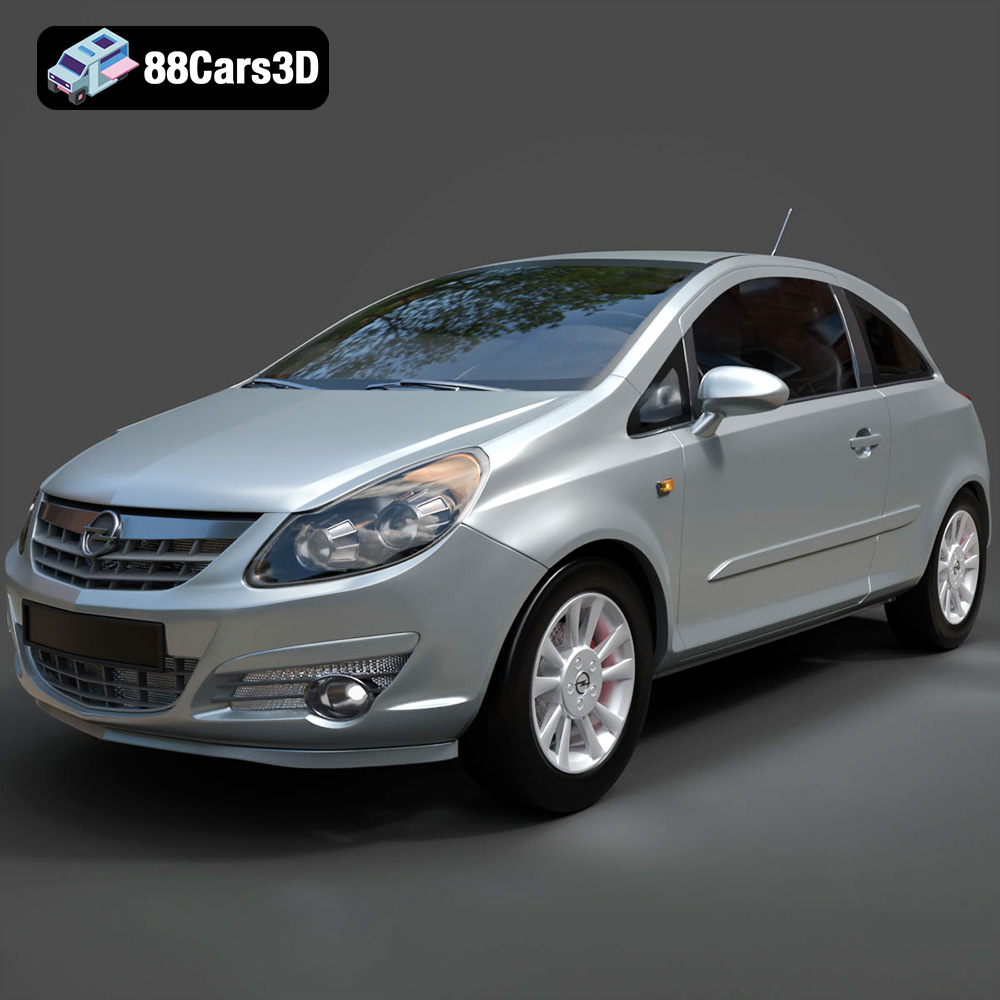
Texture: Yes
Material: Yes
Download the Opel Corsa 2007 3D Model featuring clean geometry, realistic detailing, and a fully modeled interior. Includes .blend, .fbx, .obj, .glb, .stl, .ply, .unreal, and .max formats for rendering, simulation, and game development.
Price: $4.99
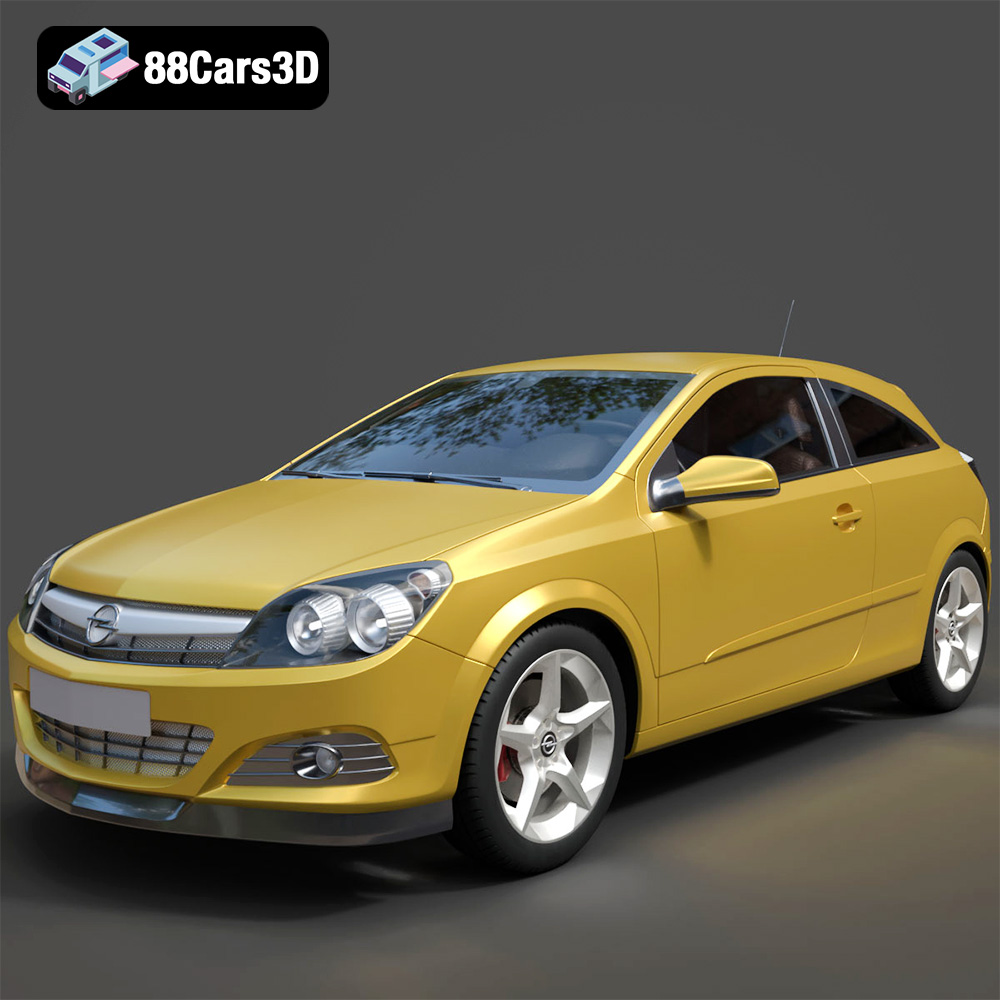
Texture: Yes
Material: Yes
Download the Opel Astra H GTC 3D Model featuring clean geometry, realistic detailing, and a fully modeled interior. Includes .blend, .fbx, .obj, .glb, .stl, .ply, .unreal, and .max formats for rendering, simulation, and game development.
Price: $4.99
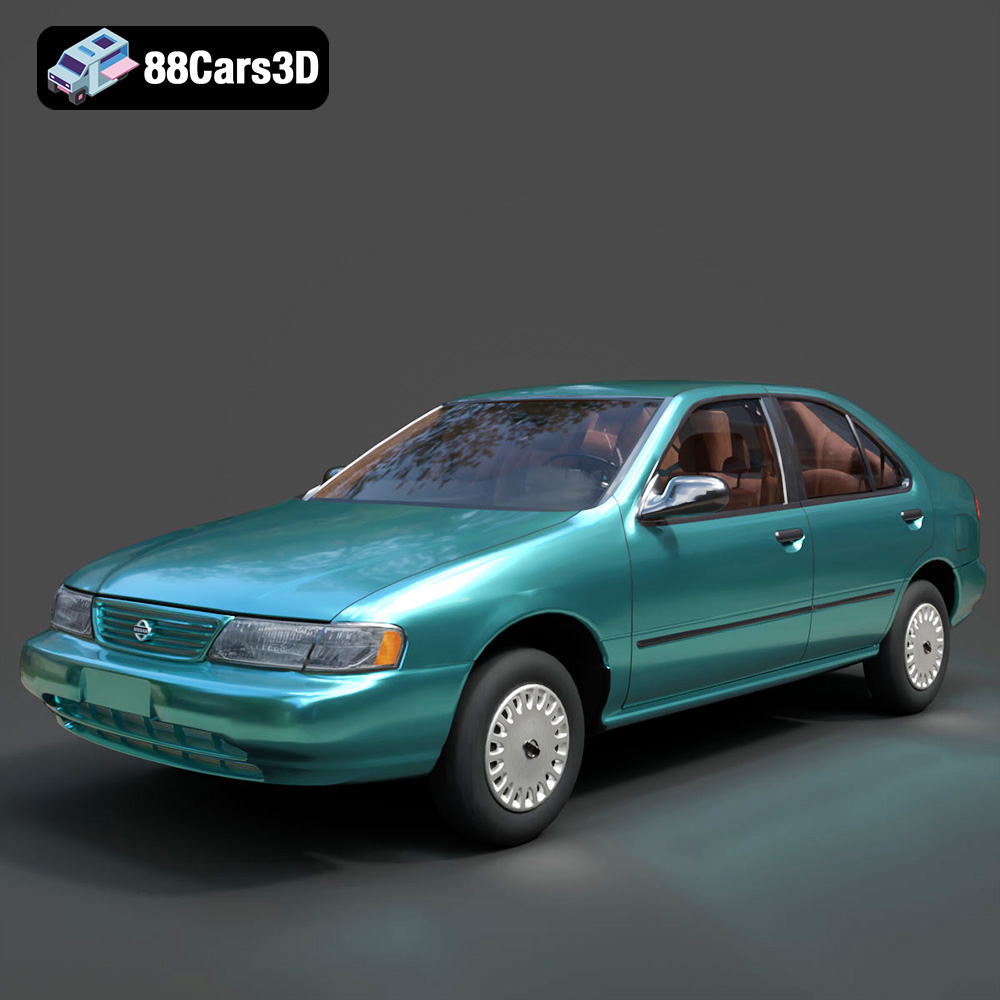
Texture: Yes
Material: Yes
Download the Nissan Sentra GXE 1996 3D Model featuring clean geometry, realistic detailing, and a fully modeled interior. Includes .blend, .fbx, .obj, .glb, .stl, .ply, .unreal, and .max formats for rendering, simulation, and game development.
Price: $4.99
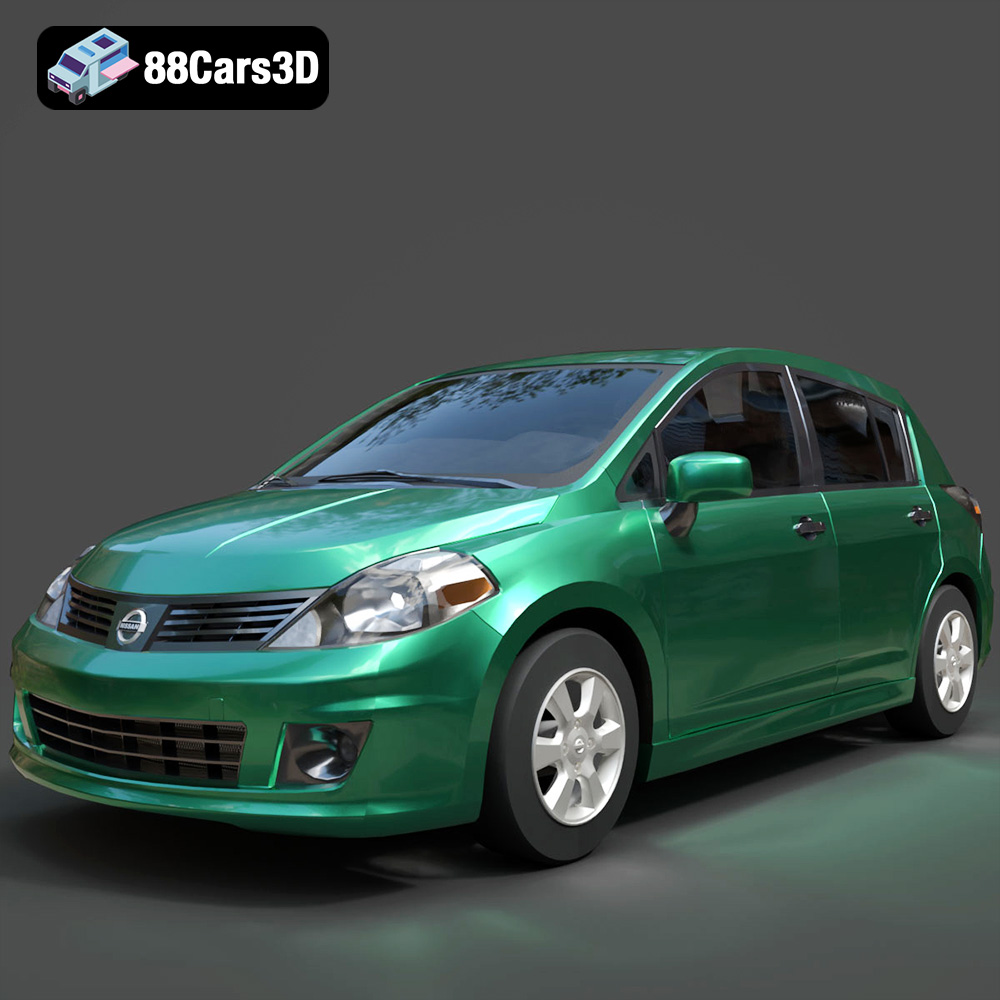
Texture: Yes
Material: Yes
Download the Nissan Tiida 3D Model featuring clean geometry, realistic detailing, and a fully modeled interior. Includes .blend, .fbx, .obj, .glb, .stl, .ply, .unreal, and .max formats for rendering, simulation, and game development.
Price: $4.99