⚡ FLASH SALE: Get 60% OFF All Premium 3D & STL Models! ⚡
The automotive industry has always been a beacon of design and engineering excellence, and in the digital age, this pursuit of perfection has extended into the realm of 3D. Crafting a high-quality 3D car model is more than just replicating a vehicle; it’s an intricate dance between artistic vision and technical precision. From the sleek curves of a supercar to the rugged utility of an off-roader, every detail must be meticulously sculpted, textured, and optimized to meet the exacting standards of modern visualization, game development, AR/VR experiences, and even 3D printing.
This comprehensive guide delves deep into the technical methodologies and best practices behind creating, rendering, and deploying professional-grade 3D car models. We will navigate the critical stages of topology and edge flow, demystify advanced UV mapping, unlock the secrets of physically based rendering (PBR) materials, and explore the nuances of photorealistic lighting and rendering. Furthermore, we’ll equip you with the knowledge to optimize these complex assets for real-time game engines and prepare them for emerging technologies like augmented reality, virtual reality, and physical fabrication. Whether you’re an aspiring 3D artist, a seasoned game developer, or an automotive designer pushing the boundaries of digital prototyping, understanding these foundational principles and advanced techniques is paramount to achieving unparalleled realism and performance in your projects. Join us on this journey to elevate your 3D automotive design skills to the next level.
The underlying structure of your 3D car model, its topology, is arguably the most crucial aspect of its quality. Clean, efficient, and well-distributed polygon geometry ensures smooth subdivision, accurate deformation, and trouble-free texturing and rendering. For automotive models, which are characterized by large, flowing surfaces and precise hard edges, establishing impeccable edge flow is not just an aesthetic choice; it’s a technical necessity. Poor topology can lead to artifacts like pinching, unwanted bumps, and an inability to achieve photorealistic results, especially under subdivision surface modifiers. The goal is always to use a minimal number of polygons to describe the form accurately while maintaining flexibility for detailing and animation. A typical production-ready car body might range from 80,000 to 150,000 polygons, depending on the level of detail required, before subdivision.
The industry standard for organic and hard-surface modeling, especially for subdivision-ready meshes, is quad-based topology. Quads (four-sided polygons) distribute seamlessly when subdivided, resulting in smooth, predictable curves. Triangles, while necessary in some instances for triangulation or terminating edge loops, should be minimized on primary surfaces as they tend to create pinching and make edge flow less predictable under subdivision. When modeling complex automotive panels, focus on routing edge loops along the natural contours and design lines of the vehicle. These edge loops define the form, provide control for modifications, and act as guides for applying supporting edge loops. Supporting edges, often created by using bevels or inset faces, are critical for sharpening corners and defining the crease lines of the car body without introducing excessive geometry that would negatively impact performance or render times. Pay close attention to pole placement (where multiple edge loops converge). Avoid poles with more than 5 edges on smooth, critical surfaces, as these can also cause pinching.
Accuracy is paramount when modeling real-world vehicles. The process invariably begins with collecting comprehensive reference material, including blueprints, photographic references, and technical drawings. Blueprints provide essential orthographic views (front, back, top, side) that are loaded into your 3D software (e.g., 3ds Max, Blender, Maya) as background images, scaled precisely to match. This allows you to trace the vehicle’s outlines and proportions accurately. Beyond blueprints, a vast array of high-resolution photographs, particularly studio shots and walkarounds, are indispensable for understanding surface curvature, material properties, and intricate details that blueprints often omit. Set up your orthographic views with the correct aspect ratios and meticulously align them. Using a consistent unit system (e.g., centimeters or meters) from the outset prevents scaling issues later on. Regularly compare your 3D model against all references from various angles to ensure consistent proportions and curvature, identifying discrepancies early in the modeling process.
Even with careful planning, topology challenges are inevitable. Pinching, characterized by an unwanted sharp crease or bump on a supposedly smooth surface, often arises from irregular polygon distribution, poor pole placement, or triangles on curved areas. To fix this, redistribute vertices more evenly, convert triangles to quads where possible, and ensure edge loops flow naturally without abrupt changes in direction. Stretching, where polygons become elongated in one direction, is a sign of inefficient geometry and can lead to texture distortion. This is typically resolved by adding more edge loops to distribute the surface area or by optimizing existing loops to better conform to the mesh’s curvature. Another common issue is inconsistent surface tension; areas with few polygons next to areas with many can result in an uneven look after subdivision. Strive for a uniform distribution of polygon density across major panels to maintain consistent surface detail and avoid visual inconsistencies.
Once your 3D car model’s topology is solid, the next crucial step is UV mapping – the process of flattening your 3D mesh into 2D space to apply textures. For complex objects like cars, meticulous UV mapping is essential to ensure textures appear without stretching, distortion, or visible seams, preserving the realism of detailed materials like car paint, carbon fiber, and intricate interior fabrics. Proper UVs are not only vital for visual quality but also for efficient texture painting workflows, enabling artists to paint directly onto the 3D model and have it translate perfectly onto the 2D texture map. A poorly UV-mapped model, regardless of its polygon count or material quality, will always fall short in photorealism.
Automotive UV mapping typically involves breaking the vehicle down into logical components, each receiving its own dedicated UV space or set of spaces. Think of the car body, interior panels, seats, wheels, tires, windows, and headlights as distinct elements. Each of these components requires careful unwrapping to minimize distortion. For the main body, planar projections or pelting tools are often used, followed by manual adjustments to relax and straighten the UV shells. Strategically placing seams in areas that are less visible (e.g., along natural panel lines, under trim, or in hidden crevices) is key to a clean look. While it’s tempting to use automatic unwrapping tools, they often create too many islands and poorly optimized layouts for high-quality automotive assets. Instead, a thoughtful, manual approach, possibly supplemented by tools like RizomUV or the built-in UV editors in 3ds Max or Blender, yields superior results.
Texel density, the ratio of texture pixels to 3D surface area, is a critical metric for quality. All major surfaces of your car model should ideally maintain a consistent texel density to avoid some areas appearing blurry while others are sharp. Tools in most 3D software allow you to visualize and normalize texel density across different UV islands. Efficient UV packing is also vital; this involves arranging your UV islands within the 0-1 UV space to maximize coverage, minimizing wasted texture space while maintaining adequate padding between islands to prevent bleeding. Aim for 70-85% UV space utilization. When it comes to seams, try to place them where they naturally occur in real-world manufacturing or along sharp creases that mask their presence. For instance, the edges of car panels are natural places for UV seams, as are the edges of windows or the bottom side of a car. Utilizing texture painting software like Substance Painter or Mari can help in seamlessly blending textures across these seams.
For extremely high-detail automotive models, particularly those destined for cinematic rendering or close-up shots, traditional single-texture UV maps may not offer sufficient resolution. This is where Multi-Tile UVs, commonly known as UDIMs (U-Dimension), come into play. UDIM allows artists to use multiple 0-1 UV spaces (tiles) to represent a single mesh, effectively providing an almost limitless texture resolution. For example, the car body might occupy several UDIM tiles, with each tile having its own 4K or 8K texture set, ensuring pixel-perfect detail even at extreme magnification. This approach is widely adopted in film and VFX pipelines and is supported by major renderers like Corona, V-Ray, Cycles, and Arnold. Another powerful strategy is Material ID mapping. By assigning different material IDs to distinct parts of your mesh in your 3D modeling software, you can easily select and assign unique PBR material presets to specific areas (e.g., body, chrome, rubber, glass) during texturing. This streamlines the material application process and ensures logical separation, which is particularly beneficial when working with complex assets like those found on 88cars3d.com, where models are often supplied with pre-assigned Material IDs for easy customization.
Physically Based Rendering (PBR) has revolutionized the way 3D artists approach materials, shifting from artistic approximations to physically accurate representations of how light interacts with surfaces. For automotive rendering, PBR is non-negotiable, as it’s the key to achieving the highly reflective, nuanced, and realistic appearance of car paint, chrome, glass, and other intricate materials. Understanding PBR principles and mastering shader network creation is crucial for models to look convincing under any lighting condition, whether in a high-end renderer or a real-time game engine.
PBR materials are built upon real-world physics, simulating properties like reflectivity, roughness, and color absorption. There are two primary PBR workflows: Metallic/Roughness and Specular/Glossiness. The Metallic/Roughness workflow, prevalent in game engines and tools like Substance Painter, uses an Albedo (or Base Color) map, a Metallic map (0=dielectric, 1=metal), and a Roughness map (0=smooth/shiny, 1=rough/matte). The Specular/Glossiness workflow uses an Albedo map, a Specular map (color of reflections), and a Glossiness map (inverse of roughness). Both require additional maps like Normal maps (for surface detail), Ambient Occlusion (AO) maps (for contact shadows), and often Height or Displacement maps for extreme detail. For automotive assets, these maps are typically generated from high-poly models, sculpted details, or painted in tools like Substance Painter. When sourcing high-quality 3D car models from marketplaces like 88cars3d.com, you can expect PBR-ready textures with resolutions typically ranging from 2K to 8K, depending on the asset’s detail and intended use.
Car paint is one of the most challenging yet rewarding materials to create. It’s not a single material but a complex layered shader. The base layer is typically a metallic flake coat, which dictates the primary color and metallic sheen. This is followed by several layers of clear coat, which provide the glossy, reflective finish. Key parameters to control include the metallic flake size and density, the “sparkle” effect, and the refractive index (IOR) of the clear coat (often around 1.4-1.5). Realistic car paint also exhibits subtle variations in roughness and micro-scratches, which can be achieved by blending multiple noise maps into the roughness channel. For advanced setups, artists might introduce subtle subsurface scattering for very thin clear coats or incorporate procedural noise to simulate dust and dirt accumulation. Understanding how to build these layered shaders in software like 3ds Max (using Corona or V-Ray materials), Blender (with Cycles nodes), or Maya (with Arnold shaders) is paramount.
The interior of a car presents a diverse range of materials, each requiring careful PBR treatment. Leathers and fabrics demand detailed normal maps for grain and weave, along with varied roughness maps to simulate wear and natural oils. Plastics come in many forms – matte, semi-gloss, textured – and their PBR parameters must accurately reflect their specific properties. Steering wheels and dashboards might combine multiple materials, requiring complex blending in the shader network. Chrome and metallic accents need precise metallic values and very low roughness. Glass for windows and instrumentation requires accurate transmission, refraction (IOR ~1.52 for typical glass), and often subtle tinting. For tires, the rubber material is typically a dark, slightly rough dielectric. The main challenge lies in creating realistic tread patterns and sidewall details. This is often achieved using high-resolution normal maps derived from a sculpted high-poly tire model, combined with displacement mapping for extra depth on the tread. Subtle dirt and grime layers, often integrated as blend masks based on curvature or ambient occlusion, add further realism to both interiors and tires.
Bringing a 3D car model to life culminates in the rendering phase, where all the meticulously crafted geometry, UVs, and PBR materials are combined with lighting, cameras, and environments to produce stunning, photorealistic images or animations. This stage requires a deep understanding of rendering engines, lighting principles, and photographic composition to transform your digital asset into a compelling visual masterpiece. Whether you’re using Corona, V-Ray, Cycles, or Arnold, the fundamental principles remain consistent, driving towards believable lighting and material interaction.
Effective lighting is the soul of a realistic render. For automotive visualization, a common and highly effective approach is to use High Dynamic Range Images (HDRIs) for environment lighting. An HDRI acts as both a light source and a reflection map, providing realistic ambient illumination, reflections, and global illumination from a real-world environment. Software like 3ds Max (Corona Render, V-Ray) or Blender (Cycles) allows you to load HDRIs, rotate them for optimal lighting angles, and adjust their intensity. While HDRIs provide excellent overall lighting, supplementary area lights are often used to accentuate specific features, create dramatic highlights, or simulate studio lighting setups. For example, long, thin area lights can be positioned above and to the sides of the car to create elegant reflections along the body panels, mimicking professional car photography setups. Rim lights can be added from behind to separate the vehicle from the background, adding depth and dimension.
Just as a professional photographer carefully sets up their shot, a 3D artist must meticulously control their virtual camera. Focal length is crucial: longer focal lengths (e.g., 70-120mm) tend to flatten perspective and are often favored for detailed shots of cars, while shorter focal lengths (e.g., 24-35mm) create more dramatic, wide-angle shots with greater perspective distortion, useful for showing the car in context. Aperture control (f-stop) dictates the depth of field, allowing you to selectively blur the background or foreground to draw attention to the car. A shallow depth of field can isolate the car beautifully, while a deeper one keeps more of the environment in focus. Compositional techniques like the rule of thirds, leading lines, and negative space are just as relevant in 3D rendering as they are in photography. Position the car dynamically, consider its interaction with the environment, and experiment with low-angle shots to emphasize power or high-angle shots for a more elegant perspective.
Every renderer has a suite of settings that impact image quality, render time, and memory usage. For photorealistic automotive renders, key settings include sampling rates (which control noise), global illumination algorithms (e.g., brute force, irradiance map), and denoisers. Modern renderers like Corona and V-Ray offer excellent denoisers that can significantly reduce render times without compromising quality, especially for still images. When setting up a render, consider the desired output resolution (e.g., 1920×1080 for web, 4K for print). Higher resolutions naturally require more samples and longer render times. It’s a balance between quality and efficiency. Utilize render passes (also known as AOV – Arbitrary Output Variables) such as reflections, refractions, shadows, ambient occlusion, and Z-depth. These passes allow for greater control in post-processing, enabling you to fine-tune specific elements of your image in software like Photoshop or Affinity Photo without re-rendering the entire scene. Common pitfalls include excessive polygon counts (even with optimized topology, complex scenes can strain memory), overly complex materials, and inefficient light setups, all of which can drastically increase render times.
While cinematic renders allow for virtually unlimited polygon counts and texture resolutions, real-time applications like video games, interactive configurators, and architectural visualizations demand a rigorous approach to performance optimization. A stunning 3D car model for a static render can bring a game engine to its knees if not properly prepared. The goal is to maintain visual fidelity while adhering to strict performance budgets for polygon count, draw calls, and texture memory. This means employing strategic techniques to reduce the computational load without sacrificing the overall look of the vehicle.
Level of Detail (LOD) is a crucial optimization technique for any complex 3D asset in real-time environments. It involves creating multiple versions of the same mesh, each with a progressively lower polygon count, and dynamically switching between them based on the camera’s distance from the object. For a detailed 3D car model, you might have LOD0 (full detail, 80,000-150,000 polygons) for close-ups, LOD1 (medium detail, 30,000-50,000 polygons) for mid-range views, and LOD2 (low detail, 5,000-15,000 polygons) for distant shots. Some assets might even feature LOD3 (billboard or simple proxy, 100-1000 polygons) for very far distances. These LODs are typically generated by decimating the high-poly mesh while carefully preserving hard edges and silhouette. Game engines like Unity and Unreal Engine provide integrated LOD systems that automate the switching process. The transition points between LODs need to be carefully calibrated to avoid noticeable popping or visual artifacts, ensuring a smooth visual experience as the player moves around the environment.
Draw calls are instructions sent from the CPU to the GPU to render a batch of objects. Each material, each unique mesh, and each light source can contribute to draw calls. For performance-critical applications, reducing draw calls is paramount. Texture atlasing is a powerful technique where multiple smaller textures (e.g., textures for different interior components, engine parts, or undercarriage elements) are combined into a single, larger texture atlas. This means fewer materials are needed, which in turn reduces draw calls. When preparing your 3D car model, try to consolidate materials as much as possible, mapping different parts to different areas of the same texture atlas. Furthermore, static batching and dynamic batching in game engines like Unity allow the engine to combine multiple small meshes into larger ones, further reducing draw calls. For instance, if a car has multiple small chrome pieces, batching them into a single mesh with one material will be more efficient.
Beyond visual rendering, cars in games and interactive experiences often require accurate physics simulation and collision detection. Using the high-detail visual mesh for collision detection is extremely inefficient and computationally expensive. Instead, simplified collision meshes are created. These are low-polygon, convex meshes that approximate the shape of the car for collision purposes. For a car, you might have a single large box collider for basic collisions, or a series of smaller, convex hull colliders for more precise impacts, perhaps one for the chassis, one for each wheel, and one for the roof. Game engines allow you to assign these collision meshes and configure physics assets, defining mass, friction, restitution, and centers of mass. For complex vehicles, these physics assets might include constraints (e.g., hinge joints for doors, wheel colliders for tires) to enable realistic movement and interaction within the game world. When sourcing models from marketplaces like 88cars3d.com, ensure they provide separate, optimized collision meshes or are structured in a way that allows for easy creation of such.
The utility of a high-quality 3D car model extends far beyond traditional rendering and game development. With the rise of augmented reality (AR) and virtual reality (VR), automotive configurators, and advancements in 3D printing, the demands on 3D assets are evolving. Preparing models for these diverse applications requires specific optimizations and an understanding of various file formats and their unique properties. A well-prepared model can seamlessly transition between these different pipelines, unlocking new opportunities for visualization and interaction.
AR and VR applications, especially those targeting mobile devices (e.g., WebAR, mobile VR headsets), have even stricter performance budgets than traditional PC games. The key is extreme optimization: aiming for polygon counts significantly lower than even LOD2 for games, typically ranging from 20,000 to 50,000 triangles for an entire car, including interior. Mobile PBR requires highly efficient texture atlases (often 1K or 2K for the entire vehicle) and simplified shader networks. Efficient instancing of repeated objects (like wheels) is critical to reduce draw calls. Ambient occlusion should ideally be baked into the texture maps rather than calculated in real-time. For web-based AR, formats like glTF (Graphics Language Transmission Format) and USDZ (Universal Scene Description Zip) are preferred due to their efficiency, PBR material support, and native integration with AR platforms. When optimizing for AR/VR, focus on maintaining the silhouette and key design features while aggressively reducing unnecessary geometric detail.
3D printing demands a fundamentally different approach to mesh preparation. Unlike rendering, where open edges or non-manifold geometry might go unnoticed, 3D printers require meshes to be “watertight” – meaning they must be completely enclosed volumes with no gaps, internal faces, or inverted normals. Common issues include intersecting geometry, unmerged vertices, and non-manifold edges. Before sending a model to a 3D printer, thorough mesh repair is essential. Tools in software like Blender (3D Print Toolbox add-on), Meshmixer, or Netfabb are invaluable for automatically detecting and fixing these issues. Furthermore, considerations such as wall thickness (to ensure the printed object doesn’t break), minimum detail size, and overall scale must be addressed. If you intend to 3D print a car model, it’s often advisable to create a dedicated mesh with these specific constraints in mind, potentially simplifying intricate details that would be too fine to print accurately.
The 3D industry utilizes a wide array of file formats, each with its strengths and weaknesses. Understanding when to use which format and how to ensure data integrity during conversion is vital.
When acquiring 3D car models, particularly from platforms like 88cars3d.com, you often find them available in multiple formats like FBX, OBJ, GLB, and native formats, ensuring maximum compatibility across various pipelines and software. Always verify that textures are correctly linked and PBR materials translate accurately after format conversion.
The journey through 3D automotive design, from initial conceptualization to deployment across diverse platforms, is a testament to the blend of artistic skill and technical mastery required in modern digital content creation. We’ve explored the foundational importance of clean topology and precise edge flow, which ensures that every curve and panel of your 3D car model is rendered flawlessly. We’ve delved into the strategic intricacies of UV mapping, understanding how efficient unwrapping and texel density contribute to unblemished texture application, even for the most complex surfaces.
Further, we’ve demystified the power of Physically Based Rendering, revealing how PBR materials and sophisticated shader networks breathe life into car paint, chrome, and interior fabrics, making them indistinguishable from their real-world counterparts. Our exploration of photorealistic rendering workflows has highlighted the critical role of lighting, camera composition, and optimized render settings in producing breathtaking visual experiences. Finally, we’ve navigated the specialized demands of performance optimization for game engines, AR, and VR, discussing LODs, texture atlasing, and simplified collision meshes, alongside the specific requirements for 3D printing and the nuances of various file formats.
Mastering these techniques empowers you to create truly exceptional 3D automotive assets that not only look incredible but also perform efficiently across any medium. The digital automotive landscape is continually evolving, pushing the boundaries of realism and interactivity. By understanding and applying these detailed workflows, you are well-equipped to meet these challenges head-on. For those looking to jumpstart their projects with ready-to-use, high-quality assets that adhere to these industry best practices, exploring comprehensive marketplaces like 88cars3d.com offers an invaluable resource to accelerate your creative process. Continue to experiment, learn, and push the limits of what’s possible in the exhilarating world of 3D automotive design.
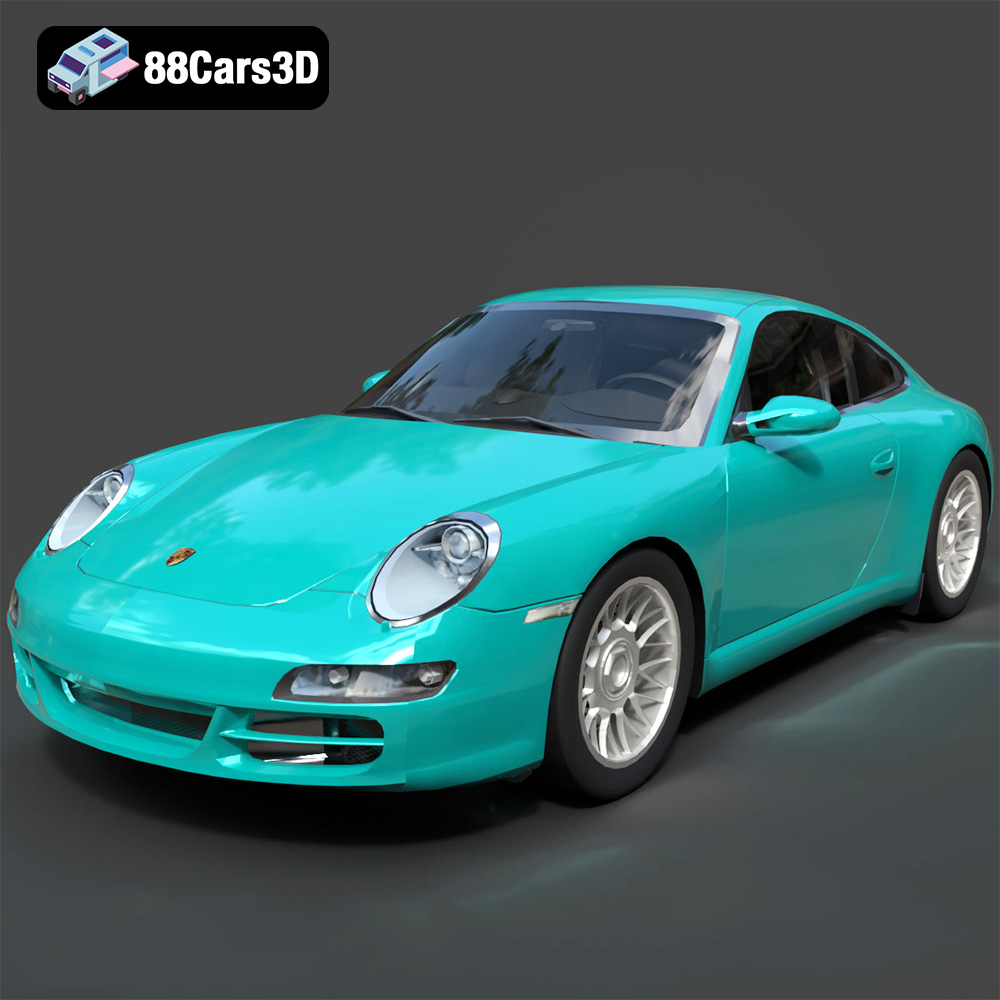
Texture: Yes
Material: Yes
Download the Porsche 911 Carrera S 2005 3D Model featuring clean geometry, realistic detailing, and a fully modeled interior. Includes .blend, .fbx, .obj, .glb, .stl, .ply, .unreal, and .max formats for rendering, simulation, and game development.
Price: $4.99
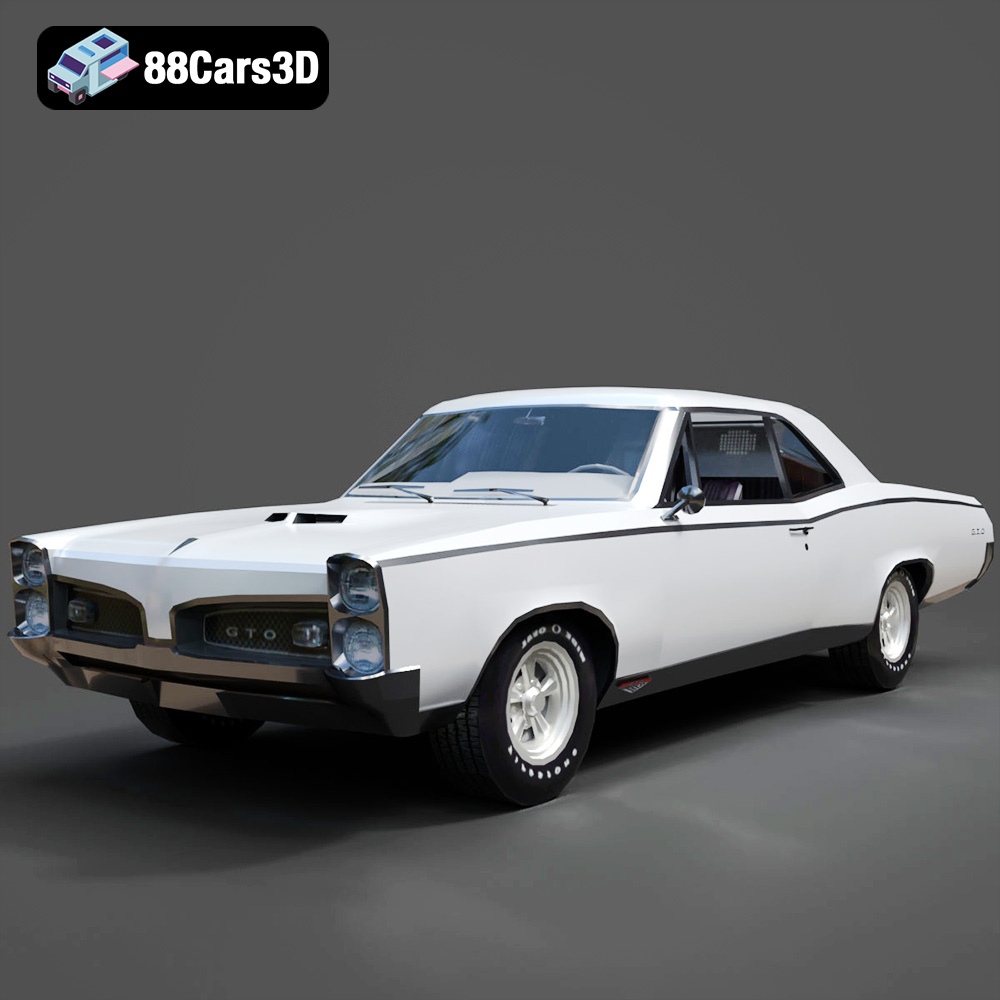
Texture: Yes
Material: Yes
Download the Pontiac GTO 1967 3D Model featuring clean geometry, realistic detailing, and a fully modeled interior. Includes .blend, .fbx, .obj, .glb, .stl, .ply, .unreal, and .max formats for rendering, simulation, and game development.
Price: $4.99
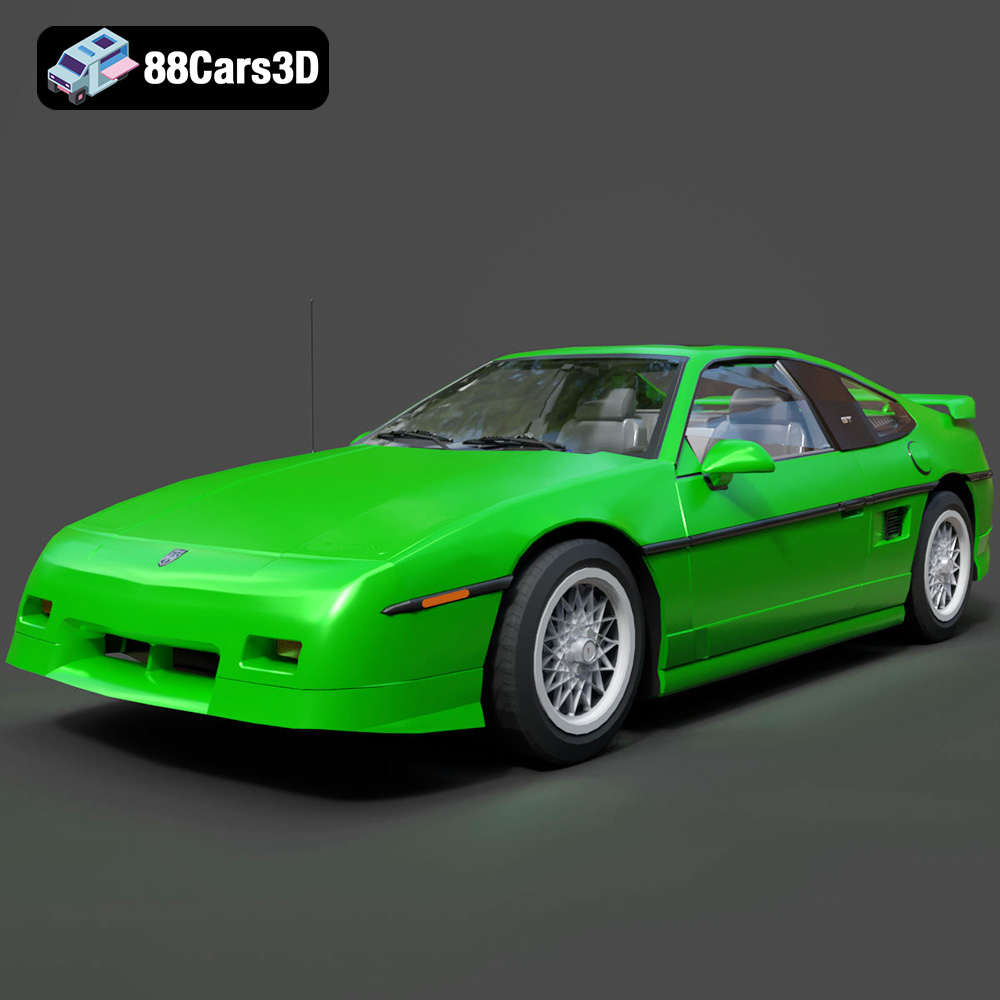
Texture: Yes
Material: Yes
Download the Pontiac Fiero GT 1987 3D Model featuring clean geometry, realistic detailing, and a fully modeled interior. Includes .blend, .fbx, .obj, .glb, .stl, .ply, .unreal, and .max formats for rendering, simulation, and game development.
Price: $4.99
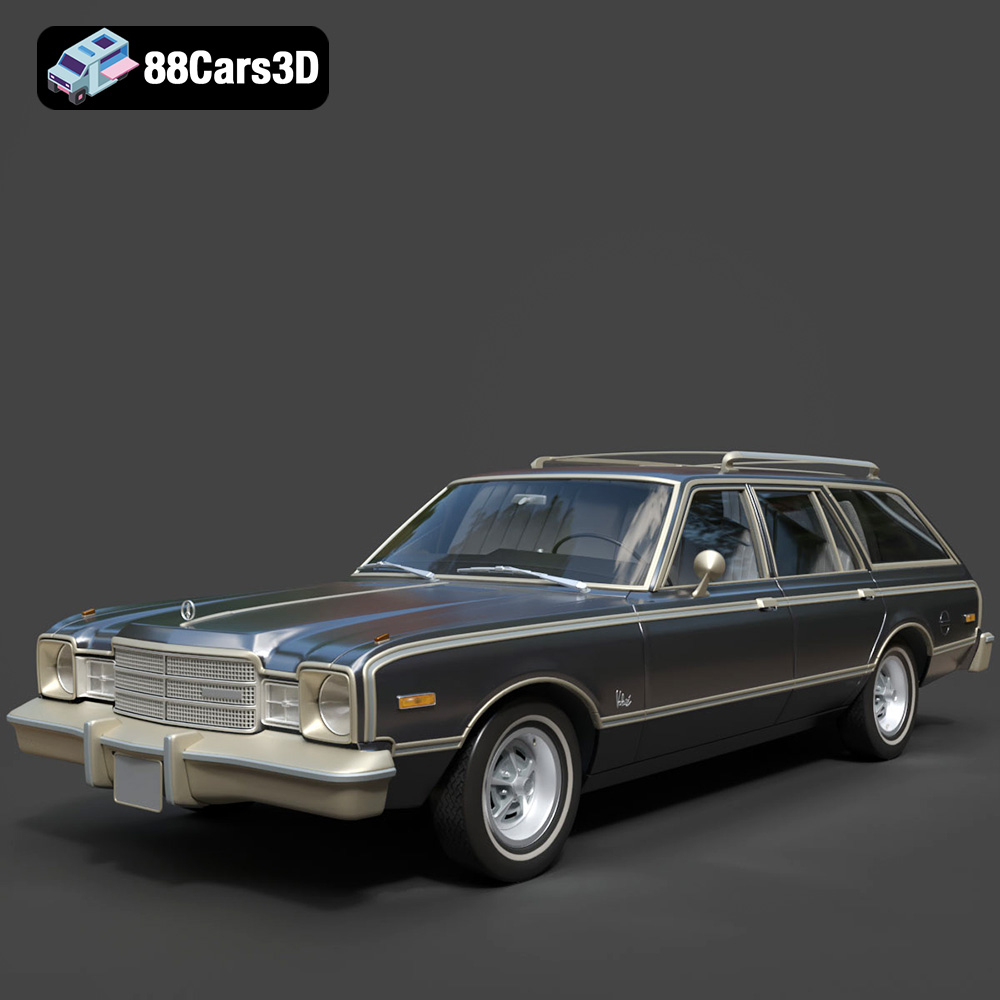
Texture: Yes
Material: Yes
Download the Plymouth Volare Wagon 3D Model featuring clean geometry, realistic detailing, and a fully modeled interior. Includes .blend, .fbx, .obj, .glb, .stl, .ply, .unreal, and .max formats for rendering, simulation, and game development.
Price: $4.99
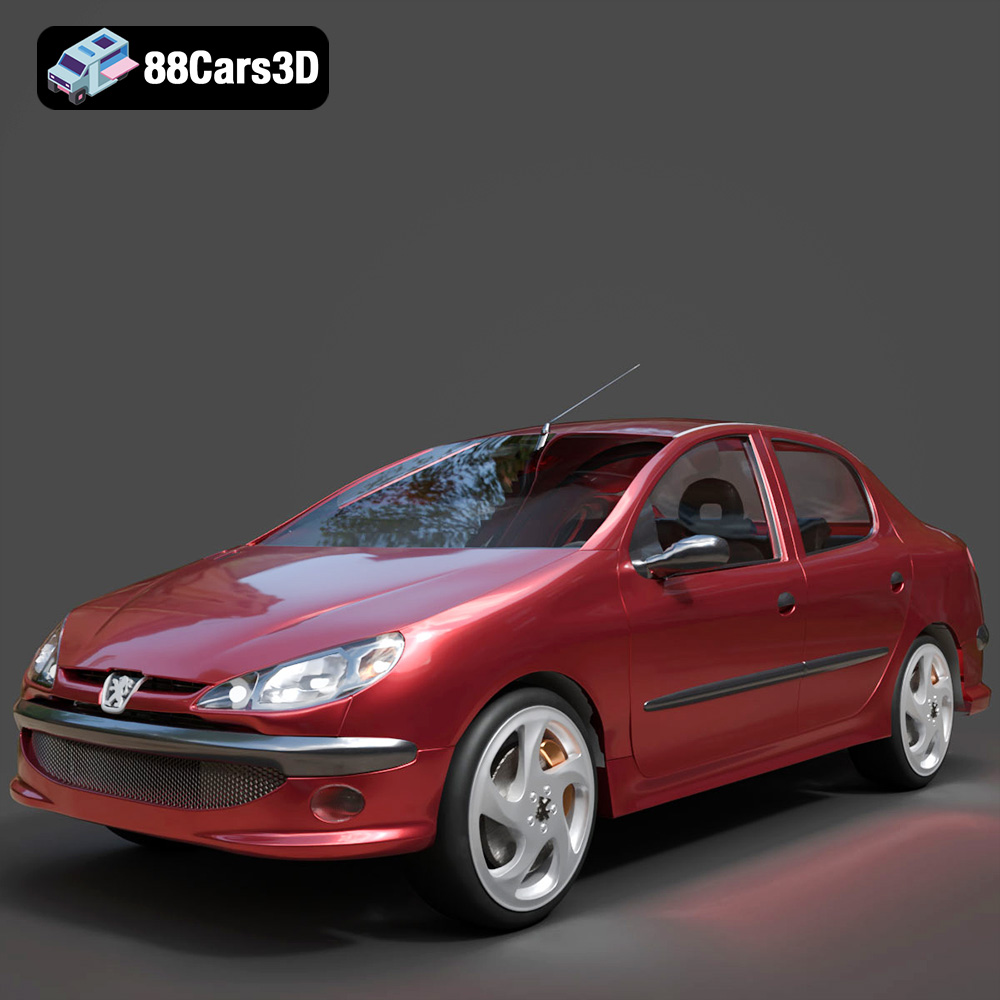
Texture: Yes
Material: Yes
Download the Peugeot 206 Sedan 2002 3D Model featuring clean geometry, realistic detailing, and a fully modeled interior. Includes .blend, .fbx, .obj, .glb, .stl, .ply, .unreal, and .max formats for rendering, simulation, and game development.
Price: $4.99
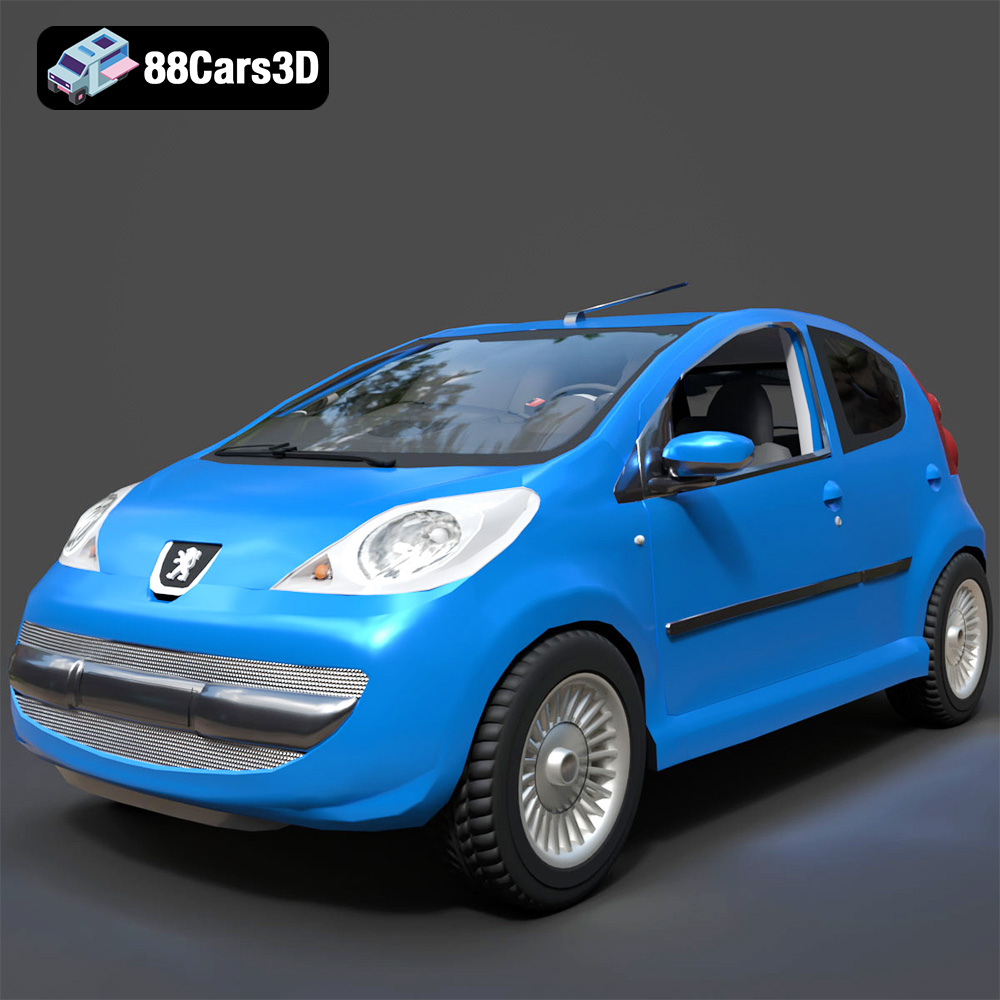
Texture: Yes
Material: Yes
Download the Peugeot 107 2005 3D Model featuring clean geometry, realistic detailing, and a fully modeled interior. Includes .blend, .fbx, .obj, .glb, .stl, .ply, .unreal, and .max formats for rendering, simulation, and game development.
Price: $4.99
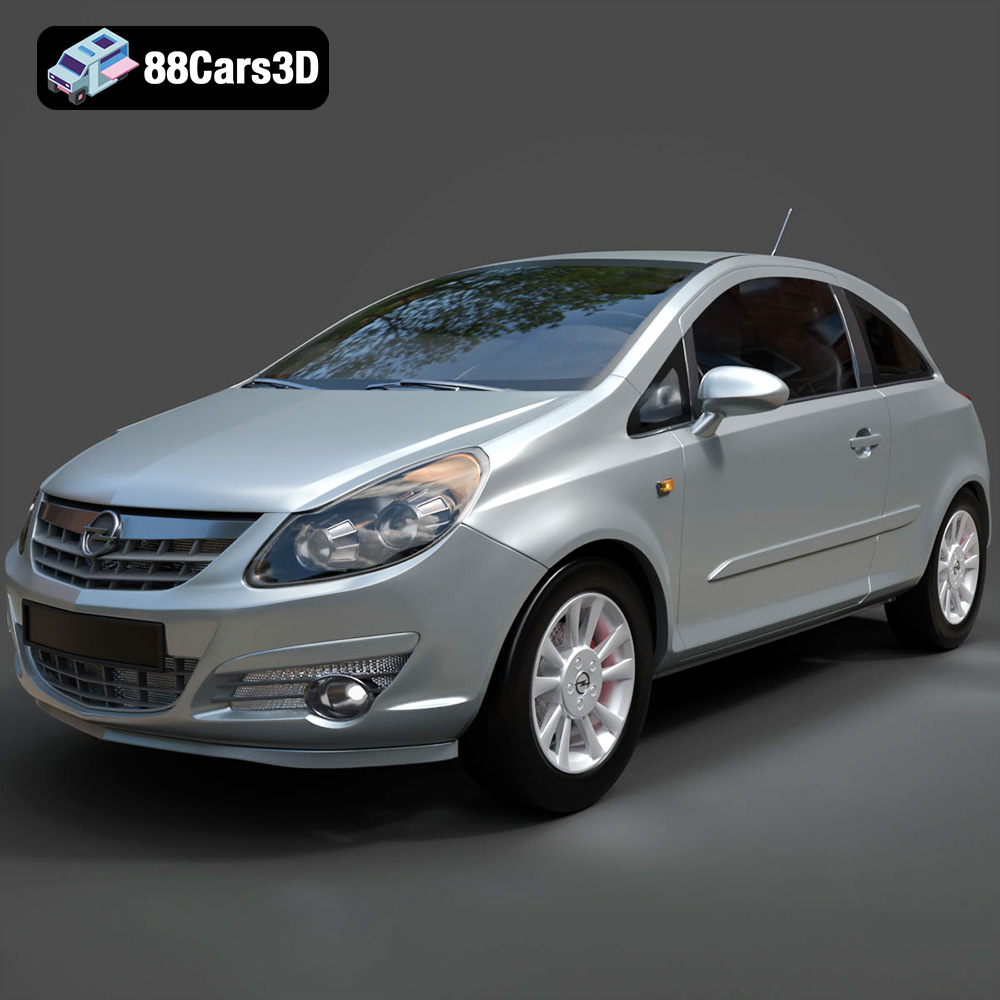
Texture: Yes
Material: Yes
Download the Opel Corsa 2007 3D Model featuring clean geometry, realistic detailing, and a fully modeled interior. Includes .blend, .fbx, .obj, .glb, .stl, .ply, .unreal, and .max formats for rendering, simulation, and game development.
Price: $4.99
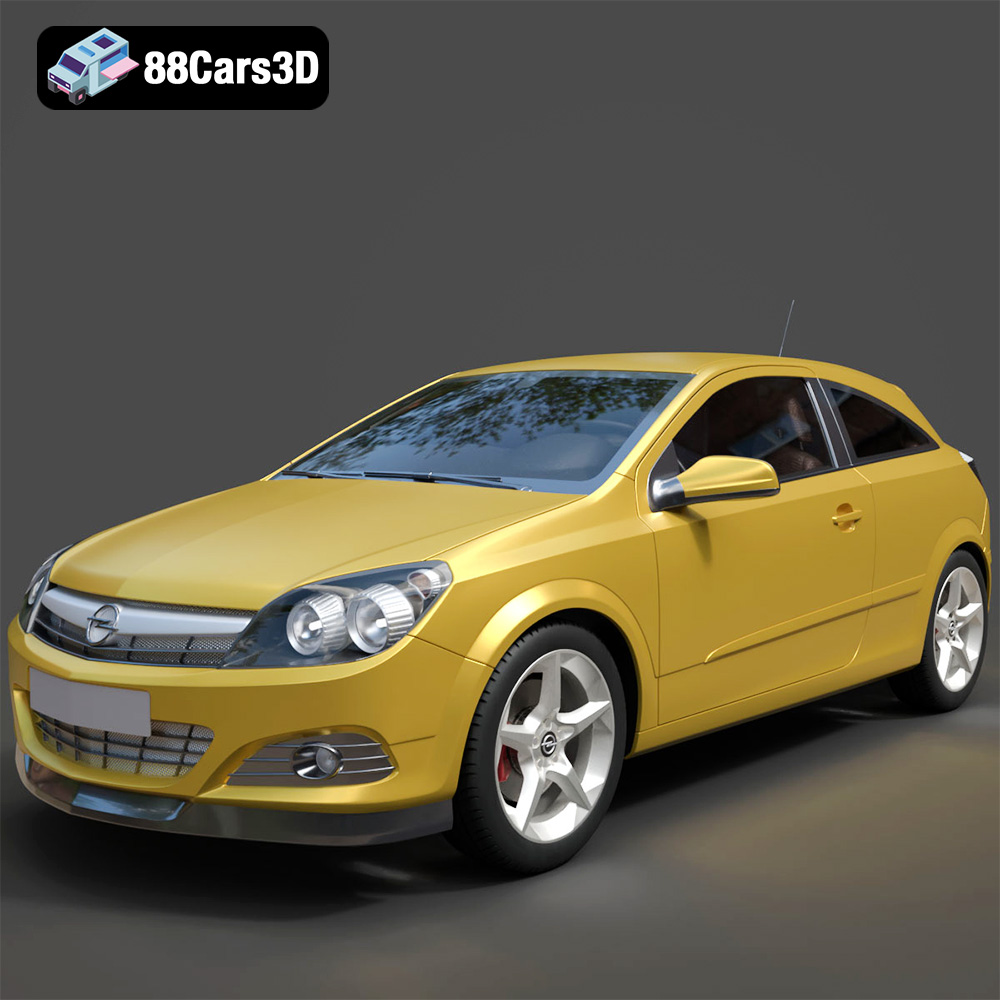
Texture: Yes
Material: Yes
Download the Opel Astra H GTC 3D Model featuring clean geometry, realistic detailing, and a fully modeled interior. Includes .blend, .fbx, .obj, .glb, .stl, .ply, .unreal, and .max formats for rendering, simulation, and game development.
Price: $4.99
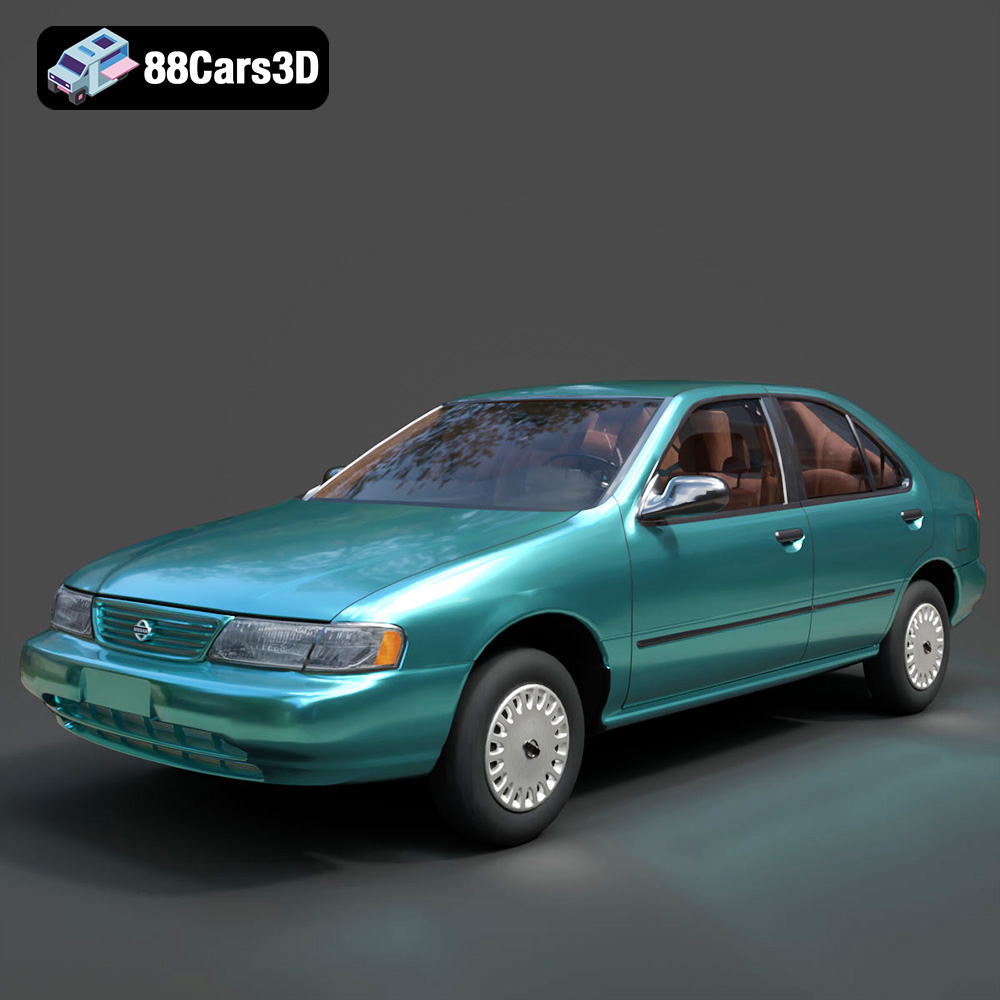
Texture: Yes
Material: Yes
Download the Nissan Sentra GXE 1996 3D Model featuring clean geometry, realistic detailing, and a fully modeled interior. Includes .blend, .fbx, .obj, .glb, .stl, .ply, .unreal, and .max formats for rendering, simulation, and game development.
Price: $4.99
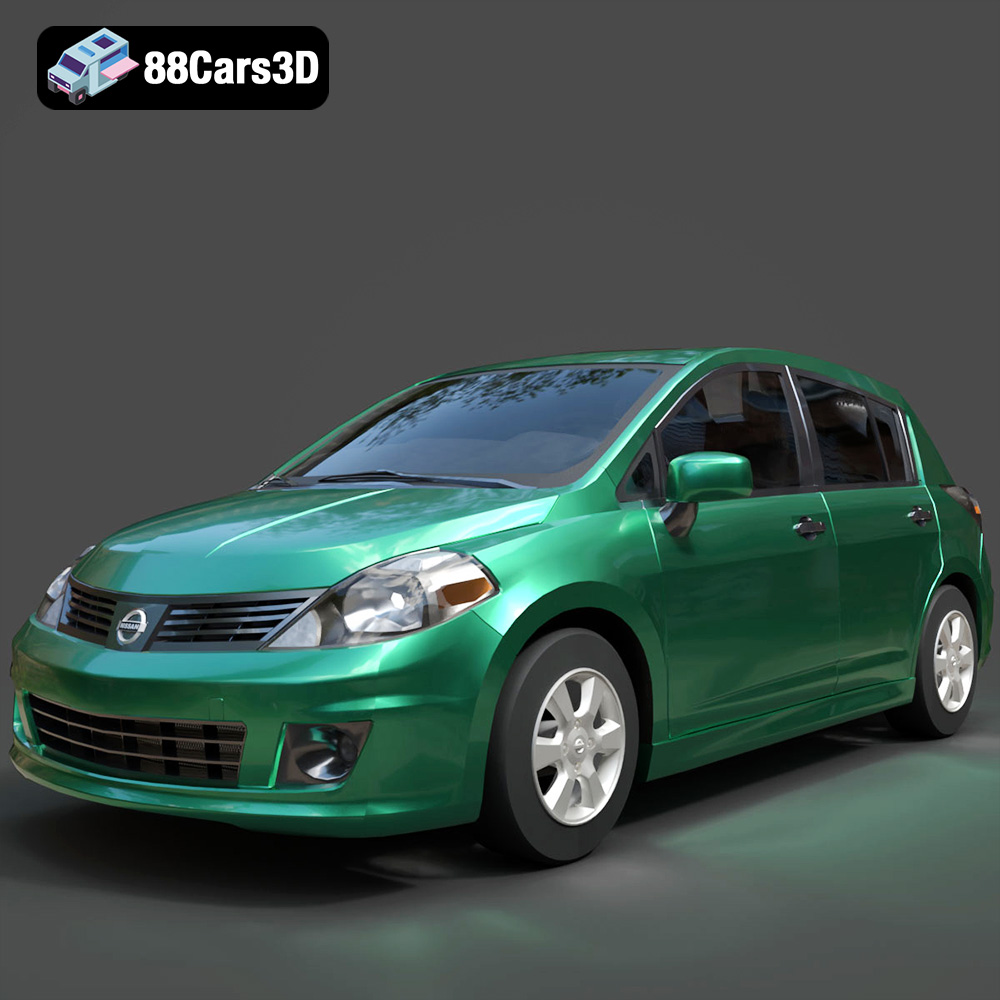
Texture: Yes
Material: Yes
Download the Nissan Tiida 3D Model featuring clean geometry, realistic detailing, and a fully modeled interior. Includes .blend, .fbx, .obj, .glb, .stl, .ply, .unreal, and .max formats for rendering, simulation, and game development.
Price: $4.99