⚡ FLASH SALE: Get 60% OFF All Premium 3D & STL Models! ⚡
The world of 3D automotive design is a fascinating intersection of artistry, engineering, and digital wizardry. For anyone involved in visualization, game development, AR/VR experiences, or even 3D printing, high-quality 3D car models are the bedrock upon which incredible projects are built. Crafting or acquiring these assets demands a deep understanding of intricate technical workflows, from the foundational principles of mesh topology to the nuances of physically based rendering and real-time optimization. It’s a journey that transforms raw polygons into photorealistic vehicles, ready to captivate audiences and perform flawlessly across diverse platforms.
This comprehensive guide delves deep into the technical intricacies of 3D car models, equipping you with the knowledge and best practices necessary to excel in this specialized field. We’ll explore essential topics such as creating pristine mesh topology, advanced UV mapping techniques, crafting stunning PBR materials, and optimizing models for demanding applications like game engines and augmented reality. Whether you’re a seasoned 3D artist looking to refine your workflow, a game developer seeking performance gains, or an automotive designer pushing the boundaries of digital prototyping, understanding these principles is crucial for achieving unparalleled realism and efficiency. Prepare to unlock the full potential of your 3D automotive projects and learn how to navigate the complex landscape of modern 3D production.
At the heart of any high-quality 3D car model lies impeccable topology and edge flow. These are not merely aesthetic considerations but fundamental requirements that dictate how your model deforms, subdivides, and receives textures. For complex, curved surfaces like those found on vehicles, quad-based topology is paramount. This means constructing your mesh entirely from four-sided polygons, avoiding N-gons (polygons with more than four sides) and minimizing triangles (three-sided polygons) where possible. N-gons can cause unpredictable shading artifacts, issues with subdivision surfaces, and difficulties during animation or sculpting. Triangles, while sometimes necessary in specific, flat areas, can also lead to pinching or uneven surfaces if not managed carefully.
Optimal edge flow is about guiding the edges of your polygons to follow the natural contours and creases of the car’s design. This includes crucial areas like panel gaps, sharp body lines, wheel arches, and headlight housings. Good edge flow ensures that when you apply subdivision modifiers (like Turbosmooth in 3ds Max, Subdivision Surface in Blender, or Smooth Mesh in Maya), the surfaces remain smooth and organic without unwanted bumps or distortions. It also facilitates easier selection for texture mapping, rigging, and future modifications. Prioritizing clean, deliberate edge loops around areas of detail allows for precise control over the model’s form and makes the entire production pipeline more efficient. Investing time in meticulously crafting your model’s topology upfront saves countless hours in later stages.
Panel gaps are critical for realism in automotive models. They require precise definition and careful edge flow. A common technique involves creating multiple edge loops to define the gap: one loop on each side to define the gap’s width, and then additional “support loops” or “holding edges” running parallel to the gap on the main body panels. These support loops help maintain the sharpness of the edge when subdivision modifiers are applied, preventing the gap from becoming soft or rounded. Typically, 2-3 support loops are sufficient for a crisp edge. The distance between these loops will dictate the softness or hardness of the edge – closer loops for sharper edges, slightly further apart for a more rounded transition. This meticulous approach ensures that individual car parts appear distinct yet perfectly fitted, just like a real vehicle.
Once your 3D car model boasts impeccable topology, the next crucial step is UV mapping – the process of flattening your 3D mesh into a 2D space so that textures can be accurately applied. For complex objects like cars, a thoughtful UV strategy is essential to avoid distortion, maximize texture resolution, and streamline the texturing process. The goal is to create non-overlapping UV islands that represent logical sections of the car (e.g., hood, door, roof, fender, interior components) and are scaled proportionally to their real-world surface area.
Efficient UV unwrapping begins by strategically placing seams along areas that would naturally have creases or are less visible, such as along panel gaps, under trim pieces, or on the underside of the vehicle. Tools like 3ds Max’s Unwrap UVW modifier, Blender’s UV Editor, or Maya’s UV Toolkit provide robust functionalities for marking seams, unwrapping, and packing UV islands. After unwrapping, the islands need to be arranged (packed) efficiently within the 0-1 UV space, minimizing wasted space while maintaining adequate padding between islands to prevent texture bleeding. For extremely detailed models or those requiring multiple material zones, UDIM (U-Dimension) workflows are becoming increasingly popular. UDIM allows for multiple UV tiles, each with its own texture map, overcoming the resolution limitations of a single 0-1 UV space and making texture management more modular.
The choice of texture resolution is critical and depends heavily on the model’s intended use. For high-end cinematic rendering or product visualization, 4K (4096×4096 pixels) or even 8K textures for large surfaces are common. These resolutions provide incredible detail, allowing for crisp reflections, subtle paint imperfections, and fine material nuances. However, for game engines, AR/VR experiences, or real-time applications, such high resolutions can be a performance killer. Here, a balance must be struck:
Physically Based Rendering (PBR) has become the industry standard for achieving photorealistic materials across various rendering engines and real-time platforms. PBR materials accurately simulate how light interacts with surfaces based on real-world physical properties, leading to consistent and believable results under any lighting condition. The core principle revolves around two main workflows: Metallic/Roughness and Specular/Glossiness, with Metallic/Roughness being the more prevalent one today.
A typical PBR material for a car involves several texture maps (channels) that describe different aspects of the surface. The Albedo (or Base Color) map defines the diffuse color of the surface without any lighting information. The Metallic map indicates which parts of the surface are metallic (white) and which are dielectric (black), affecting how reflections and diffuse light are handled. The Roughness map (or Glossiness map, depending on the workflow) dictates how rough or smooth a surface is, influencing the sharpness or blurriness of reflections. A low roughness value (dark) means a very smooth, mirror-like surface, while a high roughness value (light) results in a matte, diffuse appearance. Additionally, Normal maps are crucial for adding surface detail (like subtle imperfections, scratches, or panel lines) without increasing polygon count, while an Ambient Occlusion (AO) map simulates soft shadows where surfaces are close together, adding depth and realism.
Tools like Adobe Substance Painter and Designer have revolutionized PBR material creation. Substance Painter allows artists to texture 3D models interactively, painting directly onto the mesh while generating all necessary PBR maps simultaneously. Its smart materials, generators, and brushes enable rapid iteration and highly detailed texturing. For automotive models, this means easily applying realistic paint chips, rust, dirt, dust, and wear-and-tear effects based on the model’s curvature, occlusion, and position. Substance Designer, on the other hand, is a node-based procedural texturing tool, ideal for creating infinitely repeatable and resolution-independent textures like tire treads, carbon fiber patterns, or complex metal finishes. Many high-quality 3D car models found on marketplaces often come with Substance Painter files, allowing for easy customization of materials to fit specific project needs.
Realistic rendering transforms your meticulously modeled and textured car into a stunning visual masterpiece. The choice of rendering engine (e.g., Corona Renderer, V-Ray, Cycles, Arnold) and the optimization strategies employed profoundly impact both visual fidelity and render times. Each engine has its strengths and specific workflows, but the fundamental principles of lighting, camera, and global illumination remain consistent.
A typical rendering workflow starts with setting up your scene. This includes importing the 3D car model, ensuring all PBR materials are correctly assigned, and establishing a suitable environment. Environment lighting, often provided by High Dynamic Range Images (HDRIs), plays a pivotal role in accurately capturing real-world lighting conditions, providing realistic reflections and diffuse illumination. Complementary physical light sources (spotlights, area lights) are then added to highlight specific features, cast sharper shadows, or simulate studio lighting setups. Camera settings – aperture, shutter speed, ISO, depth of field, and focal length – are adjusted to mimic real-world photography, enhancing realism and guiding the viewer’s eye. Finally, render settings such as sample counts, ray depths, and denoisers are fine-tuned to achieve a balance between image quality and computational efficiency. For commercial rendering, render farms are often utilized to distribute the workload and drastically reduce completion times.
Achieving high-quality renders efficiently involves careful optimization of engine-specific settings:
A high-fidelity 3D car model designed for rendering often requires significant optimization before it can be used effectively in real-time environments like game engines, AR/VR applications, or for physical 3D printing. Each application presents unique technical constraints and demands specific preparation techniques to ensure performance, compatibility, and physical integrity.
For game engines such as Unity and Unreal Engine, the primary concern is frame rate. This means reducing polygon counts, optimizing texture usage, and minimizing draw calls. A crucial technique is creating Levels of Detail (LODs), where multiple versions of the same model exist at varying polygon counts. The engine dynamically switches between these LODs based on the camera’s distance, rendering a high-poly version when close and low-poly versions when far away. Other optimizations include occlusion culling (not rendering objects blocked by others), combining meshes, baking high-poly details onto low-poly normal maps, and using texture atlases. Similarly, AR/VR applications demand extreme optimization due to the mobile nature of many devices and the requirement for stable, high frame rates to prevent motion sickness. This often means even more aggressive poly count reductions, highly optimized PBR materials, and efficient shader networks, with careful consideration for the platform’s specific rendering pipeline (e.g., single-pass stereo rendering for VR).
AR/VR applications, especially on mobile devices (e.g., Meta Quest, smartphones for ARKit/ARCore), impose strict performance budgets. The target polygon count for an entire scene, let alone a single car, can be as low as 50,000 to 150,000 triangles. When utilizing high-quality 3D car models from platforms like 88cars3d.com, it’s essential to assess their poly count and optimize aggressively:
Preparing a 3D car model for physical 3D printing involves a different set of technical considerations, focusing on watertightness, manifold geometry, and physical dimensions.
Even the most perfectly modeled and textured car can fall flat without a compelling presentation. Lighting, environmental context, and post-processing are the crucial final steps that elevate a raw render into a captivating image or animation. These elements work in concert to define the mood, emphasize key features, and create a believable visual narrative.
Effective lighting is not just about illuminating the subject; it’s about sculpting its form, highlighting its curves, and revealing its material properties. Beyond the foundational HDRI and physical lights discussed earlier, strategic placement of rim lights can define the car’s silhouette, while carefully controlled fill lights can soften harsh shadows. The environment surrounding the car plays an equally important role. Whether it’s a realistic backdrop of a cityscape, a sprawling natural landscape, or a minimalist studio setup, the environment anchors the car in a believable space and provides context. Finally, post-processing acts as the digital darkroom, allowing for meticulous refinement of color, tone, and visual effects to achieve a polished, professional look that can often make or break the final impression.
Post-processing is where the magic happens, transforming a good render into a great one. While some effects can be rendered directly in the 3D software, compositing in applications like Adobe Photoshop, After Effects, or Blackmagic Fusion offers unparalleled control and flexibility.
Navigating the diverse ecosystem of 3D software and file formats is a critical skill for any 3D artist. The choice of tools often depends on the specific project requirements, budget, and personal preference, but understanding their interoperability and the strengths of various file formats is key to a smooth workflow. For those who need high-quality assets quickly, marketplaces like 88cars3d.com offer an invaluable resource for ready-to-use 3D car models.
Common 3D modeling software includes industry giants like 3ds Max, Maya, and Blender, each with powerful tools for automotive modeling, UV unwrapping, and rendering. Texturing often involves Substance Painter/Designer, while rendering is handled by dedicated engines like Corona, V-Ray, Cycles, or Arnold. Game engine integration relies heavily on Unity and Unreal Engine. The interoperability between these tools is facilitated by robust file formats designed to carry not just geometry but also material data, animation, and sometimes even rig information.
For artists and studios requiring ready-to-use assets, 3D model marketplaces are invaluable. When sourcing 3D car models from platforms like 88cars3d.com, it’s crucial to look for specific quality indicators:
Utilizing high-quality assets from reputable sources such as 88cars3d.com significantly accelerates production workflows, allowing artists to focus more on creative aspects like scene composition, lighting, and animation rather than spending countless hours on foundational modeling tasks. This strategic approach to asset acquisition is a cornerstone of modern 3D production pipelines.
The journey of mastering 3D car models is a multifaceted one, demanding a blend of artistic vision and technical prowess. From the foundational principles of clean topology and efficient UV mapping to the advanced techniques of PBR material creation and real-time optimization, every step contributes to the final realism and performance of your automotive assets. We’ve explored how meticulous attention to detail in mesh construction ensures smooth deformation, how strategic UV unwrapping maximizes texture fidelity, and how PBR materials bring surfaces to life under any light.
Furthermore, understanding the specific demands of diverse applications—be it high-fidelity rendering for visualization, stringent polygon budgets for game engines and AR/VR, or watertight geometry for 3D printing—is paramount. By leveraging best practices in lighting, environment design, and post-processing, you can transform your raw models into breathtaking visuals that captivate and engage. And for those seeking a head start, trusted marketplaces like 88cars3d.com provide access to a wealth of high-quality, pre-made 3D car models, ensuring you have the best tools to bring your visions to life.
Continue to refine your skills, experiment with new techniques, and stay abreast of industry advancements. The world of 3D automotive design is constantly evolving, offering endless opportunities for innovation and creativity. Armed with the comprehensive knowledge shared in this guide, you are well-equipped to produce stunning 3D car models that stand out in any project, driving your creative endeavors forward with precision and impact.
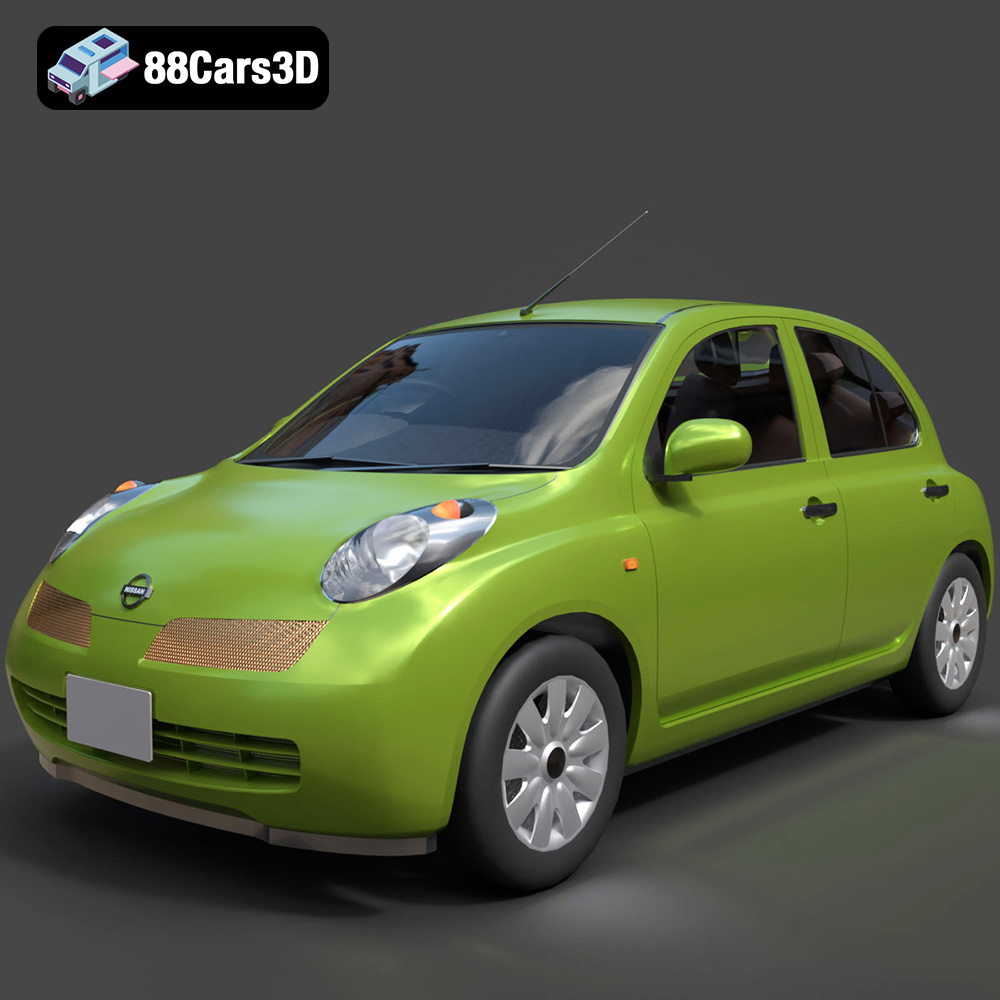
Texture: Yes
Material: Yes
Download the Nissan Micra 5-Door 2025 3D Model featuring clean geometry, realistic detailing, and a fully modeled interior. Includes .blend, .fbx, .obj, .glb, .stl, .ply, .unreal, and .max formats for rendering, simulation, and game development.
Price: $4.99

Texture: Yes
Material: Yes
Download the Opel Insignia Sports Tourer 2009 3D Model featuring clean geometry, realistic detailing, and a fully modeled interior. Includes .blend, .fbx, .obj, .glb, .stl, .ply, .unreal, and .max formats for rendering, simulation, and game development.
Price: $4.99
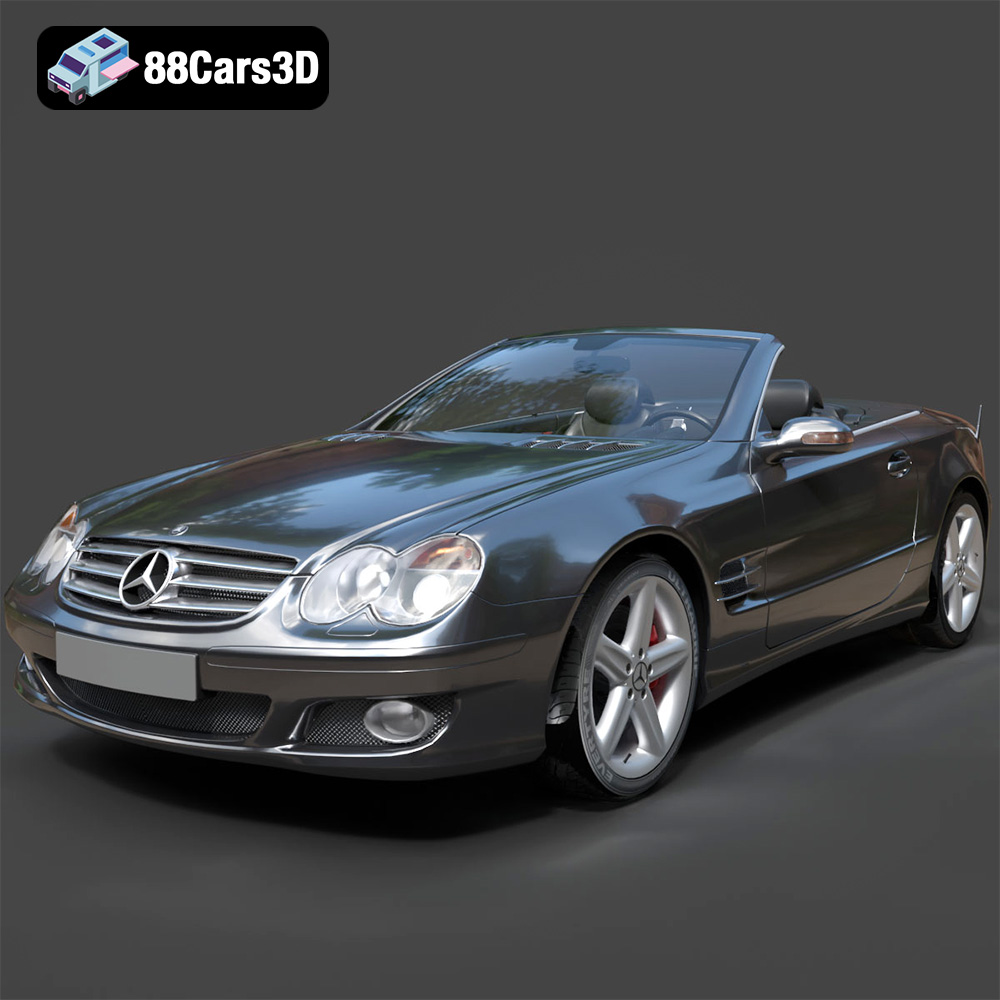
Texture: Yes
Material: Yes
Download the Mercedes-Benz SL-Klasse R230 2002 3D Model featuring clean geometry, realistic detailing, and a fully modeled interior. Includes .blend, .fbx, .obj, .glb, .stl, .ply, .unreal, and .max formats for rendering, simulation, and game development.
Price: $4.99
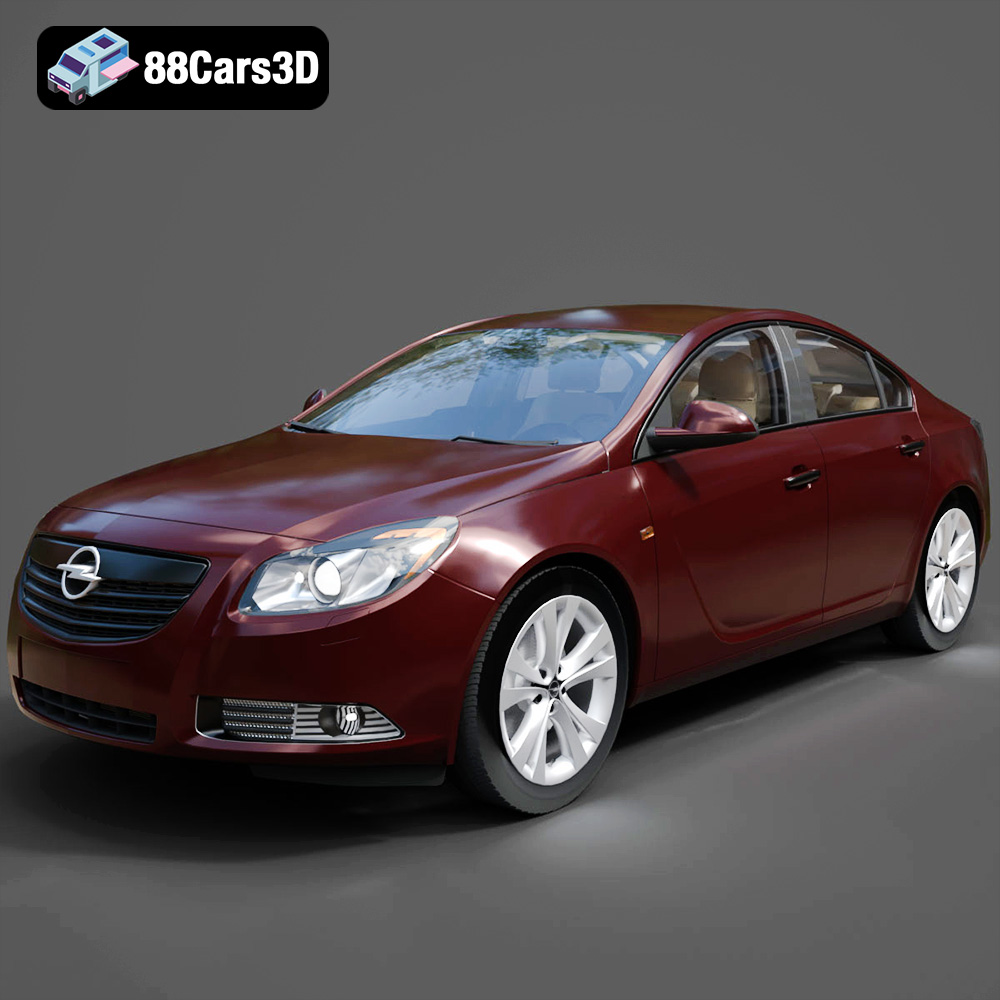
Texture: Yes
Material: Yes
Download the Opel Insignia 2009 3D Model featuring clean geometry, realistic detailing, and a fully modeled interior. Includes .blend, .fbx, .obj, .glb, .stl, .ply, .unreal, and .max formats for rendering, simulation, and game development.
Price: $4.99

Texture: Yes
Material: Yes
Download the Peugeot 206 3D Model featuring clean geometry, realistic detailing, and a fully modeled interior. Includes .blend, .fbx, .obj, .glb, .stl, .ply, .unreal, and .max formats for rendering, simulation, and game development.
Price: $4.99
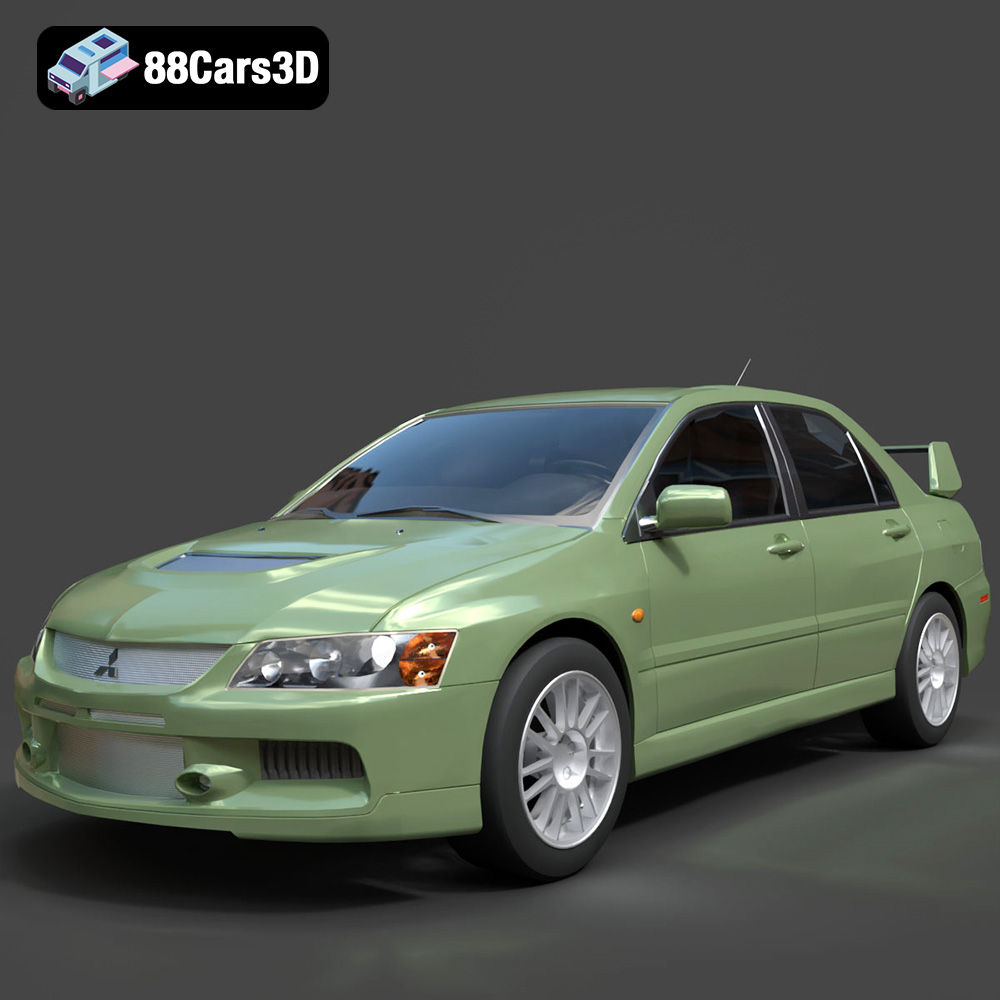
Texture: Yes
Material: Yes
Download the Mitsubishi Lancer Evolution IX 3D Model featuring clean geometry, realistic detailing, and a fully modeled interior. Includes .blend, .fbx, .obj, .glb, .stl, .ply, .unreal, and .max formats for rendering, simulation, and game development.
Price: $4.99

Texture: Yes
Material: Yes
Download the Mitsubishi i-MIEV 3D Model featuring clean geometry, realistic detailing, and a fully modeled interior. Includes .blend, .fbx, .obj, .glb, .stl, .ply, .unreal, and .max formats for rendering, simulation, and game development.
Price: $4.99
Texture: Yes
Material: Yes
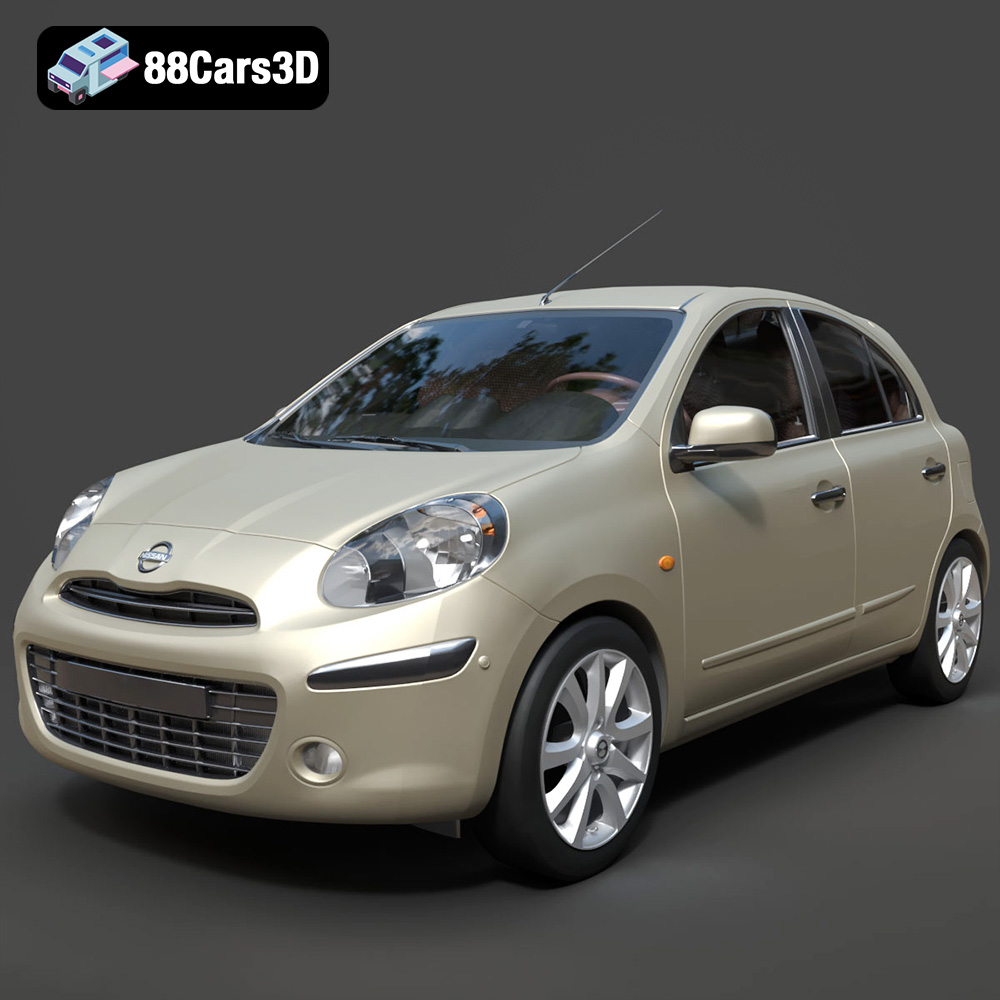
Download the Nissan Micra 2010 3D Model featuring clean geometry, realistic detailing, and a fully modeled interior. Includes .blend, .fbx, .obj, .glb, .stl, .ply, .unreal, and .max formats for rendering, simulation, and game development.
Price: $4.99
Texture: Yes
Material: Yes
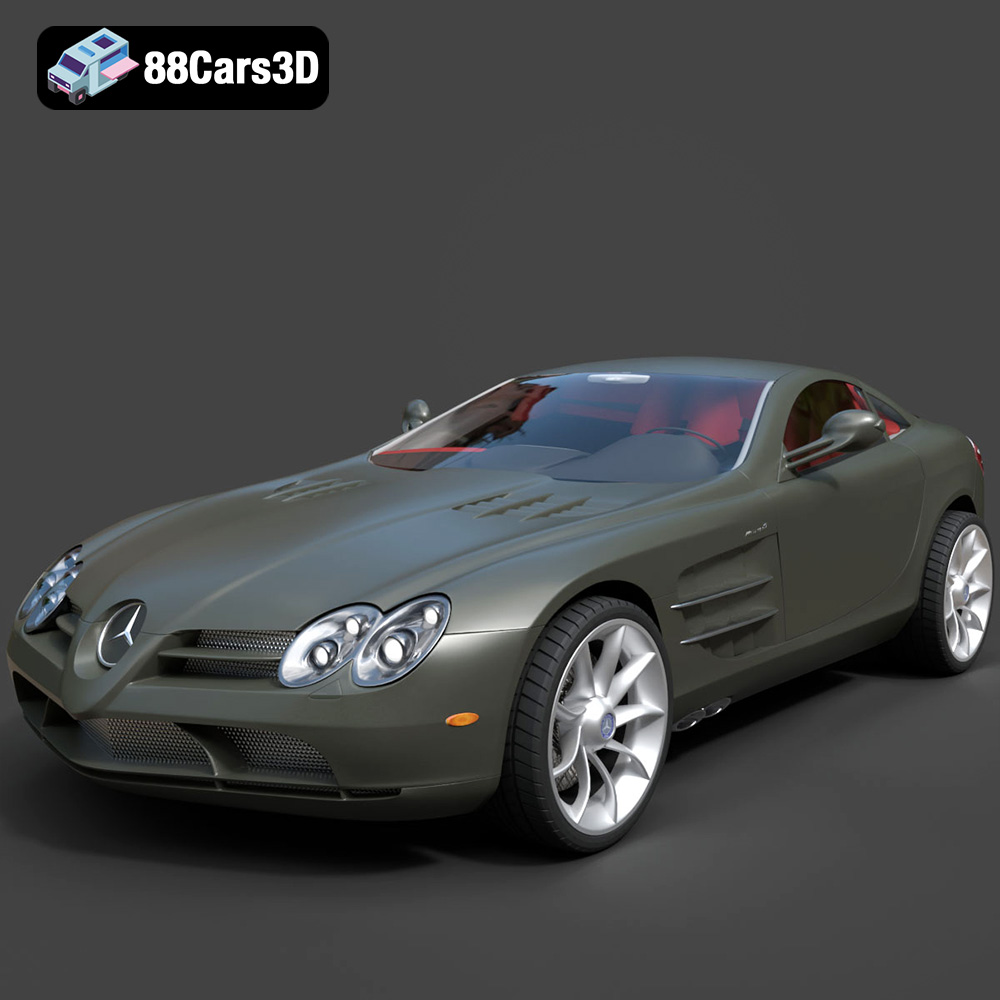
Download the Mercedes-Benz SLR McLaren 3D Model featuring clean geometry, realistic detailing, and a fully modeled interior. Includes .blend, .fbx, .obj, .glb, .stl, .ply, .unreal, and .max formats for rendering, simulation, and game development.
Price: $4.99
Texture: Yes
Material: Yes
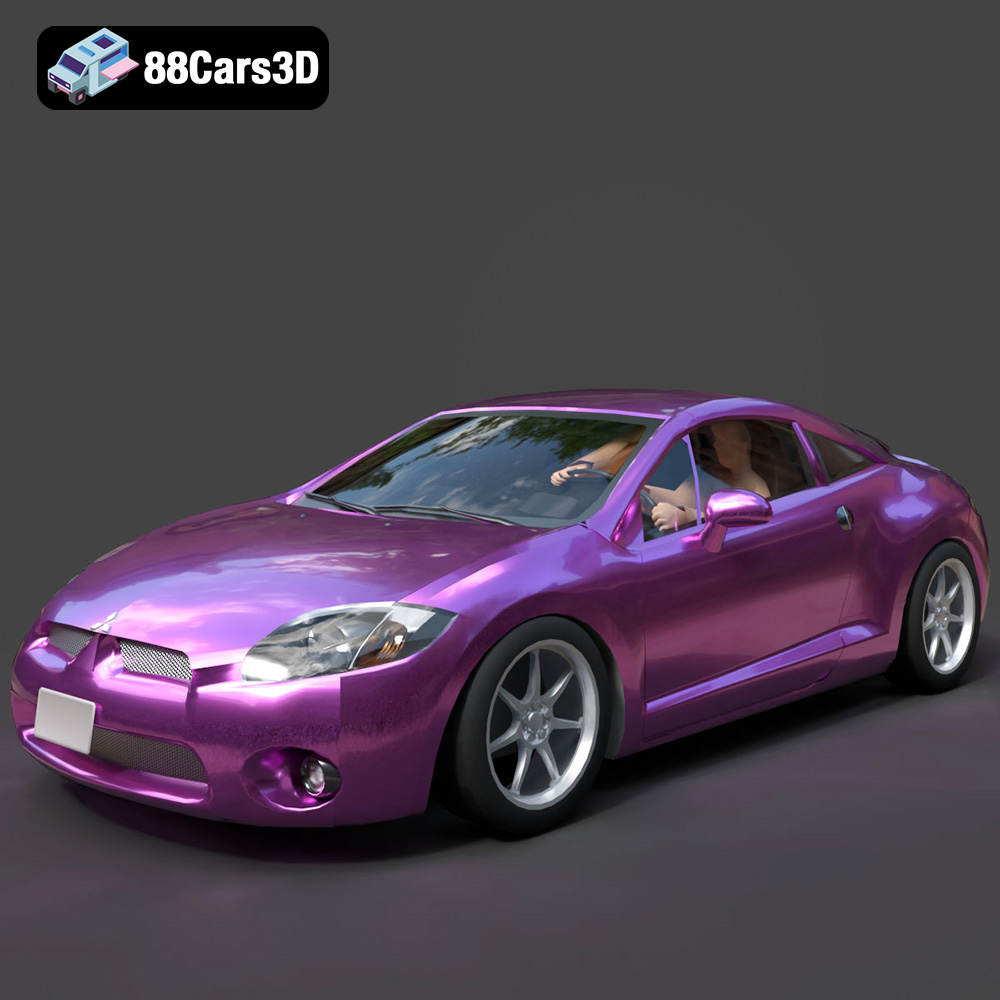
Download the Mitsubishi Eclipse GT 2001 3D Model featuring clean geometry, realistic detailing, and a fully modeled interior. Includes .blend, .fbx, .obj, .glb, .stl, .ply, .unreal, and .max formats for rendering, simulation, and game development.
Price: $4.99