⚡ FLASH SALE: Get 60% OFF All Premium 3D & STL Models! ⚡
In the vibrant realm of digital creation, high-quality 3D car models are indispensable assets, serving as the foundation for breathtaking visualizations, immersive game experiences, cutting-edge AR/VR applications, and even precision 3D printing projects. From the sleek curves of a supercar to the rugged utility of an off-roader, accurately replicating automotive design in three dimensions demands a meticulous understanding of technical workflows, artistic sensibility, and optimization strategies. As the demand for realism and performance grows, so does the complexity of producing assets that meet industry standards.
This comprehensive guide delves into the intricate world of creating and utilizing premium automotive 3D models. We’ll navigate the technical landscape, exploring everything from the fundamental principles of clean topology and efficient UV mapping to the advanced nuances of PBR materials, sophisticated rendering workflows, and robust game engine optimization. Whether you’re a seasoned 3D artist, an aspiring game developer, an automotive designer, or simply someone looking to understand the craft behind digital vehicles, this article will equip you with detailed insights and actionable strategies. By the end, you’ll have a profound appreciation for the craftsmanship involved and a clear roadmap for leveraging professional-grade 3D car models in your projects, perhaps even sourced from specialized marketplaces like 88cars3d.com.
The success of any high-quality 3D car model hinges on its underlying topology and edge flow. Good topology is not merely about aesthetics; it dictates how the model deforms, how subdivision surfaces behave, and ultimately, how realistic your renders or real-time interactions will appear. For automotive subjects, which are characterized by smooth, reflective surfaces and precise panel gaps, exceptional topology is paramount. It involves ensuring an all-quad mesh wherever possible, minimizing triangles and N-gons, which can cause artifacts during subdivision, shading, and animation.
A well-structured mesh allows for seamless transitions between surfaces, accurate reflections, and predictable deformation. Automotive designs often feature complex curvature and hard edges that need to be maintained without introducing pinching or distortion. This is achieved through strategic edge loops and support edges that define the form. For instance, around wheel arches or door cutouts, carefully placed edge loops ensure that the mesh retains its shape when subdivided while allowing for precise bevels that catch the light realistically. Poor topology, conversely, can lead to uneven shading, visible seams, and headaches down the line, especially if the model needs to be animated or extensively modified.
Edge flow refers to the directionality of edges on your model, guiding the contours and allowing for proper deformation. For car bodies, this means edges should follow the natural lines and curves of the vehicle, mirroring its aerodynamic design. Areas like fender flares, hood lines, and character creases require dedicated edge loops that articulate these features clearly. When modeling, always consider how these edges will influence the surface normals and, by extension, the reflective qualities of the material.
One common technique is to use a “control cage” approach, where a lower-polygon base mesh is created first, capturing the overall form, and then refined with subdivision modifiers (e.g., Turbosmooth in 3ds Max, Subdivision Surface in Blender/Maya). This non-destructive workflow allows for iterative adjustments while maintaining a smooth, high-resolution result. Special attention must be paid to areas of high curvature or where multiple surfaces meet, such as around headlights, grilles, or window frames. Here, tighter edge loops are necessary to prevent softening of hard edges when subdivided, preserving the crisp details that define a vehicle’s design language. Aim for consistent quad density across critical surfaces to ensure uniform smoothing and detail distribution.
While photorealistic renders often benefit from extremely high polygon counts (e.g., 200,000 to over a million polygons for a detailed car), game assets, AR/VR, and real-time visualization require a careful balance. For a hero vehicle in a game, a target range might be 50,000-150,000 polygons, whereas background cars or mobile AR applications might demand models under 30,000 polygons. This necessitates a strategic approach to polygon reduction, often involving manual optimization and the use of Level of Detail (LOD) models.
When creating models destined for various platforms, it’s often best to start with a high-poly, clean topological base and then generate optimized versions from it. Tools like ZRemesher (ZBrush) or Quad Remesher (various DCCs) can assist, but manual retopology often yields the best results for complex automotive surfaces. The goal is to retain as much visual fidelity as possible with the fewest polygons, prioritizing edge loops that define silhouette and crucial details over those that merely add to surface smoothness. Understanding where detail can be baked into normal maps versus where it must be geometric is a critical skill in managing polygon budgets effectively.
Once your 3D car model‘s topology is solid, the next crucial step is to prepare it for texturing through meticulous UV mapping. UV mapping is the process of flattening the 3D surface of your model into a 2D space, allowing you to paint or apply 2D textures. For complex objects like cars, poor UVs can lead to stretched textures, visible seams, and inefficient texture usage, ultimately undermining the realism of your model. The goal is to create clean, non-overlapping UV islands that are efficiently packed, minimizing distortion and maximizing texel density.
Automotive models present unique challenges due to their vast, often curved surfaces and intricate details. You’ll need to strategically place seams in less visible areas (e.g., along panel gaps, under trim, or on hidden parts of the chassis) to maintain visual continuity. Effective UVs also facilitate the baking of ambient occlusion, normal maps, and other detail maps from high-resolution geometry, enabling low-poly models to appear highly detailed in real-time environments.
Different parts of a car model require different UV strategies. For the main body panels, which often receive large, seamless paint textures, you’ll want to minimize seams and aim for large, contiguous UV islands. Using planar or cylindrical projections followed by careful unwrapping and relaxing techniques (e.g., in Blender’s UV editor, 3ds Max’s Unwrap UVW, or Maya’s UV Toolkit) is common. For the interior, modular components like seats, dashboards, and steering wheels can often be unwrapped individually and then packed efficiently. Tires, with their repeating tread patterns, often benefit from tiling textures or specialized radial unwrapping methods.
When unwrapping, always consider the final texture resolution. Texel density should be consistent across critical, highly visible parts of the car. For example, the car body and critical interior elements should have a higher texel density than less visible undercarriage components. Tools like Substance Painter and Mari rely heavily on clean UVs to project textures accurately, so investing time in this stage is critical. Ensure sufficient padding (empty space) between UV islands to prevent texture bleeding and mipmap issues, especially important for game assets.
For optimal performance in game engines and real-time applications, texture atlasing is a common and highly effective strategy. Instead of having multiple small texture files for different parts of the car, an atlas combines many textures into a single, larger texture map. This reduces the number of draw calls (instructions sent to the GPU to render an object), significantly improving rendering efficiency. For a 3D car model, this could mean atlasing textures for various interior components, small trim pieces, or even consolidating multiple material maps into one set.
While atlasing improves performance, it requires careful UV packing to make the most of the texture space. You might combine diffuse, normal, roughness, and metallic maps for various components into their respective atlas textures. Typical texture resolutions for high-quality car models range from 2K (2048×2048) to 4K (4096×4096) for major components, with 8K (8192×8192) used for extremely detailed hero assets or film renders. For mobile applications or less critical assets, 1K (1024×1024) or even 512×512 might be appropriate. Balancing visual fidelity with performance is a constant challenge, and smart UV mapping combined with texture atlasing is a key solution. Platforms like 88cars3d.com often provide models with pre-optimized UVs and texture sets, saving artists considerable time and effort.
Achieving photorealistic surfaces is paramount for any high-end 3D car model, and this is where Physically Based Rendering (PBR) materials come into play. PBR is a rendering paradigm that aims to simulate the way light interacts with surfaces based on real-world physics, resulting in more accurate and consistent materials under various lighting conditions. Understanding PBR principles is essential for creating believable car paints, leathers, plastics, metals, and glass. There are two primary PBR workflows: Metallic-Roughness and Specular-Glossiness, though Metallic-Roughness is more commonly adopted in modern pipelines.
In the Metallic-Roughness workflow, surfaces are defined by a Base Color (Albedo) map, a Metallic map (indicating how metallic a surface is, 0=dielectric, 1=metallic), and a Roughness map (defining the microscopic surface irregularities, 0=smooth/shiny, 1=rough/matte). Additional maps like Normal, Ambient Occlusion (AO), and optionally Height/Displacement maps further enhance detail. The beauty of PBR lies in its predictability; a material created once will look consistently realistic whether rendered in Corona, V-Ray, Cycles, Arnold, Unity, or Unreal Engine, provided the PBR parameters are correctly interpreted by the renderer.
Car paint is one of the most challenging materials to replicate due to its complex layered structure. A typical car paint shader involves multiple components: a base metallic or dielectric layer, a clear coat lacquer layer, and often metallic flakes embedded within. To achieve this, you’ll usually construct a layered shader network.
Modern render engines provide dedicated car paint shaders (e.g., V-Ray CarPaint, Corona Car Paint) or allow for custom node-based setups that combine these elements. Using maps like normal maps can also add subtle imperfections or orange peel texture to the clear coat, further enhancing realism. Accurate color calibration is vital; using reference images and color charts can help match real-world car finishes. The models provided by 88cars3d.com typically come with high-quality PBR material setups, ready for immediate use in various rendering environments.
Beyond car paint, other materials like glass, rubber, and chrome require specific PBR considerations:
The key to all these materials is accurate map creation and thoughtful shader network assembly. Tools like Substance Painter, Substance Designer, and Quixel Mixer are invaluable for generating the necessary PBR texture maps, often leveraging smart materials and procedural workflows to accelerate the texturing process for complex automotive rendering projects.
Once your 3D car model is expertly textured with PBR materials, the next step is to bring it to life through high-fidelity automotive rendering. This process involves setting up virtual cameras, lighting the scene, choosing the right render engine, and configuring various rendering parameters to achieve stunning photorealistic images or animations. Each render engine has its strengths, but the core principles of lighting and composition remain universal.
Popular render engines for automotive visualization include V-Ray, Corona Renderer (both for 3ds Max, Cinema 4D, etc.), Cycles (Blender), Arnold (Maya, 3ds Max, Houdini), and Redshift. These engines utilize physically accurate global illumination algorithms, such as path tracing or photon mapping, to simulate how light bounces around a scene, resulting in realistic indirect lighting, shadows, and reflections. The choice of render engine often comes down to integration with your preferred DCC software, rendering speed, feature set, and personal workflow preference.
Lighting is arguably the most critical component of a realistic render. For car renders, studio lighting setups are common for showcasing design, while environmental lighting (using HDRIs) provides naturalistic reflections and ambient light for contextual scenes.
Camera settings are also vital: use realistic focal lengths (e.g., 50mm-100mm for cars), consider depth of field to draw attention, and adjust exposure/white balance to achieve the desired mood. Always render multiple passes (beauty, alpha, reflections, refractions, shadows, ambient occlusion, object IDs) to provide maximum flexibility in post-processing.
Achieving high-quality renders quickly requires a balance between render settings and computational resources. Each render engine has its specific parameters for sampling, global illumination, and noise reduction.
By judiciously configuring these settings and leveraging render passes, you can achieve stunning photorealistic automotive rendering that rivals real-world photography, preparing your 3D car models for any high-end visualization project.
The journey of a high-fidelity 3D car model from a digital content creation (DCC) tool to a real-time environment like a game engine (Unity, Unreal Engine) or an AR/VR experience is a highly specialized process. Unlike offline rendering, real-time engines have strict performance budgets regarding polygon count, texture memory, and draw calls. Effective game asset optimization is crucial for ensuring smooth frame rates, responsive interactions, and a visually appealing experience across various hardware platforms.
The core challenge is to maintain visual fidelity while drastically reducing the computational overhead. This involves a combination of mesh reduction, smart texturing, and engine-specific features. A well-optimized car model can be the difference between a fluid, engaging experience and a frustrating, laggy one. This is where the initial work on clean topology and efficient UVs truly pays off, as it makes the optimization process much smoother.
Level of Detail (LOD) is a fundamental optimization technique for complex assets like vehicles. It involves creating multiple versions of the same 3D car model, each with a progressively lower polygon count and potentially lower texture resolution. The game engine then dynamically switches between these LODs based on the camera’s distance from the object. When the car is close, the high-detail LOD0 is used; as it moves further away, LOD1, LOD2, and so on, are rendered. This ensures that distant objects consume fewer resources while maintaining visual quality for nearby objects.
A typical LOD setup for a hero vehicle might look like this:
LODs can be generated manually, using polygon reduction tools in DCC software, or automatically within game engines (e.g., Unity’s LOD Group, Unreal Engine’s Static Mesh Editor). Crucially, the visual transition between LODs should be as imperceptible as possible, which requires careful planning of mesh simplification and normal map baking.
Draw calls are instructions sent from the CPU to the GPU to draw objects on the screen. Each draw call carries overhead, so minimizing their number is vital for performance. For complex 3D car models, which often consist of many individual parts (body, wheels, interior components, glass, lights), each with its own material, the number of draw calls can quickly accumulate. Strategies to reduce draw calls include:
Collision Meshes: Instead of using the high-polygon render mesh for physics calculations, create a separate, much simpler collision mesh. This “proxy” mesh can be composed of simple primitives or a highly optimized low-poly version of the car, drastically reducing the computational load for physics simulations.
File Formats: When exporting for game engines, FBX is the most common and versatile format due to its ability to retain hierarchies, animations, and PBR material assignments. For web-based AR/VR, formats like GLB (glTF) and USDZ are gaining prominence due to their compact size and native support for PBR materials and embedded textures.
The utility of 3D car models extends far beyond traditional renders and game environments. They are increasingly vital for cutting-edge applications in Augmented Reality (AR) and Virtual Reality (VR), as well as physical prototyping and custom manufacturing through 3D printing. Each of these applications imposes its own unique technical requirements and optimization challenges, demanding a flexible and adaptable workflow for your automotive 3D models.
For AR/VR, the emphasis is on real-time performance and efficient resource usage, often even more stringent than traditional game development due to mobile device constraints and the need for high frame rates to prevent motion sickness. For 3D printing, the focus shifts entirely from visual fidelity to physical integrity, requiring watertight meshes and specific structural considerations. Understanding these distinct pipelines ensures that your digital assets can transition seamlessly into these diverse, demanding formats.
AR/VR optimization shares many principles with game optimization but often pushes the limits further due to the immersive nature and typically higher frame rate targets (e.g., 60-90+ FPS per eye). For 3D car models in AR/VR:
Testing on target devices (e.g., Meta Quest, HoloLens, iPhone/Android for AR) is crucial to ensure performance and visual quality meet the required standards for a comfortable and compelling immersive experience.
3D printing a car model involves a complete paradigm shift from visual rendering. The mesh must be physically viable. Key considerations for 3D printing preparation:
3D printing allows designers to hold and evaluate their digital creations in the physical world, offering invaluable tactile feedback for automotive design and prototyping. The professional-grade 3D car models found on marketplaces like 88cars3d.com are typically built with clean topology that lends itself well to these various optimization and preparation processes, making them versatile assets for any project.
After all the meticulous work of modeling, UV mapping, texturing, and rendering your 3D car model, the final touches often make the most significant difference in elevating a good image to a truly stunning one. This involves finessing your lighting, perfecting the environment, and employing strategic post-processing and compositing techniques. These steps are crucial for enhancing realism, evoking emotion, and ensuring your renders have maximum visual impact.
Think of this stage as the digital photography studio, where the “photographer” (you) controls every aspect of the shot – from the angle and depth of field to the color grading and atmospheric effects. Even the most technically perfect render can fall flat without thoughtful artistic direction in these final stages. This is where your creative vision truly shines, transforming raw render data into captivating visual stories that highlight the beauty and engineering of your automotive rendering.
Effective lighting goes beyond merely illuminating the scene; it sculpts the form of the car, directs the viewer’s eye, and establishes the overall mood. Revisit your lighting setup from the rendering phase with a critical eye:
The goal is to create a harmonious blend of light and shadow that emphasizes the car’s design, making it feel grounded and believable within its environment.
Post-processing is where individual render passes are combined and enhanced in software like Adobe Photoshop, Affinity Photo, or Blackmagic Fusion. This non-destructive workflow allows for extensive creative control without costly re-renders.
By treating post-processing as an integral part of your workflow, you can push the visual fidelity of your 3D car models to professional levels, ensuring they stand out in any portfolio, presentation, or final production. It’s the final brushstroke that transforms a technical output into a piece of digital art.
The journey from a blank canvas to a fully realized, photorealistic 3D car model is a testament to the blend of technical expertise and artistic vision. We’ve explored the foundational importance of immaculate topology and precise edge flow, the nuanced art of UV mapping for complex surfaces, and the science behind creating believable PBR materials. We’ve delved into the intricacies of advanced automotive rendering workflows, leveraging powerful engines and lighting techniques, and understood the critical strategies for game engine optimization, including LODs and draw call reduction.
Furthermore, we’ve extended our scope to specialized applications, comprehending the unique demands of AR/VR optimization and the precise preparation required for flawless 3D printing. Finally, we emphasized the transformative power of polished lighting, environment setup, and meticulous post-processing to achieve truly professional and impactful visualizations. Each step in this comprehensive workflow contributes significantly to the overall quality and versatility of the digital asset.
Whether you’re crafting assets for AAA games, developing immersive AR/VR experiences, producing high-end marketing visualizations, or creating physical prototypes, the principles outlined here are your blueprint for success. Investing in high-quality 3D car models—those built with clean topology, optimized UVs, and PBR materials—is not just a convenience; it’s a necessity for achieving excellence in today’s demanding digital landscape. For artists and developers seeking ready-to-use, professional-grade assets that meet these rigorous standards, platforms like 88cars3d.com offer an invaluable resource, allowing you to bypass much of the initial setup and dive straight into bringing your creative visions to life with confidence.
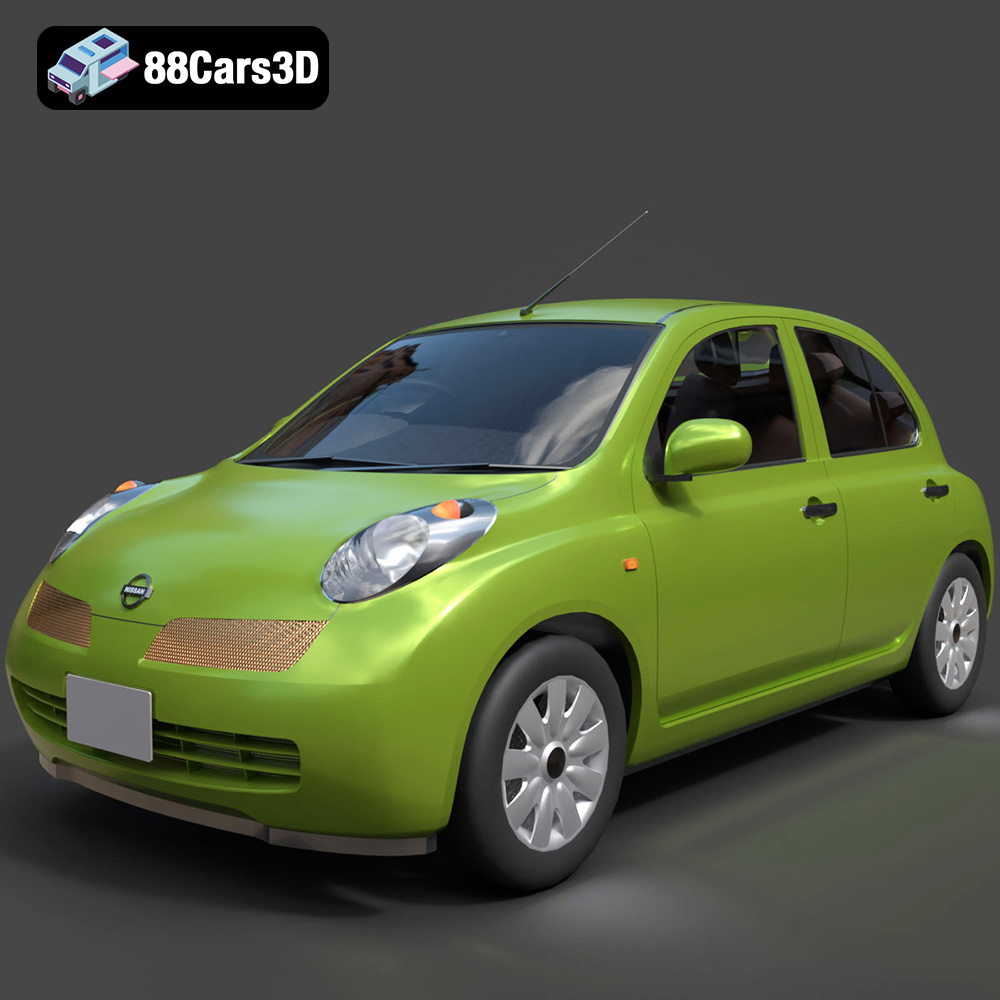
Texture: Yes
Material: Yes
Download the Nissan Micra 5-Door 2025 3D Model featuring clean geometry, realistic detailing, and a fully modeled interior. Includes .blend, .fbx, .obj, .glb, .stl, .ply, .unreal, and .max formats for rendering, simulation, and game development.
Price: $4.99

Texture: Yes
Material: Yes
Download the Opel Insignia Sports Tourer 2009 3D Model featuring clean geometry, realistic detailing, and a fully modeled interior. Includes .blend, .fbx, .obj, .glb, .stl, .ply, .unreal, and .max formats for rendering, simulation, and game development.
Price: $4.99
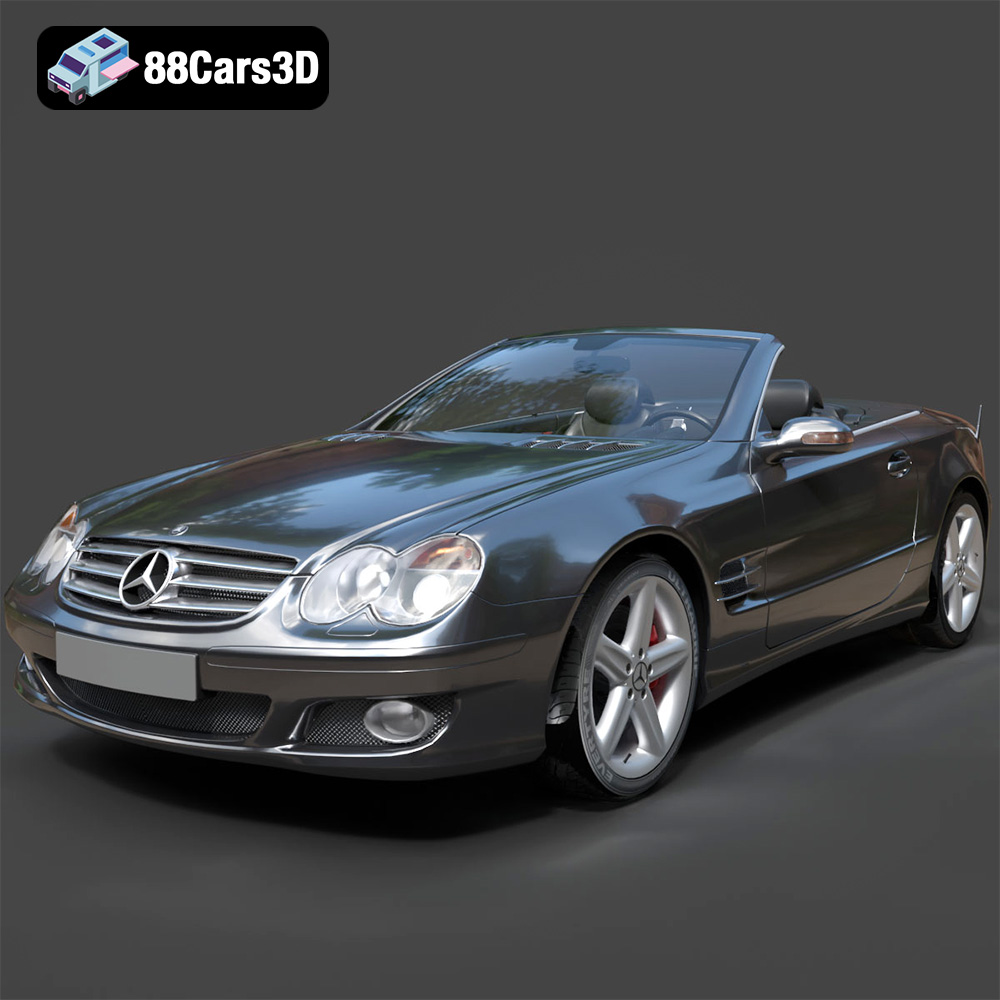
Texture: Yes
Material: Yes
Download the Mercedes-Benz SL-Klasse R230 2002 3D Model featuring clean geometry, realistic detailing, and a fully modeled interior. Includes .blend, .fbx, .obj, .glb, .stl, .ply, .unreal, and .max formats for rendering, simulation, and game development.
Price: $4.99
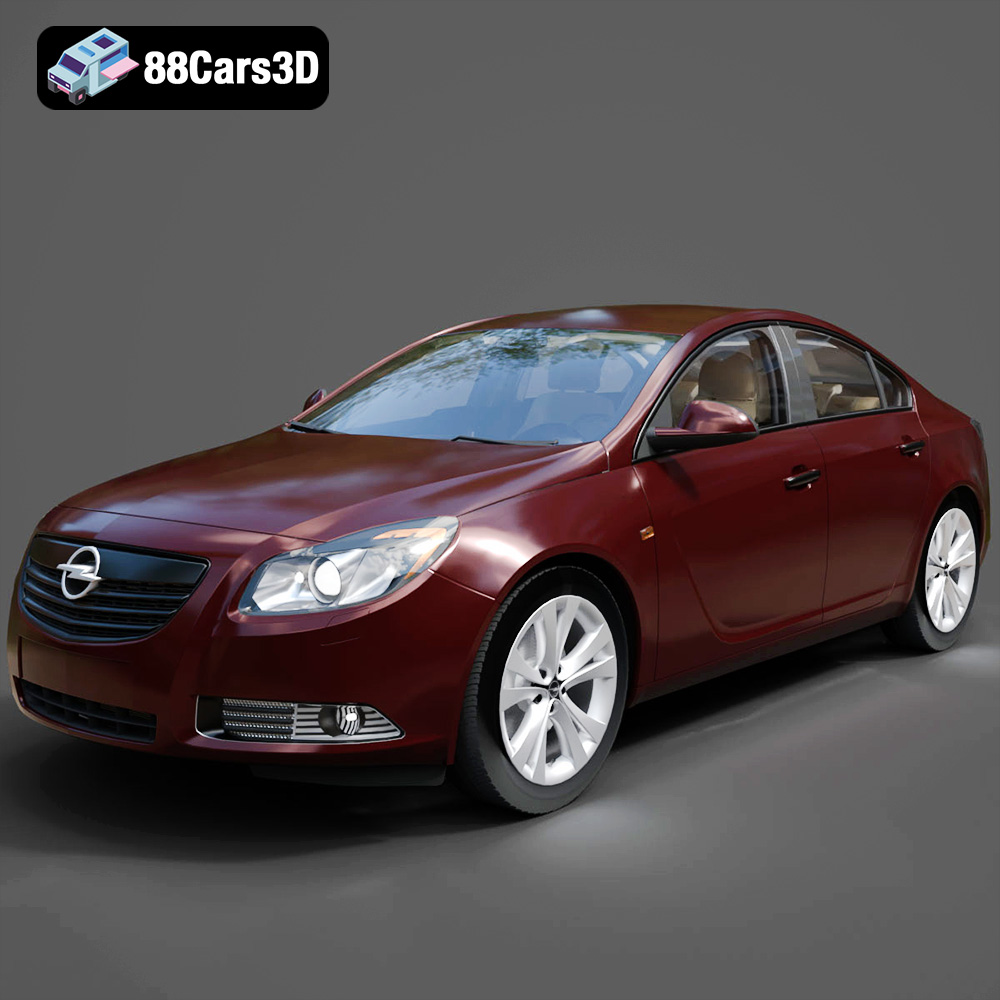
Texture: Yes
Material: Yes
Download the Opel Insignia 2009 3D Model featuring clean geometry, realistic detailing, and a fully modeled interior. Includes .blend, .fbx, .obj, .glb, .stl, .ply, .unreal, and .max formats for rendering, simulation, and game development.
Price: $4.99

Texture: Yes
Material: Yes
Download the Peugeot 206 3D Model featuring clean geometry, realistic detailing, and a fully modeled interior. Includes .blend, .fbx, .obj, .glb, .stl, .ply, .unreal, and .max formats for rendering, simulation, and game development.
Price: $4.99
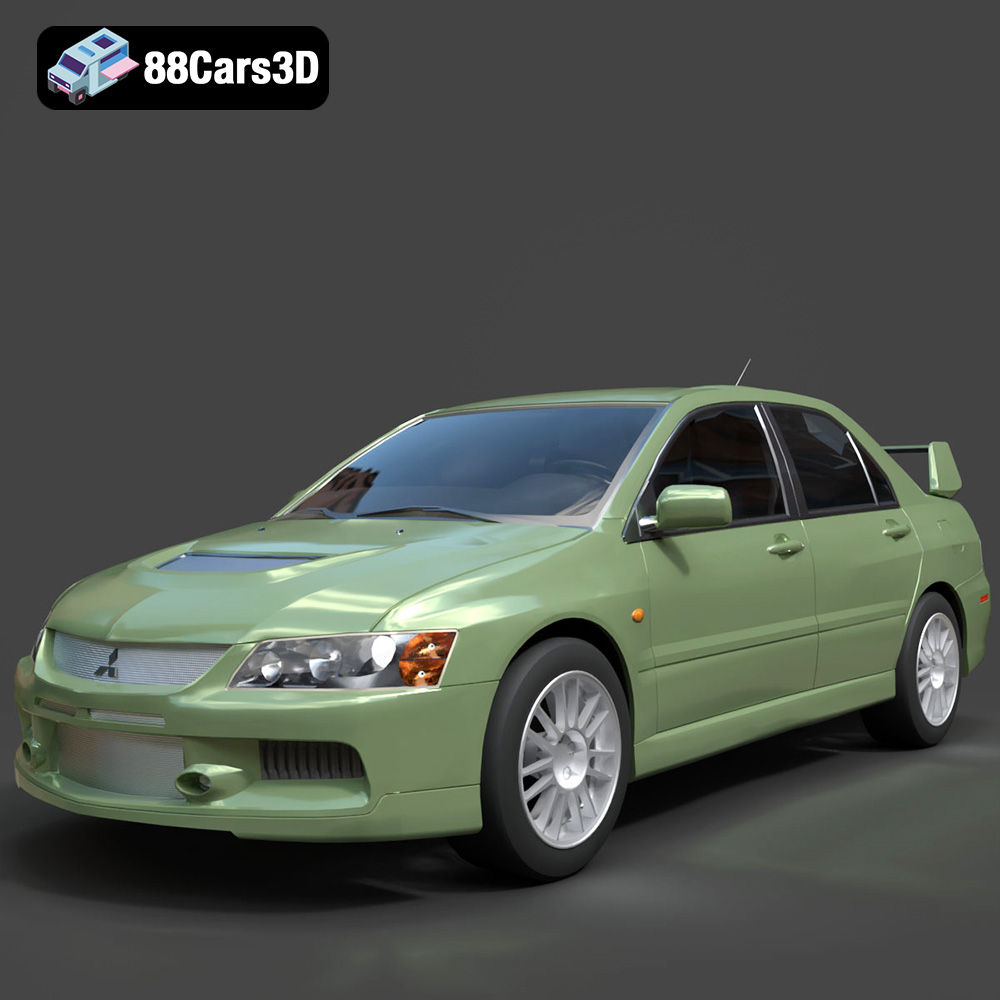
Texture: Yes
Material: Yes
Download the Mitsubishi Lancer Evolution IX 3D Model featuring clean geometry, realistic detailing, and a fully modeled interior. Includes .blend, .fbx, .obj, .glb, .stl, .ply, .unreal, and .max formats for rendering, simulation, and game development.
Price: $4.99

Texture: Yes
Material: Yes
Download the Mitsubishi i-MIEV 3D Model featuring clean geometry, realistic detailing, and a fully modeled interior. Includes .blend, .fbx, .obj, .glb, .stl, .ply, .unreal, and .max formats for rendering, simulation, and game development.
Price: $4.99
Texture: Yes
Material: Yes
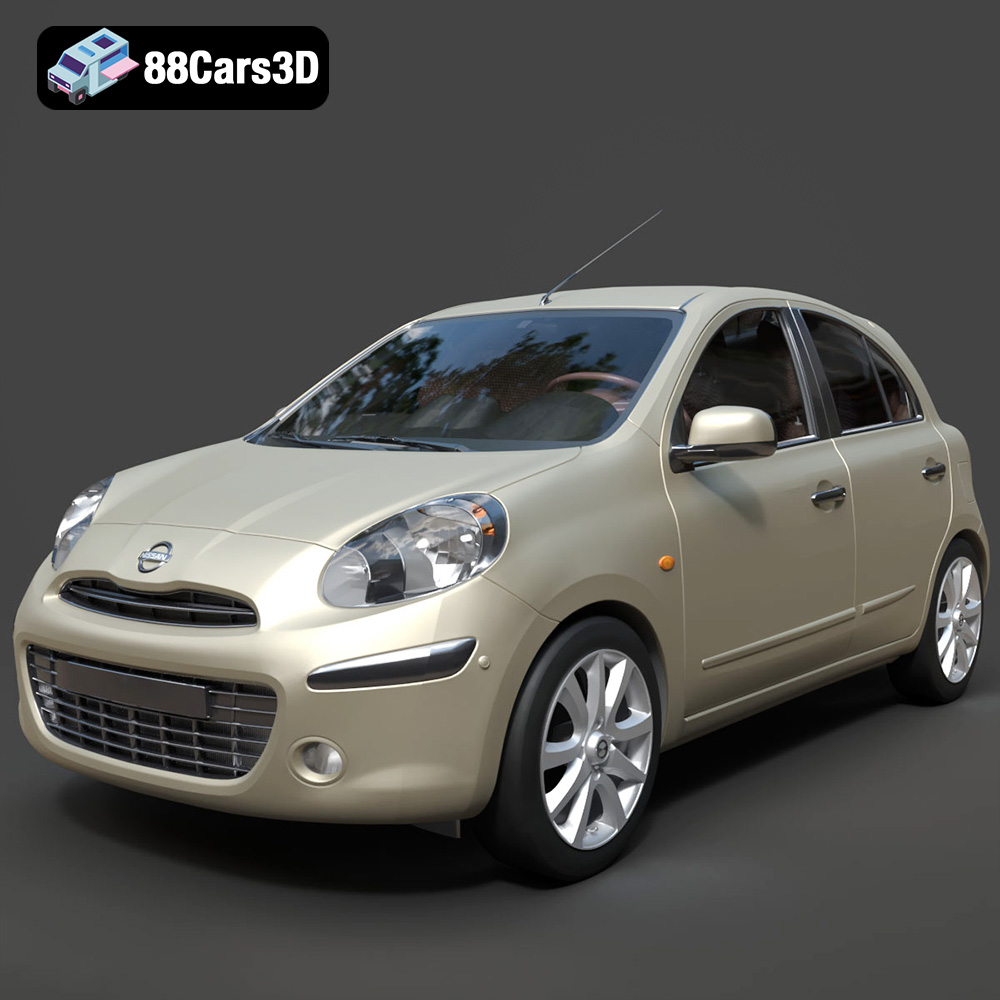
Download the Nissan Micra 2010 3D Model featuring clean geometry, realistic detailing, and a fully modeled interior. Includes .blend, .fbx, .obj, .glb, .stl, .ply, .unreal, and .max formats for rendering, simulation, and game development.
Price: $4.99
Texture: Yes
Material: Yes
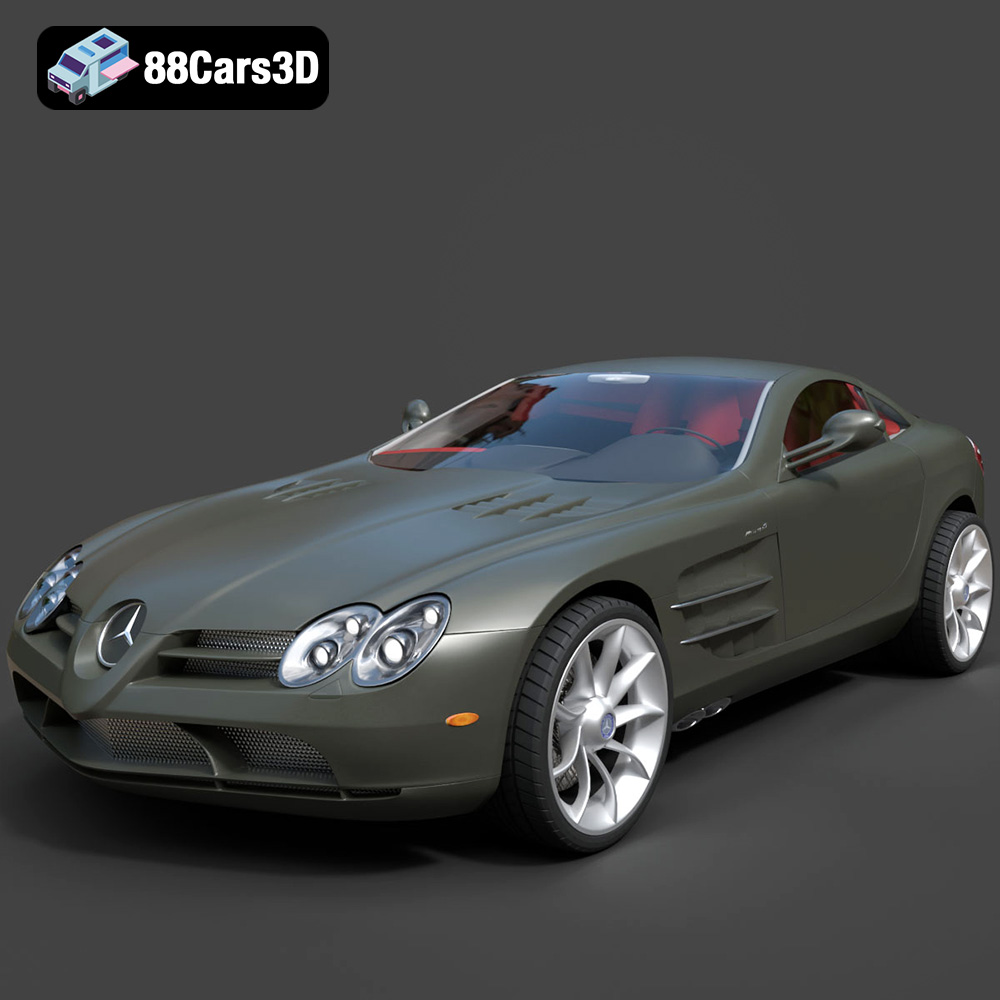
Download the Mercedes-Benz SLR McLaren 3D Model featuring clean geometry, realistic detailing, and a fully modeled interior. Includes .blend, .fbx, .obj, .glb, .stl, .ply, .unreal, and .max formats for rendering, simulation, and game development.
Price: $4.99
Texture: Yes
Material: Yes
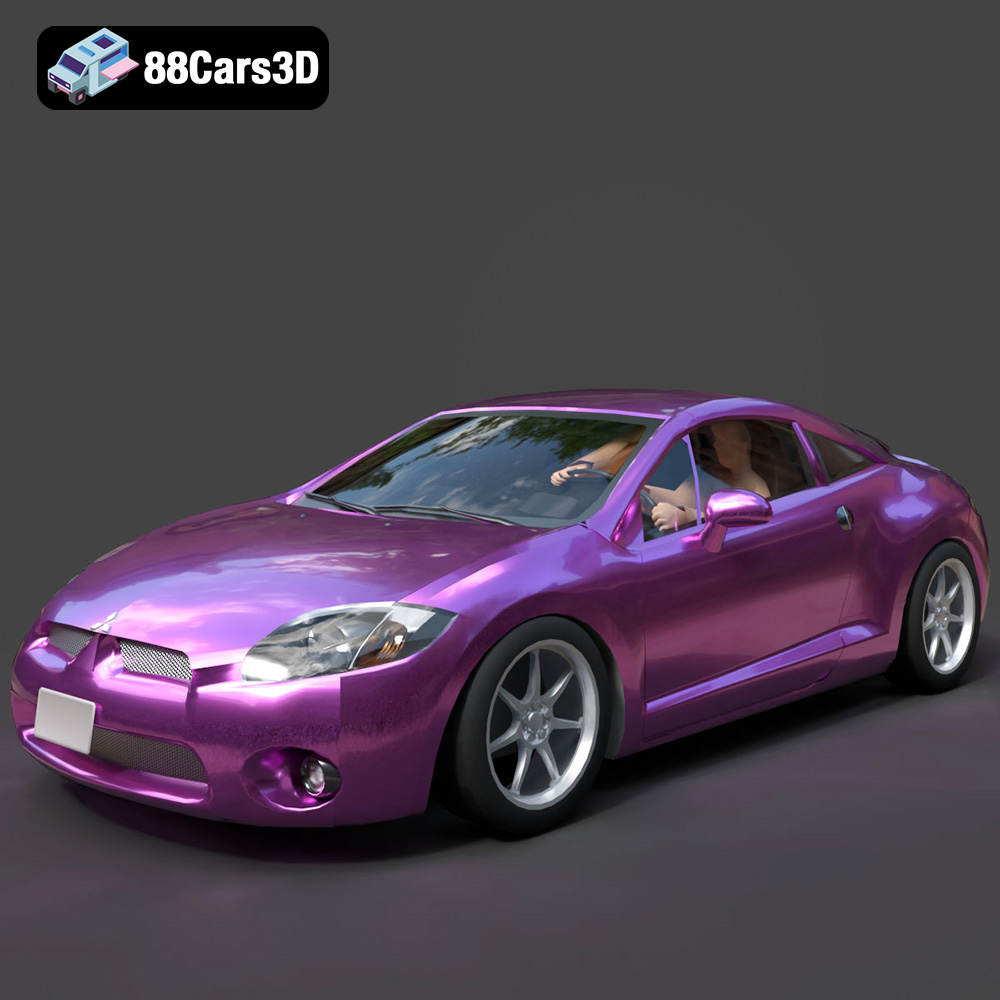
Download the Mitsubishi Eclipse GT 2001 3D Model featuring clean geometry, realistic detailing, and a fully modeled interior. Includes .blend, .fbx, .obj, .glb, .stl, .ply, .unreal, and .max formats for rendering, simulation, and game development.
Price: $4.99