⚡ FLASH SALE: Get 60% OFF All Premium 3D & STL Models! ⚡
In the vibrant and ever-evolving landscape of 3D visualization, automotive models stand as a pinnacle of complexity and aesthetic appeal. From the gleaming surfaces of a concept car in a marketing campaign to the high-octane realism of a next-generation racing game, the demand for exceptionally crafted 3D car models is consistently high. Achieving photorealistic renders, smooth in-game performance, or accurate real-time AR/VR experiences requires not just artistic flair, but a deep understanding of technical workflows, optimization strategies, and industry best practices.
This comprehensive guide delves into the intricate world of creating, optimizing, and deploying high-quality 3D car models across various applications. We’ll explore everything from the foundational principles of clean topology and efficient UV mapping to advanced PBR material creation, sophisticated automotive rendering techniques, and crucial optimization strategies for game assets and interactive experiences. Whether you’re a seasoned 3D artist, a game developer, an architect, or an enthusiast venturing into 3D printing, understanding these nuances is essential for elevating your projects. This is where platforms like 88cars3d.com become invaluable, offering expertly crafted models that serve as a robust starting point for any high-end visualization.
The core of any high-quality 3D car model lies in its topology – the arrangement of vertices, edges, and faces that define the object’s surface. For automotive designs, topology is paramount, impacting everything from smooth deformations during animation to flawless subdivision surface results and efficient UV unwrapping. A clean, quad-based mesh is the gold standard, ensuring predictable behavior and aesthetic quality, especially on the complex, flowing surfaces of a vehicle.
Poor topology, characterized by triangles, N-gons (faces with more than four sides), or stretched quads, leads to myriad problems: shading artifacts, pinching, difficulty in texturing, and inefficient data processing. Automotive surfaces demand precision. The subtle curves of a fender or the sharp crease lines of a body panel must be perfectly represented by the underlying mesh. This often involves careful edge loop placement to define these features and control how light interacts with the surface, which is critical for realistic automotive rendering.
A fundamental rule in 3D modeling, particularly for organic or highly curved surfaces like those on a car, is to maintain an “all-quad” or “quad-dominant” topology. Quads (four-sided polygons) are ideal because they subdivide predictably, produce smooth surfaces, and are easier to manipulate. Edge loops should flow along the natural contours and design lines of the car, guiding the mesh around features like door cutouts, wheel wells, and panel gaps. This “edge flow” is crucial for maintaining the integrity of the design when applying subdivision modifiers (e.g., Turbosmooth in 3ds Max, Subdivision Surface in Blender or Maya). When planning your topology, consider how the light will reflect off the surface; an inconsistent or chaotic edge flow will result in unsightly reflections and shading errors.
Special attention must be paid to “poles” – vertices where more or less than four edges meet. While 3-edge poles and 5-edge poles are often unavoidable, especially around complex intersections or curvature changes, minimizing their presence and placing them in areas of less visual impact is a best practice. Aim to keep poles away from prominent reflective surfaces. For instance, the hood, roof, and doors, which are large, flat, and highly reflective, require an exceptionally clean and uniform quad grid to avoid any visual imperfections during rendering.
The polygon count (poly count) of a 3D car model directly influences its performance, whether in a real-time game engine or during a high-fidelity render. For high-resolution offline rendering, a complex model with millions of polygons is acceptable, especially when using subdivision modifiers. However, for interactive applications like game assets, AR/VR, or real-time visualization, poly count optimization is paramount. A general guideline for a hero vehicle in a modern game might be anywhere from 50,000 to 150,000 triangles for the highest LOD (Level of Detail), down to a few thousand for distant LODs. For more specialized uses like high-end marketing renders, models can easily exceed 500,000 polygons before subdivision, or millions after.
When creating models, it’s often best to start with a moderately detailed base mesh and then generate optimized versions. This involves:
Understanding the target platform’s specifications is key. A model destined for a mobile AR experience will require a significantly lower poly count than one for a high-end PC game or cinematic render.
Once your 3D car model boasts impeccable topology, the next critical step is UV mapping. UV mapping is the process of unfolding the 3D surface of your model into a 2D space, allowing you to apply 2D textures. For a vehicle, with its intricate shapes, curved panels, and highly reflective surfaces, precise UV mapping is non-negotiable for achieving realistic materials and avoiding unsightly texture distortion. Poor UVs can ruin even the most beautifully modeled object.
Effective UV mapping for automotive models ensures that textures (like paint, carbon fiber, decals, or grime) appear crisp, seamless, and correctly scaled across the entire surface. It’s also crucial for baking ambient occlusion, normal maps, and other procedural textures that rely on accurate surface information. Without proper UVs, your meticulously crafted PBR materials will fall flat.
The challenge with UV mapping complex objects like cars is minimizing visible seams and preventing texture distortion. Seams are the boundaries where the 3D mesh is cut apart in the 2D UV space. While unavoidable, they should be placed strategically in areas that are less visible or where a natural break occurs (e.g., along panel lines, under the chassis, or in crevices). Tools like Maya’s 3D Cut and Sew UV Tool, Blender’s UV Editor with Live Unwrap, or 3ds Max’s Unwrap UVW modifier provide powerful features for marking seams and unwrapping. For large, continuous surfaces like the car body, aim for a single, large UV island if possible, or break it into logical, less visible sections.
Distortion occurs when the 3D surface is stretched or compressed as it’s flattened into 2D, leading to stretched or blurry textures. To mitigate this:
For high-end automotive rendering, UDIM workflows (a system for using multiple UV tiles) are increasingly popular. This allows artists to assign multiple 4K or 8K texture maps to different parts of the car (e.g., one UDIM for the hood, another for the doors, etc.), achieving extremely high texture resolution without exceeding single-texture size limits. This method is common in film and VFX pipelines and is gaining traction in game development for hero assets.
For game assets and real-time applications, minimizing the number of material slots and draw calls is crucial for performance. A single material with multiple texture maps is more efficient than several materials, each with its own maps. This is where UV atlasing comes in handy. UV atlasing involves consolidating multiple smaller UV islands from different parts of the model (or even different models, like a car’s interior, exterior, and wheels) into a single UV space on one large texture map.
When creating a UV atlas:
This results in fewer material calls and more efficient GPU utilization, vital for smooth frame rates in demanding real-time environments like Unity or Unreal Engine. When sourcing 3D car models from marketplaces such as 88cars3d.com, pay attention to how the UVs are laid out. Models designed for game engines often come with carefully optimized UV atlases, ready for integration.
With precise topology and clean UVs established, the next stage is material creation. For modern automotive rendering and real-time visualization, Physically Based Rendering (PBR) is the industry standard. PBR materials accurately simulate how light interacts with surfaces in the real world, producing highly convincing and consistent results across different lighting environments and rendering engines (like Corona Renderer, V-Ray, Cycles, Arnold, or real-time engines like Unity’s HDRP/URP and Unreal Engine).
PBR relies on a set of standardized texture maps that define a surface’s properties, making materials behave predictably regardless of the lighting conditions. For cars, this is especially important, as reflections, refractions, and intricate surface details like paint flakes or brushed metal are critical for realism.
PBR workflows typically utilize two main methodologies: Metallic/Roughness and Specular/Glossiness. While both aim for physical accuracy, the Metallic/Roughness workflow is more common in game development and many modern renderers. Key PBR texture maps include:
When applying these maps to your 3D car model, ensure correct color space handling (e.g., Base Color in sRGB, others in Raw/Linear) to prevent incorrect shading. Texture resolutions are also key; 4K (4096×4096) or 8K (8192×8192) maps are common for detailed areas like the car body or tires, while smaller details might use 2K or 1K.
Automotive shaders are among the most challenging to create due to the complex interplay of layers. Car paint, for instance, isn’t just a simple color; it often comprises multiple layers:
Achieving this in a shader involves layering materials or using specific automotive paint shaders offered by renderers. For example, in 3ds Max with Corona Renderer, you might use a CoronaLayeredMtl, combining a diffuse base layer with a reflective, slightly rough clear coat on top. The metallic flakes can be simulated using a noise map controlling the normal of the base layer, or a dedicated flake texture. The roughness map for the clear coat determines how pristine or weathered the paint appears.
Glass shaders for car windows require careful attention to transparency, refraction, and reflection. tinted windows need to absorb and transmit specific wavelengths of light. Realistically simulating minor imperfections, dirt, or water droplets on glass further enhances realism. Metal materials (chrome, brushed aluminum, exhaust pipes) demand specific Metallic and Roughness values. Brushed metal, for instance, requires a textured roughness map to achieve its characteristic anisotropic reflections. Understanding these properties and how to translate them into your PBR texture maps and shader networks is vital for delivering convincing visualization results.
Even the most perfectly modeled and textured 3D car model will look bland without proper lighting. Lighting is perhaps the most crucial element in automotive rendering, defining mood, highlighting design features, and bringing out the intricate details of the PBR materials. An effective lighting setup can transform a digital asset into a stunning piece of art, showcasing its form, reflections, and overall presence.
Automotive rendering workflows blend technical precision with artistic sensibility. The goal is to simulate realistic light interaction, capture the essence of the vehicle, and often, evoke emotion. This involves not only setting up light sources but also carefully choosing camera angles, depth of field, and post-processing techniques.
Two primary approaches dominate automotive lighting setups:
Studio setups offer maximum control, allowing artists to meticulously craft reflections and shadows to emphasize specific design elements. They are excellent for clean, commercial-style renders.
Common HDRIs for automotive include outdoor scenes (forests, city streets, deserts) or even specialized studio HDRIs. Many artists combine both methods, using an HDRI for realistic overall lighting and reflections, then adding targeted studio lights to sculpt specific highlights or fill shadows.
Each renderer has its own strengths and settings, but the core principles remain.
Regardless of the renderer, optimizing render settings (e.g., reducing light bounces for faster previews, using denoisers) and understanding the interplay between lights and materials is key to achieving stunning visualization.
The raw render from your 3D software is rarely the final image. Post-processing and compositing are crucial steps that add the final polish, enhancing realism and artistic impact. Software like Adobe Photoshop, Affinity Photo, or even built-in compositors in Blender or Fusion can be used.
Typical post-processing steps include:
For complex scenes, especially those involving multiple elements or background plates, compositing involves layering different render passes (e.g., beauty, reflections, shadows, ambient occlusion, object IDs) to gain maximum control over the final look. This non-destructive workflow allows for extensive creative adjustments without re-rendering the entire scene.
While high-fidelity renders are impressive, the ability to use 3D car models in interactive, real-time environments like video games, virtual reality (VR), and augmented reality (AR) is increasingly vital. These applications demand a different approach to asset creation, prioritizing performance and efficiency without sacrificing visual quality. Optimization is not an afterthought; it’s an integral part of the workflow for creating high-performance game assets and interactive experiences.
For modern game engines like Unity and Unreal Engine, efficient 3D car models are critical for maintaining high frame rates. Several key optimization techniques are employed:
LODs can be created manually by reducing polygons or automatically generated by tools within 3D software or game engines. Baking normal maps from high-poly versions onto low-poly LODs is crucial for retaining visual fidelity.
A highly optimized car might target a single material for the entire exterior, and another for the interior and wheels, significantly reducing draw calls.
Platforms like 88cars3d.com often provide models specifically optimized for game engines, complete with LODs and efficient material setups, saving developers considerable time and effort.
Augmented Reality (AR) and Virtual Reality (VR) environments impose even stricter performance demands, especially for mobile AR or standalone VR headsets.
For AR, file formats like USDZ (Apple AR Quick Look) and GLB (Android Scene Viewer, WebGL) are prevalent, often requiring models to be self-contained with all textures embedded and highly optimized.
The versatility of your 3D car models is heavily influenced by the file formats you use and your understanding of their capabilities. Different applications – from high-end rendering to game development, web visualization, and 3D printing – often require specific formats and preparation techniques. Knowing how to convert and prepare your models for various destinations is a crucial skill for any 3D professional.
Understanding the strengths and limitations of common 3D file formats is essential for efficient workflows:
When acquiring 3D car models, especially from platforms like 88cars3d.com, look for models offered in multiple formats to ensure maximum compatibility with your specific pipeline.
3D printing a car model involves a distinct set of considerations compared to rendering or game development. The digital model must be “manifold” or “watertight,” meaning it must be a completely enclosed volume with no gaps, holes, or intersecting faces.
Key steps for 3D printing preparation:
Understanding these requirements is crucial for a successful print, avoiding wasted time and material.
The journey from a blank canvas to a high-fidelity 3D car model ready for diverse applications is a testament to the blend of artistic skill and technical mastery in the world of 3D. We’ve explored the fundamental importance of clean topology and efficient UV mapping, which lay the groundwork for any successful project. We’ve delved into the intricacies of PBR material creation, ensuring that surfaces interact with light in a physically accurate and visually stunning manner. Furthermore, we’ve dissected the art of automotive rendering, from sophisticated lighting setups to the essential post-processing techniques that bring images to life.
Beyond static images, we’ve highlighted the critical optimization strategies for transforming these detailed models into high-performance game assets, suitable for demanding real-time environments like AR/VR. Finally, we’ve covered the diverse landscape of 3D file formats and the specific preparations required for deployment across various platforms, including the unique challenges of 3D printing. Each stage of this pipeline is interconnected, and excellence in one area often depends on solid foundations in another.
Mastering these workflows not only elevates the quality of your personal projects but also opens doors to professional opportunities in automotive design, game development, architectural visualization, and immersive experiences. By consistently adhering to industry best practices and leveraging powerful software tools, you can create 3D car models that truly stand out. For a curated selection of truly exceptional 3D car models that embody these principles of quality and optimization, be sure to explore the offerings at 88cars3d.com. Investing in high-quality assets is investing in the success and visual integrity of your creations.
Texture: Yes
Material: Yes
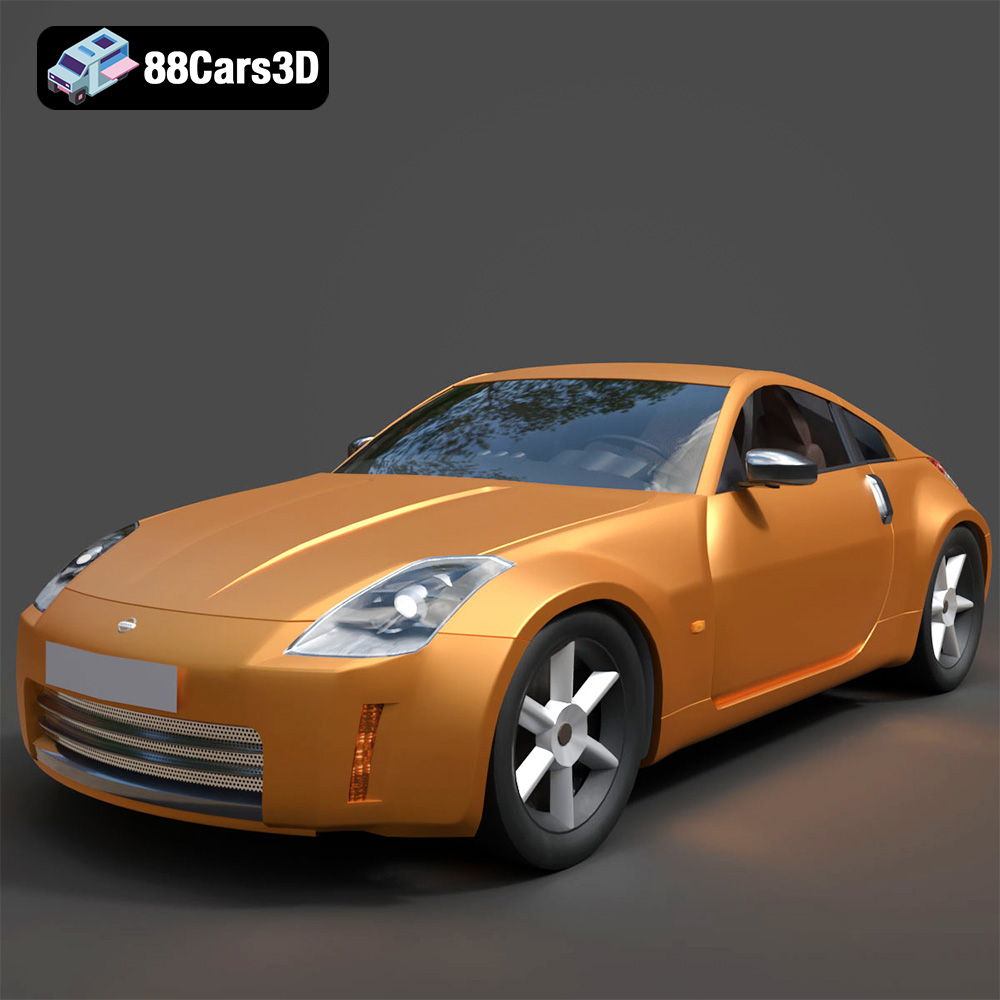
Download the Nissan 350Z 3D Model featuring clean geometry, realistic detailing, and a fully modeled interior. Includes .blend, .fbx, .obj, .glb, .stl, .ply, .unreal, and .max formats for rendering, simulation, and game development.
Price: $4.99

Texture: Yes
Material: Yes
Download the Nissan Skyline V35 2001 3D Model featuring clean geometry, realistic detailing, and a fully modeled interior. Includes .blend, .fbx, .obj, .glb, .stl, .ply, .unreal, and .max formats for rendering, simulation, and game development.
Price: $4.99

Texture: Yes
Material: Yes
Download the Mercedes-Benz S-Klasse 221-007 3D Model featuring clean geometry, realistic detailing, and a fully modeled interior. Includes .blend, .fbx, .obj, .glb, .stl, .ply, .unreal, and .max formats for rendering, simulation, and game development.
Price: $4.99
Texture: Yes
Material: Yes
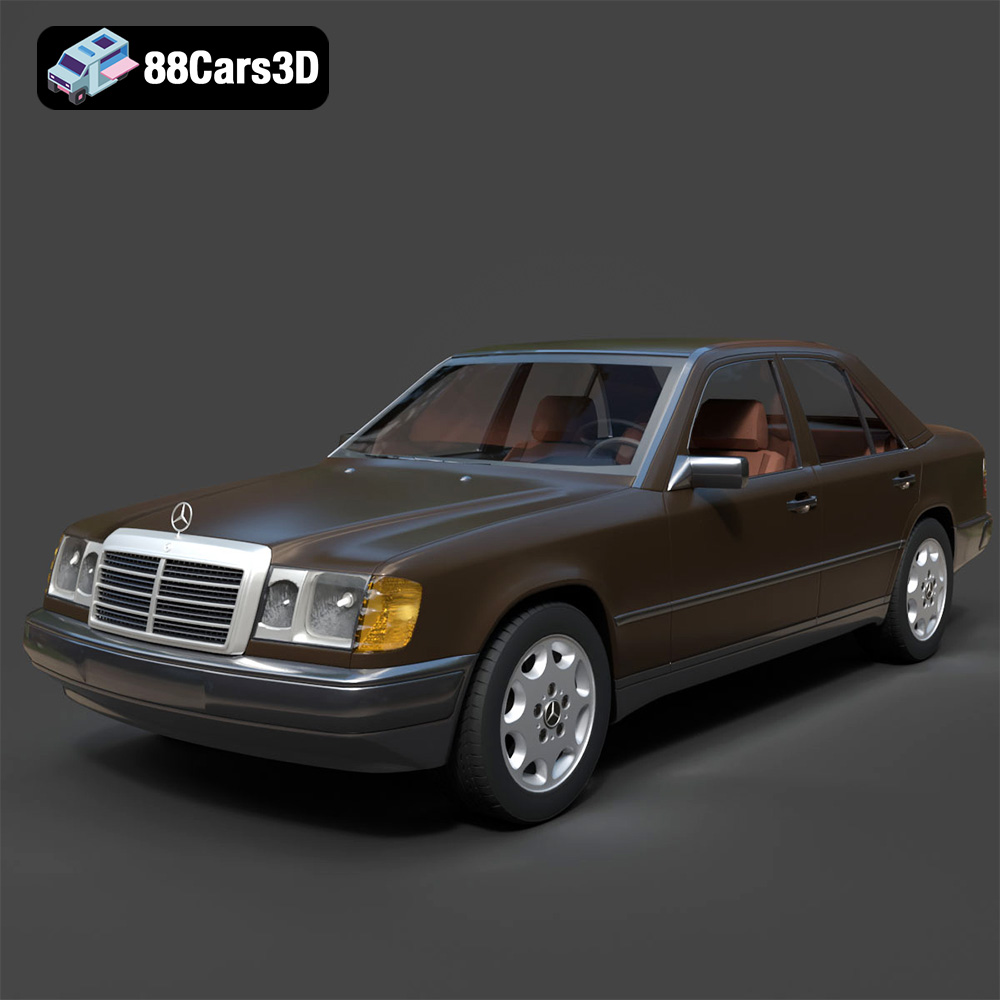
Download the Mercedes W124 Sedan 3D Model featuring clean geometry, realistic detailing, and a fully modeled interior. Includes .blend, .fbx, .obj, .glb, .stl, .ply, .unreal, and .max formats for rendering, simulation, and game development.
Price: $4.99
Texture: Yes
Material: Yes
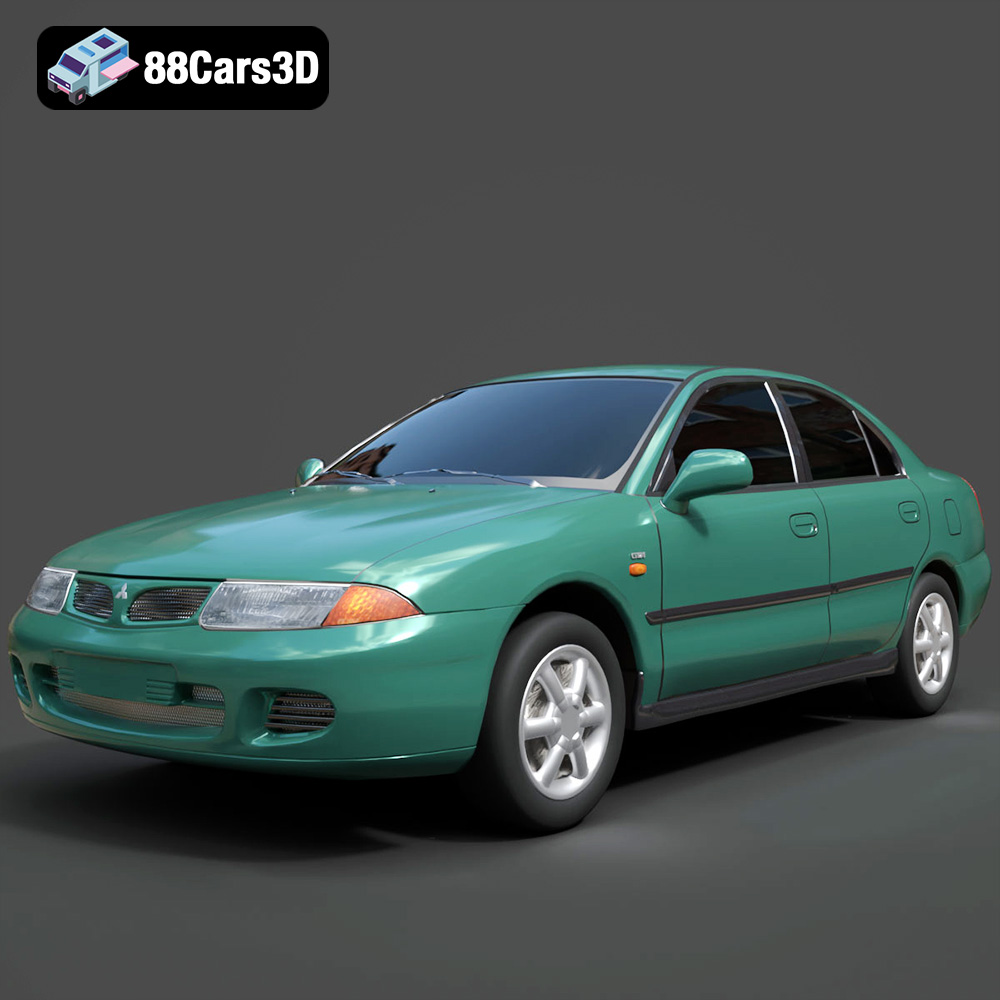
Download the Mitsubishi Carisma 3D Model featuring clean geometry, realistic detailing, and a fully modeled interior. Includes .blend, .fbx, .obj, .glb, .stl, .ply, .unreal, and .max formats for rendering, simulation, and game development.
Price: $4.99
Texture: Yes
Material: Yes
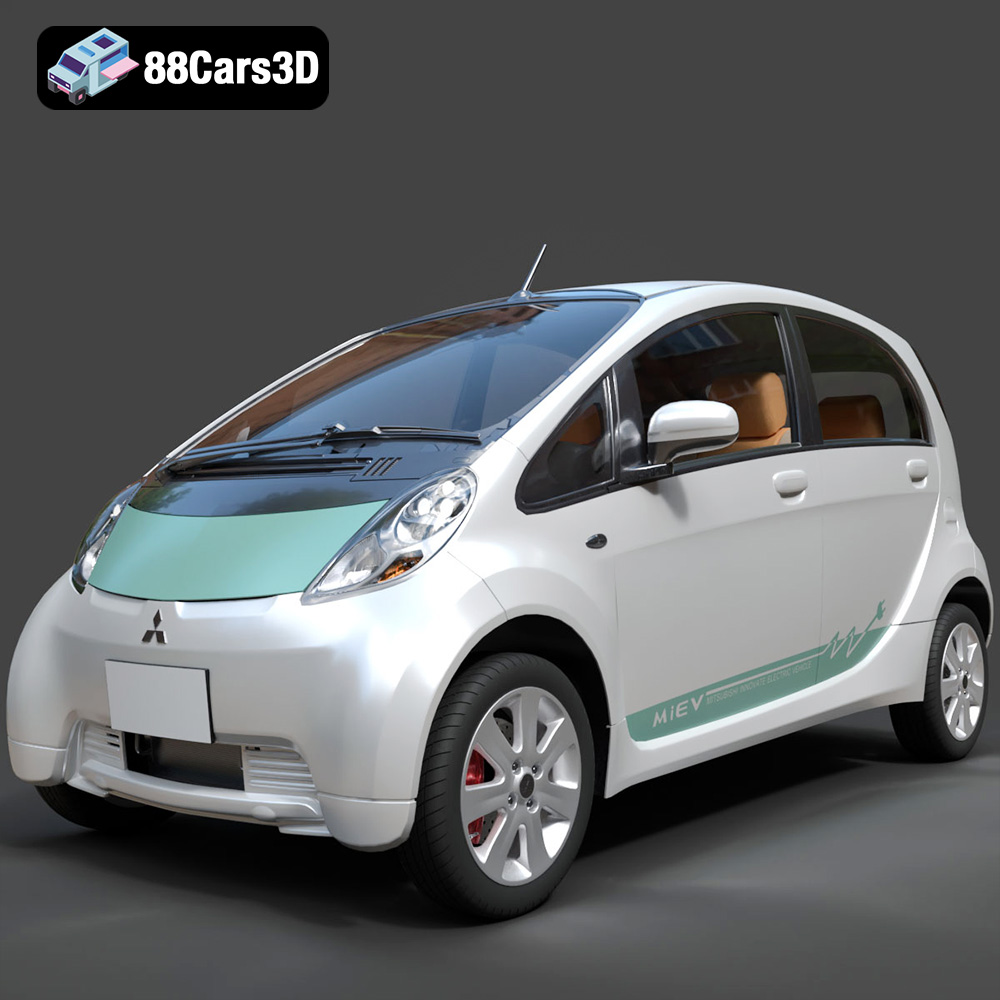
Download the Mitsubishi i-MiEV 2025 3D Model featuring clean geometry, realistic detailing, and a fully modeled interior. Includes .blend, .fbx, .obj, .glb, .stl, .ply, .unreal, and .max formats for rendering, simulation, and game development.
Price: $4.99

Texture: Yes
Material: Yes
Download the Nissan Fuga 2003 3D Model featuring clean geometry, realistic detailing, and a fully modeled interior. Includes .blend, .fbx, .obj, .glb, .stl, .ply, .unreal, and .max formats for rendering, simulation, and game development.
Price: $4.99
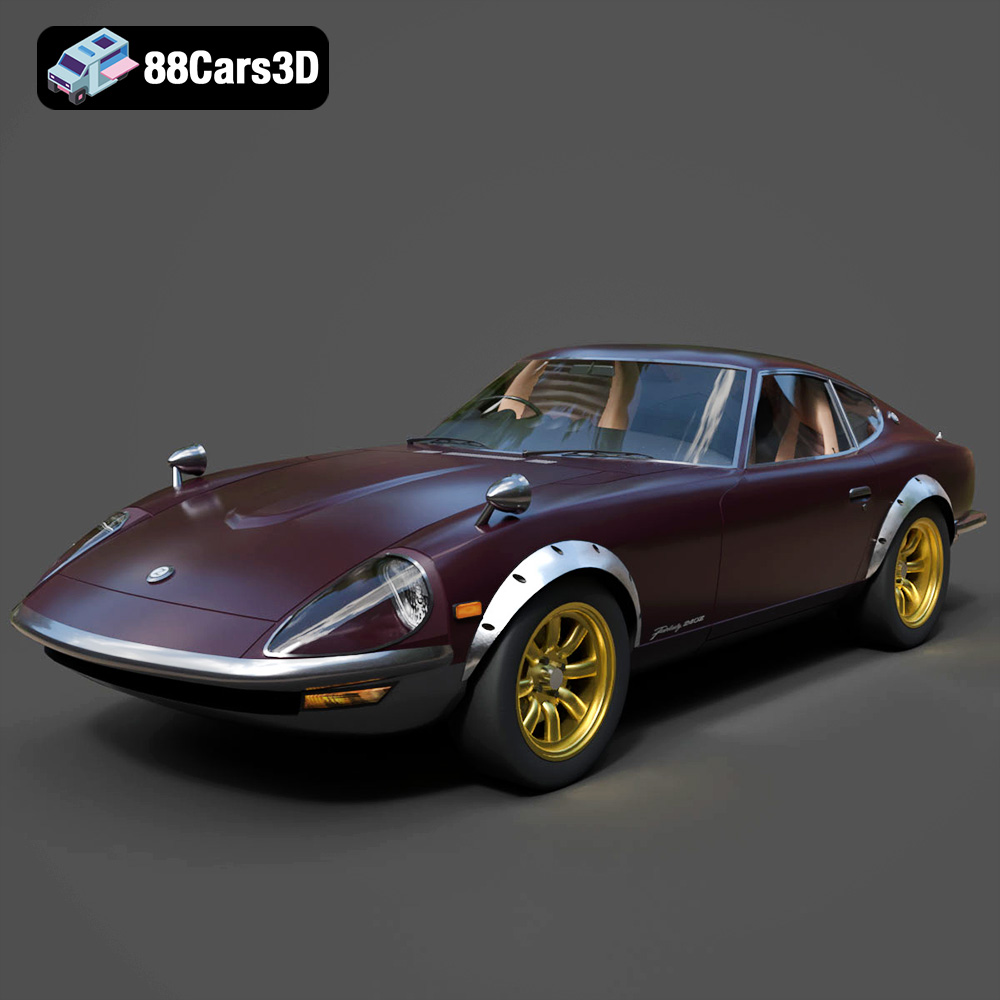
Texture: Yes
Material: Yes
Download the Nissan FairLady 240ZG 3D Model featuring clean geometry, realistic detailing, and a fully modeled interior. Includes .blend, .fbx, .obj, .glb, .stl, .ply, .unreal, and .max formats for rendering, simulation, and game development.
Price: $4.99
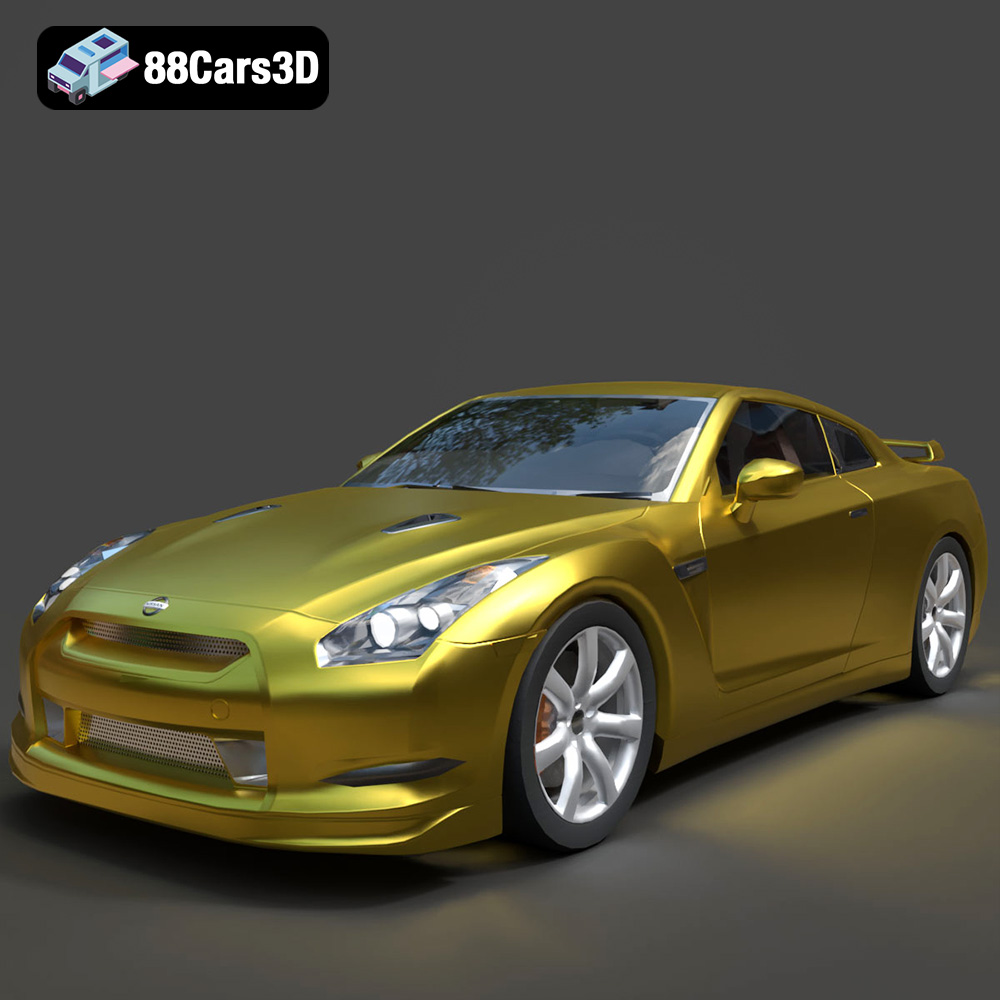
Texture: Yes
Material: Yes
Download the Nissan GT-R 2008 3D Model featuring clean geometry, realistic detailing, and a fully modeled interior. Includes .blend, .fbx, .obj, .glb, .stl, .ply, .unreal, and .max formats for rendering, simulation, and game development.
Price: $4.99

Texture: Yes
Material: Yes
Download the Nissan Cube 3D Model featuring clean geometry, realistic detailing, and a fully modeled interior. Includes .blend, .fbx, .obj, .glb, .stl, .ply, .unreal, and .max formats for rendering, simulation, and game development.
Price: $4.99