⚡ FLASH SALE: Get 60% OFF All Premium 3D & STL Models! ⚡
The sleek lines of a supercar, the rugged utility of an SUV, or the timeless elegance of a vintage classic – 3D car models have revolutionized how we visualize, interact with, and even develop the automotive world. From cinematic renders that blur the line between digital and reality to highly optimized game assets that deliver exhilarating performance, the demand for high-quality, technically sound 3D car models has never been greater. But what exactly goes into crafting these digital masterpieces, and how can artists, developers, and designers ensure their models meet the rigorous standards of today’s diverse applications?
This comprehensive guide dives deep into the technical intricacies of working with 3D car models. We’ll explore everything from the foundational principles of clean topology and efficient UV mapping to the advanced techniques of PBR material creation, photorealistic automotive rendering, and meticulous game asset optimization. Whether you’re a seasoned 3D artist aiming for perfection, a game developer seeking unparalleled performance, or an architectural visualization professional looking to populate your scenes with stunning vehicles, understanding these core concepts is paramount. Join us as we unravel the complexities and share industry best practices that empower you to create and utilize professional-grade 3D vehicles for any project, including those sourced from trusted platforms like 88cars3d.com.
At the heart of every great 3D car model lies impeccable topology. Topology refers to the arrangement of polygons (usually quads) that make up your 3D mesh. For automotive subjects, where smooth curves, sharp creases, and precise panel gaps are critical, clean and intentional topology isn’t just a nicety; it’s an absolute necessity. Poor topology can lead to pinching, artifacting during subdivision, difficult UV unwrapping, and poor deformation, making the model unsuitable for high-quality rendering or animation. A well-constructed mesh ensures that the car’s surfaces are smooth and accurate, reflecting light realistically and allowing for seamless modifications.
The primary goal is to maintain an all-quad workflow as much as possible, especially on surfaces that will be subdivided or deformed. Triangles, while sometimes unavoidable in very specific, flat areas, should generally be converted to quads. Ngons (polygons with more than four sides) are almost always problematic, causing unpredictable subdivision behavior and shading errors. When modeling a car, focus on following the natural curves and contours of the vehicle with your edge loops. These loops dictate how light flows over the surface and how the mesh will subdivide, creating the illusion of a perfectly smooth, manufactured surface.
Achieving clean topology for a car involves meticulous attention to edge flow. Edge loops should run along the natural lines of the vehicle, such as the window frames, door seams, fender flares, and character lines that define the car’s design. These loops act as guides, preserving the shape and allowing for sharp creases without resorting to excessive polygon counts. For instance, around panel gaps and cut lines, tight sets of three or more edge loops are often used to define a sharp crease that will hold its shape even under subdivision. This technique, known as “support loops” or “holding edges,” is fundamental for achieving crisp details on automotive surfaces.
Software like 3ds Max, Blender, and Maya offer powerful modeling tools for this. Using techniques like “box modeling” or “spline cage modeling” allows artists to build a foundational mesh with precise control over edge placement. When modeling complex areas like headlights, grilles, or intricate vents, consider using boolean operations to cut details, but always follow up with meticulous retopology to convert any resulting triangles or Ngons back into clean quad-based geometry. This ensures that the model remains robust and editable throughout the project lifecycle.
The optimal polygon count for a 3D car model is highly dependent on its intended use. For cinematic quality renders where the camera gets extremely close, a high-poly model with millions of polygons, often achieved through subdivision surfaces (e.g., Turbosmooth in 3ds Max or Subdivision Surface modifier in Blender), is ideal. This allows for incredibly smooth surfaces and intricate details. However, for game assets or real-time applications like AR/VR, excessive polygons are a performance killer. Here, the challenge is to achieve visual fidelity with a much lower polygon budget.
A typical high-quality game-ready car model might range from 50,000 to 150,000 triangles for a single mesh, excluding wheels and interior. For each wheel, an additional 10,000-20,000 triangles might be acceptable. This requires careful consideration of where detail is truly needed and where it can be faked with normal maps. Strategic use of bevels and chamfers on hard edges can provide the illusion of smoothness without exponential polygon increase. For interior components, details visible from the outside or through windows get higher priority. When sourcing models from marketplaces like 88cars3d.com, always check the listed polygon count and topology to ensure it aligns with your project’s specific requirements.
Once your 3D car model’s topology is solid, the next crucial step is UV mapping. UVs are essentially a 2D representation of your 3D model’s surface, acting as a guide for how textures are applied. Without proper UVs, even the most detailed PBR materials will look distorted or pixelated. For the complex, curved surfaces of an automobile, creating clean and efficient UV layouts is a highly technical skill that directly impacts the visual realism of the final product. It’s about translating a three-dimensional object onto a two-dimensional canvas with minimal distortion and optimal texture utilization.
The goal of UV mapping is to create a set of UV islands (unwrapped parts of your mesh) that are proportionally scaled, without overlapping, and strategically placed within the 0-1 UV space. This ensures that your textures are applied evenly across the model’s surface, preventing stretching or compression. Car models present unique challenges due to their intricate shapes, numerous parts (body panels, windows, tires, interior elements), and the need for high-resolution textures on expansive, often reflective, surfaces like car paint and glass. Efficient UVs are the foundation for any high-quality texture work.
For a car model, a common strategy is to break the vehicle down into logical UV islands. The main body, hood, doors, roof, trunk, and fenders can each be unwrapped separately. Tools like “Pelt Mapping” or “Unfold” in 3ds Max, “Smart UV Project” in Blender, or “Unfold3D” in Maya are invaluable for this process. However, automated solutions often require manual refinement. Planar mapping works well for relatively flat surfaces, while cylindrical or spherical mapping might be used for wheels or spherical components. The key is to strategically place seams along natural breaks or less visible areas of the model to minimize their visual impact.
For highly detailed models, especially those intended for close-up renders or advanced PBR texturing, UDIM workflows are becoming increasingly popular. UDIMs (U-Dimension) allow you to use multiple UV tiles (each a 0-1 UV space) to represent different parts of your model, enabling much higher texture resolution across complex assets. For example, the car body might occupy several UDIM tiles, while the interior and wheels occupy others. This modular approach is excellent for managing large sets of textures and is widely supported by modern texturing software like Substance Painter and rendering engines. Ensure that your texel density – the number of pixels per unit of surface area – is consistent across all UV islands to prevent noticeable differences in texture detail.
To achieve truly realistic automotive rendering, high-resolution textures are essential. For the main body of a car, 4K or even 8K texture maps (for base color, metallic, roughness, normal, etc.) are standard, especially for hero assets. Smaller details like tires, emblems, or interior components might use 2K or 1K maps. The UV layout should maximize the use of the texture space, leaving minimal wasted area, but also including sufficient “gutter space” (padding) around each UV island to prevent texture bleeding at lower mipmap levels or during compression.
Minimizing visible seams is critical for believability. While seams are unavoidable, placing them strategically where different materials meet (e.g., along panel gaps between the hood and fender) or in less conspicuous areas (e.g., underneath the chassis) makes them less noticeable. For hard-surface objects like cars, sharp edges where the mesh naturally breaks are often good places for seams. Additionally, utilizing texture painting software like Substance Painter, which allows for 3D painting directly on the model, can help to blend across seams and reduce their visibility. A well-executed UV map is the silent hero behind stunning textures and materials, allowing your 3D car model to truly shine.
After a meticulously modeled and UV-mapped 3D car, the next layer of realism comes from its materials. Physically Based Rendering (PBR) materials are the industry standard for achieving photorealistic results because they simulate how light interacts with surfaces in a way that is consistent with the laws of physics. This means your materials will look correct under any lighting conditions, greatly enhancing the believability of your automotive rendering. Understanding PBR workflows and developing sophisticated shader networks is crucial for replicating the diverse finishes found on a car, from the multi-layered depth of clear coat paint to the intricate reflections of chrome and the subtle roughness of rubber.
PBR relies on a set of standardized maps (Base Color/Albedo, Metallic, Roughness/Glossiness, Normal, Ambient Occlusion) that define a material’s properties. Unlike older, artistic texture workflows, PBR values correspond to real-world material properties, making the texturing process more intuitive and the results more predictable. Whether you’re aiming for a pristine showroom finish or a weathered, road-worn look, PBR materials provide the granular control needed to convey the narrative of your vehicle effectively. This foundation is key for models, whether they are for high-end visualization or efficient game assets.
There are two primary PBR workflows: Metallic/Roughness and Specular/Glossiness. Both aim for the same physical accuracy but achieve it through slightly different map sets. The Metallic/Roughness workflow is more common in modern game engines and real-time applications, often considered more intuitive for artists. It uses a Base Color map (which includes diffuse and specular color for non-metals, and only diffuse color for metals), a Metallic map (a grayscale mask indicating whether a surface is metallic or dielectric), and a Roughness map (defining how rough or smooth a surface is, influencing the spread of reflections).
The Specular/Glossiness workflow uses a Diffuse map, a Specular map (defining the color and intensity of reflections), and a Glossiness map (the inverse of roughness). While both are physically accurate, Metallic/Roughness often simplifies the process of creating metallic surfaces. For car models, understanding which workflow your target renderer or engine supports is crucial. For instance, Unreal Engine predominantly uses Metallic/Roughness, while some older V-Ray setups might lean towards Specular/Glossiness. Software like Substance Painter allows you to export textures in either workflow, providing flexibility for diverse projects.
Creating truly realistic automotive finishes goes beyond basic PBR maps. Car paint, for example, is a complex material, often requiring a layered shader approach to capture its depth and unique characteristics. A typical car paint shader network might include:
For other car materials:
Utilizing dedicated texturing software like Substance Painter or Quixel Mixer, combined with the powerful node-based shader editors in renderers like Corona, V-Ray, Cycles, or Arnold, allows artists to construct these intricate shader networks, bringing unparalleled realism to their 3D car models.
Once your 3D car model is meticulously modeled, UV-mapped, and textured with PBR materials, the final step in bringing it to life is rendering. Automotive rendering is a specialized discipline that aims for photorealism, often replicating the aesthetic of professional car photography. It involves a delicate balance of lighting, environment setup, camera settings, and renderer configurations to achieve stunning, believable images. Whether you’re using industry-standard tools like 3ds Max with Corona or V-Ray, or open-source solutions like Blender with Cycles, a systematic workflow is essential to achieve professional results.
The goal is not just to produce an image, but to tell a story about the vehicle, highlighting its design, materials, and form. This involves understanding how light interacts with the complex surfaces of a car, from the specular highlights on its paintwork to the subtle reflections in its glass and the deep shadows cast by its wheels. A high-fidelity render can be the cornerstone of marketing campaigns, design reviews, or portfolio showcases, making this stage as critical as the modeling itself.
Effective lighting is the single most important factor in achieving photorealistic renders. For cars, High Dynamic Range Images (HDRIs) are indispensable. An HDRI provides both environmental lighting (directional and ambient) and reflections from a real-world or studio environment, grounding the car in a believable space. Placing your 3D car model within a carefully chosen HDRI (e.g., a studio setup for clean reflections, or an outdoor environment for natural light) instantly elevates realism.
Beyond HDRIs, additional light sources are often used to sculpt the form and add specific highlights. This often mimics professional studio lighting: large, soft area lights or plane lights strategically positioned to create attractive reflections on the car’s body. A common setup includes:
For exterior shots, backplates (photographed backgrounds) combined with matching HDRIs create seamless integration. Matching the camera angle, focal length, and perspective of the backplate to your 3D scene is crucial for believability. Pay attention to how light falls on the ground and tires to create realistic shadows, often achieved with shadow catchers or separate shadow passes.
Each renderer has its own strengths and nuances, but the core principles of PBR rendering remain consistent. Optimizing renderer settings involves balancing quality with render time:
Regardless of the renderer, using render passes (e.g., Diffuse, Reflection, Specular, Z-depth, Cryptomatte) is standard practice, providing greater flexibility in post-processing.
The raw render from your 3D software is rarely the final image. Post-processing and compositing in software like Adobe Photoshop, Affinity Photo, or Blackmagic Fusion are vital for adding that extra layer of polish and impact. This stage allows you to fine-tune the image without re-rendering, saving significant time and providing artistic control. Key post-processing steps include:
By treating the render as a foundation and embracing a robust post-production workflow, you can elevate your automotive renders from technically correct to truly captivating, ensuring your 3D car models leave a lasting impression.
While cinematic renders prioritize visual fidelity above all else, real-time applications like video games, interactive configurators, and AR/VR experiences demand a delicate balance between visual quality and performance. A beautiful 3D car model that causes frame rate drops is unusable in a real-time environment. Therefore, meticulous optimization is a non-negotiable step for any game asset. This involves a suite of techniques aimed at reducing the computational burden on the game engine (Unity, Unreal Engine, etc.) without sacrificing too much visual detail.
The core philosophy of real-time optimization is to minimize the amount of work the GPU and CPU have to do each frame. This means reducing polygon counts, draw calls, texture memory, and shader complexity. An optimized car model allows for smoother gameplay, faster load times, and broader compatibility across various hardware specifications, from high-end gaming PCs to mobile devices. When acquiring models for game development, ensure they are already optimized or designed with optimization in mind, as seen with the professional-grade assets available on 88cars3d.com.
One of the most effective optimization techniques is the implementation of Levels of Detail (LODs). LODs are simplified versions of your 3D car model that are dynamically swapped in by the game engine based on the distance of the object from the camera. The closer the camera, the higher the detail (LOD0). As the car moves further away, progressively lower-polygon versions (LOD1, LOD2, LOD3, etc.) are rendered, significantly reducing the polygon count processed by the GPU. A typical setup might look like:
LODs can be generated manually by artists through retopology or automatically using tools within 3D software (e.g., ProOptimizer in 3ds Max, Decimate modifier in Blender) or directly in game engines (e.g., Unreal Engine’s Static Mesh Editor, Unity’s LOD Group component). The goal is to reduce polygons aggressively while preserving the car’s silhouette and key features. Normal maps are crucial for baking high-detail geometry onto lower-poly LODs.
Draw calls are another major performance bottleneck. Each time the CPU tells the GPU to render a distinct object with a unique material, it generates a draw call. Many draw calls can quickly overload the CPU. For a car model, which can consist of many individual parts (body, wheels, interior, lights, emblems), minimizing draw calls is critical. Strategies include:
Texture memory usage is a significant concern for game performance, especially on platforms with limited RAM like mobile devices. Texture atlasing is the practice of combining several smaller texture maps (like those for individual car parts) into one larger, unified texture. This means the engine only needs to load a single texture into memory instead of many, and it can reduce draw calls further by allowing multiple mesh parts to share the same material. For example, all interior textures (dashboard, seats, door panels) could be atlased into one 4K texture, and all undercarriage components into another.
Shader optimization focuses on reducing the complexity of the material calculations. Each instruction in a shader contributes to the GPU’s workload. Complex layered shaders that are perfect for cinematic rendering might be too heavy for real-time. Strategies include:
Both Unity and Unreal Engine provide robust tools for profiling performance, allowing developers to identify bottlenecks related to polygon count, draw calls, and shader complexity, ensuring that their 3D car models run smoothly across target platforms.
The utility of high-quality 3D car models extends far beyond traditional rendering and game development. With the rapid advancement of immersive technologies like Augmented Reality (AR) and Virtual Reality (VR), as well as the increasing accessibility of 3D printing, these digital assets are finding exciting new applications. Each of these new frontiers presents its own unique set of technical requirements and optimization challenges, demanding versatility and adaptability from the 3D artist or asset provider. A robust, well-constructed model, like those found on 88cars3d.com, serves as an excellent foundation, capable of being adapted for these diverse uses.
From experiencing a new car model in your driveway via AR to exploring its interior in a VR showroom, or even fabricating a physical prototype through 3D printing, the digital car model is at the core of these innovative interactions. Understanding how to prepare and optimize models for these specific applications ensures that they perform flawlessly and deliver an optimal user experience, opening up new avenues for visualization, design, and interaction.
AR/VR optimization is an extreme form of real-time optimization, often with even stricter performance budgets, especially for mobile AR (e.g., Apple ARKit, Google ARCore) and standalone VR headsets (e.g., Meta Quest). The goal is to maintain a high frame rate (typically 60-90 frames per second per eye for VR) to prevent motion sickness and ensure immersion.
Key considerations include:
For VR, additional considerations include maintaining scale accuracy and preventing any “jitter” or “pop-in” of LODs, which can break immersion.
Preparing a 3D car model for 3D printing is a completely different challenge, focusing on physical manufacturability rather than real-time performance. The primary requirement is a “watertight” or “manifold” mesh – meaning the model has no holes, no inverted normals, and no intersecting or non-manifold geometry. Essentially, it must be a completely enclosed volume, like a physical object. Gaps or errors in the mesh will prevent the slicing software from correctly interpreting the object for printing.
Key steps and considerations:
Whether for rapid prototyping, miniature collectors, or educational purposes, a well-prepared 3D car model can transition seamlessly from the digital realm to a tangible object, demonstrating the incredible versatility of these assets.
The journey from a blank canvas to a fully realized, high-fidelity 3D car model is a multifaceted endeavor, requiring a deep understanding of technical workflows and artistic principles. We’ve explored the critical importance of clean topology for aesthetic and functional integrity, mastered the nuances of UV mapping for flawless texturing, and delved into the creation of PBR materials and complex shader networks for unparalleled realism. We’ve also dissected the intensive processes of photorealistic automotive rendering and the meticulous optimization required to transform these intricate assets into high-performance game assets or versatile solutions for AR/VR and 3D printing.
The demand for professional-grade 3D car models continues to grow across industries – from automotive design and engineering to film production, advertising, and interactive experiences. By mastering these techniques and adhering to industry best practices, artists and developers can ensure their digital vehicles not only look spectacular but also perform flawlessly in any application. Remember, the foundation of any successful project lies in the quality of its core assets. Platforms like 88cars3d.com stand as a testament to this, offering a curated selection of models built with these exact principles in mind, providing artists and developers with a powerful head start.
Embrace the challenge, keep learning, and leverage these insights to push the boundaries of what’s possible with 3D automotive visualization. Your next breathtaking render, immersive game, or innovative AR experience begins with a perfectly crafted 3D car model.
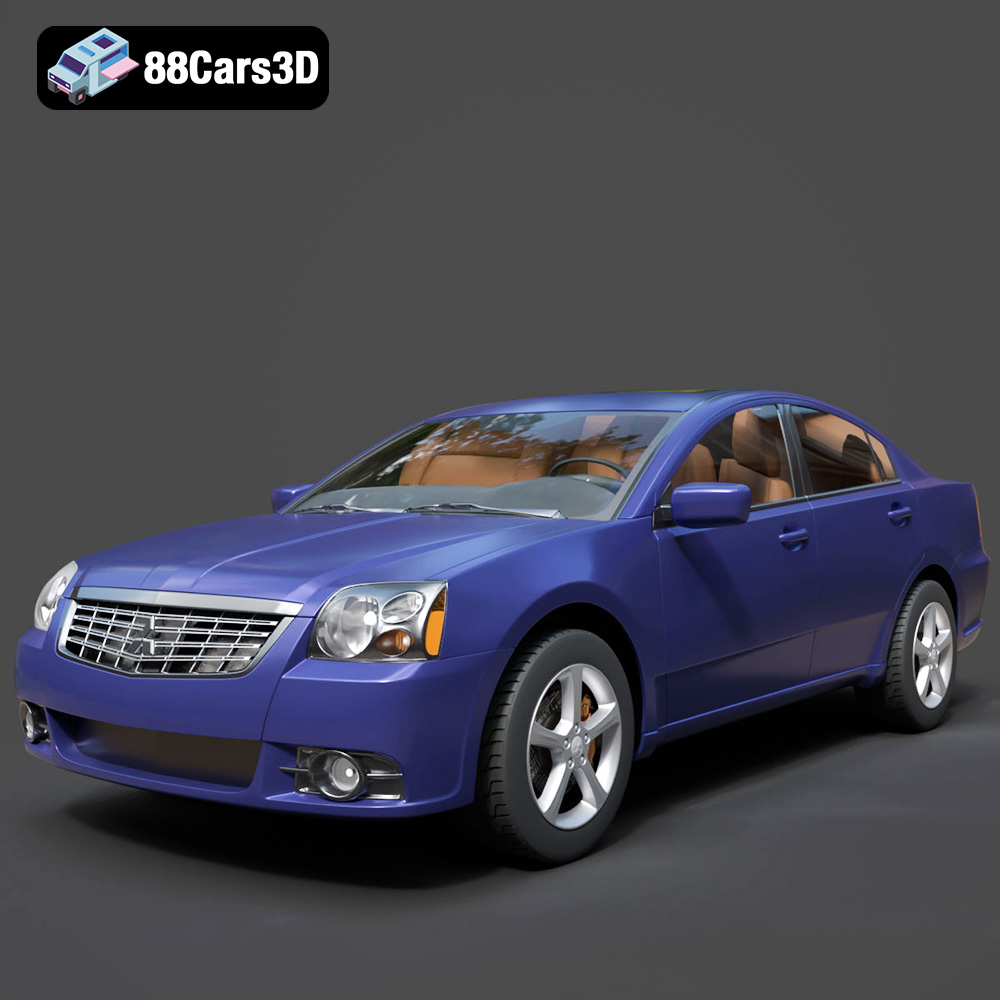
Texture: Yes
Material: Yes
Download the Mitsubishi Galant 2009 3D Model featuring clean geometry, realistic detailing, and a fully modeled interior. Includes .blend, .fbx, .obj, .glb, .stl, .ply, .unreal, and .max formats for rendering, simulation, and game development.
Price: $4.99
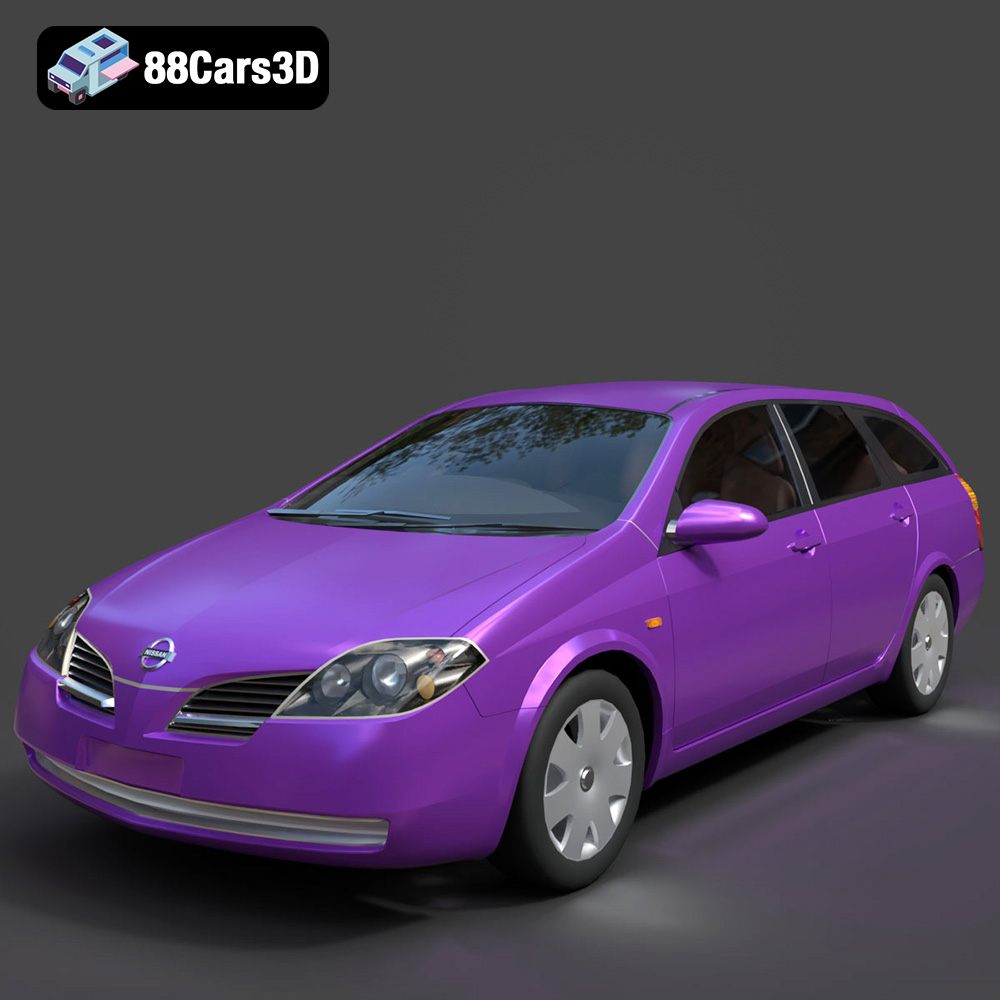
Texture: Yes
Material: Yes
Download the Nissan Primera Wagon 3D Model featuring clean geometry, realistic detailing, and a fully modeled interior. Includes .blend, .fbx, .obj, .glb, .stl, .ply, .unreal, and .max formats for rendering, simulation, and game development.
Price: $4.99
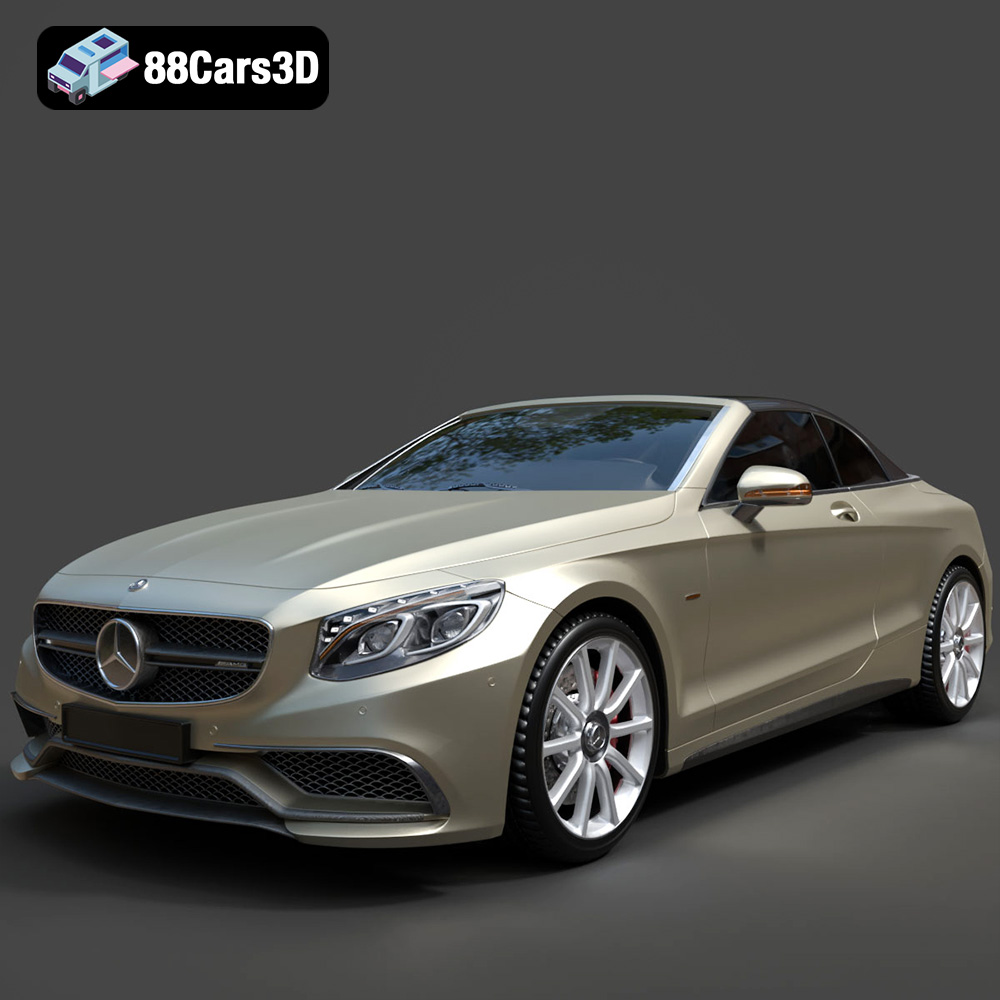
Texture: Yes
Material: Yes
Download the Mercedes-Benz S63 AMG Cabriolet 2017 3D Model featuring clean geometry, realistic detailing, and a fully modeled interior. Includes .blend, .fbx, .obj, .glb, .stl, .ply, .unreal, and .max formats for rendering, simulation, and game development.
Price: $20.99
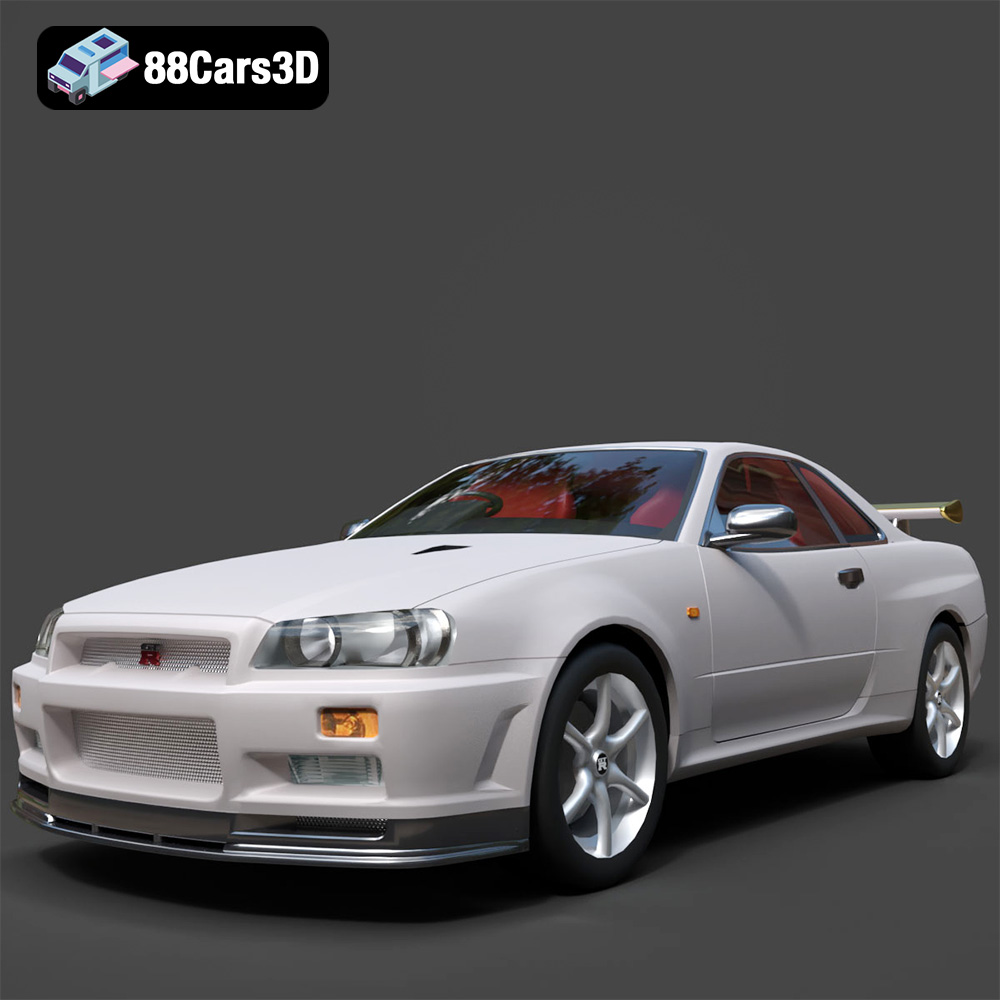
Texture: Yes
Material: Yes
Download the Nissan Skyline R34 2002 3D Model featuring clean geometry, realistic detailing, and a fully modeled interior. Includes .blend, .fbx, .obj, .glb, .stl, .ply, .unreal, and .max formats for rendering, simulation, and game development.
Price: $4.99
Texture: Yes
Material: Yes
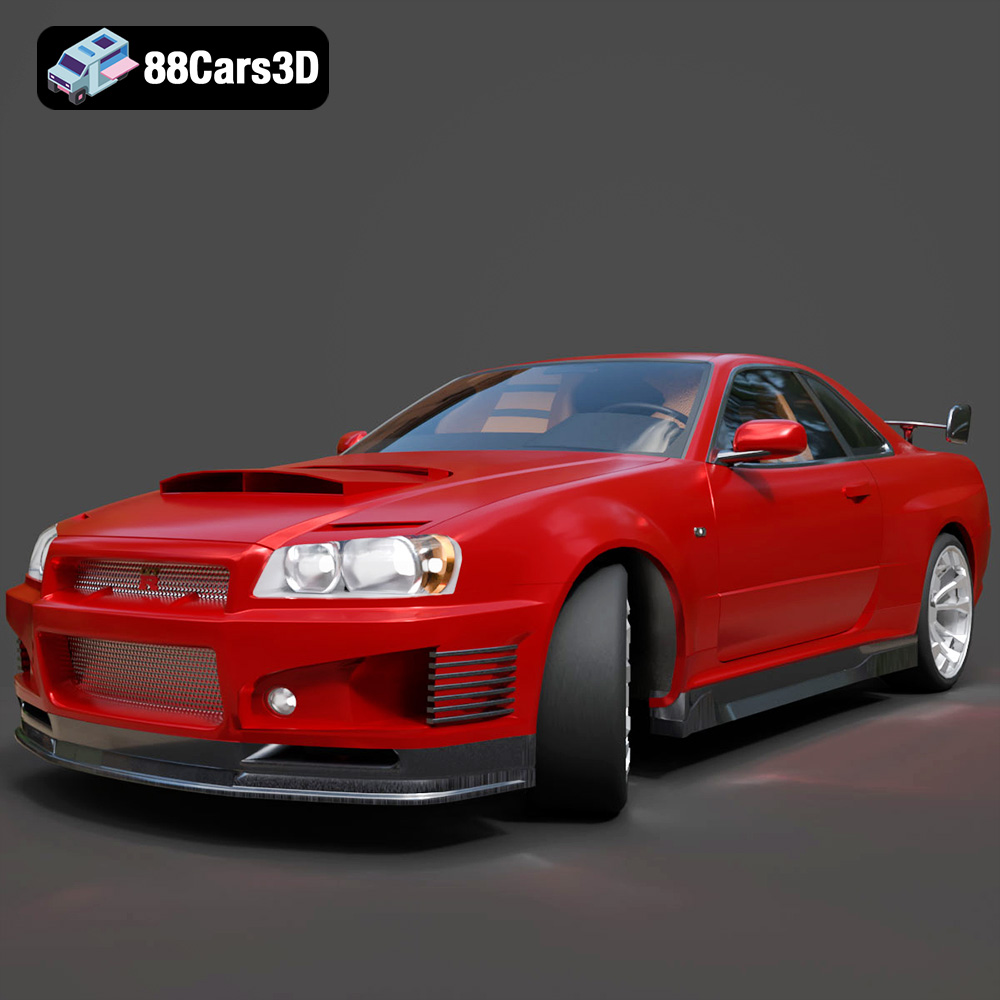
Download the Nissan Skyline 3D Model featuring clean geometry, realistic detailing, and a fully modeled interior. Includes .blend, .fbx, .obj, .glb, .stl, .ply, .unreal, and .max formats for rendering, simulation, and game development.
Price: $9.99
Texture: Yes
Material: Yes
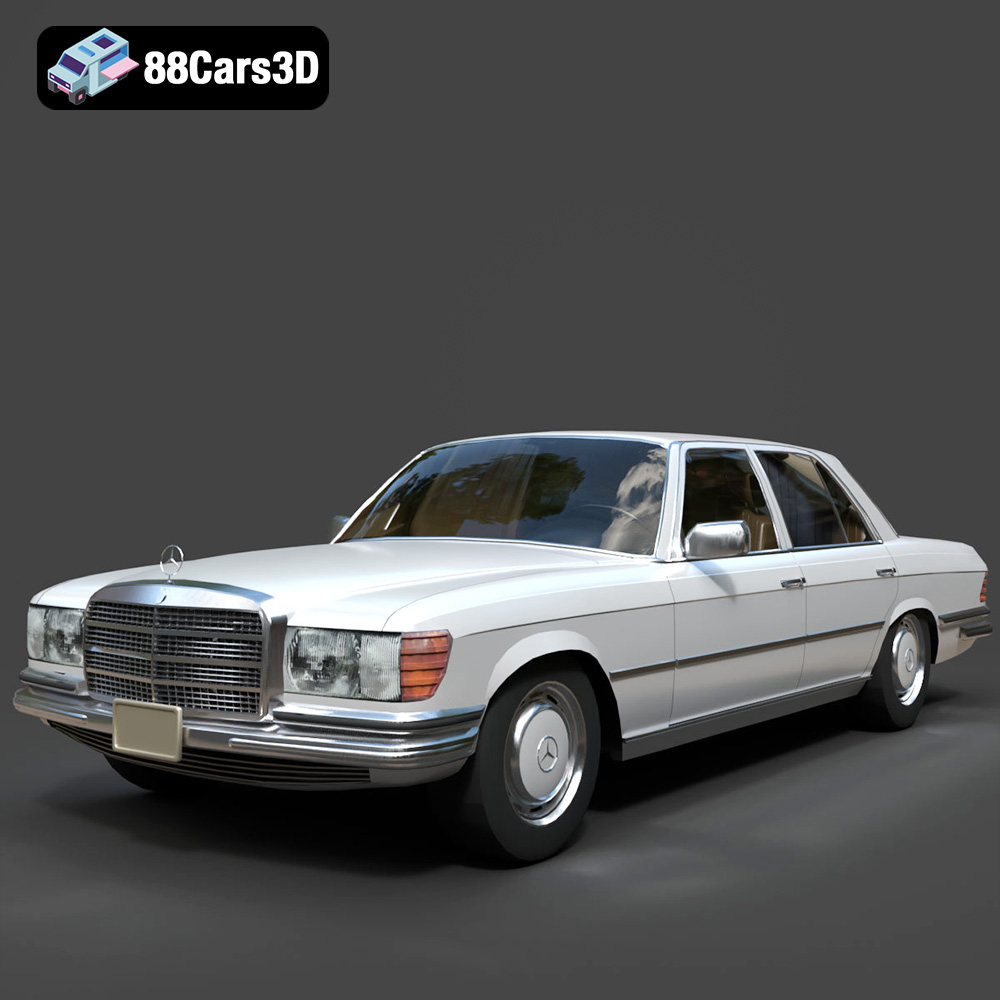
Download the Mercedes-Benz S-Klasse W116 3D Model featuring clean geometry, realistic detailing, and a fully modeled interior. Includes .blend, .fbx, .obj, .glb, .stl, .ply, .unreal, and .max formats for rendering, simulation, and game development.
Price: $4.99
Texture: Yes
Material: Yes
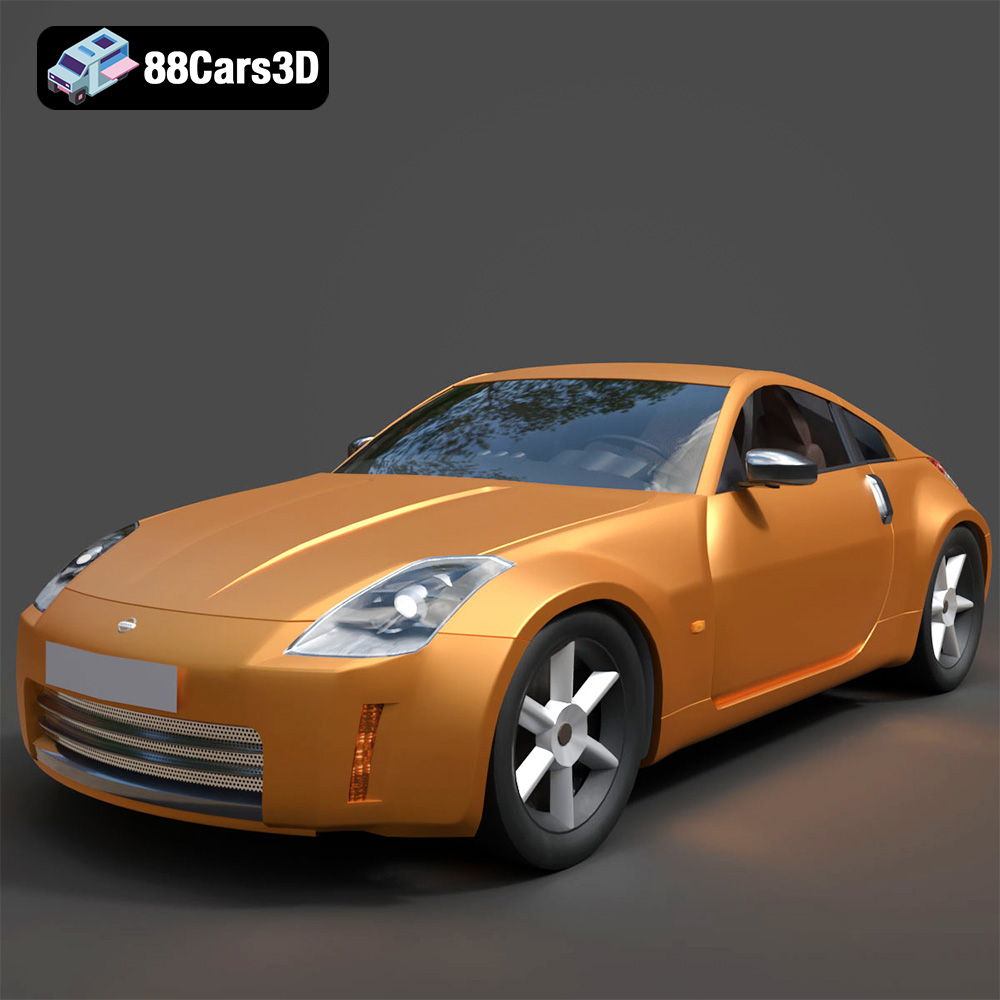
Download the Nissan 350Z 3D Model featuring clean geometry, realistic detailing, and a fully modeled interior. Includes .blend, .fbx, .obj, .glb, .stl, .ply, .unreal, and .max formats for rendering, simulation, and game development.
Price: $4.99

Texture: Yes
Material: Yes
Download the Nissan Skyline V35 2001 3D Model featuring clean geometry, realistic detailing, and a fully modeled interior. Includes .blend, .fbx, .obj, .glb, .stl, .ply, .unreal, and .max formats for rendering, simulation, and game development.
Price: $4.99

Texture: Yes
Material: Yes
Download the Mercedes-Benz S-Klasse 221-007 3D Model featuring clean geometry, realistic detailing, and a fully modeled interior. Includes .blend, .fbx, .obj, .glb, .stl, .ply, .unreal, and .max formats for rendering, simulation, and game development.
Price: $4.99
Texture: Yes
Material: Yes
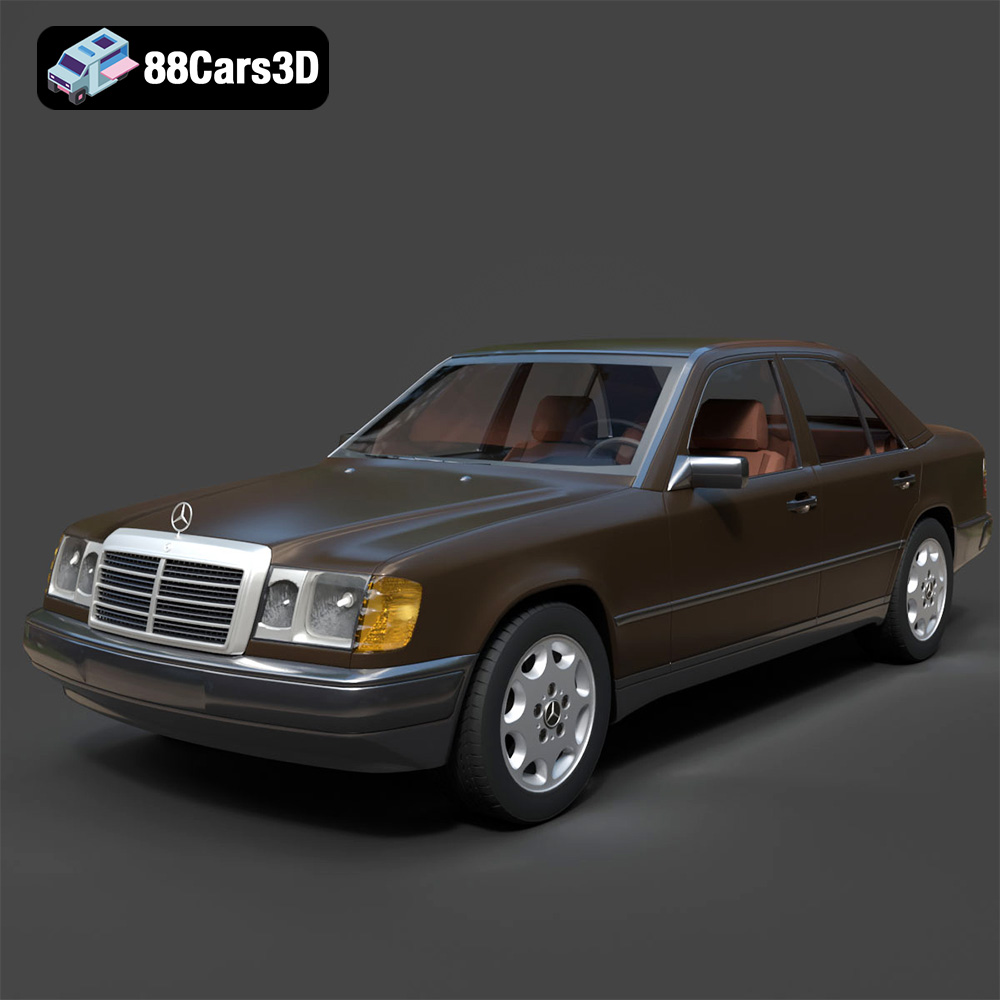
Download the Mercedes W124 Sedan 3D Model featuring clean geometry, realistic detailing, and a fully modeled interior. Includes .blend, .fbx, .obj, .glb, .stl, .ply, .unreal, and .max formats for rendering, simulation, and game development.
Price: $4.99